How to Create Floating Objects in After Effects
Introduction
Creating floating objects in After Effects can transform your videos with a surreal touch. In this tutorial, we’ll guide you through the steps to achieve this mesmerizing effect.
Step 1: Import Your Files into the Project Panel
To begin, import your desired files into the After Effects project panel. These could include images, videos, or graphics that you want to animate as floating objects.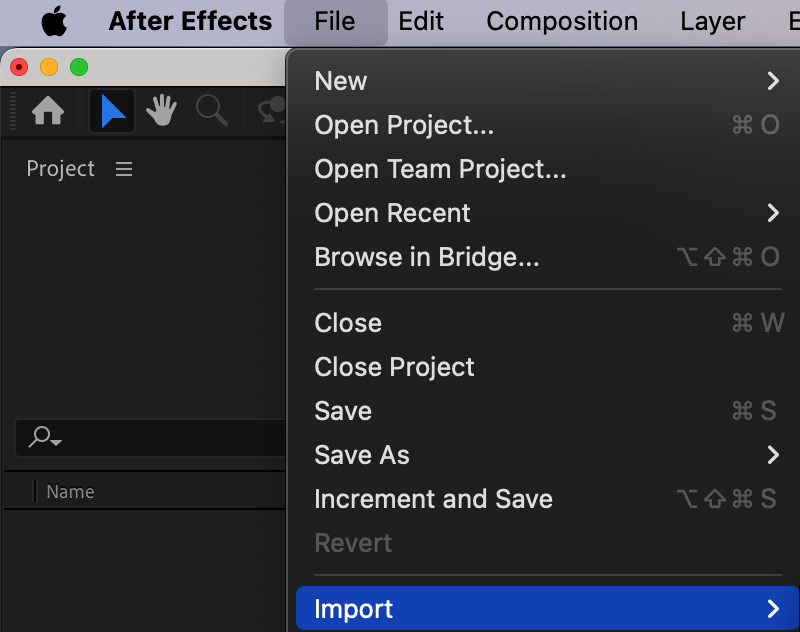 Step 2: Create a New Composition
Get 10% off when you subscribe to our newsletter

Next, create a new composition by selecting your imported files and dragging them onto the timeline panel. Adjust the composition settings to fit your project’s requirements.
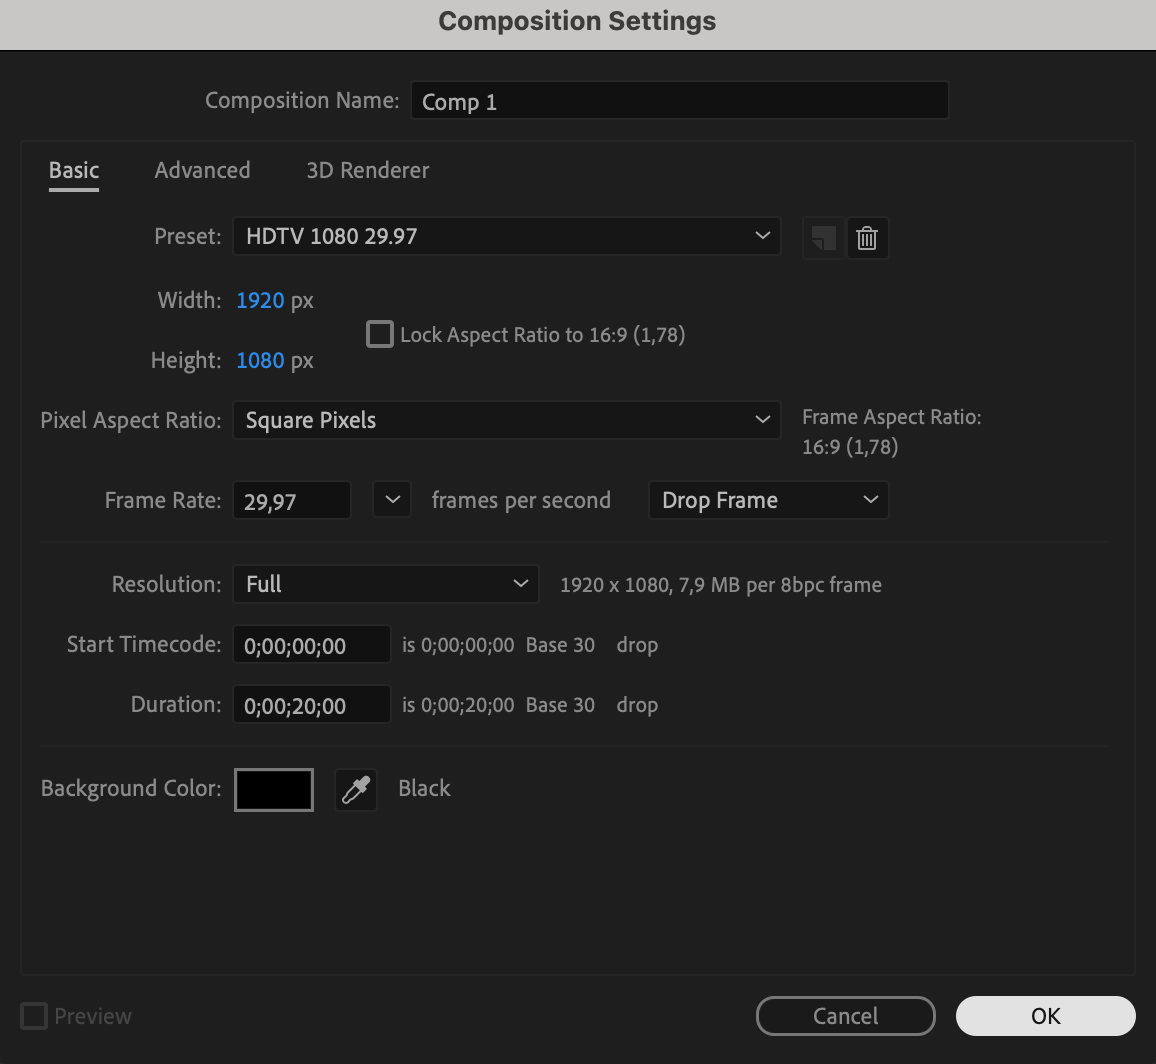 Step 3: Transfer Your Imported Files to the Timeline Panel
After importing your files into the project panel, transfer them to the timeline panel. This step prepares them for animation and placement within your composition.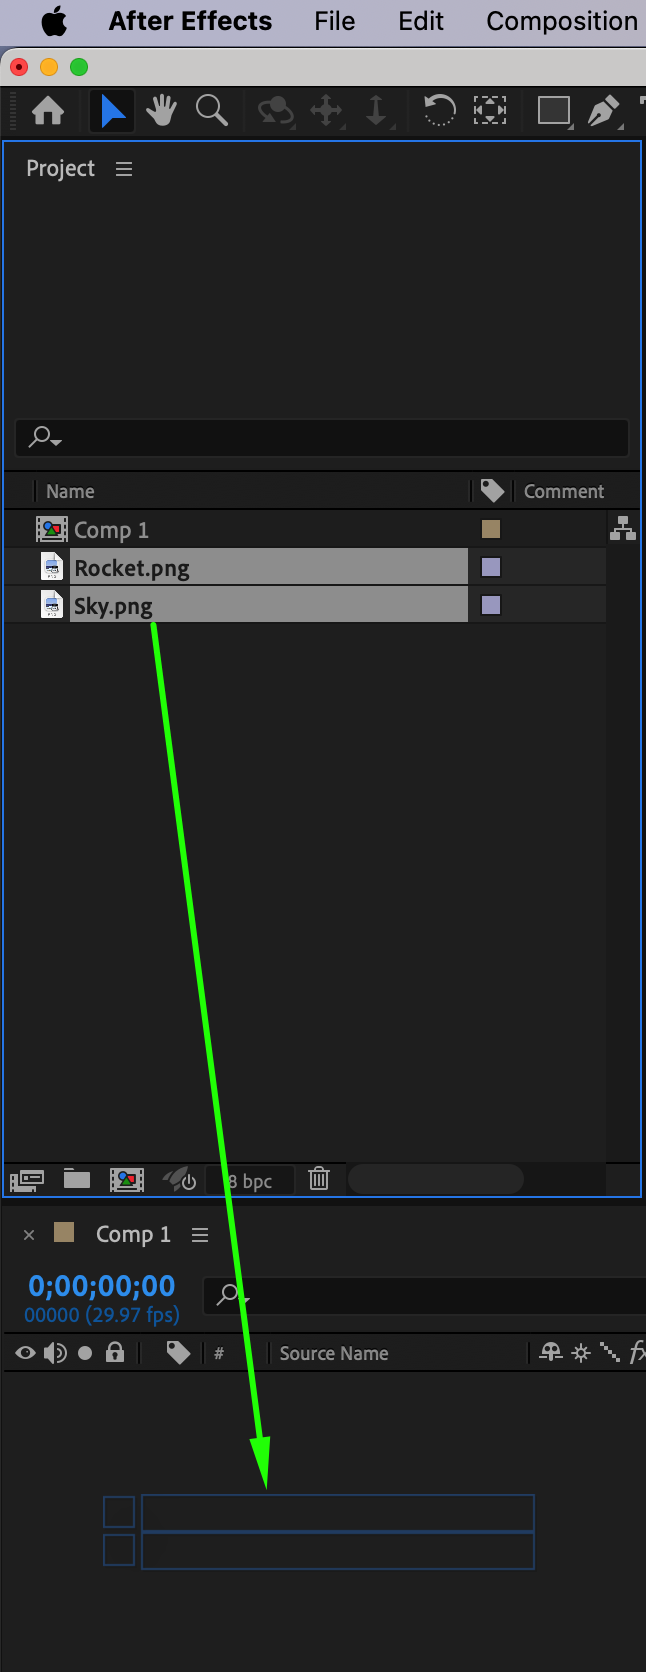 Step 4: Position Your Objects on the Composition Panel
Use the Transform panel to position and scale your imported objects within the composition. Ensure they are clearly visible and well-placed against the background.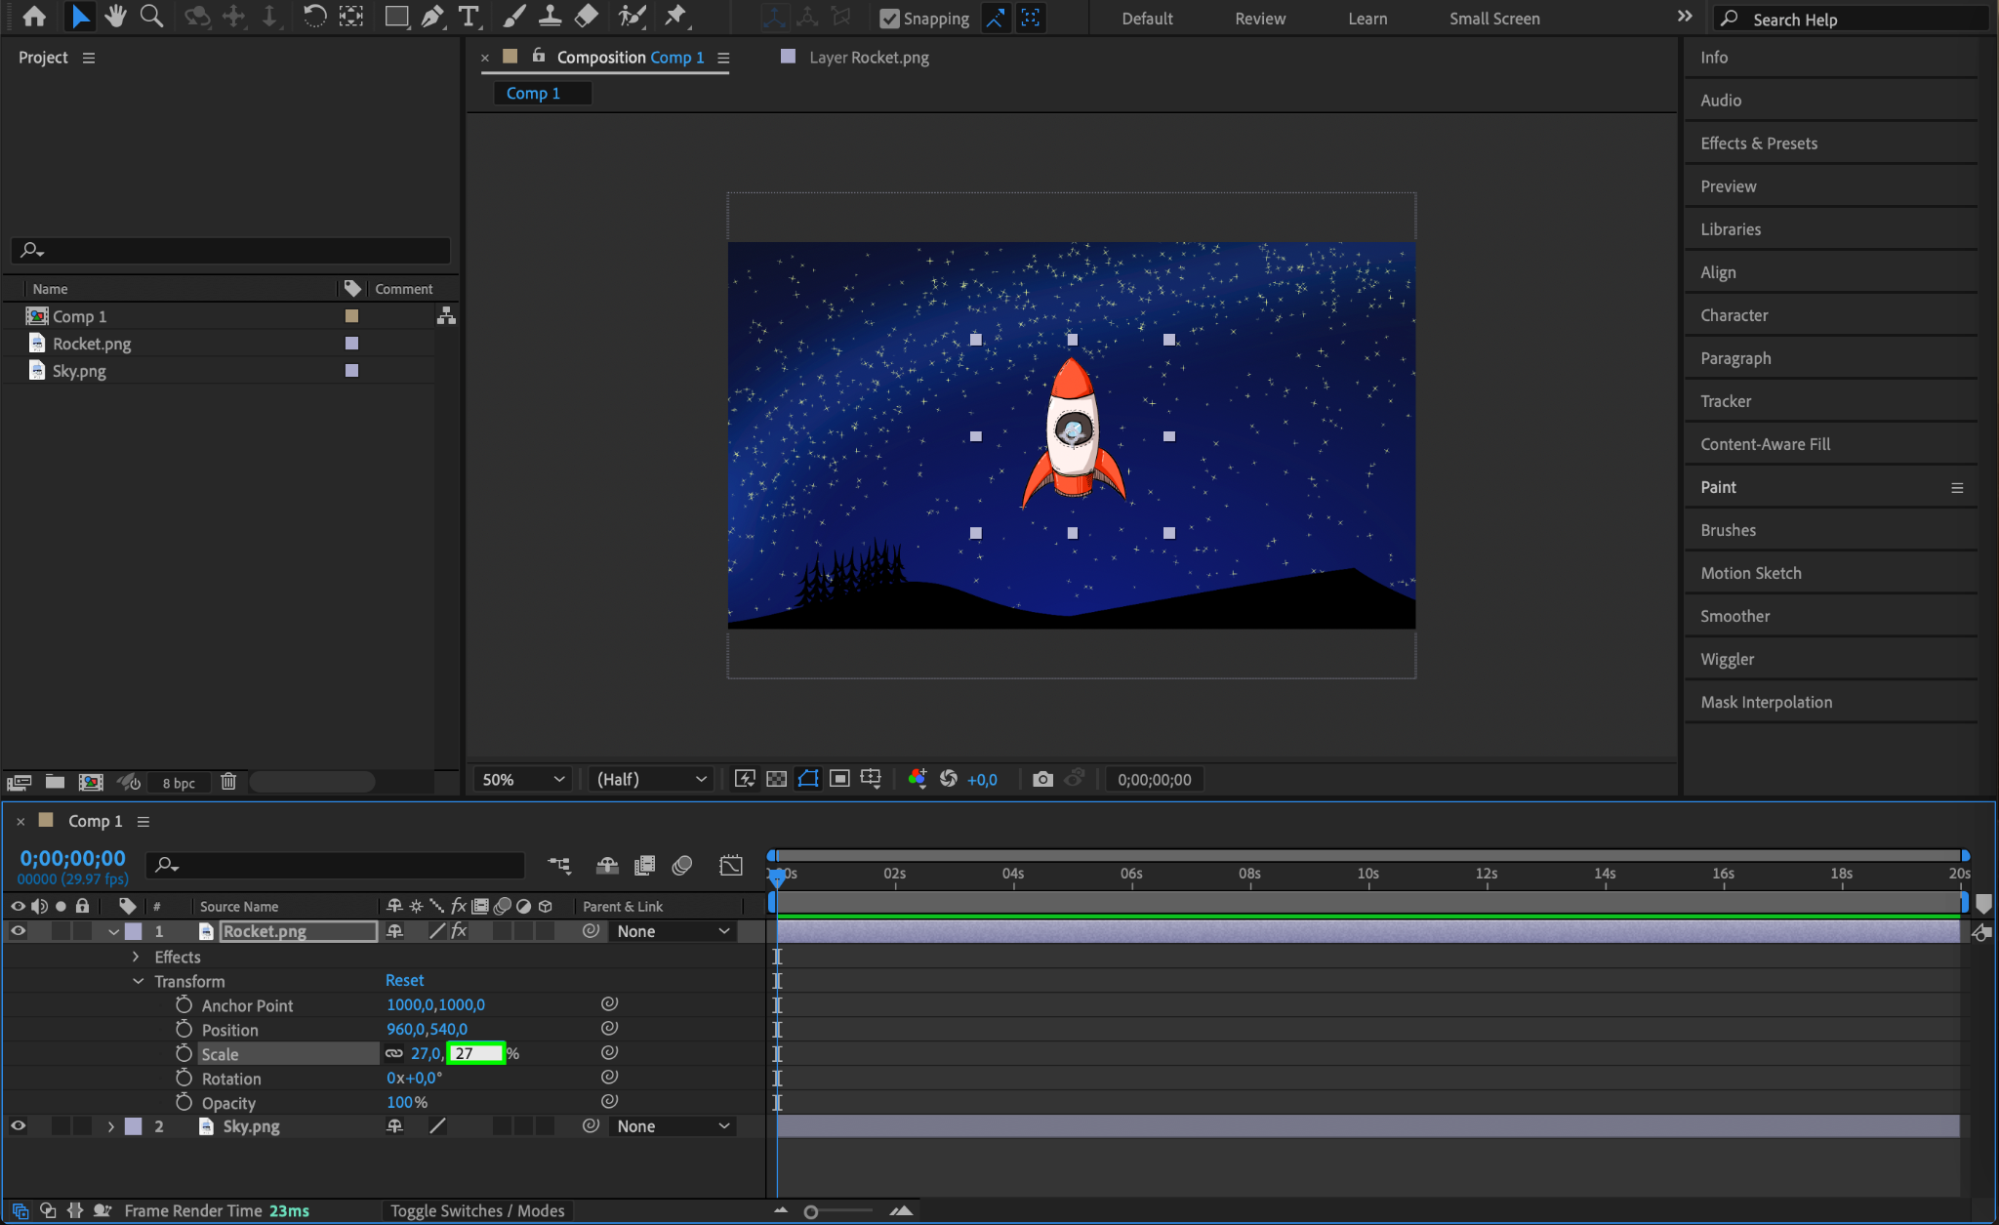 Step 5: Add Keyframes for Movement
Get 10% off when you subscribe to our newsletter

Start adding keyframes to create movement for your floating object. Position the object where you want it to start floating, then move a few frames forward on the timeline. Adjust its position slightly to simulate movement.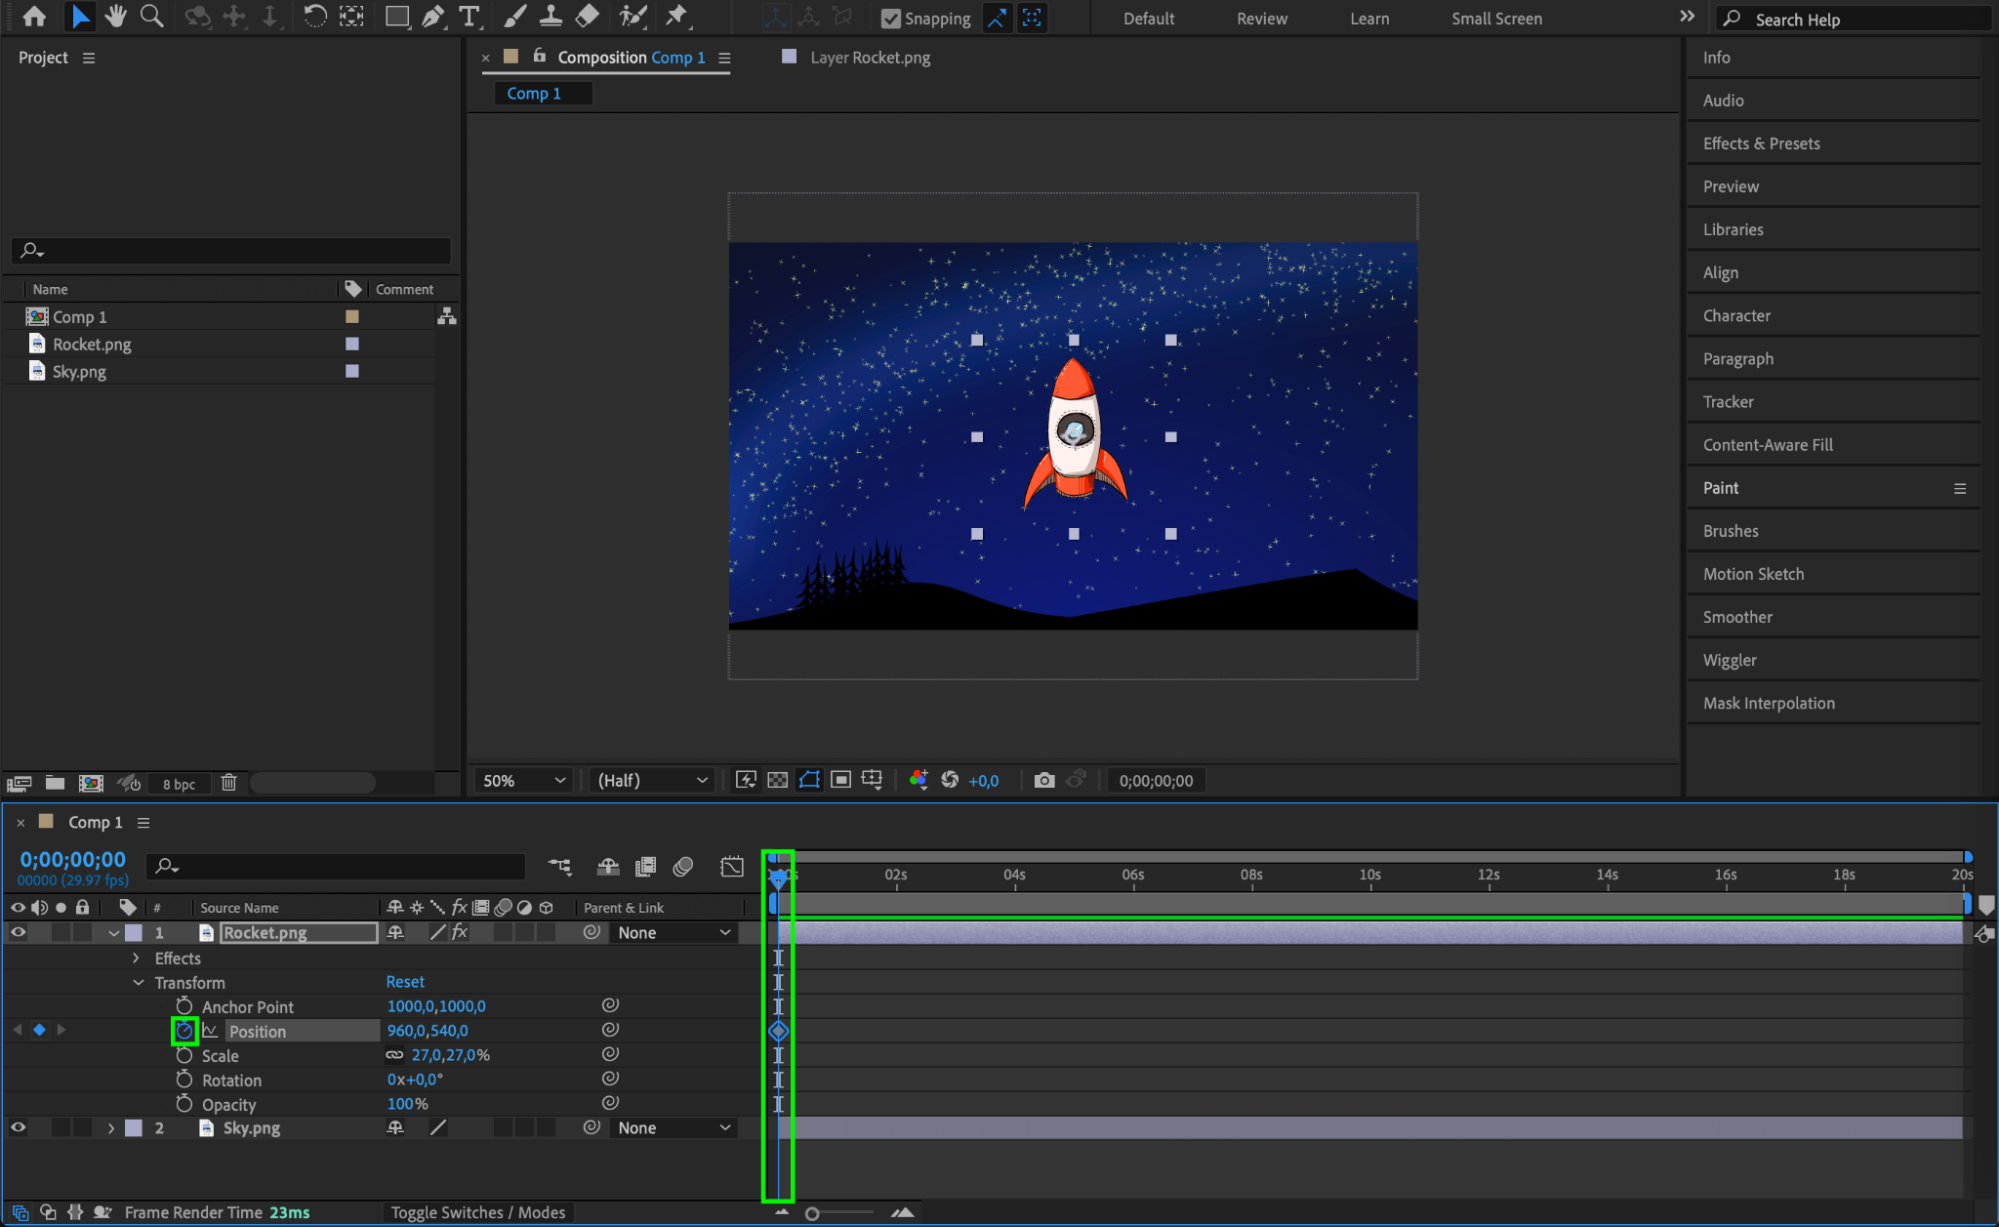
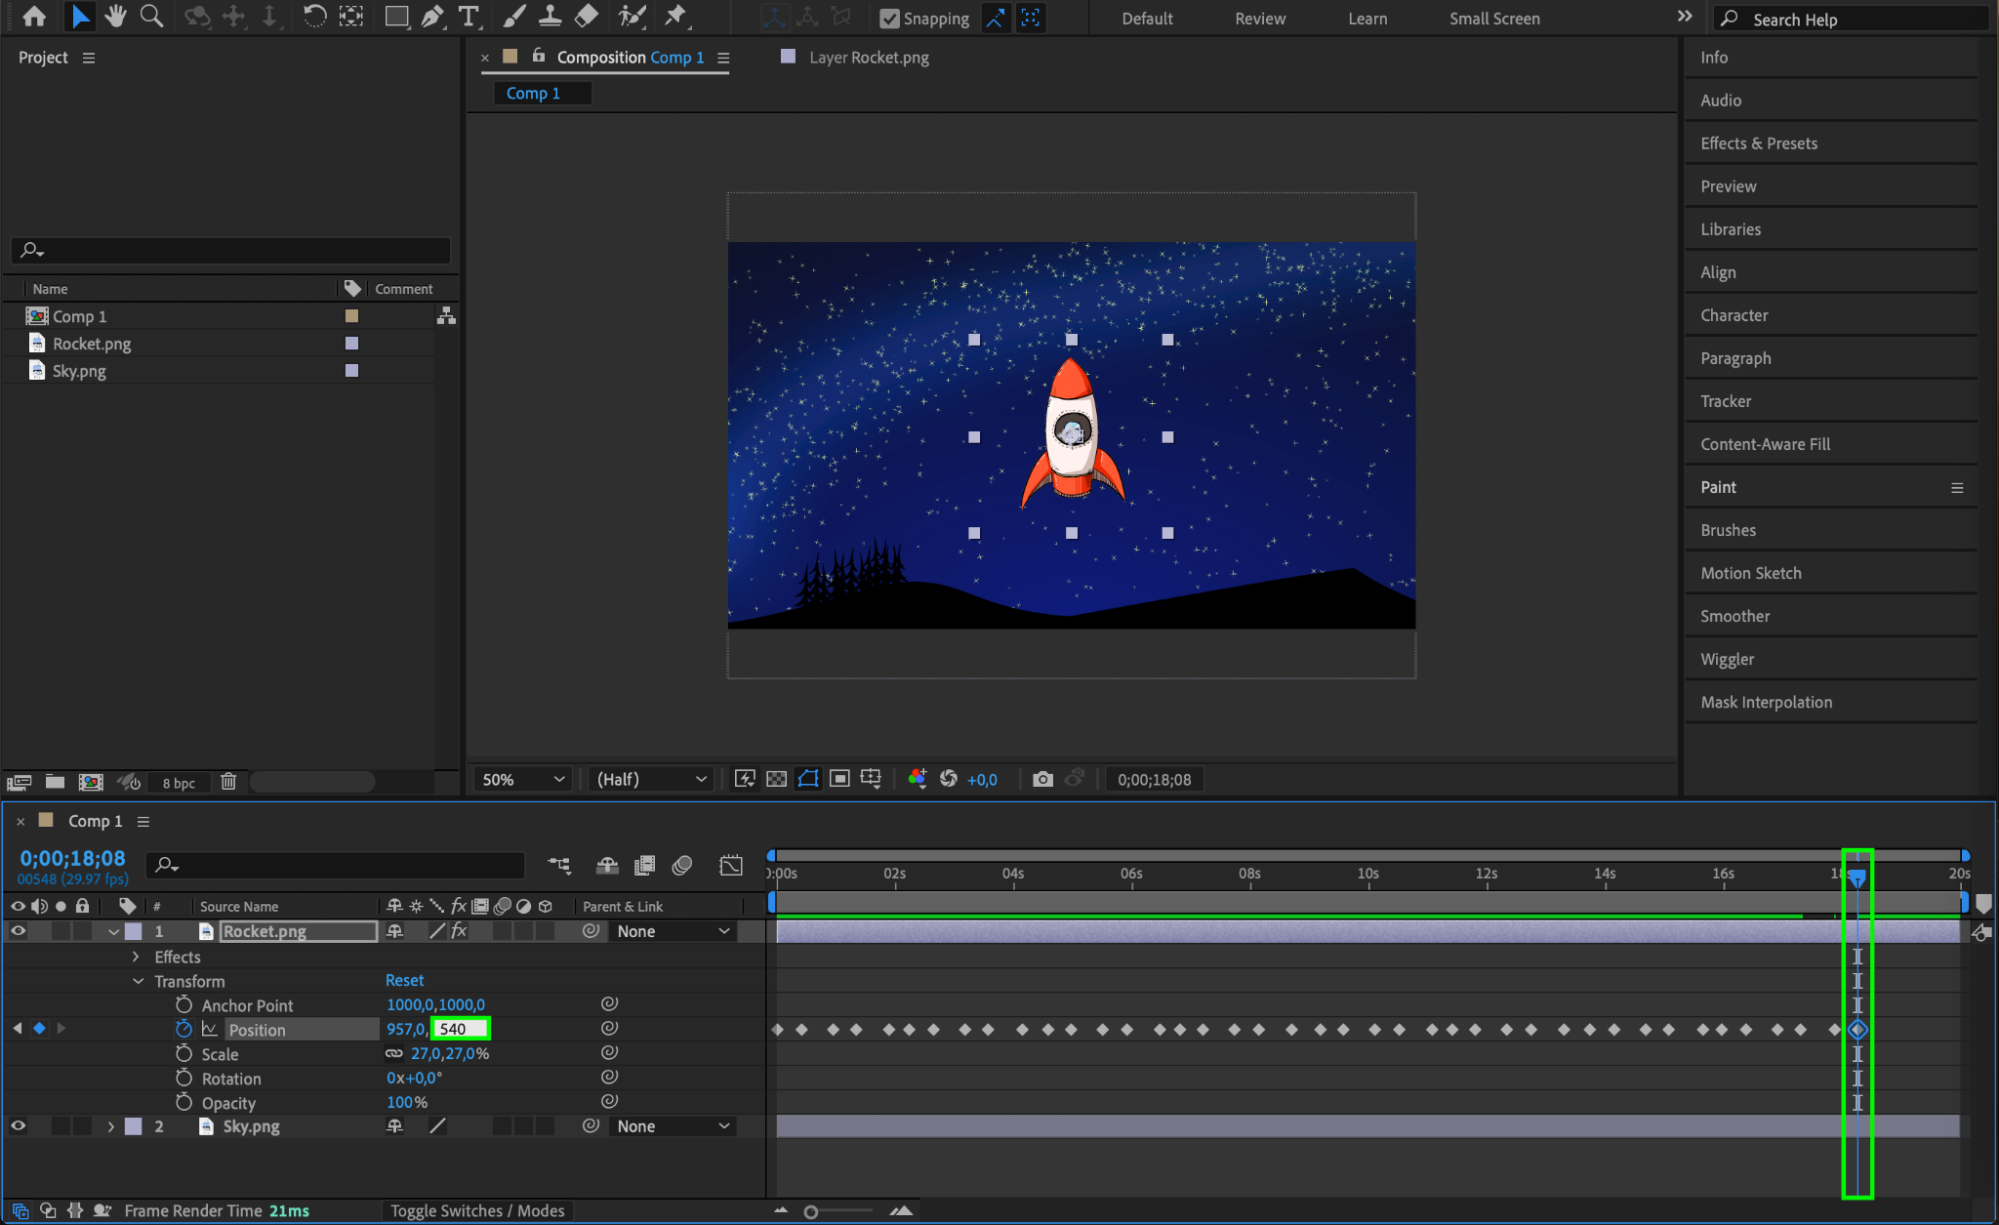 Step 6: Apply Easing for Smooth Motion
To make the floating motion look natural, apply easing to your keyframes. Experiment with different easing options available in the Graph Editor for precise control over the motion dynamics.
 Step 7: Enhance with Secondary Movements and Effects
Get 10% off when you subscribe to our newsletter

Consider adding secondary movements like rotation or subtle scaling to enhance the floating effect. You can adjust keyframes manually or use presets from the Effects & Presets panel to streamline your workflow.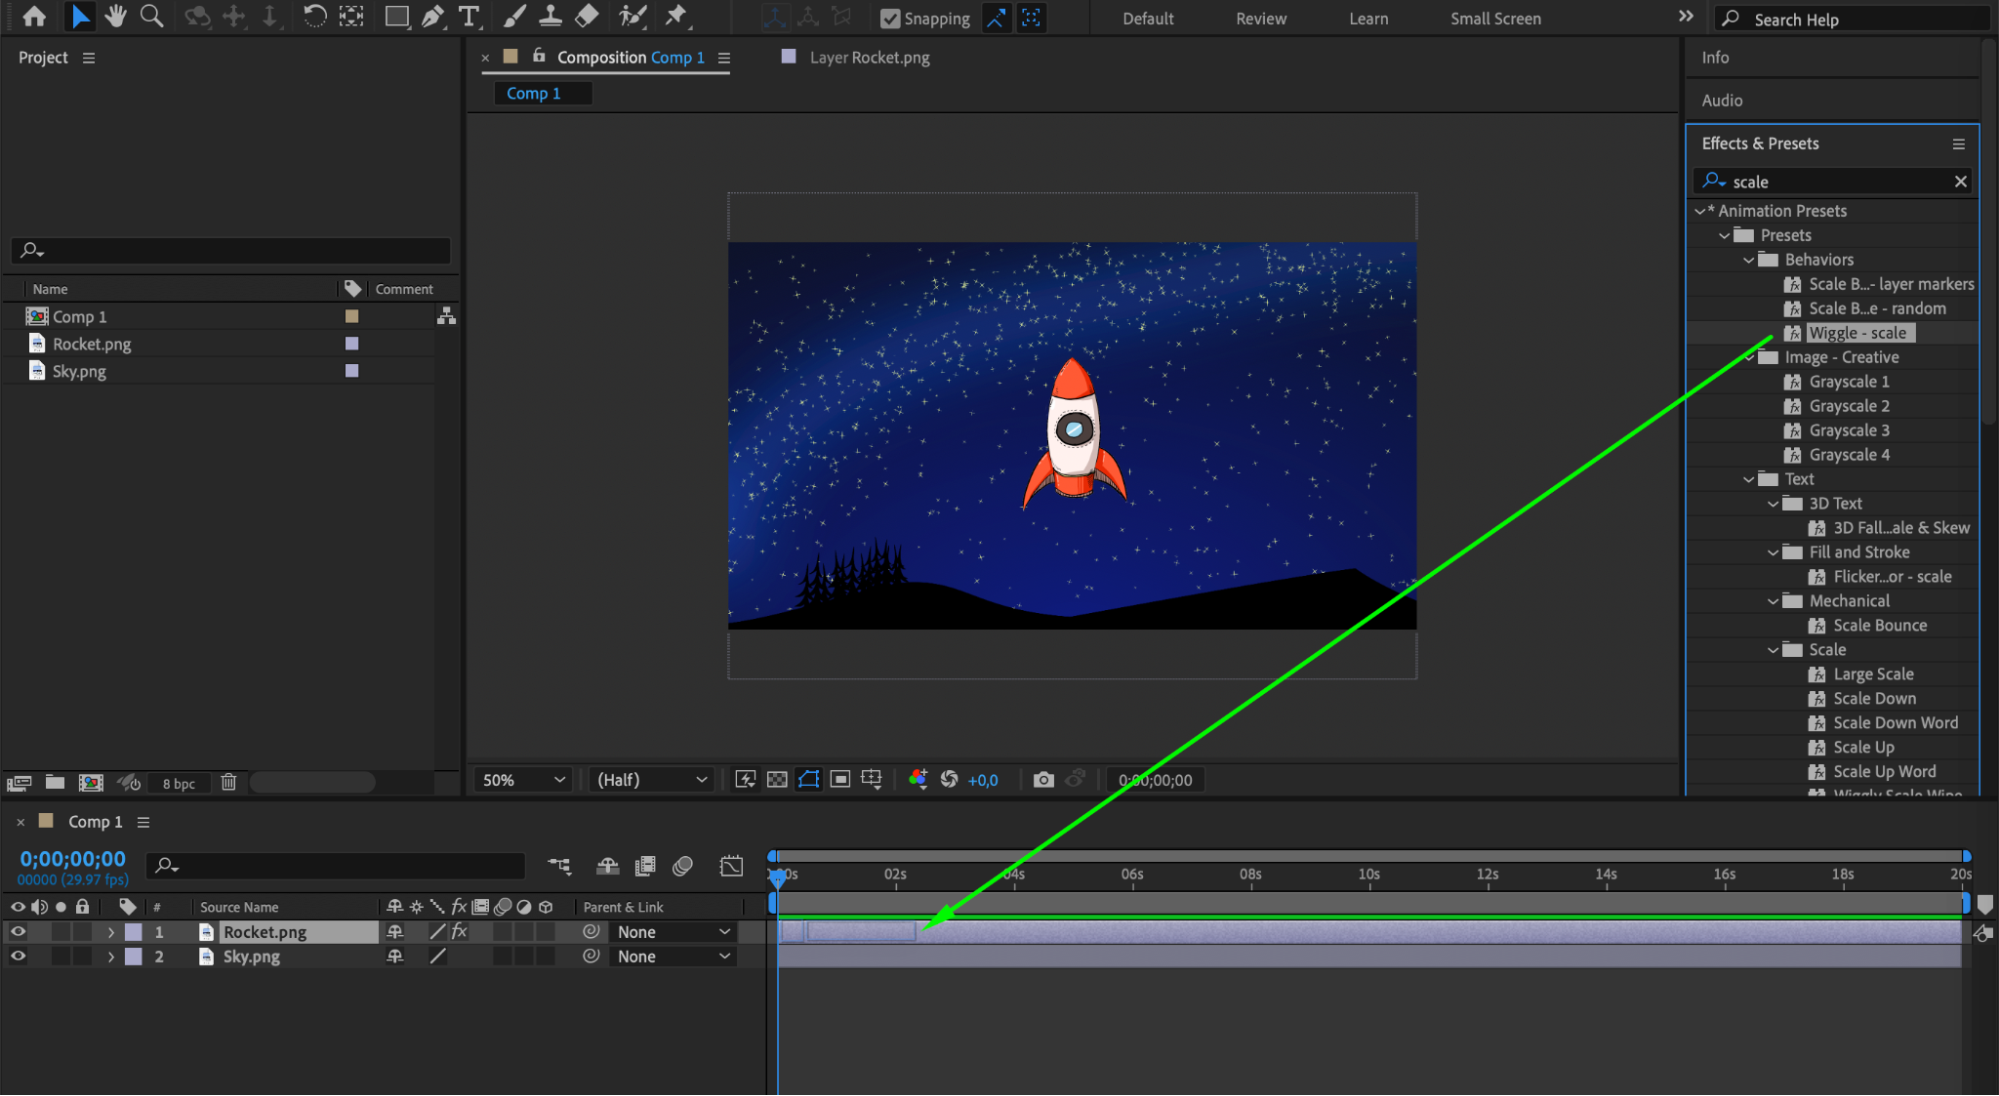
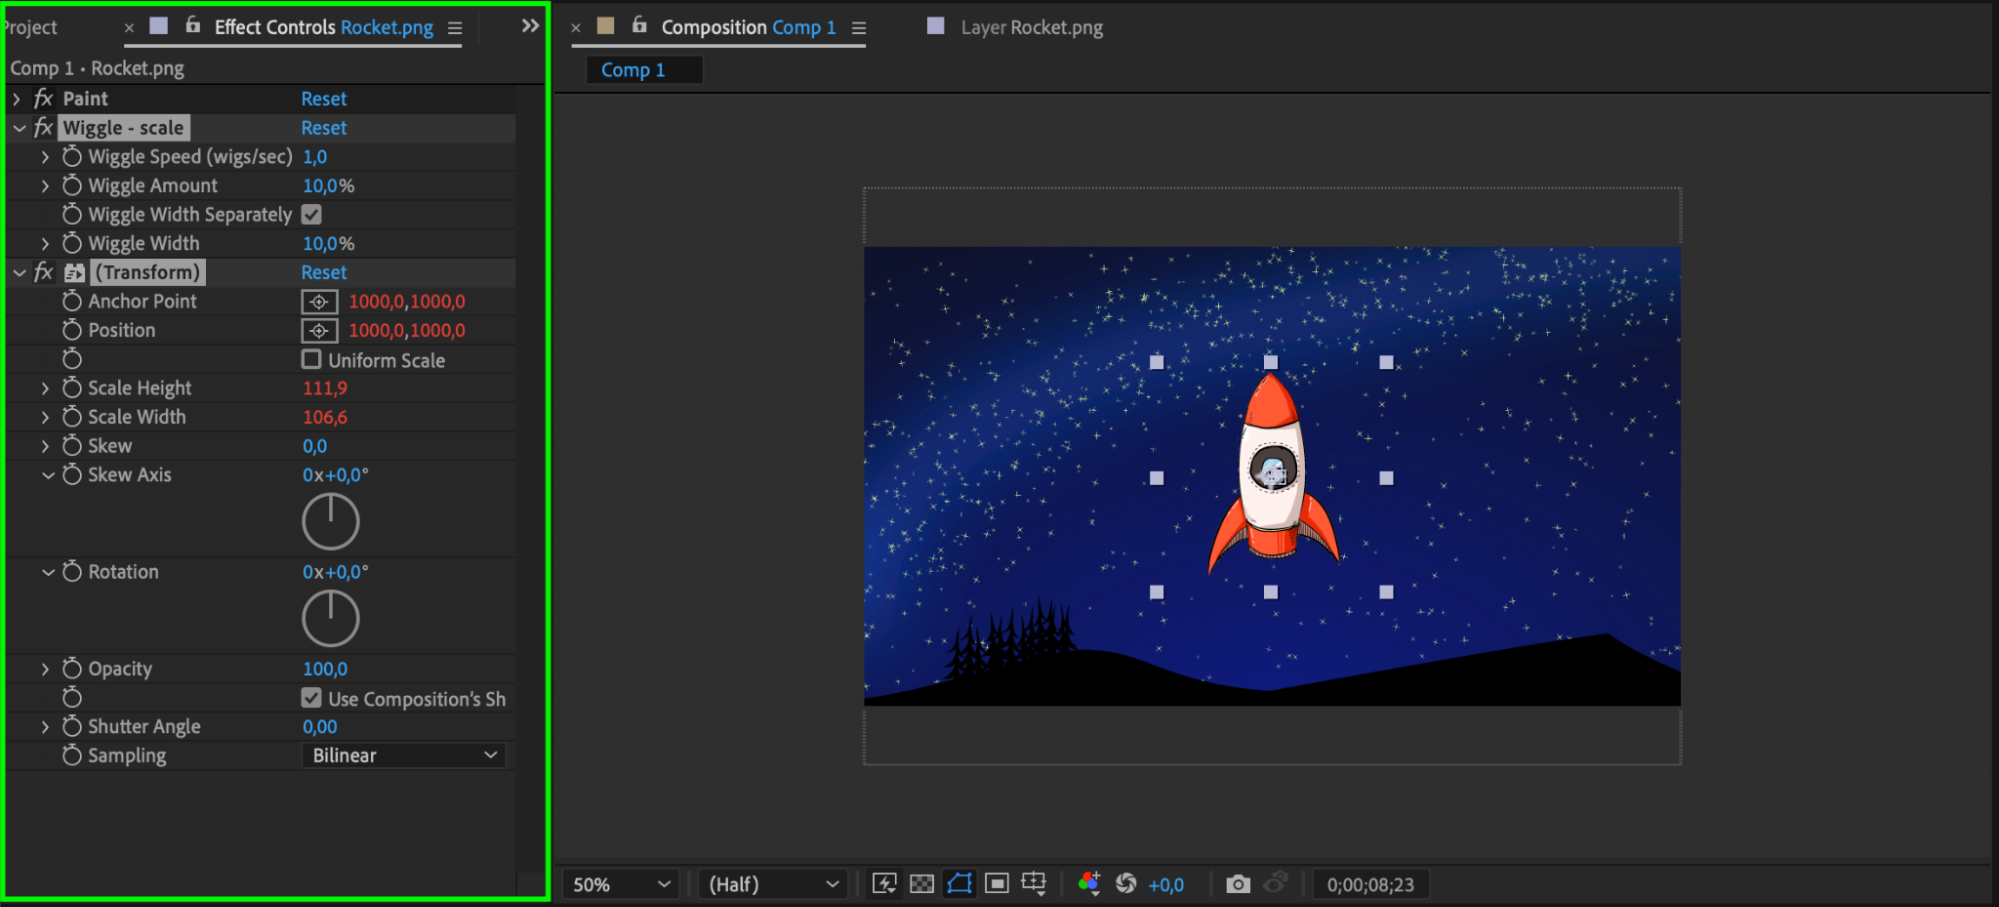 Step 8: Add Shadows or Lighting Effects
Get 10% off when you subscribe to our newsletter

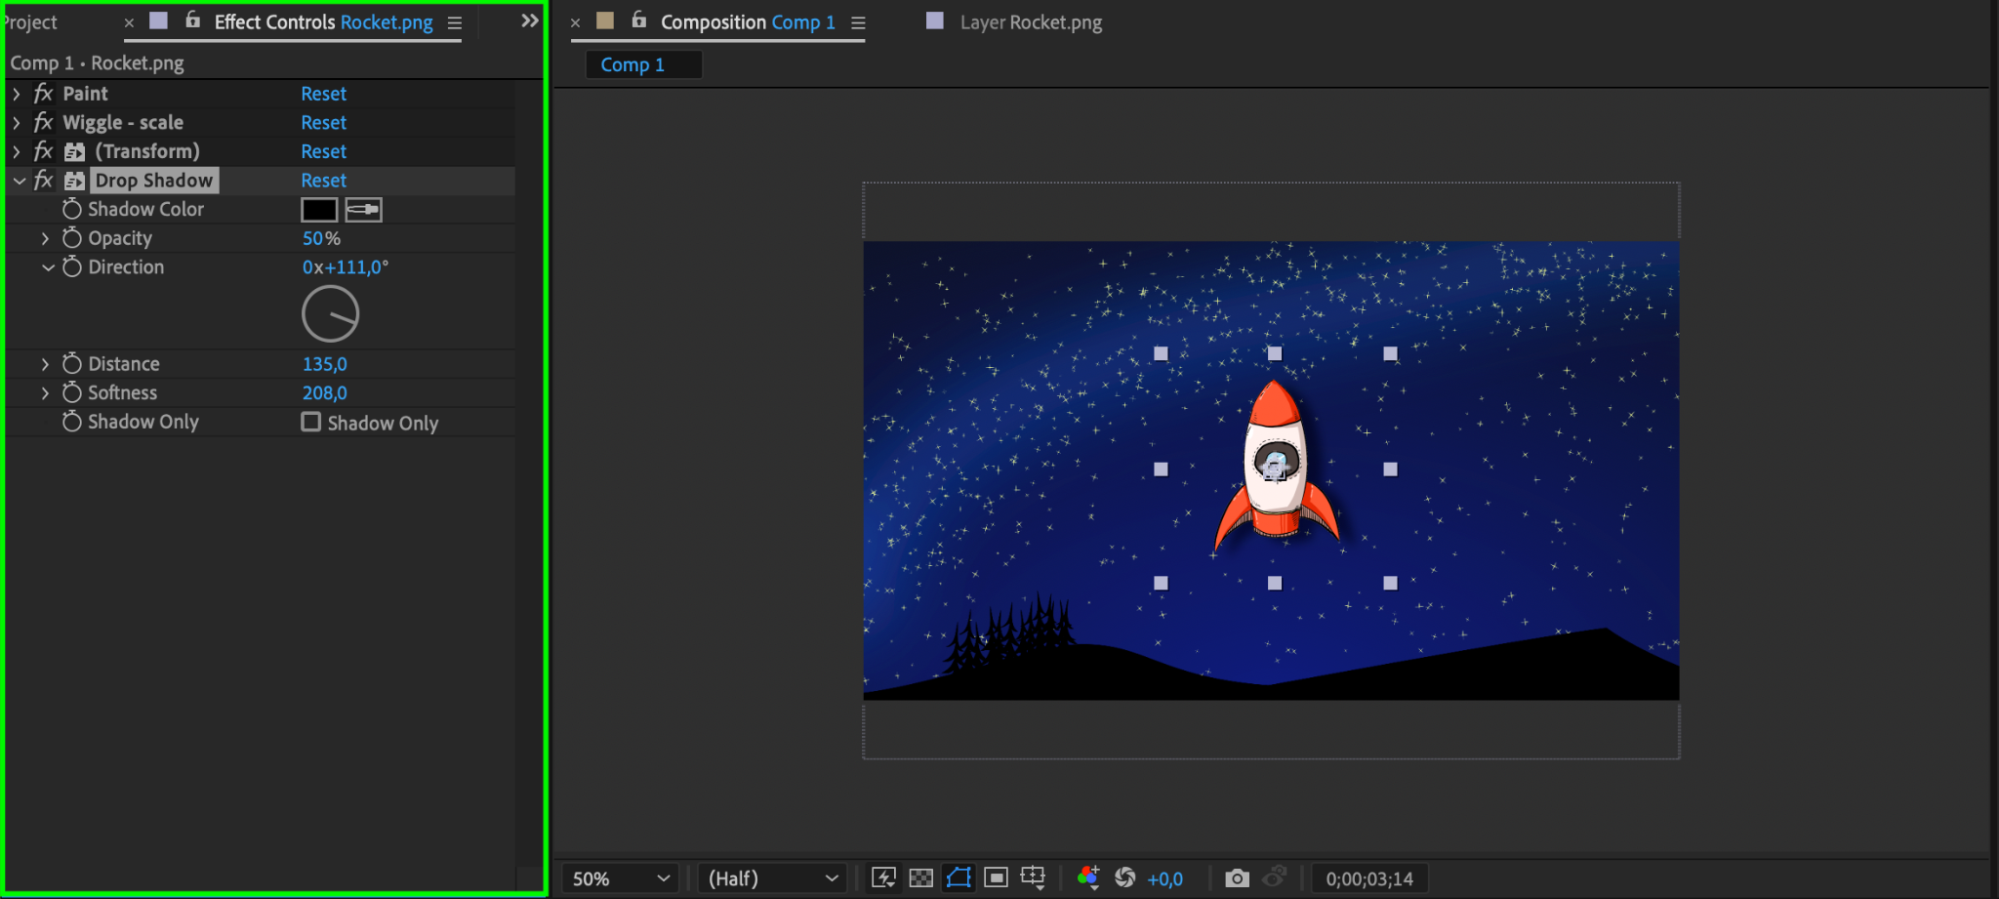
For added depth and realism, incorporate shadows using the Drop Shadow effect or add light and shadows with Layer > New > Light. This step can significantly enhance the visual impact of your floating objects.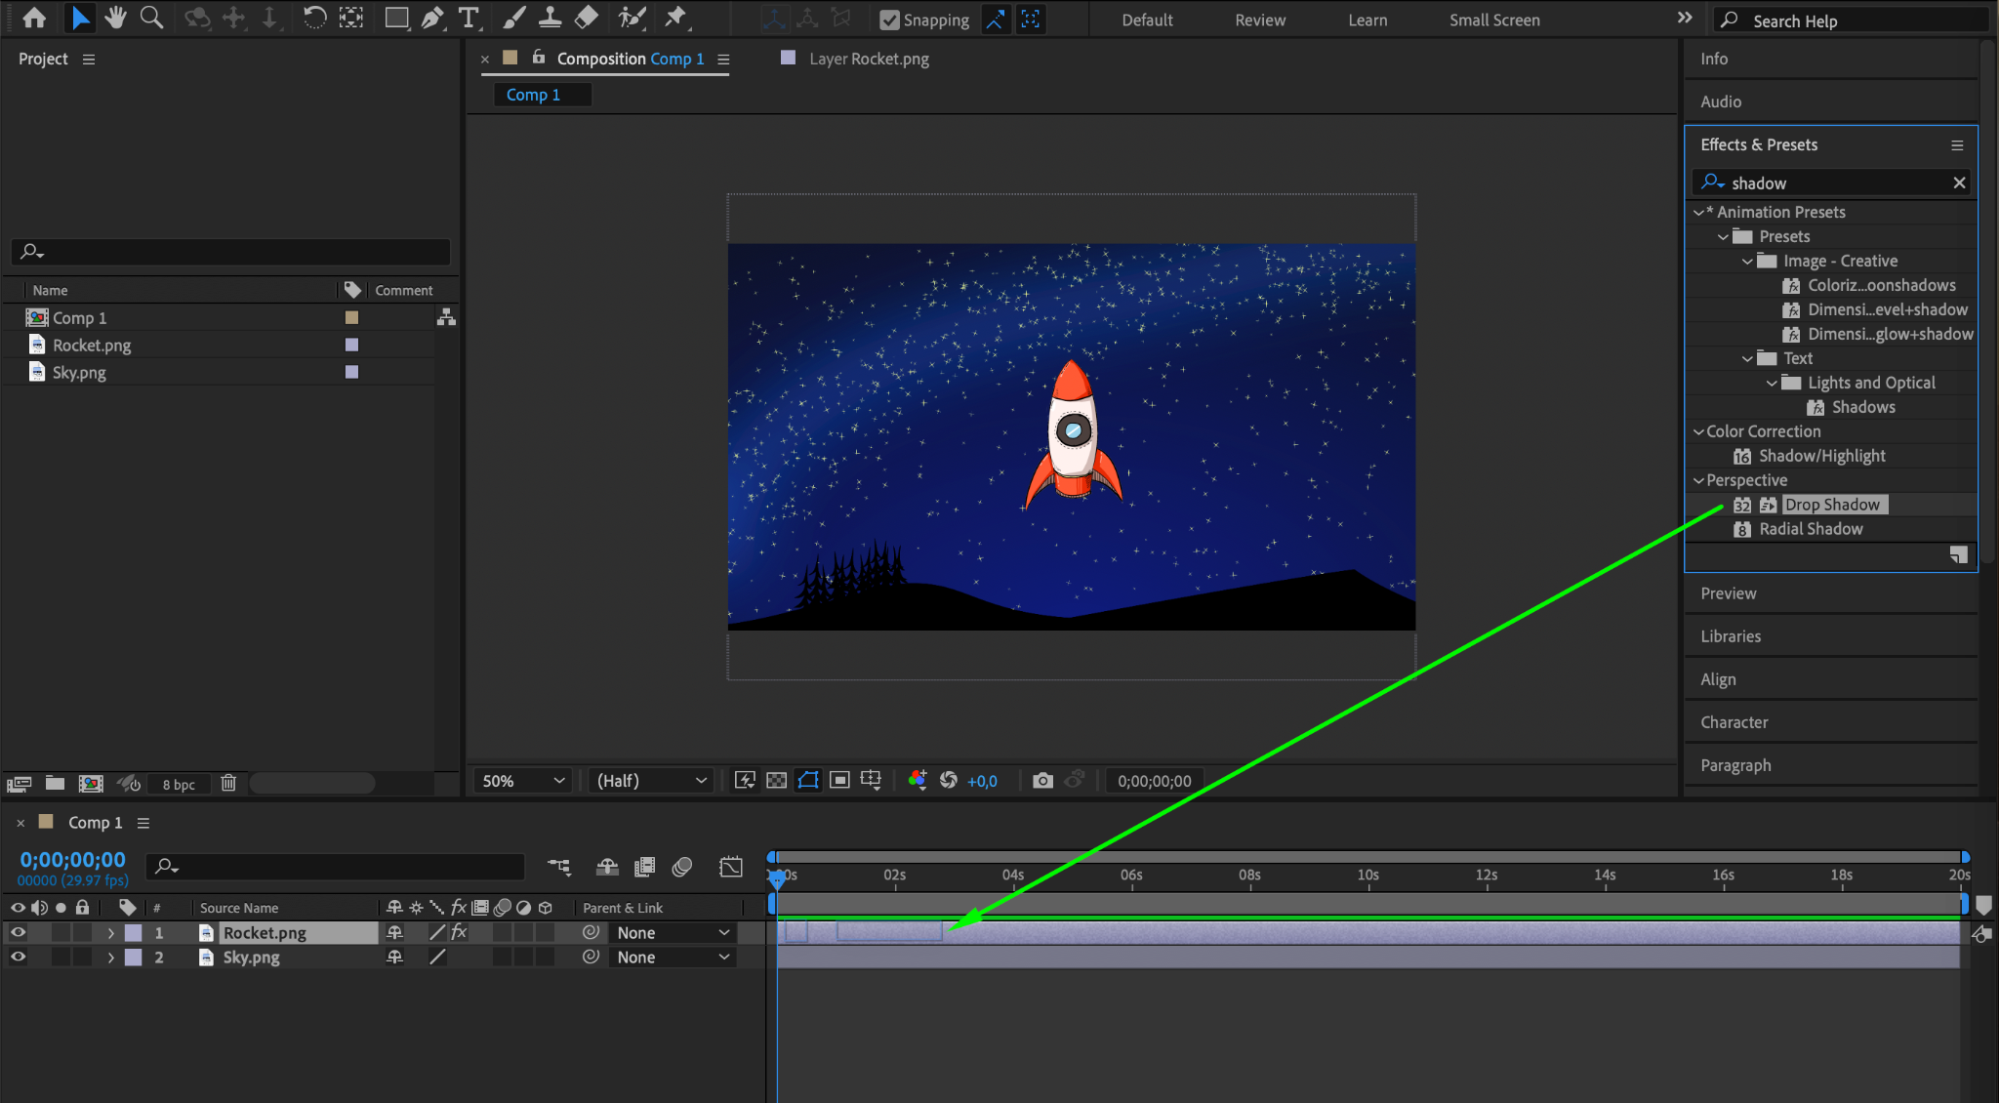
 Step 9: Preview and Make Adjustments
Preview your composition to see how your floating object interacts with the background and other elements. Make any necessary adjustments to timing, positioning, or effects to achieve the desired visual result.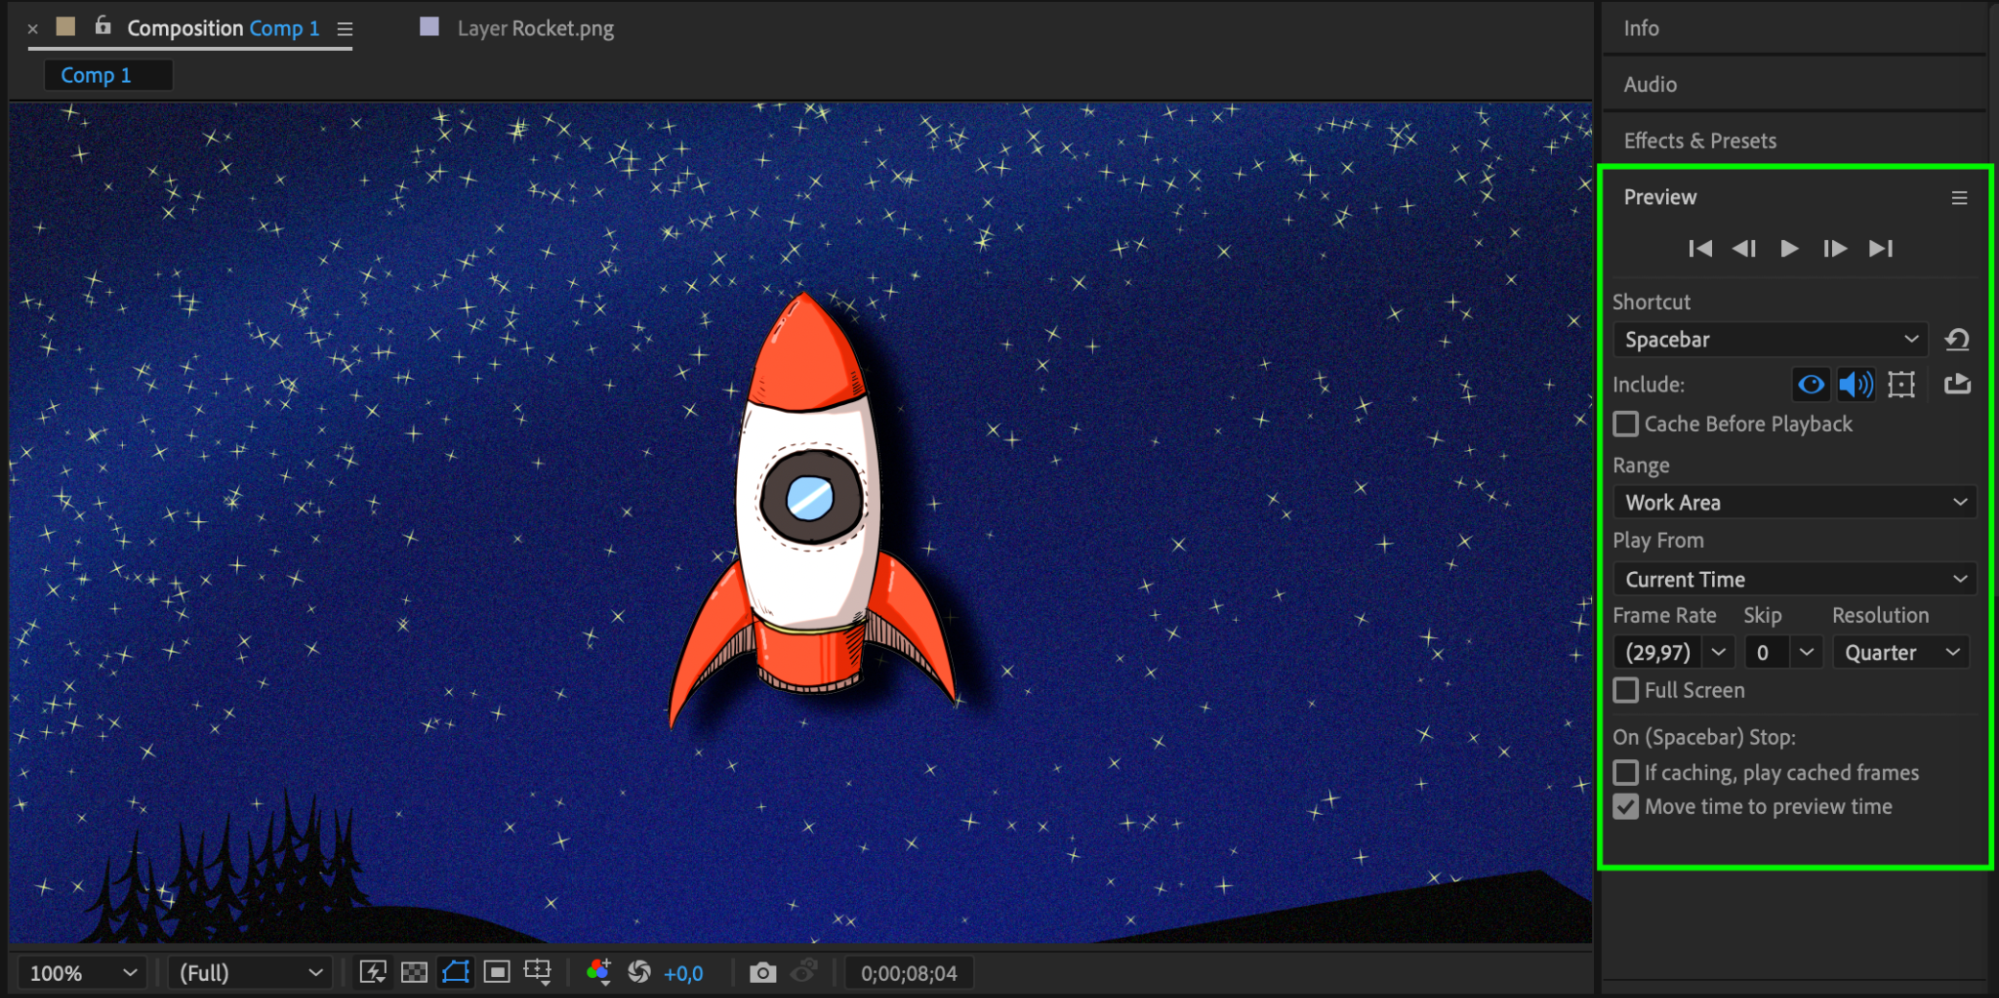 Step 10: Export Your Composition
Once satisfied with your composition, add it to the render queue by navigating to Composition > Add to Render Queue. Configure the render settings and export your video with the floating object animation intact.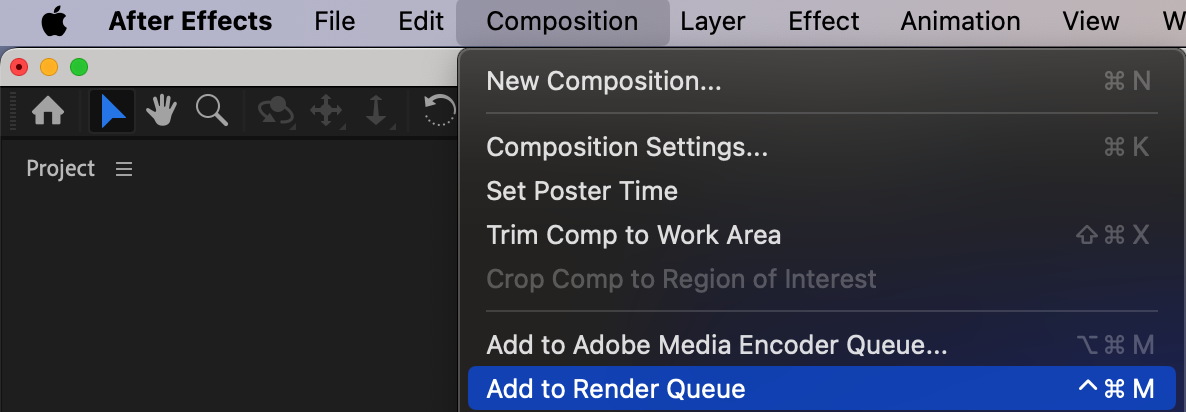
 Conclusion
By following these steps, you can bring your imagination to life and create stunning floating objects in After Effects. Experiment with different objects, motions, and effects to discover endless creative possibilities.


