Mastering Gold Text Effects in After Effects
Introduction – Shining Gold Text Effects
Are you ready to make your text shine like gold in After Effects? In this detailed tutorial, I will guide you through the process of creating stunning gold text using Adobe After Effects. Follow these step-by-step instructions to add a touch of luxury and sophistication to your videos.
Get 10% off when you subscribe to our newsletter

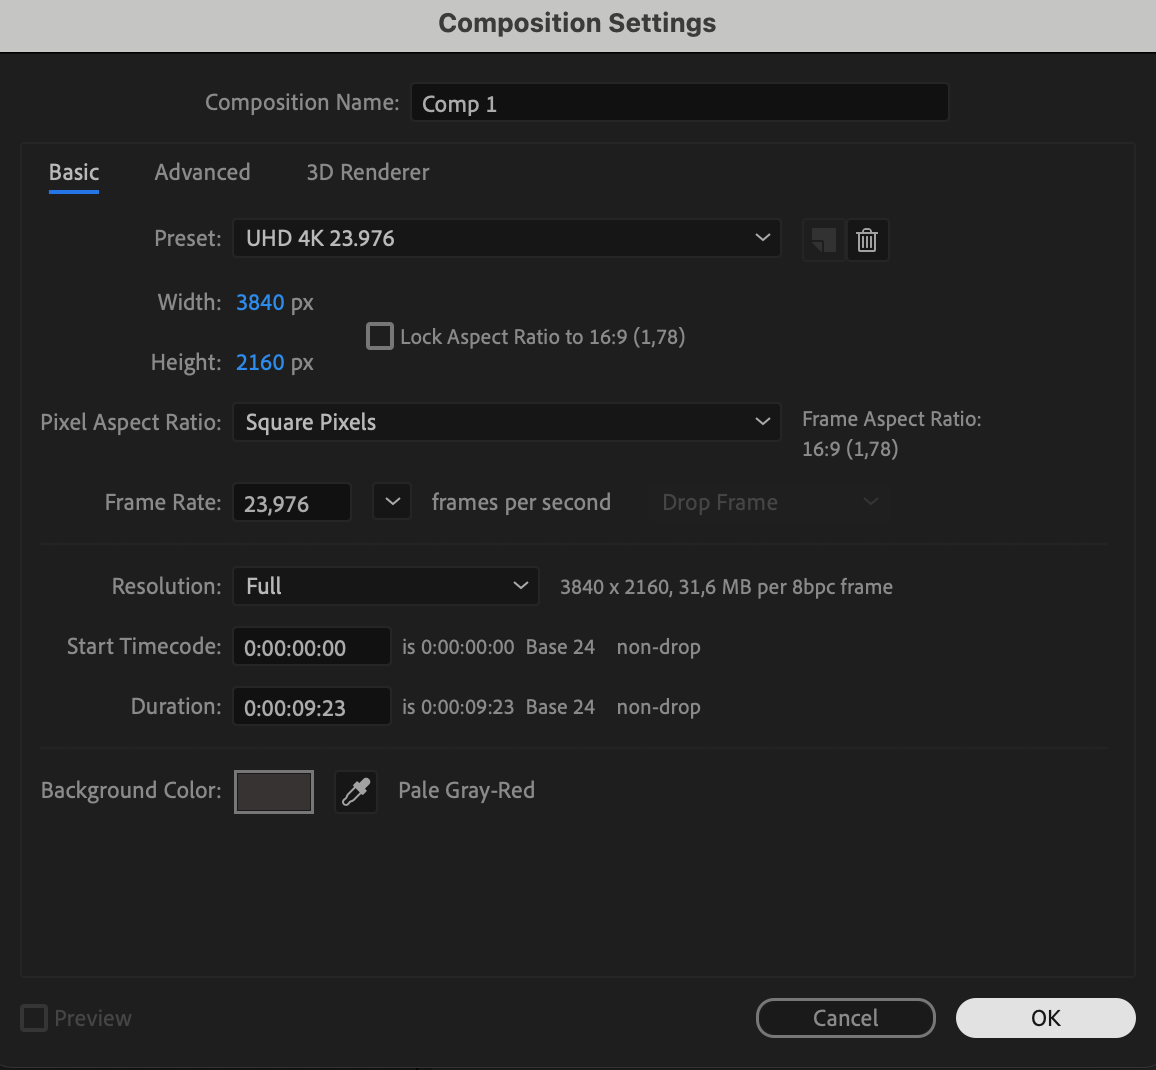
Step 1: Create a New Composition
To begin, create a new composition in After Effects by going to the “Composition” menu and selecting “New Composition”. Set the dimensions and duration for your composition and click “OK”.

 Step 2: Create a Text Layer
Next, use the “Type Tool” to create a text layer by typing in your desired text. Customize the font, size, and other text properties as per your preference.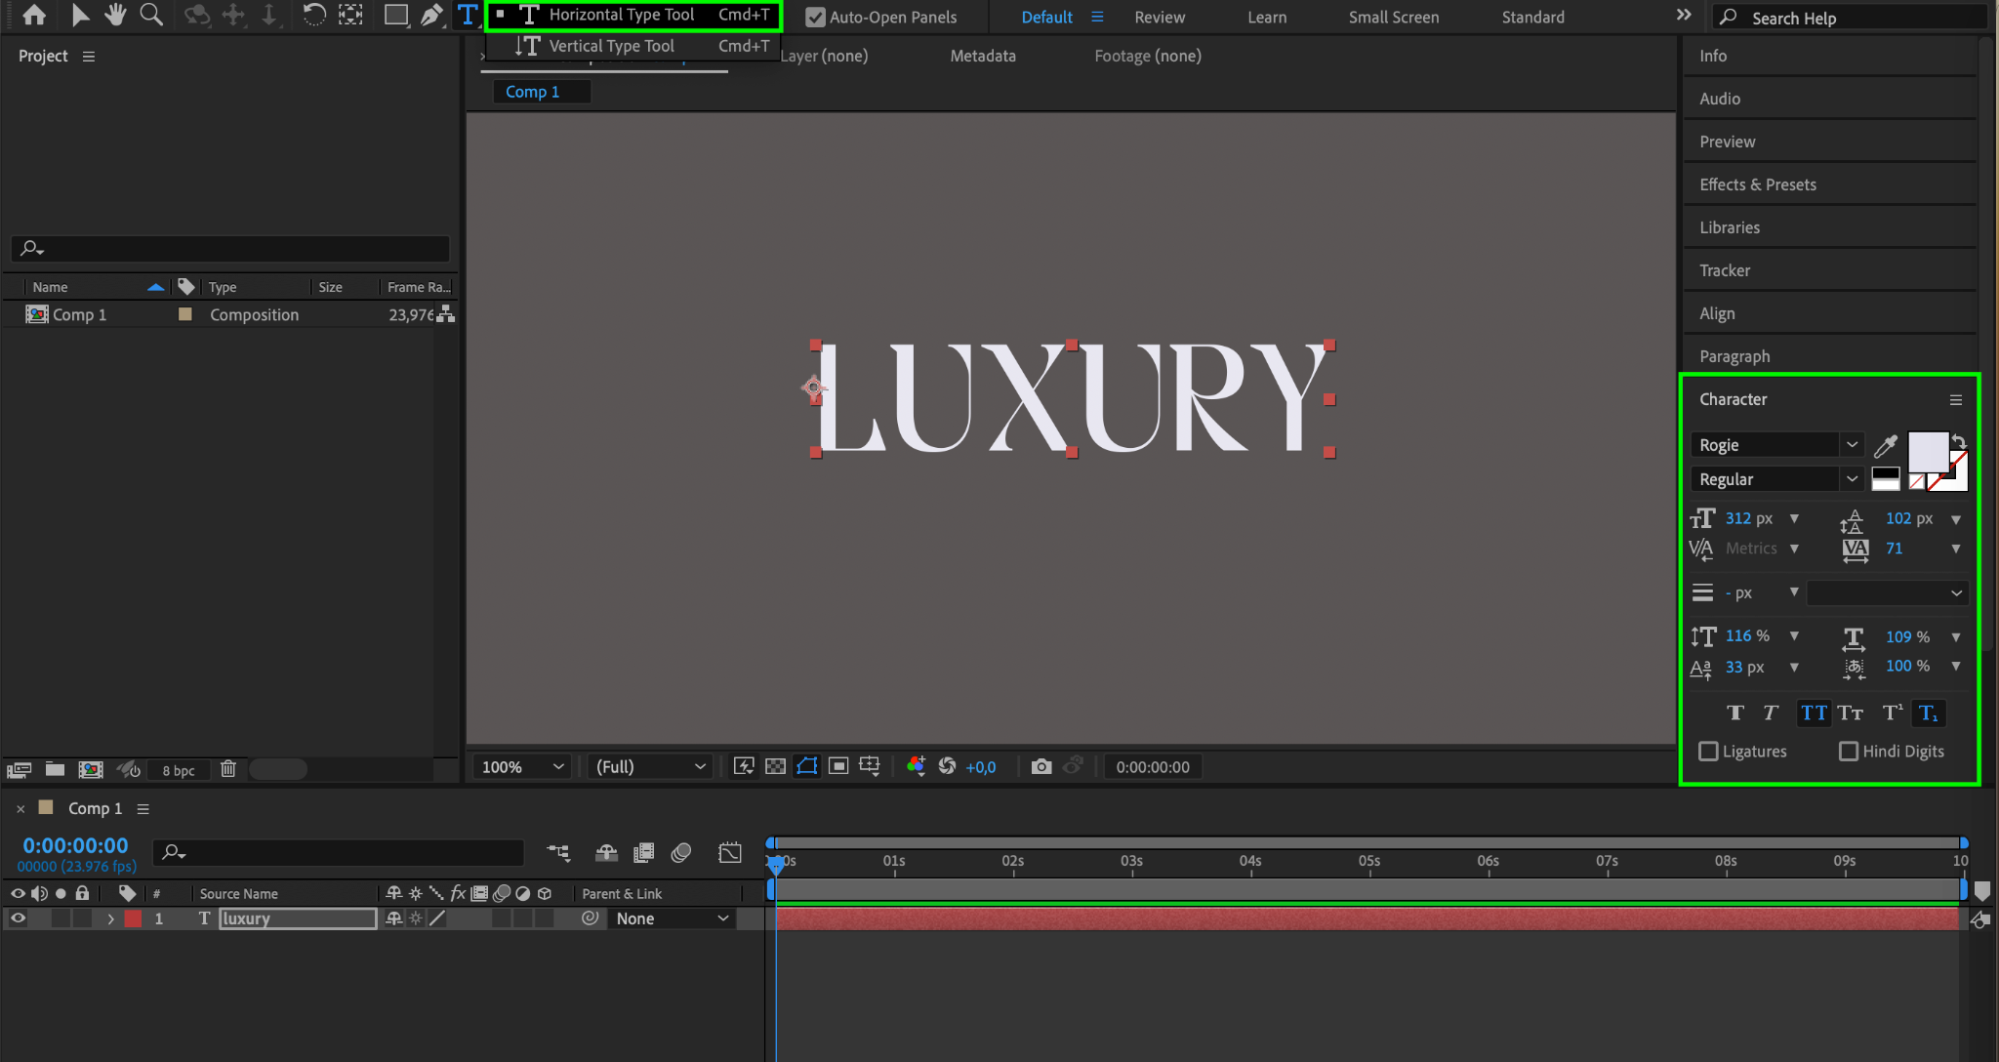 Step 3: Apply a Gold Color
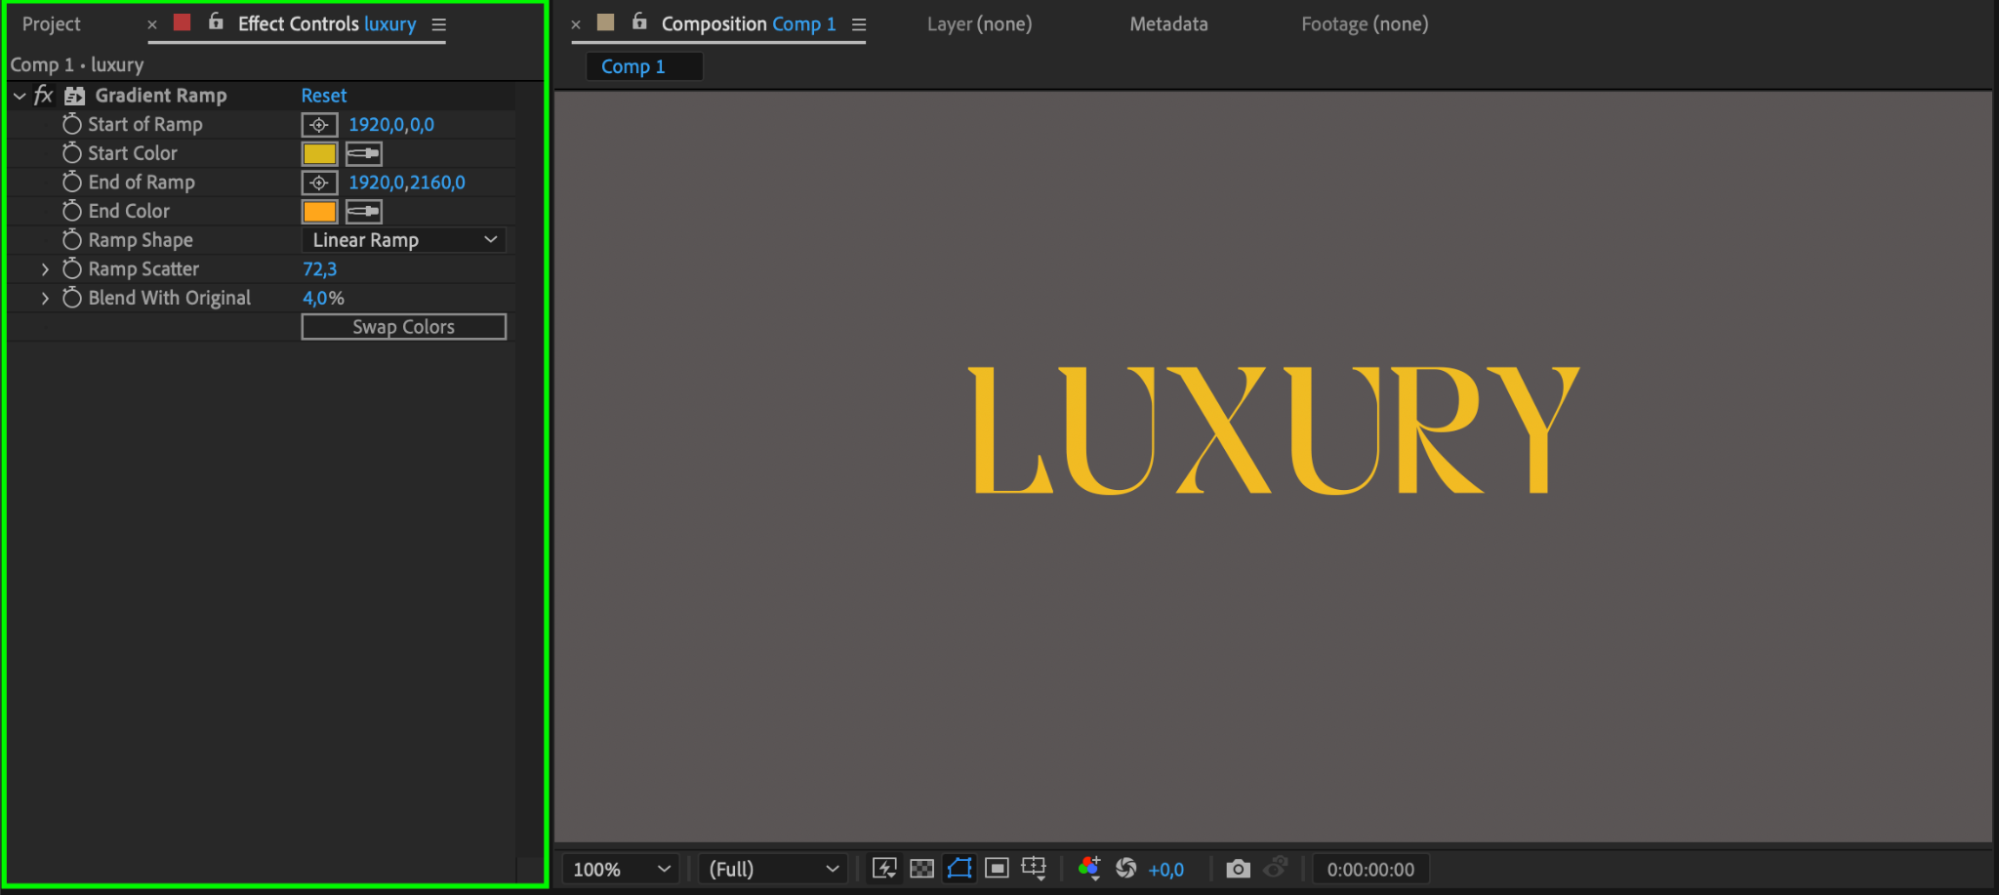
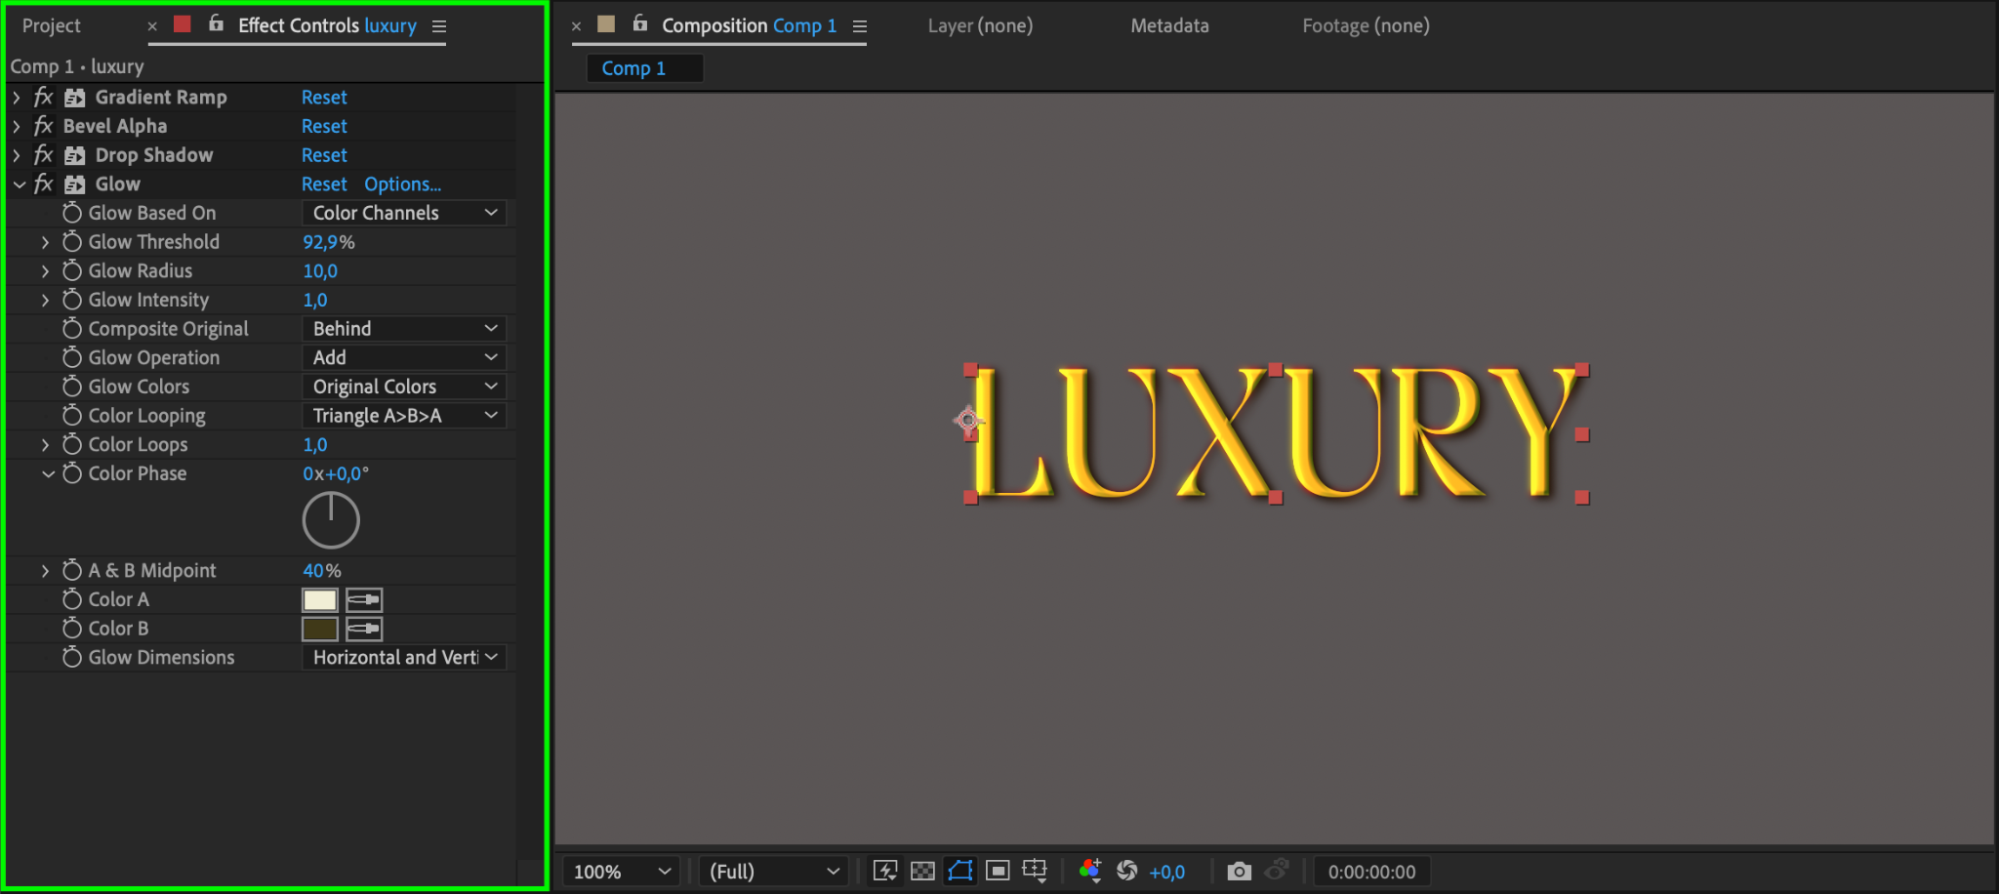
With the text layer selected, go to the Character panel and click on the color box in the top right corner. Choose a warm golden color from the color picker or input the hexadecimal code (#D8B604) for gold.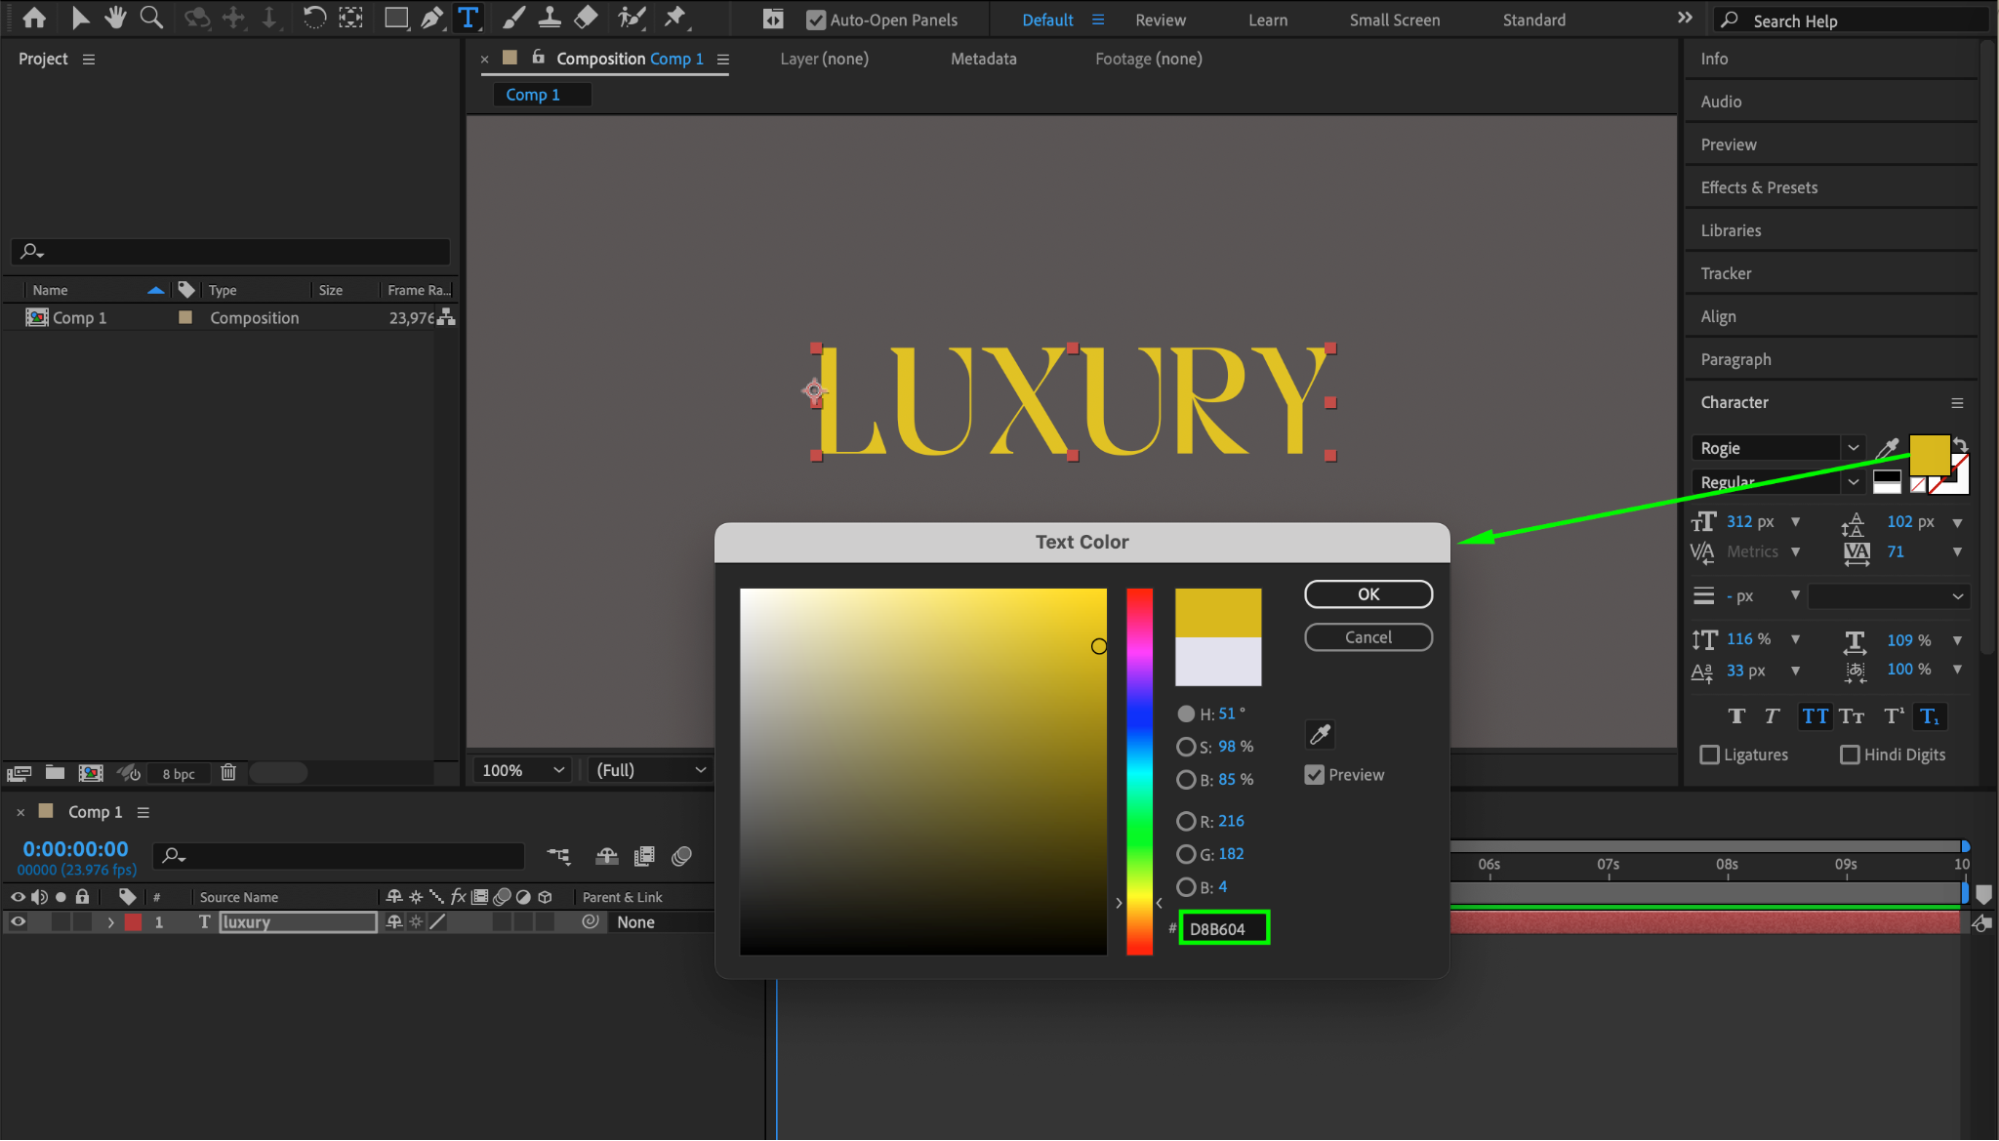 Step 4: Add a Gradient
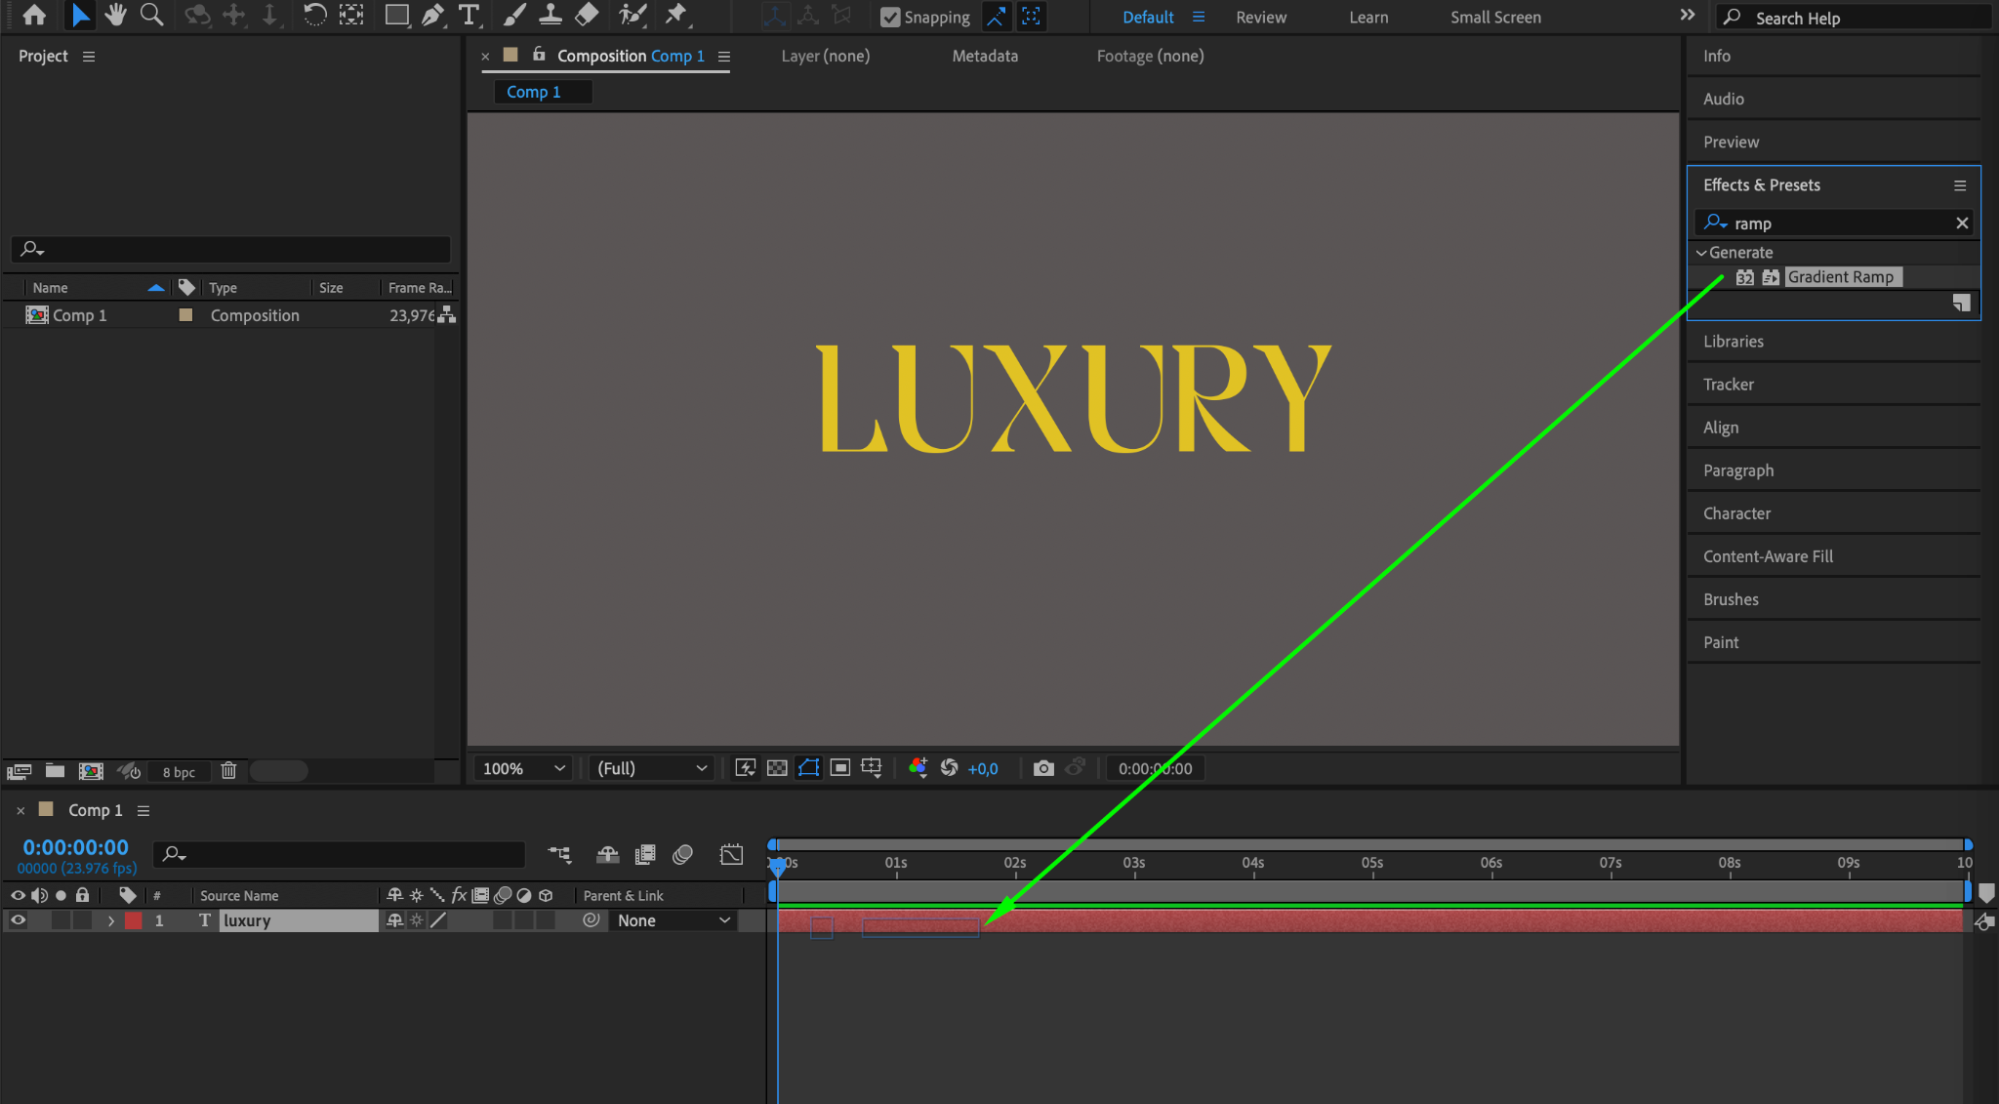
To add depth and dimension to your gold text, go to the “Effect” menu, navigate to “Generate”, and select “Gradient Ramp”. Adjust the start and end colors to create a gradient that resembles gold.
Step 5: Add a Beveled Edge
For a more realistic look, give your gold text a beveled edge. Go to the “Effect” menu, navigate to “Perspective”, and select “Bevel Alpha”. Fine-tune the edge thickness, angle, color, and intensity to achieve the desired effect.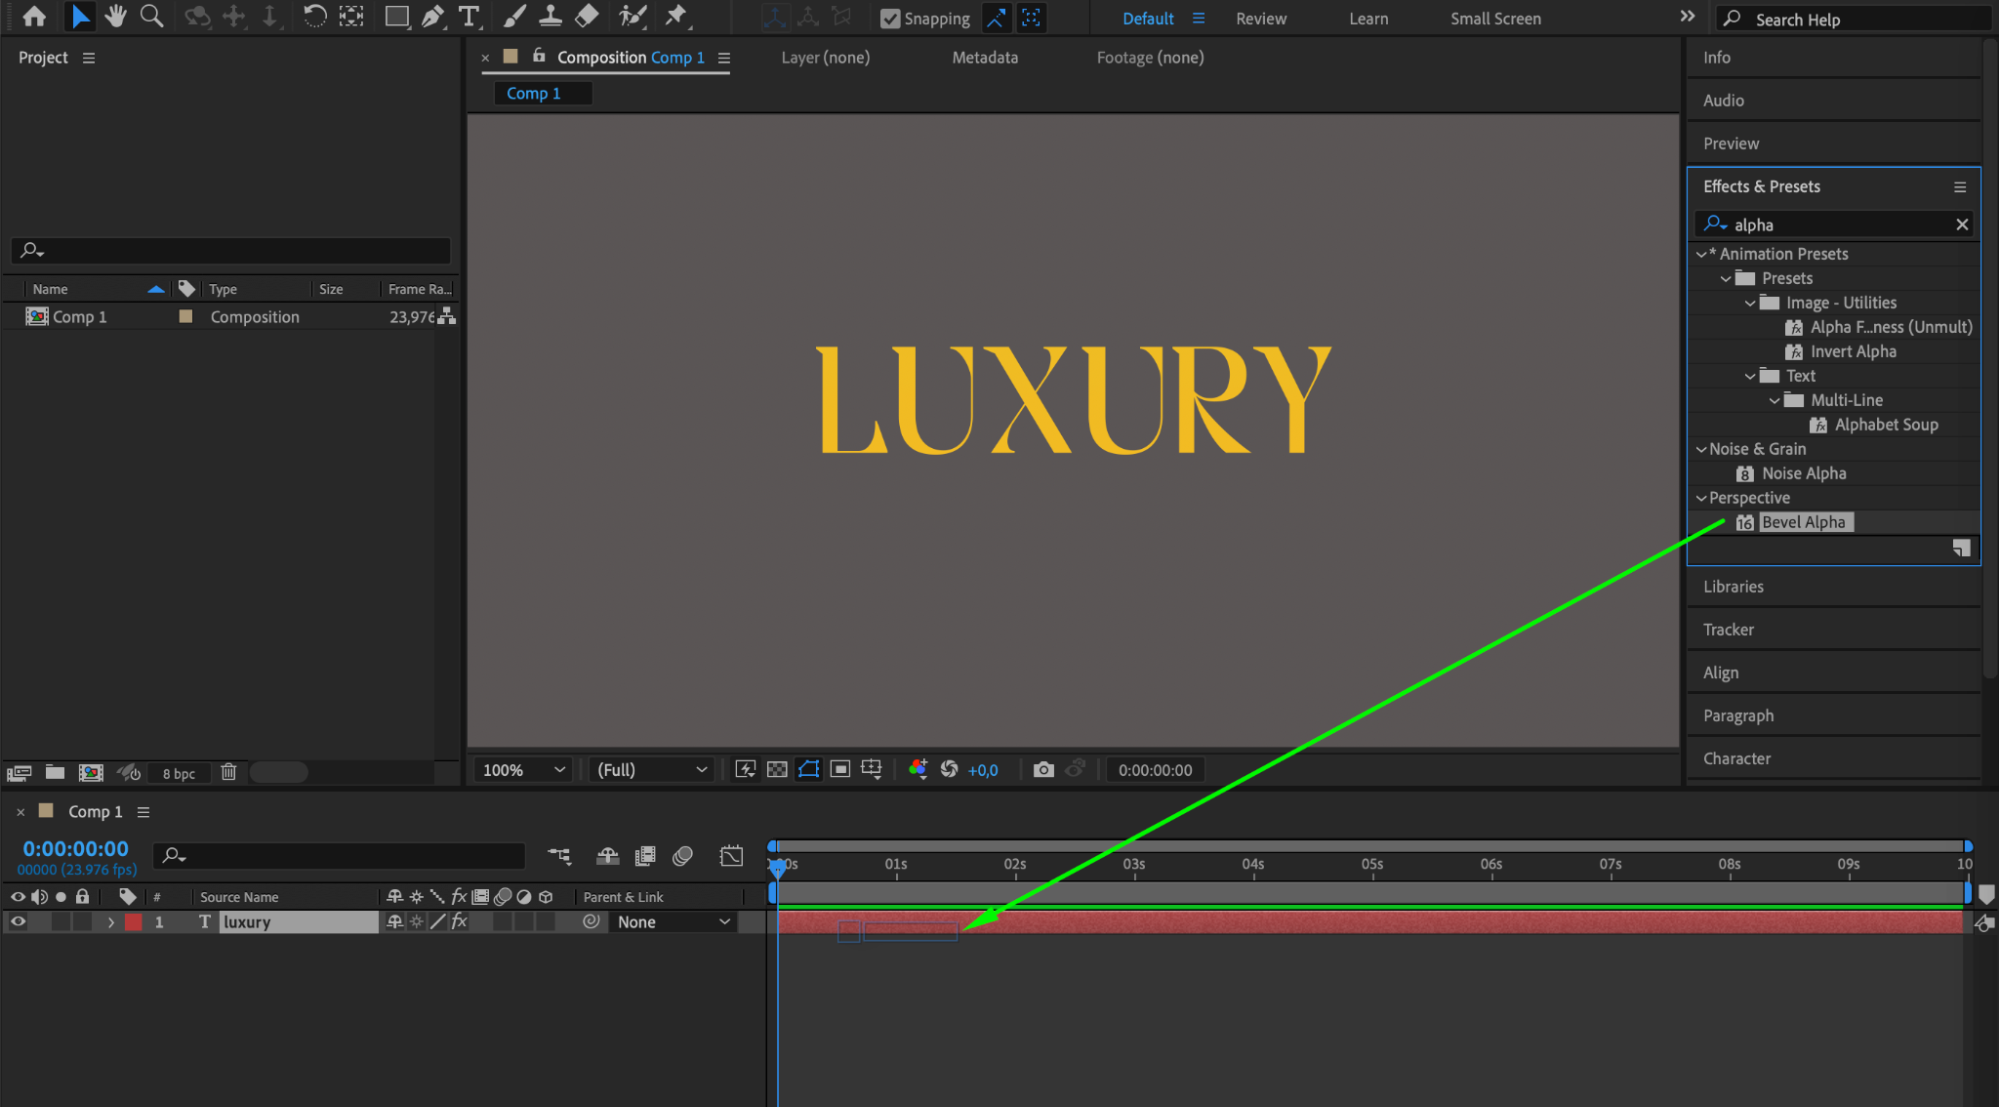
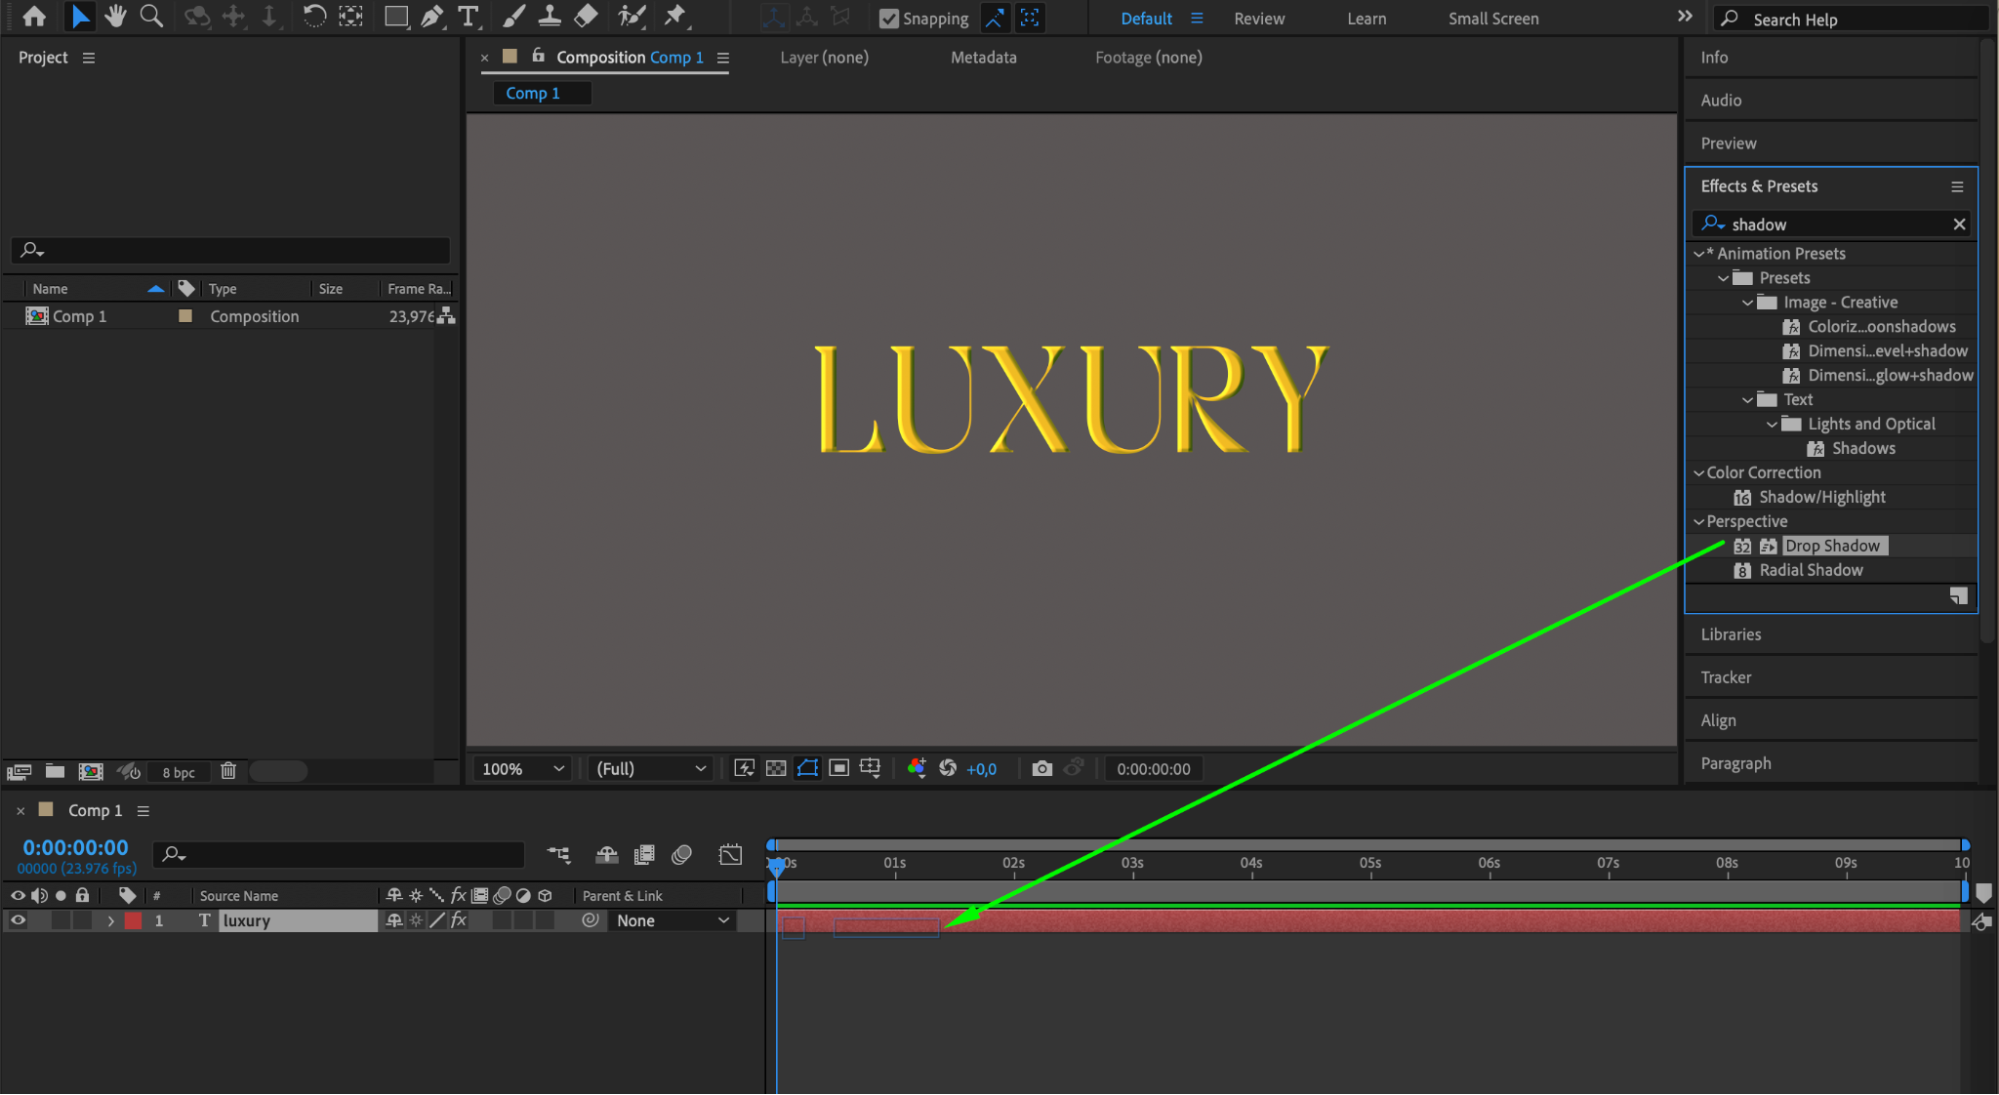
 Step 6: Add a Drop Shadow
Get 10% off when you subscribe to our newsletter
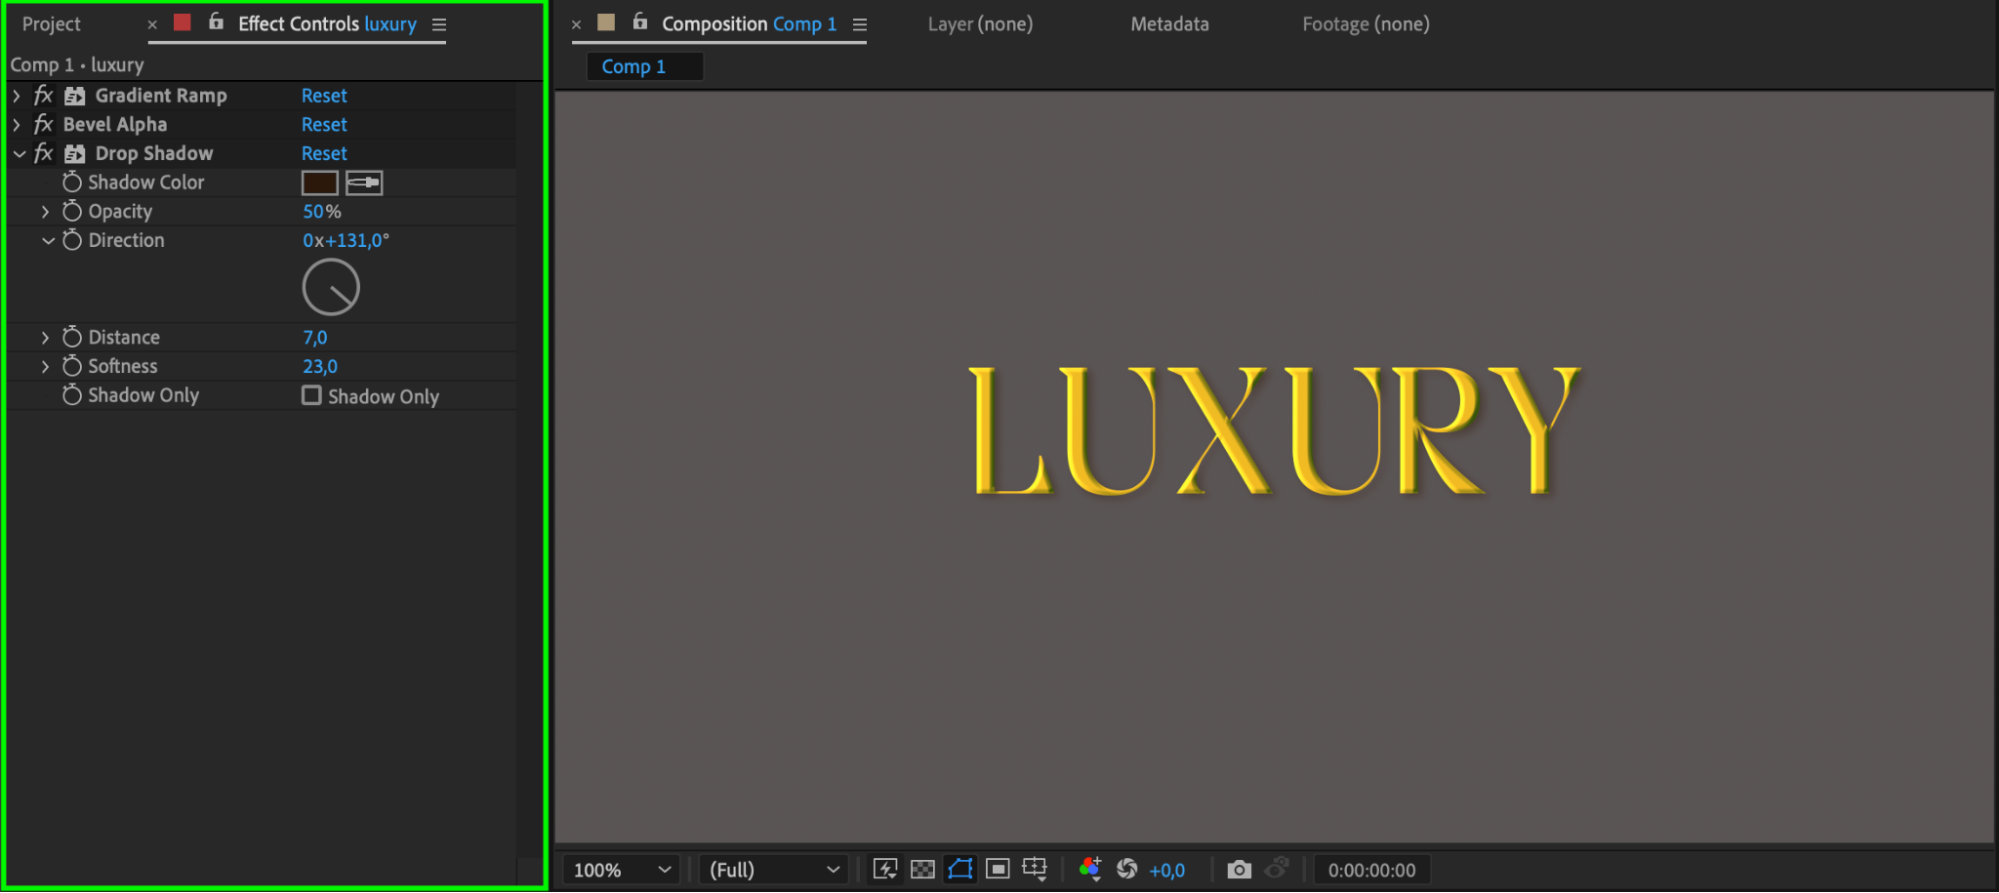
To make your gold text pop, add a drop shadow. With the text layer selected, go to the “Effect” menu, navigate to “Perspective”, and select “Drop Shadow”. Adjust the distance, opacity, and softness to create a subtle shadow effect.
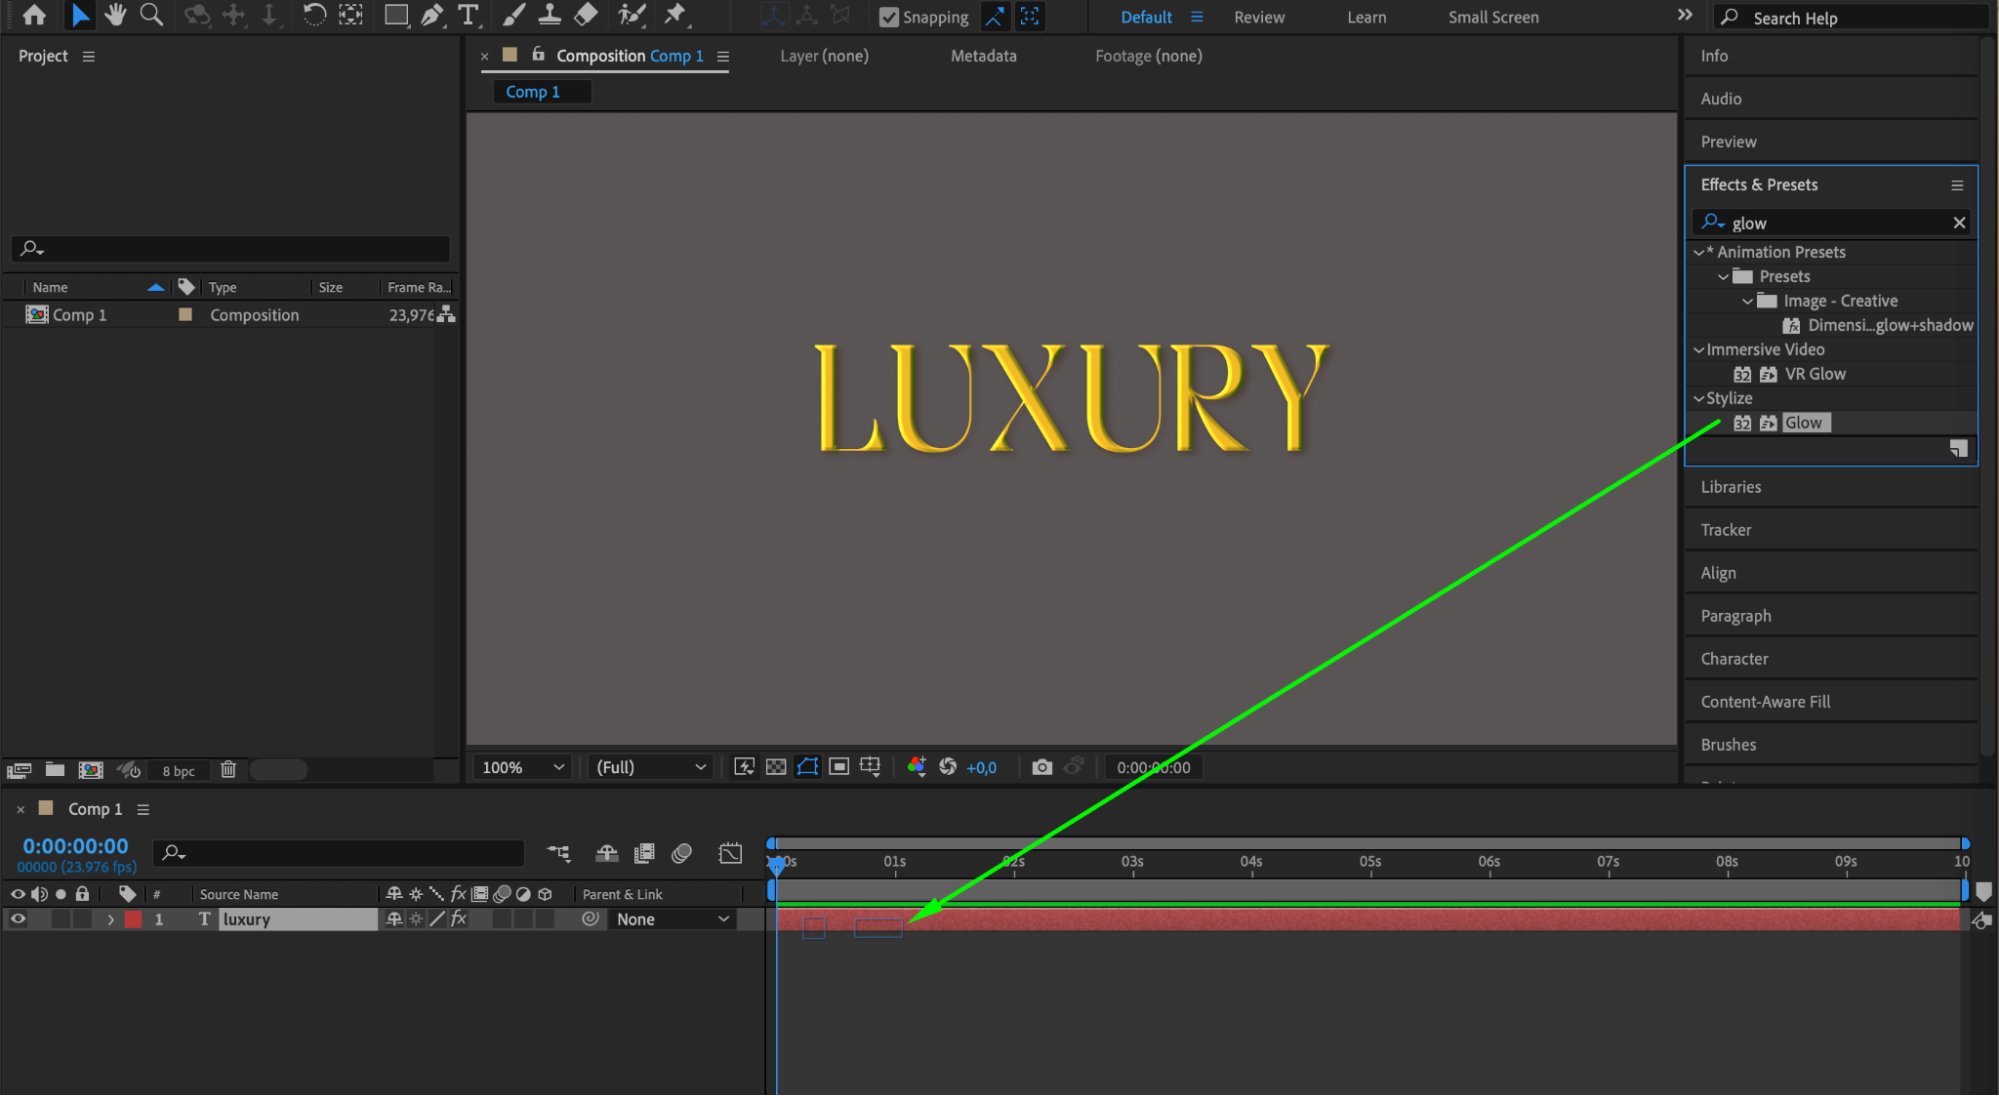
Step 7: Create Glowing Highlights
For an extra touch of brilliance, create glowing highlights on your gold text. Go to the “Effect” menu, navigate to “Stylize,” and select “Glow.” Adjust the glow settings to achieve a realistic glow effect.
Get 10% off when you subscribe to our newsletter
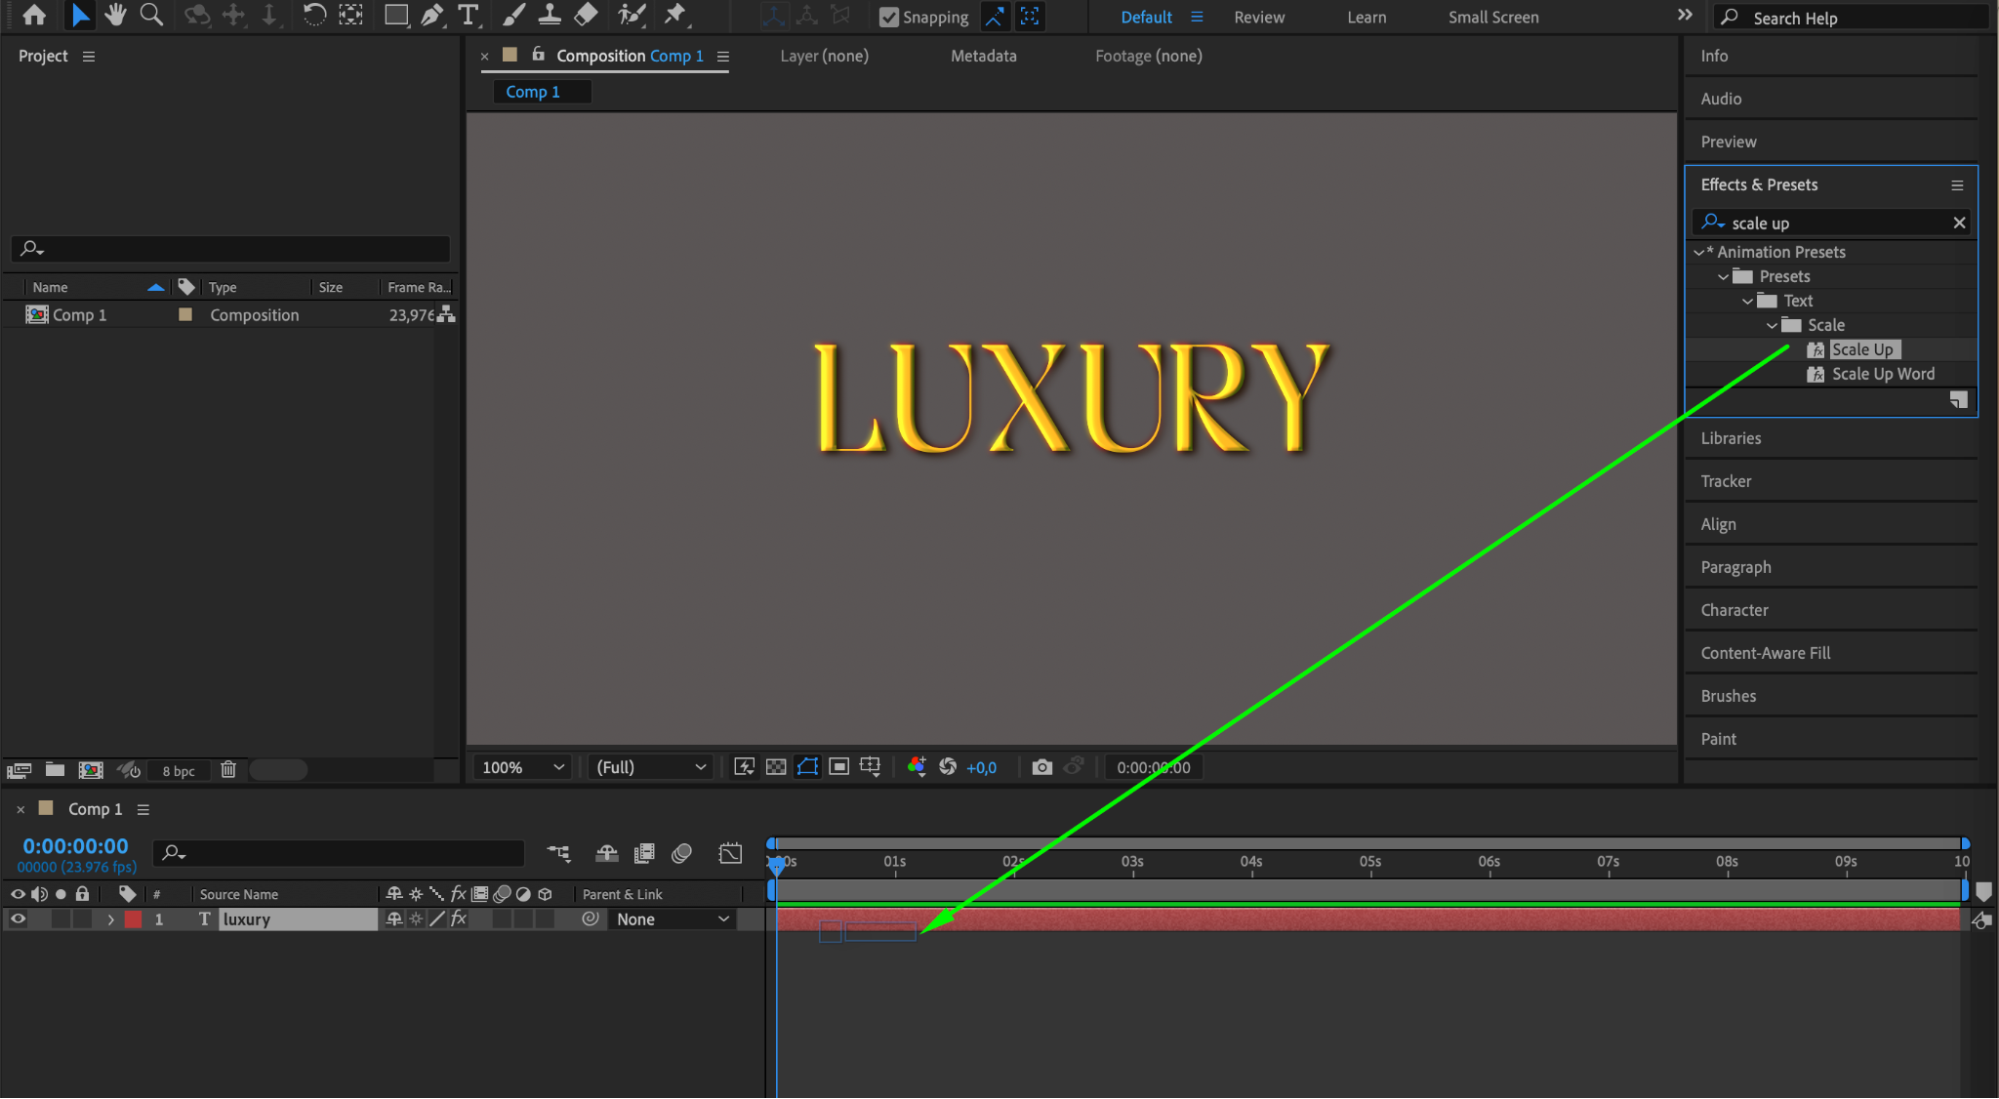
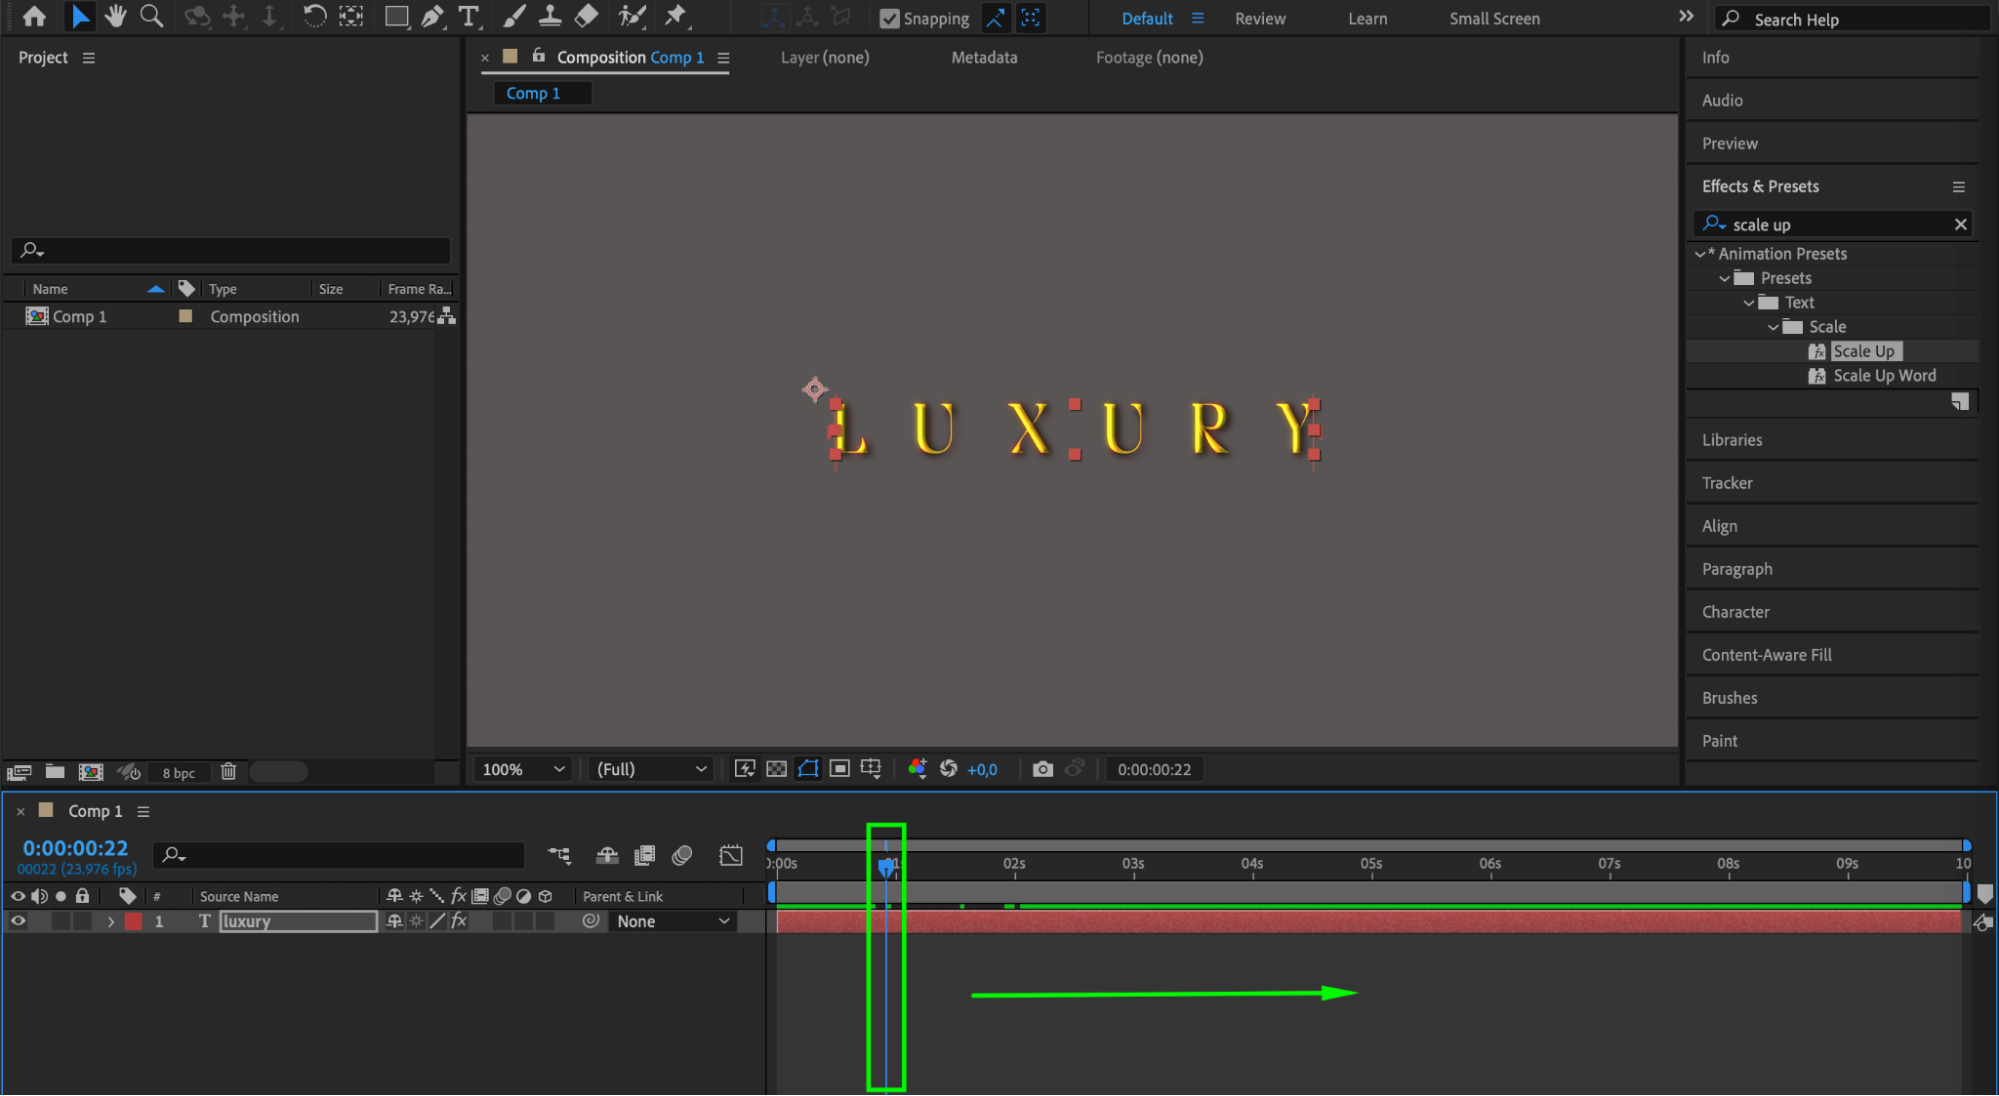
Step 8: Experiment and Fine-Tune
Finally, experiment and fine-tune the effects to achieve your desired look. Add additional effects or explore various text animation techniques to make your gold text truly stand out.
Step 9: Export Your Composition
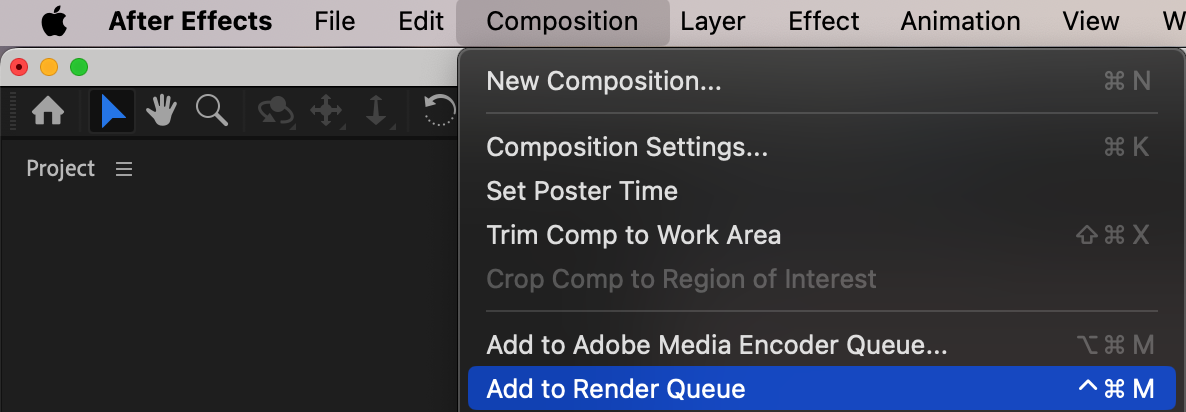
Once you’re satisfied with your gold text, export your composition by going to the “Composition” menu, selecting “Add to Render Queue”, and configuring the export settings. Click on “Render” to export your video with the stunning gold text effect.
Conclusion
By following these steps, you can create captivating gold text in After Effects. Remember to unleash your creativity and experiment with the settings to achieve unique and visually stunning gold text effects. So, go ahead and add a touch of elegance and glamour to your videos with this gold text tutorial in After Effects.
Our Bestsellers


