Creating an Intro Video in After Effects
Getting Started with Your Intro Video
Creating an intro video in After Effects is a great way to capture your audience’s attention and make a strong impression right from the start. With After Effects, you have the power to bring your creative ideas to life and design stunning intro videos that leave a lasting impact.
In this guide, we’ll take you through the step-by-step process of making an intro video in After Effects. Whether you’re a beginner or have some experience with the software, you’ll find valuable tips, techniques, and instructions to help you create a professional-looking intro video.
Get 10% off when you subscribe to our newsletter

So, let’s dive into the exciting world of After Effects and discover how you can make a captivating intro video that sets the stage for your content.
Step 1: Plan your intro video
Before you start working in After Effects, it’s important to plan your intro video. Think about the theme, style, and overall look you want to achieve. Consider the message you want to convey and how your intro aligns with your brand or content.
Step 2: Gather your assets
Collect all the assets you’ll need for your intro video, including your logo, graphics, images, videos, and any other elements you want to include. Make sure your assets are high quality and well-organized for easy access in After Effects.
Step 3: Create a new composition
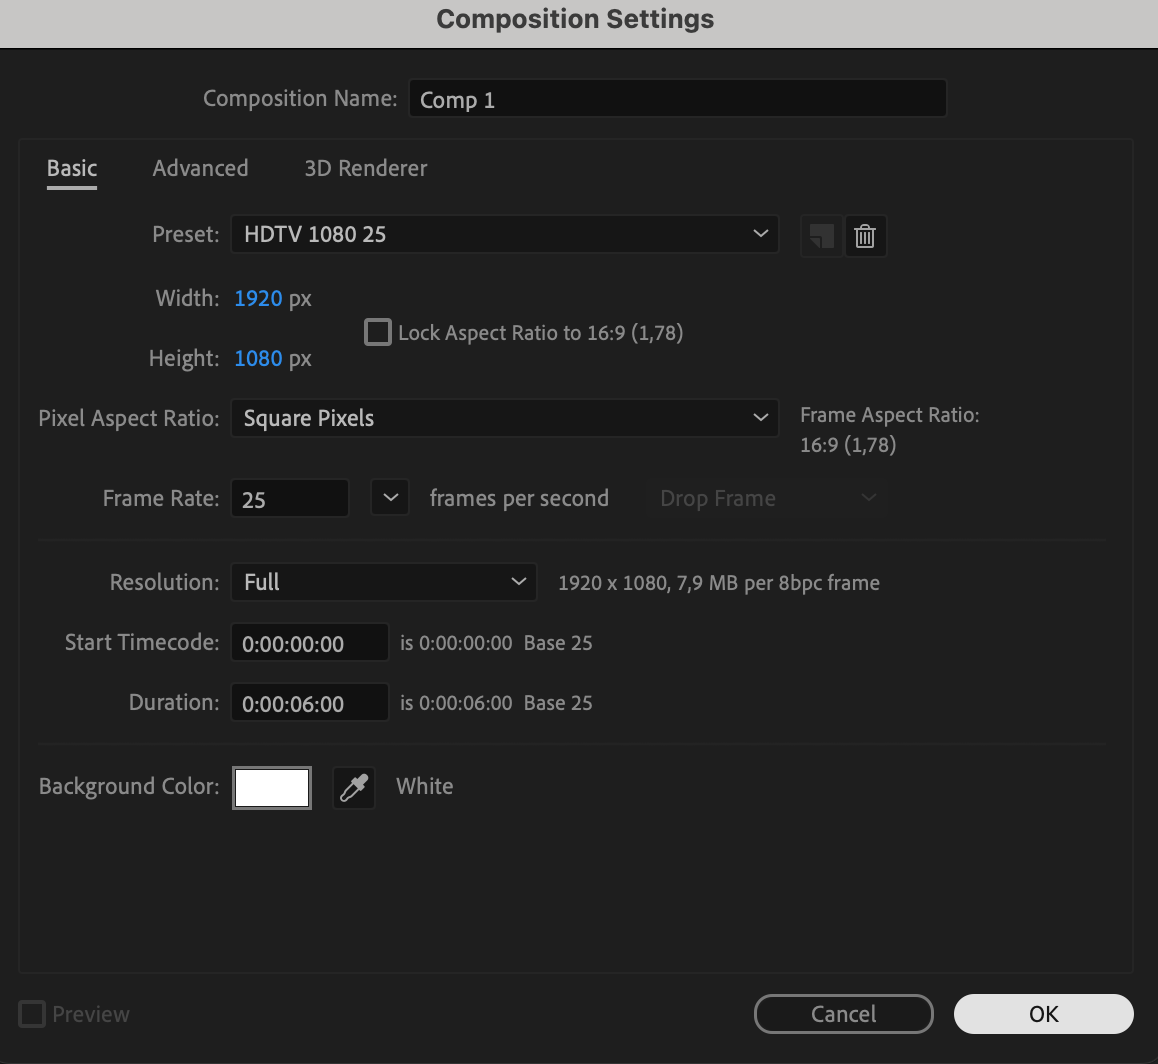
Open After Effects and create a new composition. Set the resolution, frame rate, and duration according to your project requirements.
 Step 4: Import your assets
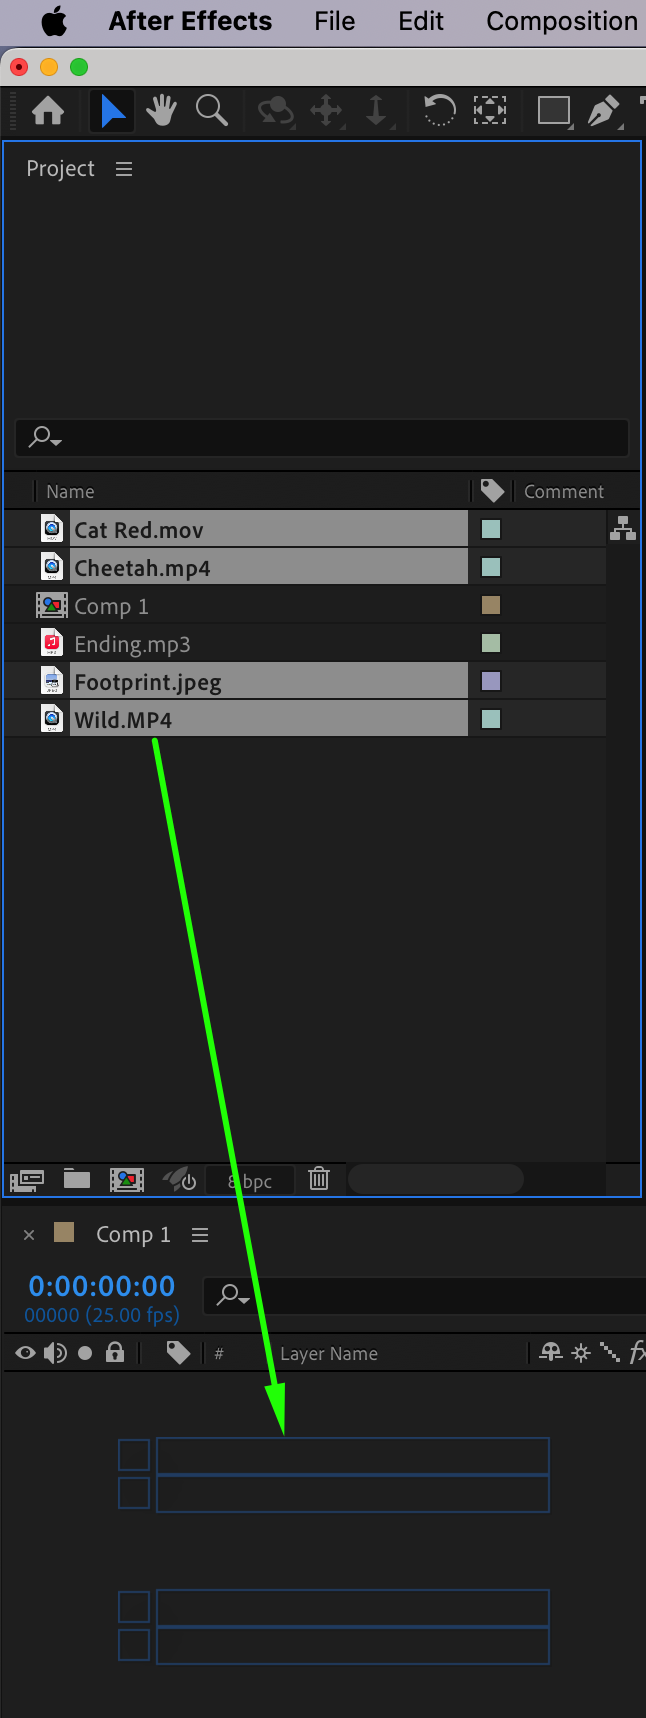
Import your assets into After Effects. Browse for the files you want to use and import them into your project. Drag and drop the assets into your composition timeline.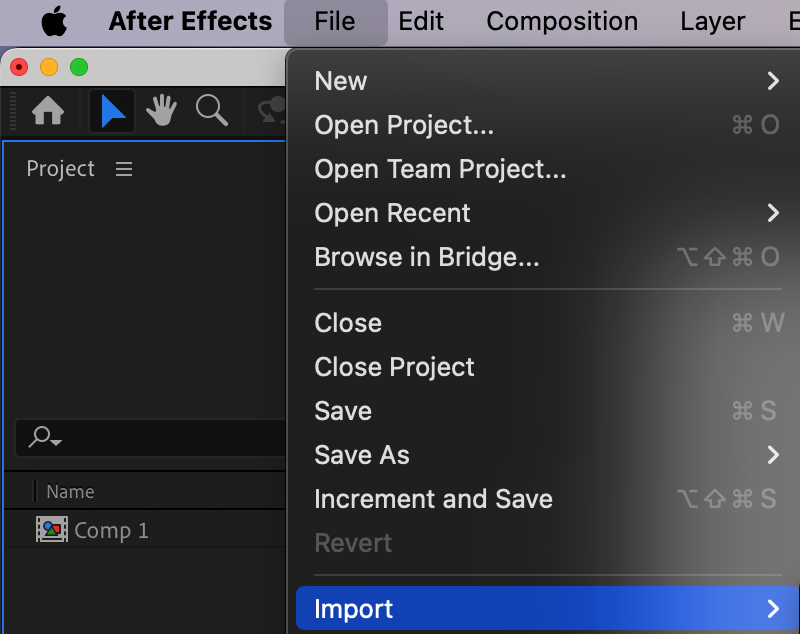
 Step 5: Arrange and Trim Your Layers on the Timeline
To begin organizing your composition, place your layers on the timeline panel. Use the current time indicator to position it where you want to trim your layers. Utilize the shortcuts “Alt/Option + [” to set the in point and “Alt/Option + ]” to set the out point, effectively trimming your layers to the desired duration.


 Step 6: Design your intro
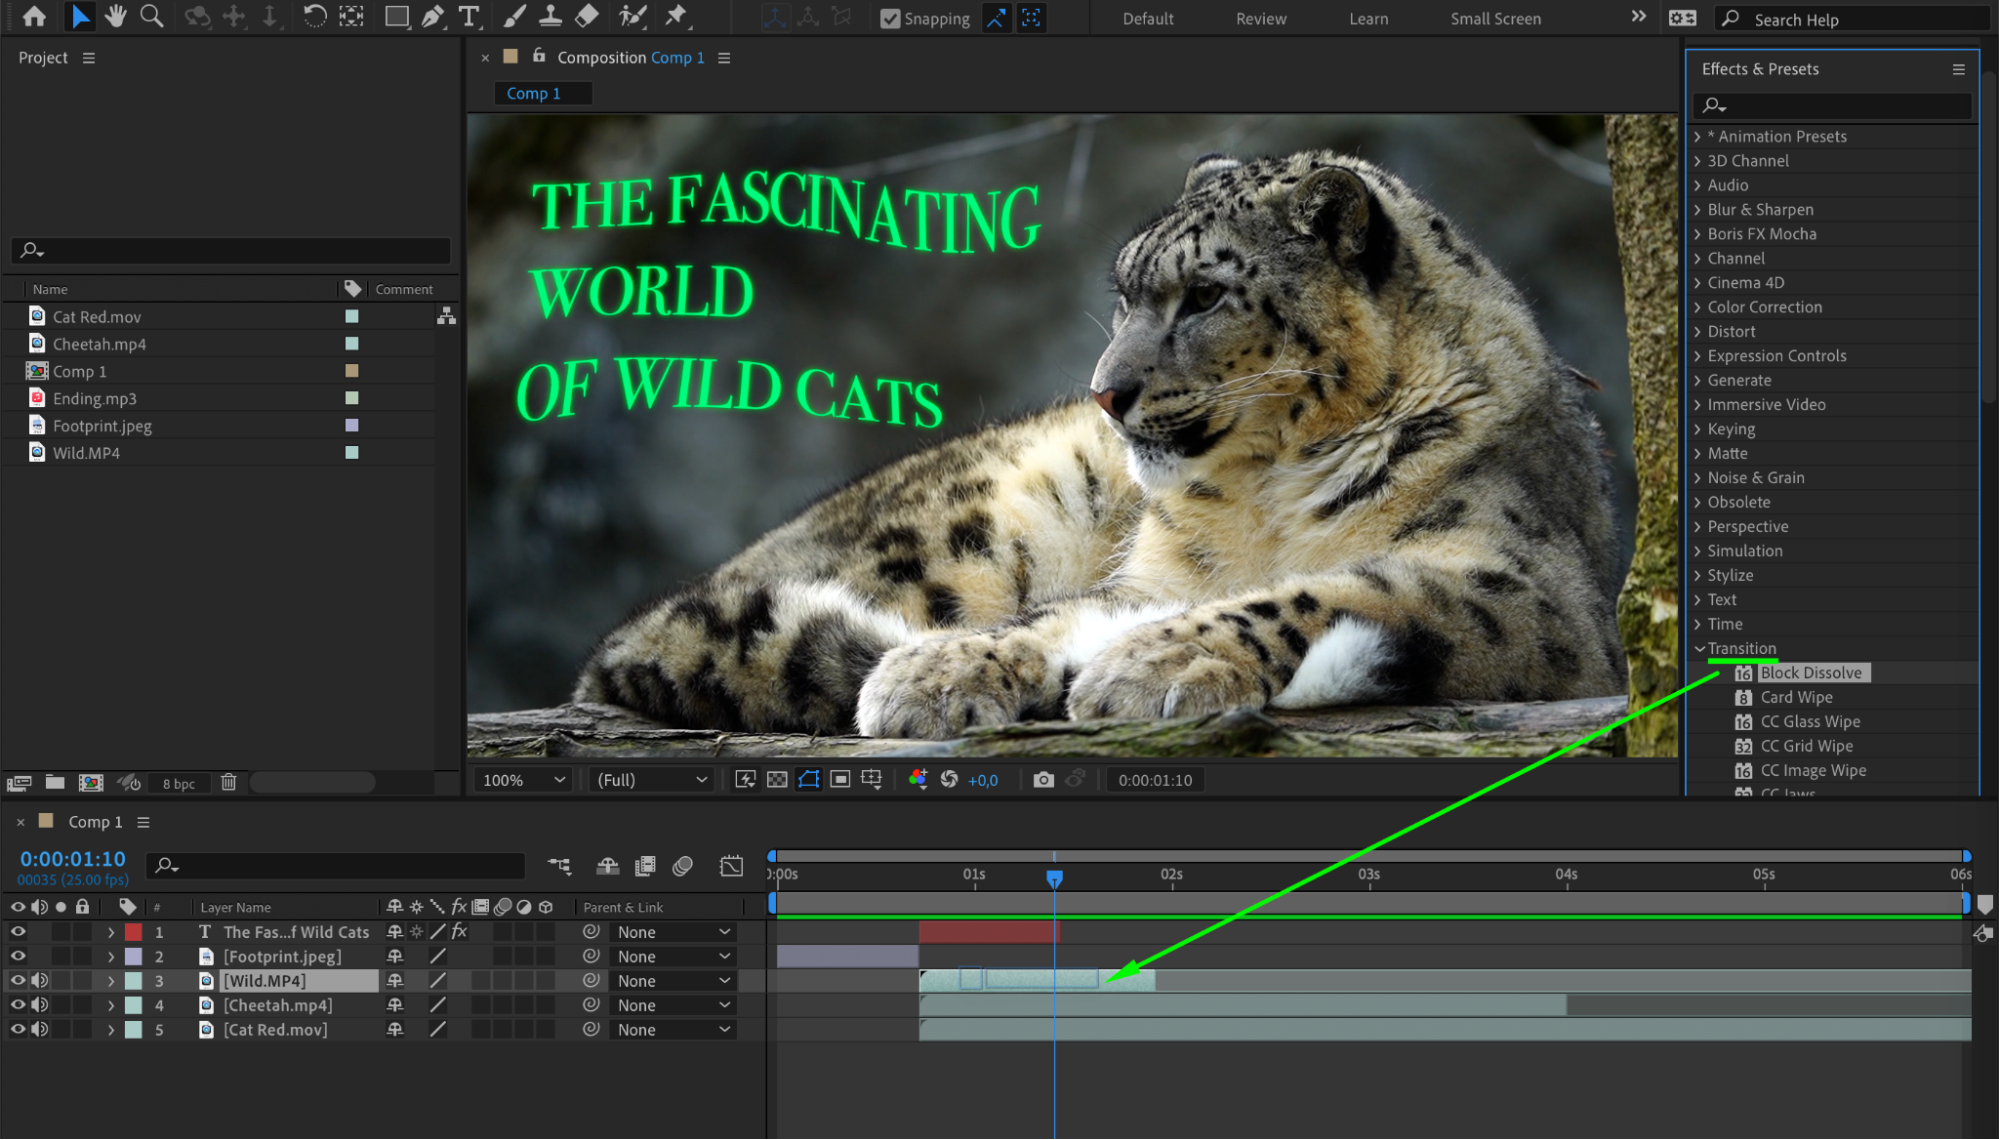
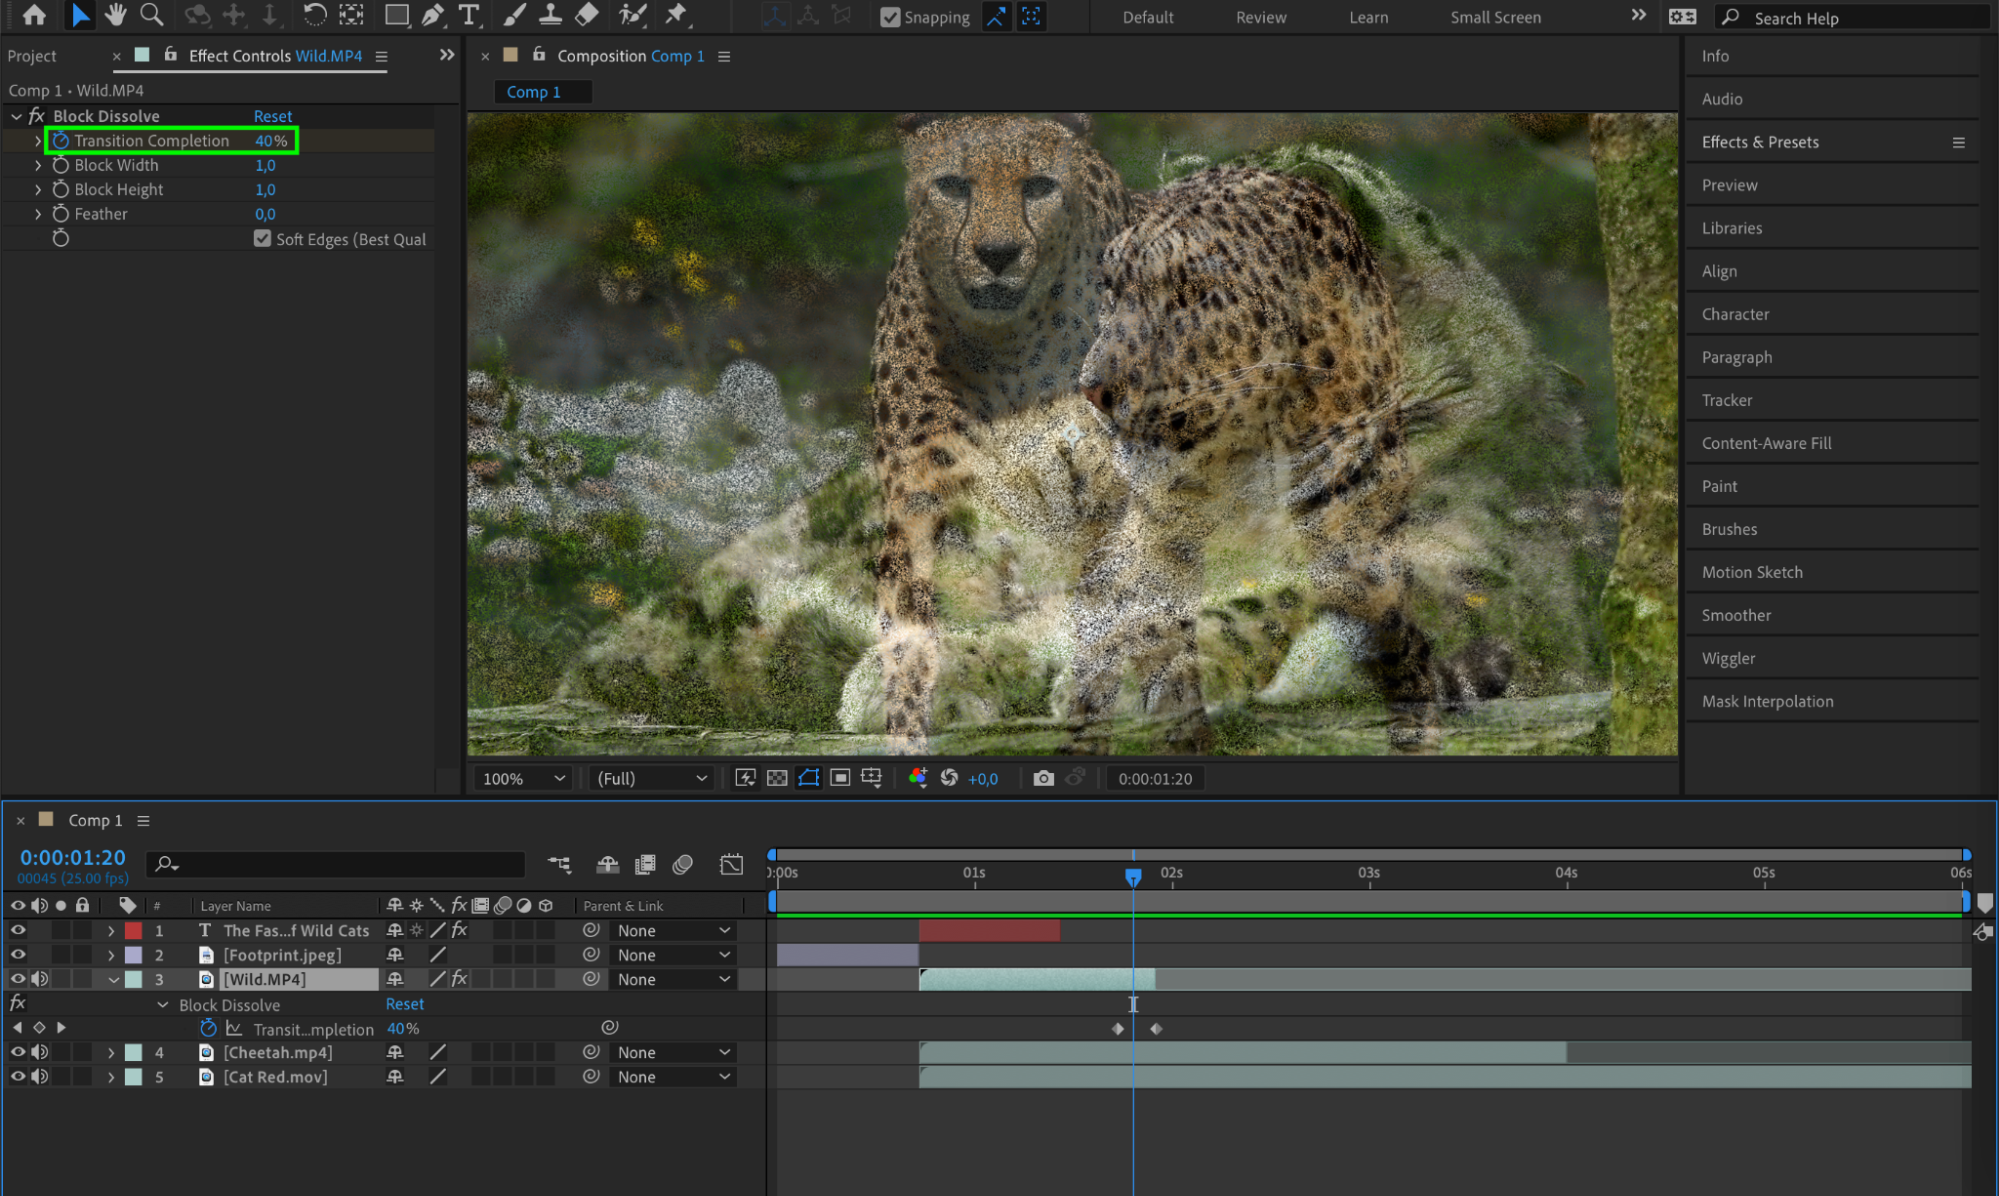
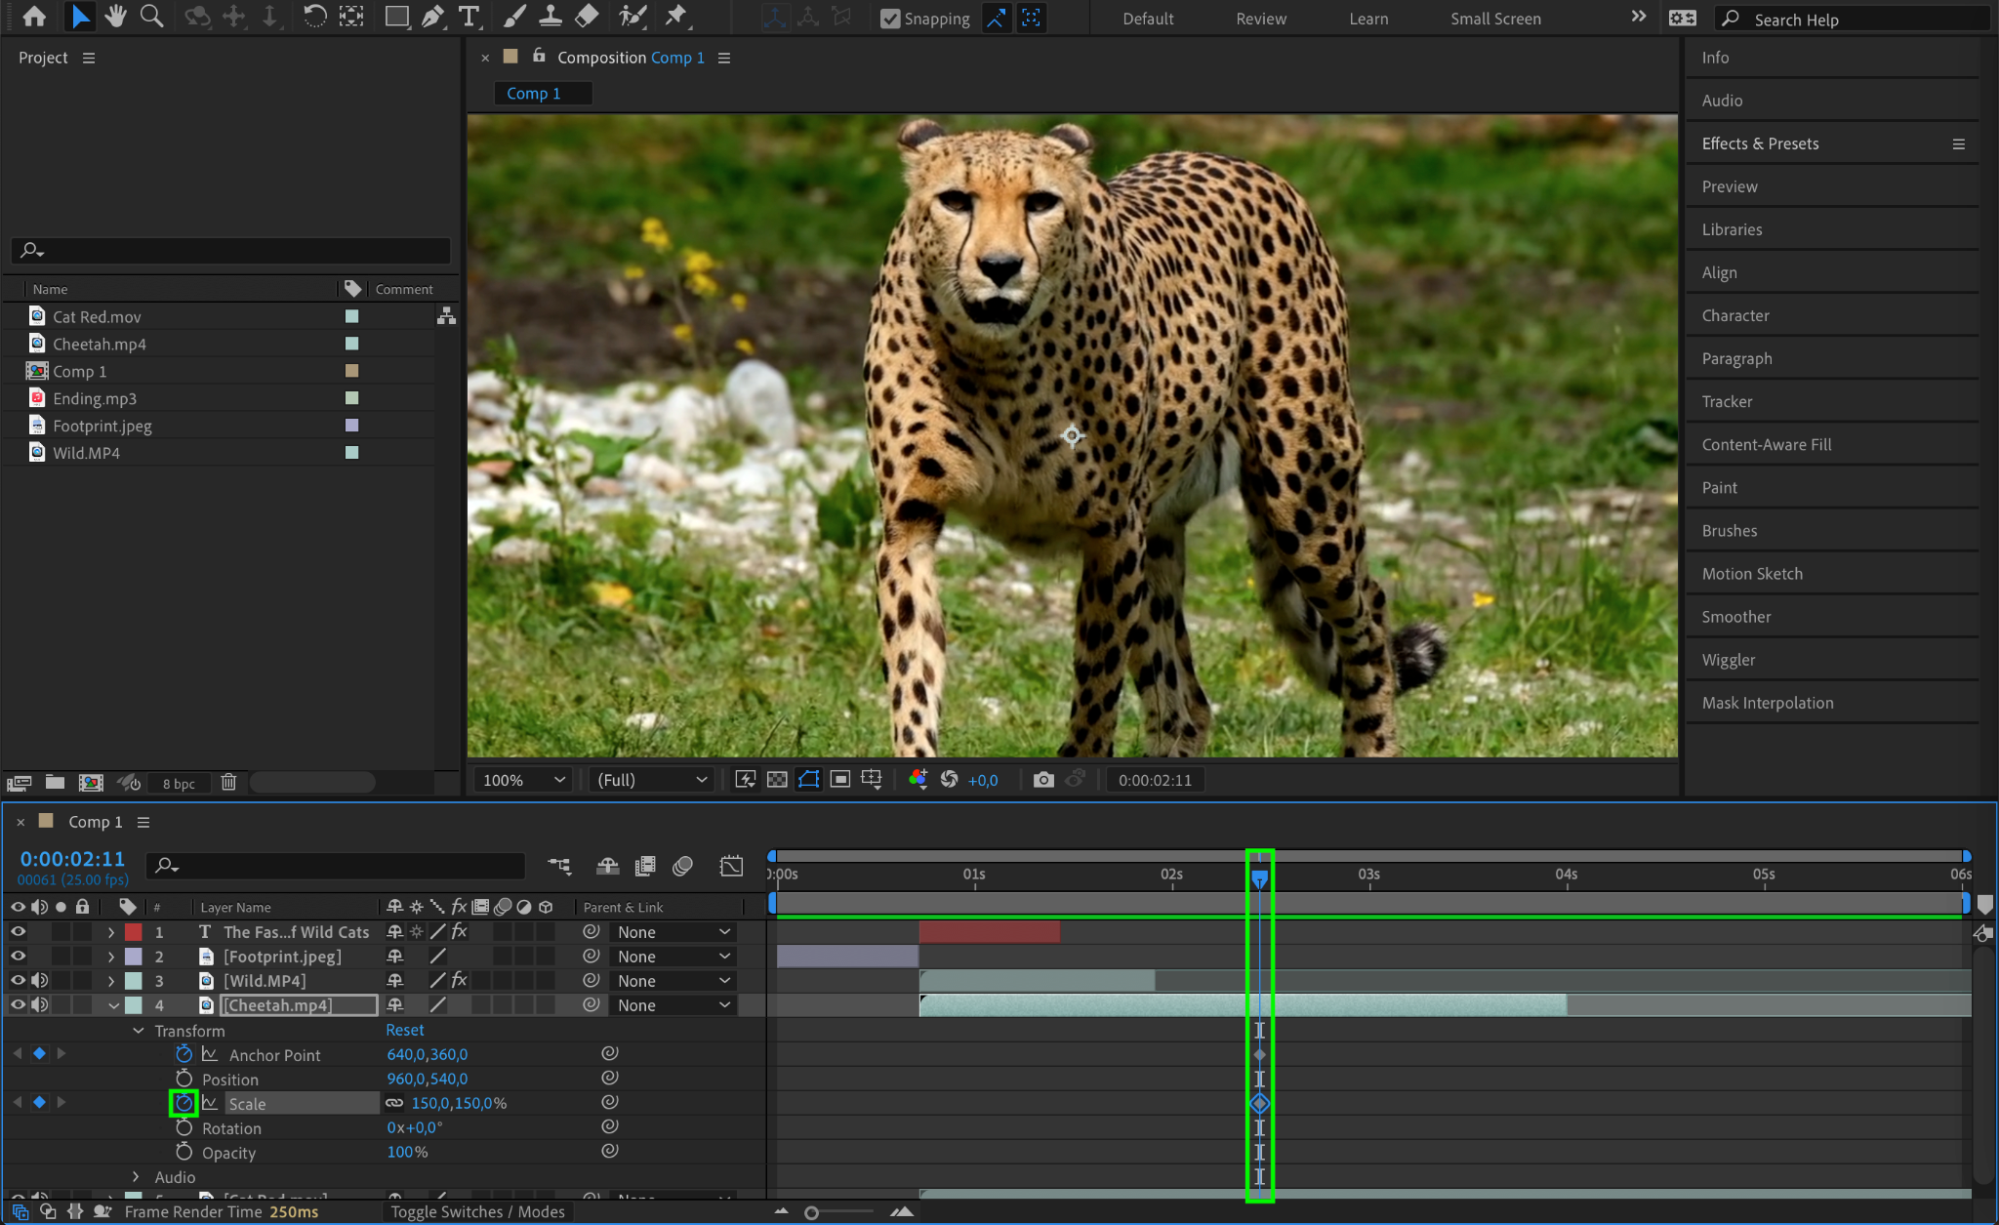
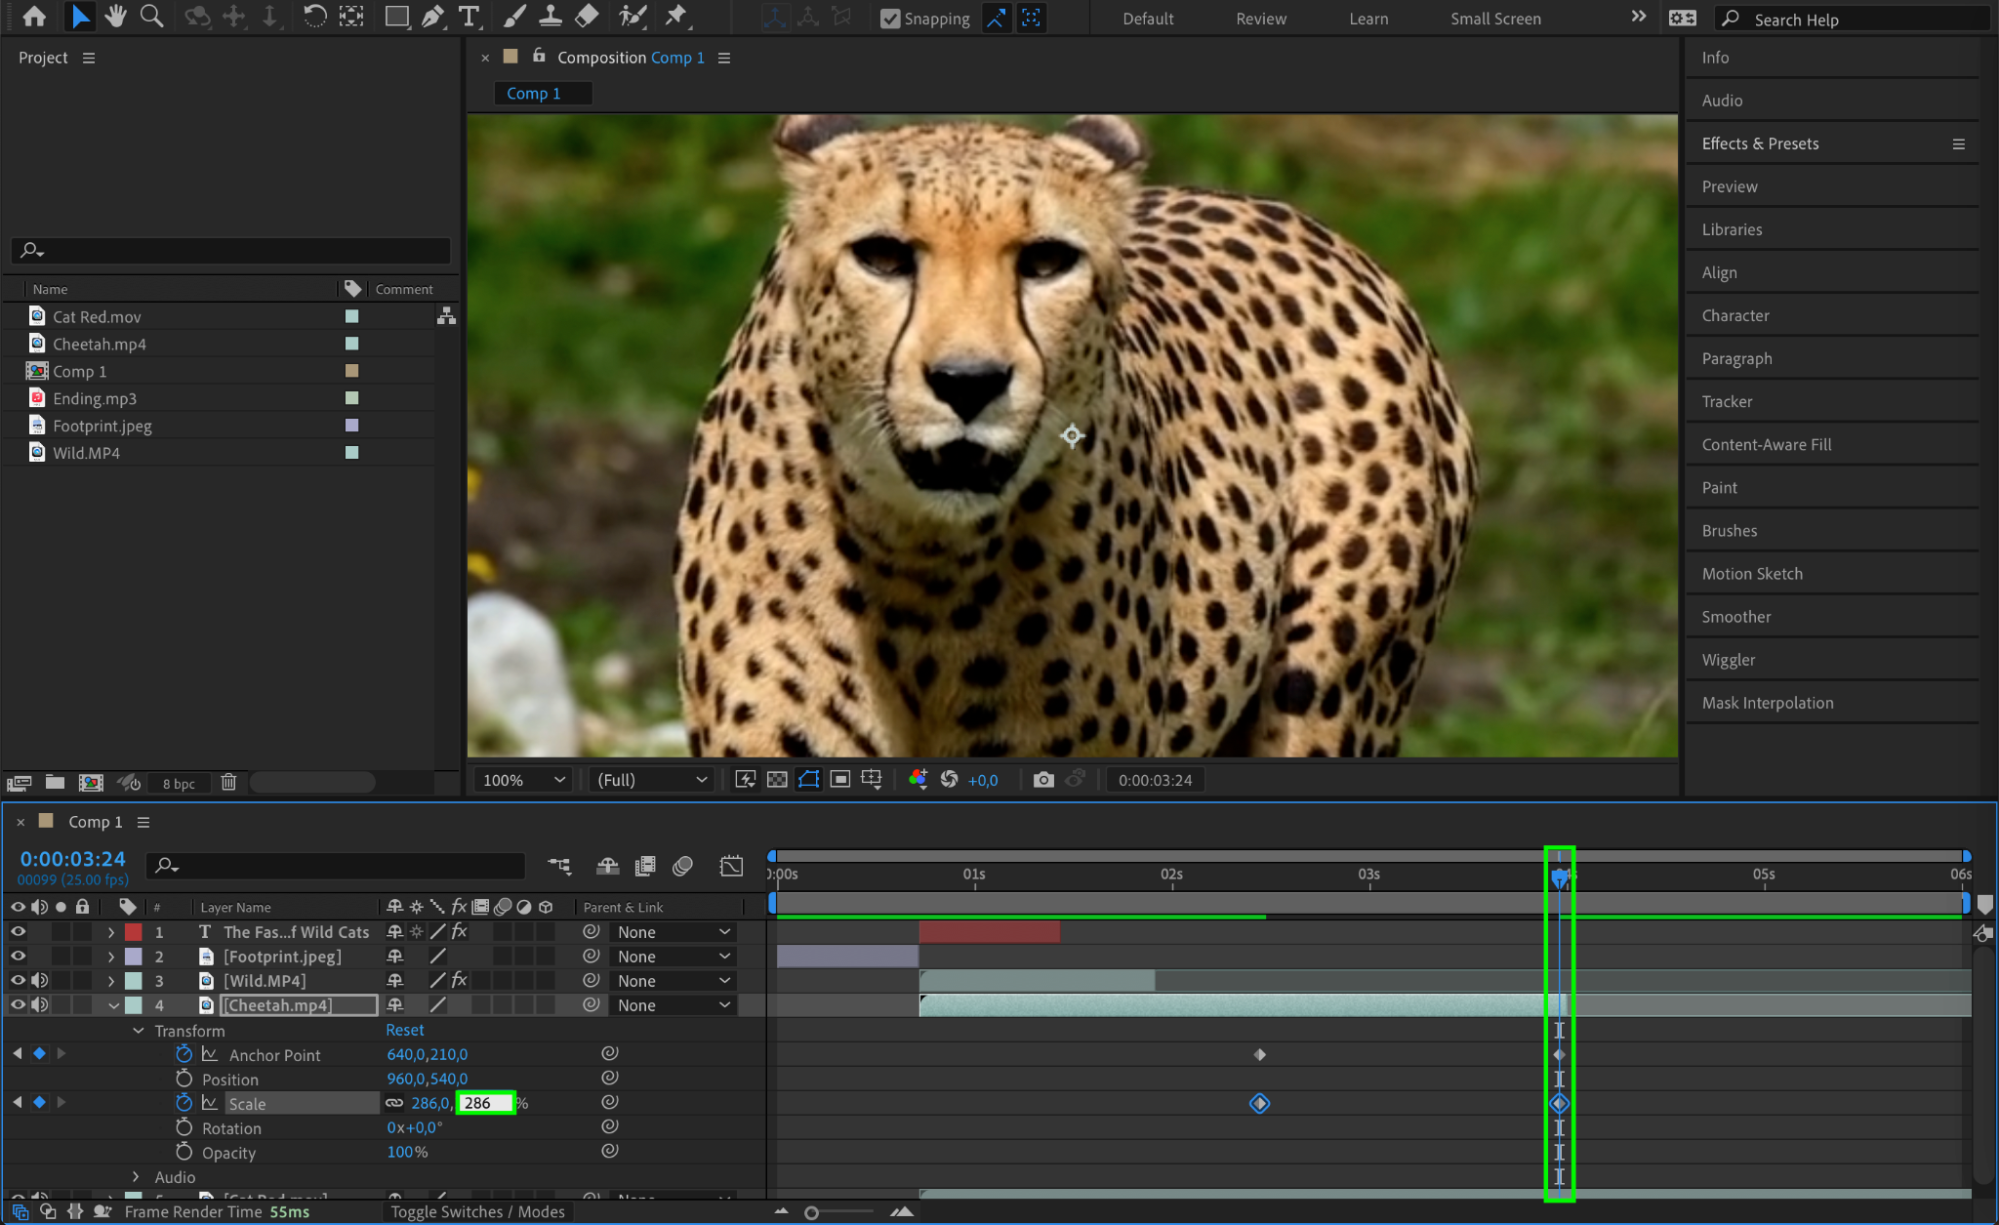
Now it’s time to unleash your creativity and design your intro video. Use the various tools and effects in After Effects to bring your vision to life. Experiment with animations, transitions, text effects, and other visual elements. Try different combinations and see what works best for your intro video.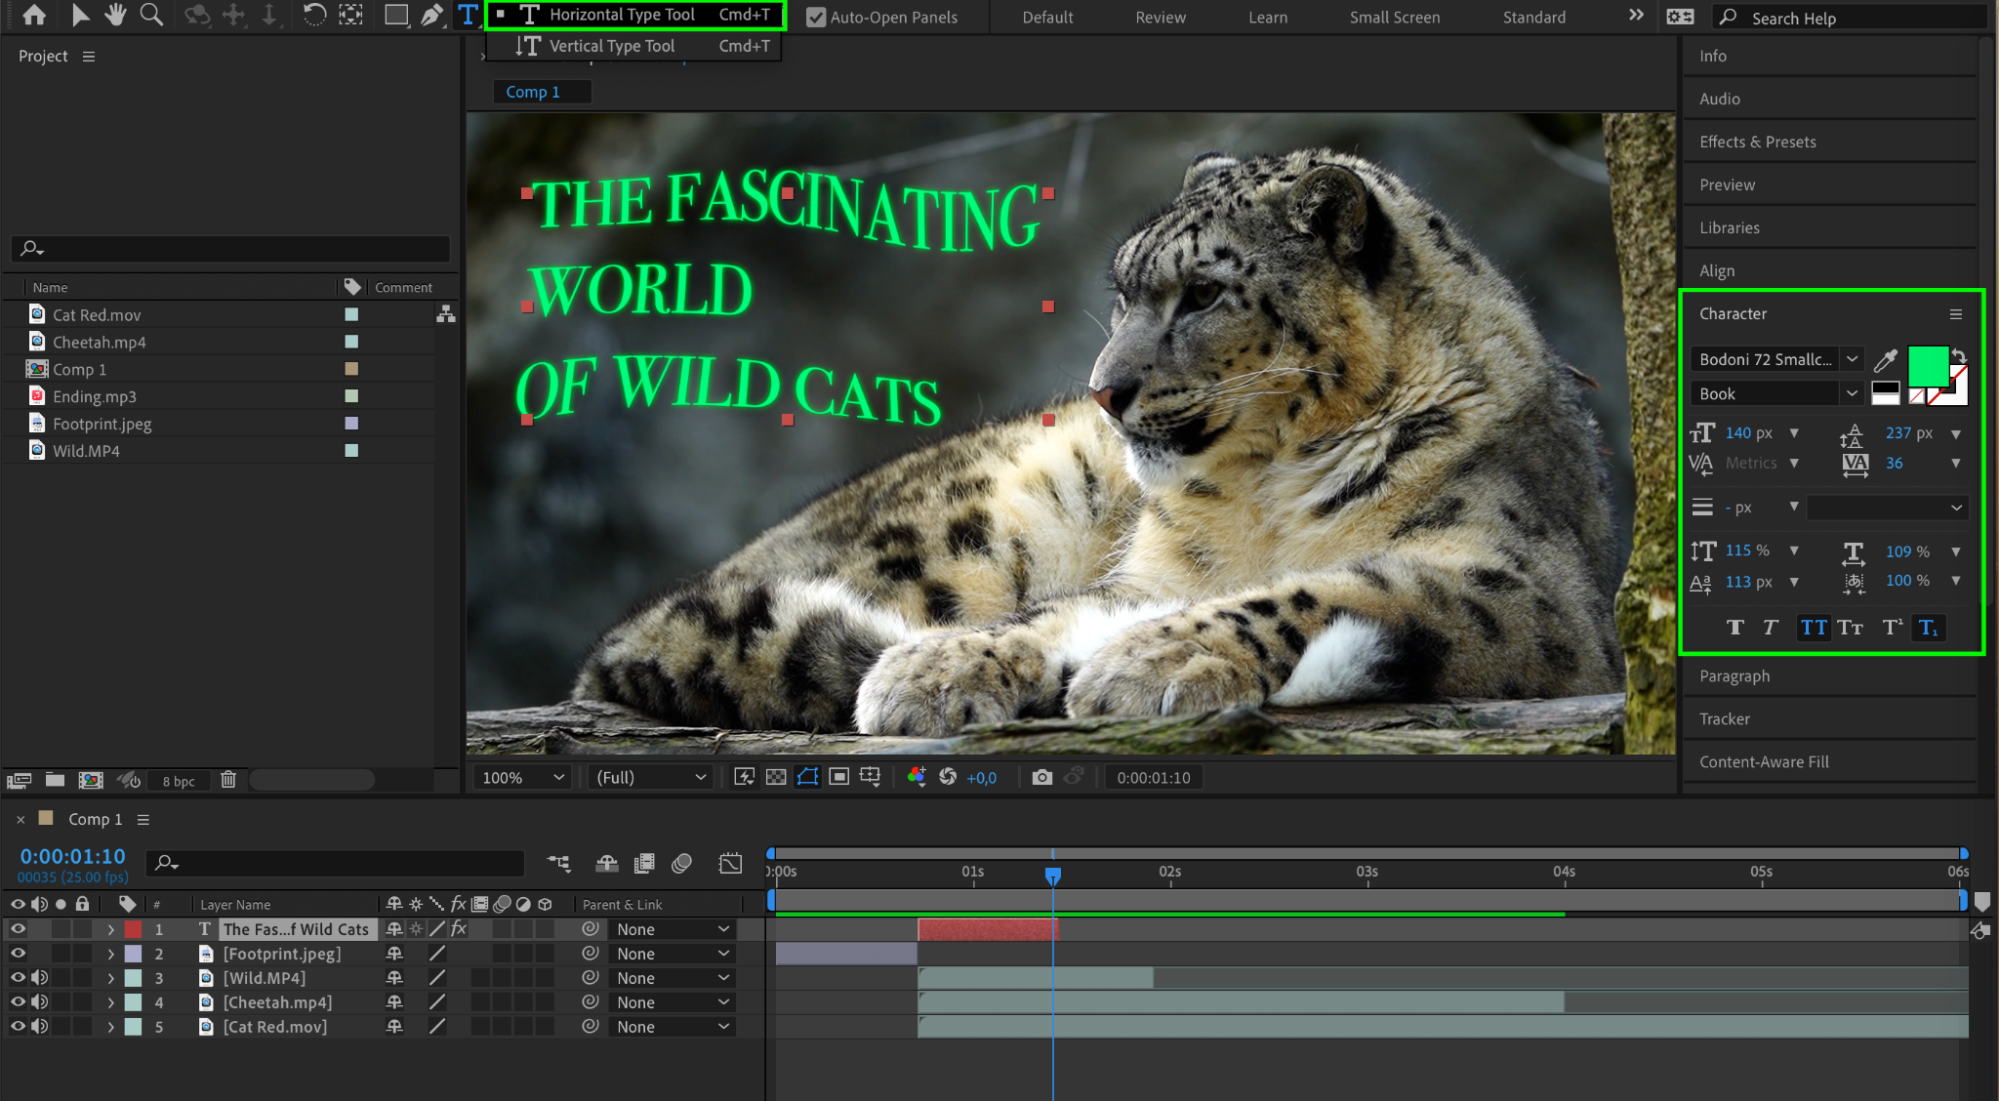
 Step 7: Add audio
Don’t forget about the audio! Import your desired audio file and drag it into your composition timeline. Make sure the audio complements your intro and enhances the overall experience for your audience. You can also add sound effects, voiceovers, or music to make your intro video more engaging.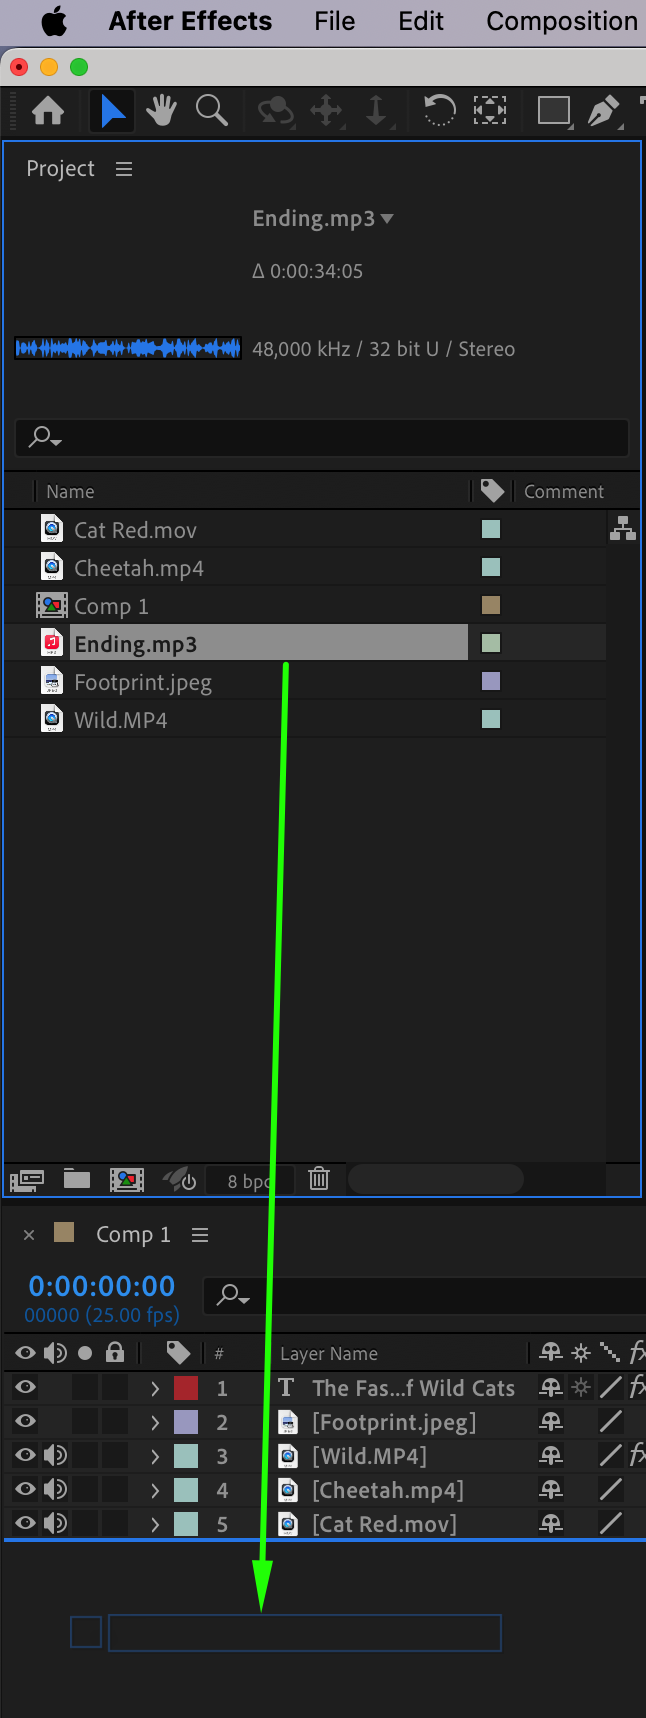
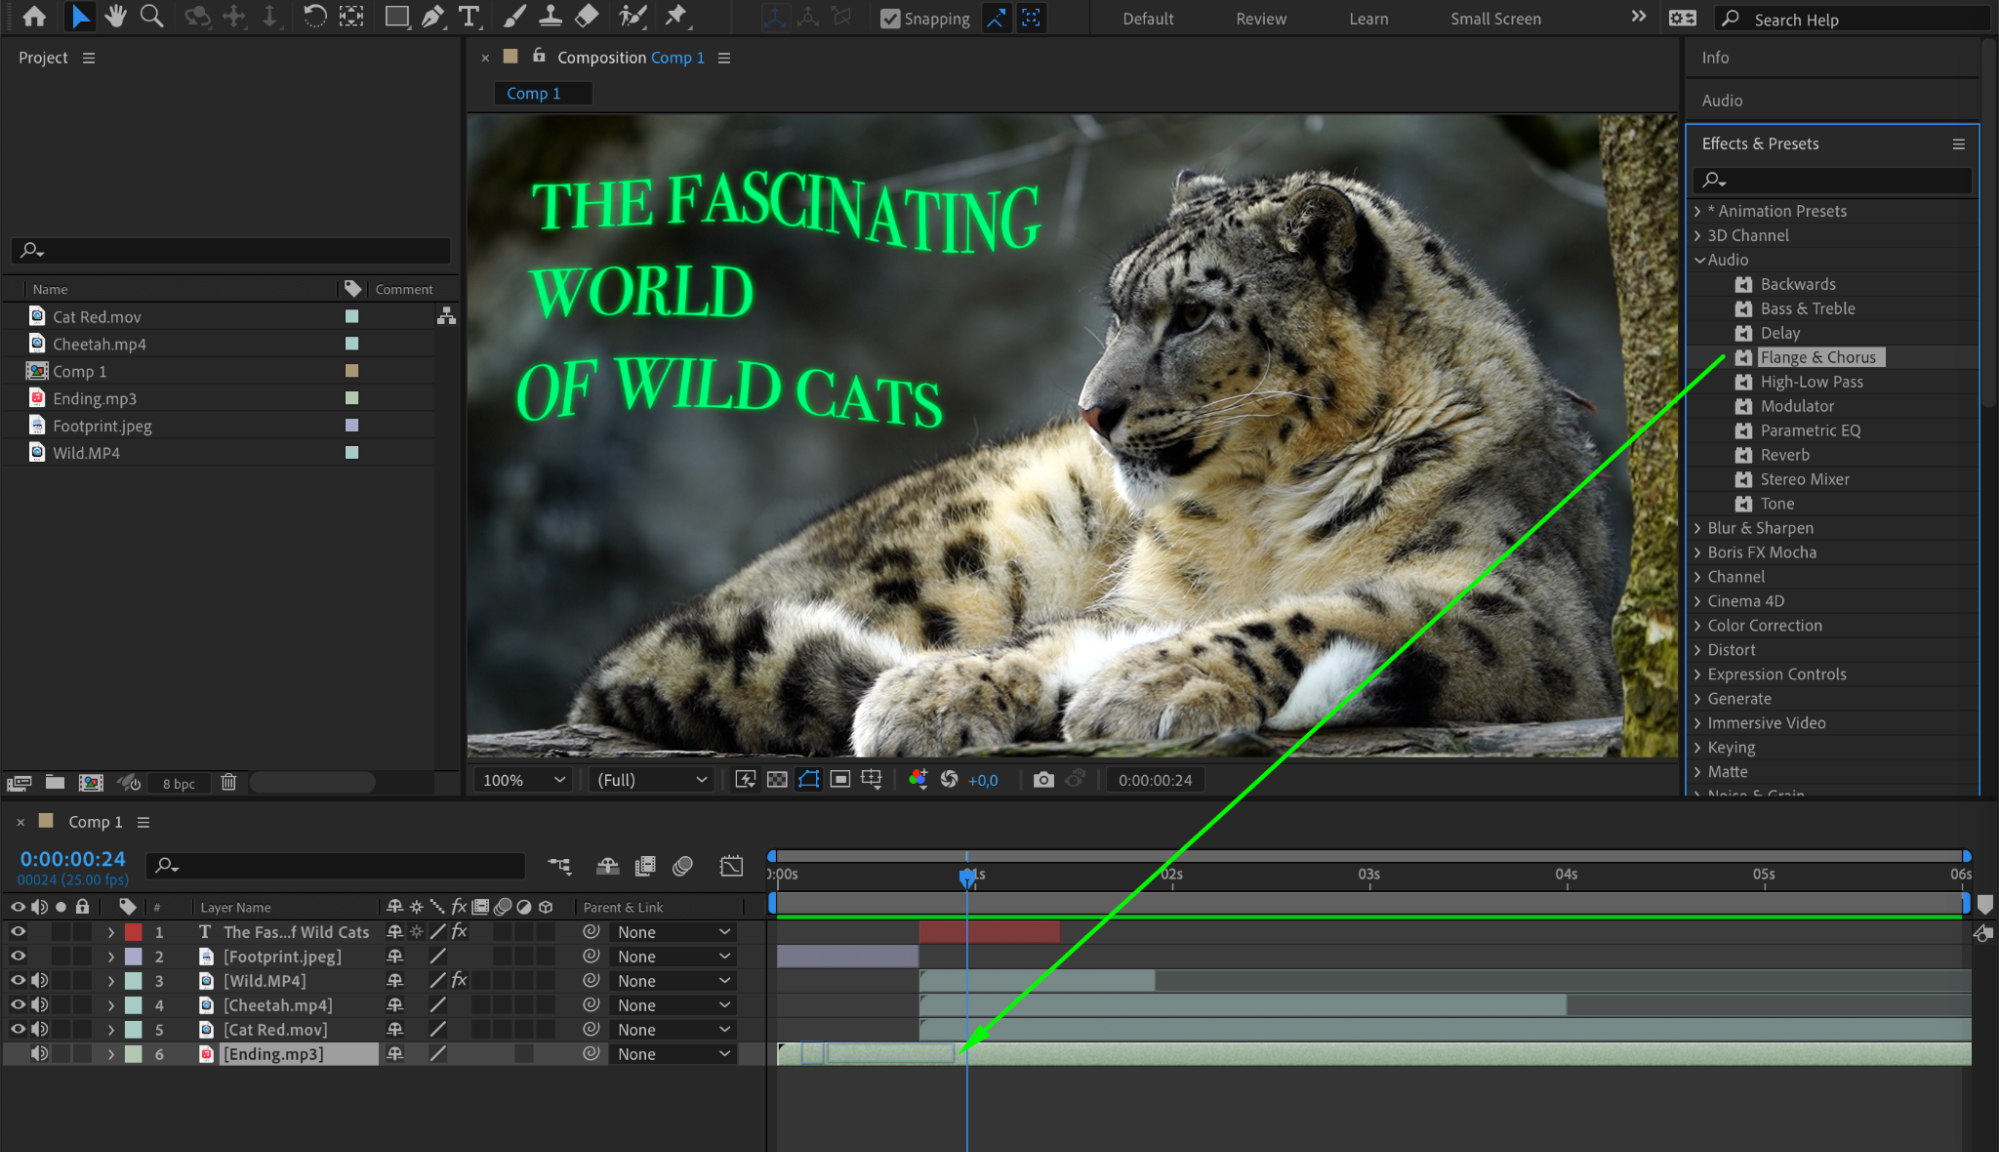
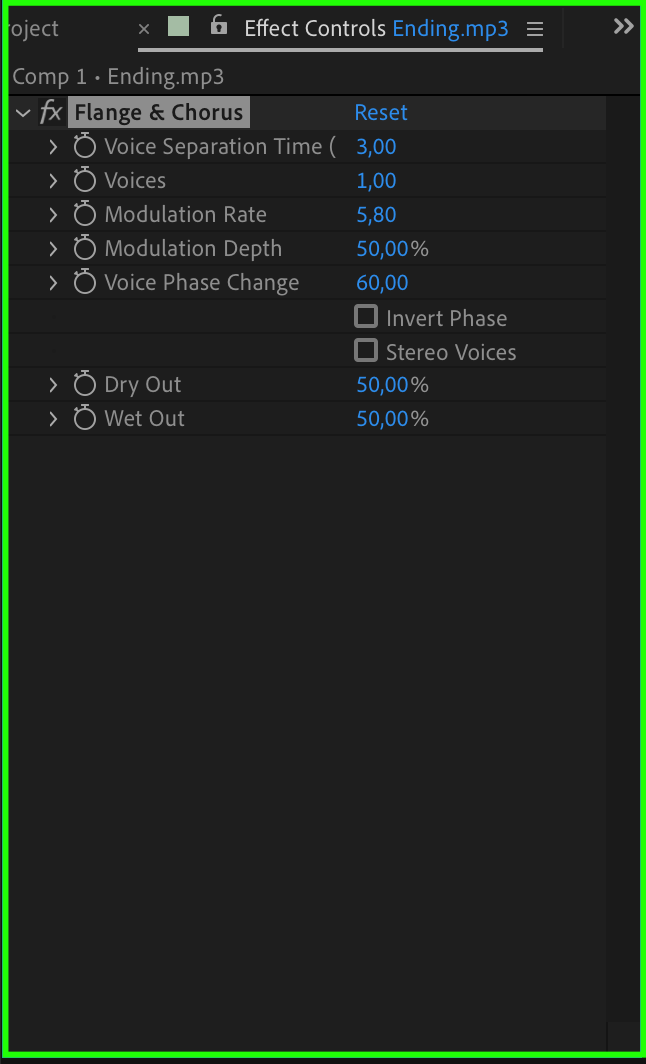 Step 8: Preview and refine
Once you’re happy with your design, preview your intro video. Take note of any areas that need improvement or adjustments. Refine your video by making necessary changes. Step 9: Render and export
When your intro video is perfect, it’s time to render and export it. Adjust the settings, such as format, resolution, and output destination. Click on “Render” and wait for After Effects to process and export your intro video.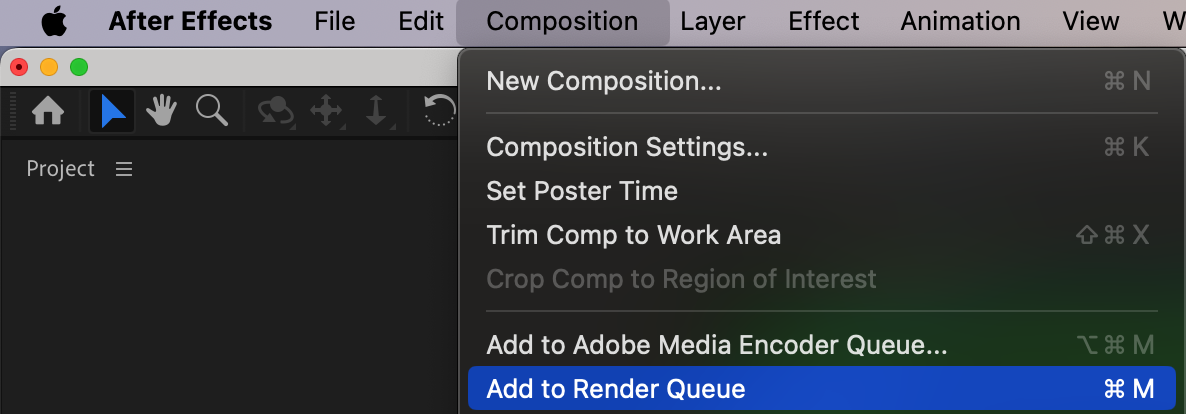
 Step 10: Share and enjoy
Congratulations! You’ve successfully created an intro video in After Effects. Share your masterpiece with the world by uploading it to your preferred platform or embedding it on your website or social media channels. Sit back, relax, and enjoy the positive response from your audience.
Conclusion
By following this guide, you now have the knowledge and tools to create a stunning intro video in After Effects. Plan your video, gather your assets, design with creativity, and add the perfect audio. With practice and experimentation, you’ll be able to produce captivating intro videos that elevate your content and leave a lasting impression on your audience. So, let your imagination run wild and start creating amazing intro videos with After Effects today!


