Creating a Blinking Effect in After Effects
Introduction to Adding a Blinking Effect in After Effects
Blinking Effect Tutorial for After Effects
Are you looking to add some visual interest to your videos or animations? Creating a blinking effect in Adobe After Effects is a simple yet effective way to draw attention to specific elements. Whether you want to highlight a text, logo, or any other visual element, making it blink on and off can instantly grab your viewer’s attention.
Get 10% off when you subscribe to our newsletter

To achieve this blinking effect, follow these step-by-step instructions:
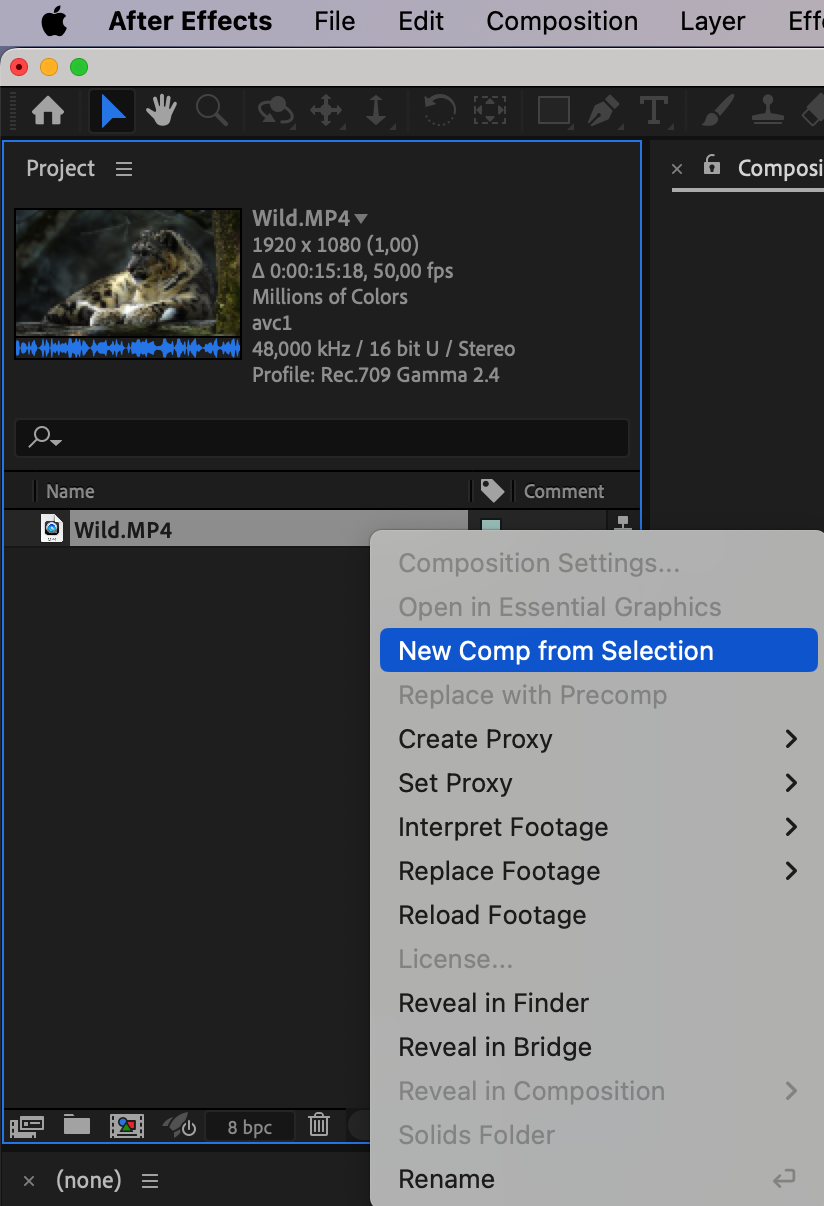
1. Import your footage or composition into After Effects. Right-click on your file in the project panel and select “New Comp from Selection” from the submenu. If you already have your desired element within your composition, you can skip this step.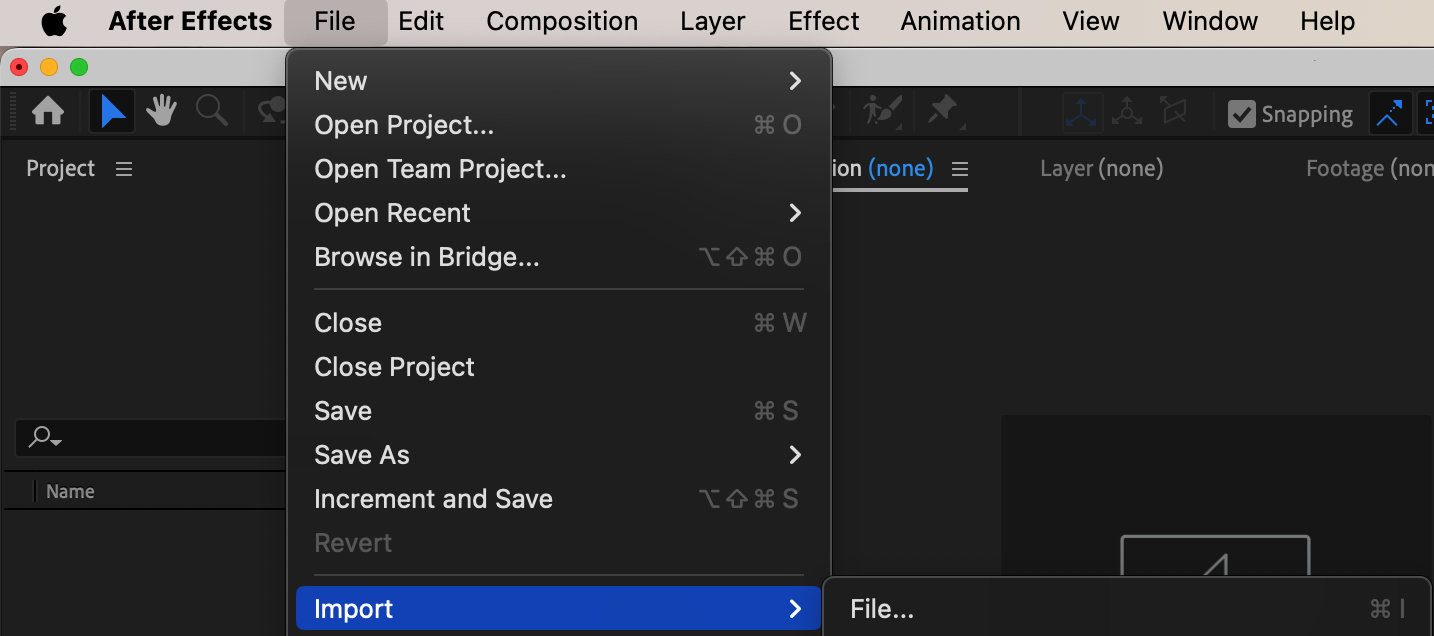
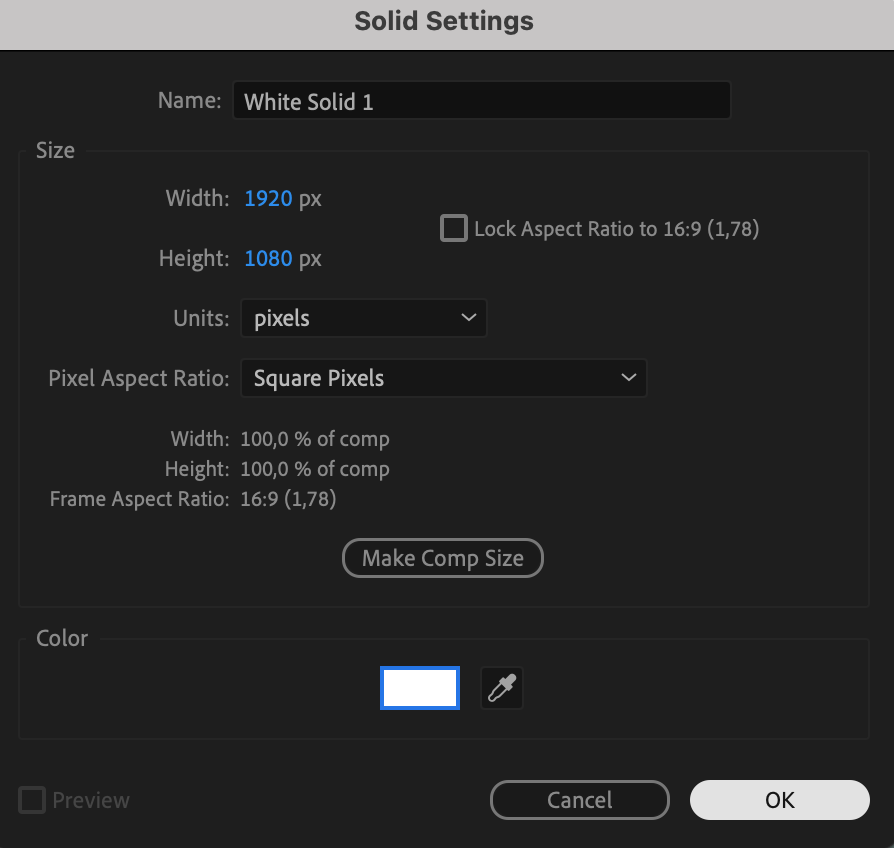
 2. Create a new solid layer by selecting “Layer” > “New” > “Solid” in the top menu bar. Choose a color for your solid layer that contrasts well with your composition. This solid layer will serve as the base for your blinking effect.
 3. In the timeline panel, expand the options for your solid layer until you see the “Opacity” property. Click on the stopwatch icon next to the “Opacity” property to enable keyframing.
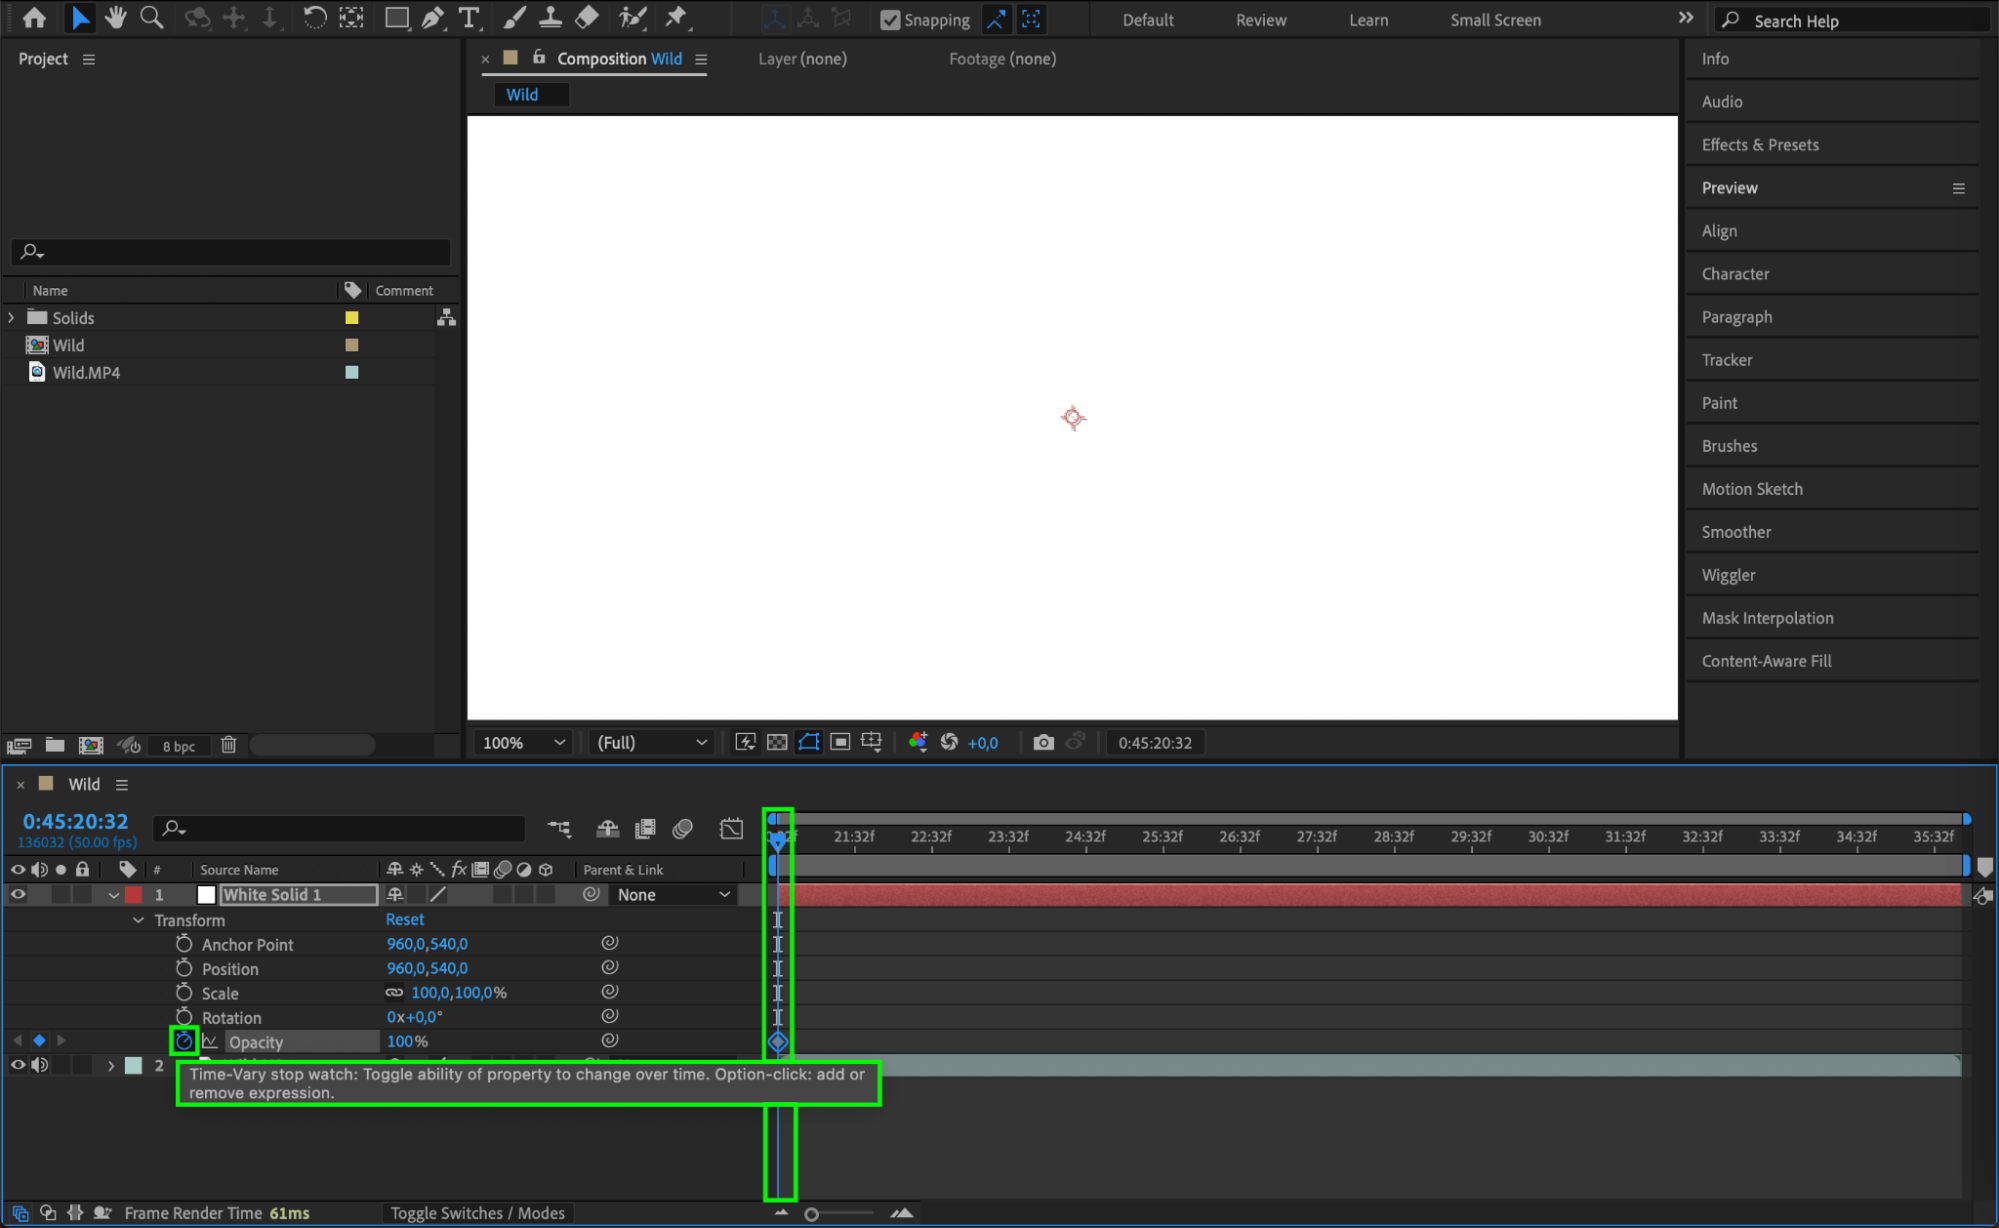 4. Move the current time indicator to the point in time where you want the blinking effect to start. Set the opacity value to 0 by dragging the slider or typing “0%” in the input box.
 5. Move the current time indicator to the point in time where you want the blinking effect to end. Set the opacity value to 100% by dragging the slider or typing “100%” in the input box.
6. If you want to make the blinking effect loop continuously, select several keyframes and press “Ctrl/Cmd + C” to copy them. Move the current time indicator to where you want the next keyframes to appear and paste them by pressing “Ctrl/Cmd + V.”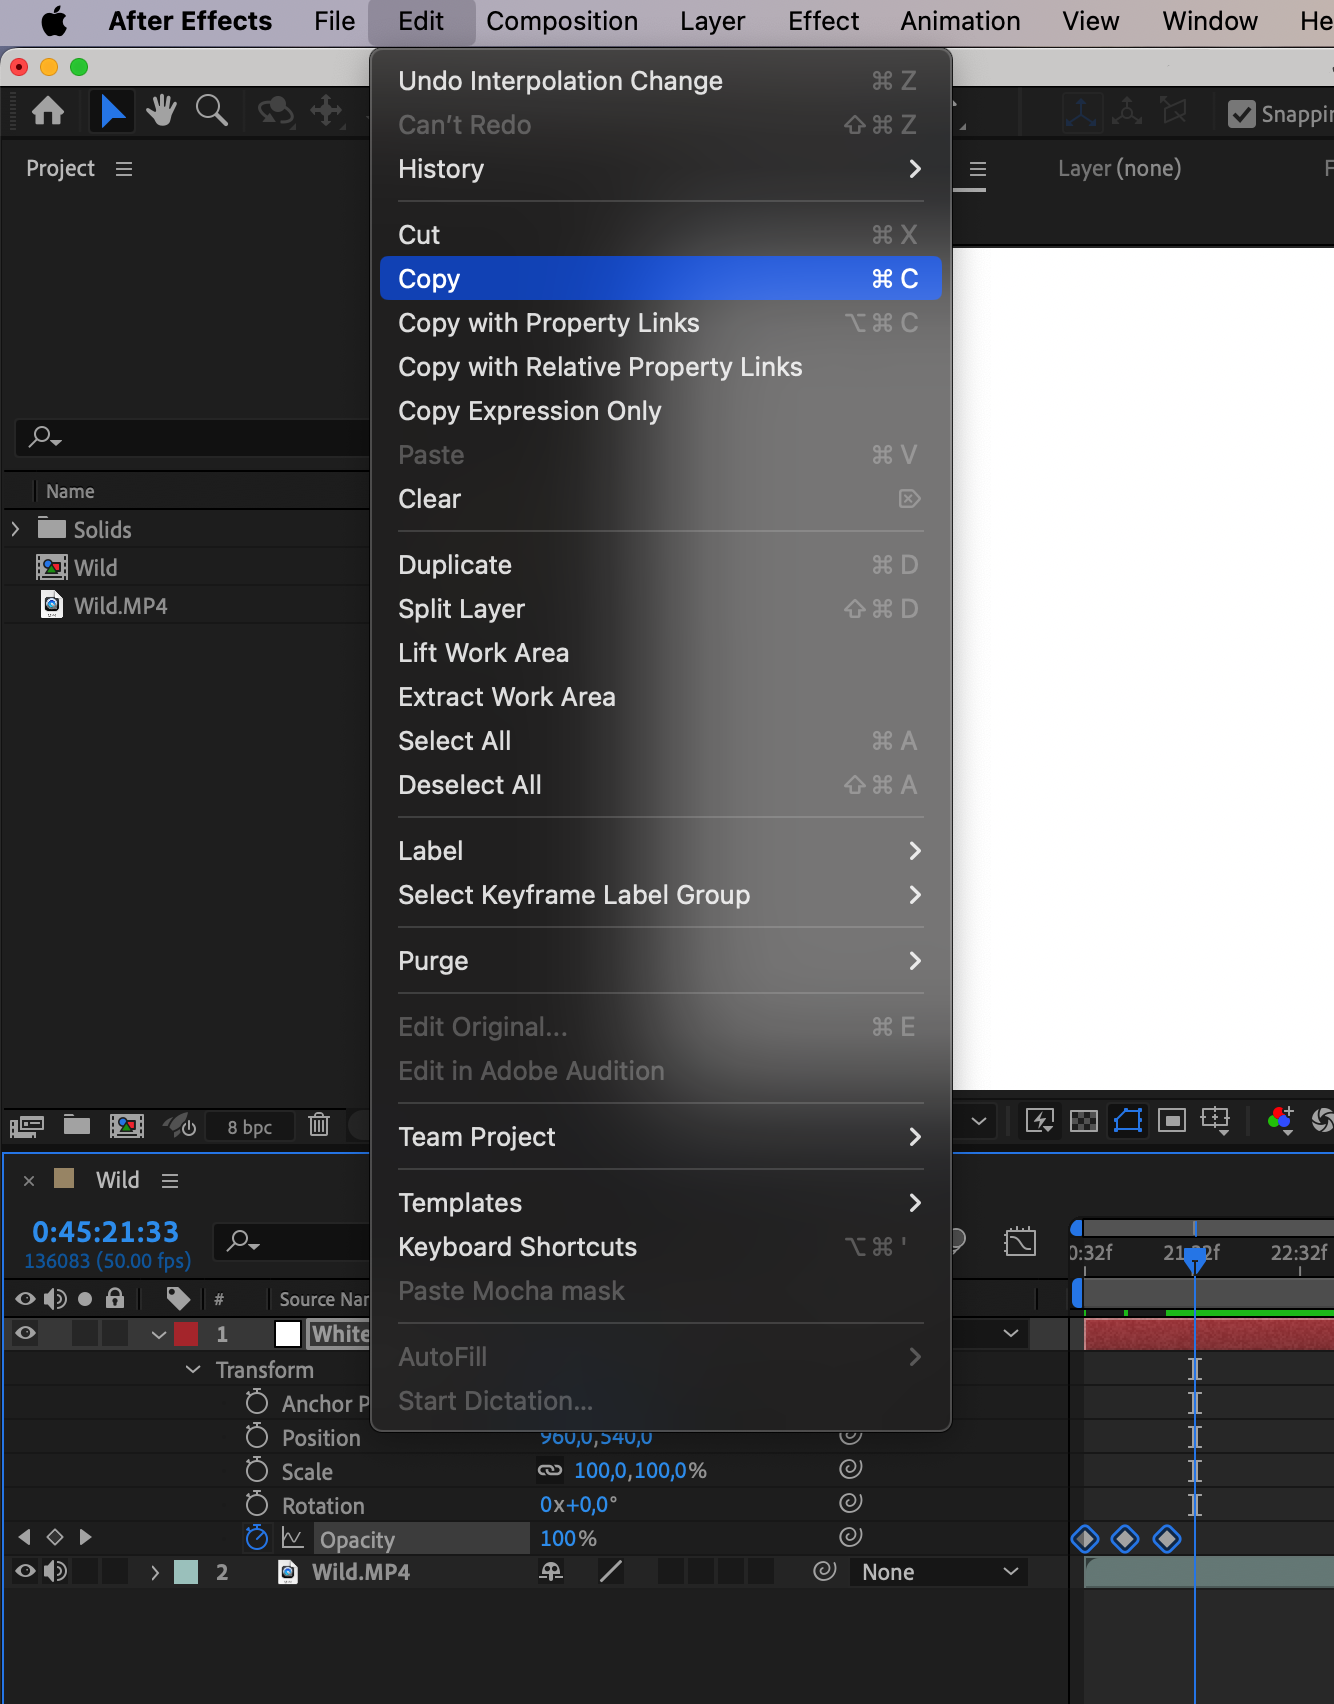
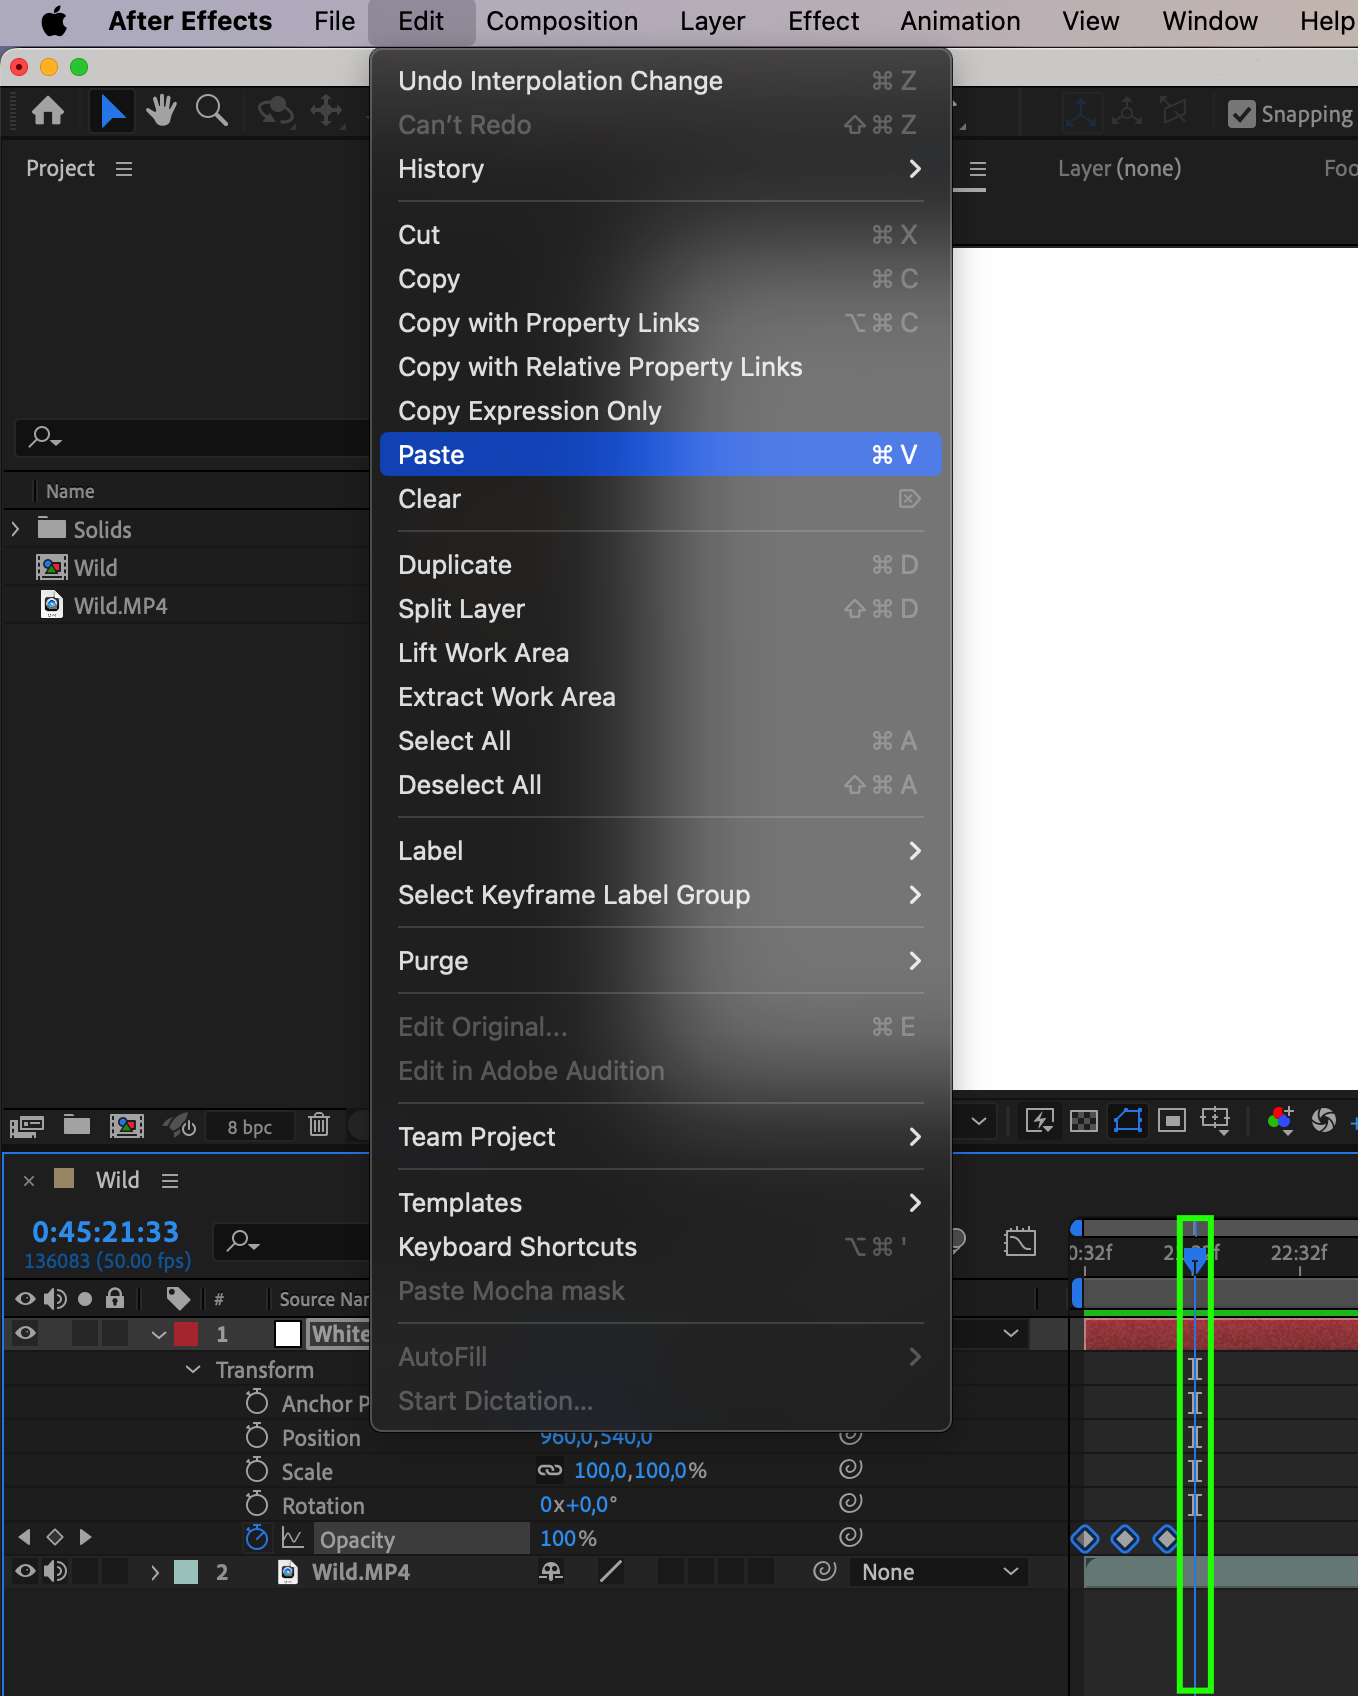
 7. Adjust the duration of the blinking effect by dragging the keyframes closer together or farther apart. Experiment with different timings to achieve the desired blinking speed.
 8. Select all keyframes in the timeline panel and right-click. Choose “Keyframe Assistant” > “Easy Ease” to apply a smooth easing to your blinking effect. This will give it a more natural appearance.
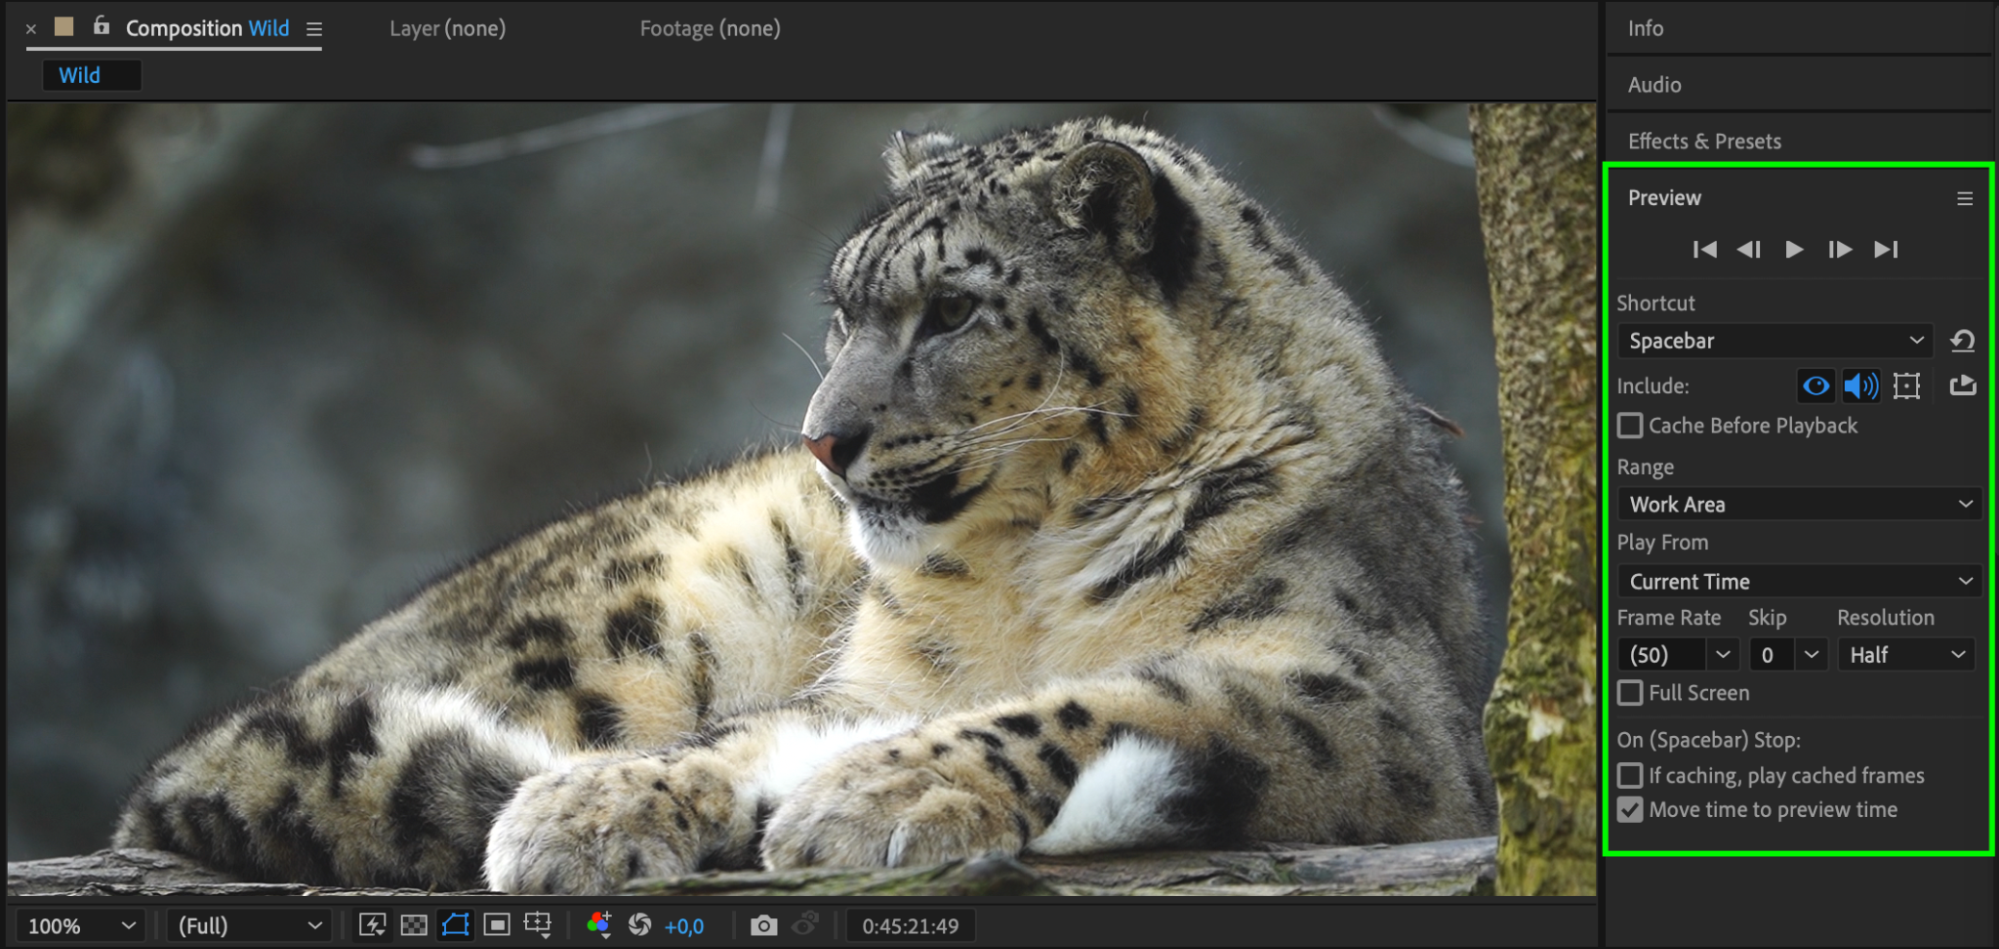
 9. Preview your animation by pressing the spacebar. If you’re satisfied with the blinking effect, you can render your composition to see the final result.
 Conclusion
By following these simple steps, you can easily create a blinking effect in After Effects to add visual interest and grab attention. Experiment with different elements and timings to create unique and eye-catching animations. So, go ahead and make your visuals pop with the blinking effect in Adobe After Effects!


