Mastering Velocity Effects in After Effects: A Comprehensive Guide
Introduction: The Power of Velocity in Animations
Are you ready to create stunning velocity effects in After Effects? Adding velocity to your animations can add a sense of speed and energy, elevating your videos to the next level. Whether you’re a seasoned motion designer or a beginner, this step-by-step guide will teach you everything you need to know about mastering velocity in After Effects.
Get 10% off when you subscribe to our newsletter

How to Add Velocity in After Effects
Step 1: Understanding Keyframe Animation
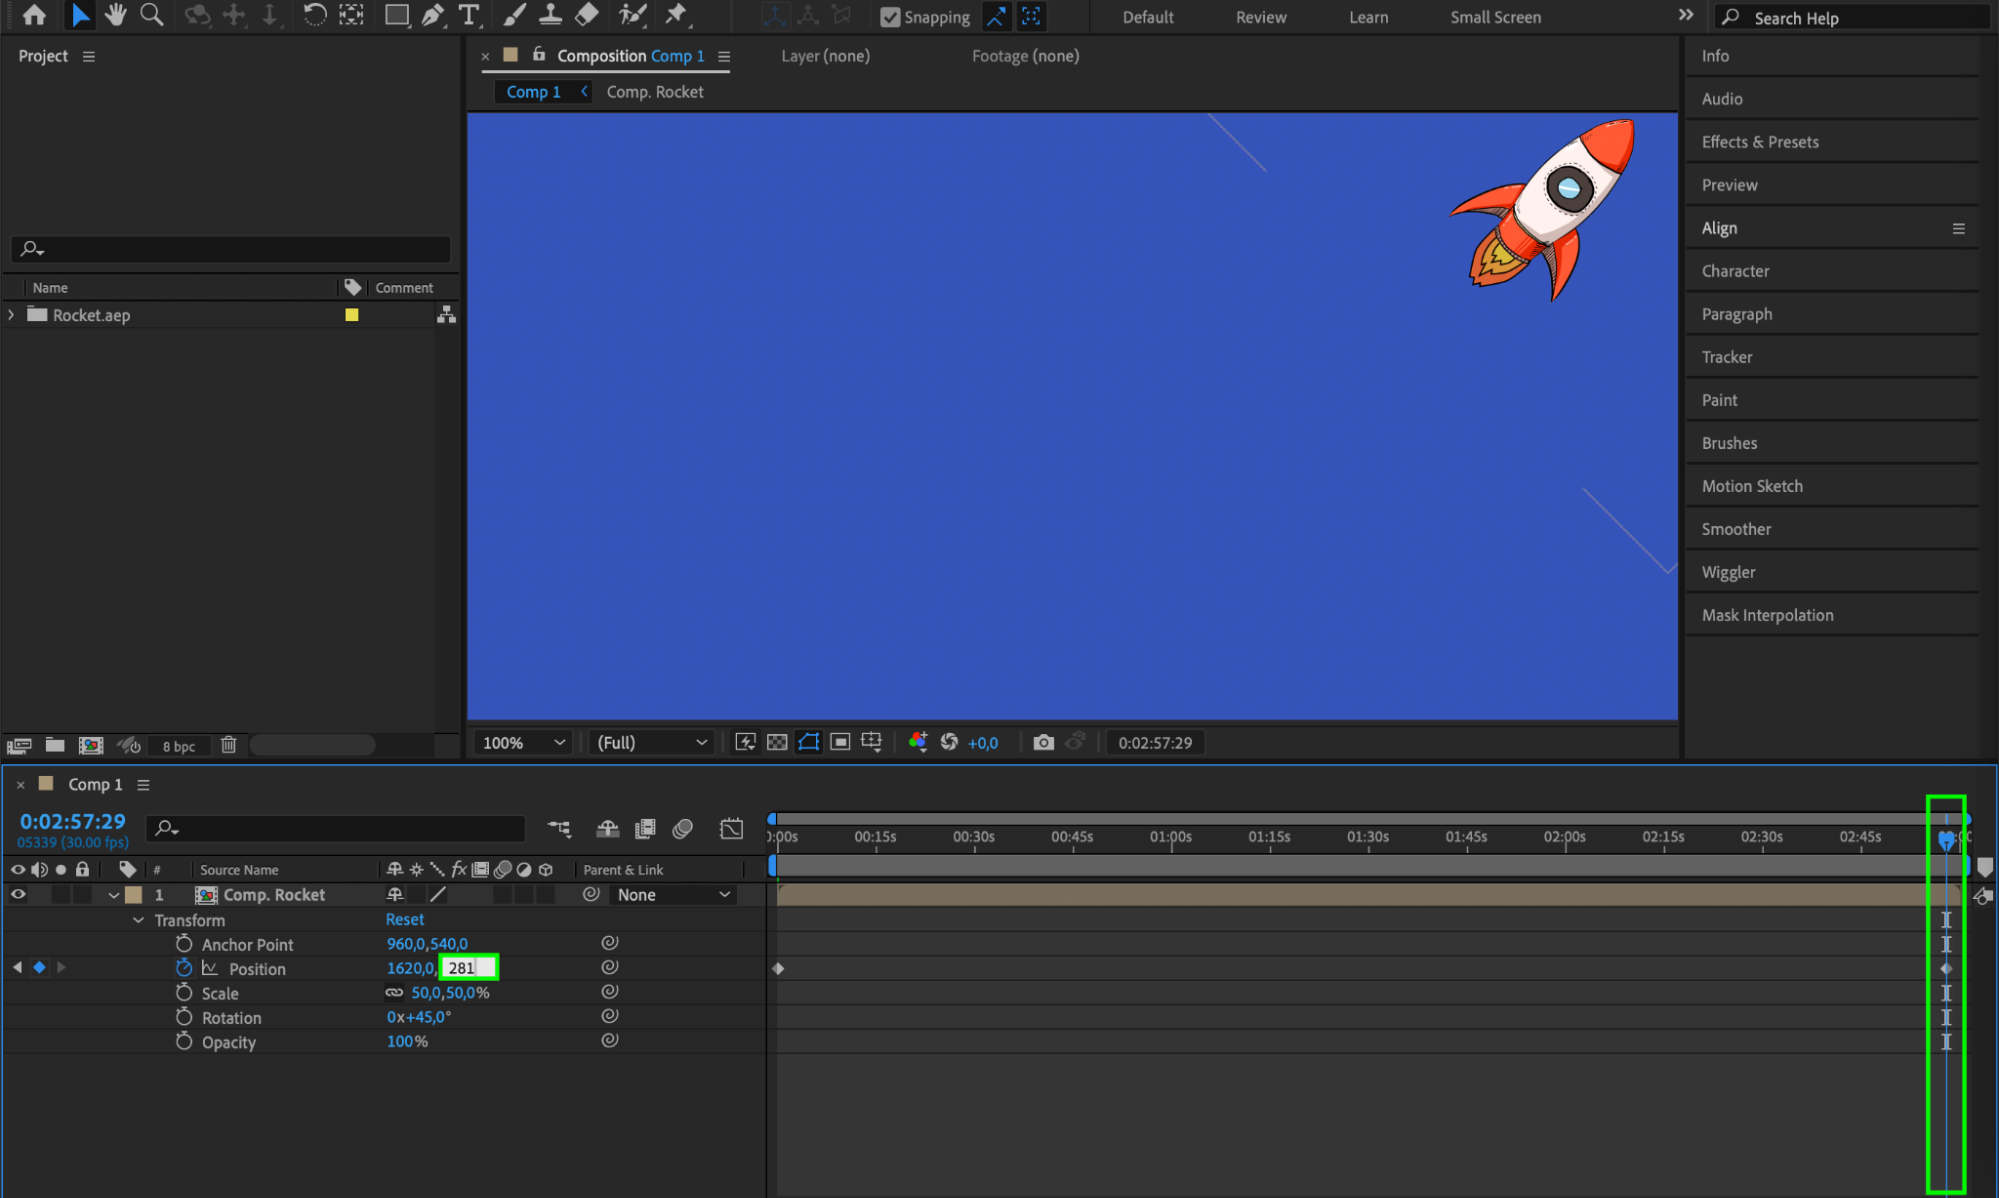
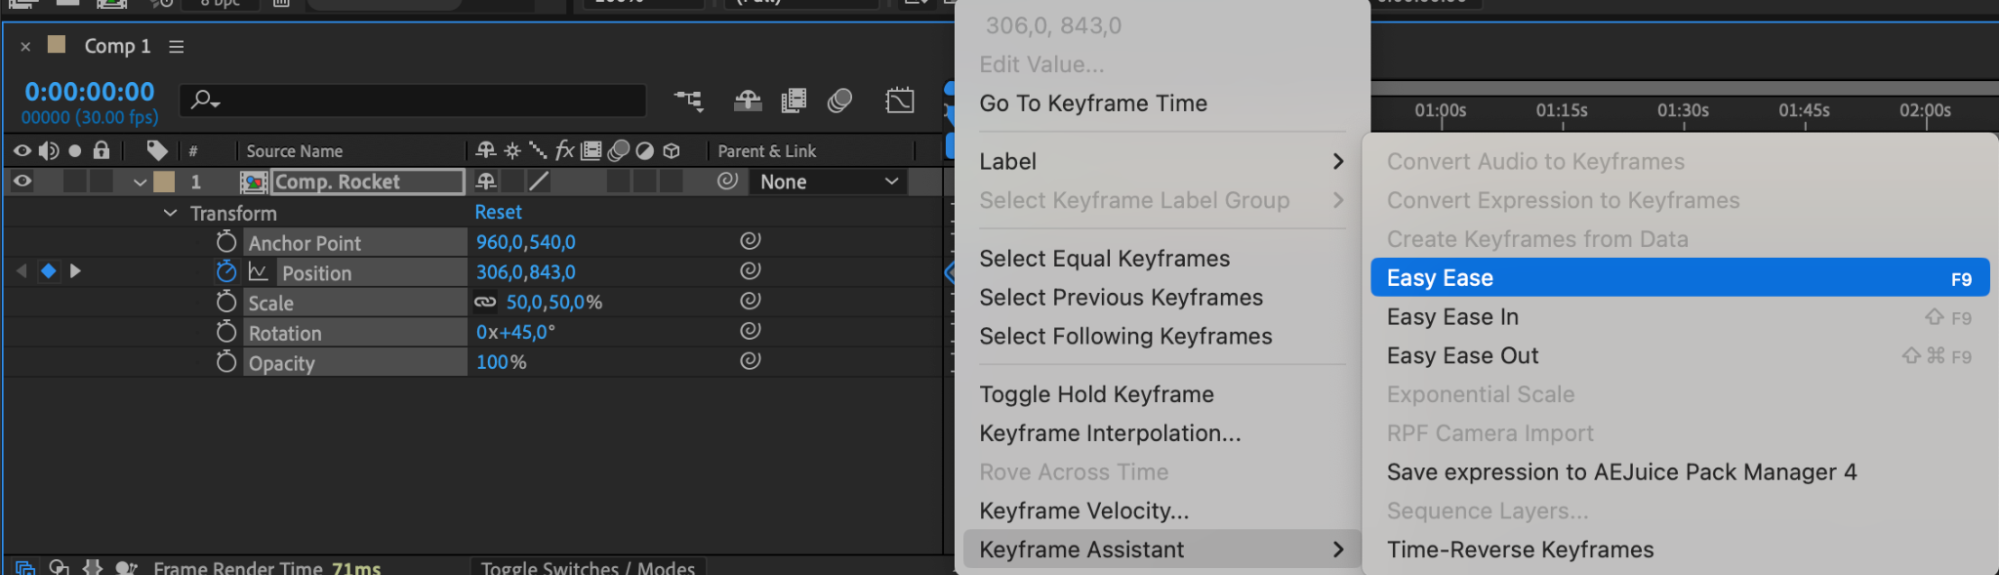
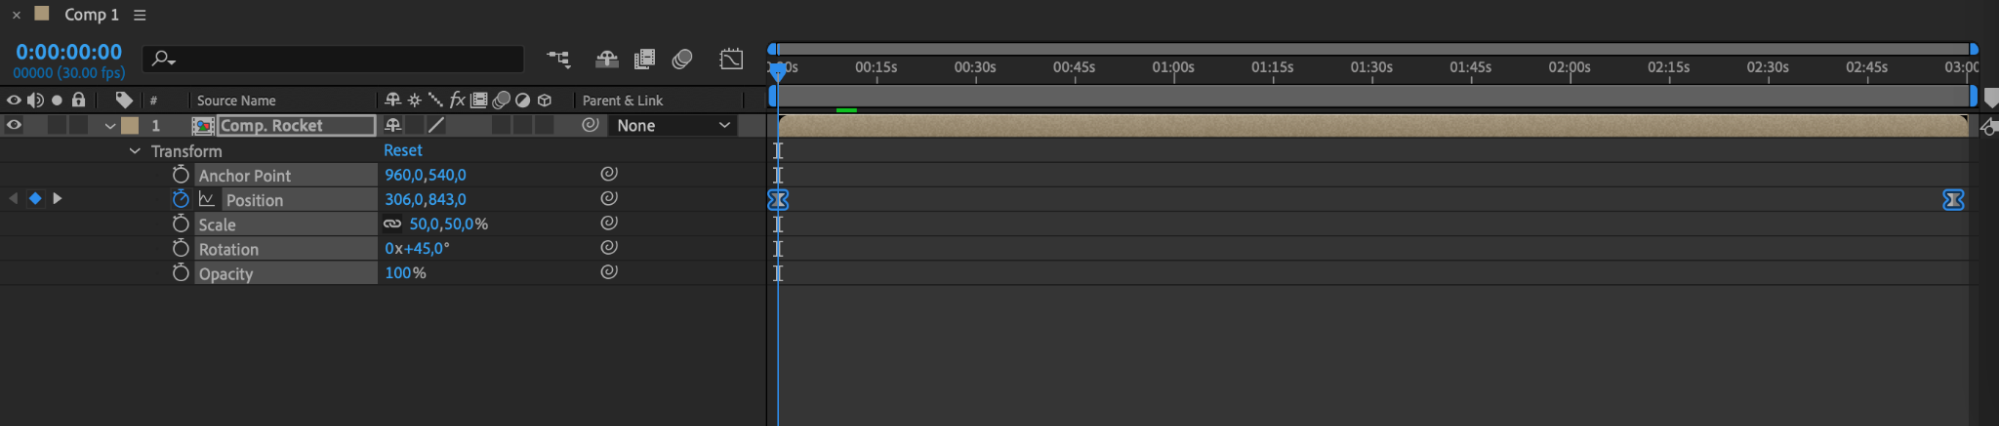
To start, it’s important to understand the basics of keyframe animation and how velocity relates to it. Keyframes are the building blocks of animation, and manipulating their velocity can affect the speed and motion paths of your objects. Expand the properties of the layer containing the object you want to animate and create keyframes by clicking the stopwatch icon next to the parameter. Move the current time indicator forward and change the parameter values. Use Easy Ease to smooth out the animation.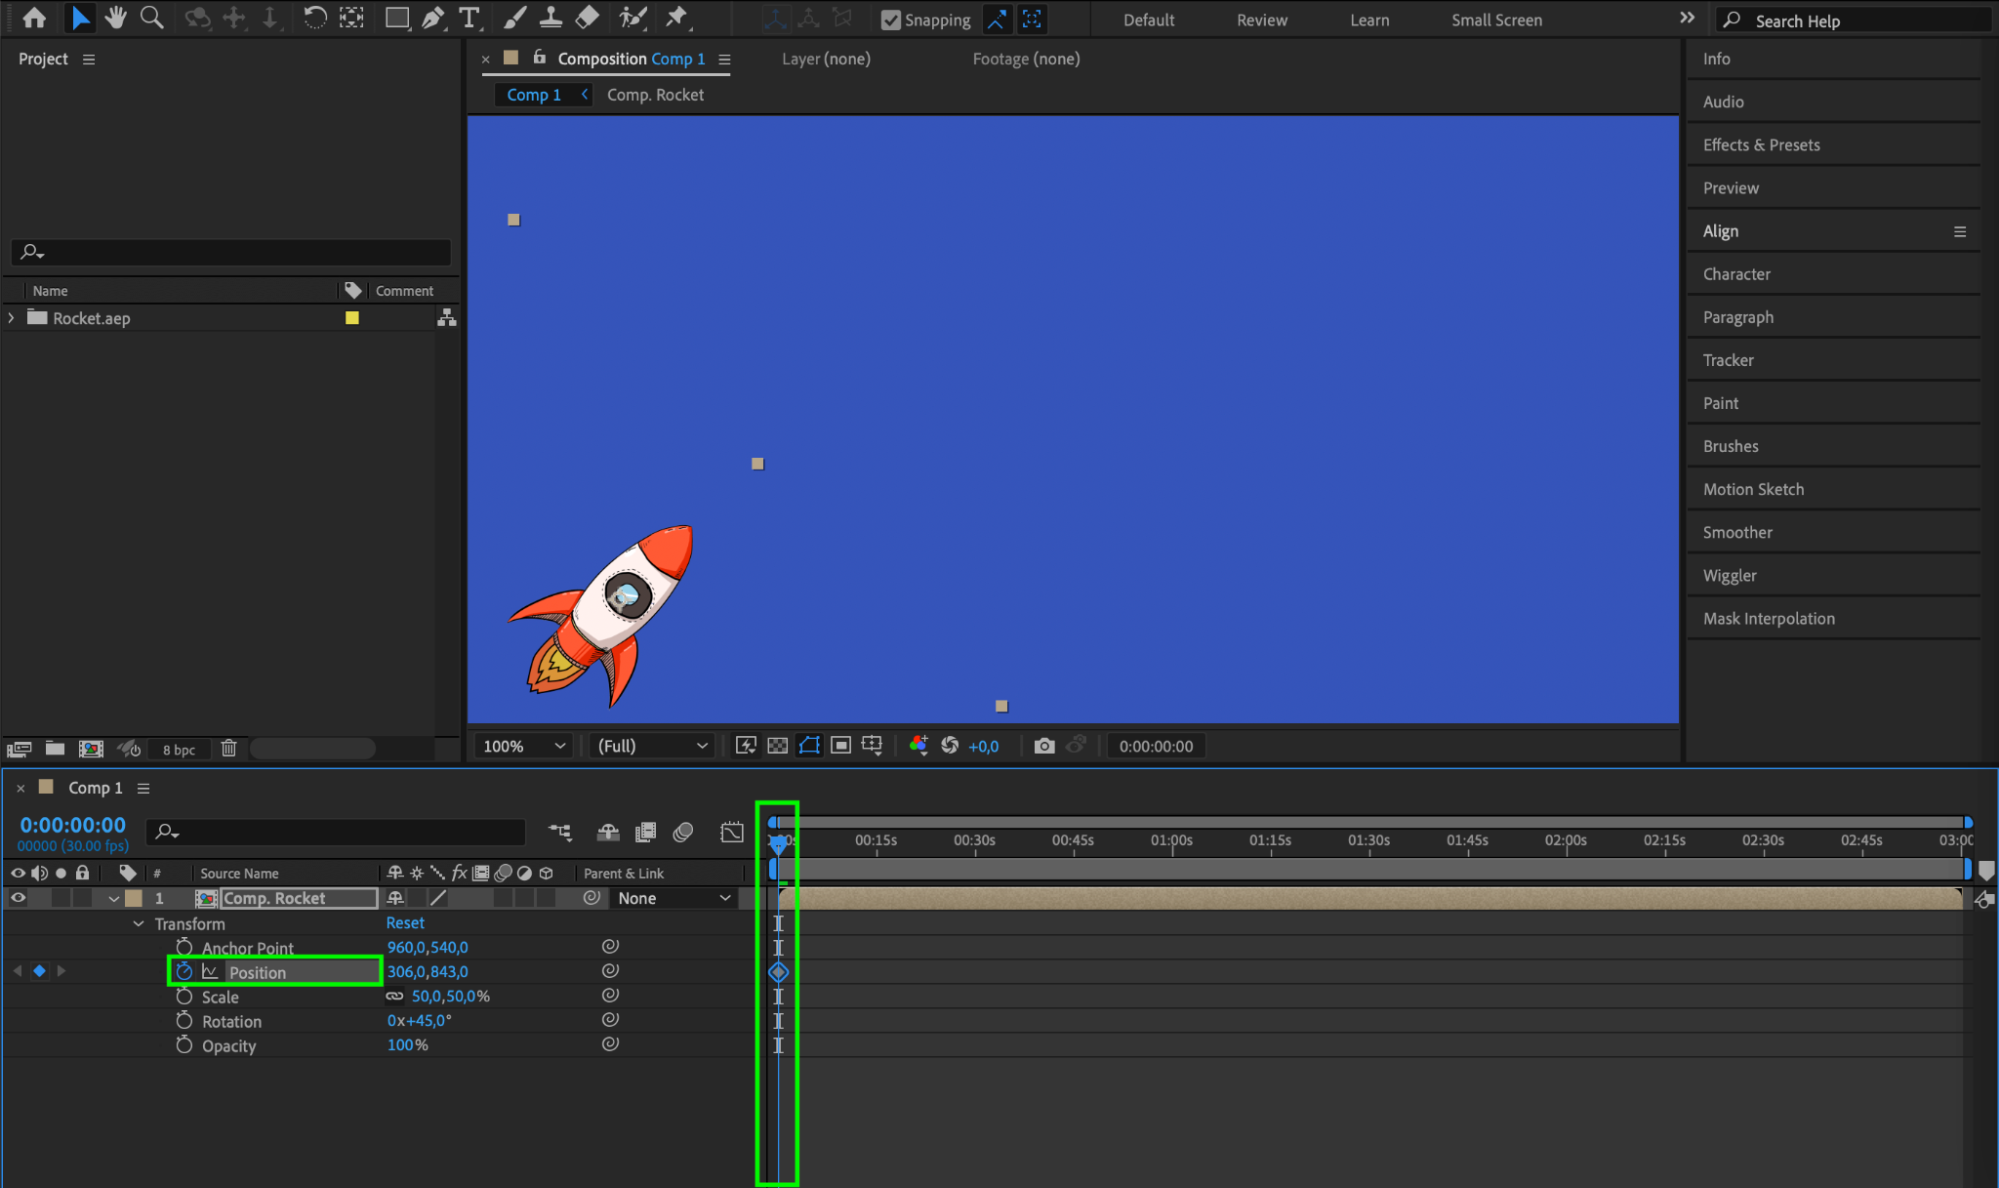

 Step 2: Adjusting Velocity in the Graph Editor
Get 10% off when you subscribe to our newsletter
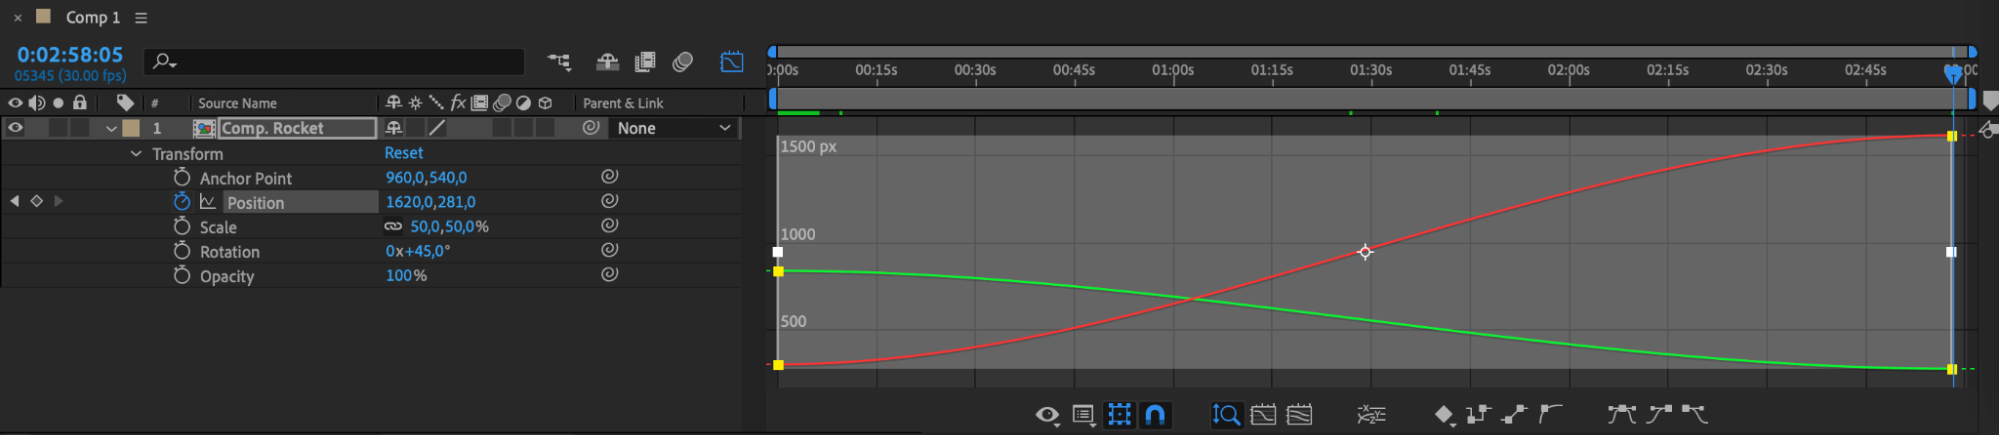
The Graph Editor is a powerful tool that gives you precise control over animation curves. With the Graph Editor, you can create smooth and dynamic velocity animations by easing in and out of keyframes. This technique will help you achieve seamless and natural-looking movements. Open the Graph Editor and adjust the curves to refine the velocity of your animation.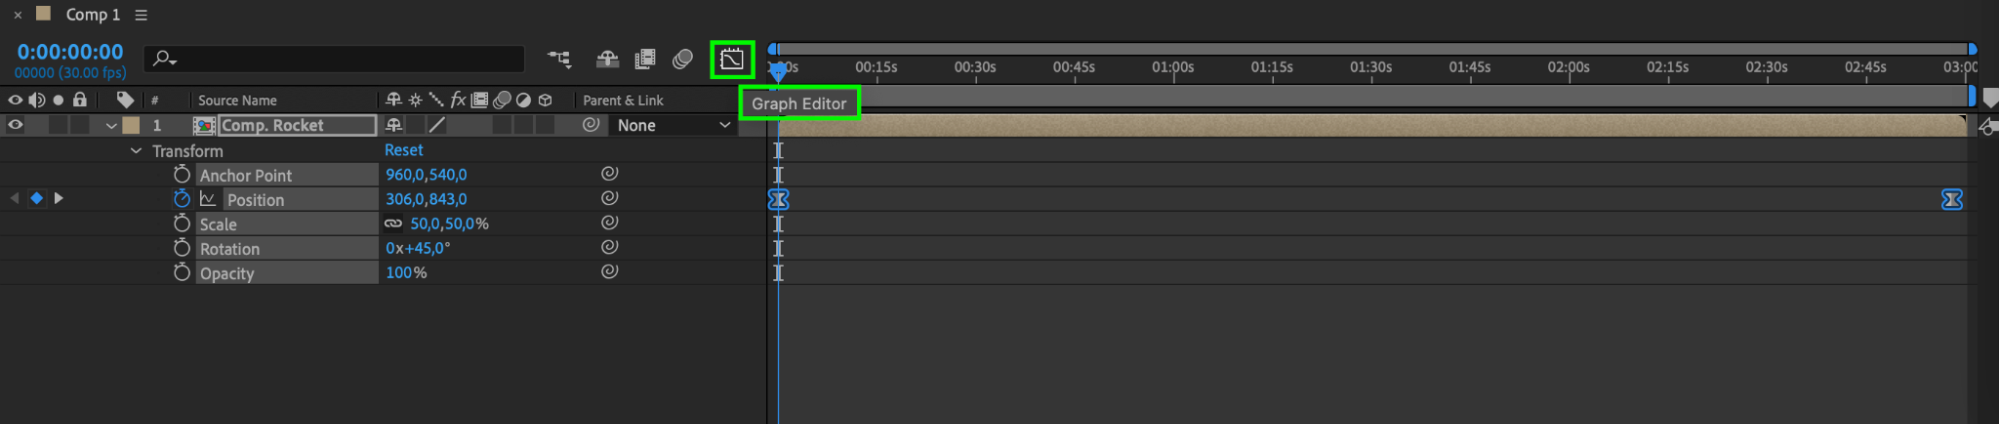
 Step 3: Using Expressions for Advanced Control
Get 10% off when you subscribe to our newsletter
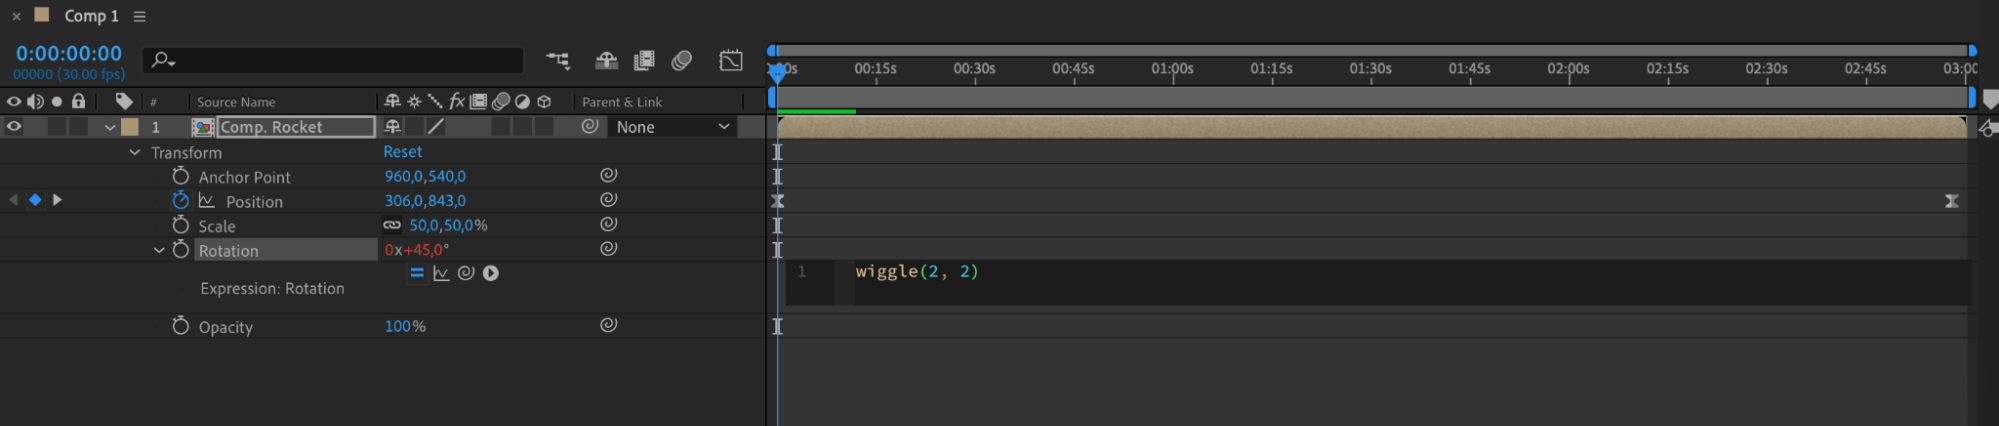
Expressions are another tool you can use to control velocity parameters and create advanced animations. For example, you can add an expression to the rotation parameter by selecting the parameter, going to Animation > Add Expression, and typing in the expression wiggle(2, 2). These expressions will create a slight shaking effect for the chosen parameters, adding a dynamic and lively touch to your composition.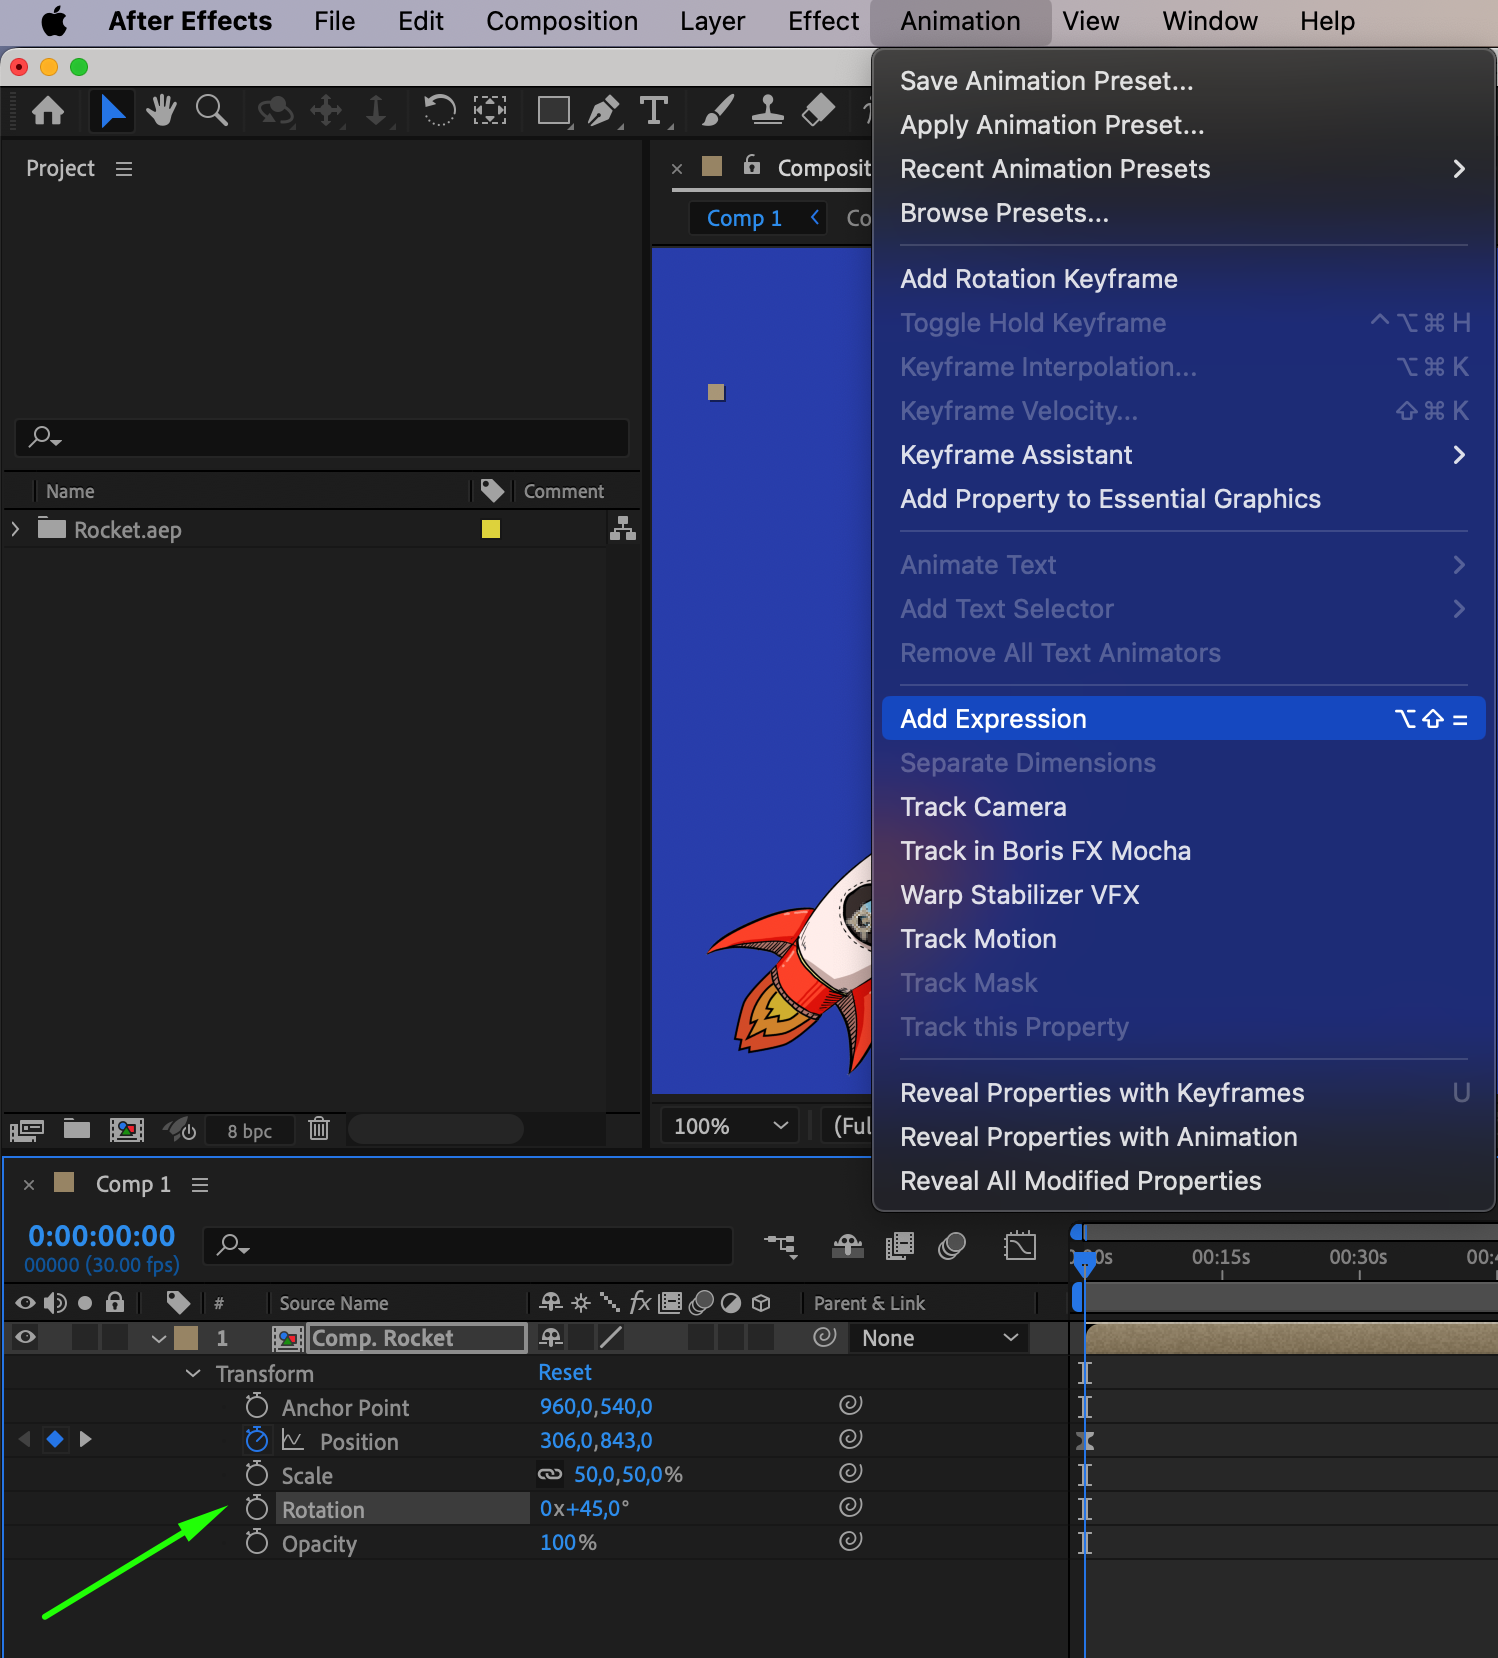
 Step 4: Enabling Motion Blur
Use the Enable Motion Blur button to add realism and impact to your moving objects. Motion blur helps to simulate the natural blurring that occurs with fast motion, making your animations look more fluid and dynamic. Toggle the motion blur switch on your layers.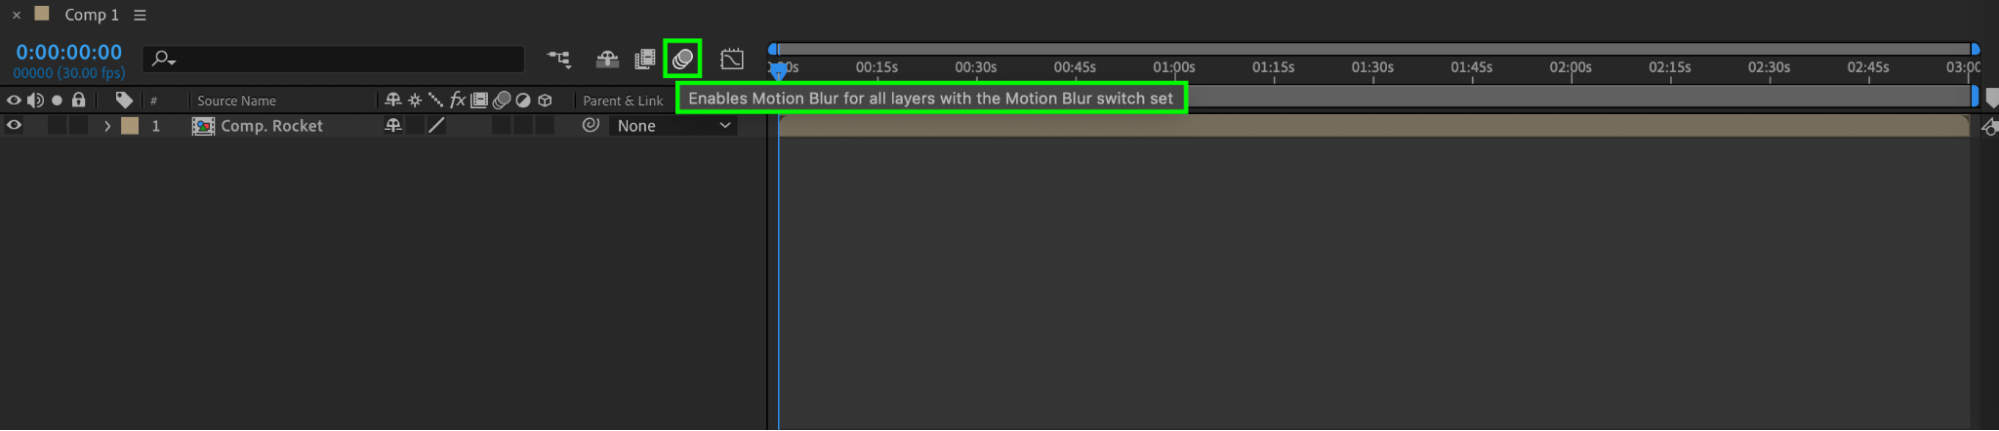
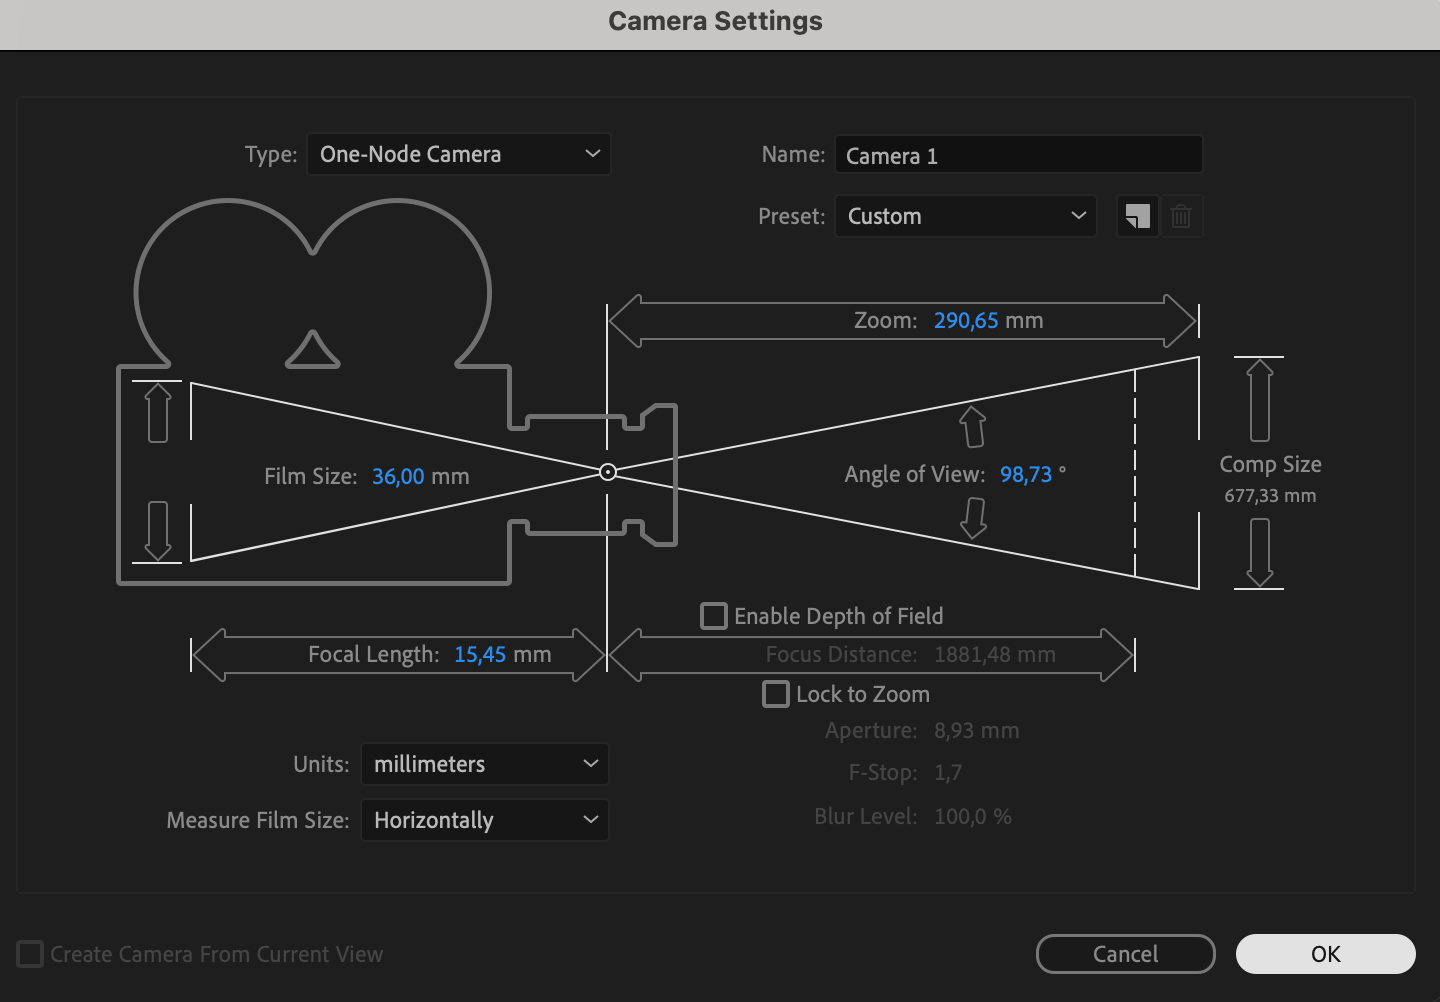
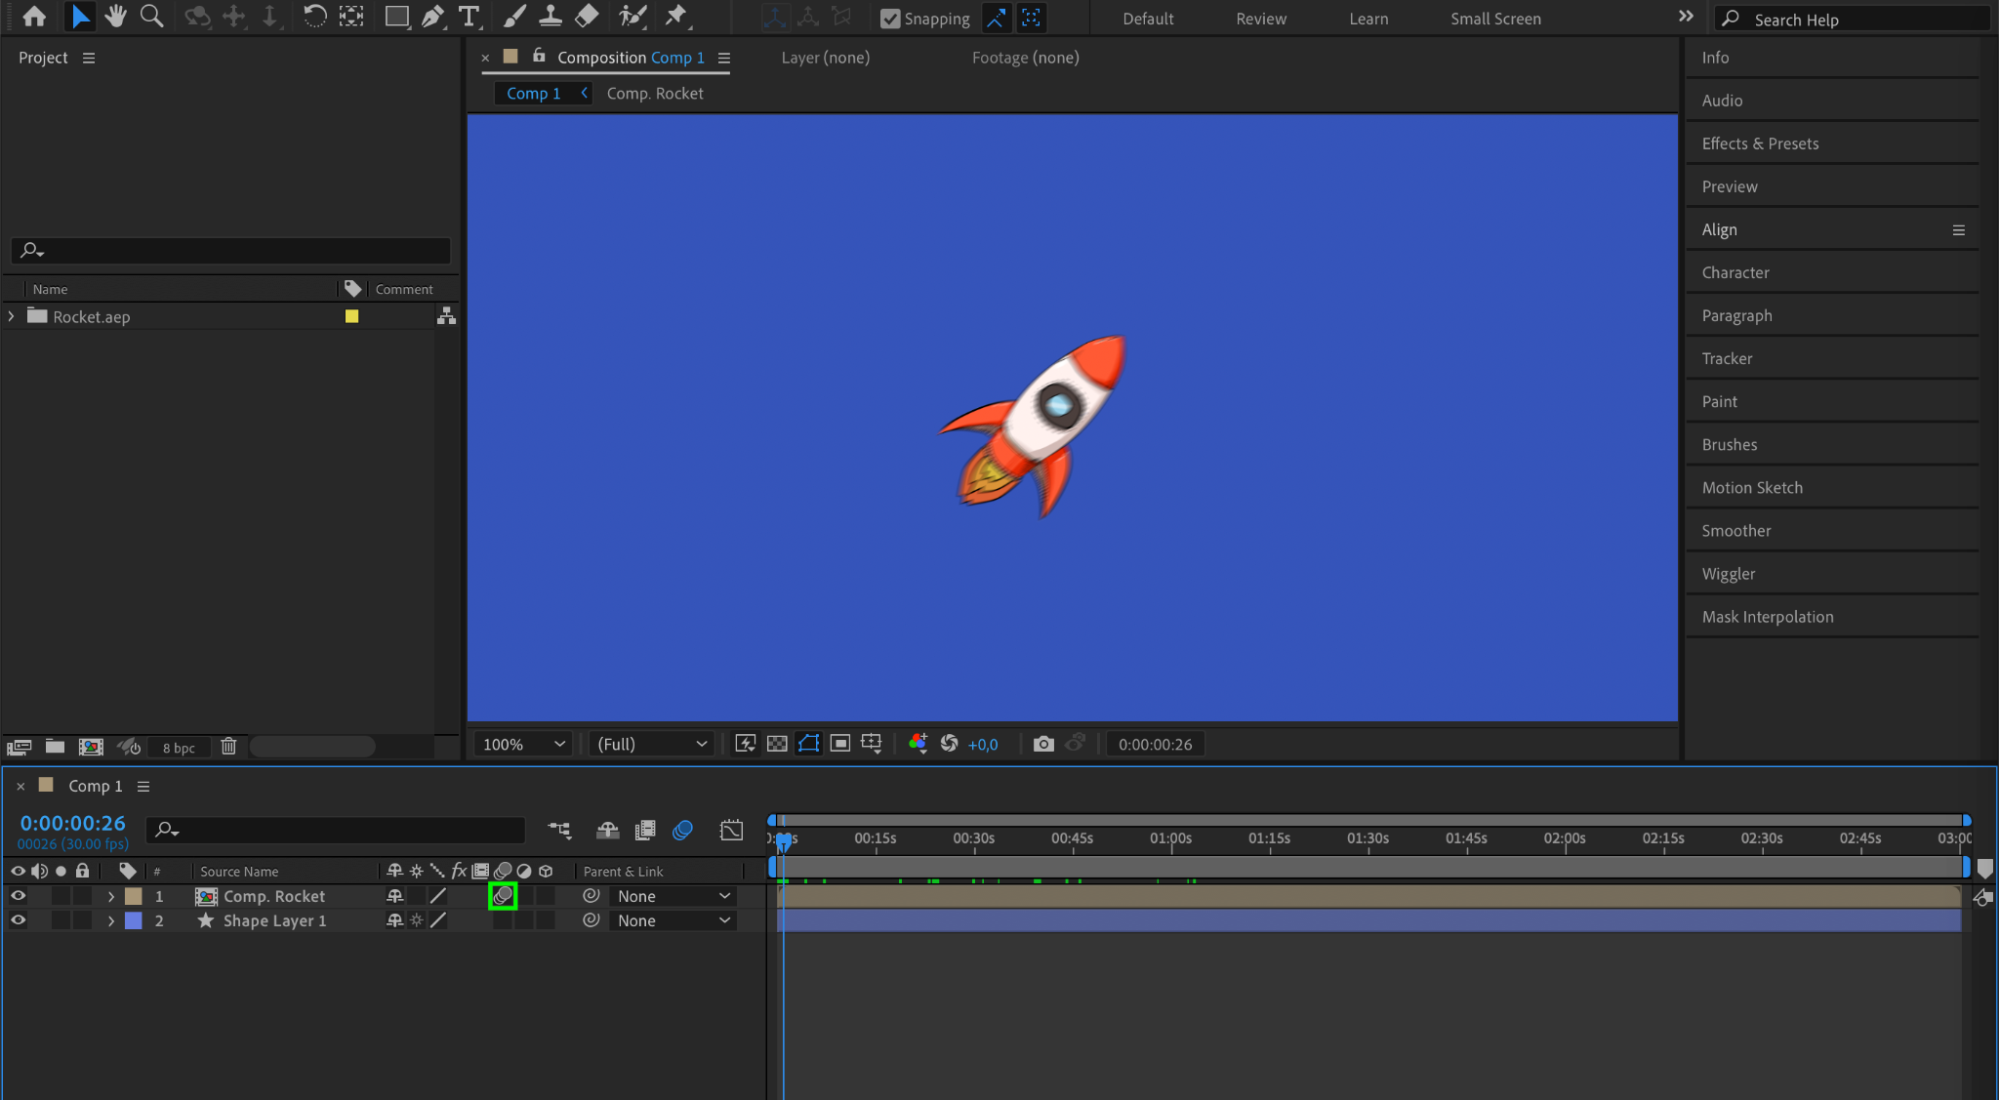 Step 5: Incorporating Camera Movement
Get 10% off when you subscribe to our newsletter
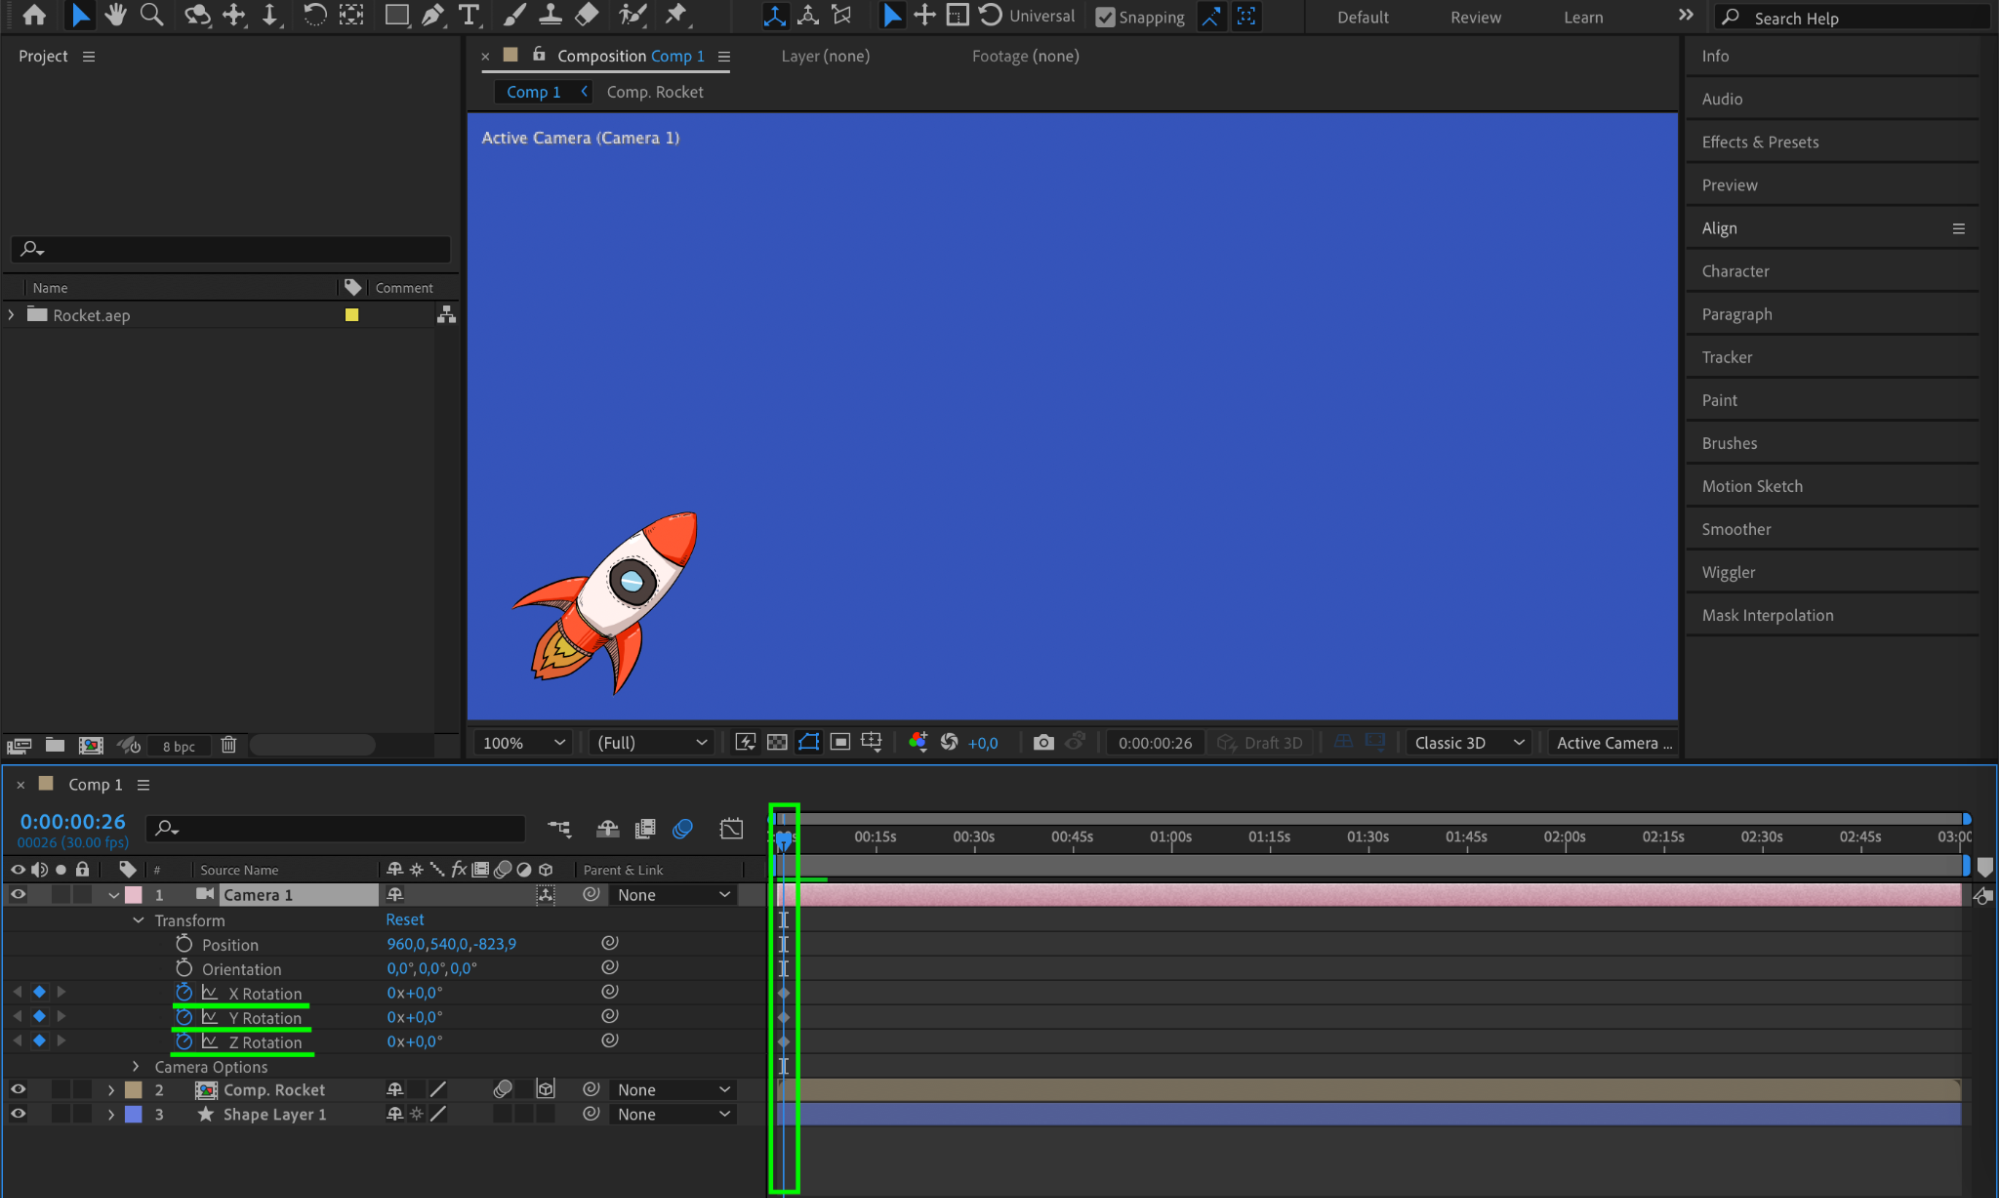
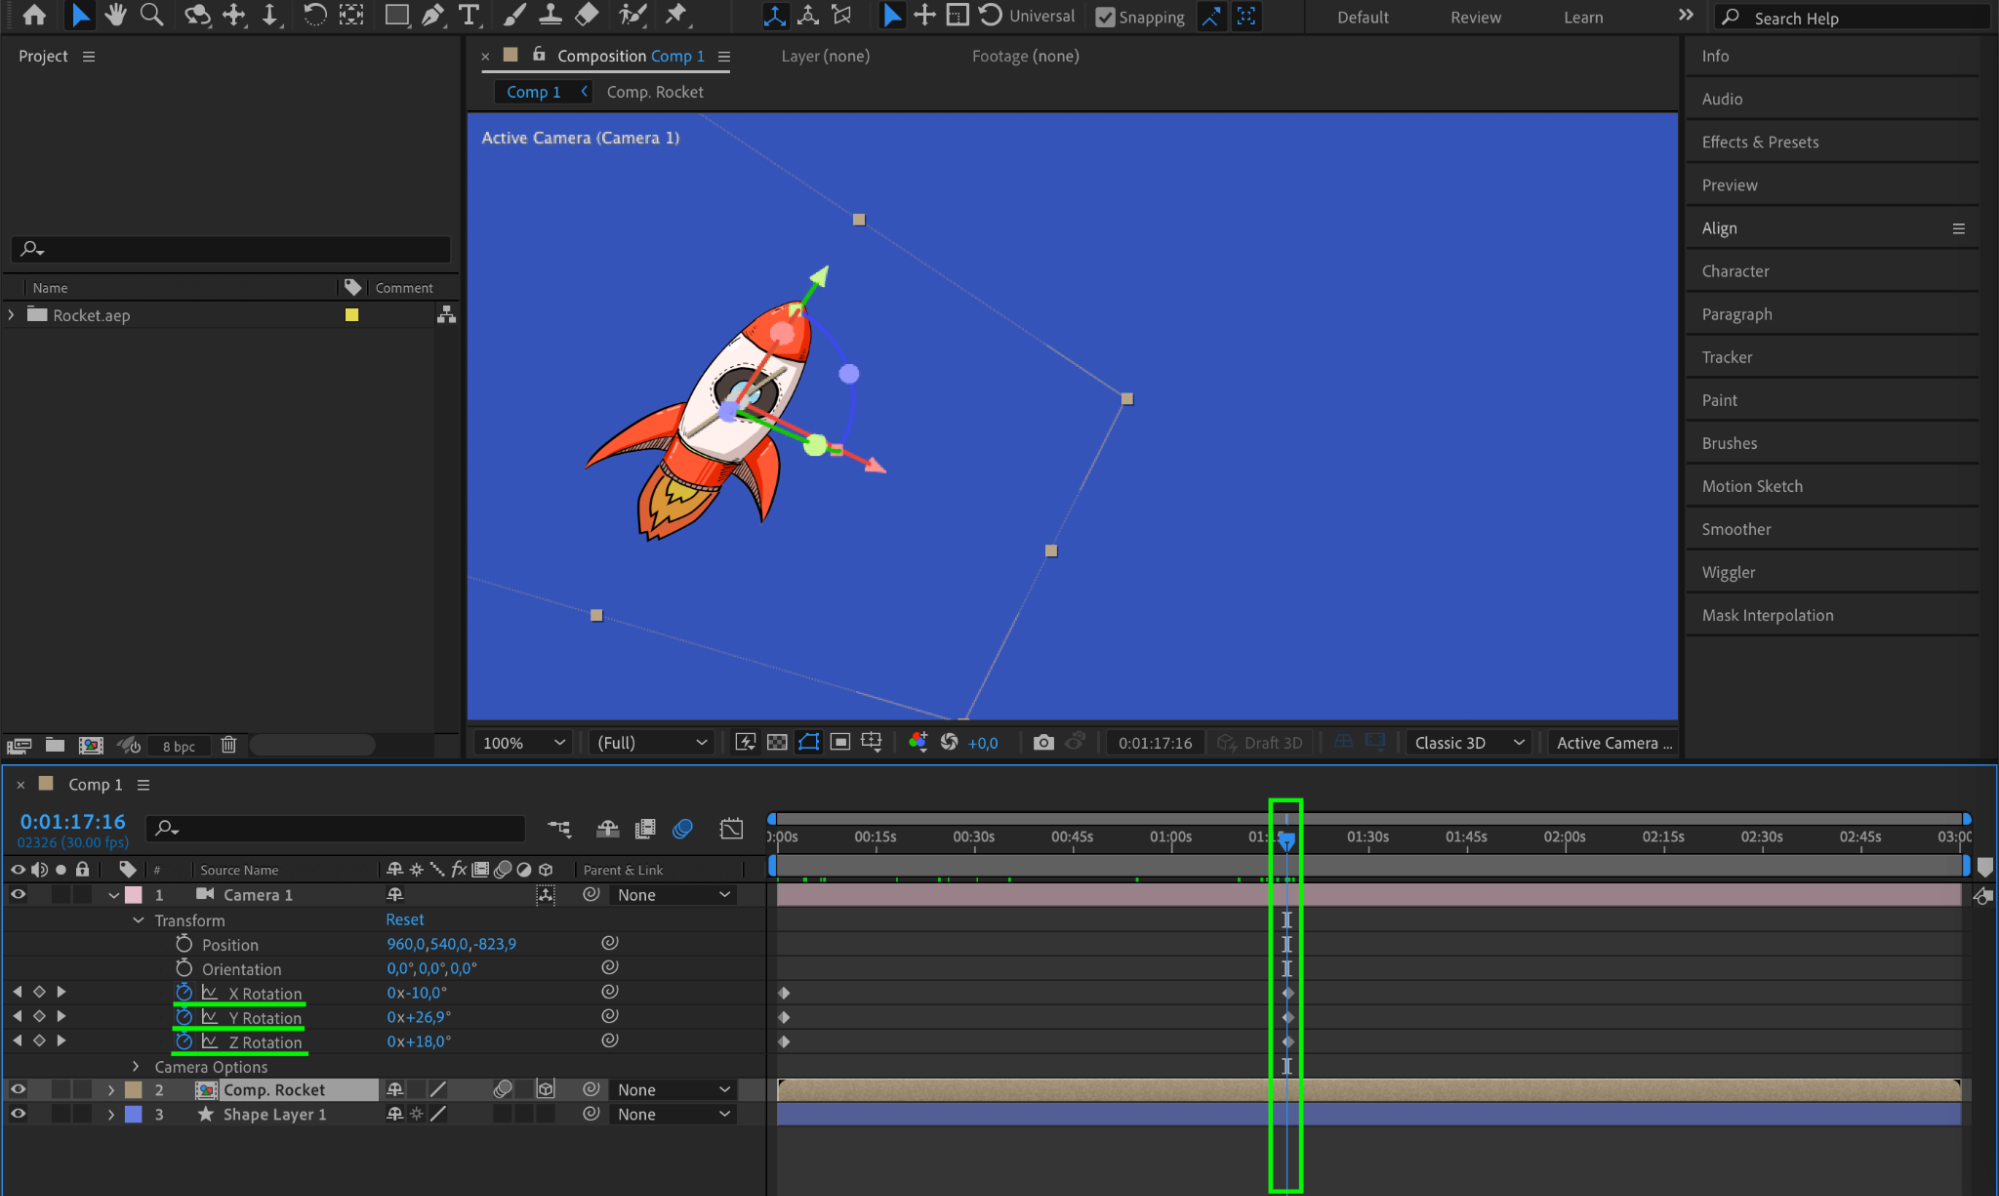
Incorporating camera movement can also take your animations to the next level. First, make your animated layer 3D by clicking the cube icon on the layer. Create a camera by going to Layer > New > Camera. Add keyframes for camera parameters like position and rotation to simulate real camera movements, such as fast zoom-ins or smooth pullbacks. Experiment with different camera angles and movements to add depth and dynamism to your animations.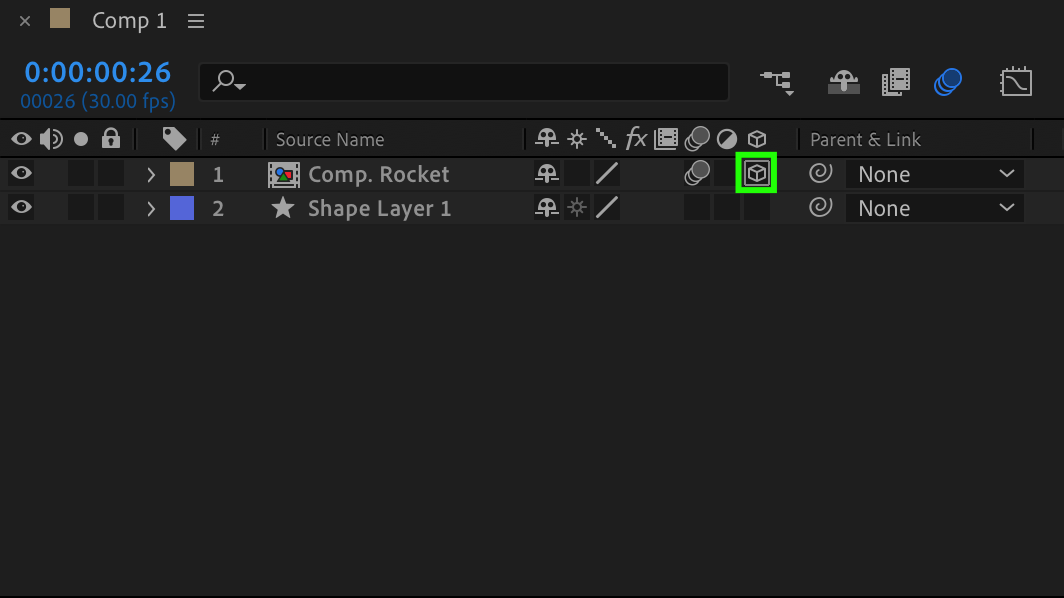

 Conclusion: Unleashing the Full Potential of Velocity in After Effects
By the end of this guide, you’ll have a comprehensive understanding of how to harness velocity in After Effects. You’ll be able to create dynamic, impactful, and visually stunning animations that captivate your audience. So, let’s dive in and unlock the full potential of velocity in After Effects. It’s time to add some motion and energy to your videos.
Our Bestsellers

