Mastering Vertical Text in After Effects: A Comprehensive Guide
Unlocking the Power of Vertical Text Animations in After Effects
Vertical text animations are all the rage in social media and advertising, and with the help of After Effects, you can easily create eye-catching and dynamic designs. In this guide, we will walk you through the step-by-step process of creating vertical text in After Effects, providing you with tips, tricks, and creative options to make your animations stand out.
First, let’s start with the basics. Vertical text has gained popularity on platforms like Instagram and TikTok due to its unique visual appeal. By learning how to create vertical text in After Effects, you can add a captivating and trendy element to your videos.
To get started, open After Effects and create a new composition, making sure to specify the dimensions and duration based on your project’s requirements. Once you’ve set up your composition, follow these steps to create vertical text:
Get 10% off when you subscribe to our newsletter

1.To begin, create a text layer by accessing the menu and clicking on the “T” symbol for the text tool or using the shortcut “Ctrl/Cmd + T”. By default, the “Horizontal Type Tool” will be selected. Press and hold the button to reveal a window where you can choose the “Vertical Type Tool”.


2. Type in the text you want to animate vertically. Automatically, upon creating the text layer, the Character panel will open, allowing you to edit text parameters such as color, font, thickness, and more.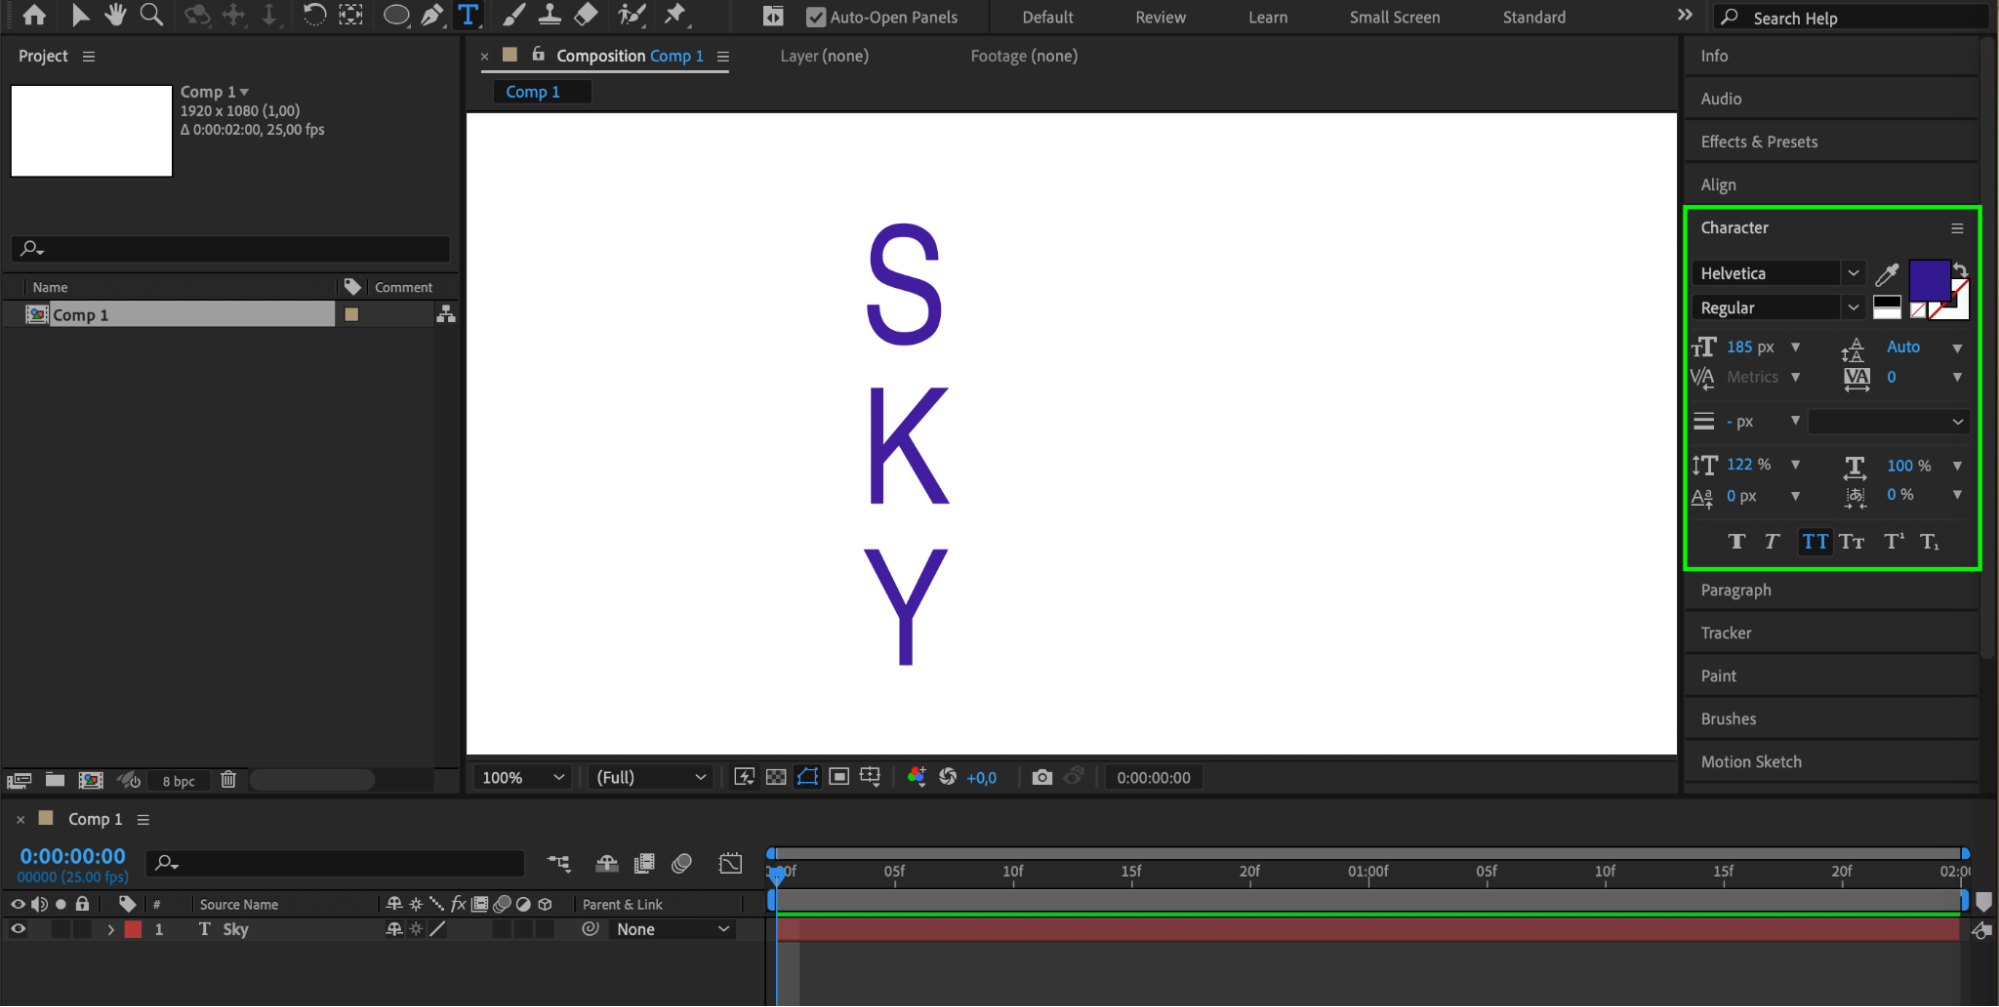
3. Align your text properly. Select the text layer and go to the Align panel. Align the text to the top or bottom for a sleek and professional look.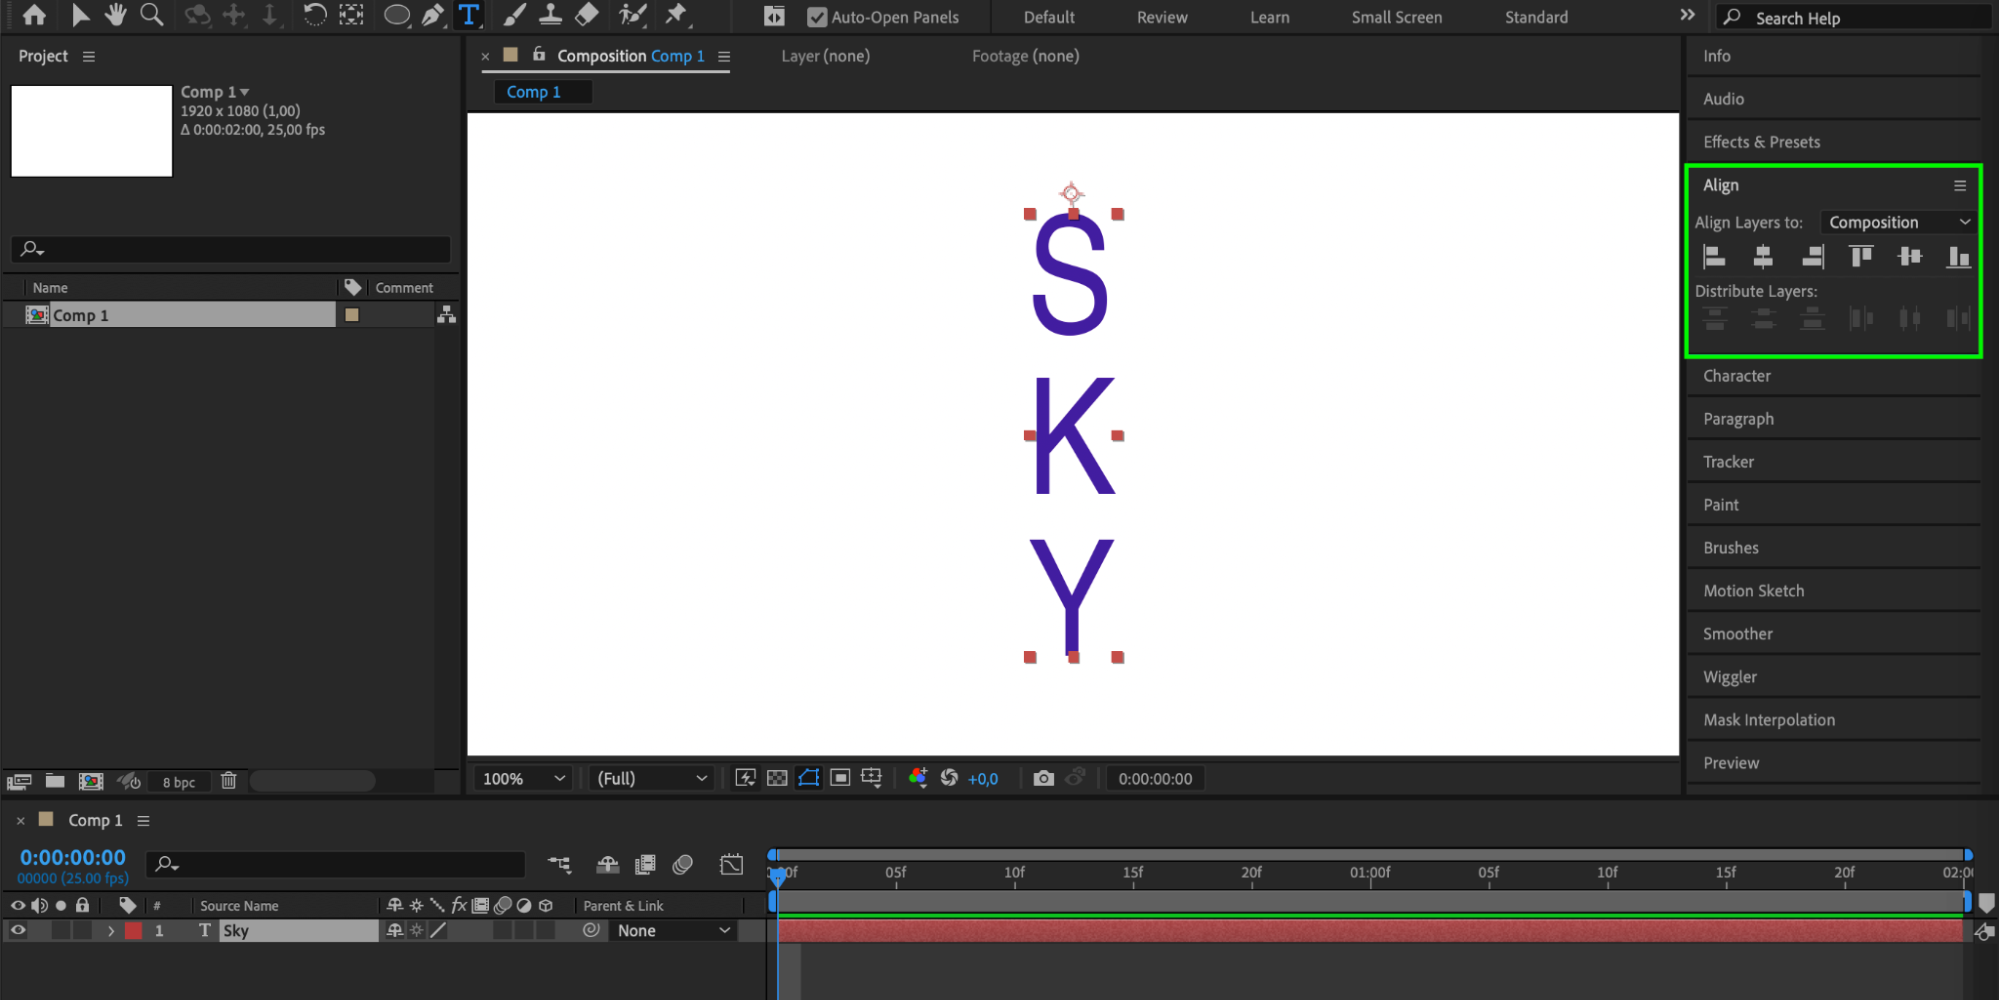
4. It’s time to add animations to your vertical text. Select the text layer and explore the Animation menu. Choose from a range of presets or manually keyframe animations to create a dynamic and visually appealing effect.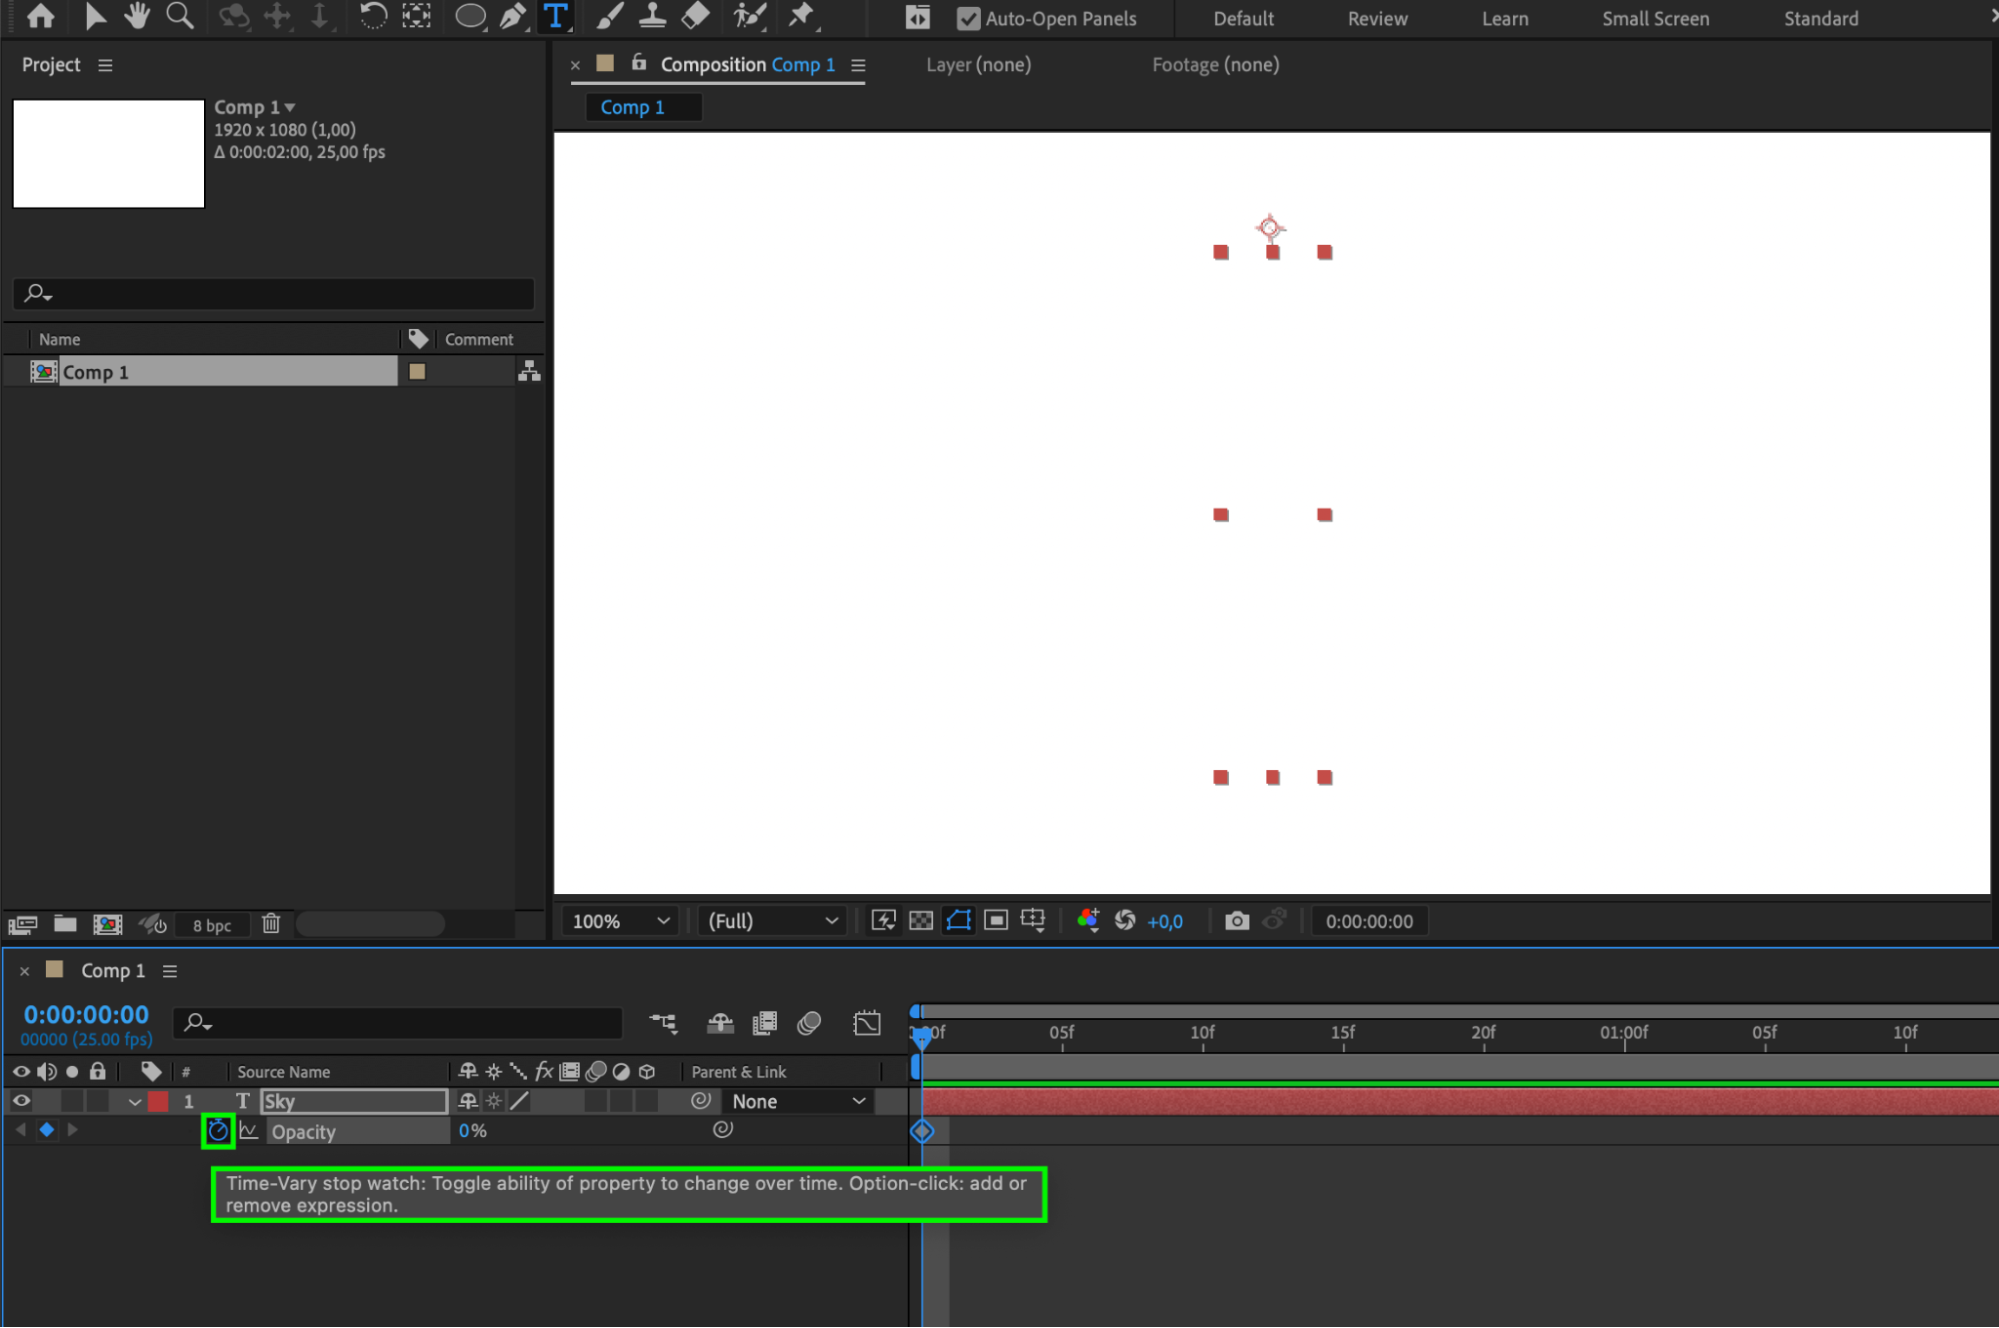
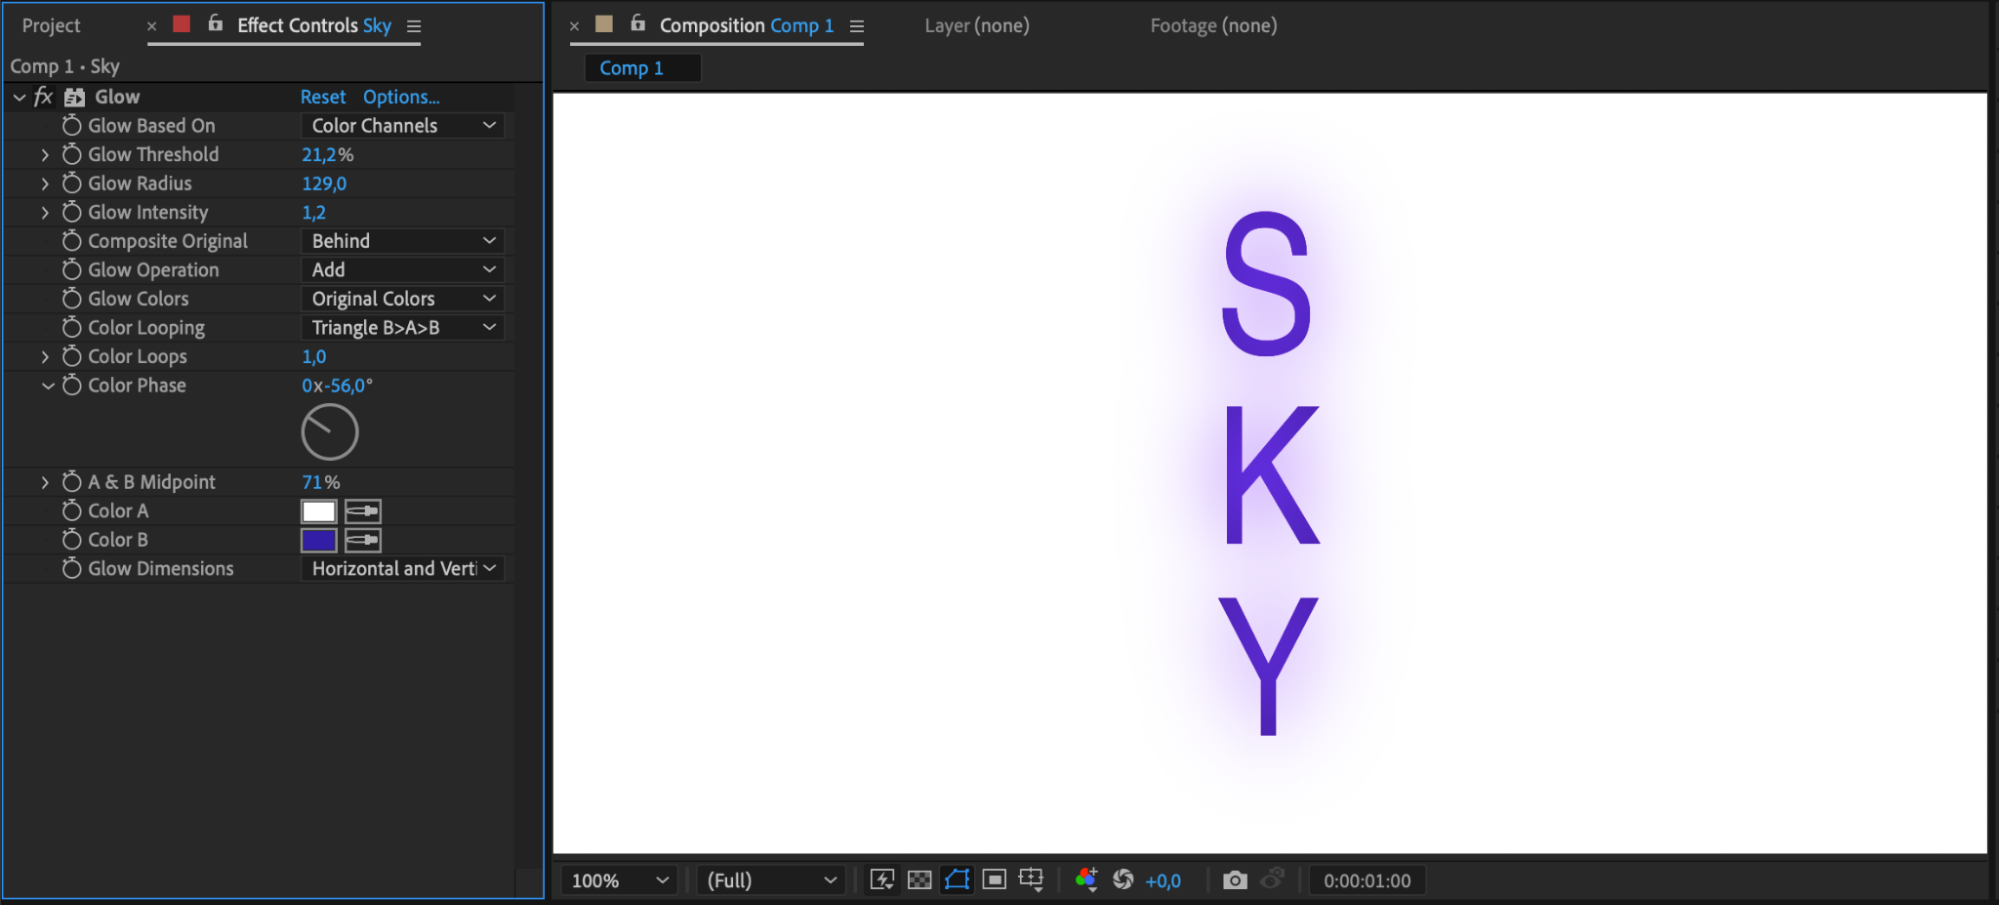
5. Elevate your design with effects. Take your vertical text to the next level by applying various effects and adjustments. Play around with drop shadows, glows, strokes, and other effects to add depth and dimension to your design.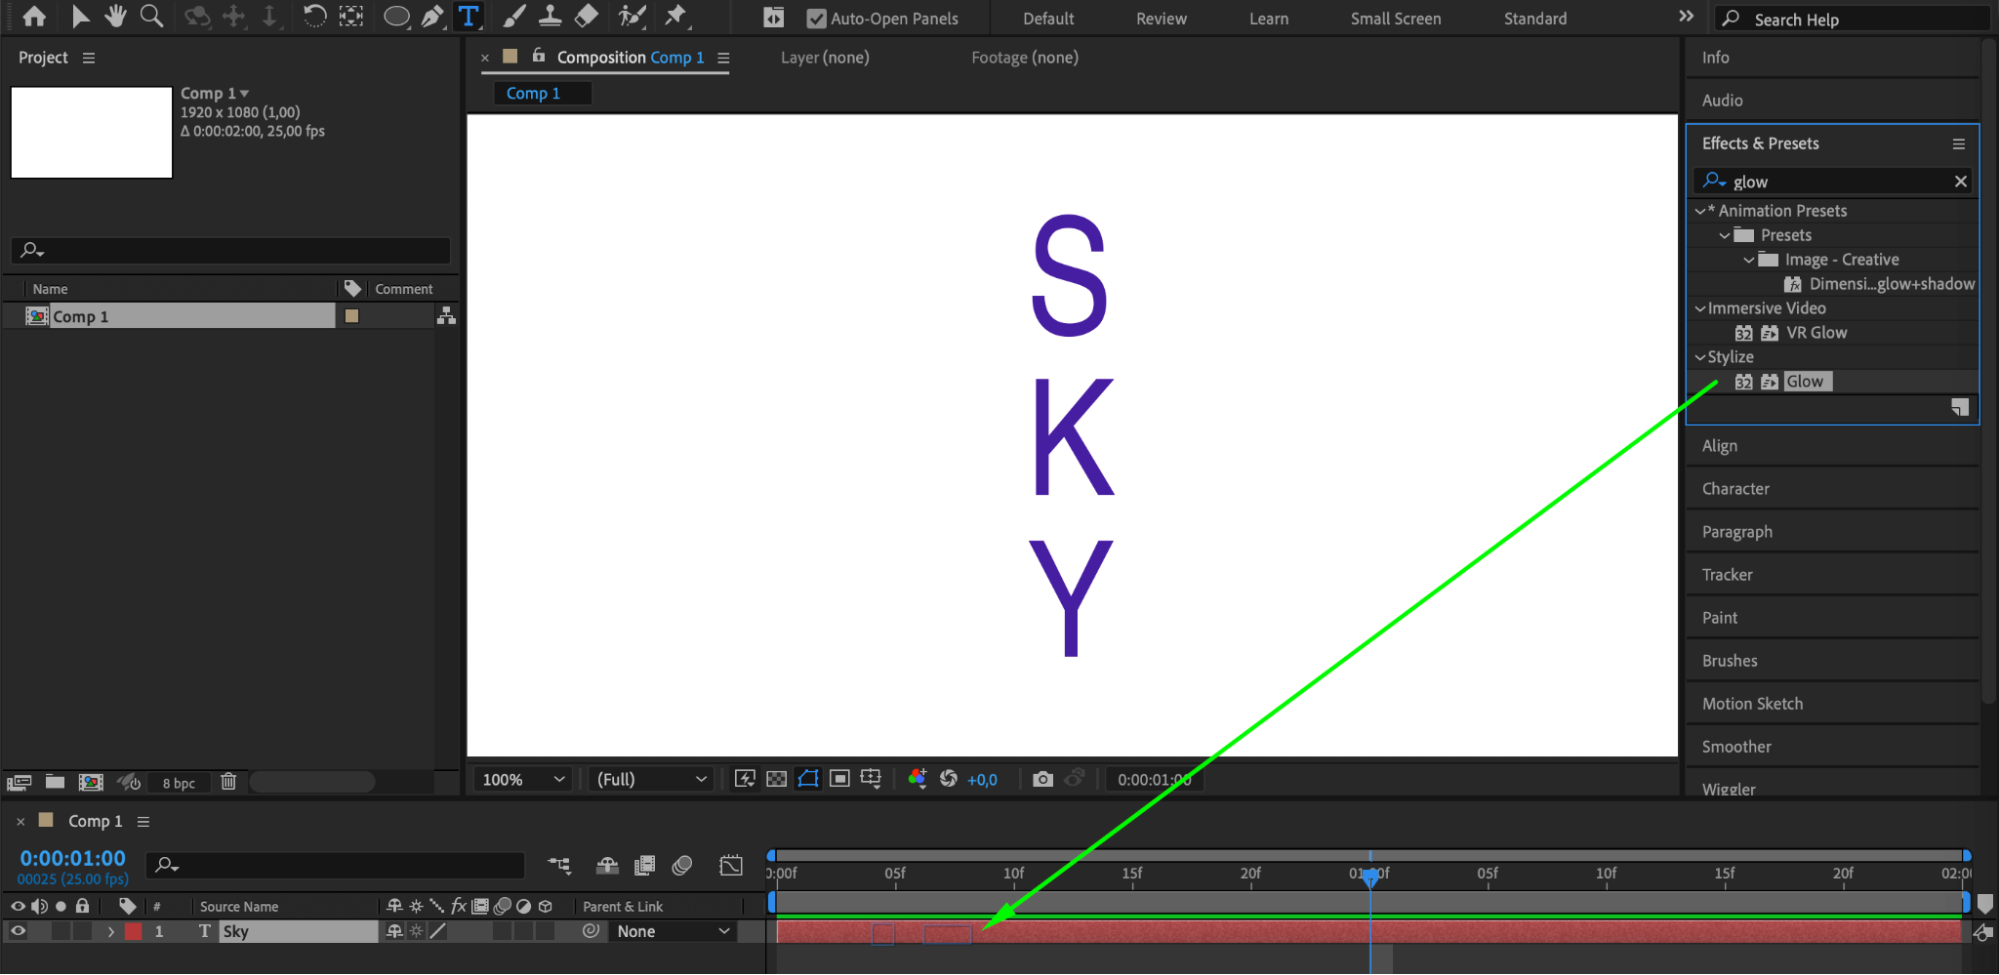
Get 10% off when you subscribe to our newsletter
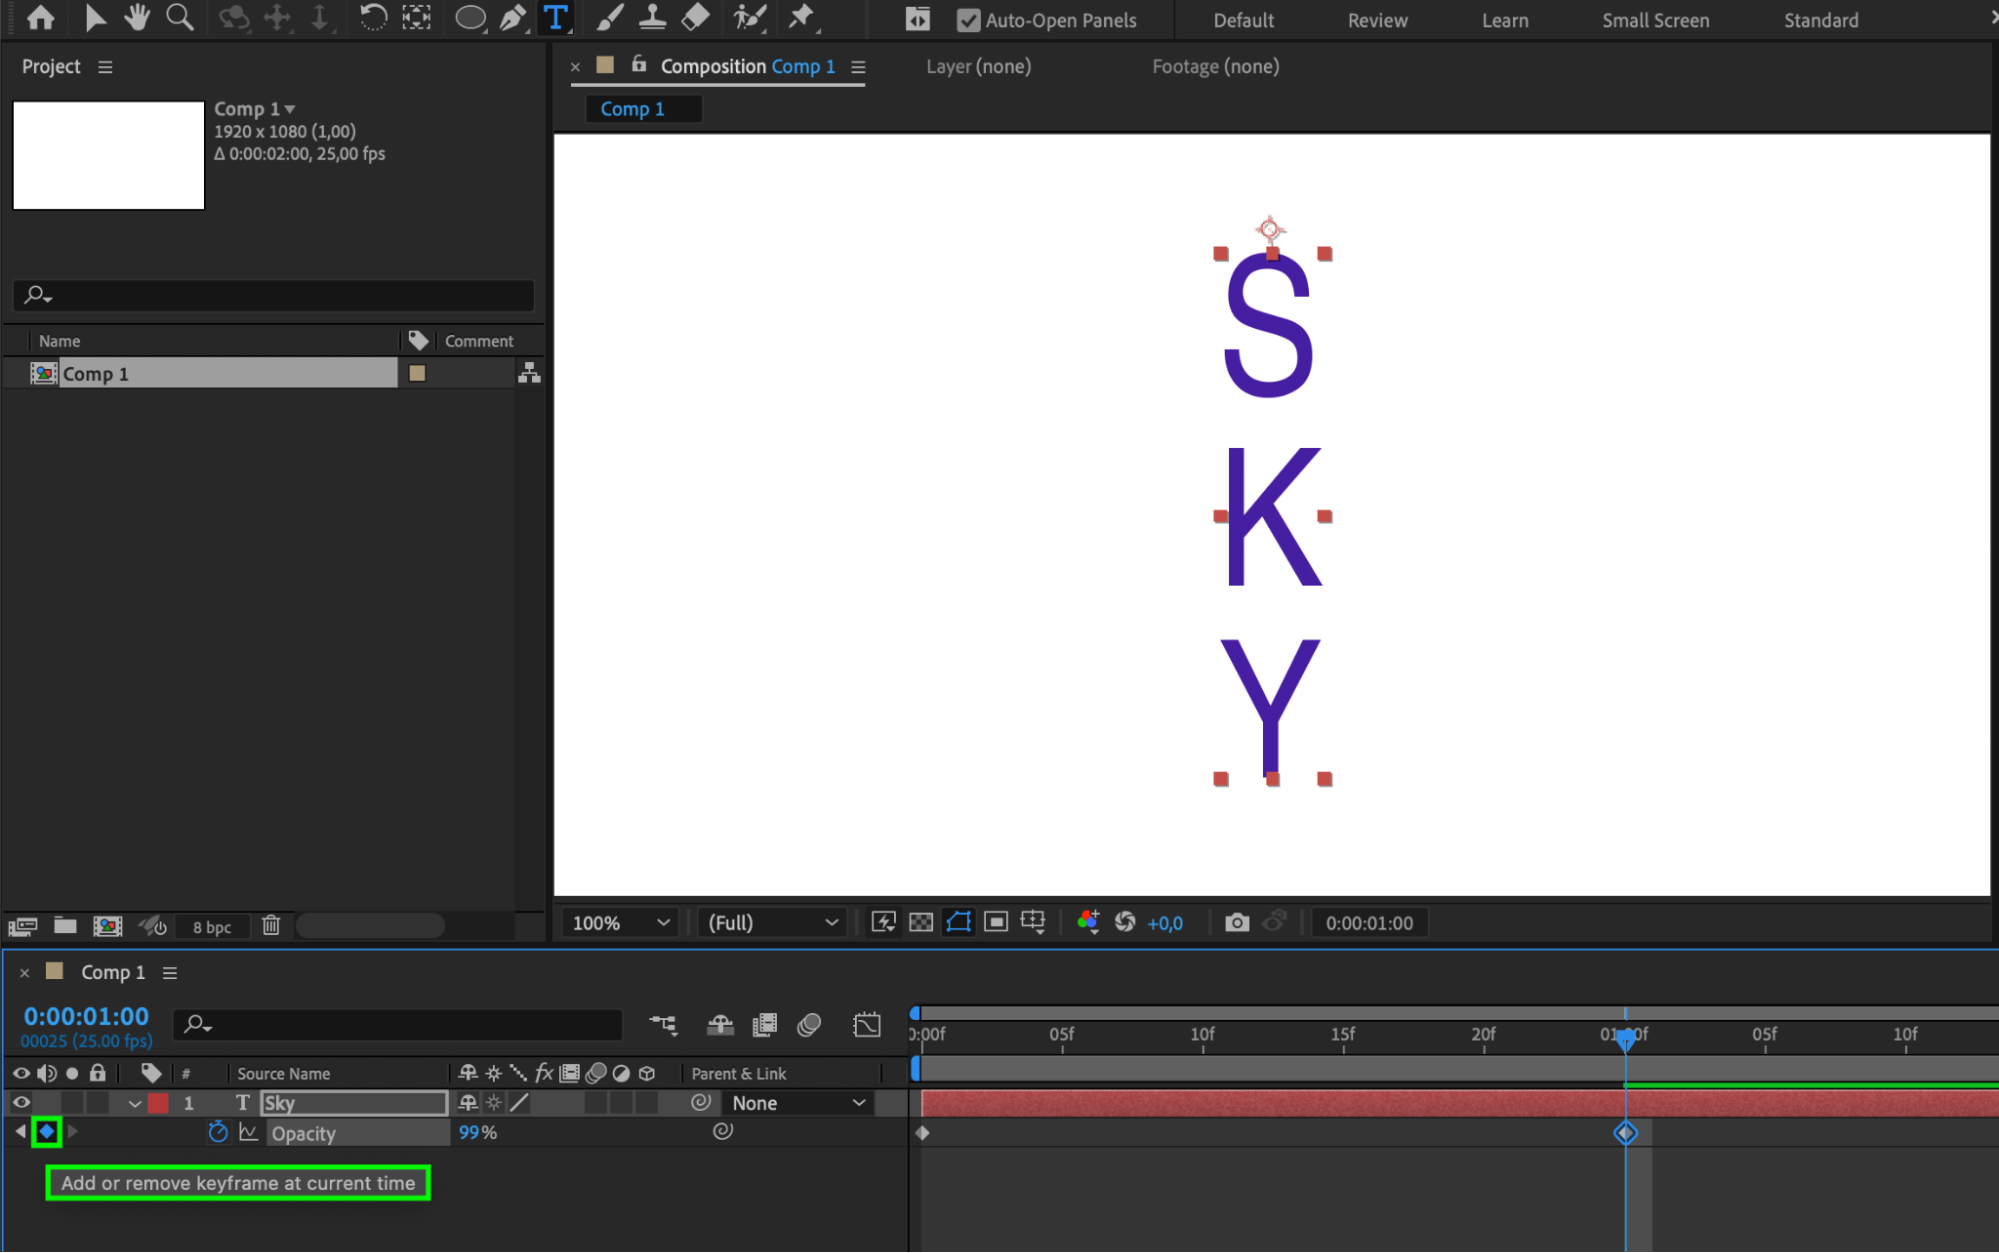
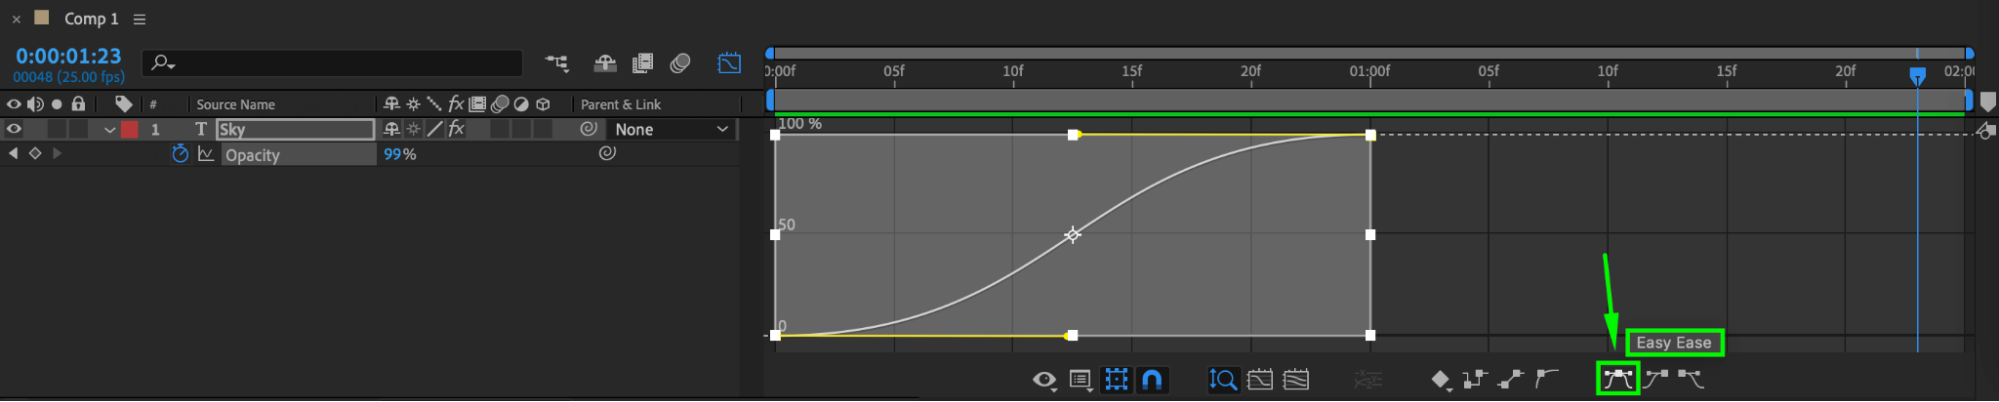
6. Fine-tune the timing of your animation. Control the timing and pacing of your vertical text animation by adjusting keyframes. Smooth out transitions and create a rhythmic flow by utilizing easing curves and the graph editor.
7. Once you’re satisfied with your vertical text animation, it’s time to export your composition. Head to the Composition menu and select “Add to Render Queue.” Choose your desired export settings and export your video.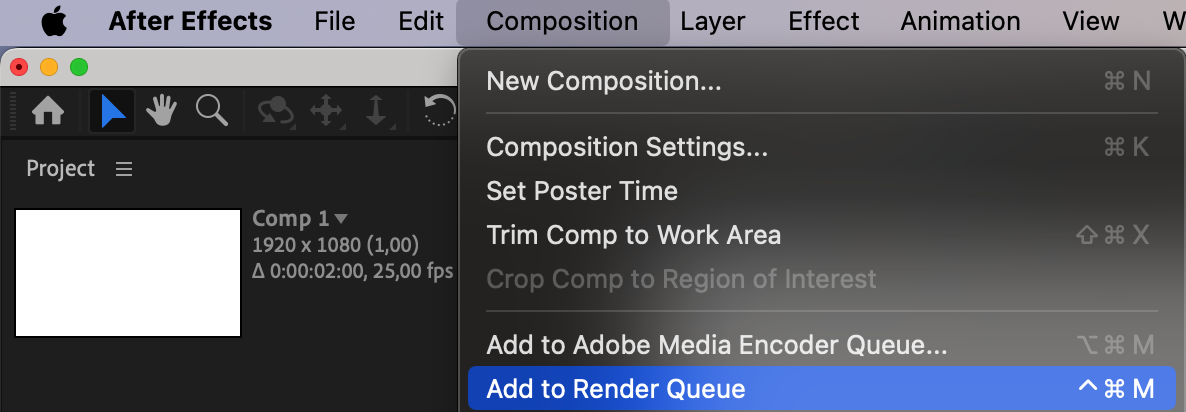
Get 10% off when you subscribe to our newsletter

Conclusion
By following these steps and experimenting with different techniques, you can effortlessly create captivating and attention-grabbing vertical text animations in After Effects. Whether you’re designing for social media, advertising, or any other creative project, vertical text will add an engaging and trendy element to your videos.
Remember to practice, push your creativity, and have fun with the process. With some time and dedication, you’ll soon be creating visually stunning animations that will certainly impress your audience. So get started on your vertical text journey in After Effects and let your imagination run wild!
Our Bestsellers


