How to Apply a Mask to a Shape Layer in After Effects
Introduction
Masking is a powerful technique in After Effects that allows you to hide or reveal parts of a layer. While masks are typically used on image or video layers, you can also apply them to shape layers to create interesting effects, transitions, and animations. In this guide, we’ll walk you through the steps to mask a shape layer efficiently.
Get 10% off when you subscribe to our newsletter

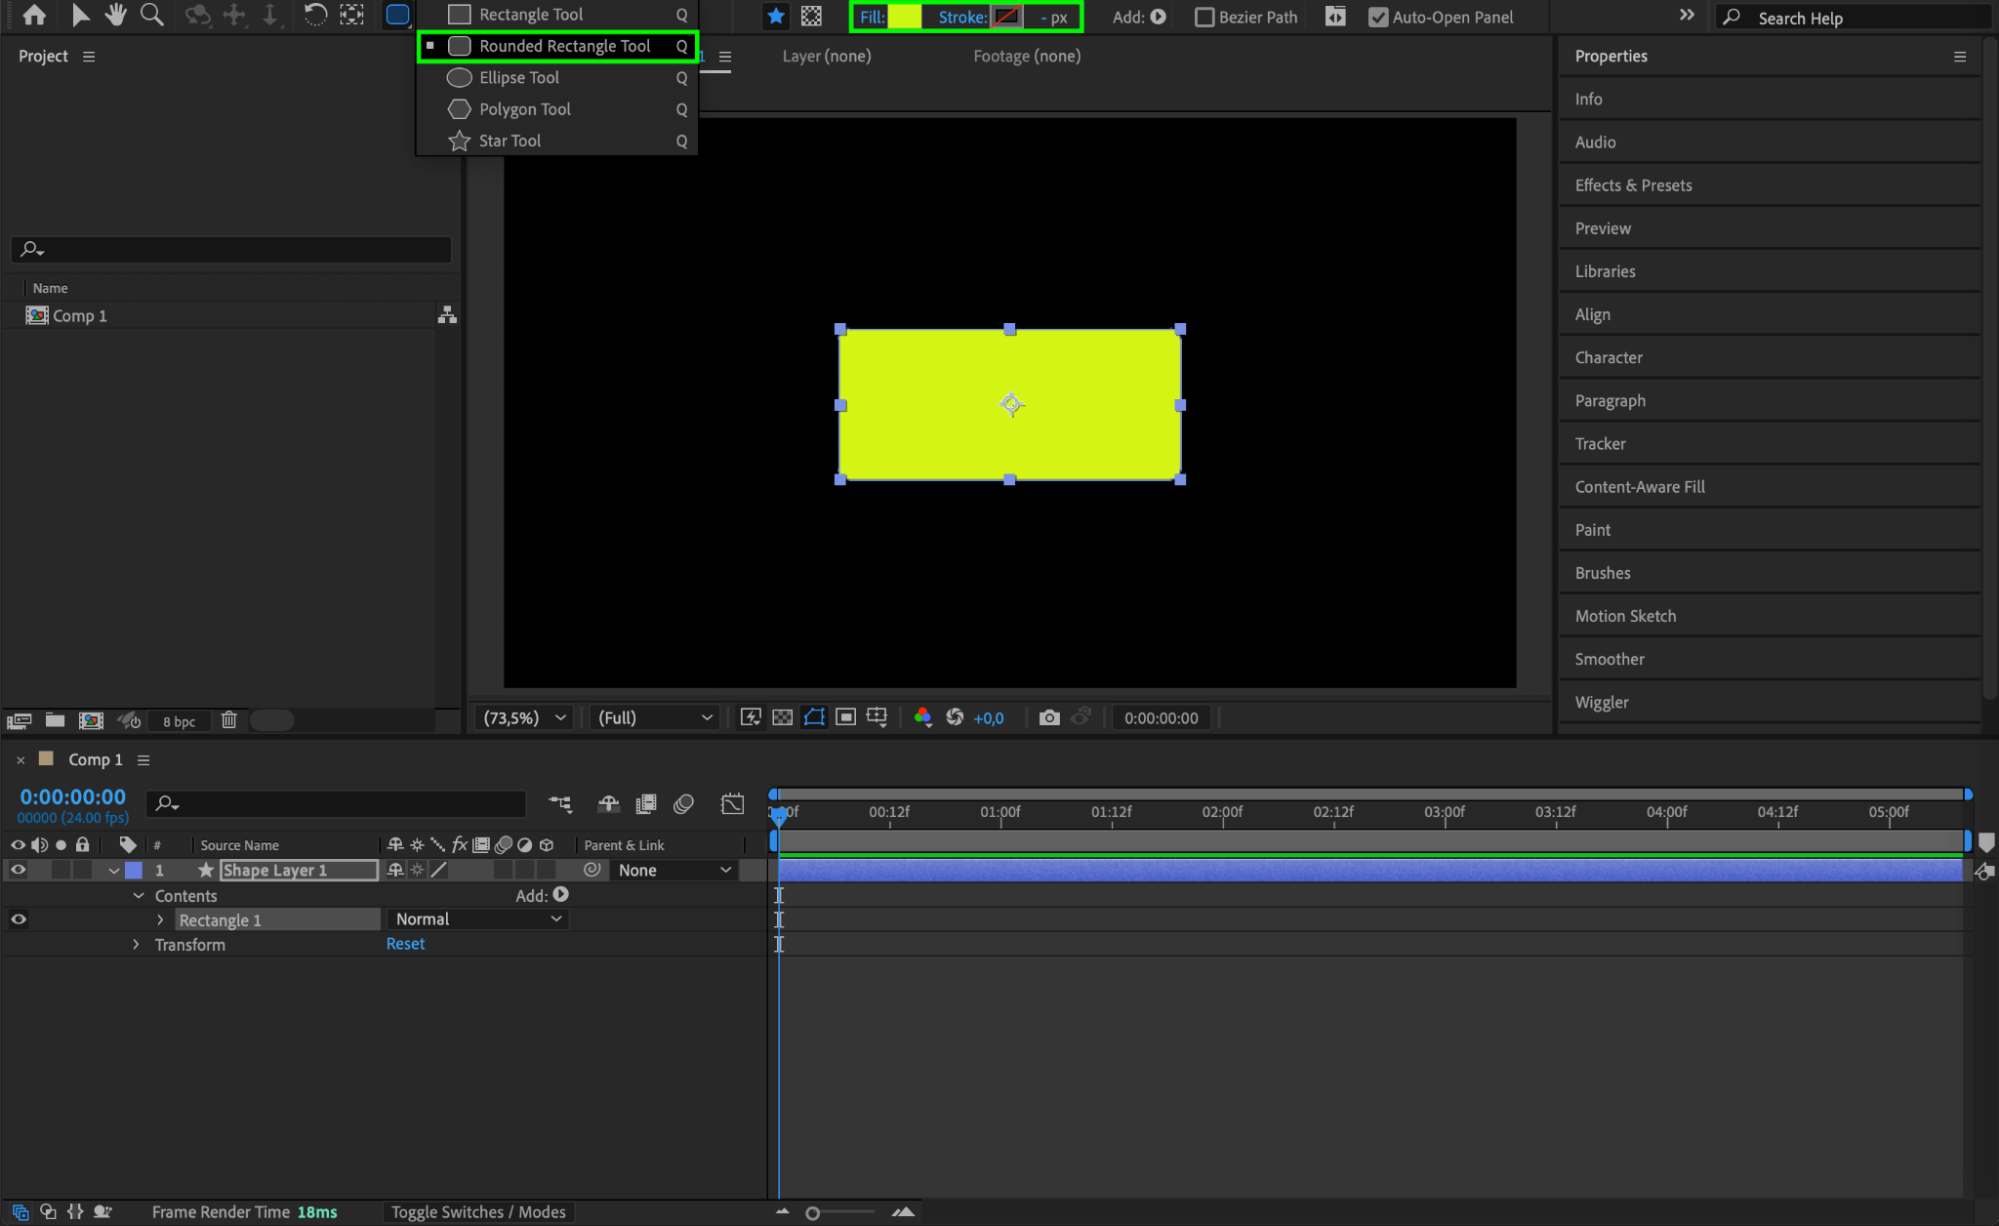
Step 1: Create a New Shape Layer
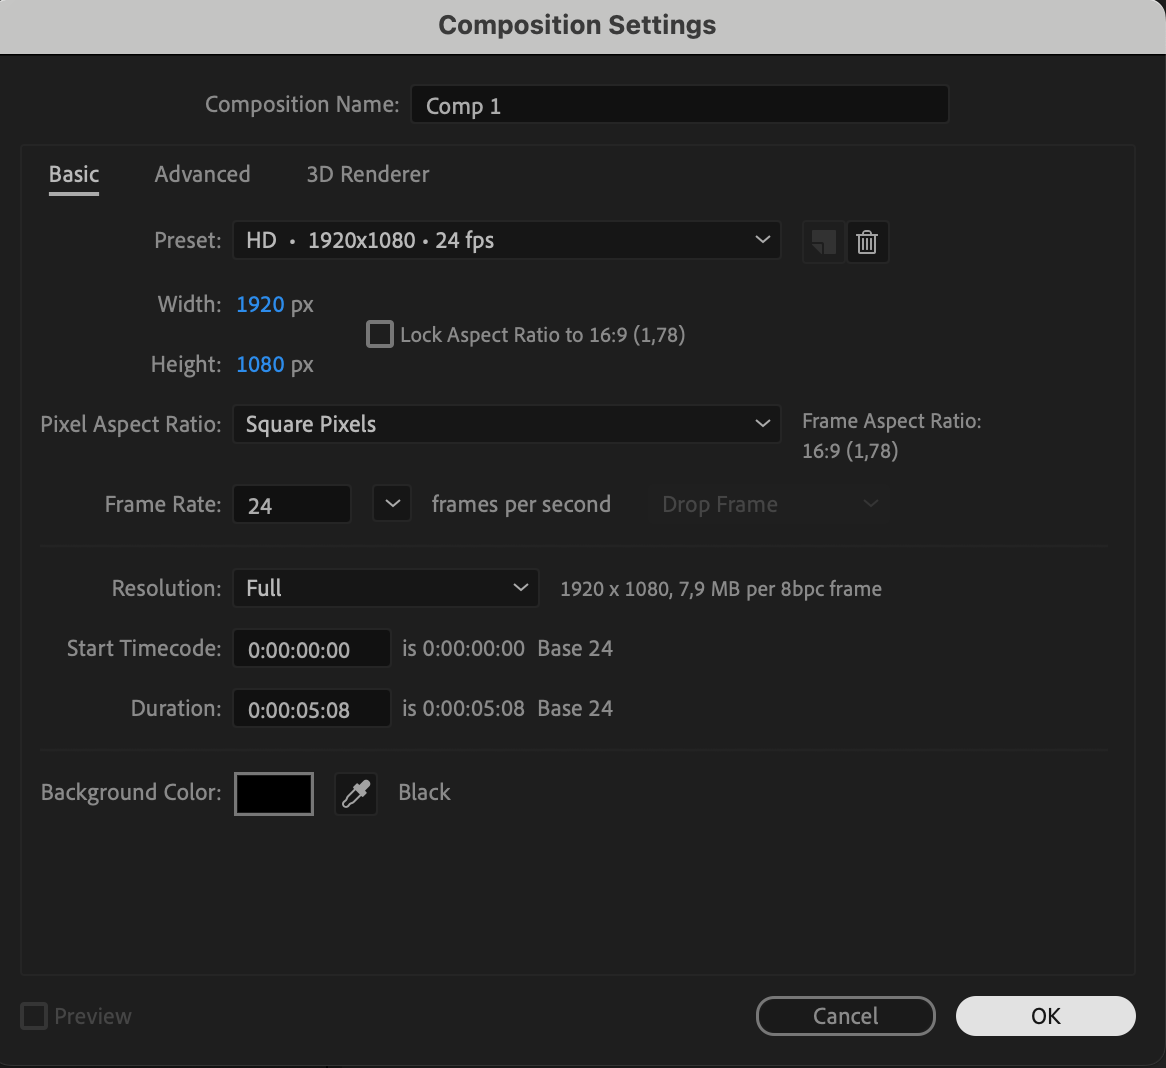
Open After Effects and create a new composition by going to Composition > New Composition. Then, select the Shape Tool (Q) and draw any shape on the canvas. This will automatically create a new shape layer in the Timeline panel.
 Step 2: Apply a Mask to the Shape Layer
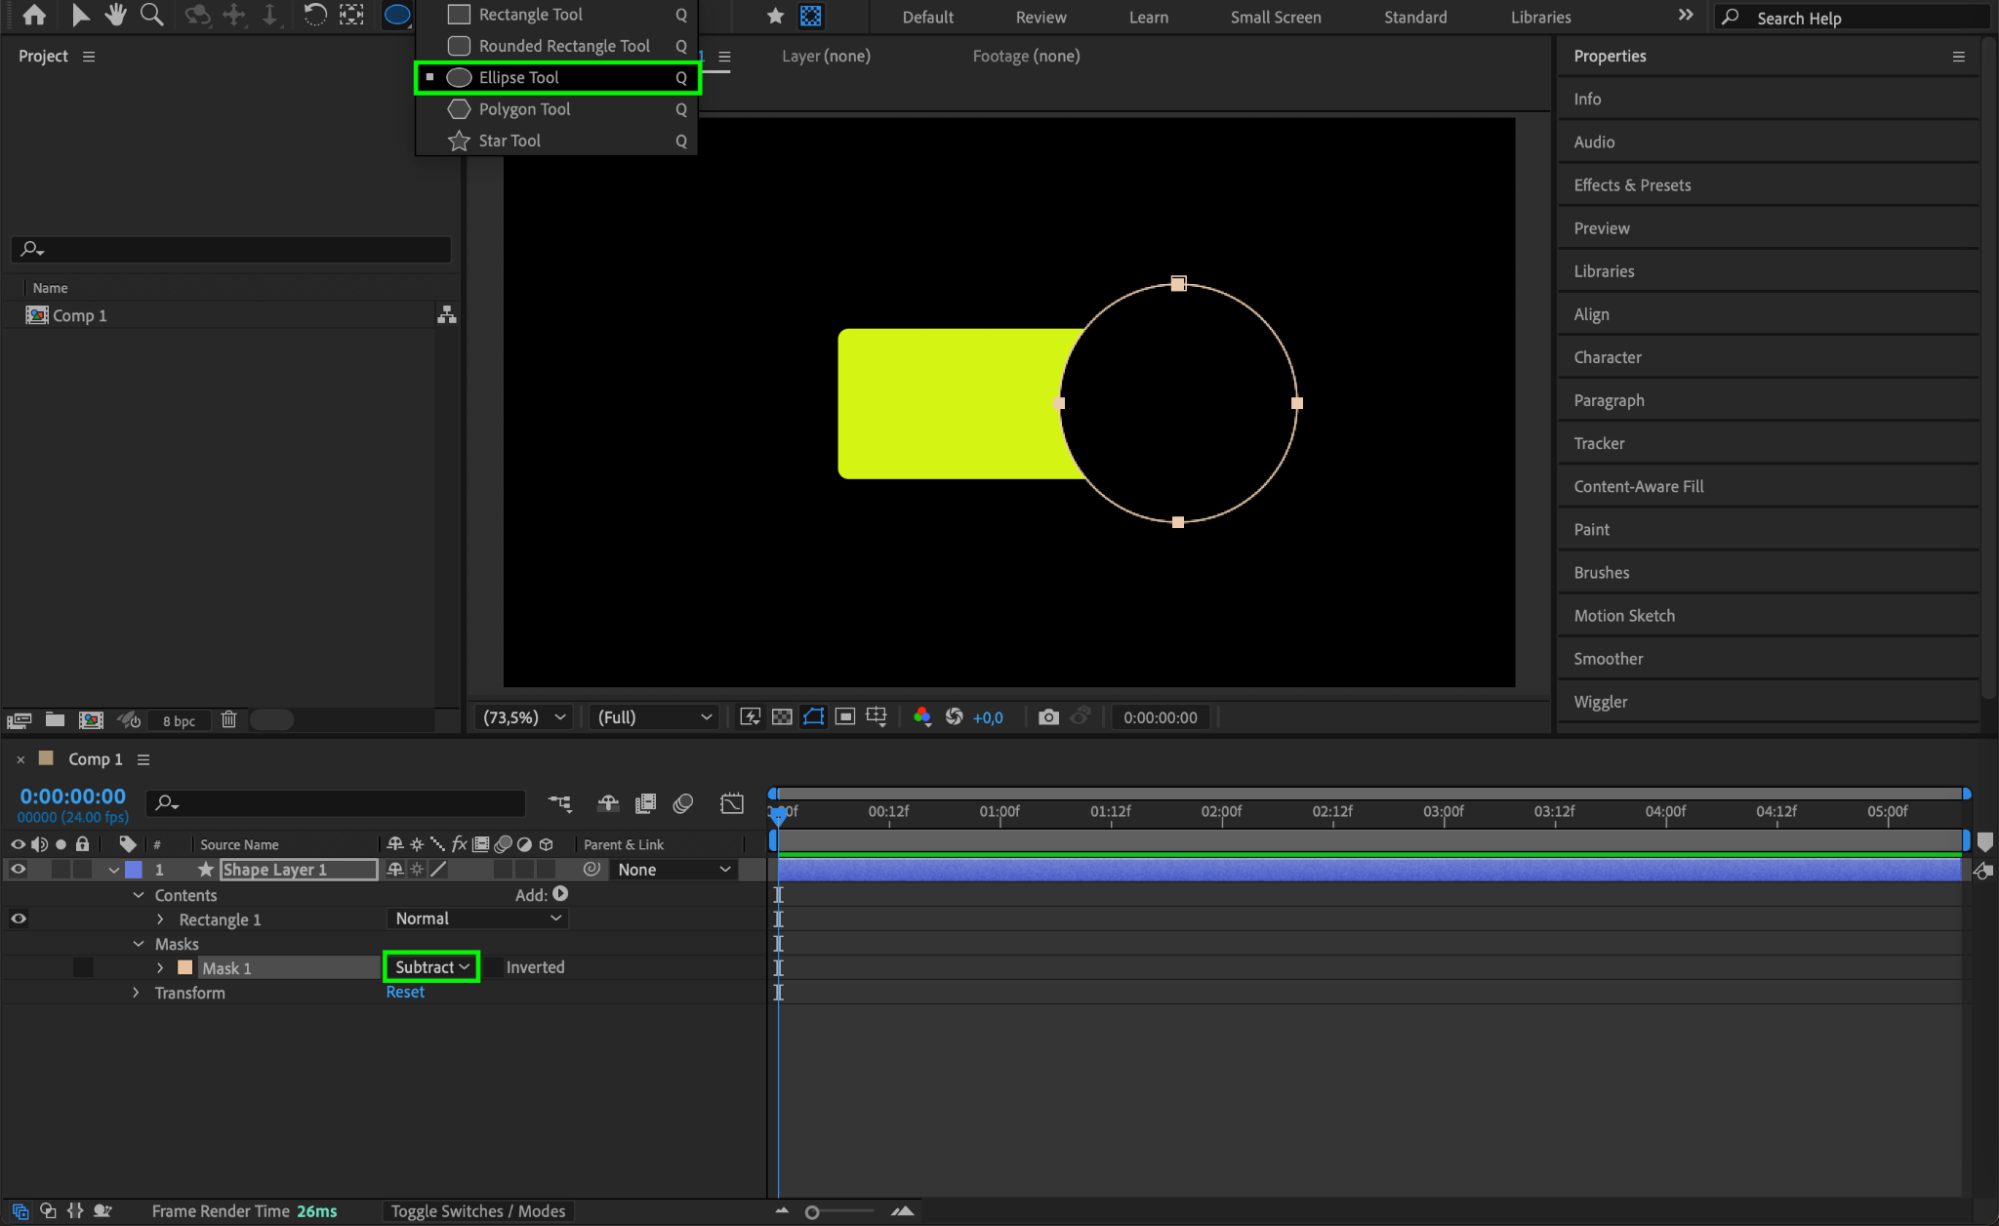
To add a mask, select the Shape Layer in the Timeline. Then, choose the Shape Tool (Q) and enable the “Tool Creates Mask” option in the top toolbar. Draw a new shape directly on top of the existing one – this will automatically create a mask instead of a new shape.
In the Timeline panel, expand the Mask settings and set the Mask Mode to:
Subtract to hide the selected area.
Add to reveal only the masked portion of the shape layer.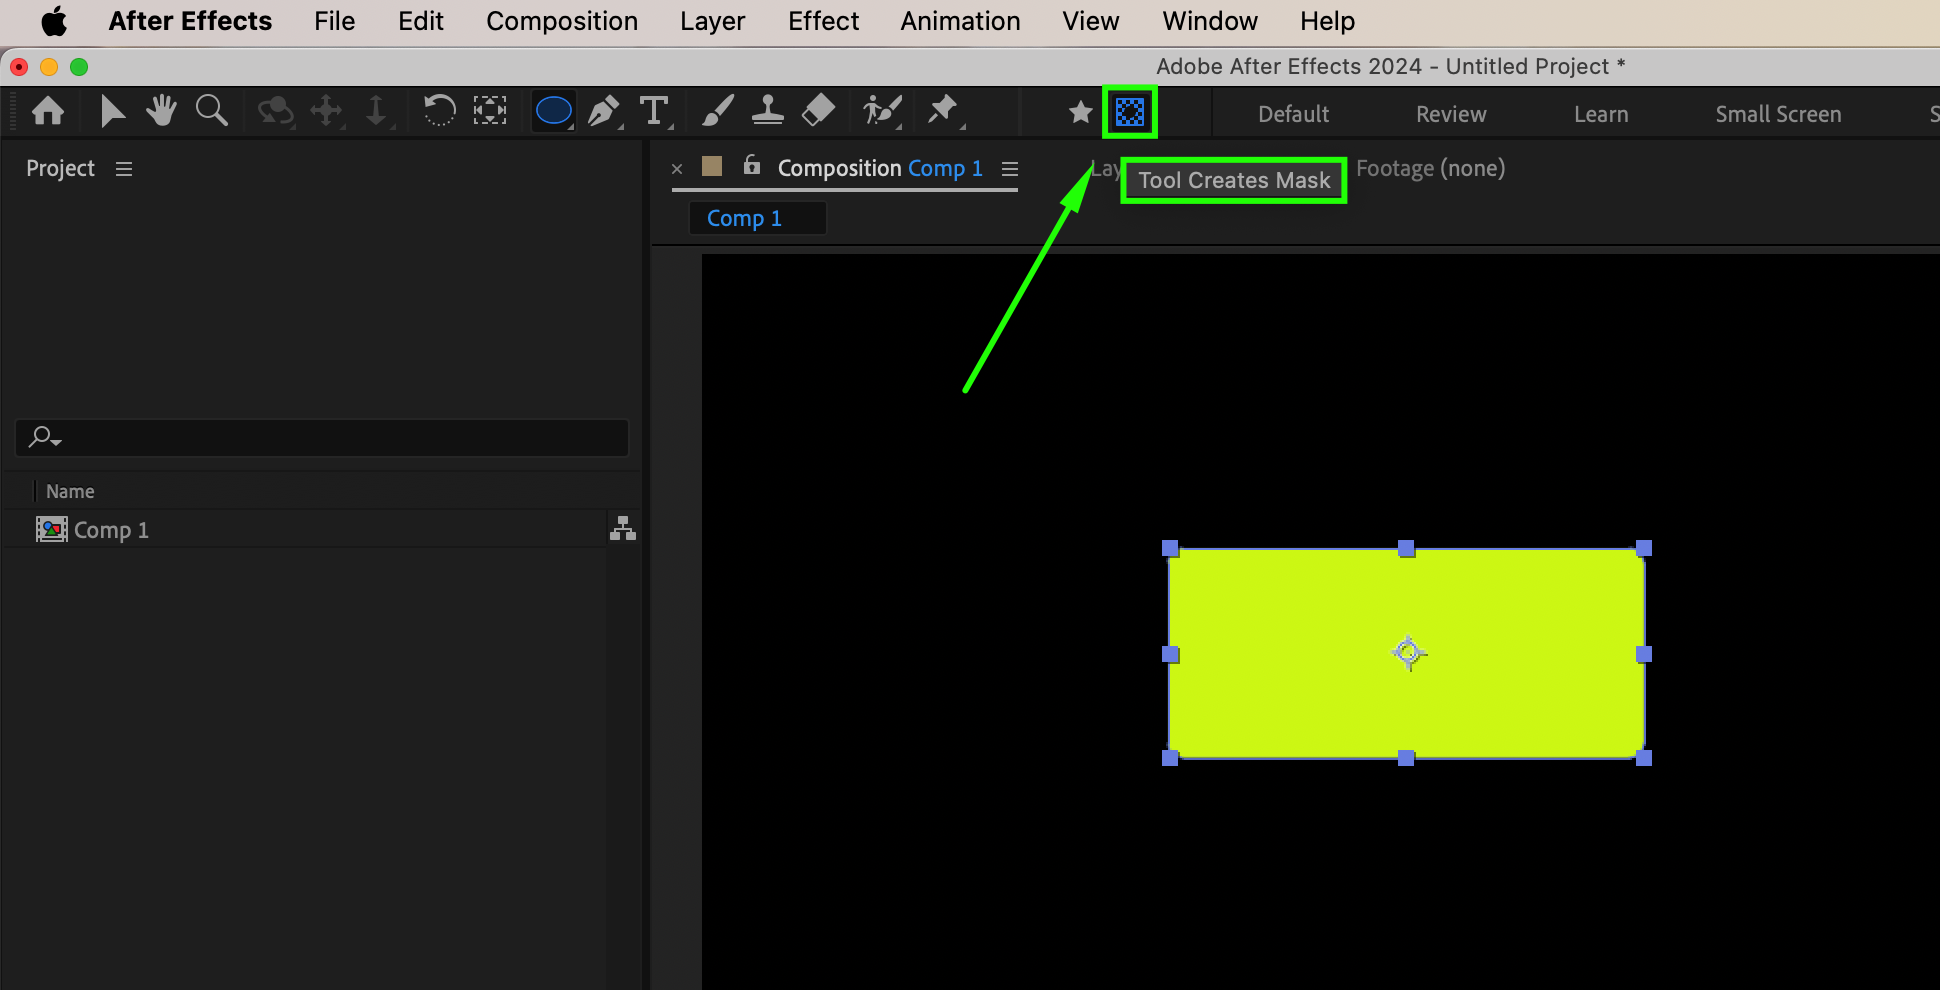
 Step 3: Adjust the Mask Properties
Once the mask is created, expand the Mask section under the shape layer in the Timeline. Here, you can modify the Mask Path to reshape the mask, adjust Mask Feather for smooth edges, or change Mask Opacity and Mask Expansion to refine the effect.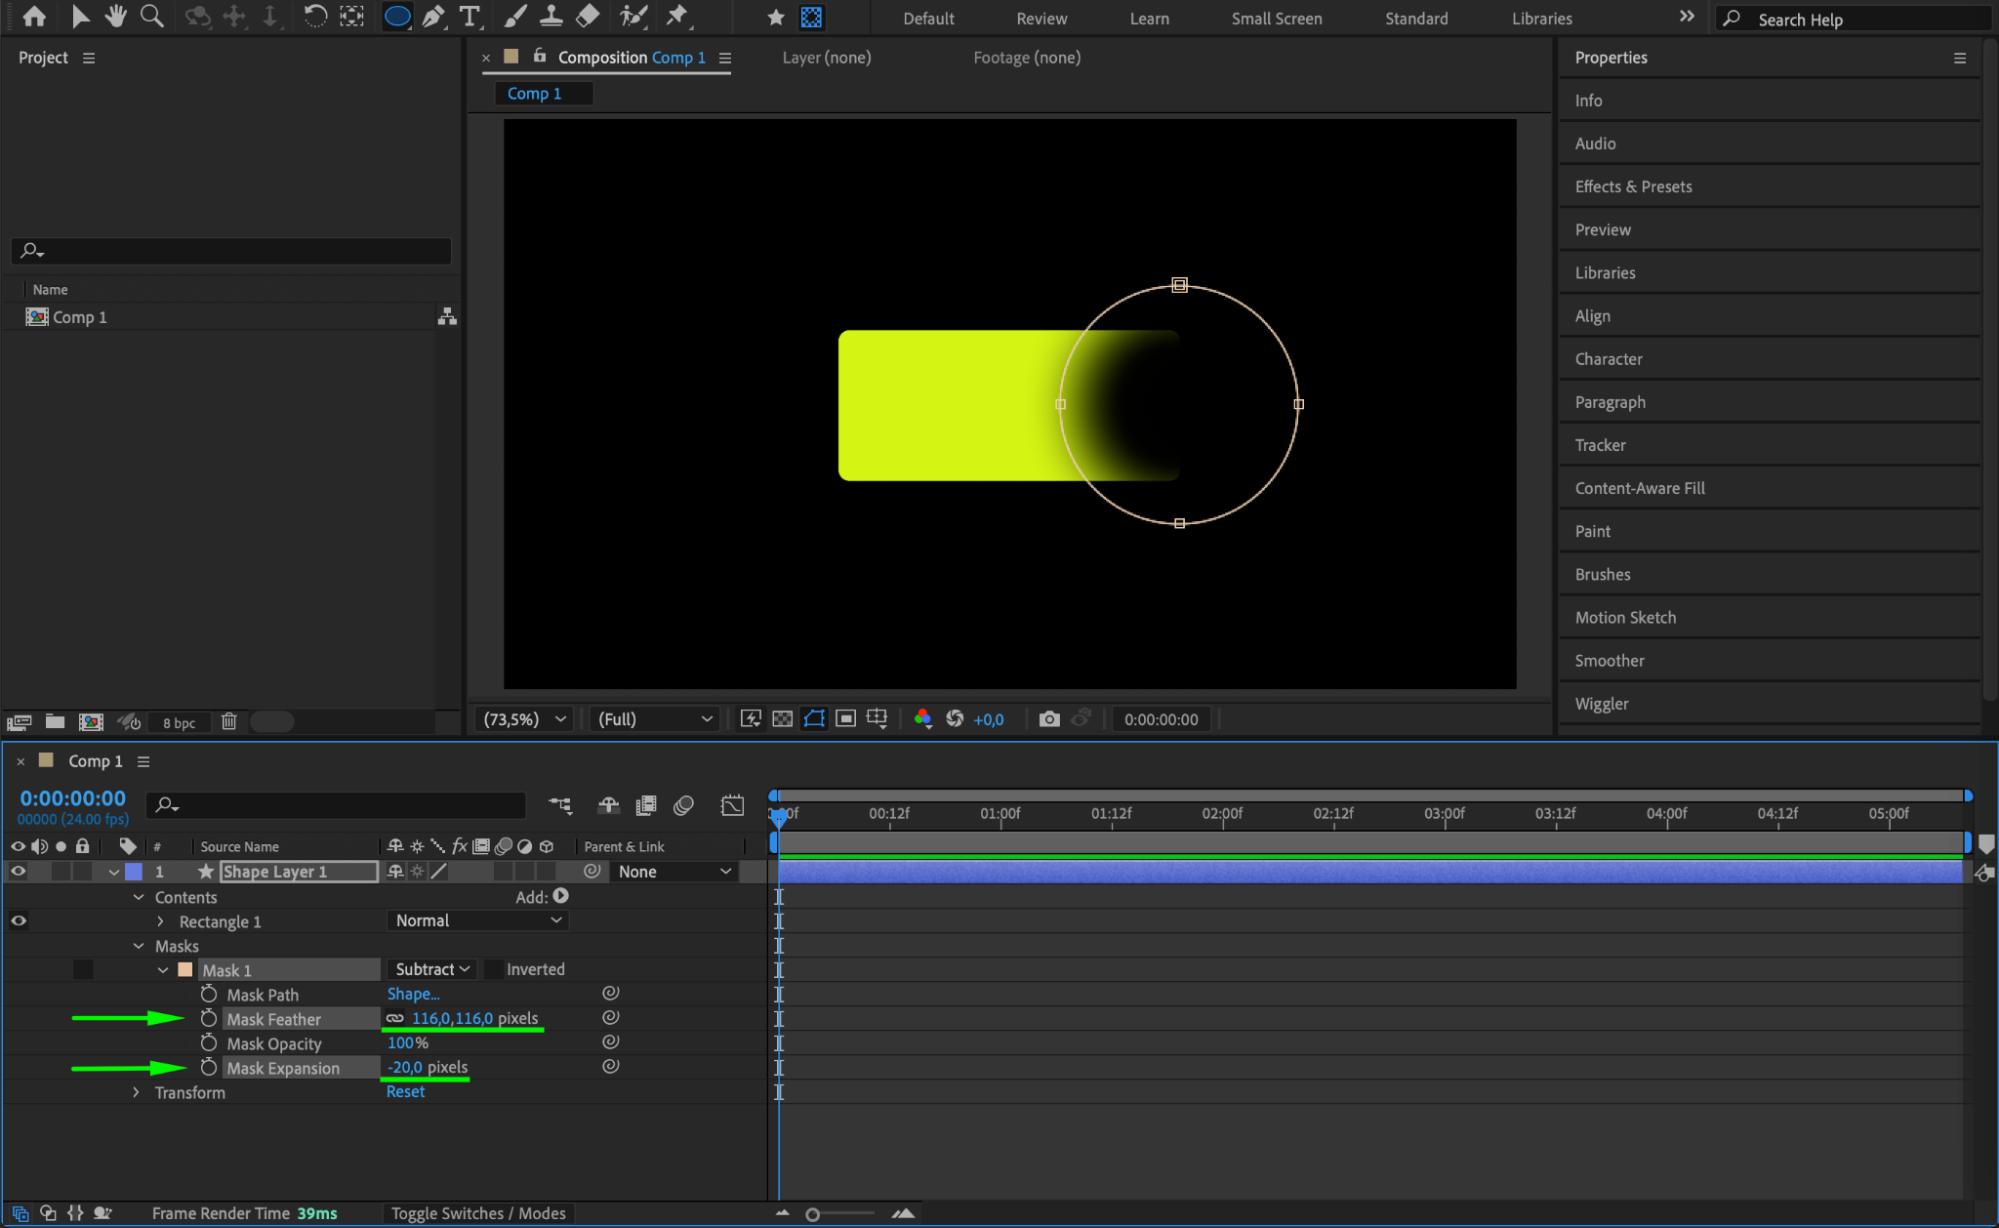 Step 4: Animate the Mask for Dynamic Effects (Optional)
To create an animated reveal, select the Mask Path property and click the Stopwatch icon to set a keyframe. Move forward in the timeline and adjust the mask’s shape or position. This will create a smooth transition where the mask gradually reveals or hides the shape layer.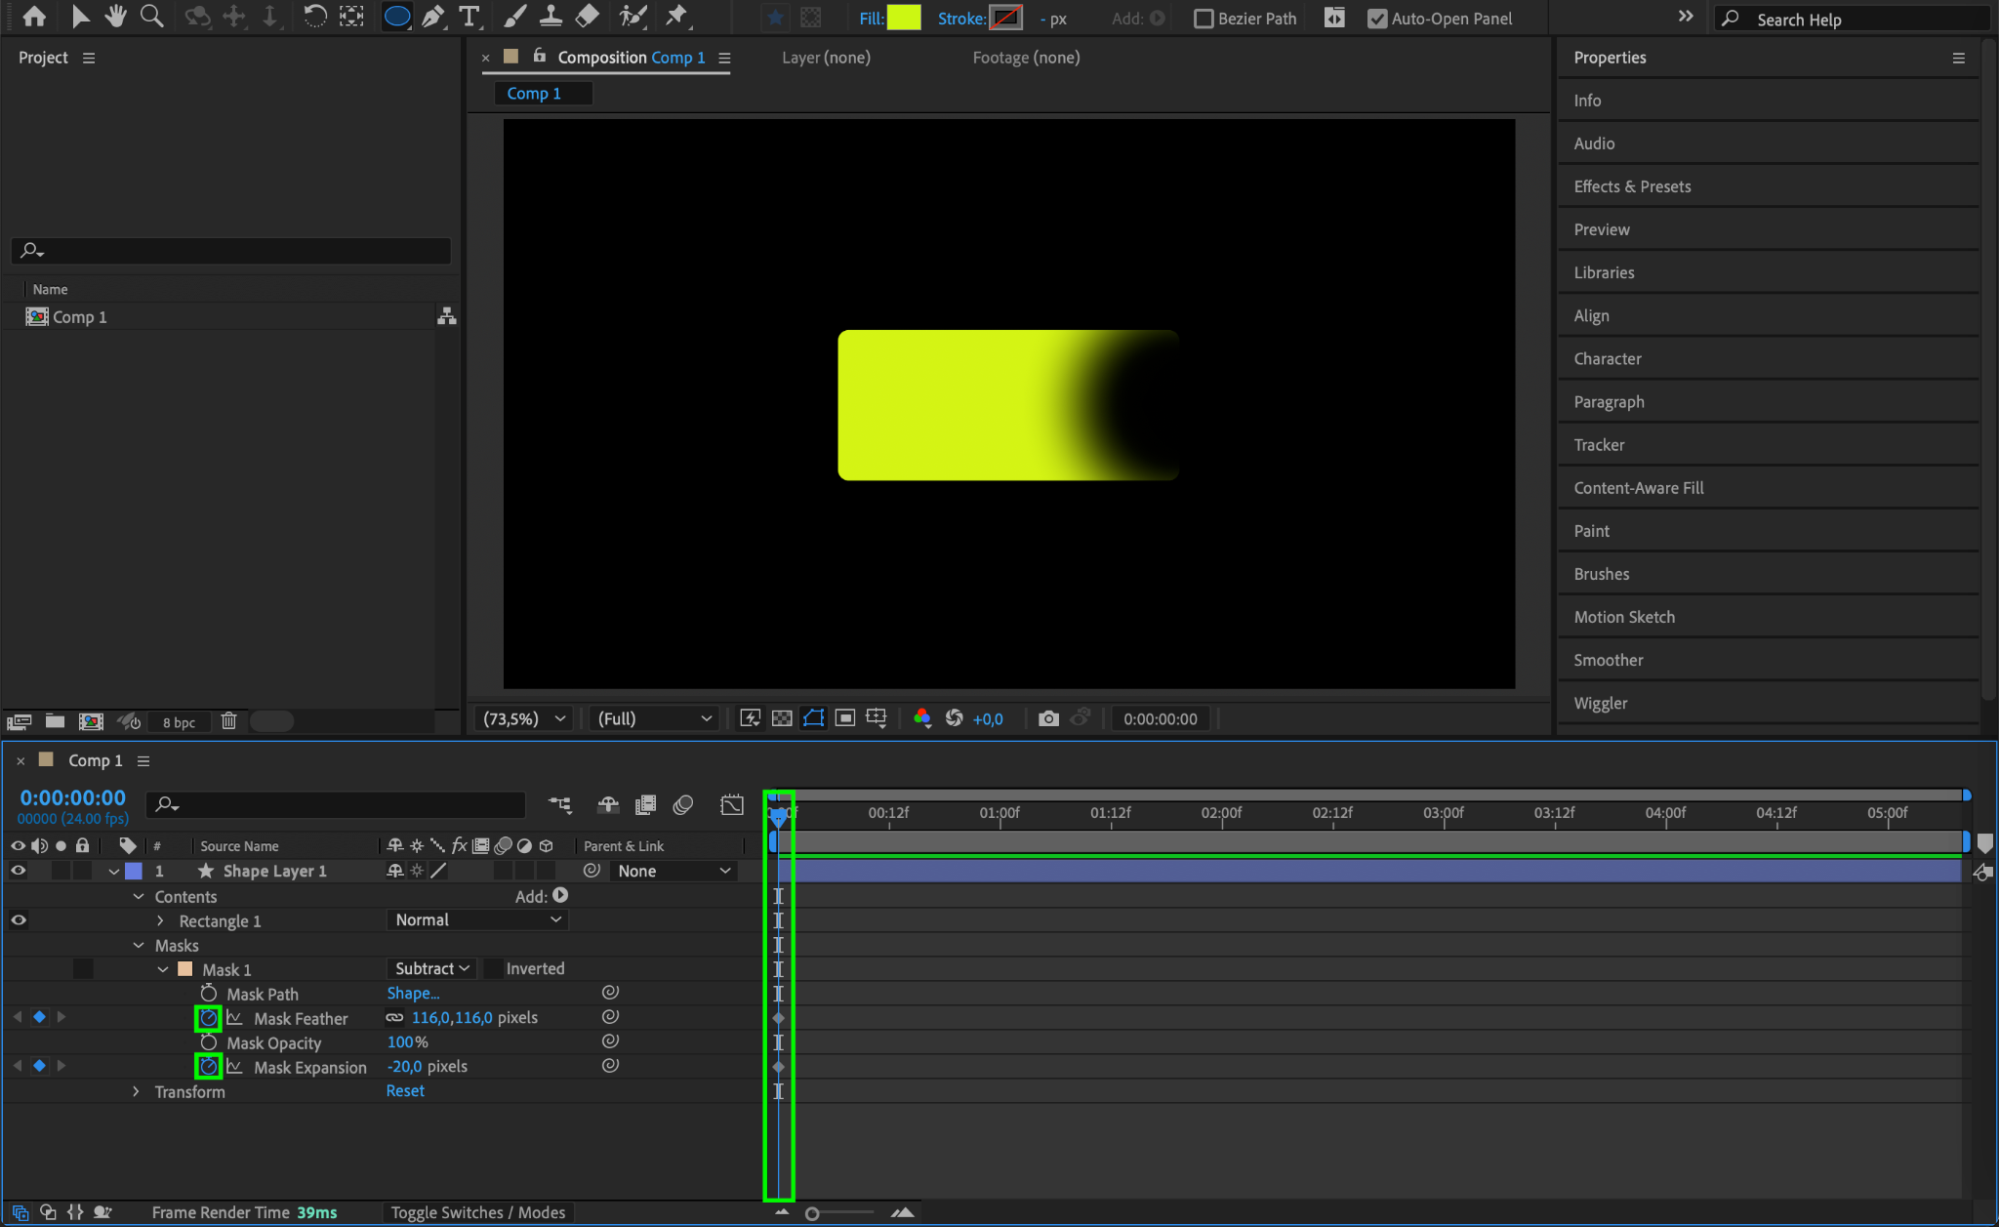
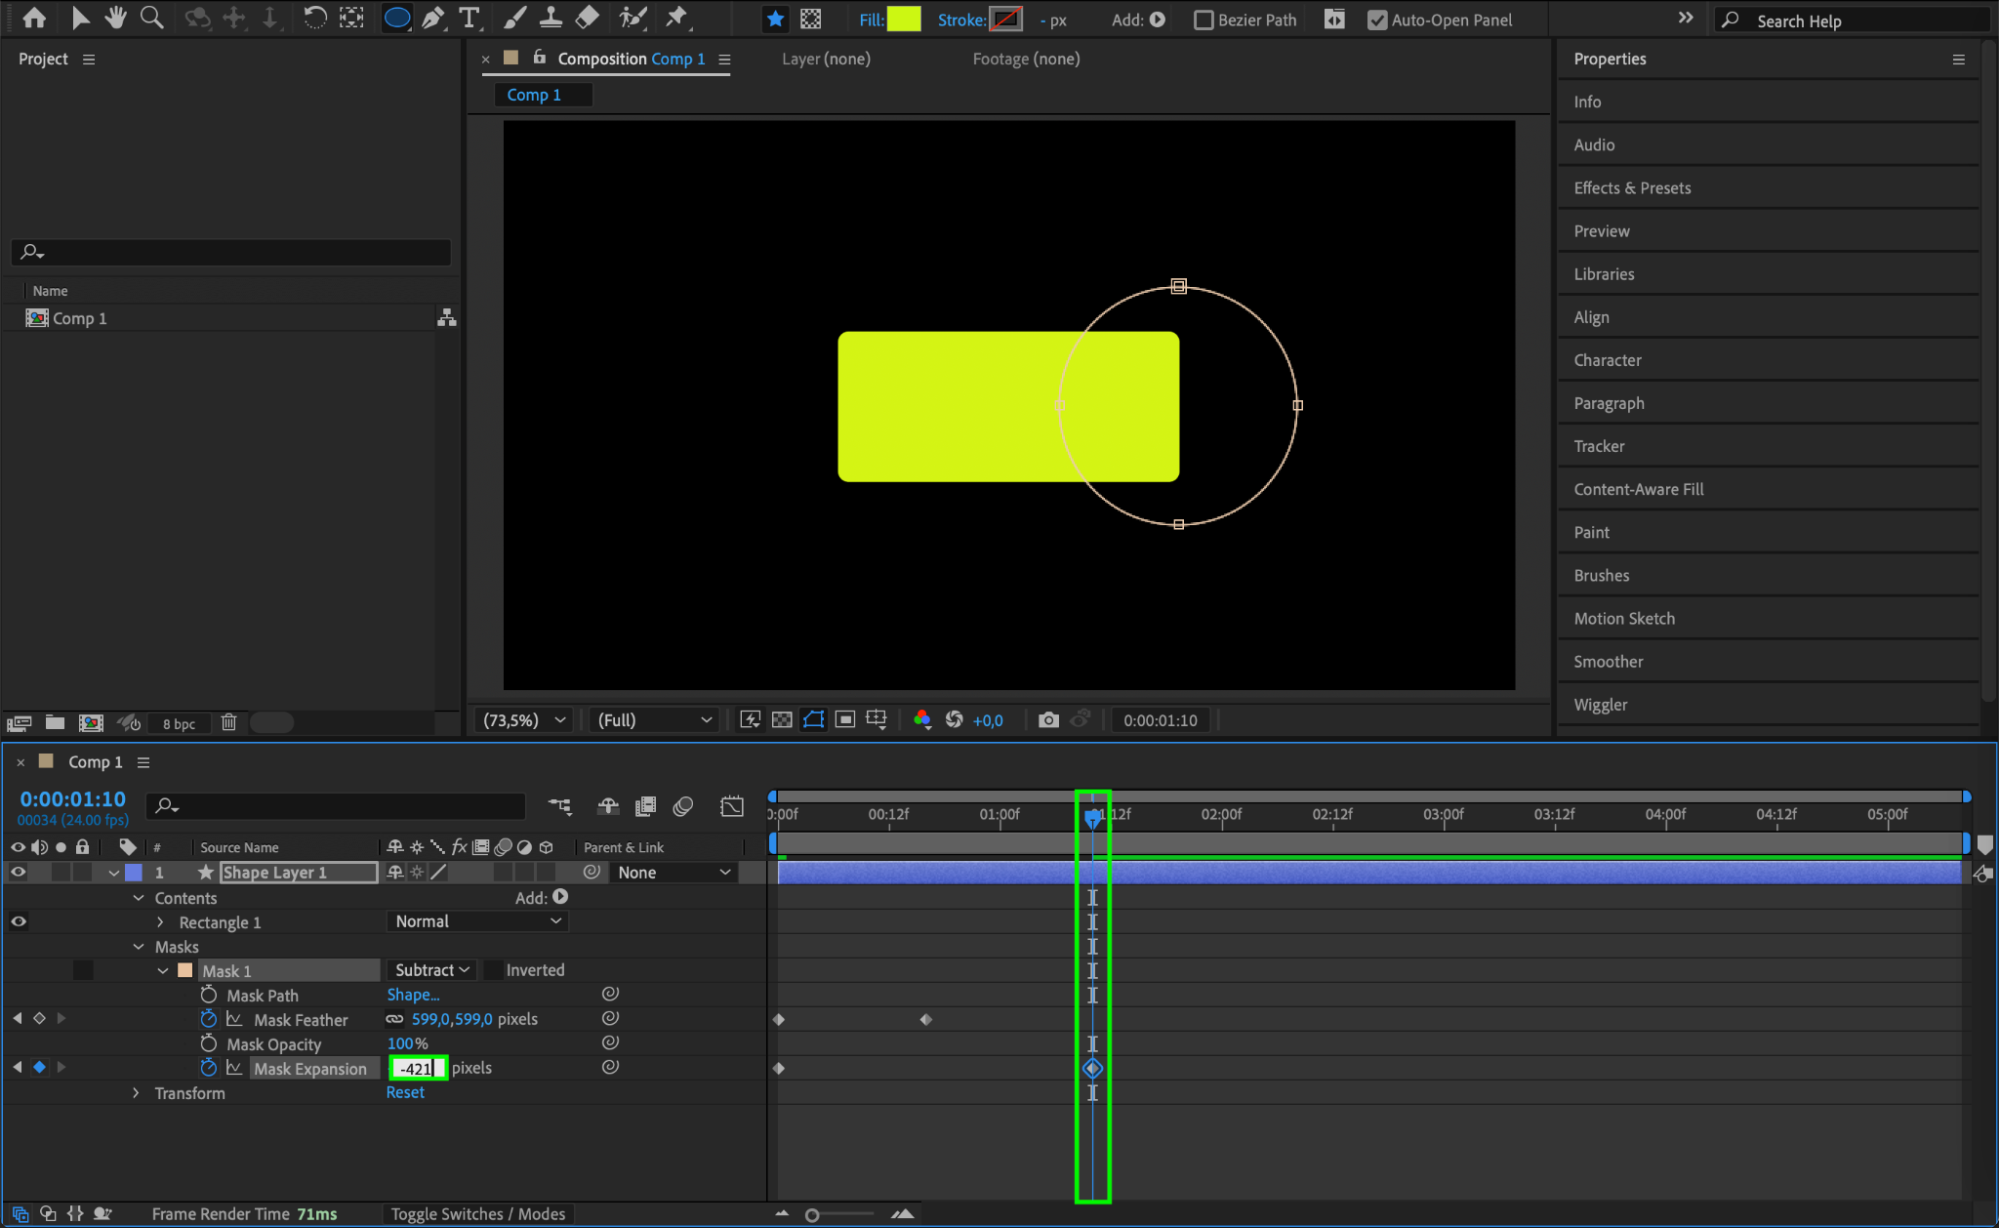 Step 5: Preview and Refine the Effect
Press Spacebar to preview your animation. If needed, adjust the mask’s feather, opacity, or expansion to get the desired effect. You can also combine multiple masks for more complex designs. Step 6: Render the Final Composition
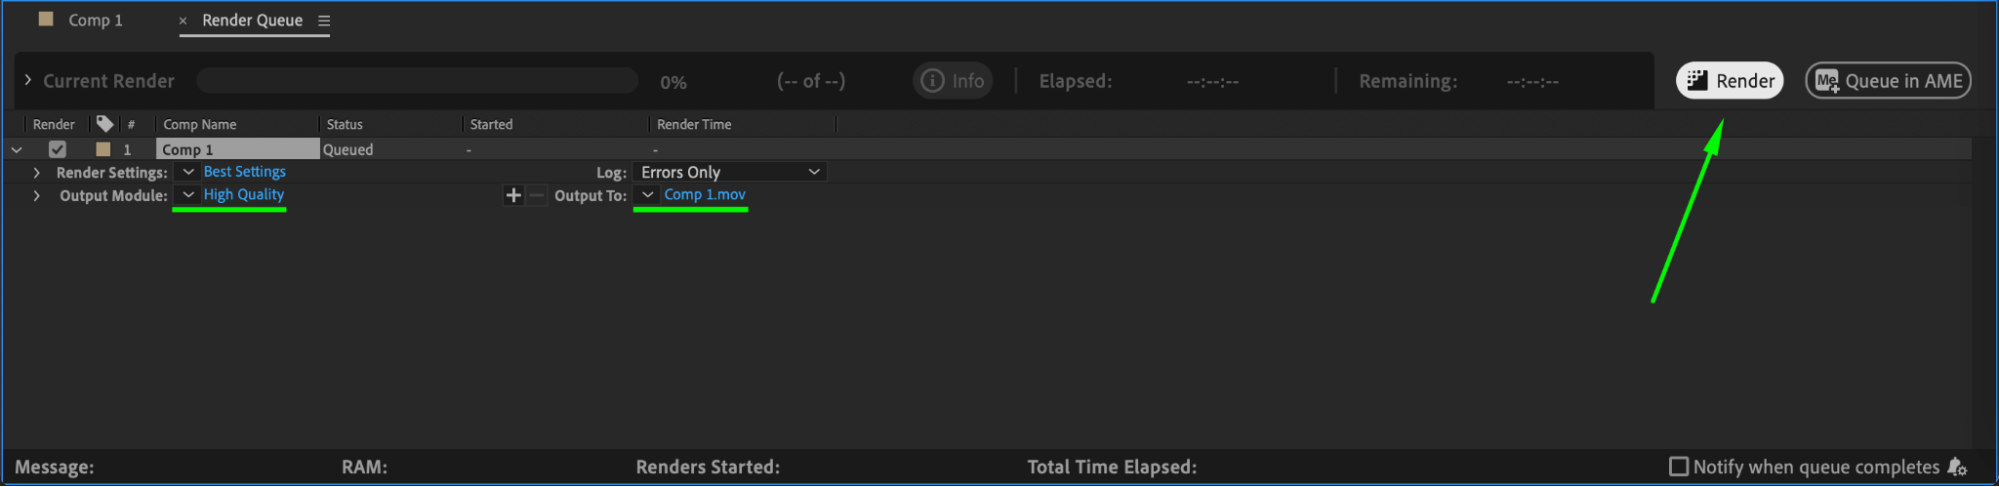
Once you’re satisfied with the result, go to Composition > Add to Render Queue, select your output settings, and export your animation.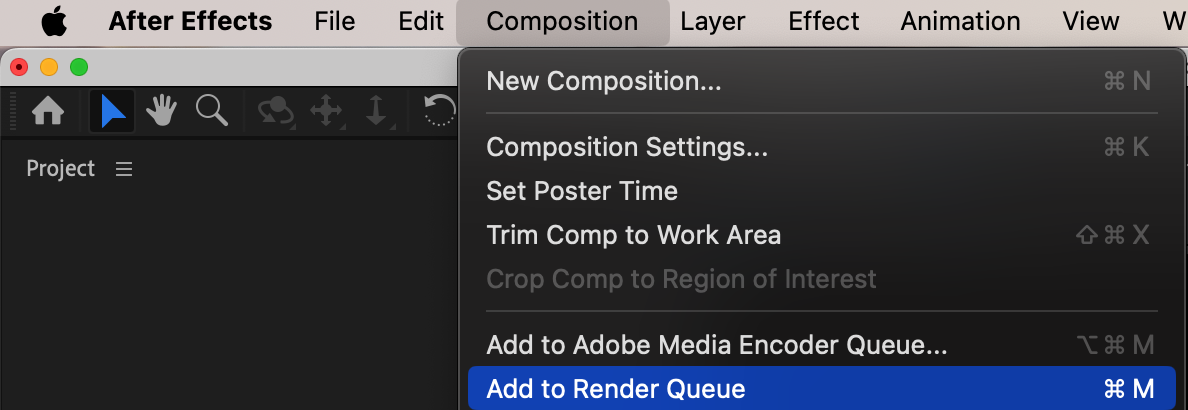
 Conclusion
Masking a shape layer in After Effects gives you control over visibility and allows for creative effects. Whether you’re using masks for simple cutouts or complex animations, mastering this technique will improve your motion graphics skills. Try experimenting with different mask modes and animations to enhance your projects!
Our Bestsellers


