Unlocking the Magic: Tips and Techniques for Mastering Green Screen Masking in After Effects
Description: Have you ever wondered how the characters in your favorite movies seamlessly interact with imaginary worlds or fantastical backdrops? The magic lies in the technique called green screen masking. Whether you’re a filmmaker, video editor, or just a curious individual, learning how to effectively mask a green screen in After Effects can open up a whole new realm of creative possibilities.
Green screen technology has revolutionized the film industry, allowing filmmakers to create stunning visual effects and imaginative scenarios. It involves shooting subjects against a green screen background, which can then be replaced with any desired backdrop or even combined with other moving pictures.
In this comprehensive guide, we’ll walk you through the step-by-step process of mastering green screen masking in After Effects. We’ll cover everything from preparing your footage and setting up your composition to using essential tools and techniques to achieve seamless and professional-looking results. Whether you’re a beginner or an experienced user, this guide will equip you with the knowledge and skills to take your video editing to the next level.
Are you ready to unlock the secrets of flawless green screen masking? Let’s dive in and explore the exciting world of After Effects!
Tips and Tricks for Masking Green Screen in After Effects
Masking a green screen in After Effects can seem intimidating at first, but with the right tools and techniques, you’ll be able to achieve professional-looking results. Whether you’re working on a simple chroma key project or a complex visual effects sequence, here are some valuable tips to help you along the way:
1. Clean, Well-Lit Green Screen Footage:
Ensure that your green screen footage is well-lit and without any shadows or wrinkles. This will make the masking process much easier and result in cleaner edges. It’s also crucial to capture a high-resolution video and avoid any motion blur.
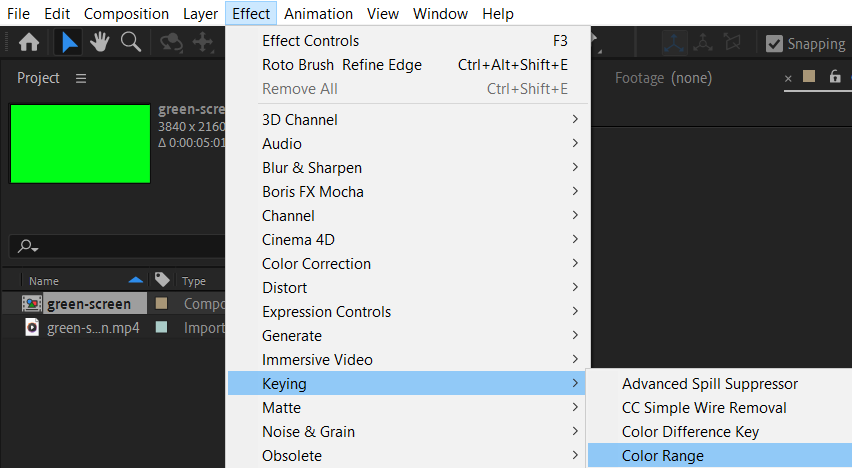
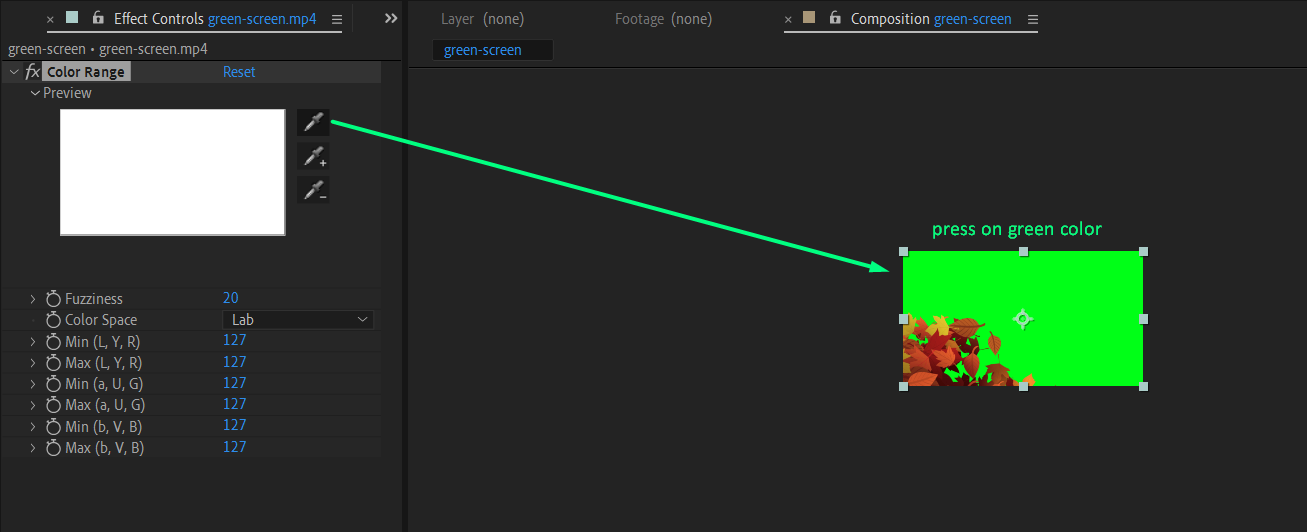
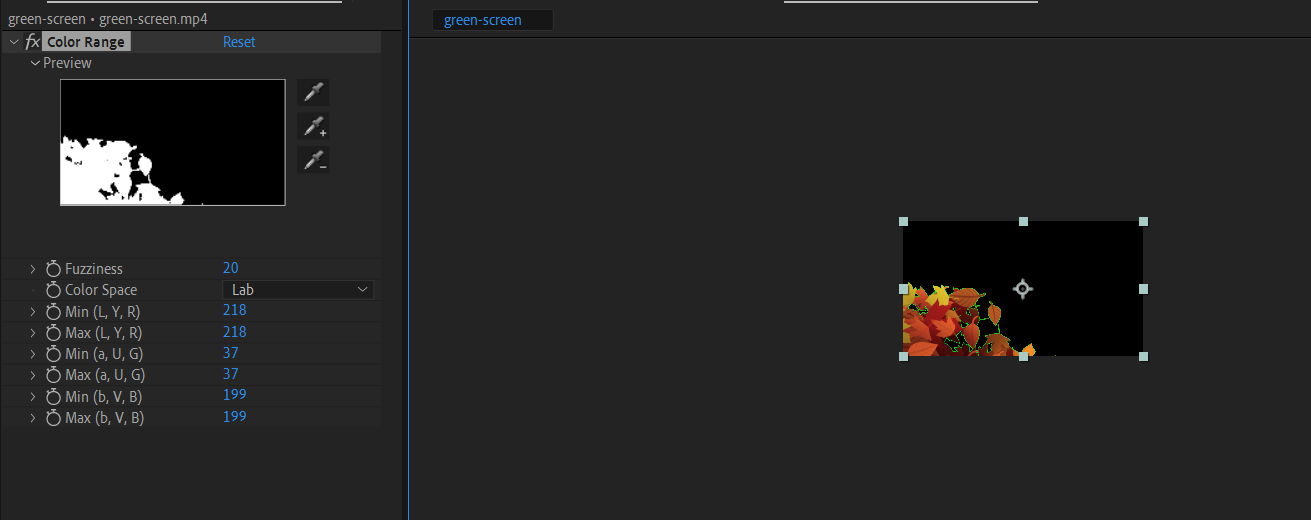
2. Utilize the Color Range Effect:
The Color Range Effect is a powerful plugin that comes with After Effects and is specifically designed for chroma keying. Apply the color Range effect to your footage and use the eyedropper tool to select the green color for removal.
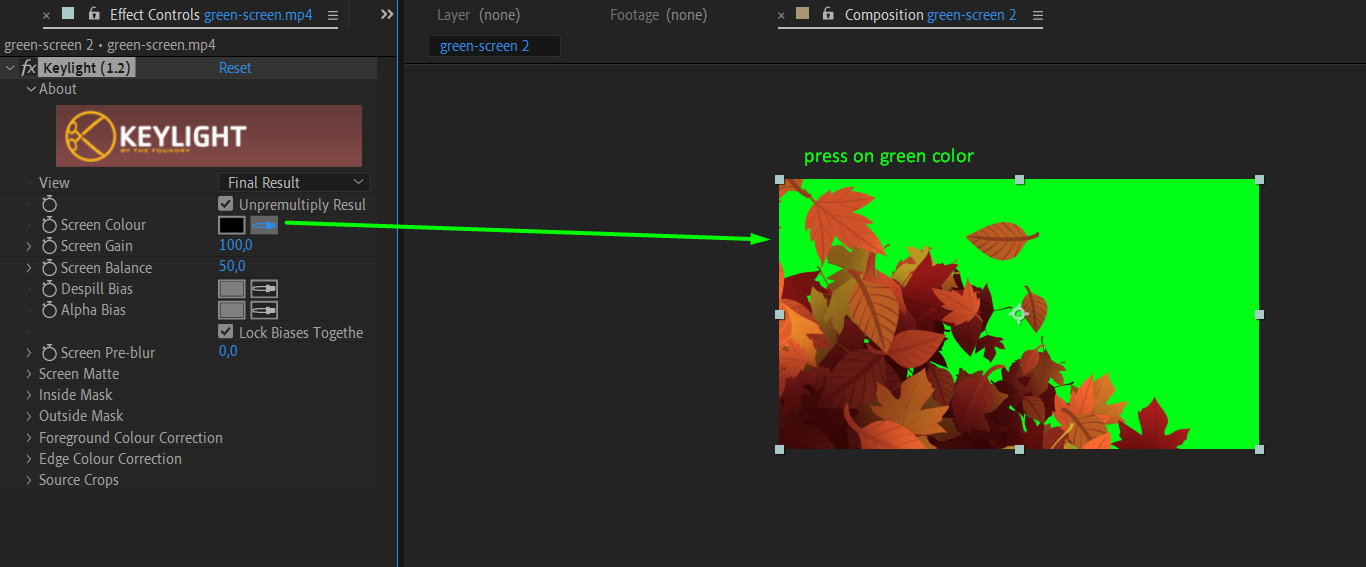
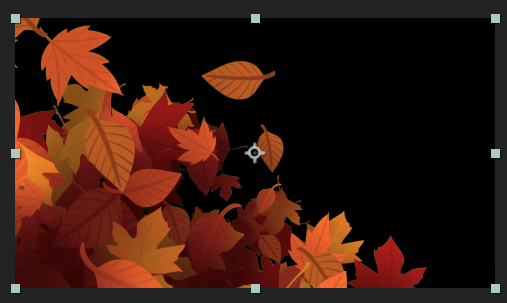
3. Utilize the powerful Keylight tool in After Effects:
Choose the video layer within the “Composition” panel, apply the Keylight effect located in the “Effect” and “Keying” sections. Utilize the “Screen Color” tool to designate the background color for removal, and introduce a new layer featuring the preferred background. Consequently, your video will showcase the new background seamlessly, having automatically eliminated the chosen background color through the application of Keylight.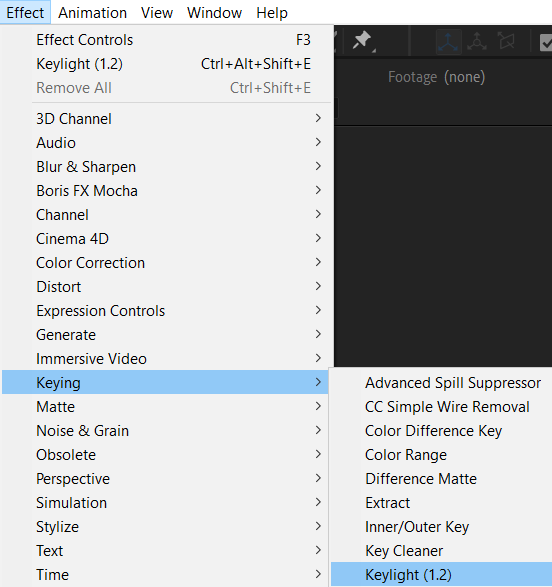
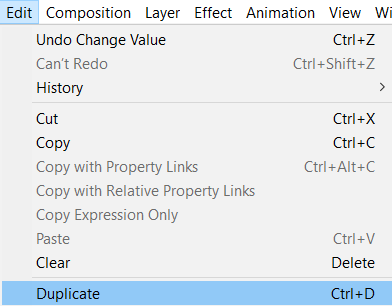
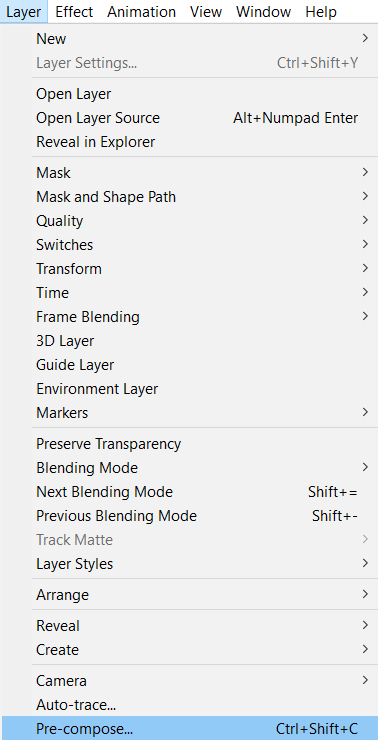
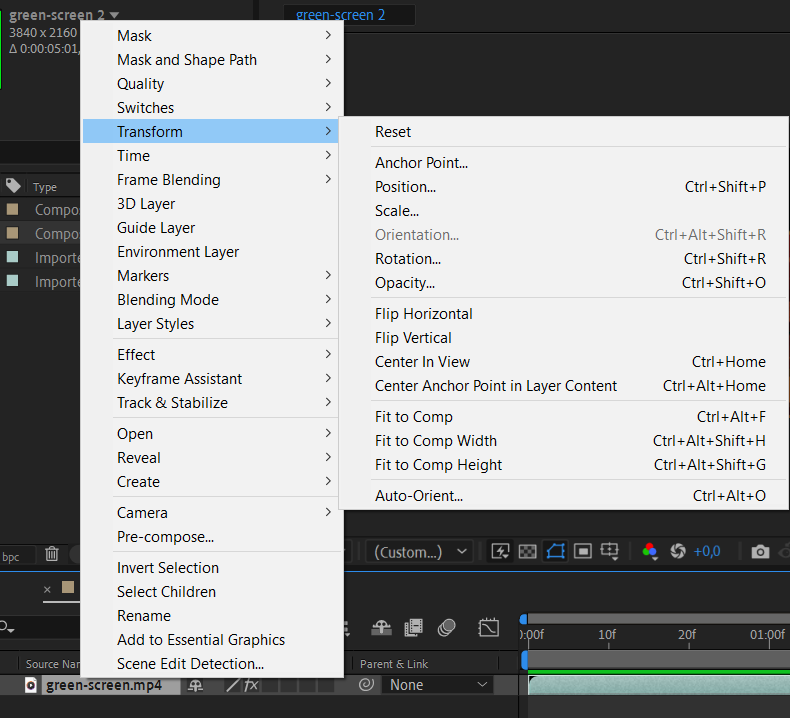
4. Take Advantage of Shortcuts:
After Effects is replete with valuable shortcuts that can greatly enhance your workflow efficiency. Employ “Ctrl/Cmd + D” to duplicate layers and the Transform controls, while “Ctrl/Cmd + Shift + C” can be used to pre-compose selected layers. Incorporating these hotkeys not only saves time but also streamlines your masking process for increased efficiency.
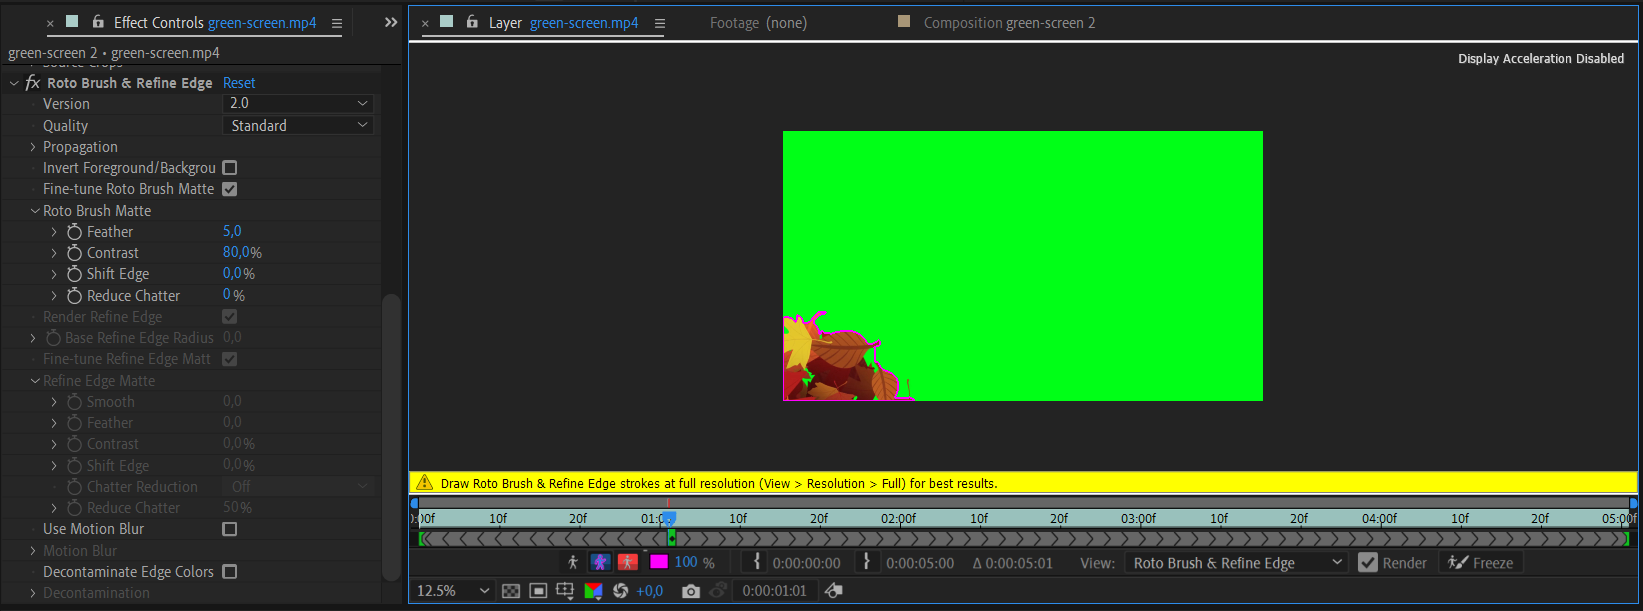
5. Fine-Tune Masking with Roto Brush:
For more precise and detailed masking, try using the Roto Brush tool. This AI-powered feature allows you to quickly create masks by painting over the subject and background areas. Refine your mask by adjusting the brush size, selecting areas to include or exclude, and refining the edge details using the Refine Edge tool.


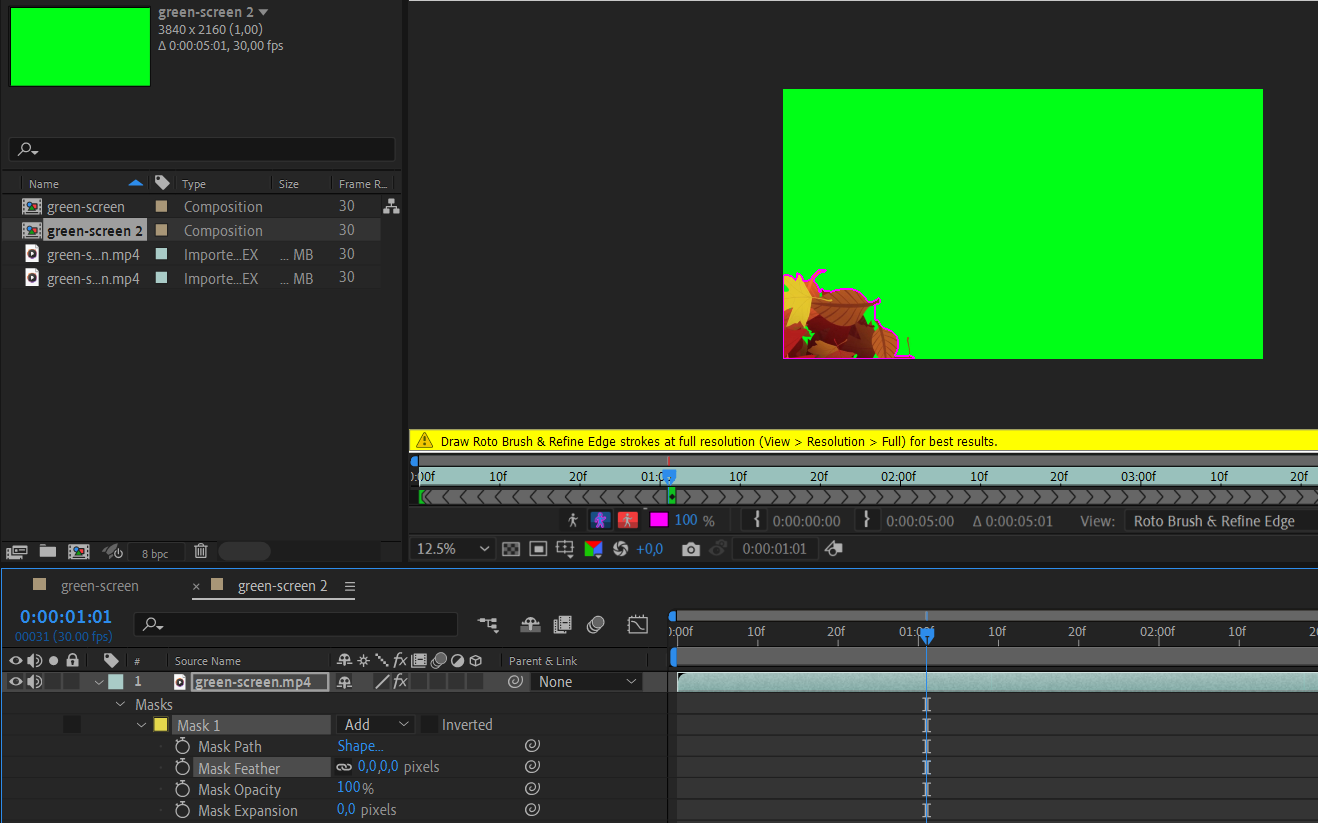
6. Feather and Expansion:
To seamlessly integrate your subject with the new background in Adobe After Effects, explore the Feather and Expansion controls. Feathering softens the edges of the mask, creating a smoother transition, while Expansion adjusts the mask’s size to refine its boundaries.
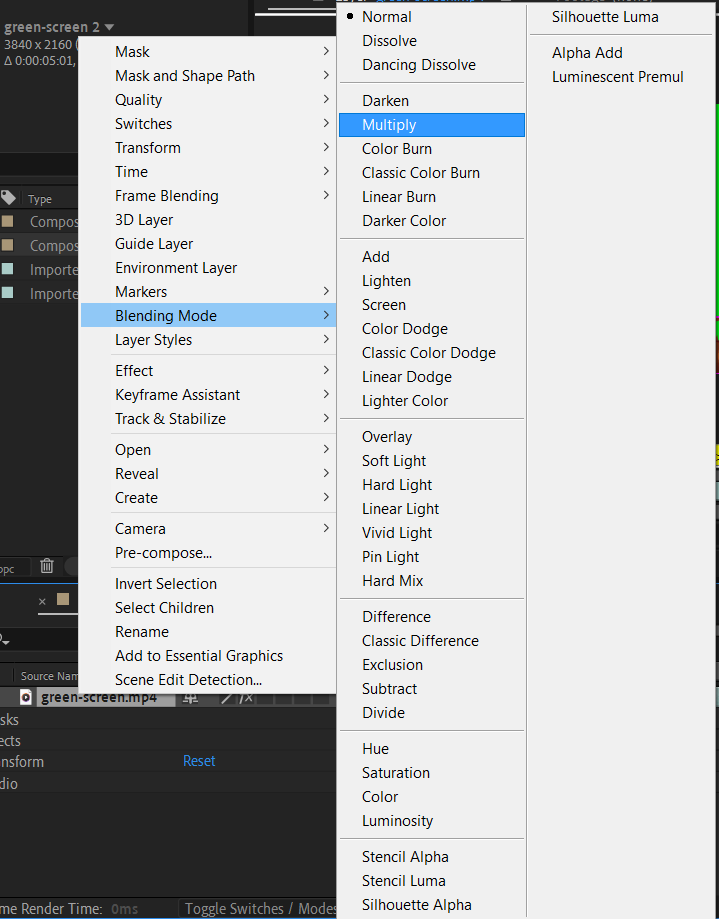
7. Layering and Compositing:
After masking the green screen footage, you can now layer it over your desired background. Experiment with blending modes, such as “Multiply” or “Screen,” to achieve more realistic composites. Use additional effects and adjustments to match the colors and lighting of the foreground and background elements.
In conclusion, masking a green screen in After Effects can be a challenging task, but with practice and the right techniques, you’ll be able to achieve impressive results. Remember to pay attention to the details, experiment with different effects and shortcuts, and most importantly, unleash your creativity. So, dive into the world of green screen masking, and let your imagination run wild!
Final Thoughts on Green Screen Masking in After Effects
Congratulations! You’ve now mastered the art of masking a green screen in After Effects. By following the step-by-step guide, implementing the tips and tricks, and experimenting with different tools and effects, you’re well on your way to creating seamless and professional-looking composites.
Keep in mind that achieving impeccable results hinges on meticulous attention to detail. Invest time in refining your green screen footage, leverage appropriate effects such as Keylight and Color Range, and master mask adjustments using shortcuts and techniques like feathering and Expansion. With dedicated practice, you’ll hone your eye for detail, enabling you to craft captivating visual effects that resonate with your audience.
But don’t stop here! The world of After Effects offers endless possibilities for creativity and experimentation. Continue to explore different techniques, try out new effects, and challenge yourself with more complex masking scenarios. The more you practice and push yourself, the more refined your skills will become.
Whether you’re a filmmaker, a video editor, or simply someone with a passion for visual storytelling, green screen masking in After Effects is a valuable skill to have in your arsenal. It opens up a world of creative opportunities and allows you to bring your imagination to life. So, keep honing your skills, stay curious, and keep creating amazing content.
Now it’s time to remove that green screen and let your imagination soar. Happy compositing!
Our Bestsellers

