Unleashing the Power of Masking in After Effects: Essential Steps for Achieving Professional Results
Introduction: Unleash Your Creativity with Advanced Masking Techniques in After Effects
Are you ready to take your video editing skills to the next level? If you’re wondering how to effortlessly remove backgrounds, isolate specific elements, or create eye-catching visual effects, you’ve come to the right place. In this article, we’ll explore the art of masking in After Effects and guide you through the process step by step.
Masking is a powerful feature in After Effects that allows you to selectively control the visibility of certain parts of your footage. It acts like a virtual stencil, enabling you to hide, reveal, or modify specific areas within a frame. Whether you’re working on a short film, motion graphics, or visual effects, mastering the art of masking can elevate your projects to new heights.
In the following sections, we will explore various masking techniques, from simple to advanced, and provide you with the tools and knowledge to achieve professional results. Strap in and let your creativity soar as we dive into the world of masking in After Effects!
Essential Tips and Techniques for Masking in After Effects
When it comes to masking in After Effects, having a solid understanding of the tools and techniques available can make all the difference. Here are some essential tips and tricks to help you master the art of masking:
1. Selection Tools: Before you begin masking, familiarize yourself with the selection tools in After Effects. The Pen Tool (G) and the Selection Tool (V) are your go-to options. The Pen Tool allows you to create custom shapes for more precise masking, while the Selection Tool lets you modify existing masks.


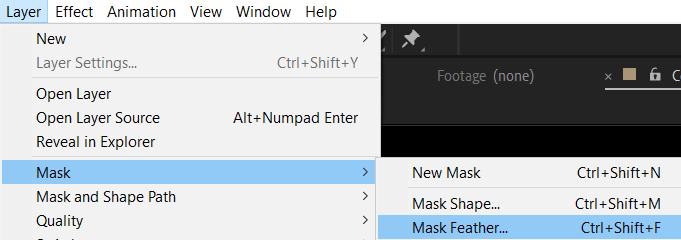
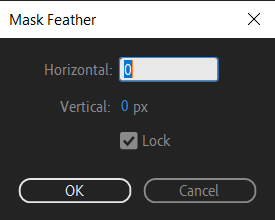
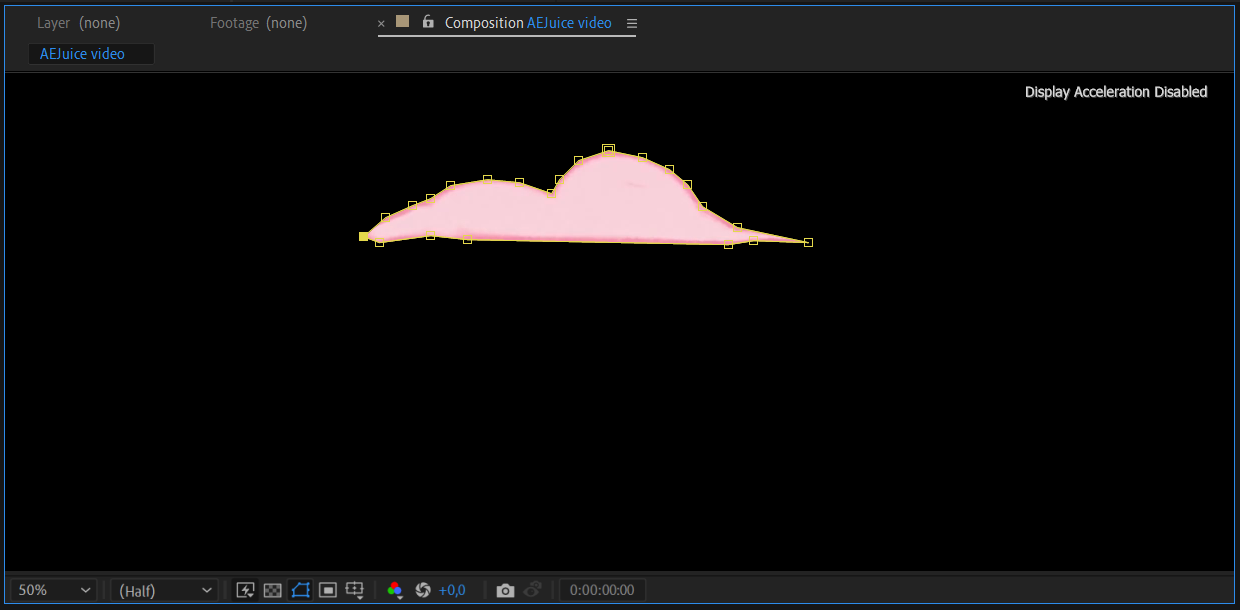 2. Feathering: To create more natural-looking masks, consider using the feathering option. Simply select your mask, press Ctrl/Cmd + Shift + F, and adjust the feathering settings to soften the edges. This will seamlessly blend masked elements with the background.
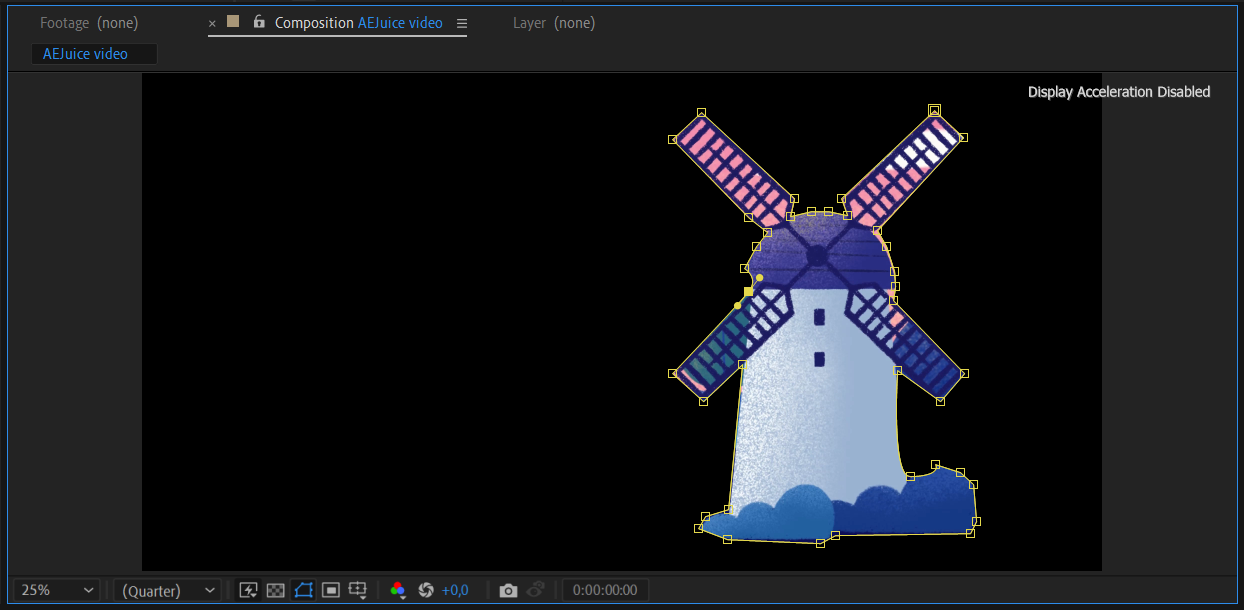
3. Adding and Subtracting: To refine your masks, you can use the Add (+) and Subtract (-) tools. Hold down Shift while using the Pen Tool to add to an existing shape, or hold down Alt/Option to subtract from a shape. This allows you to create intricate and complex masks with ease.

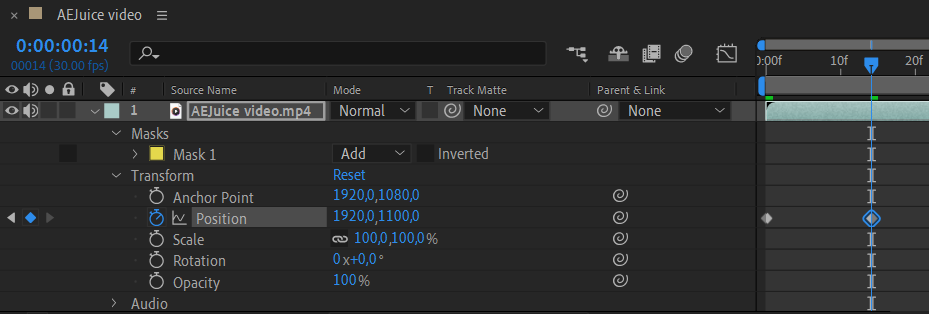
4. Animating Masks: After Effects excels at animating masks, adding dynamic movement to your footage. Utilize keyframes to animate the position, scale, or shape of your masks over time.
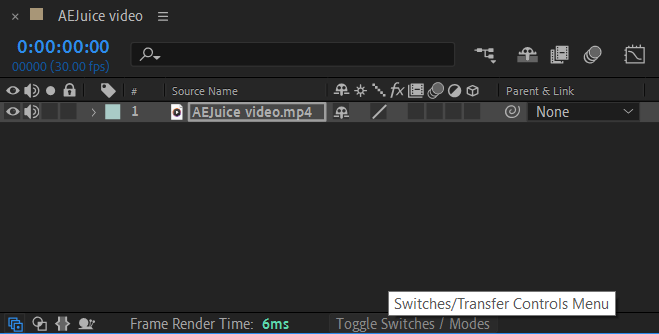
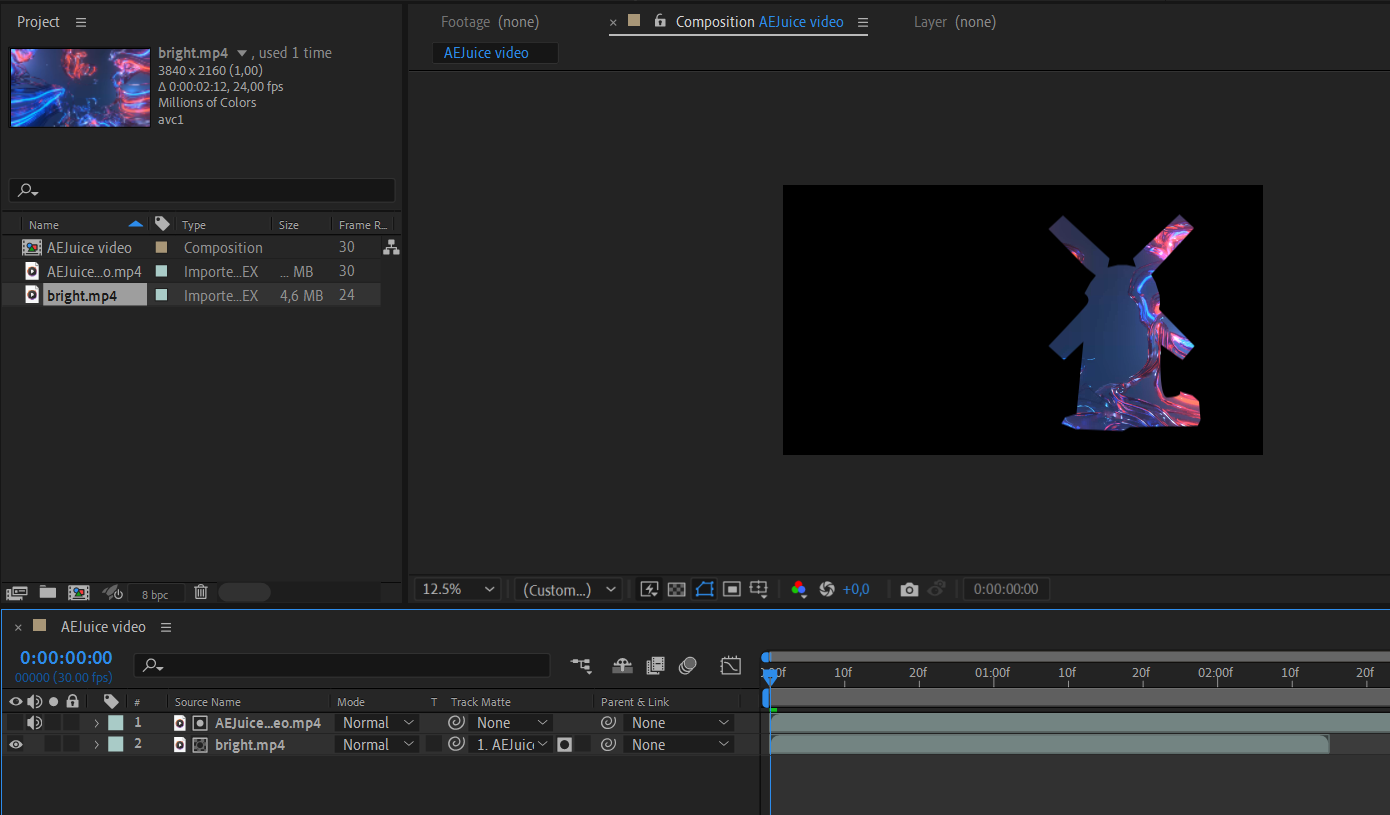
5. Track Matte: Combine the power of masks with the track matte feature to create stunning effects. Apply the Track Matte effect to your footage, select an appropriate mask layer under the “Track Matte” dropdown, and let After Effects automatically adjust the visibility based on the matte layer’s transparency.

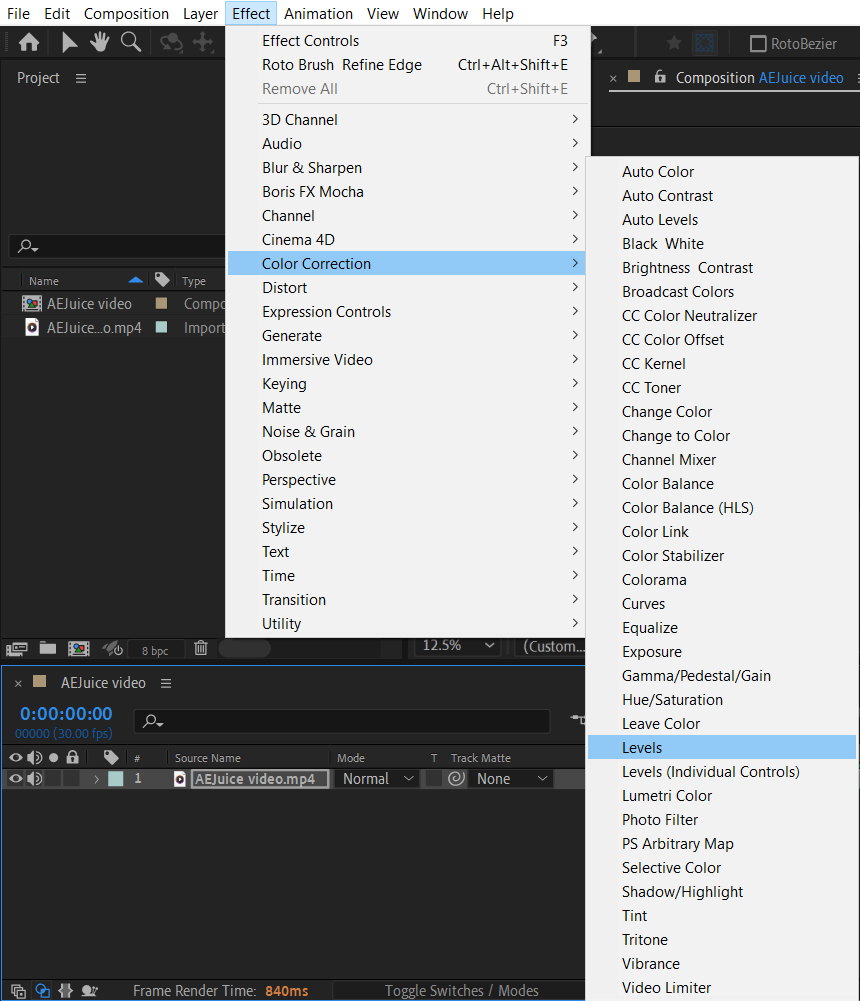
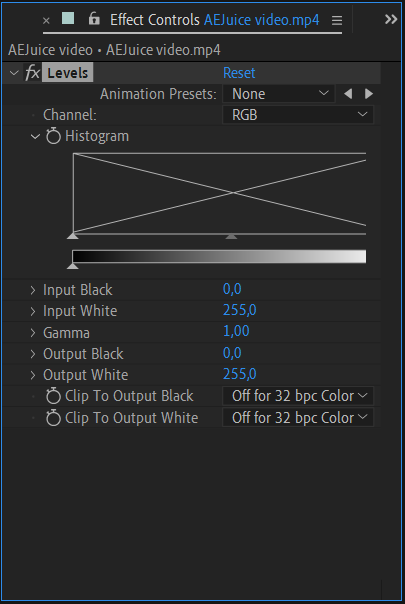
6. Color Correction: Masks are not limited to hiding or revealing elements; they can also be used for color correction. Apply a color adjustment effect, such as Levels or Curves, to your footage and use a mask to isolate specific areas. This allows you to fine-tune the color balance or create dramatic effects within selected regions.
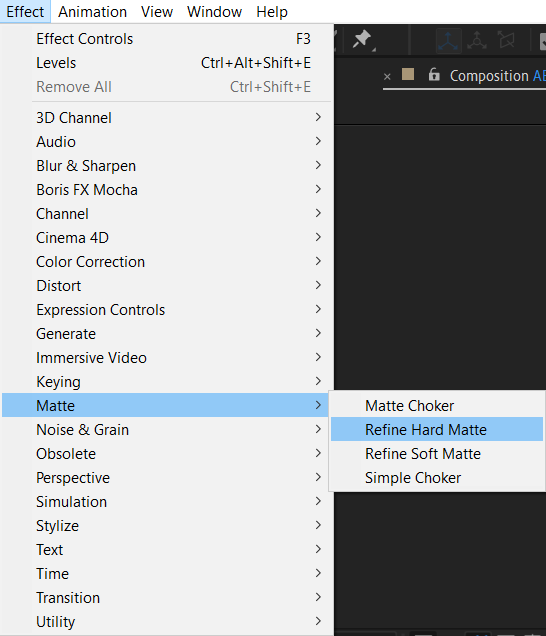
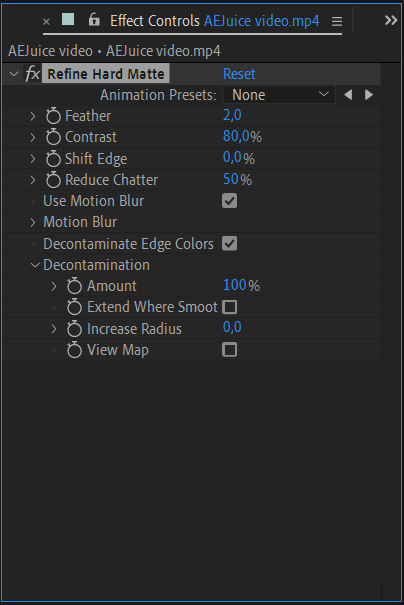
7. Refine Hard/Soft Matte: If you’re dealing with intricate edges or fine details, the Refine Hard/Soft Matte feature is your savior. After creating a mask, select the layer, go to the ‘Effect’ tab, then apply the ‘Matte’ effect, and choose either the ‘Soft’ or ‘Hard Refine Matte’ option. A ‘Soft Matte’ typically refers to a mask with smoother and blurred edges. The ‘Refine Soft Matte’ function can be used to refine the mask’s contour, making it smoother and more natural. This feature is useful, for instance, when working with images where an object has soft and transitioning edges, and you want to enhance their visual quality.
Remember, practice makes perfect when it comes to masking in After Effects. Experiment with different techniques, utilize keyboard shortcuts, and explore the vast possibilities that masking can offer. With dedication and creativity, you’ll soon be masking like a pro in your After Effects projects.
Conclusion: Unleash Your Creativity with After Effects Masking!
Congratulations! You have now unlocked the power of masking in After Effects. With the extensive knowledge and techniques you’ve acquired, you can now confidently isolate elements, remove backgrounds, and create stunning visual effects that will leave your audience captivated.
Remember, masking is not just about hiding or revealing parts of your footage; it’s a gateway to endless creative possibilities. Utilize the selection tools, feathering options, and keyframe animations to bring your visions to life. Combine masks with track mattes for jaw-dropping effects, and don’t forget to experiment with color correction and the refine hard/soft matte feature for even more professional results.
As with any skill, mastering masking in After Effects takes practice and experimentation. So keep pushing yourself, explore tutorials and resources, and don’t be afraid to think outside the box. With time and dedication, you’ll continue to refine your skills and take your projects to new heights.
Now armed with the knowledge from this comprehensive guide, go forth and let your creativity soar. Stand out from the crowd by incorporating advanced masking techniques into your After Effects workflow. The possibilities are endless, and your imagination is the only limit.
Happy masking and creating in After Effects!

