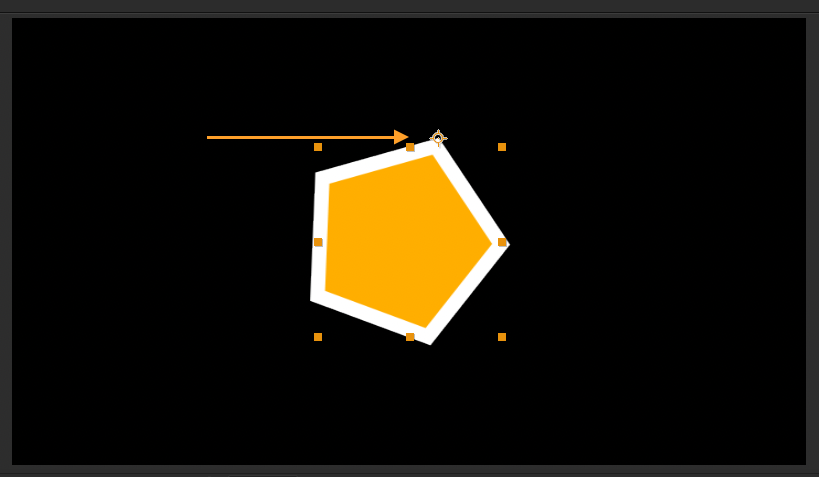
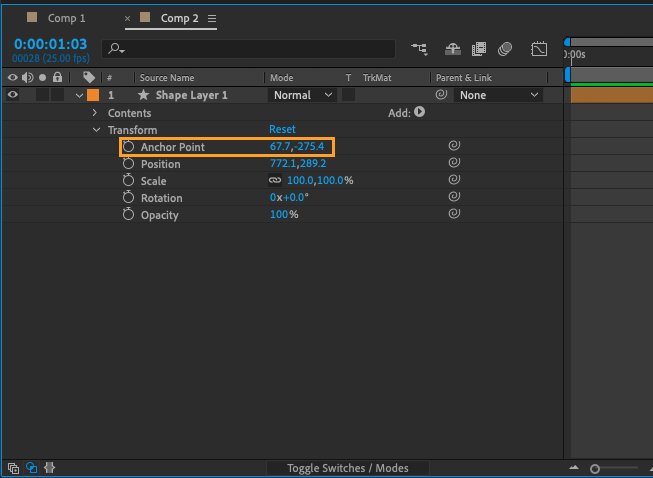
In After Effects, the anchor point is a reference point that determines the position, rotation, and scale of a layer. It is important to set the anchor point before animating your composition, as it will affect how the layer moves and transforms.
If you need to move the anchor point to a new location, you can use the Pan Behind Tool:
- Activate the tool by pressing the Y key on your keyboard or by selecting it from the toolbar at the top of the After Effects interface.
![]()

Get 10% off when you subscribe to our newsletter
By subscribing you agree to your email being stored and used
to receive the emails in accordance to our Privacy Policy


![]()
There are a few tips and tricks to keep in mind when working with anchor points in After Effects:
Get 10% off when you subscribe to our newsletter
By subscribing you agree to your email being stored and used
to receive the emails in accordance to our Privacy Policy

- For example, you can center the anchor point on a layer by using the keyboard shortcut Command + Option + Home (Mac) or Ctrl + Alt + Home (PC).
- You can also move the anchor point along the X or Y axis in straight lines by holding down the Shift key while using the Pan Behind Tool.
- Additionally, you can activate anchor point guides by holding down Control (PC) or Command (Mac) while dragging the anchor point around with the Pan Behind Tool. This will allow the anchor point to snap to illuminated crosshairs in your composition, making it easier to align it with specific objects.
Get 10% off when you subscribe to our newsletter
By subscribing you agree to your email being stored and used
to receive the emails in accordance to our Privacy Policy

Overall, mastering the use and manipulation of the anchor point in After Effects is an important skill for any animator or visual effects artist.


