How to Move Frame by Frame in Adobe After Effects on a Mac
Introduction: Navigating Frame by Frame for Precision Editing
Moving frame by frame in After Effects on a Mac is essential for video designers who want to achieve precision and accuracy in their animations. In this step-by-step guide, we will show you different methods you can use to navigate through your composition frame by frame.
Method 1: Using Keyboard Shortcuts
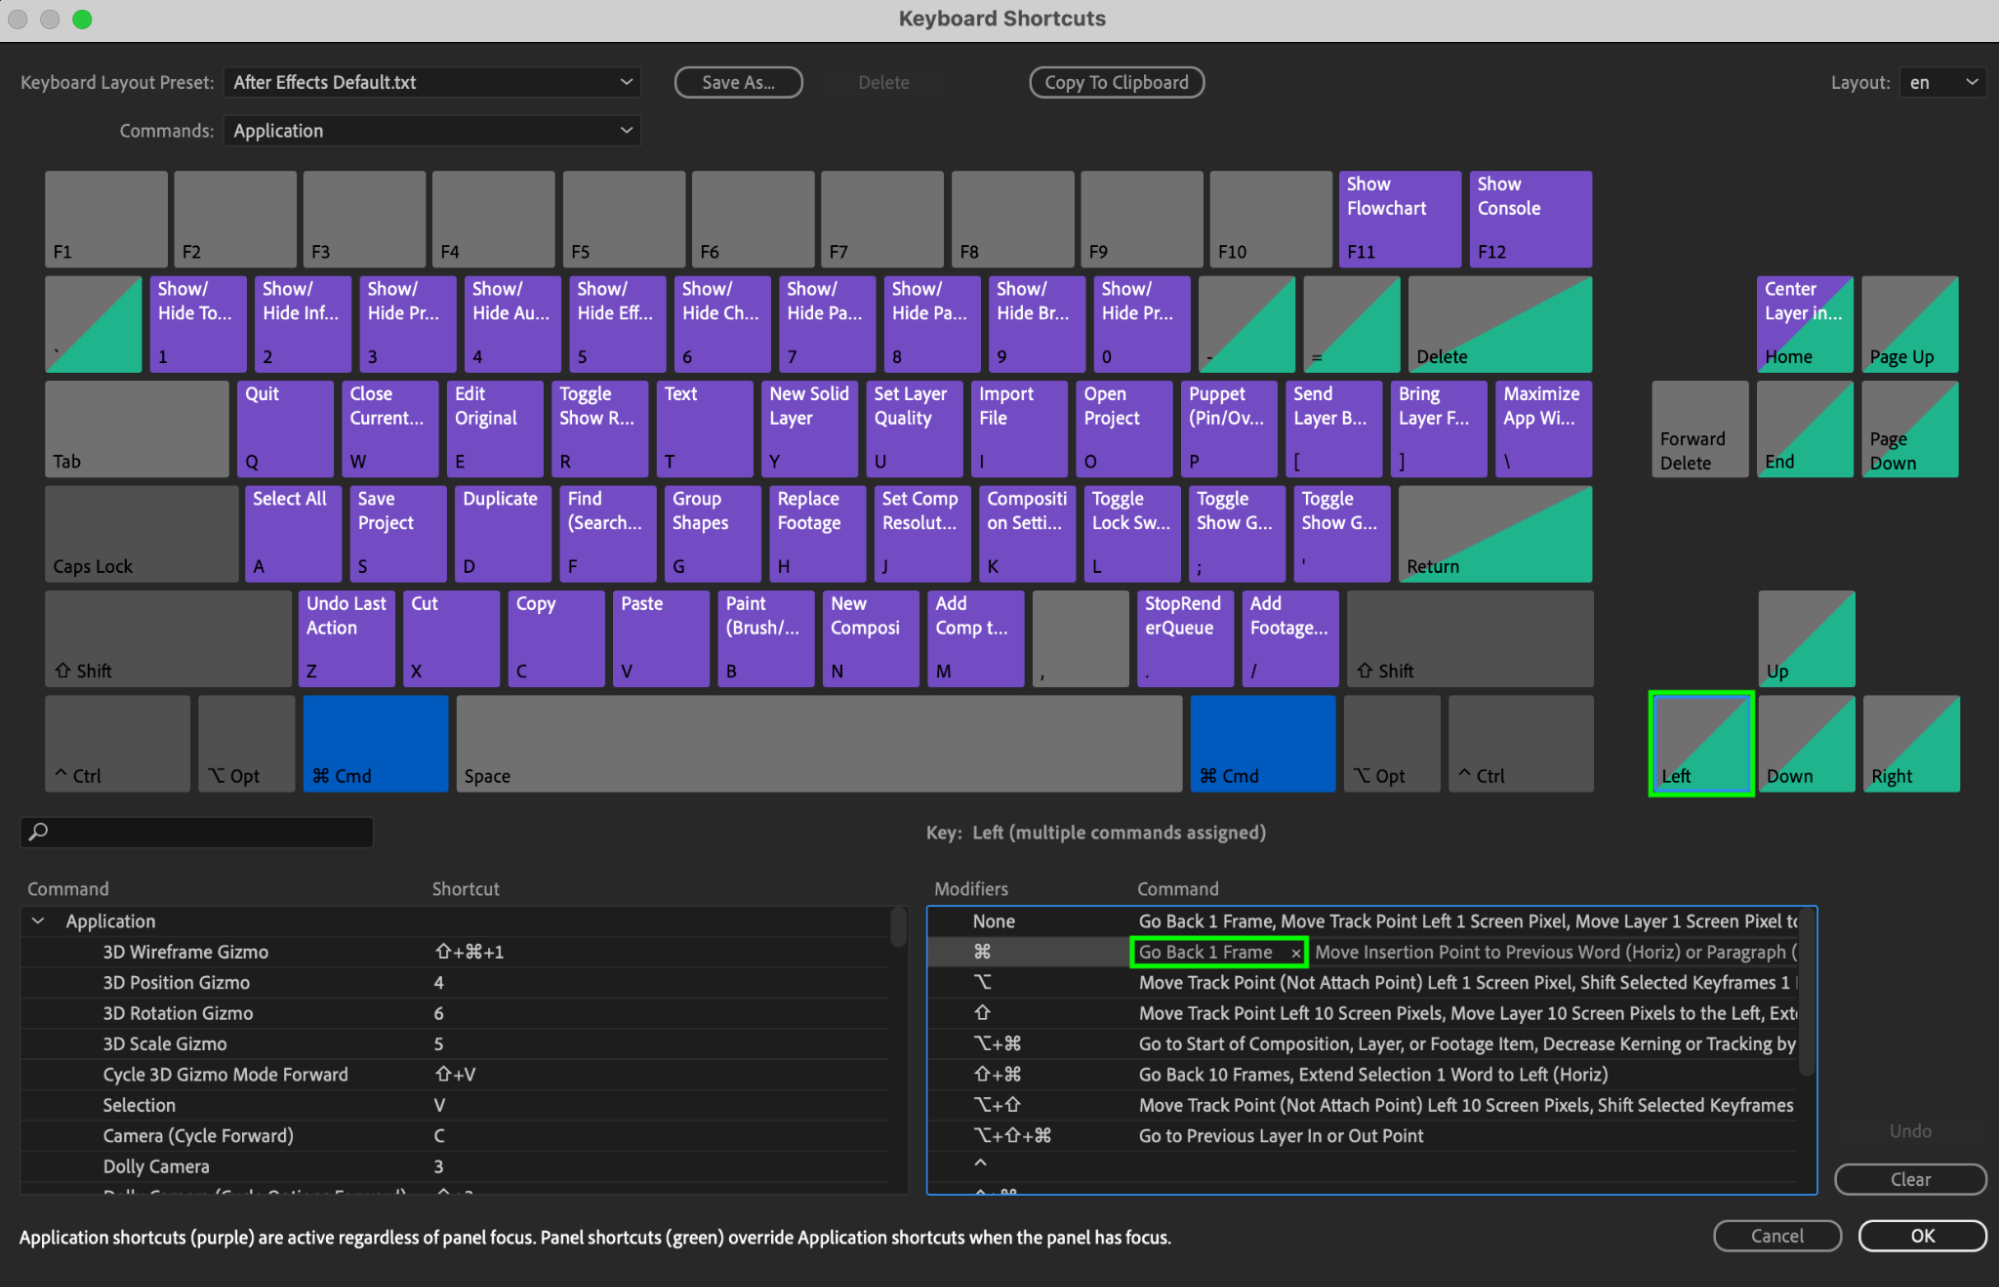
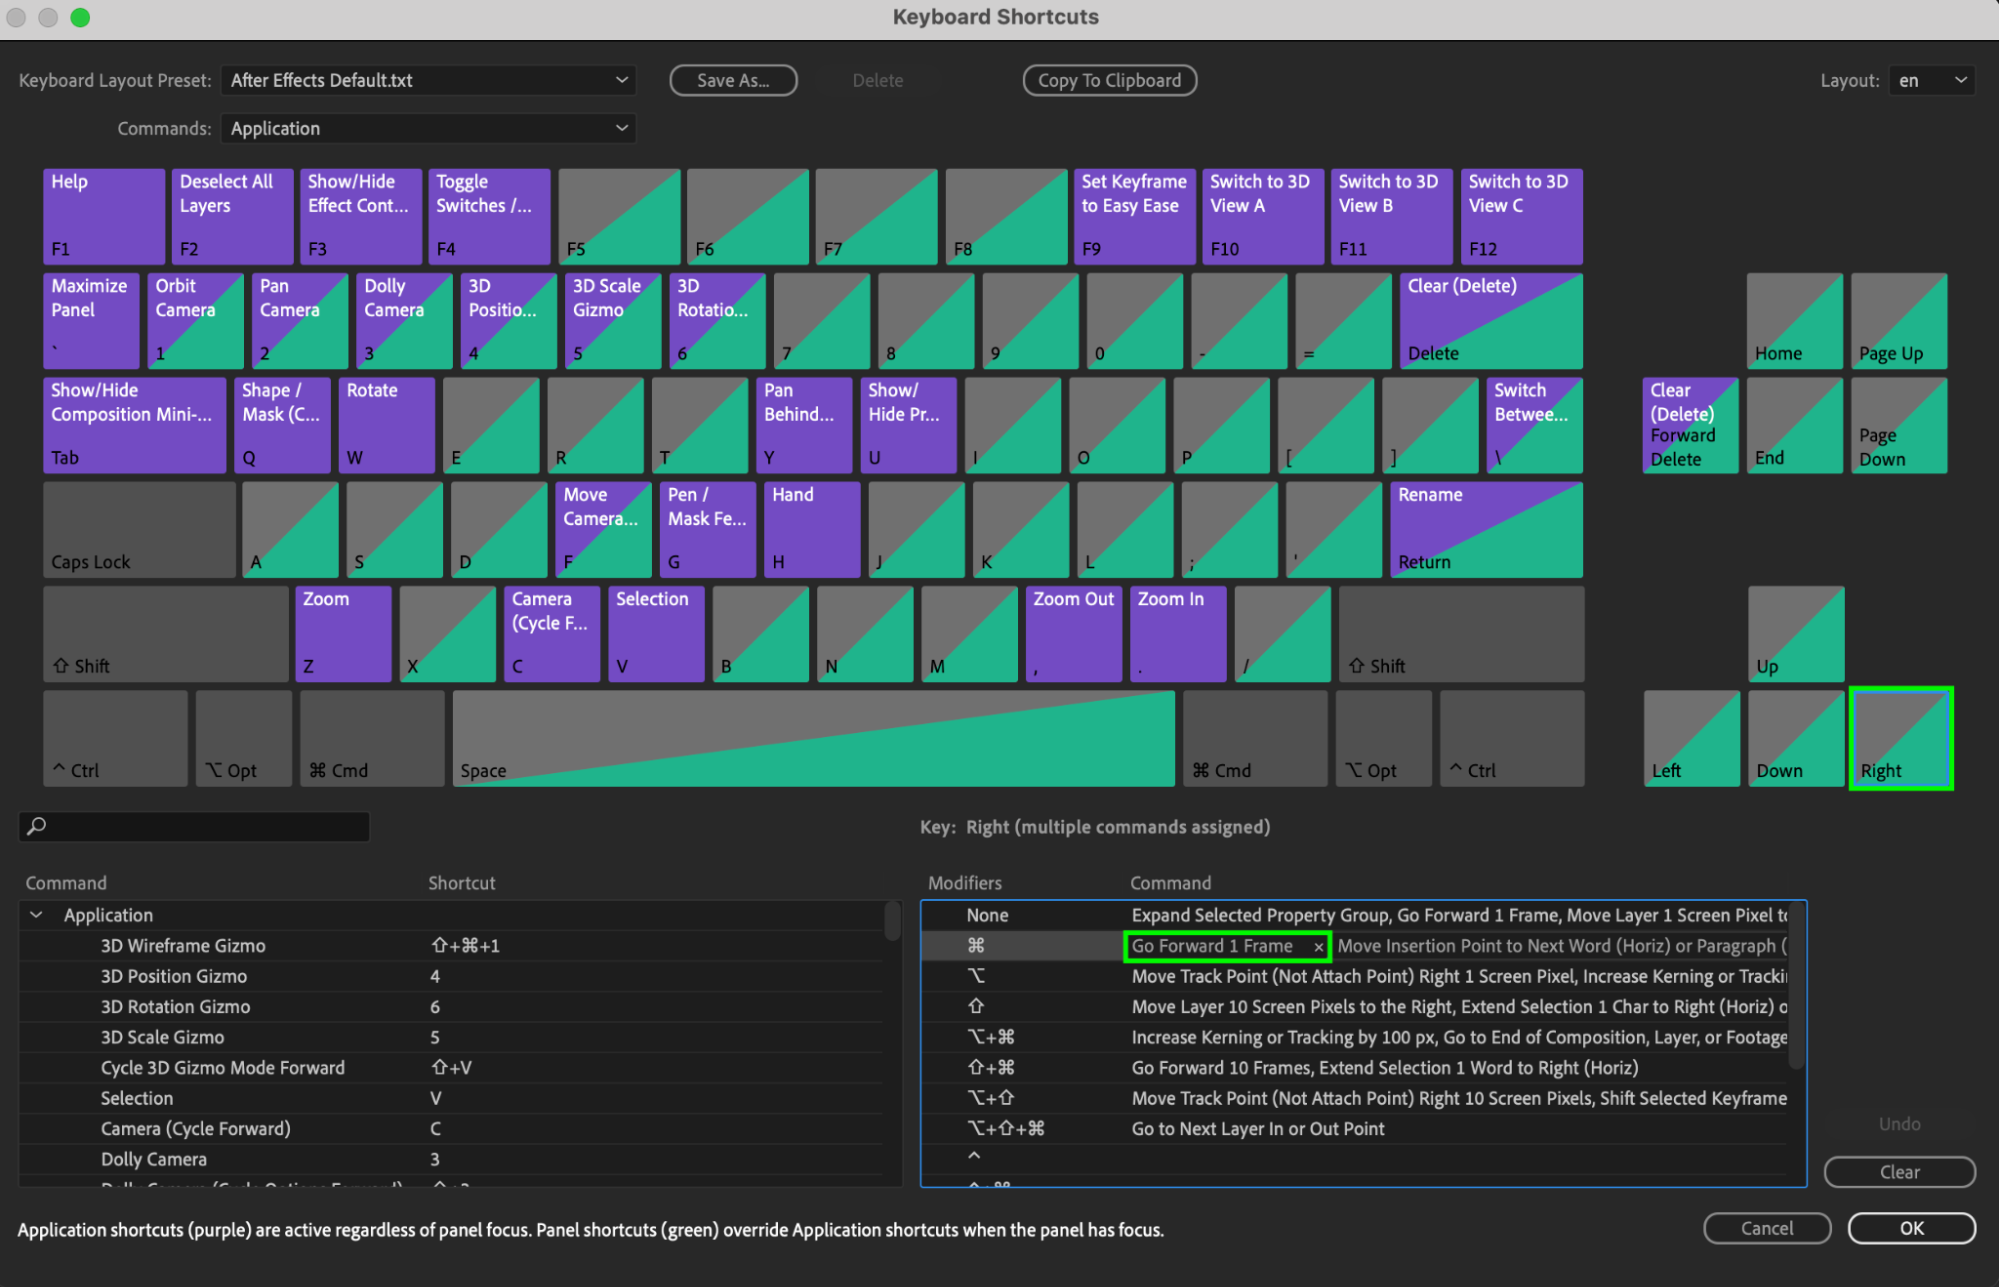
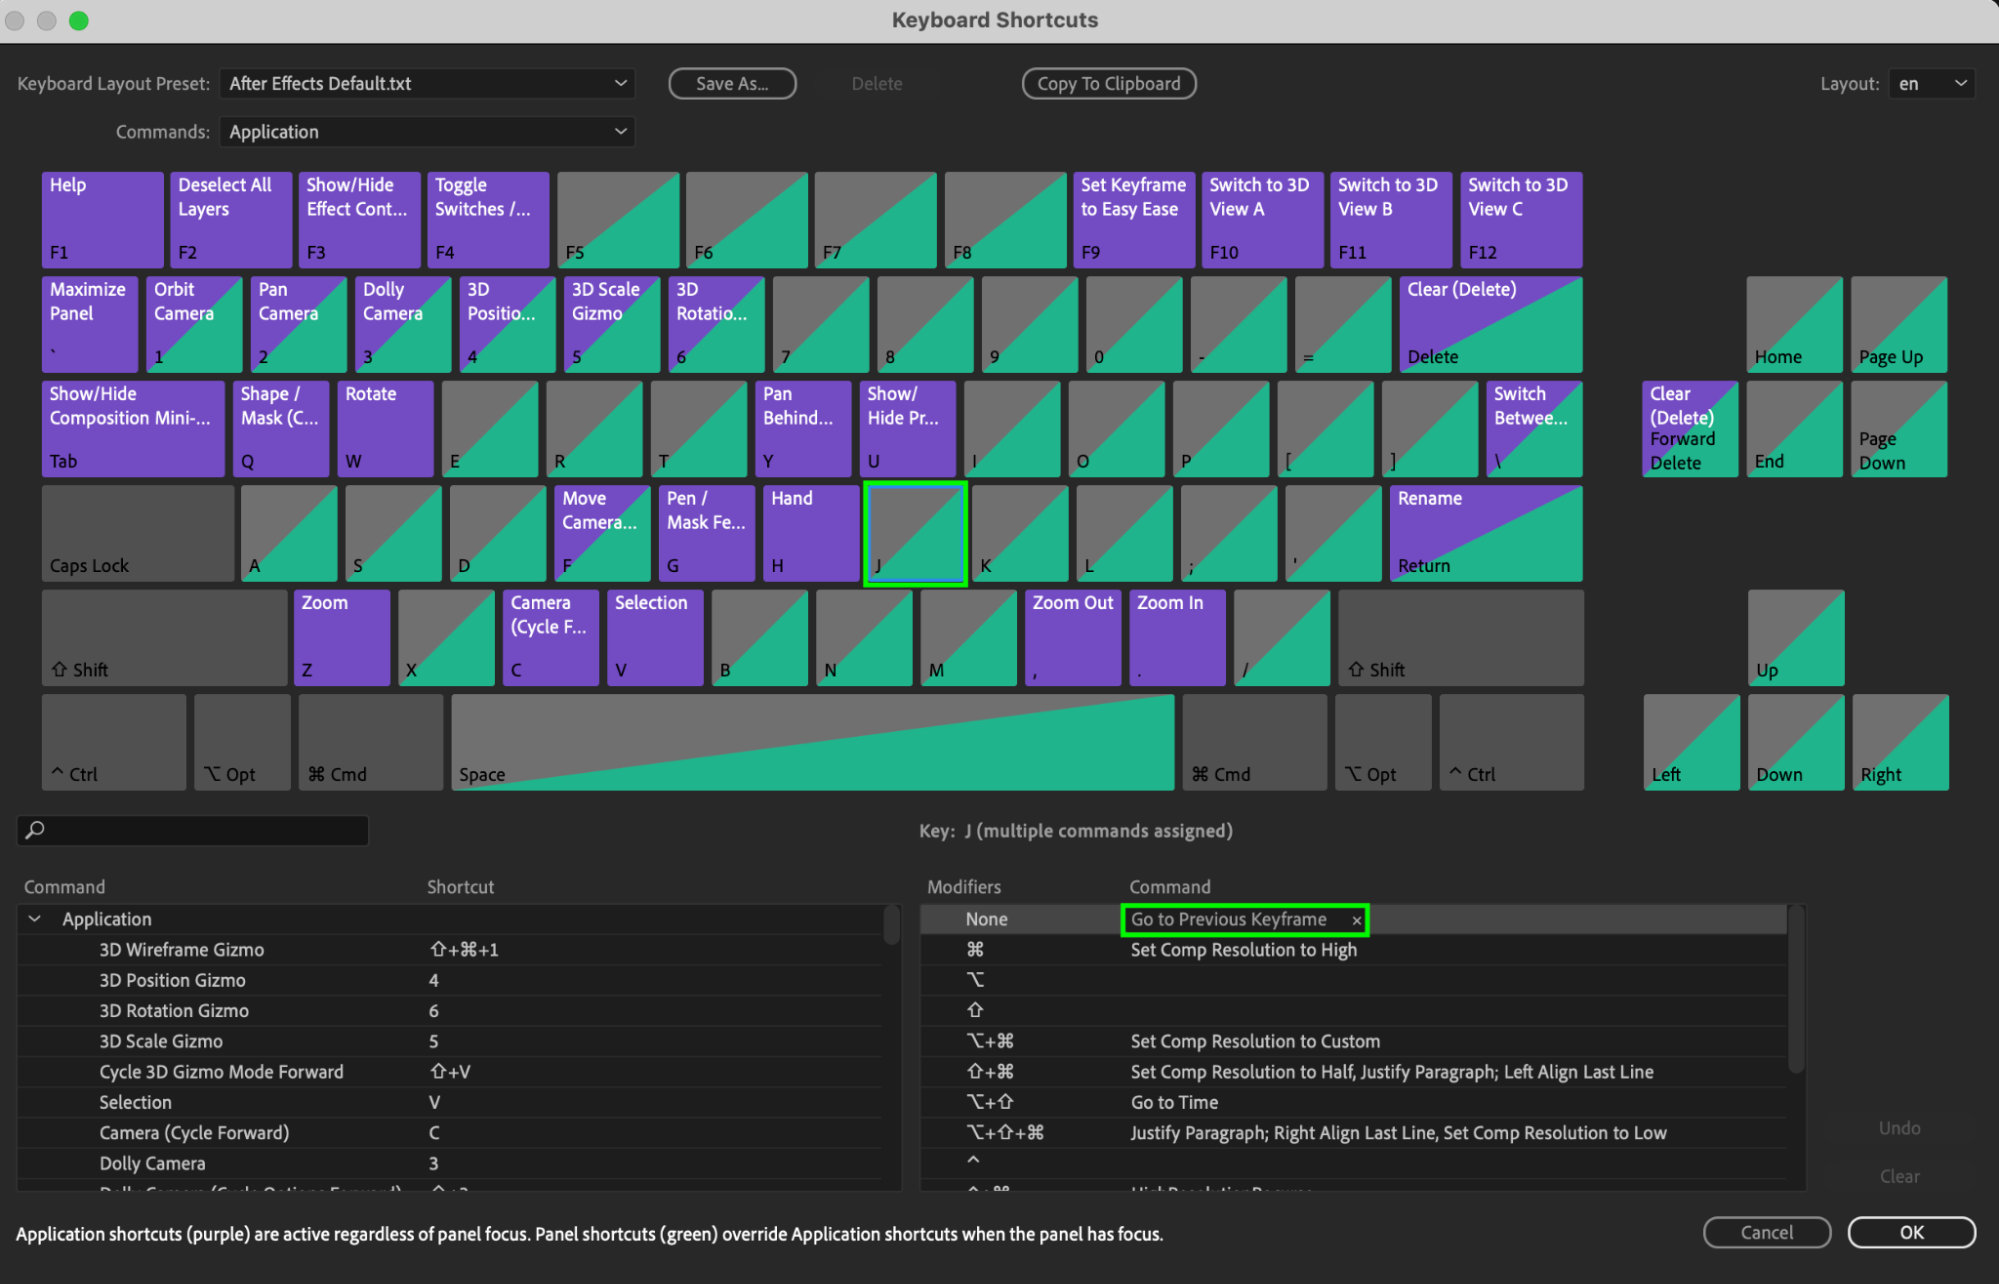
After Effects is the industry-standard software for motion graphics and visual effects. It provides several ways to move frame by frame, including keyboard shortcuts that are built into Mac. By default, the Right Arrow key moves one frame forward, and the Left Arrow key moves one frame backward. You can customize these shortcuts to fit your workflow by going to Edit > Keyboard Shortcuts and searching for “Go Forward 1 Frame” and “Go Back 1 Frame” commands.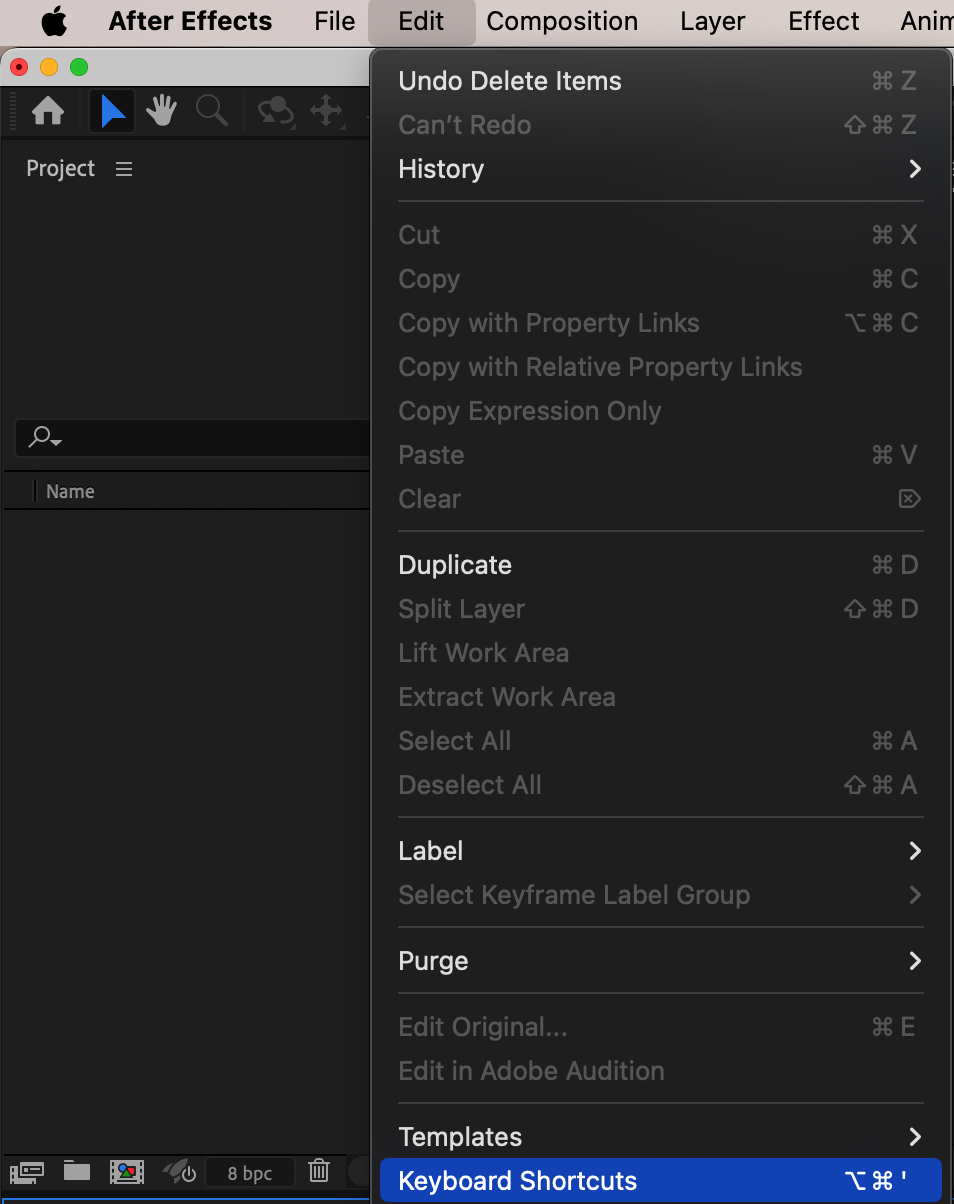
Get 10% off when you subscribe to our newsletter

Method 2: Using the Timeline Panel
The Timeline panel offers a visual representation of your composition, allowing for precise adjustments frame by frame. To navigate using the Timeline panel, select the layer or composition you want to navigate and click and drag the blue line representing the Current Time Indicator (CTI) to move frame by frame.
 Method 3: Using Keyframe Navigation
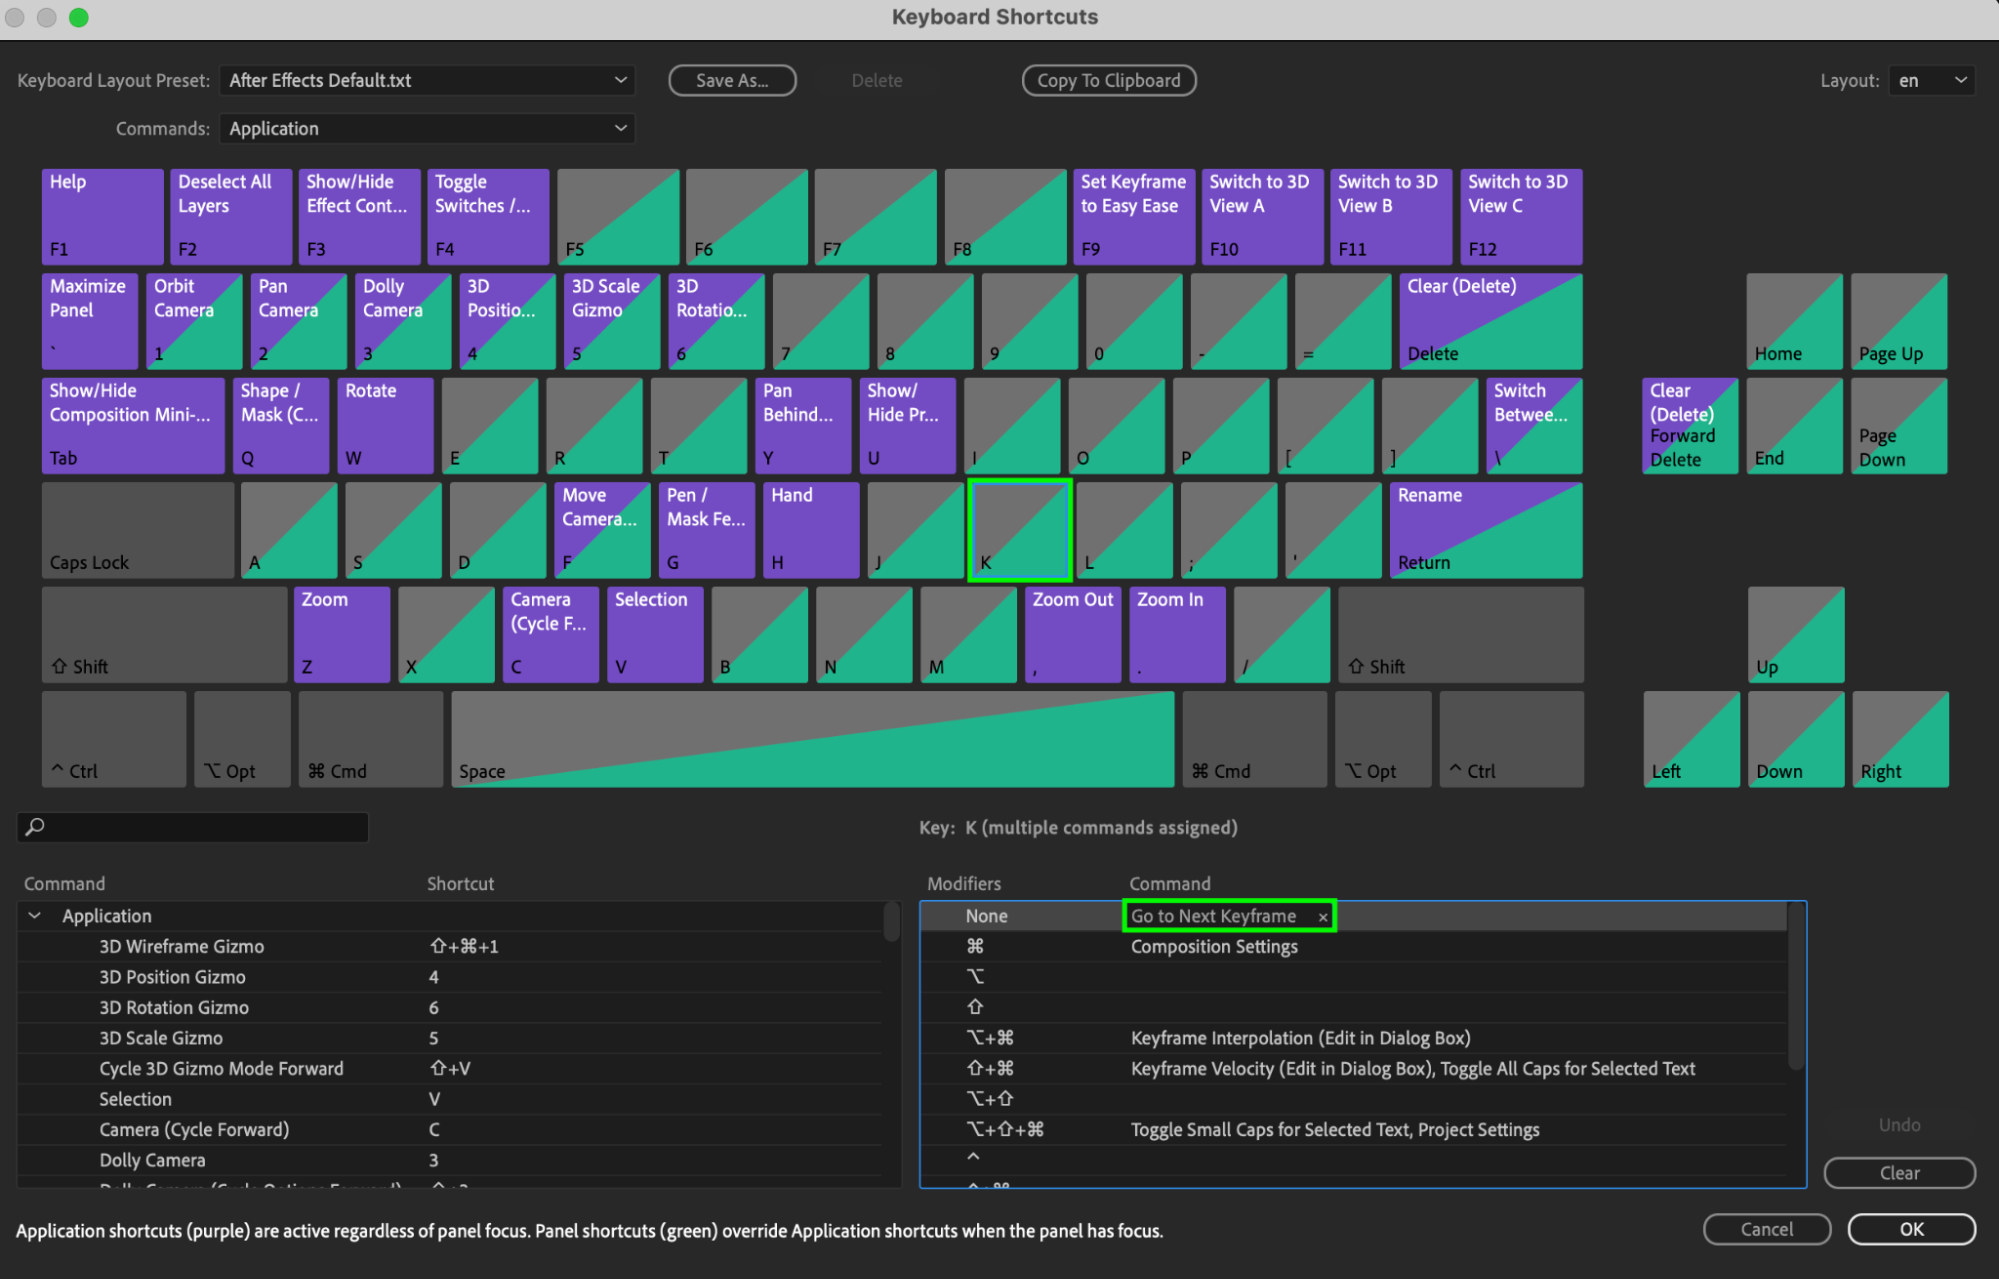
If you prefer using the keyboard, the “J” and “K” keys allow you to move keyframe by keyframe, which is particularly useful for animations with many keyframes. Pressing the “J” key moves your composition one keyframe backward, while pressing the “K” key moves it one keyframe forward. You can press these keys multiple times in quick succession to navigate through your composition more rapidly.
Conclusion
Experiment with these methods to find what works best for you and optimize your workflow in After Effects on a Mac. Remember, practice makes perfect, so keep exploring and keep creating stunning animations with ease! For more tutorials and resources on After Effects and other motion graphics software, visit AEJuice.com. Happy editing!


