Exploring Pan and Zoom Techniques in After Effects
Introduction to Pan and Zoom Effects
Pan and zoom effects are vital tools for enhancing the visual appeal of videos, offering movement, depth, and engagement to captivate audiences. In this guide, we’ll delve into the importance of incorporating these effects to elevate the quality of your projects, whether for narrative storytelling or promotional content.
Get 10% off when you subscribe to our newsletter

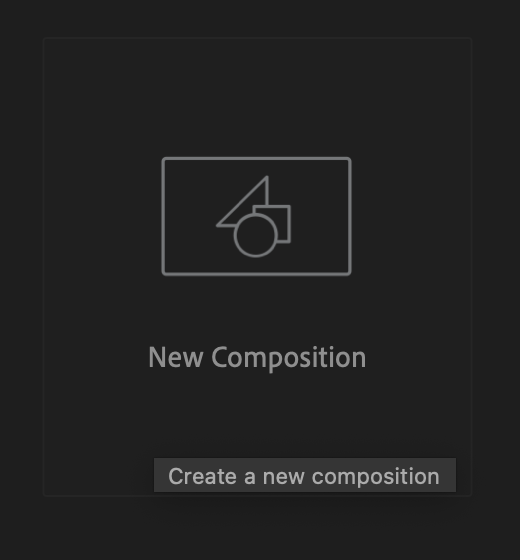
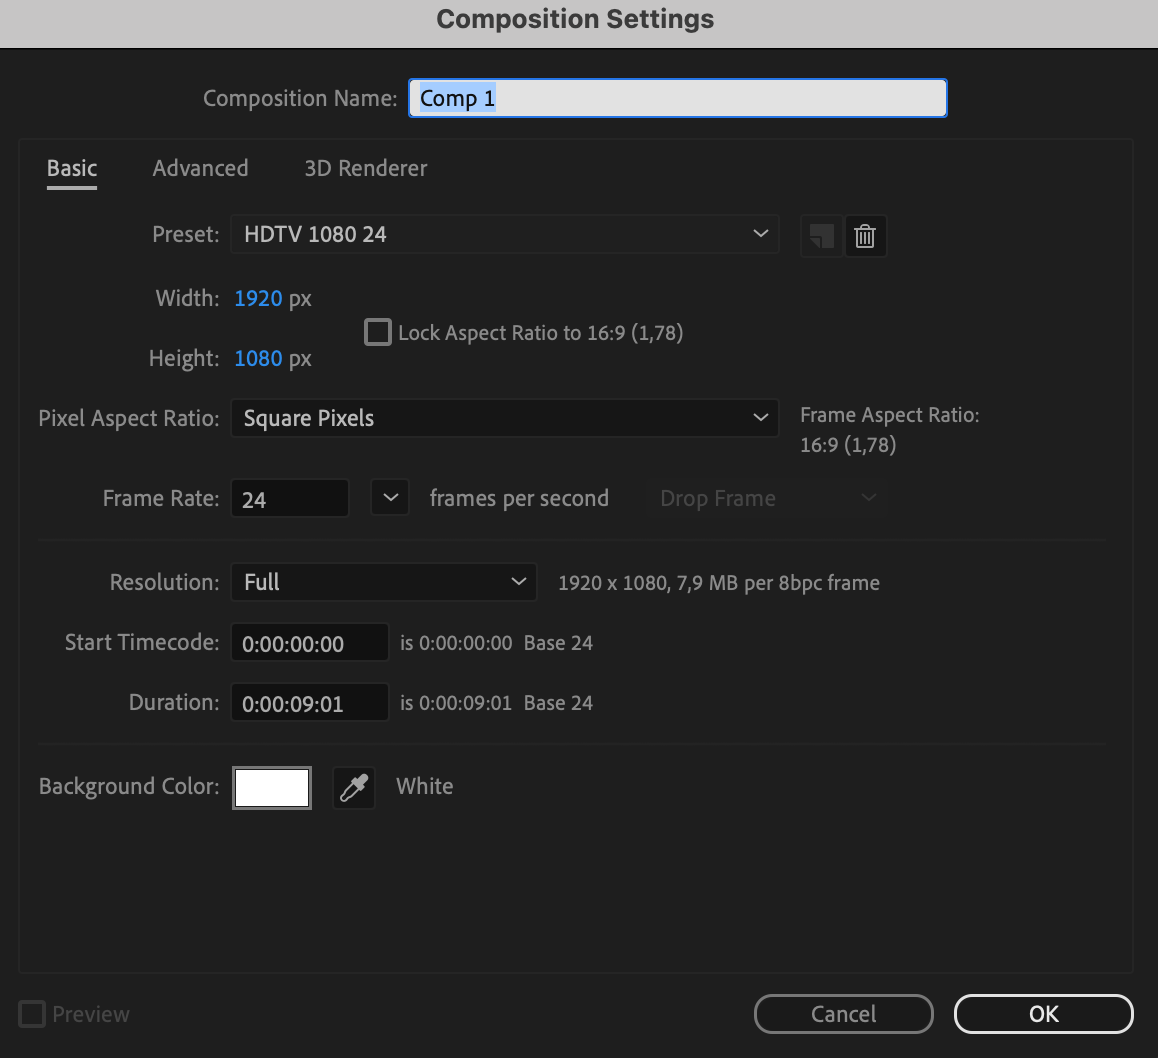
Step 1: Creating a New Composition and Adjusting Its Settings
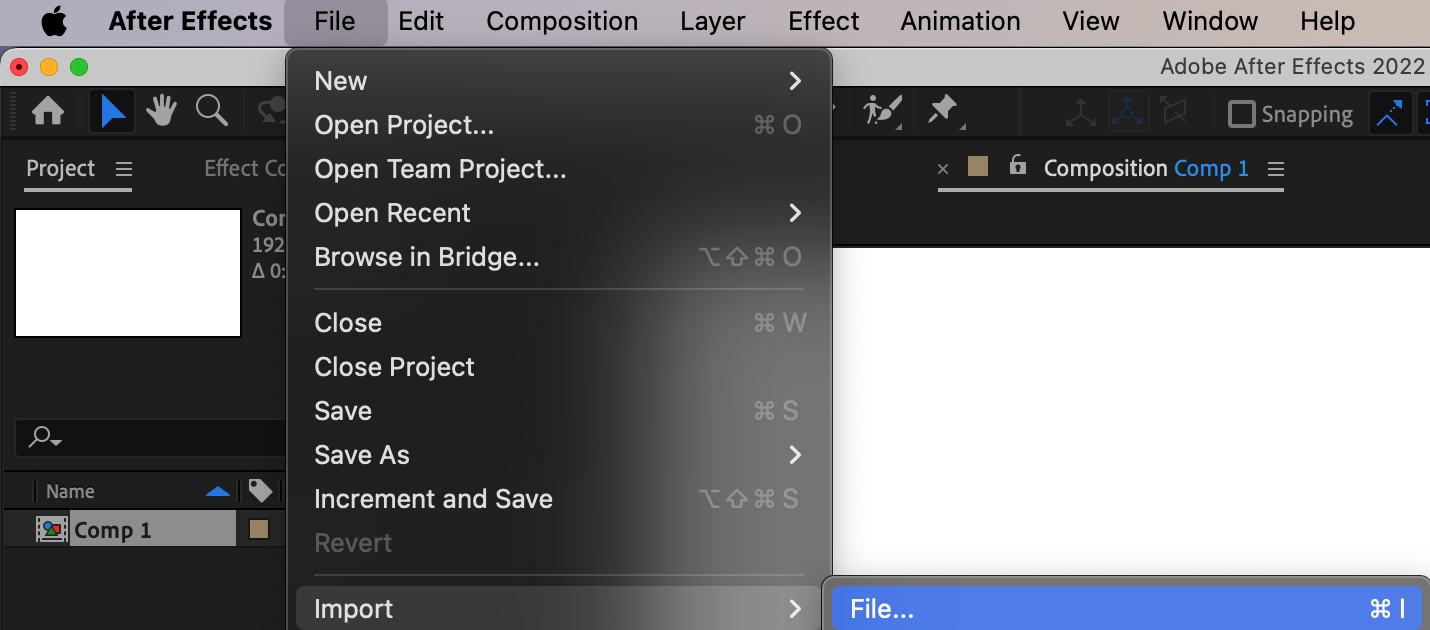
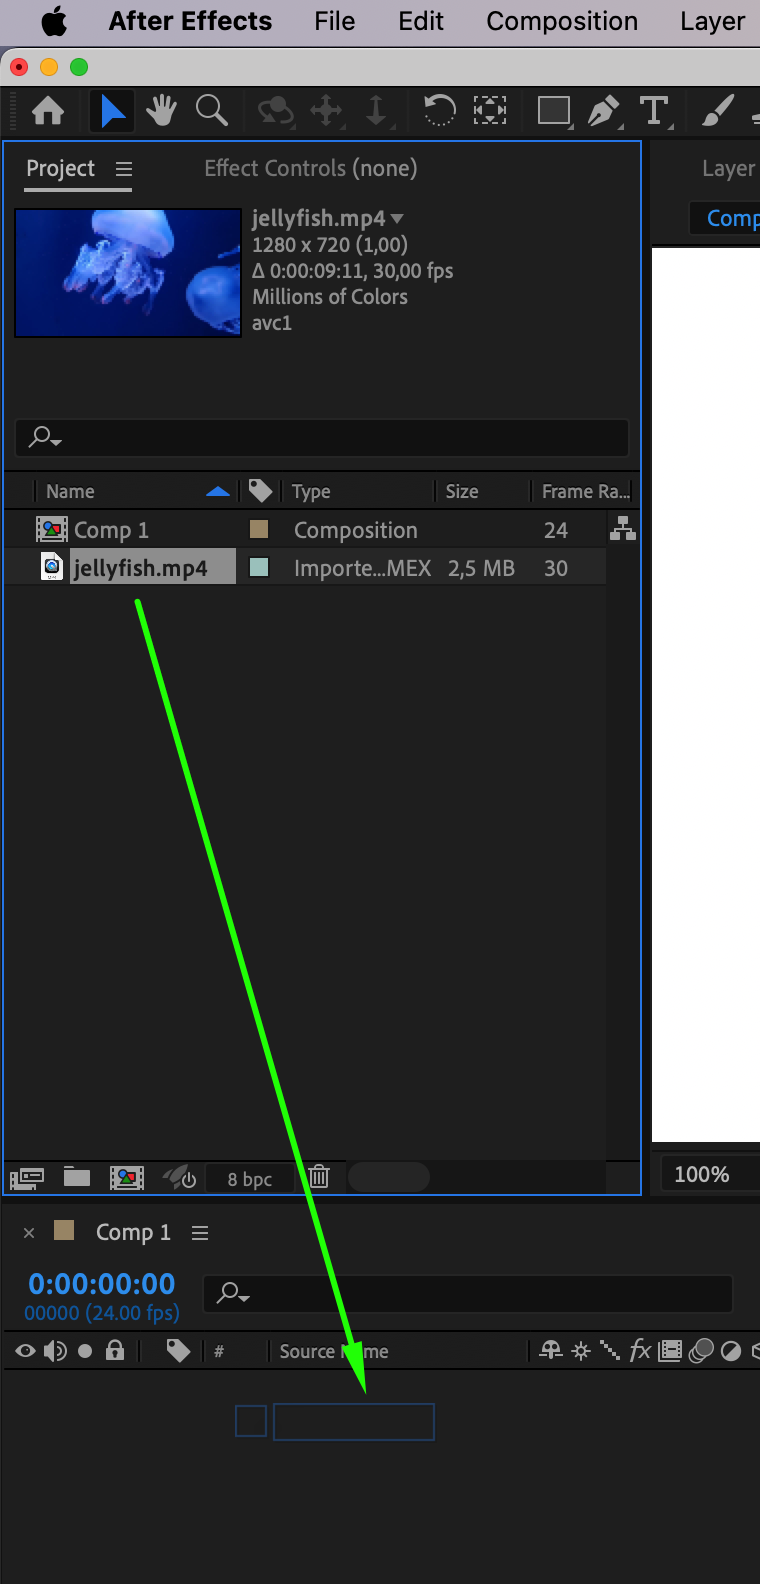
Begin by creating a new composition and configuring its parameters. Import the files and drag them onto the composition panel.
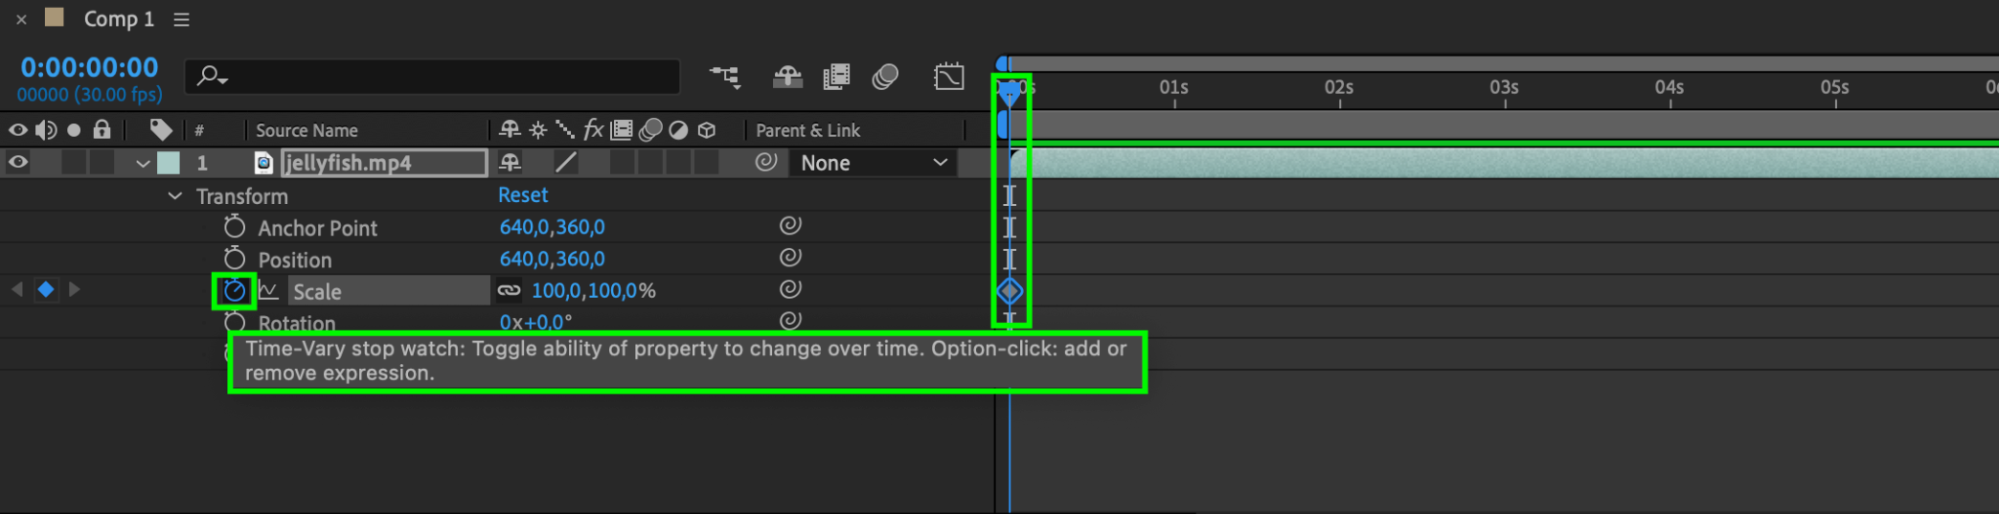
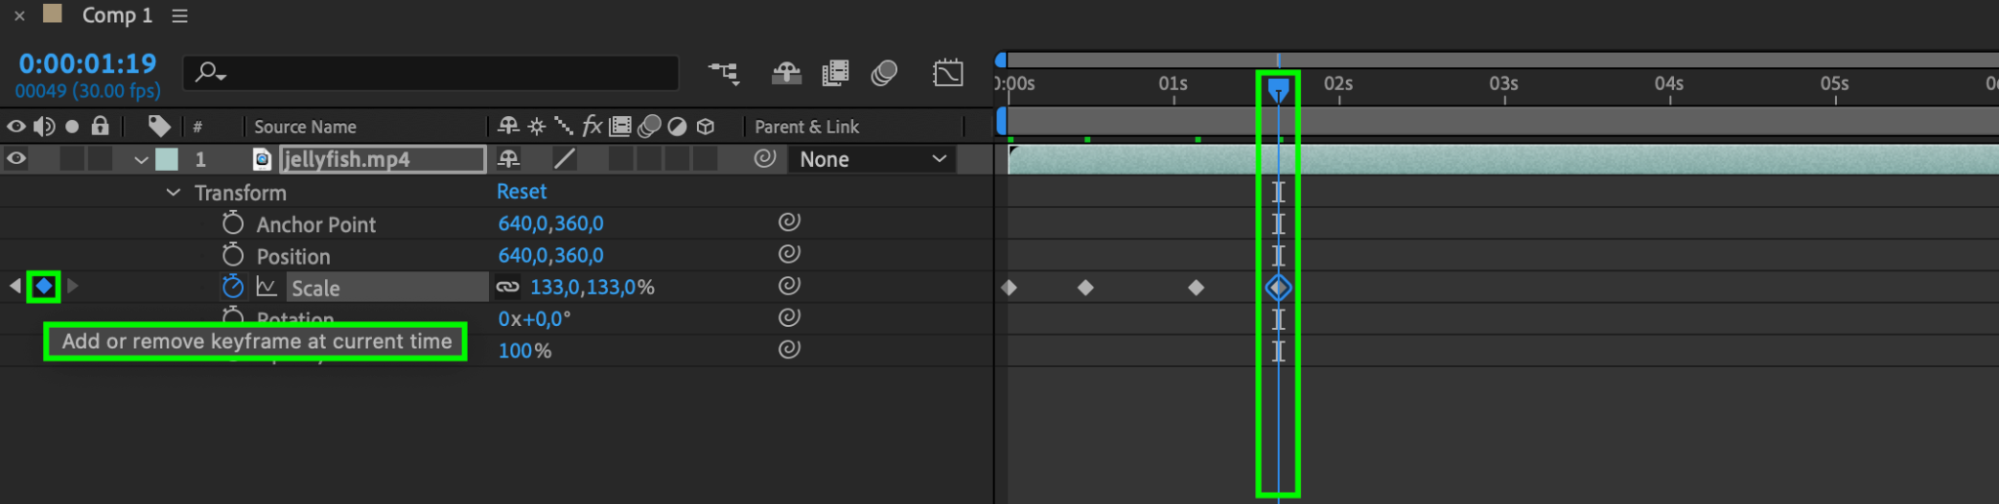
Step 2: Understanding Keyframing Fundamentals
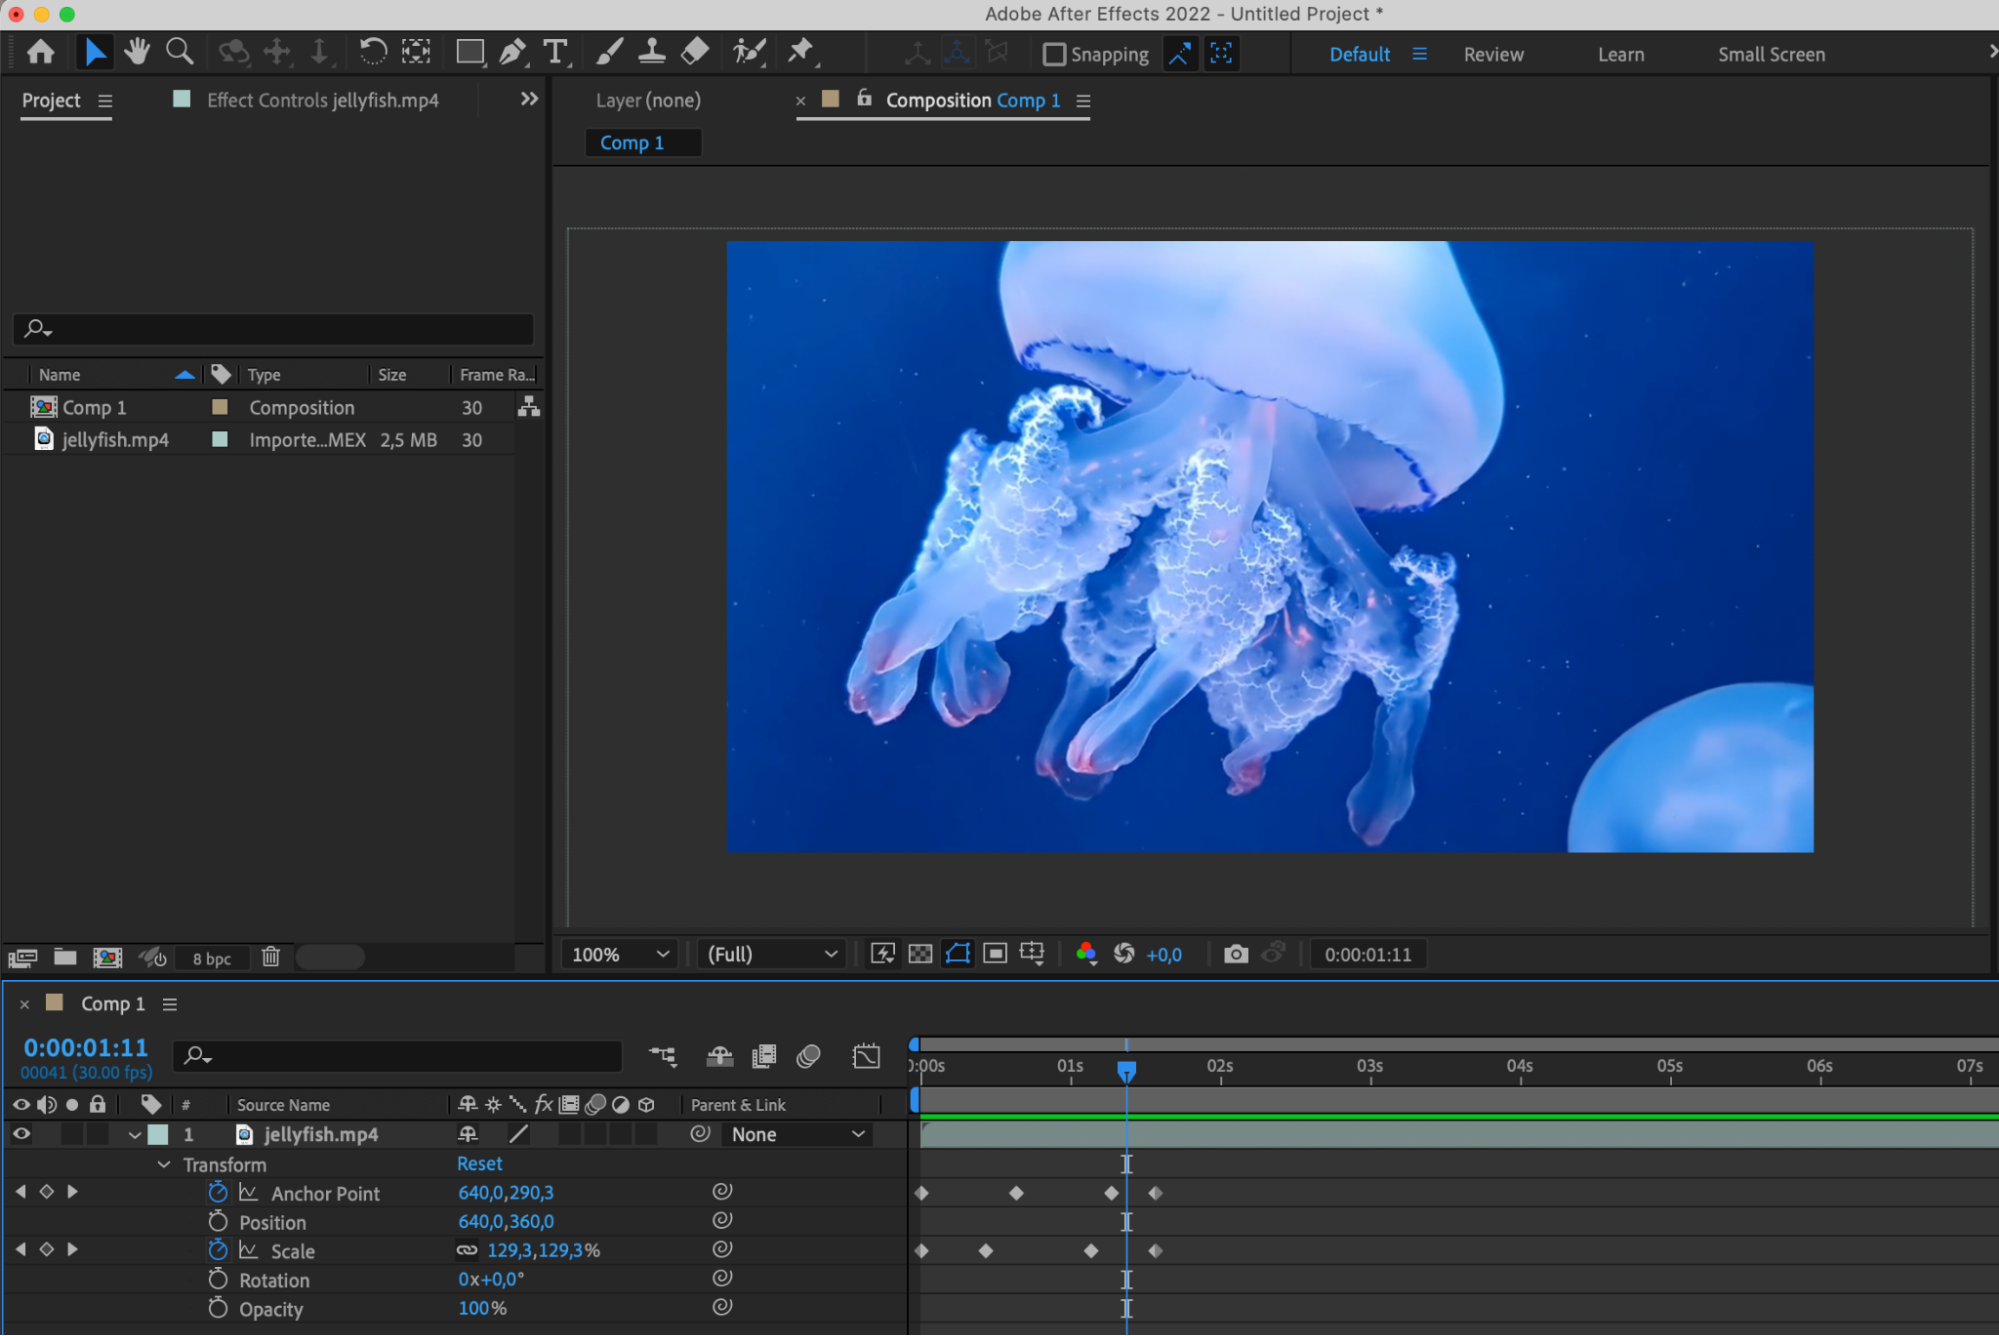
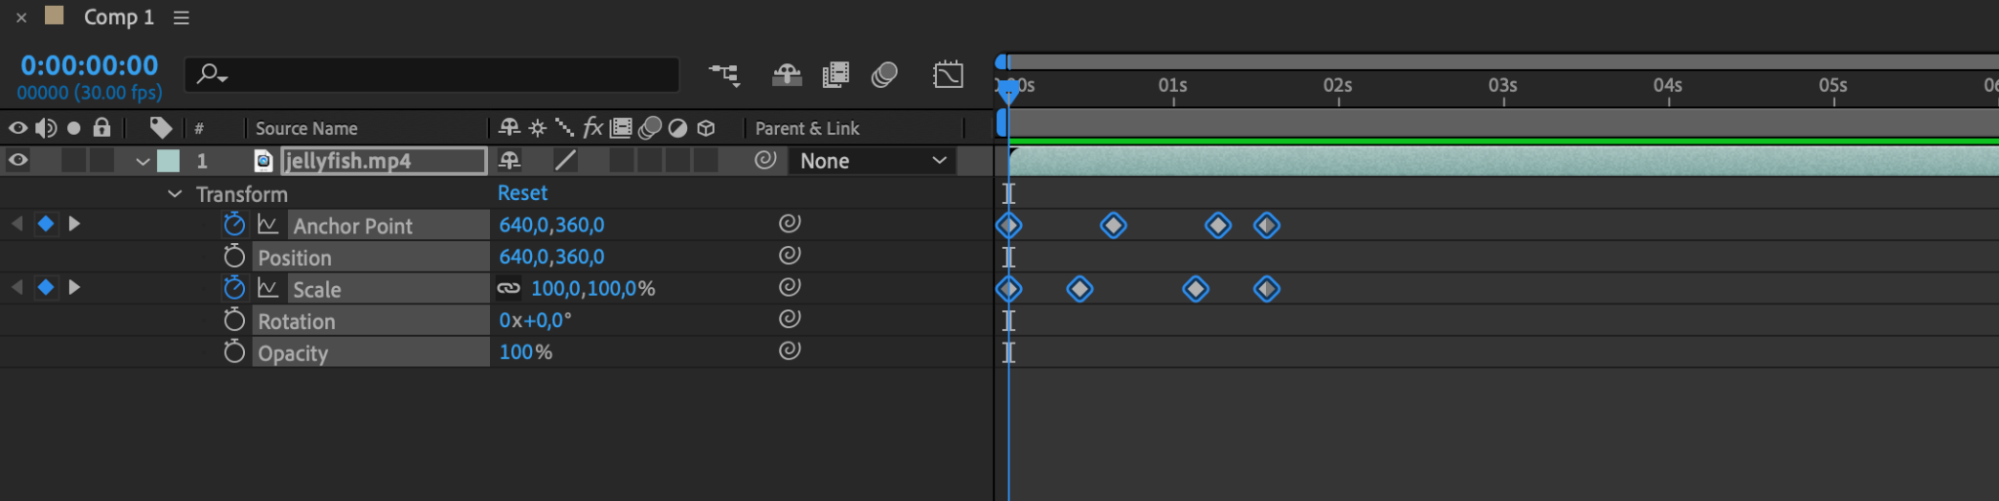
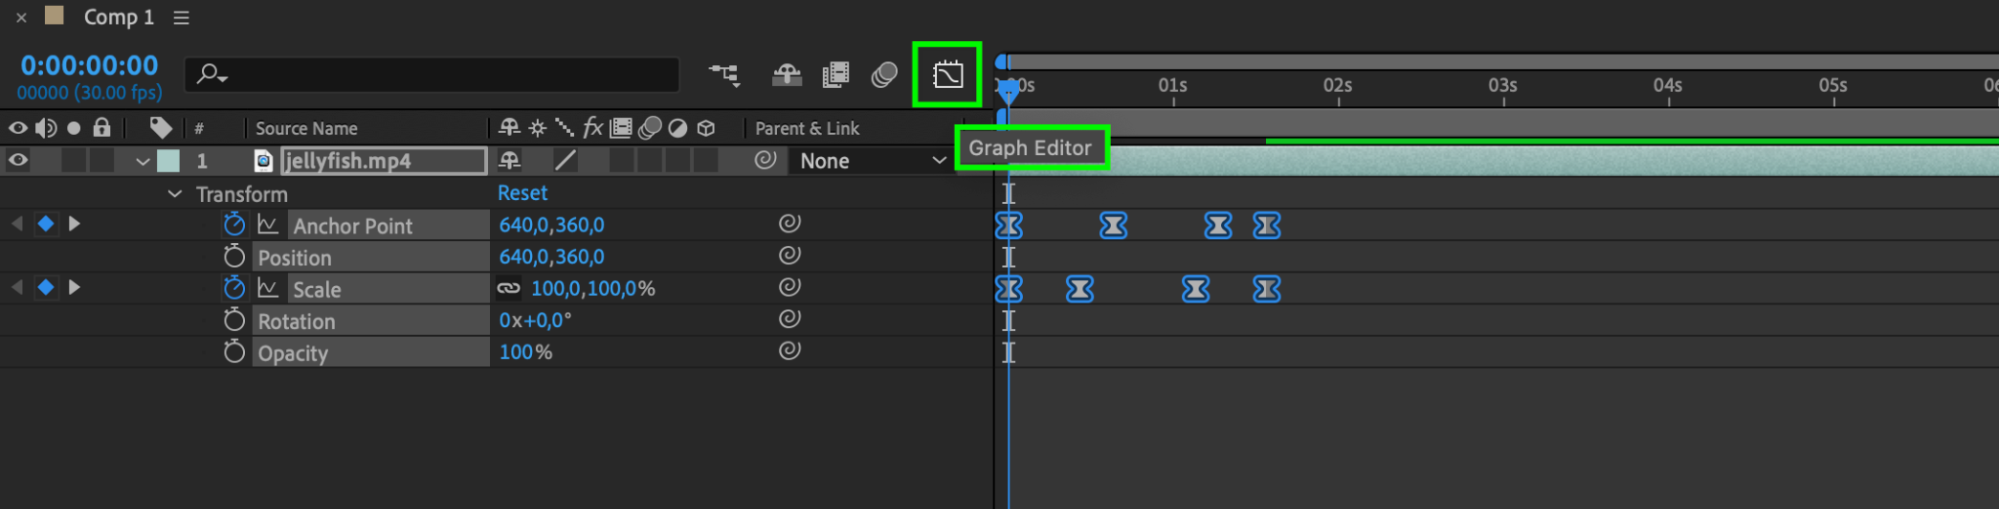
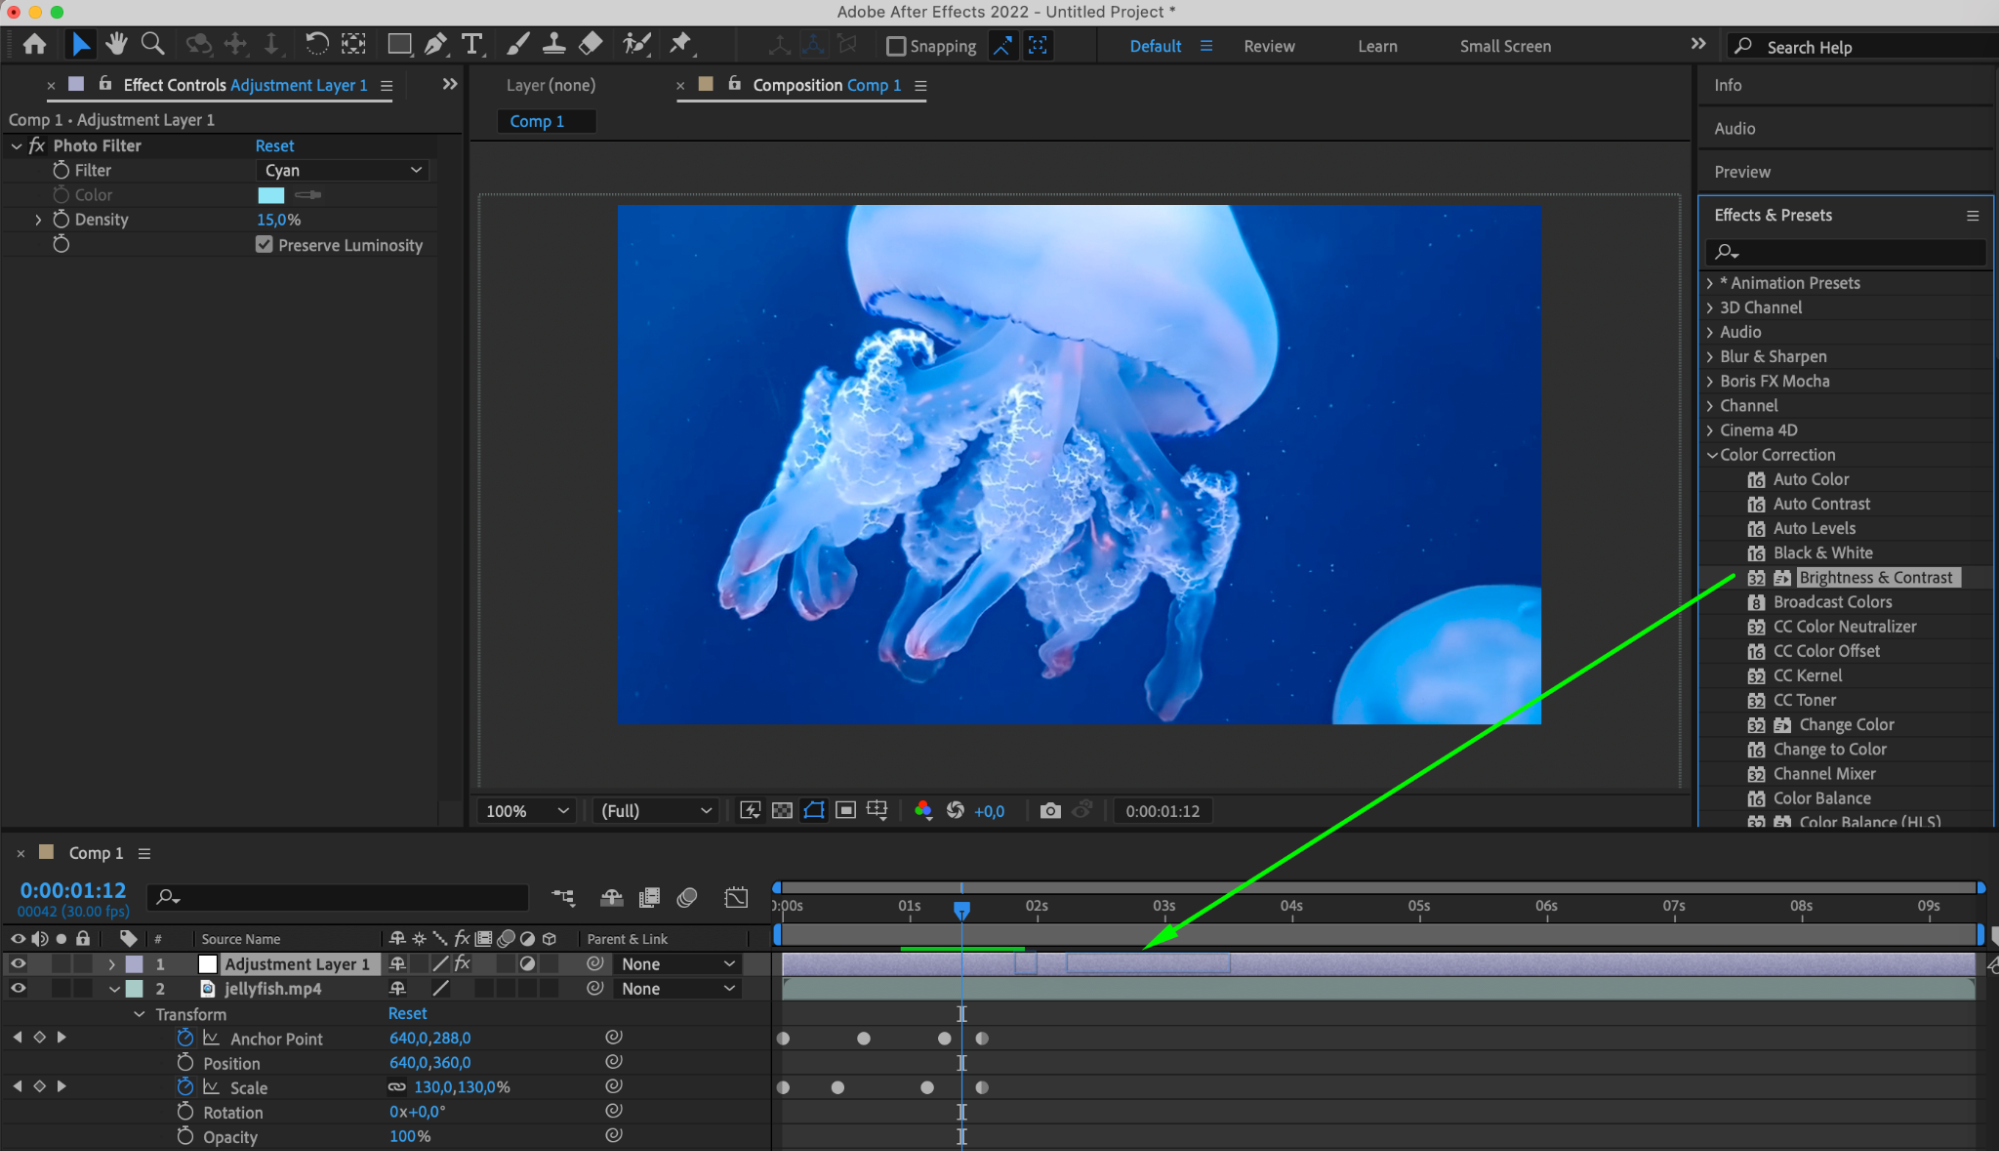
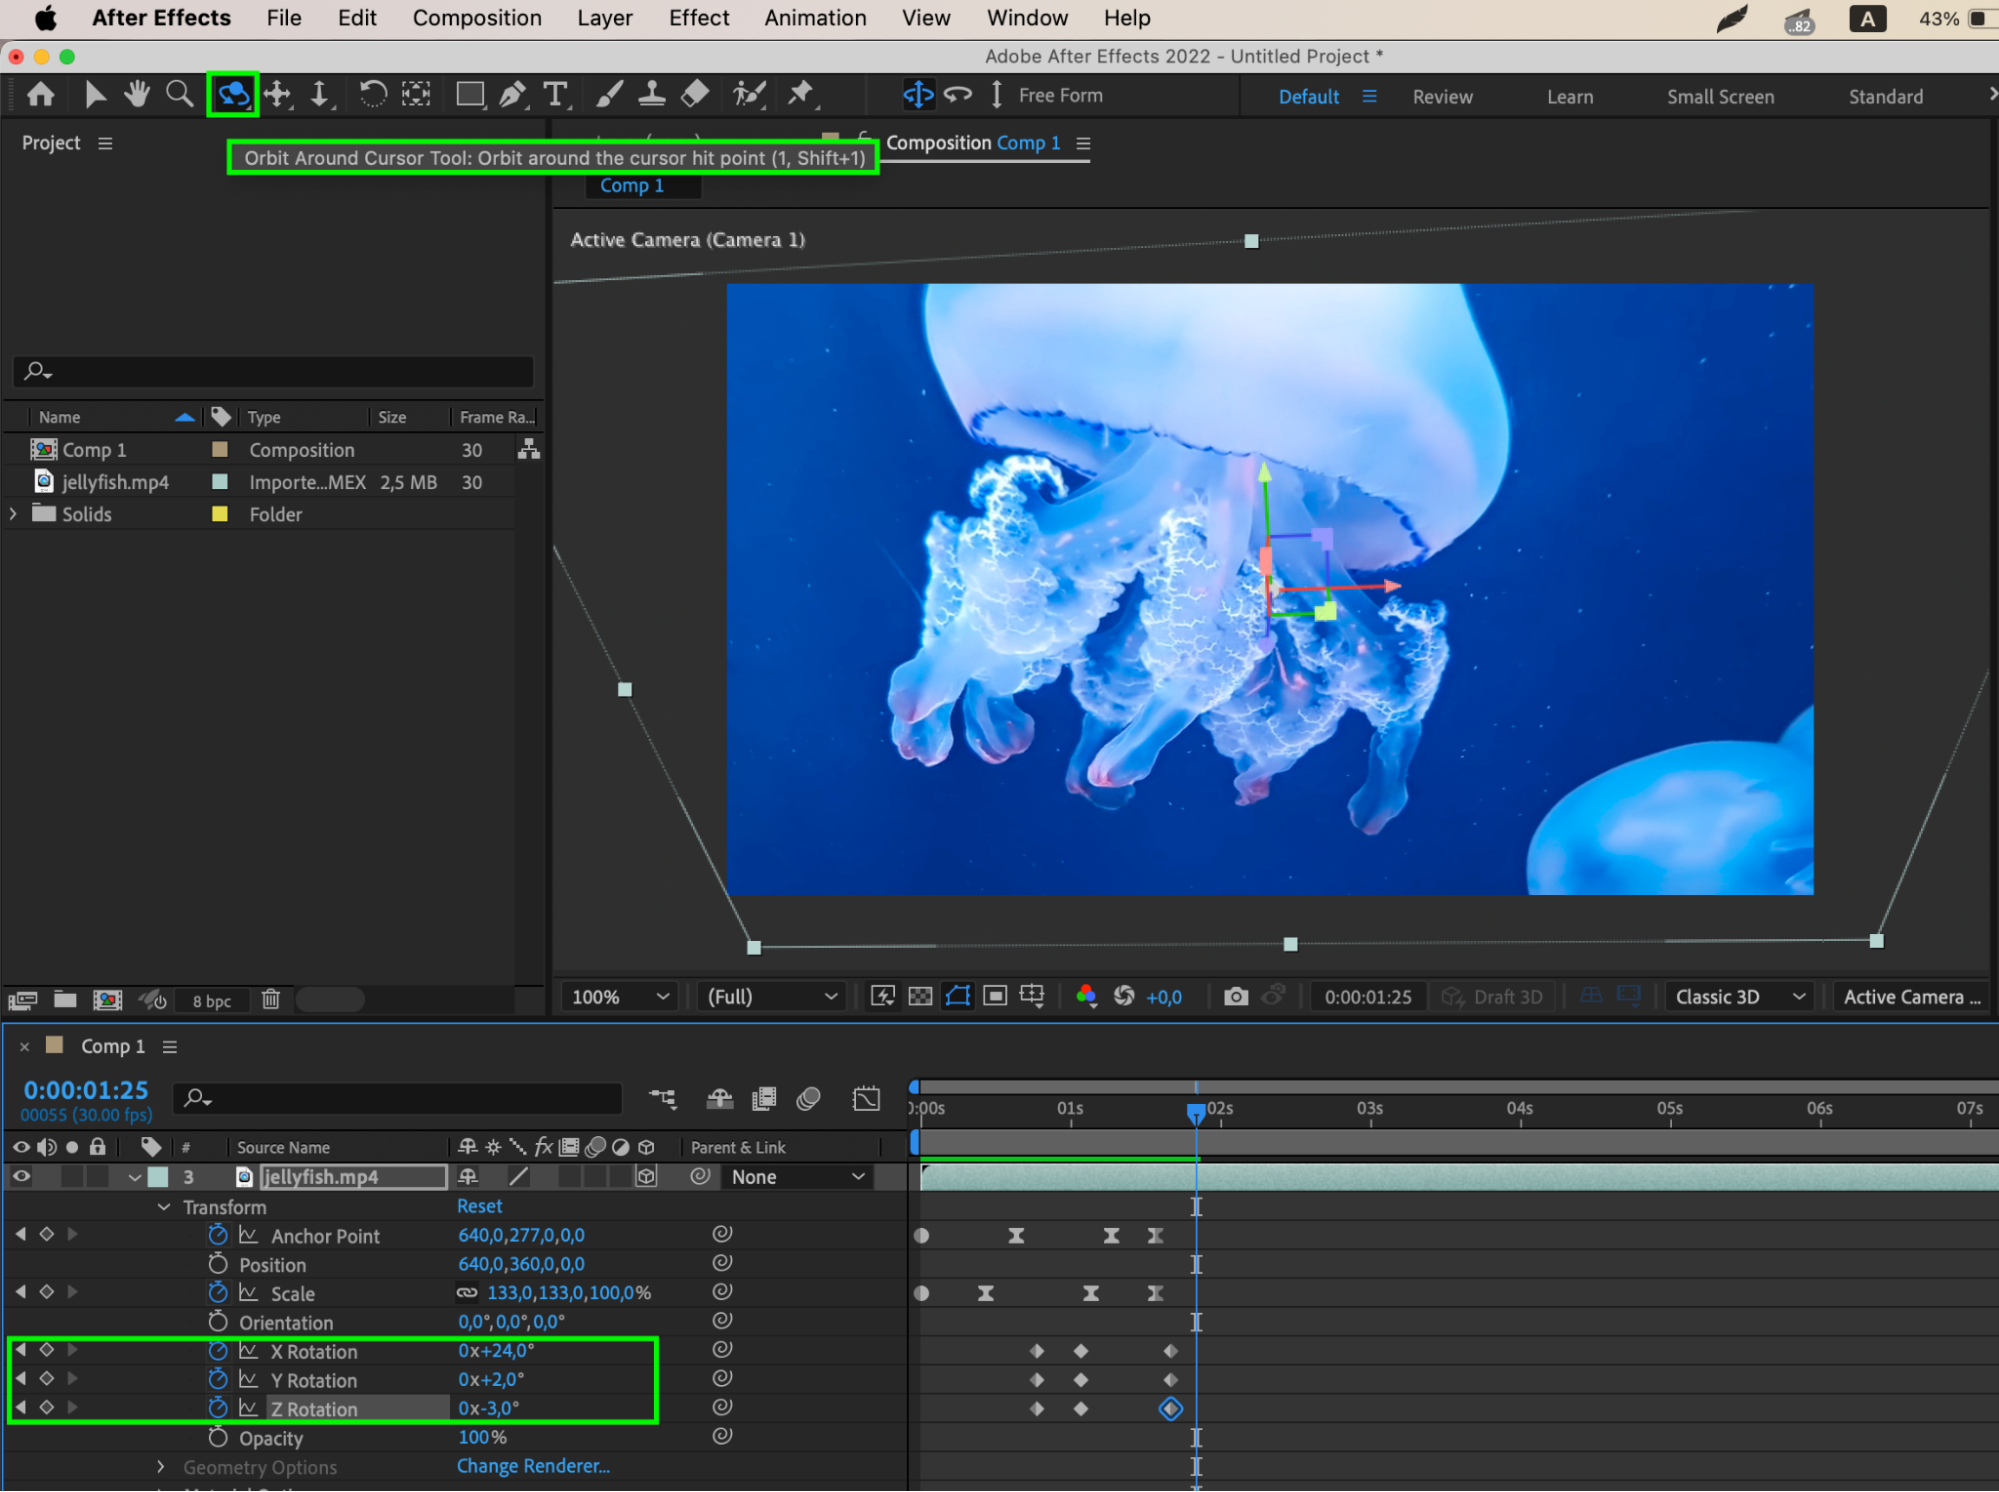
Keyframing is fundamental to mastering pan and zoom effects. Utilize the stopwatch icon next to the property you wish to modify in the Transform section. Create additional keyframes by adjusting property parameters and moving the Current Time Indicator to set and adjust keyframes. This process controls properties like position, scale, and rotation, enabling smooth transitions and precise customization of movement and timing in your animations.
Get 10% off when you subscribe to our newsletter
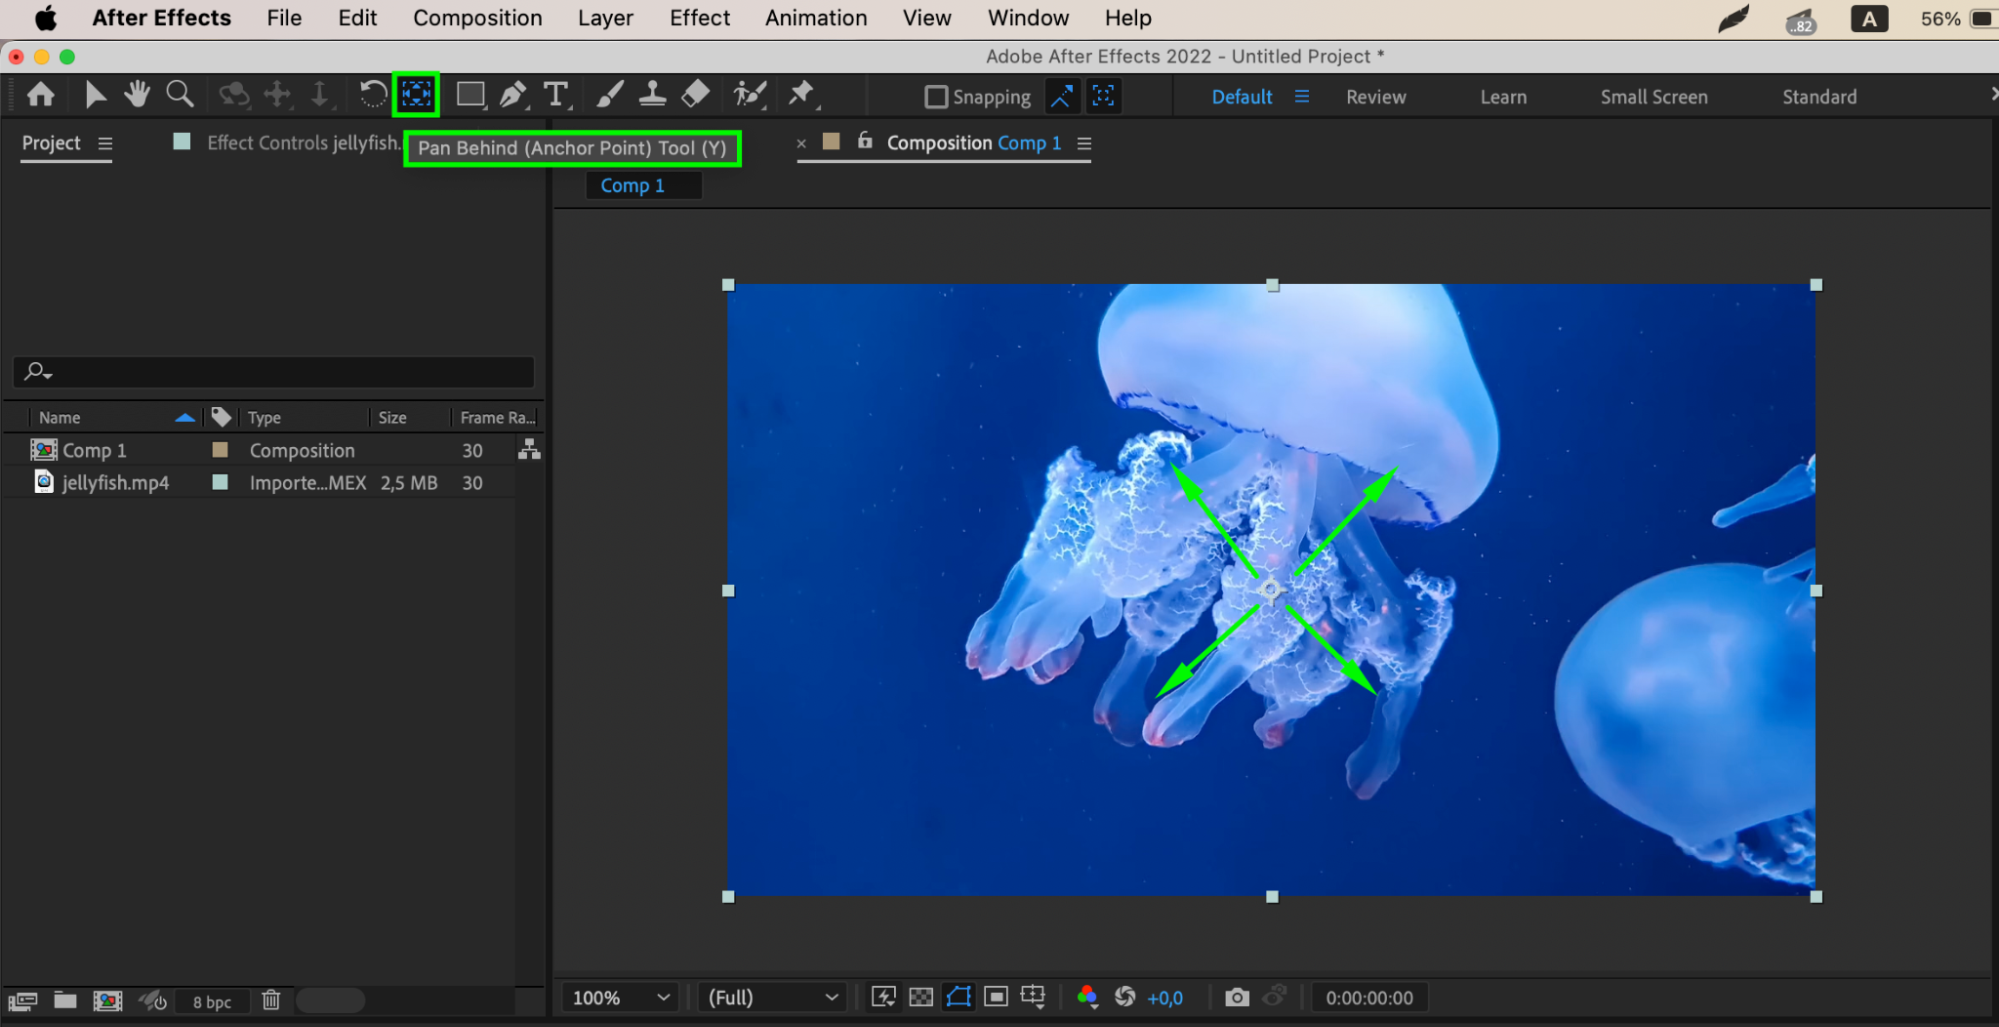
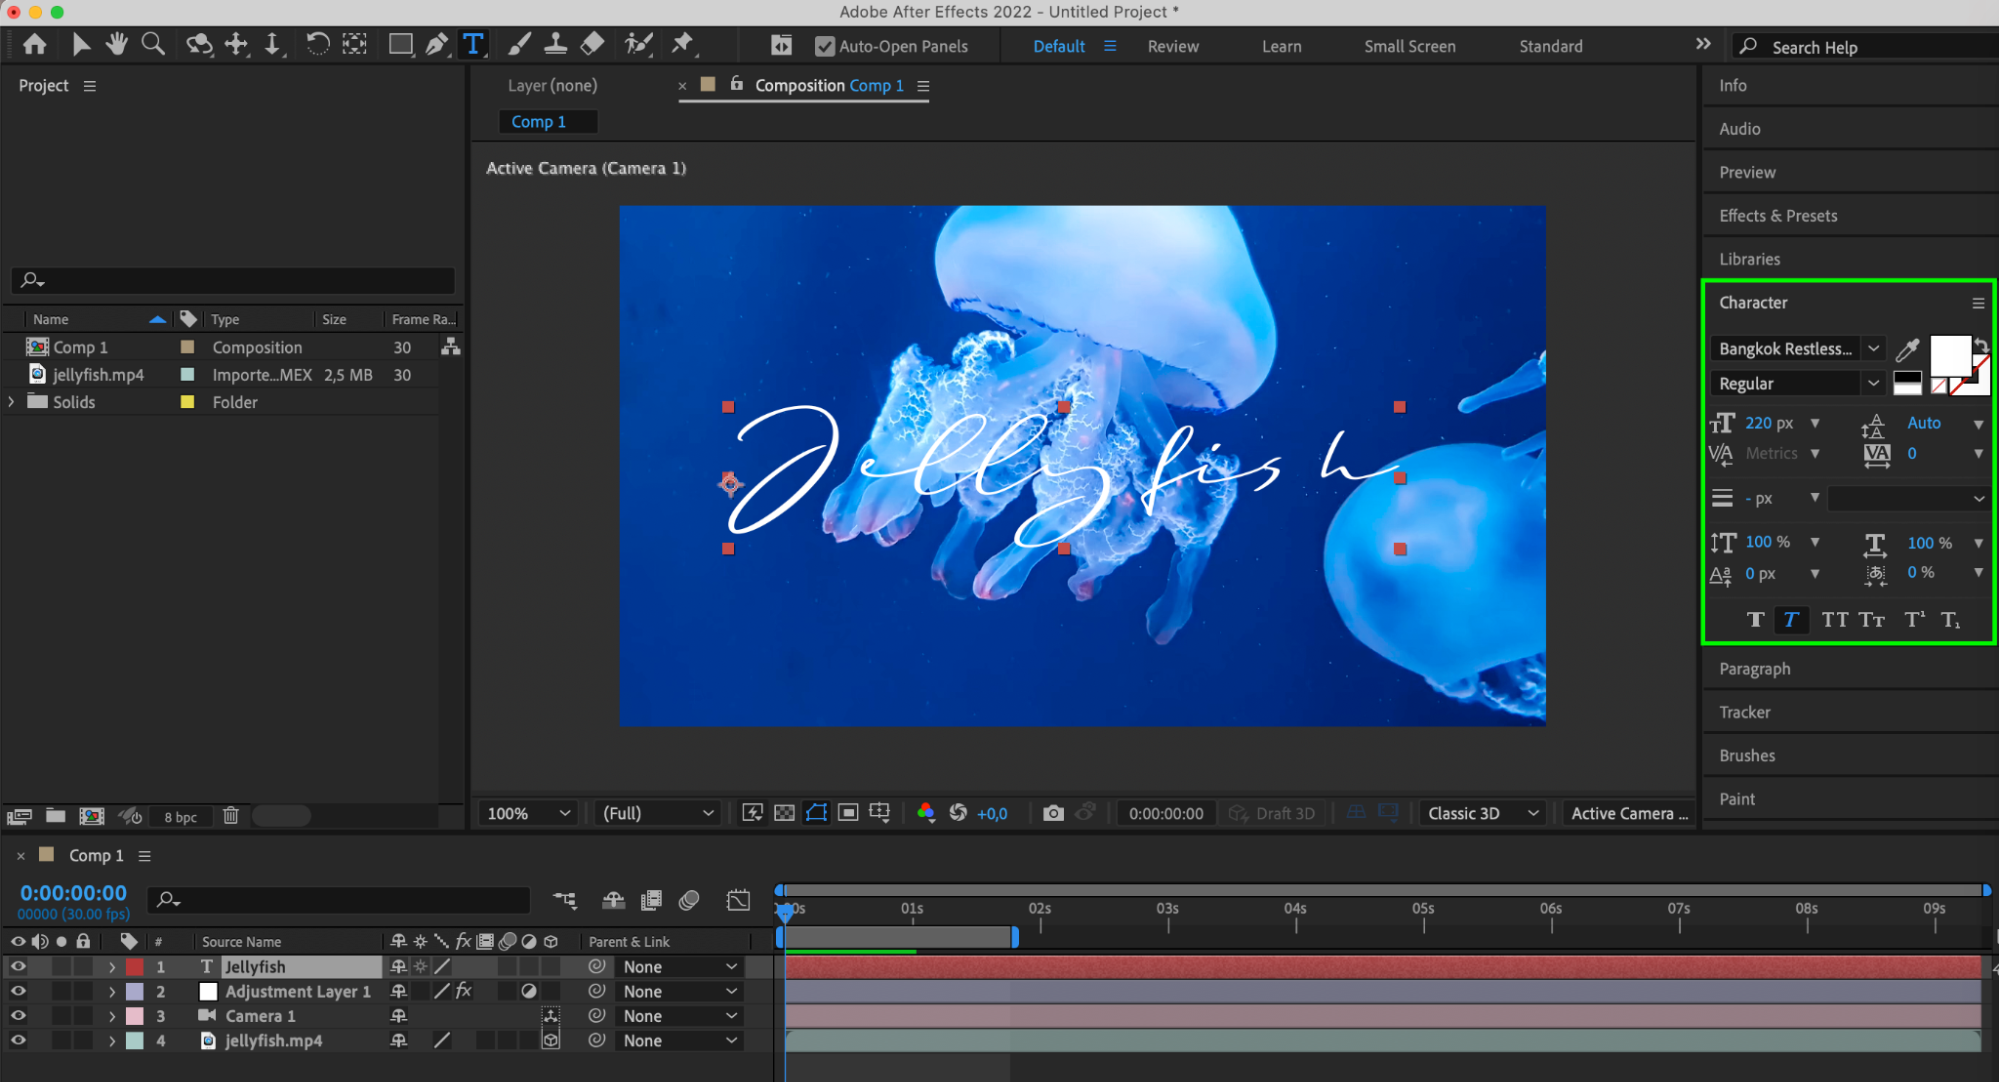
Step 3: Editing Anchor Points for Smooth Zoom
In the Transform section, edit the position of Anchor Points using keyframes. Alternatively, create a smooth zoom directly using the Pan Behind (Anchor Point) Tool (Y), placing it where you’d like to initiate the zoom.
Get 10% off when you subscribe to our newsletter
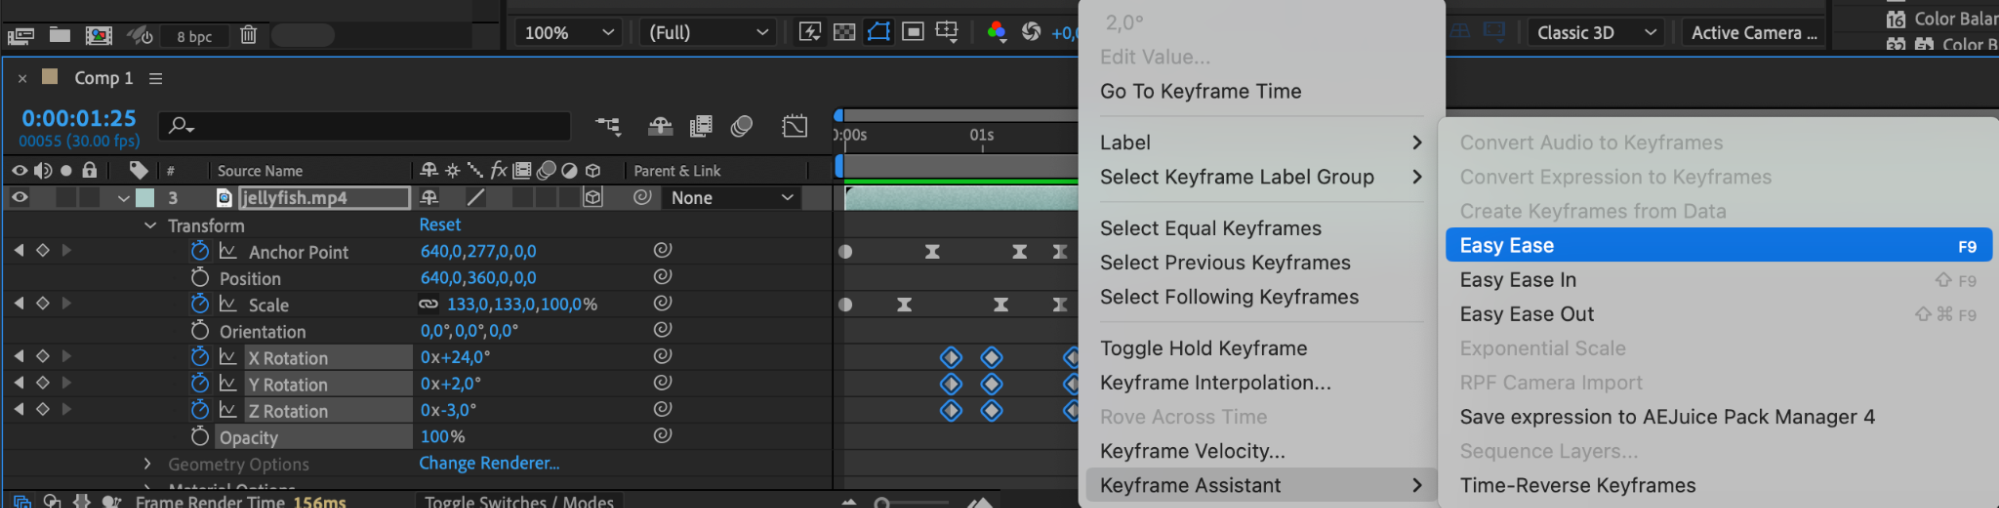
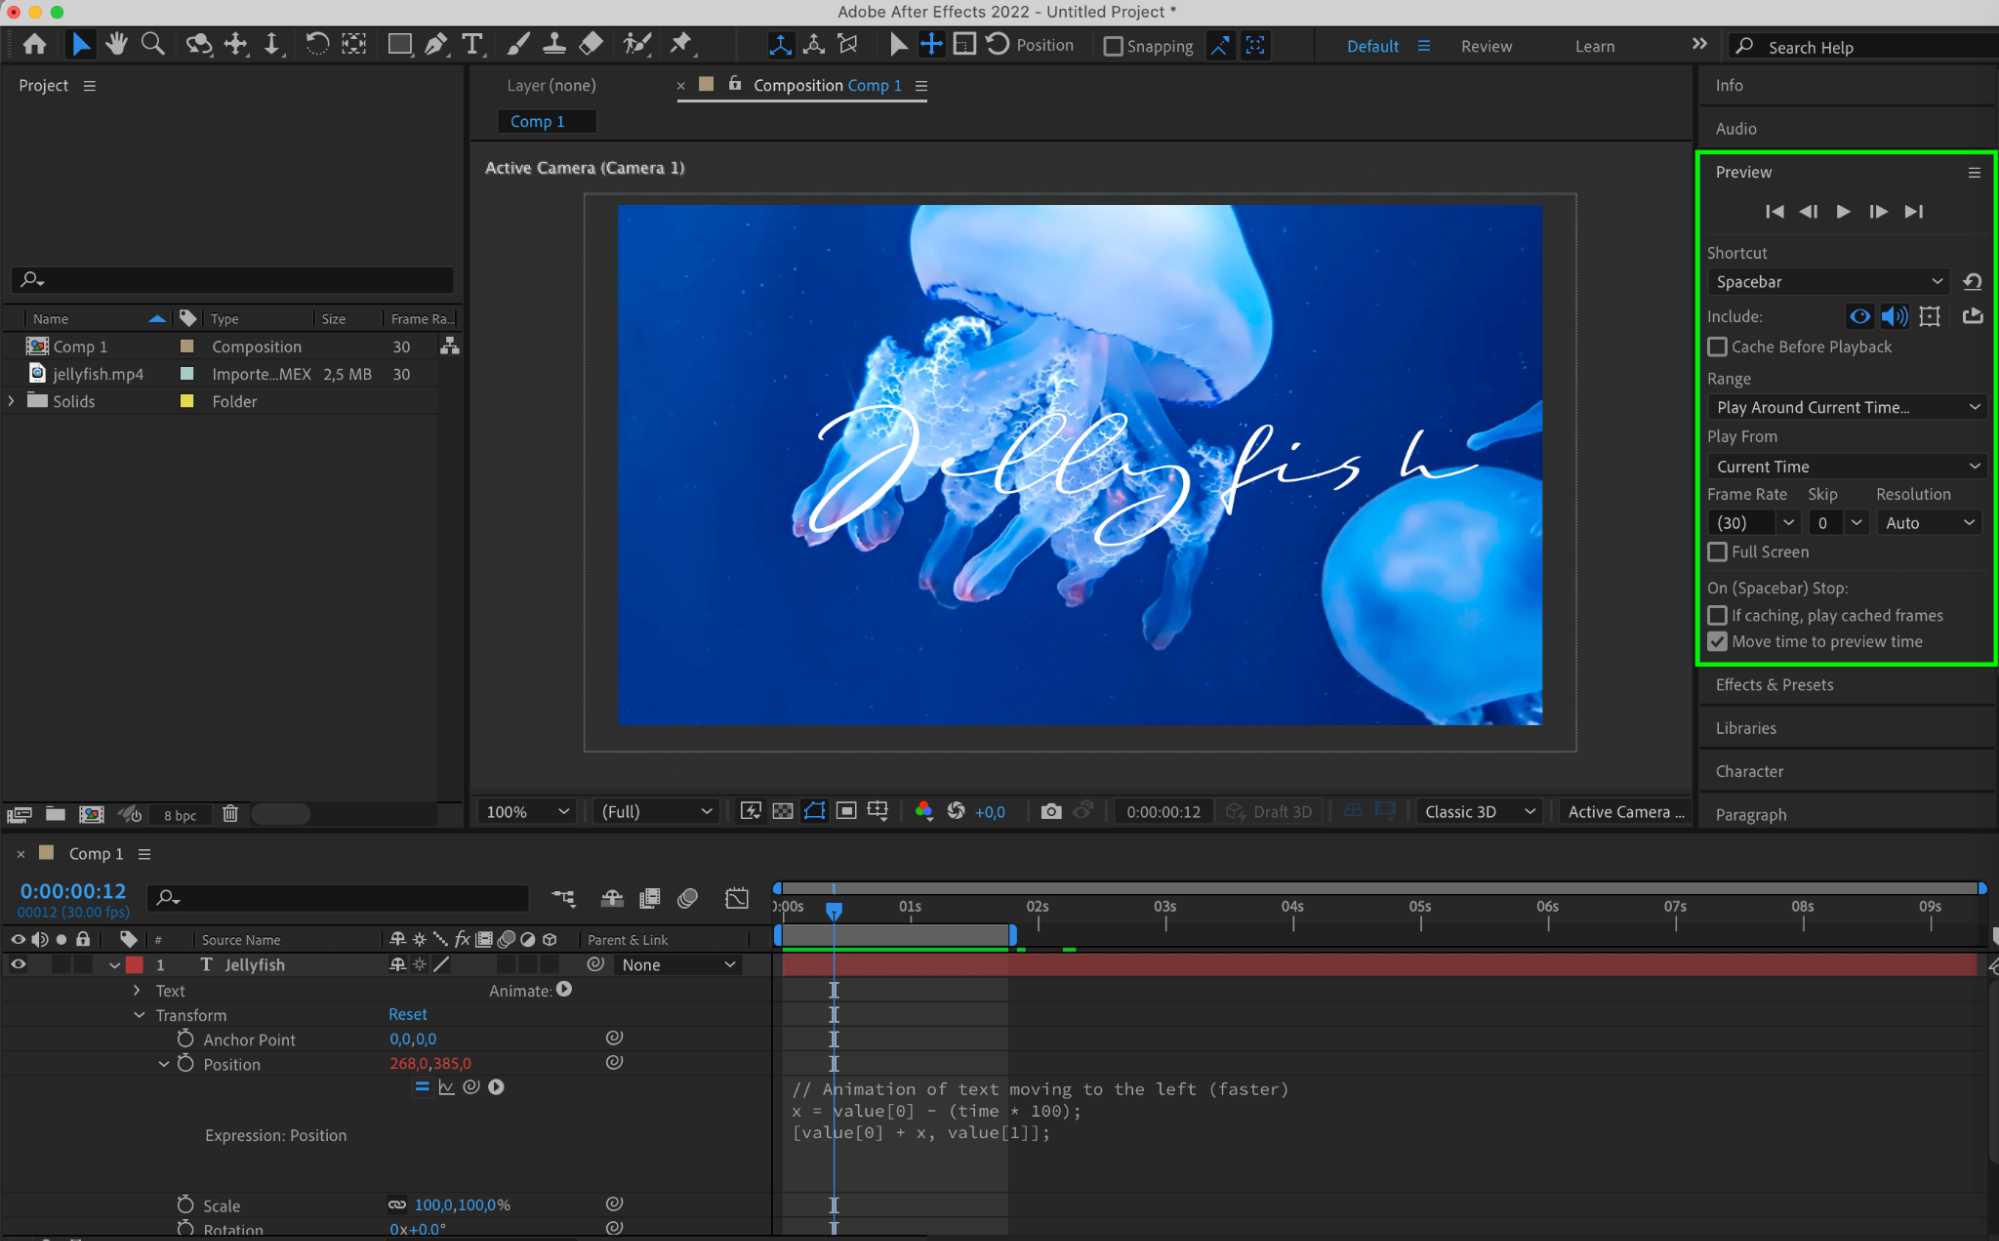
Step 4: Perfecting Timing and Easing
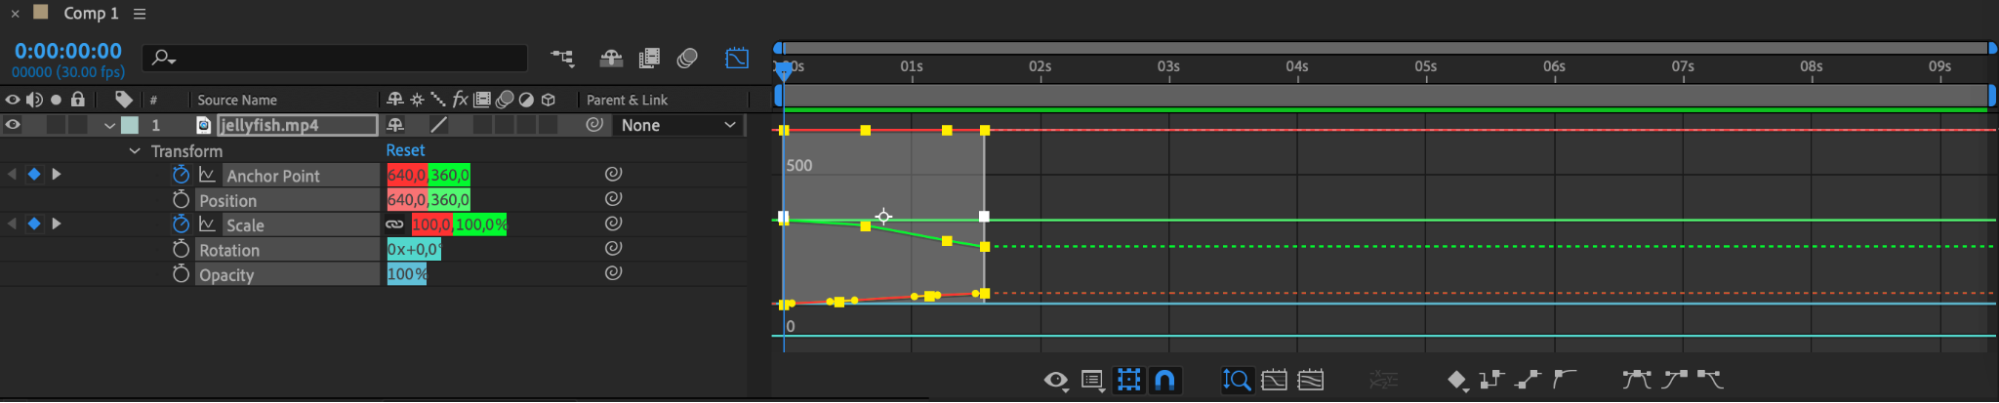
Achieving natural-looking motion requires attention to timing and easing curves. Discover how to adjust these elements to create fluid transitions that enhance the overall professionalism of your videos.
Get 10% off when you subscribe to our newsletter


Get 10% off when you subscribe to our newsletter
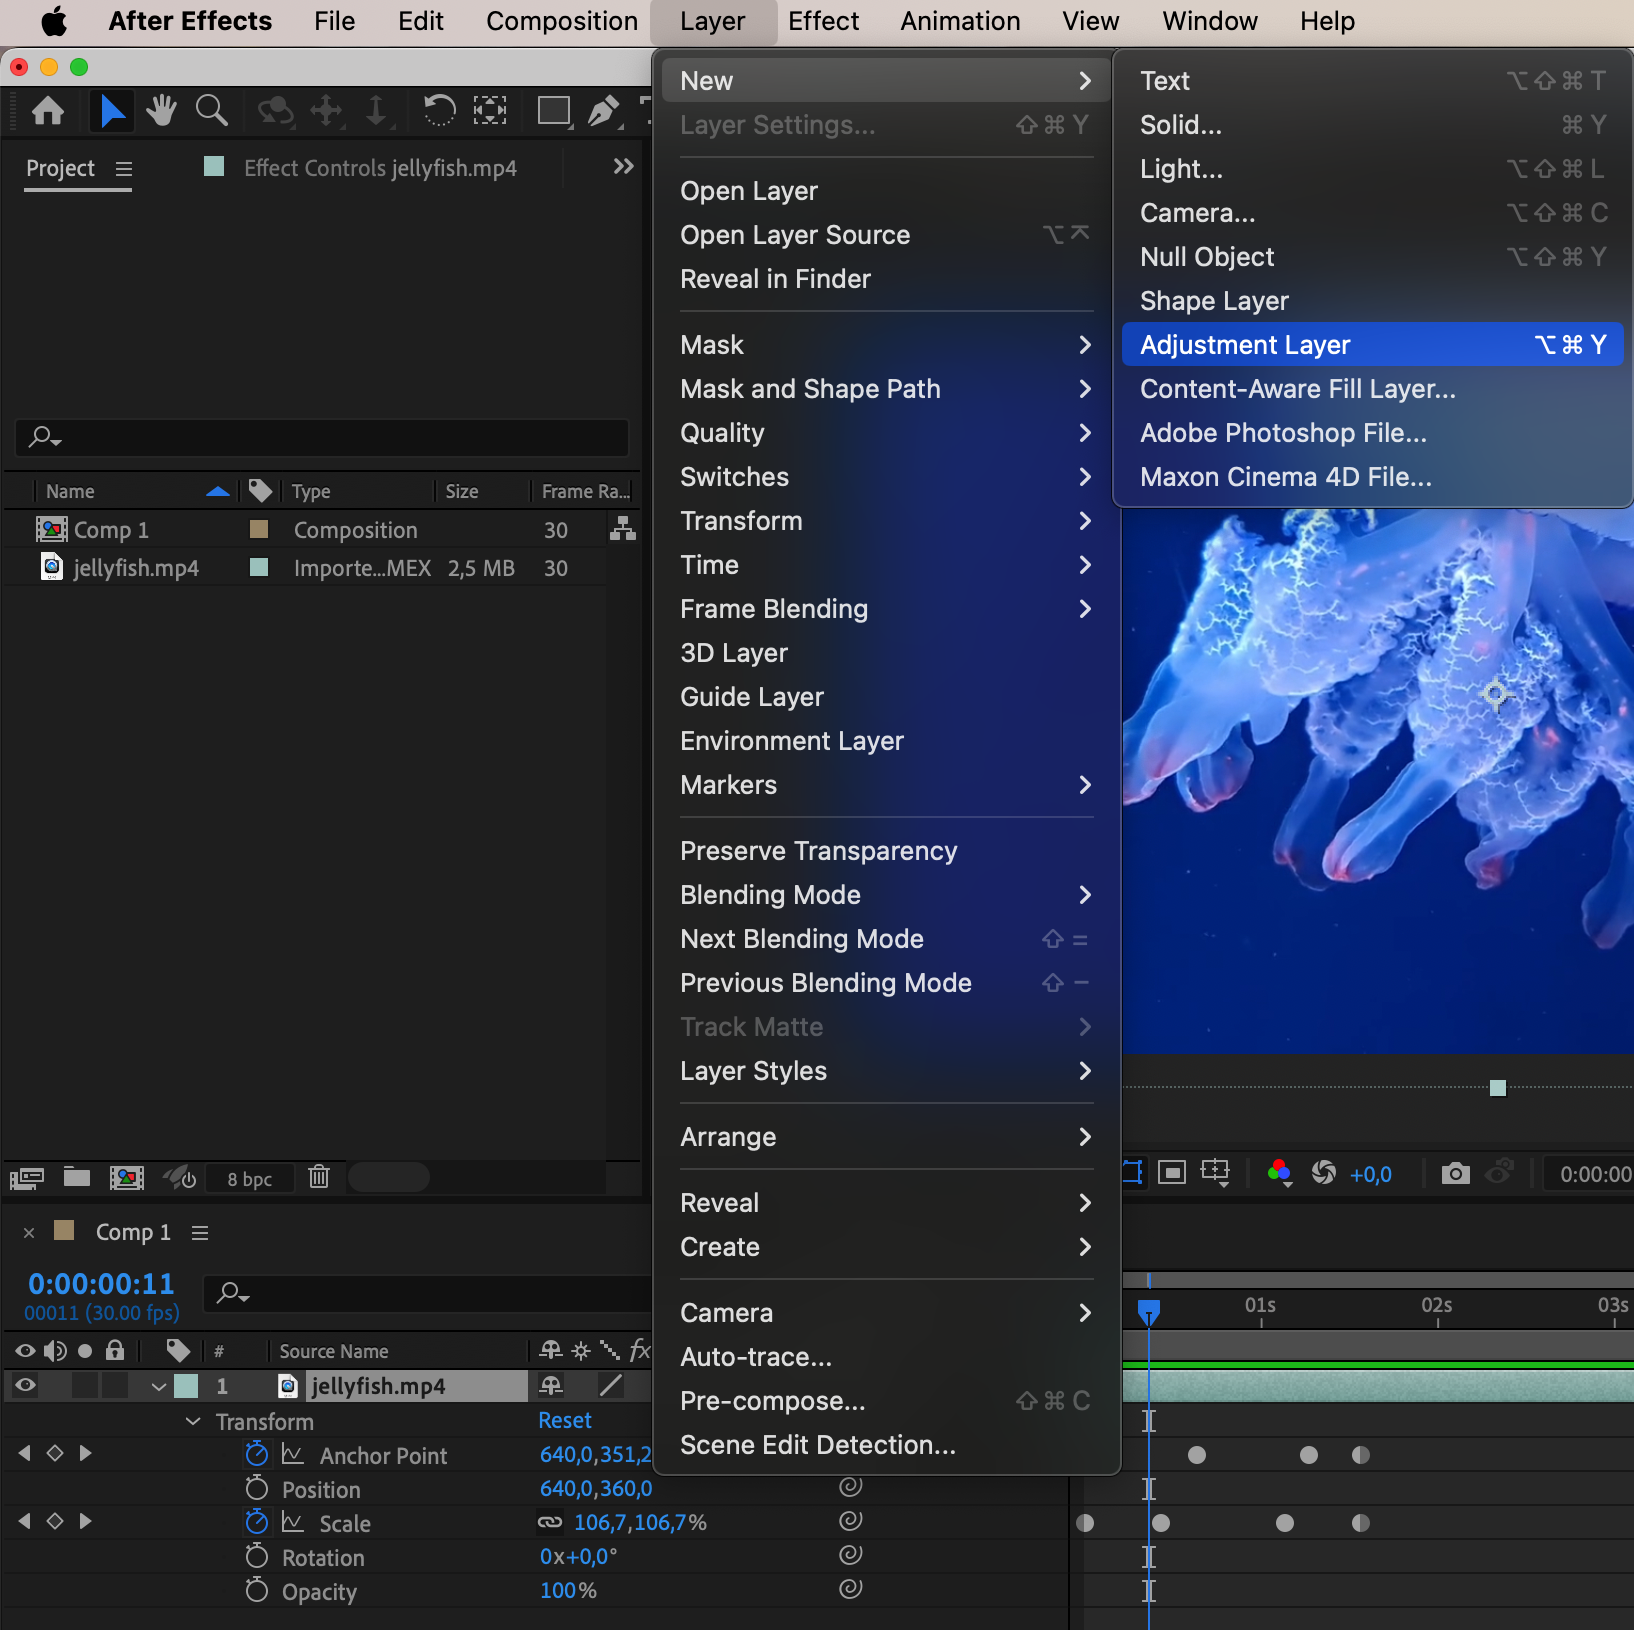
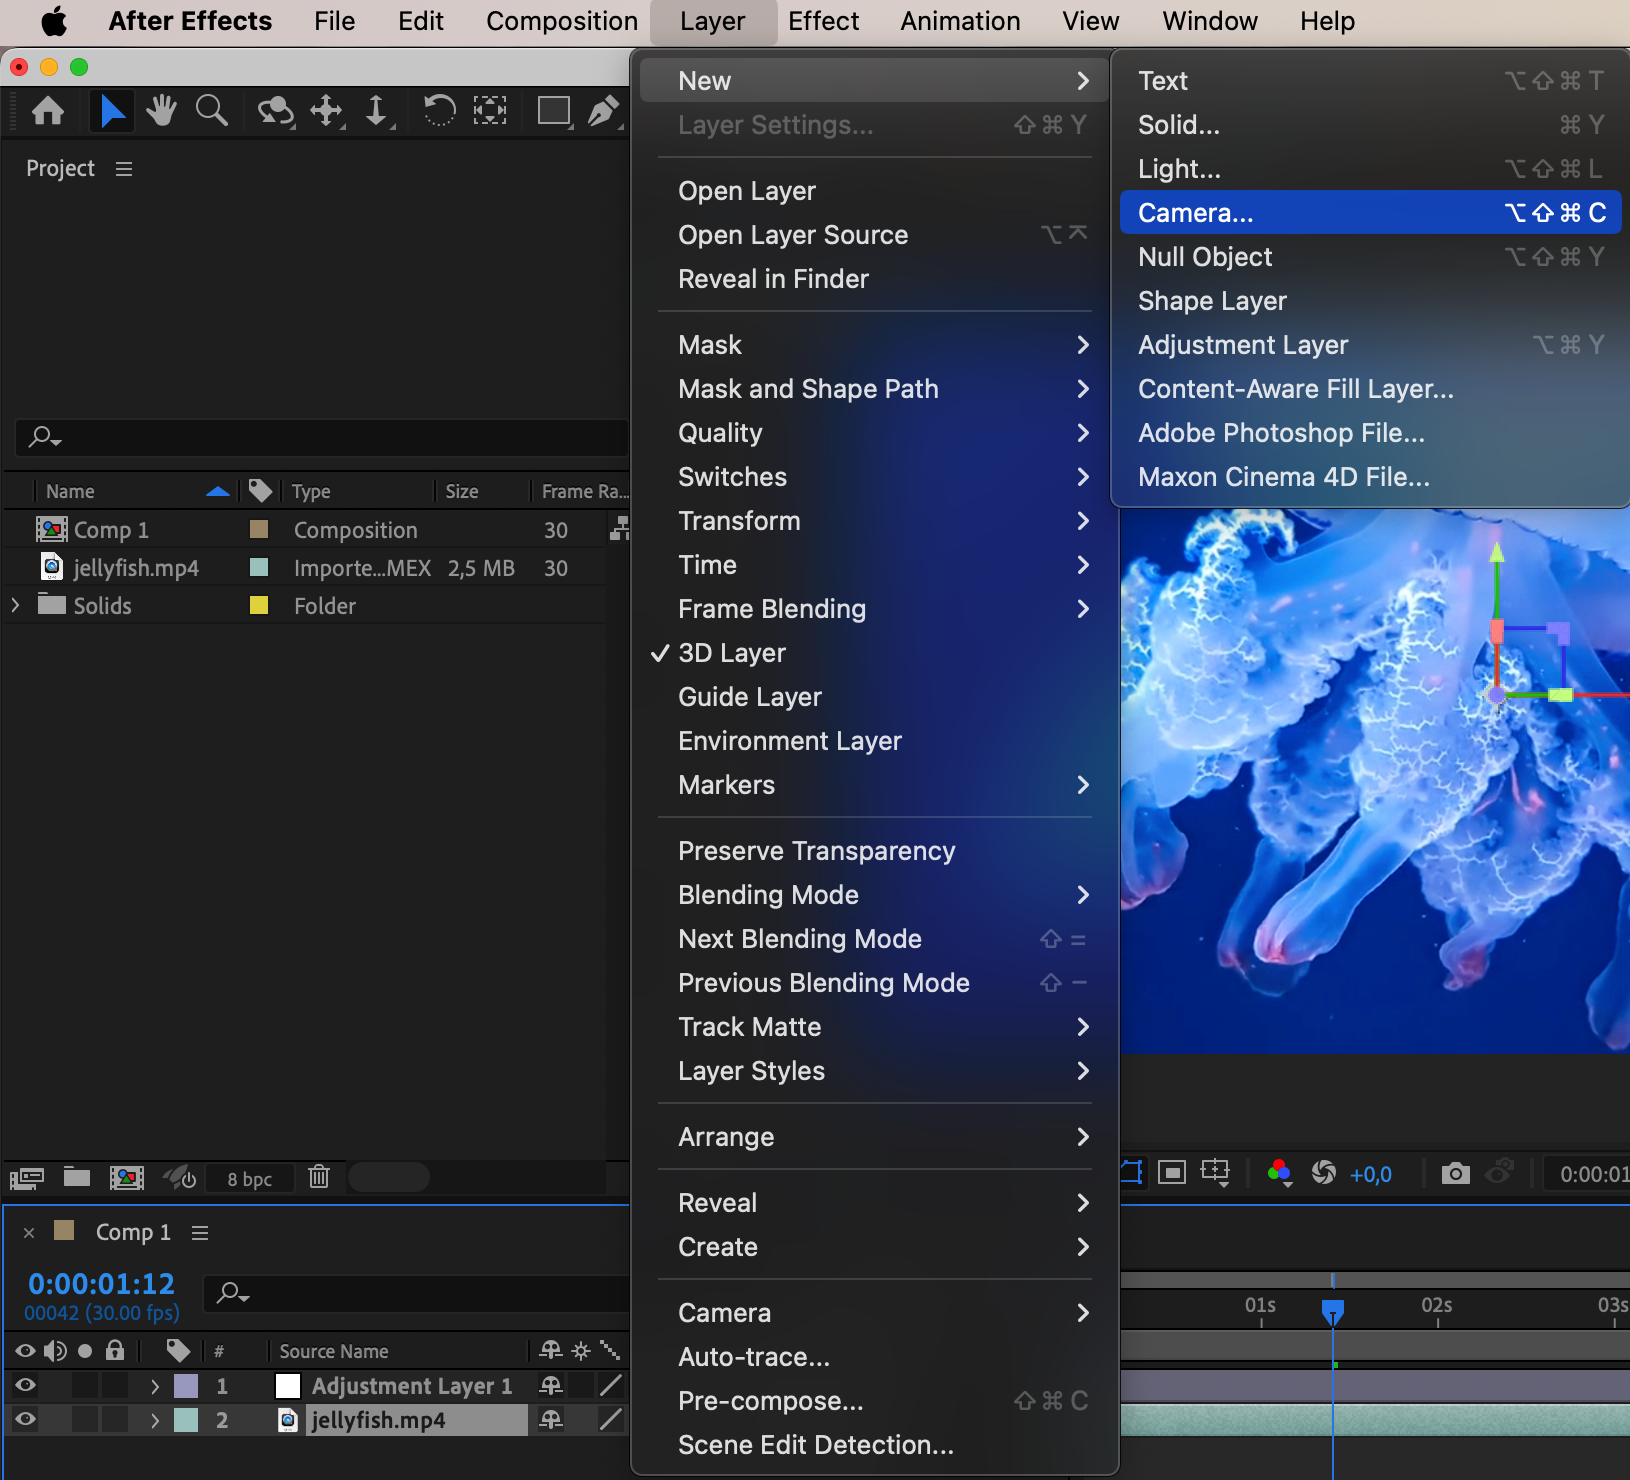
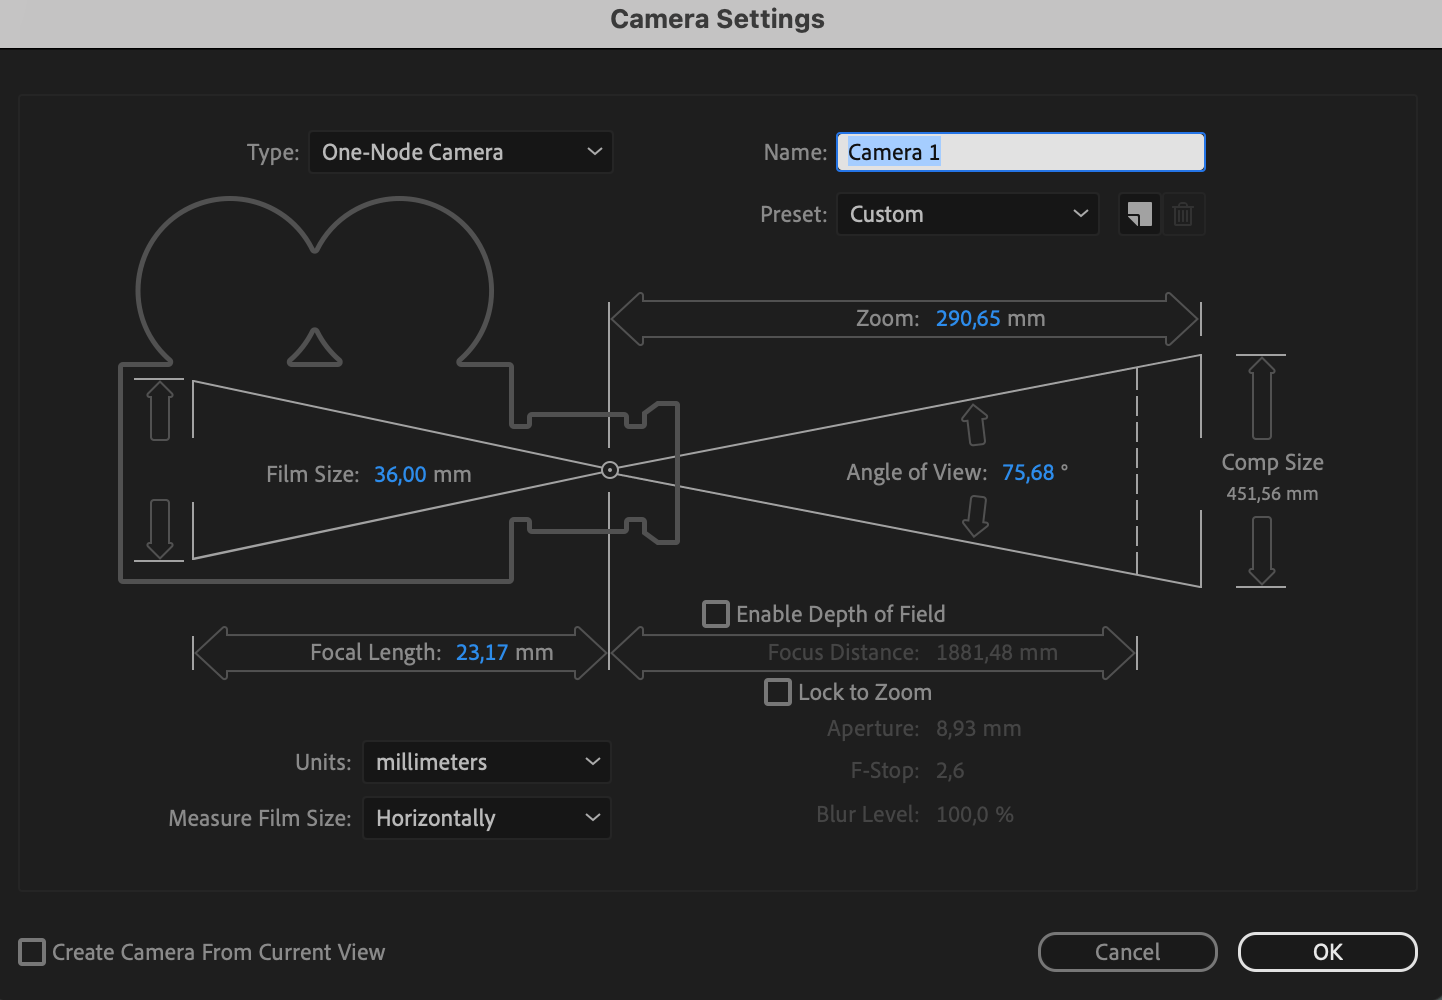
Step 5: Leveraging Adjustment Layers and Camera Tools
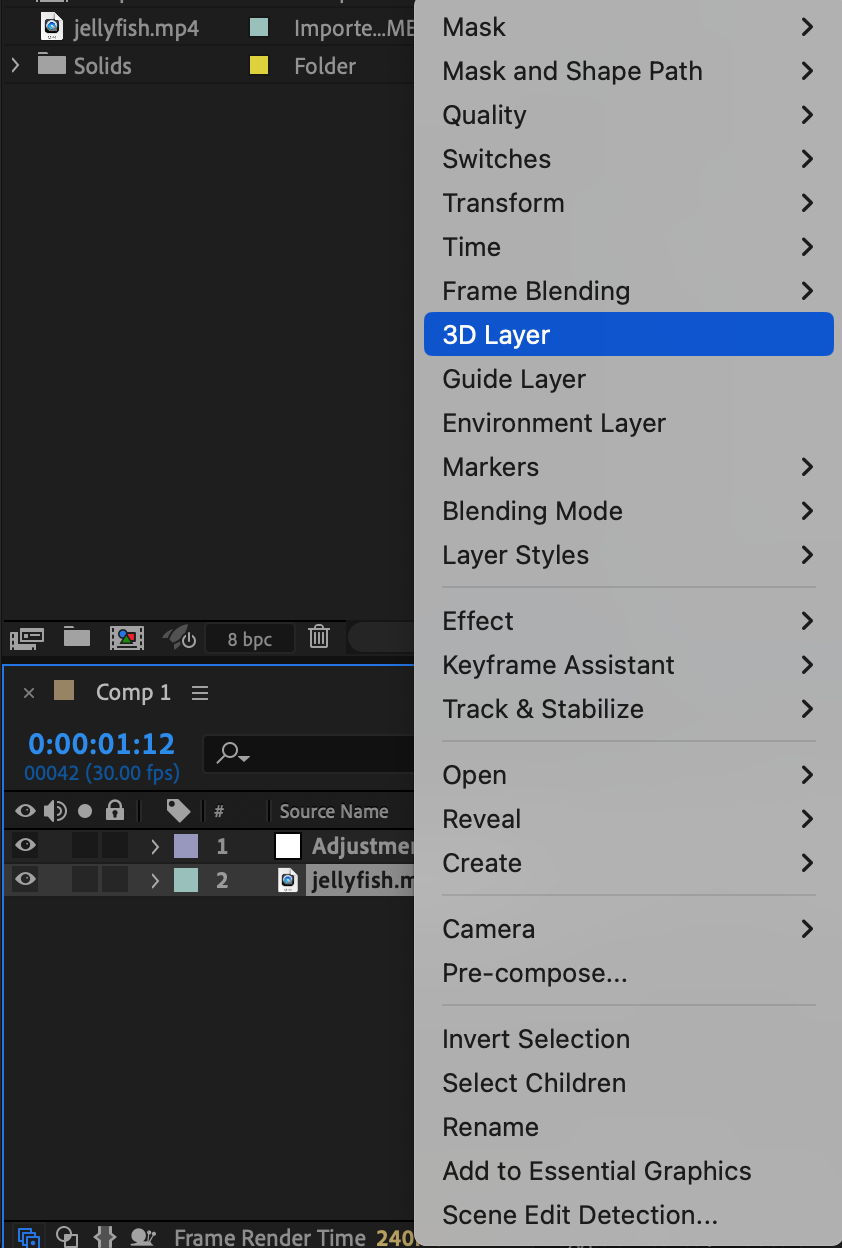
Explore the power of adjustment layers and camera tools in refining your pan and zoom effects. Adjustment layers enable simultaneous application of effects and transformations across multiple layers, while camera tools offer advanced capabilities for dynamic camera movements and perspectives. However, first, ensure that you have selected your video layer and right-clicked on it to choose 3D Layer.
Get 10% off when you subscribe to our newsletter

Get 10% off when you subscribe to our newsletter
Get 10% off when you subscribe to our newsletter
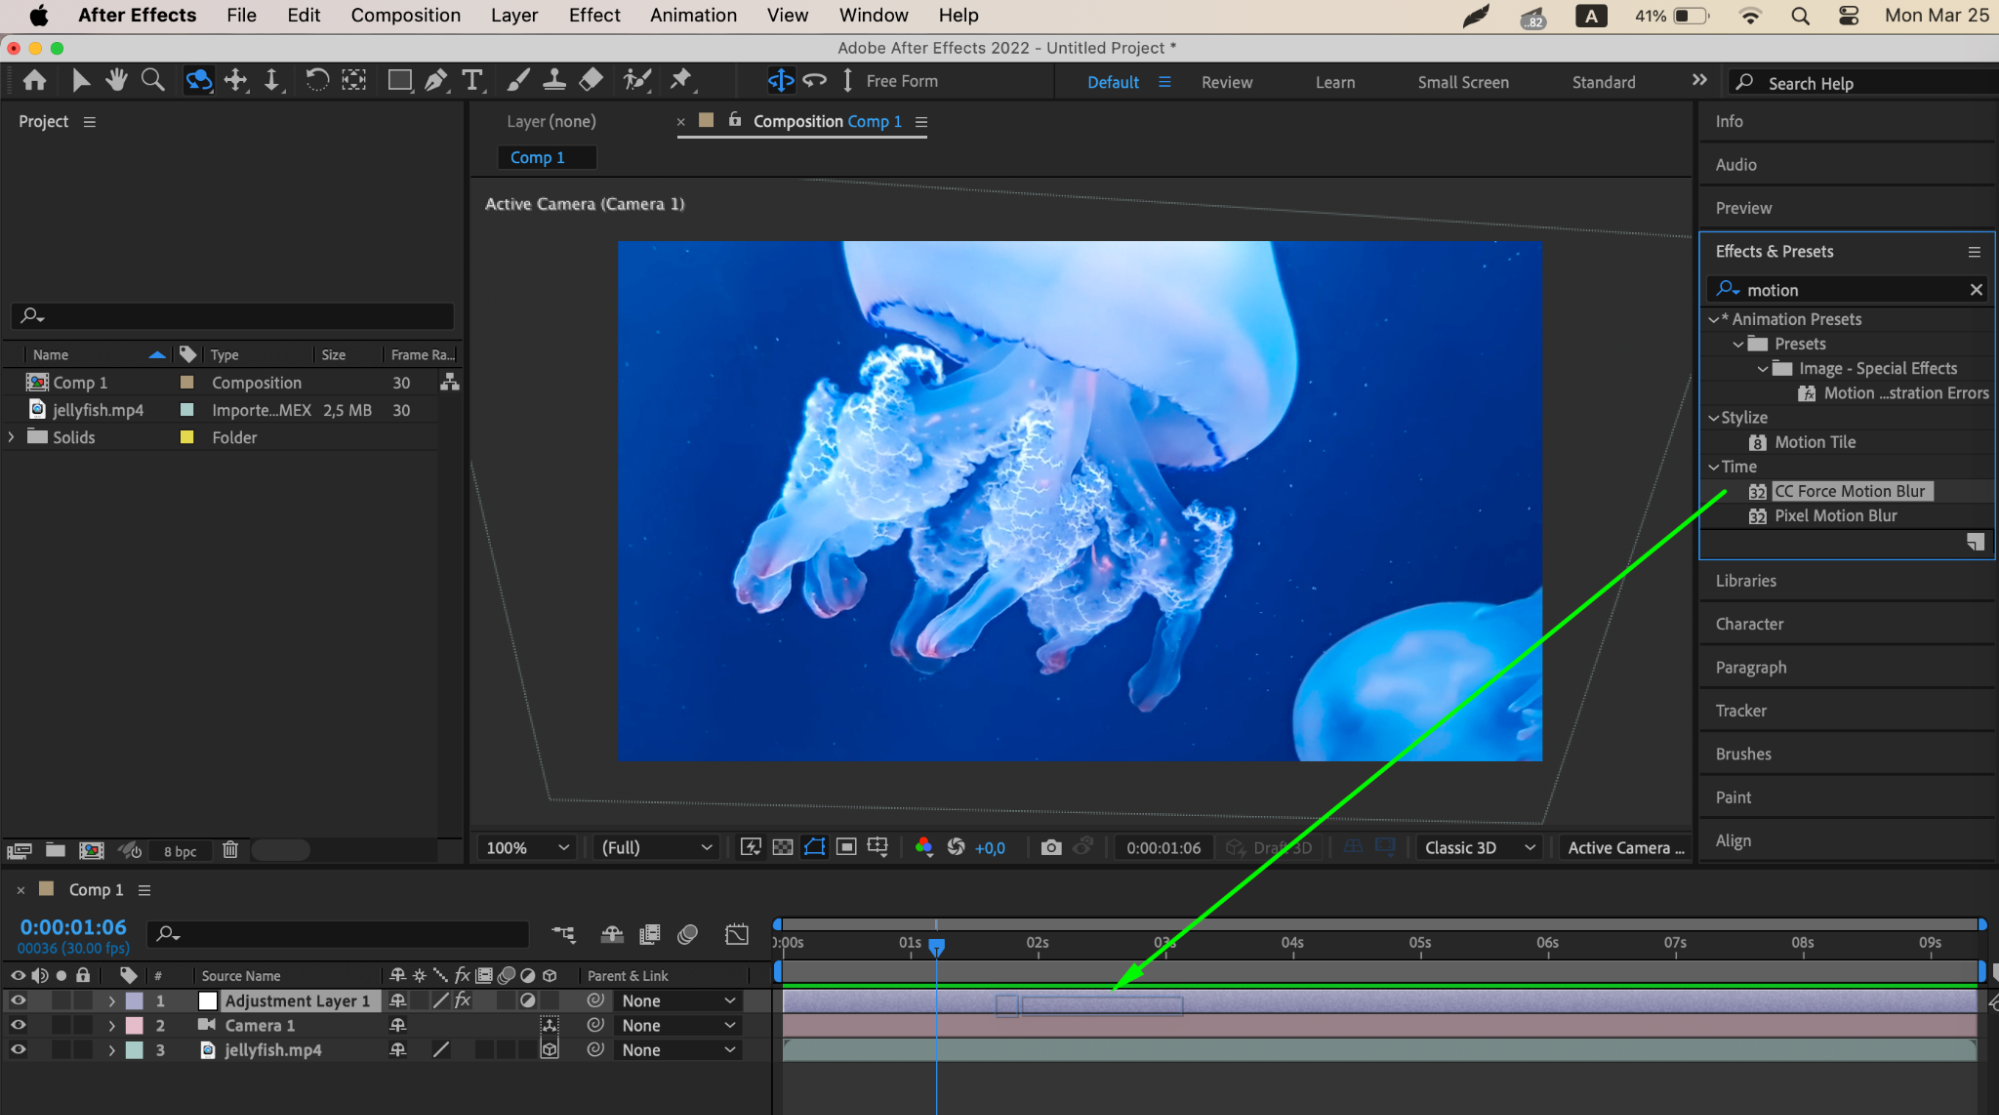
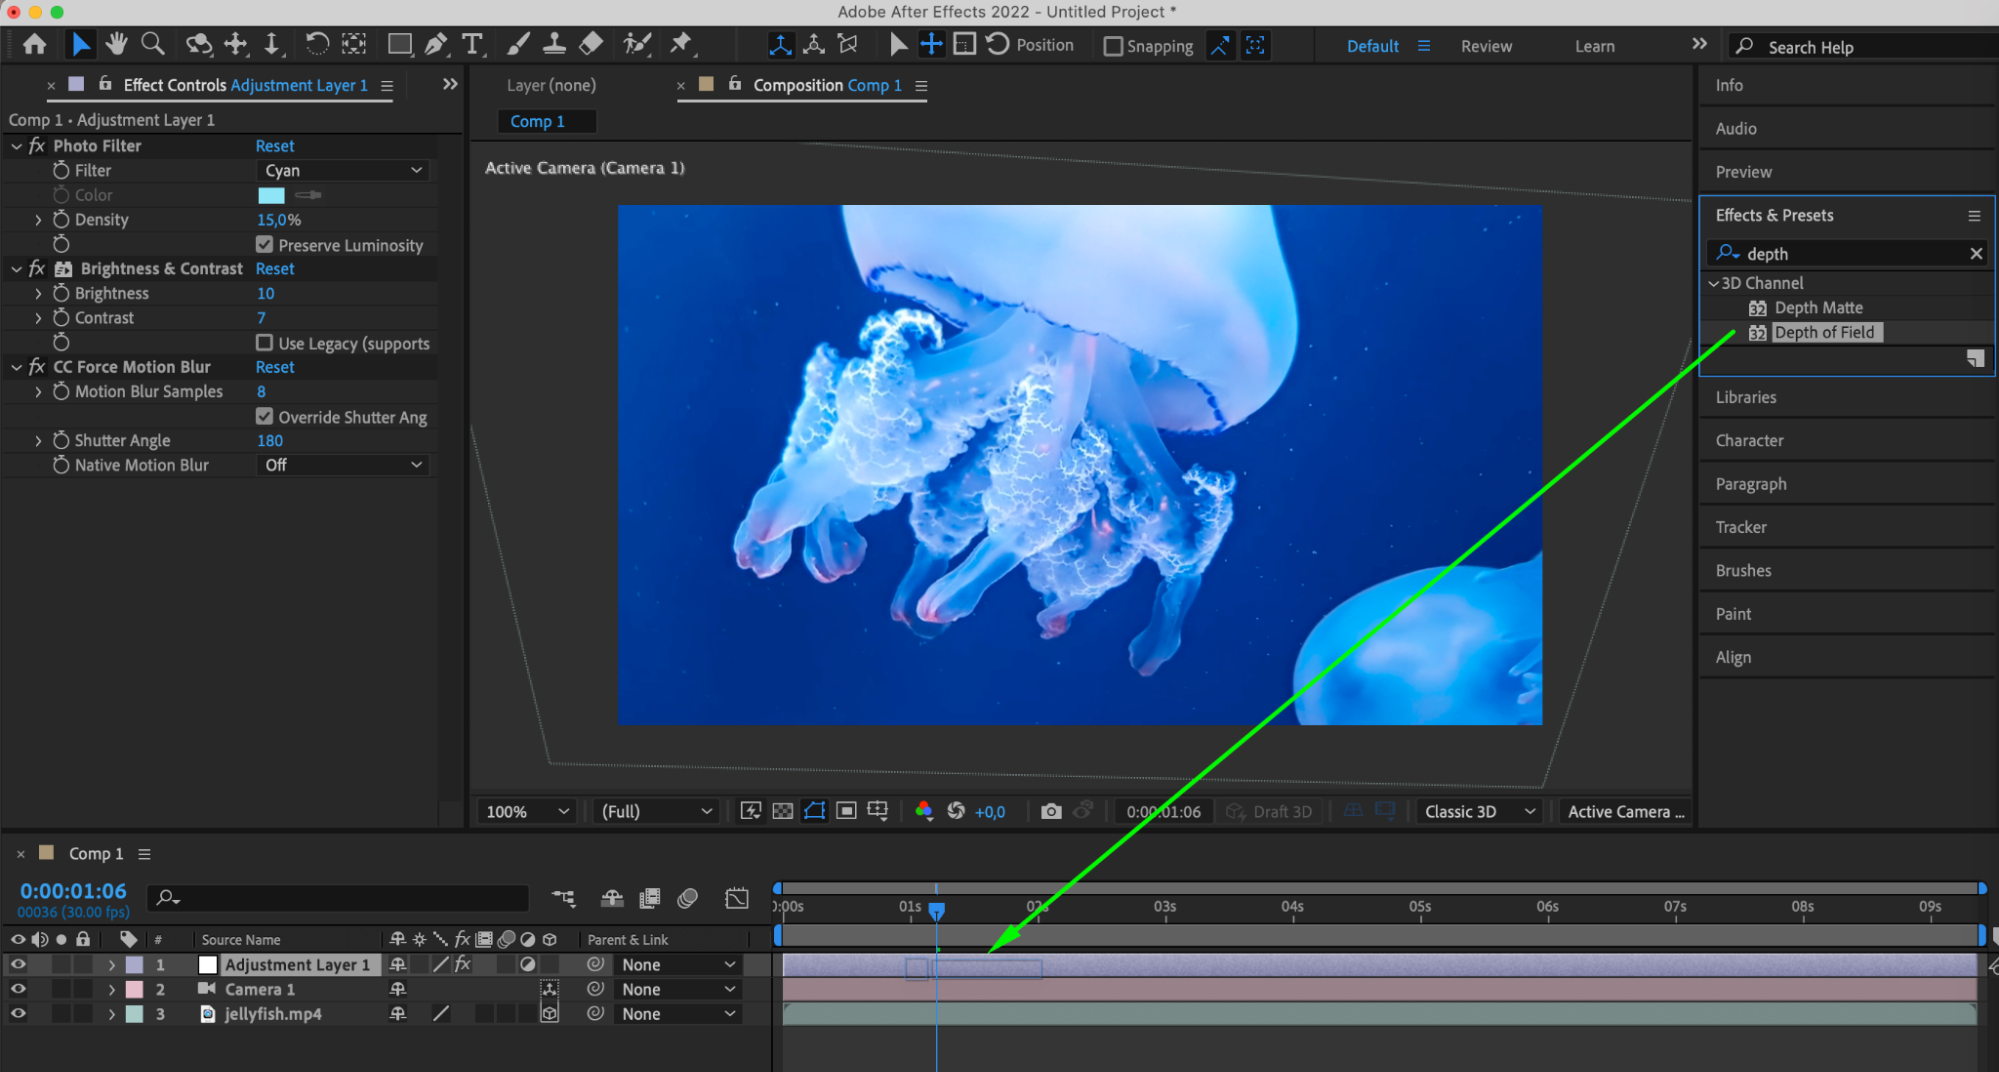
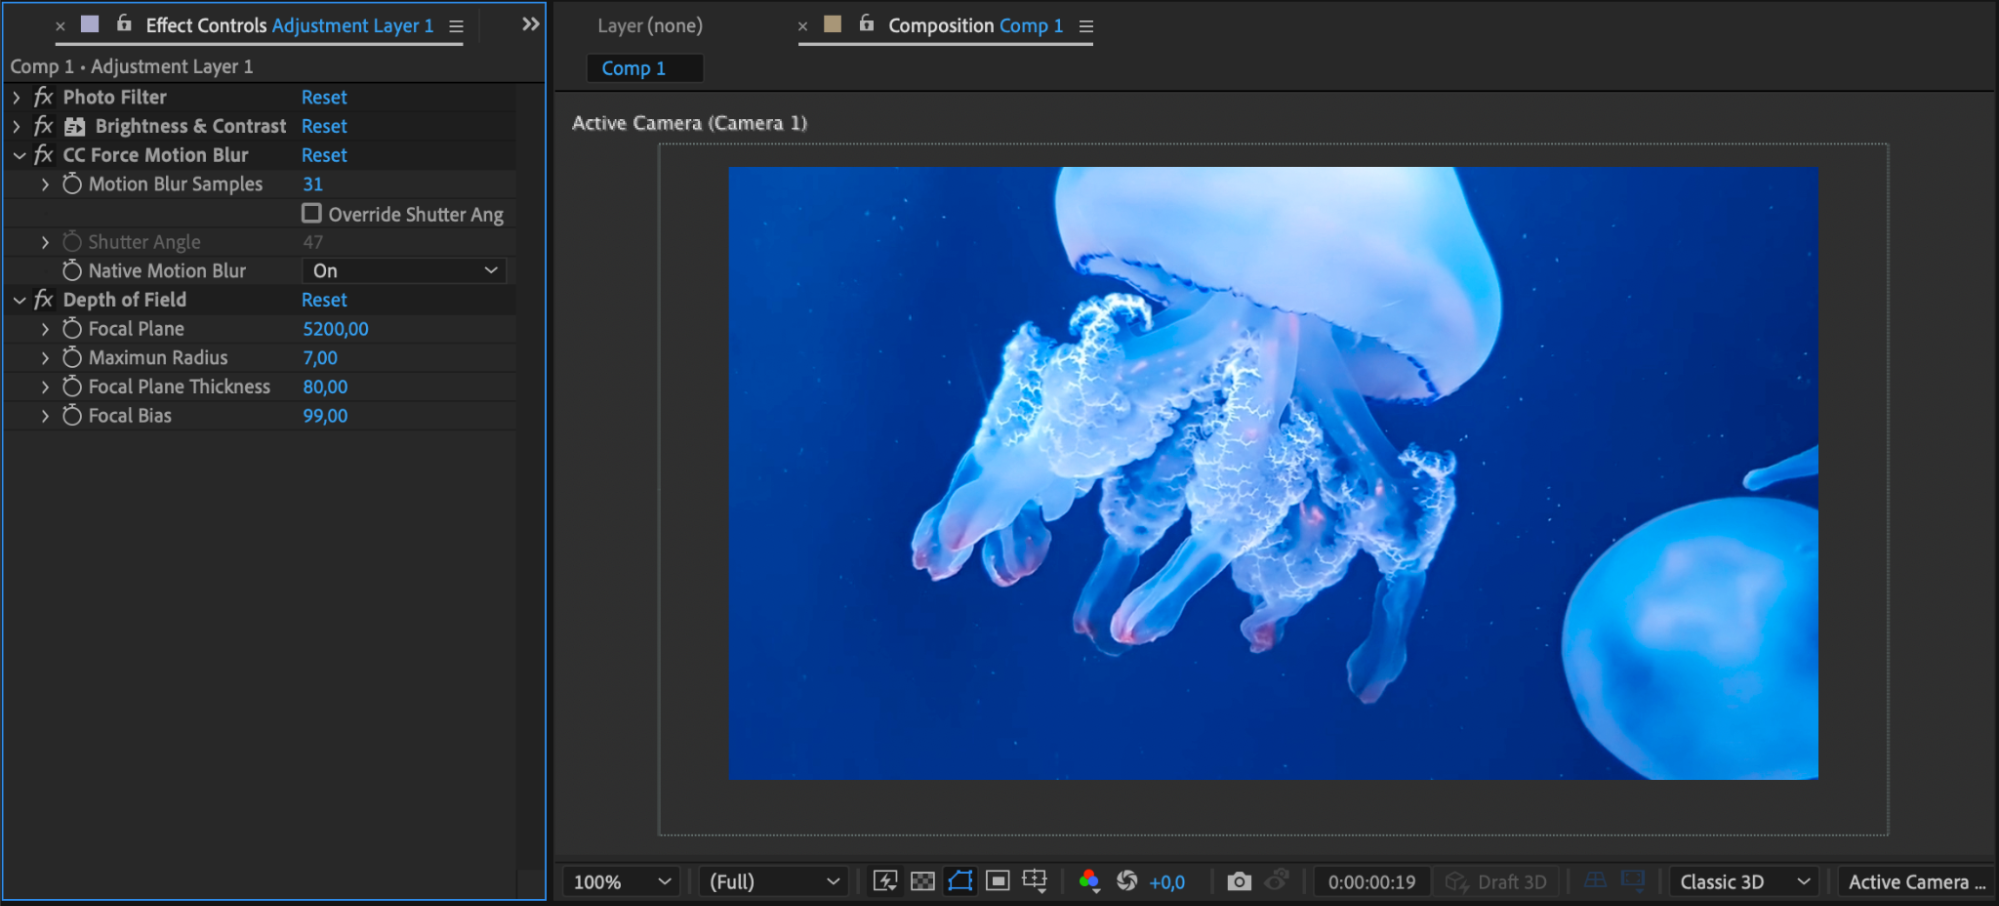
Step 6: Enhancing Realism with Motion Blur and Depth of Field Effects
Elevate the realism of your animations by incorporating motion blur and depth of field effects. Learn how motion blur smooths fast movements, while depth of field effects simulate camera focus, adding depth and dimension to your scenes.
Get 10% off when you subscribe to our newsletter
Step 7: Experimenting with Styles and Techniques
Unlock your creativity by experimenting with various styles and techniques. Incorporate text, graphics, color, lighting, and sound design to create visually stunning animations that convey emotion, mood, and meaning to your audience.
Get 10% off when you subscribe to our newsletter

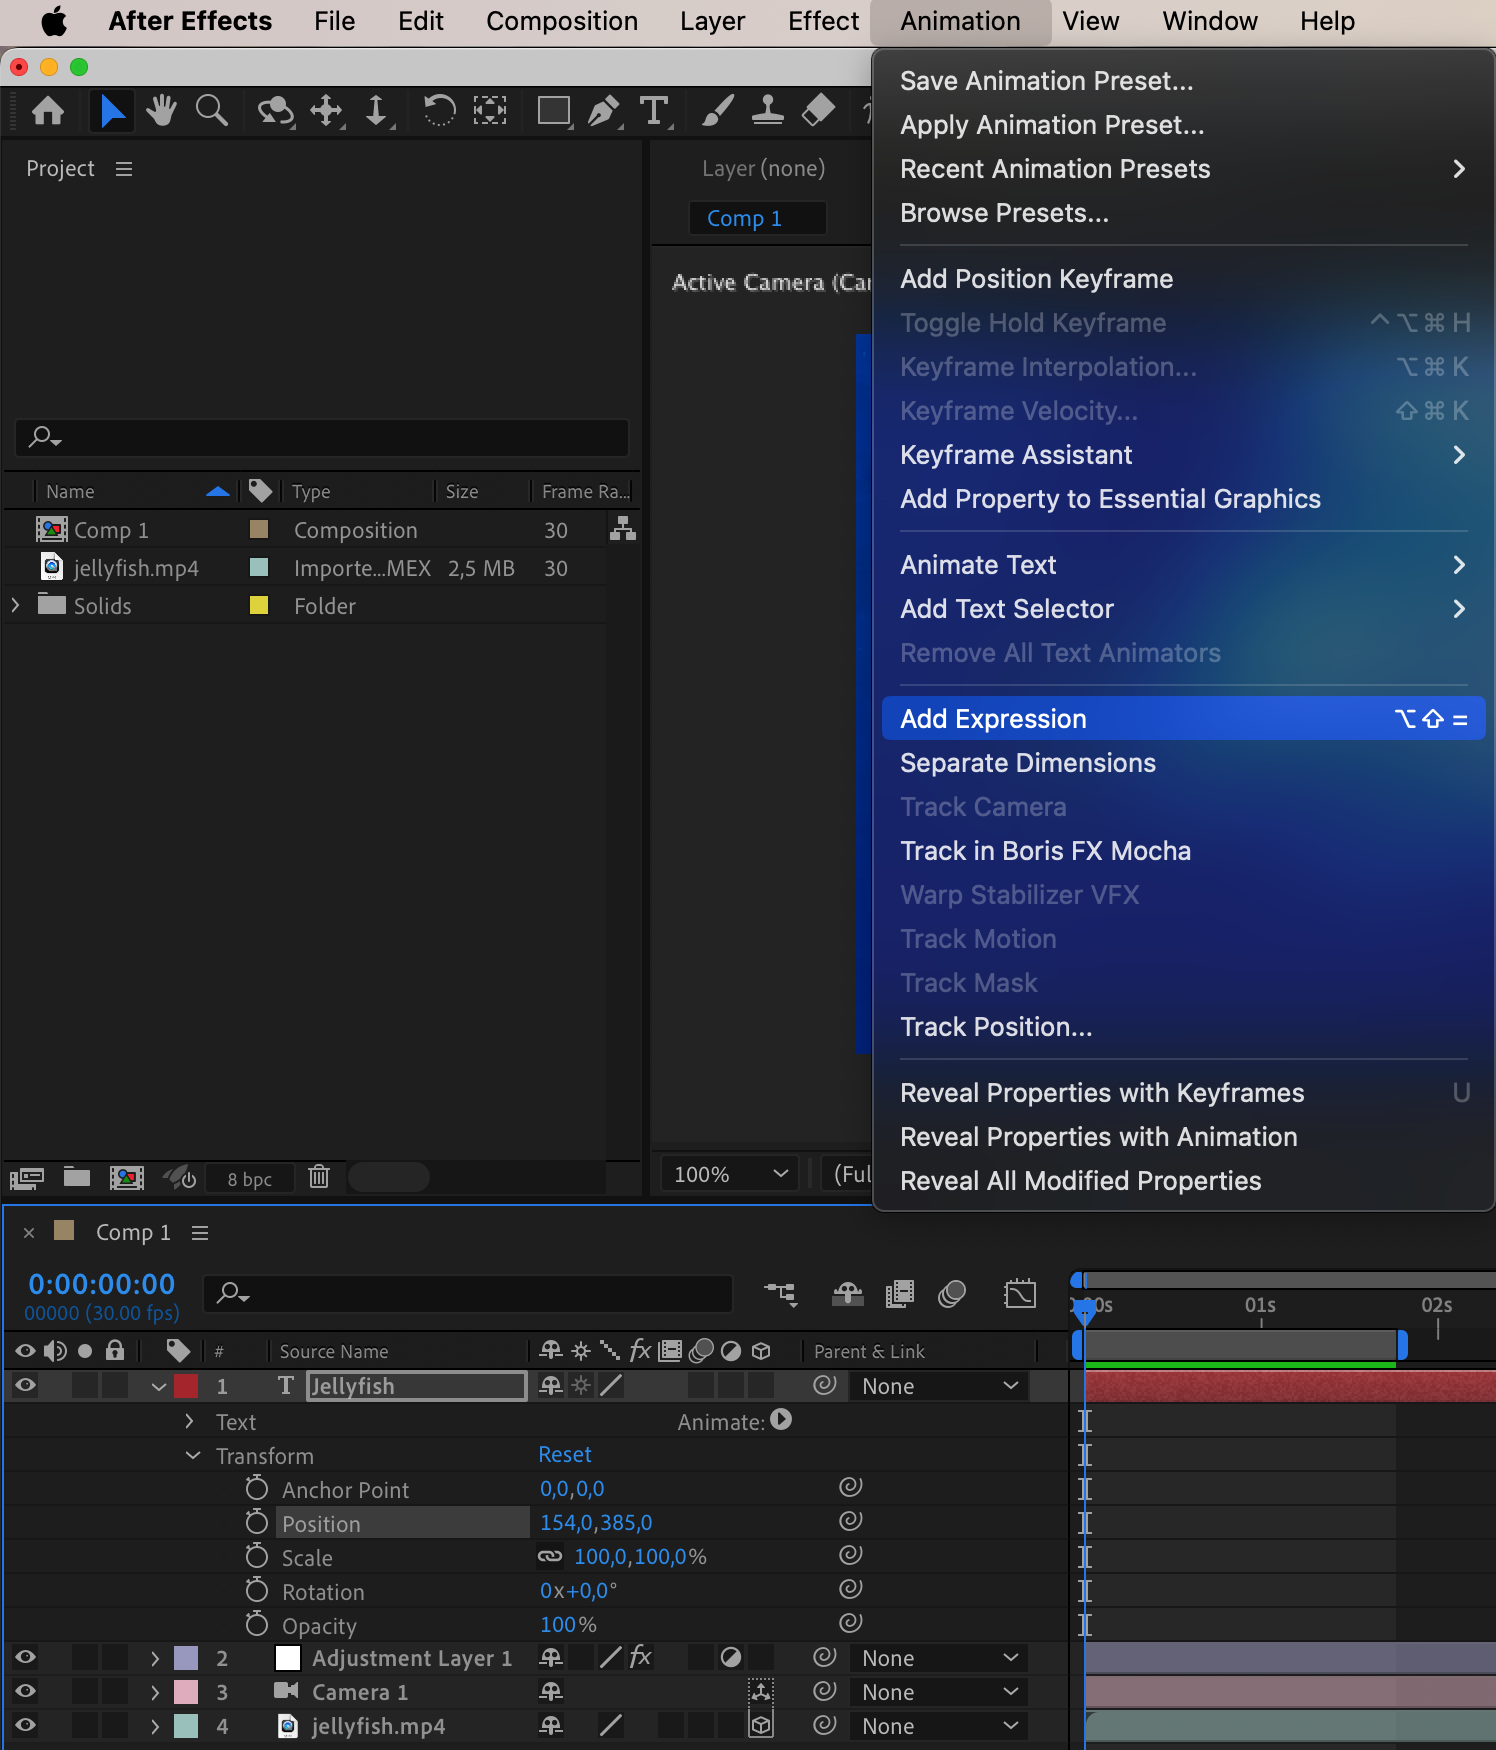
Step 8: Mastering Advanced Strategies
Push the boundaries of pan and zoom effects by mastering advanced strategies such as expressions, 3D space, and storytelling devices. By harnessing these techniques, you can create cinematic masterpieces or compelling promotional videos with endless creative possibilities.
Get 10% off when you subscribe to our newsletter
Conclusion: Elevate Your Editing Skills with Pan and Zoom Effects
With the knowledge gained from this comprehensive guide, you’re equipped to elevate your editing skills and create animations that truly captivate and inspire. Dive into the world of pan and zoom effects in After Effects to unlock your creative vision and bring your projects to life with professionalism and finesse.
Our Bestsellers


