Mastering Reverse Video Effects in After Effects: A Comprehensive Guide
Unlocking the Art of Reversing Videos with After Effects
Have you ever wondered how to add an intriguing touch to your video projects by playing them in reverse? It can create a unique visual effect that captivates your audience, adding a sense of mystery or surrealism. In the realm of video editing, mastering the art of reversing footage can open up a whole new world of creative possibilities.
Adobe After Effects is a powerful tool that allows you to enhance and manipulate your videos with precision. Whether you’re an experienced user or just starting out, learning how to play a video in reverse can elevate your editing skills and give your projects a professional edge.
In this guide, we will walk you through the step-by-step process of reversing a video using Adobe After Effects. From understanding the basics of reversing video footage to exploring advanced techniques for seamless playback, we aim to equip you with the knowledge and skills needed to master the art of playing videos in reverse.
Get 10% off when you subscribe to our newsletter

So, let’s delve into the fascinating world of reversing videos with Adobe After Effects and unlock your full creative potential. Whether you want to create visually striking effects, add a whimsical touch to your content, or showcase your editing skills, playing a video in reverse will undoubtedly take your projects to the next level.
Step 1: Understand the Concept of Reversing a Video
Understanding how reversing a video works is essential before diving into the technicalities of achieving it in After Effects. When you reverse a video, each frame plays backward in sequence, creating a visually reversed motion. This reversal can add an element of surrealism, mystery, or even comedy to your content, captivating your audience with unexpected visual twists.
To achieve an effective video reversal, consider factors like playback speed, timing of key moments, and the overall impact you wish to create. Mastering the basics of reversing video footage can elevate your editing skills and unleash new creative possibilities in your projects.
Step 2: Prepare Your Footage
Import your video footage into After Effects and create a new composition. Drag the imported file onto the composition panel. This step ensures that you have the necessary assets ready for the reversal process.


Step 3: Apply Time Reverse
Right-click on your video layer and from the submenu, select Time > Time-reverse layer. Your layer will automatically become a video layer with the Time Reverse applied.


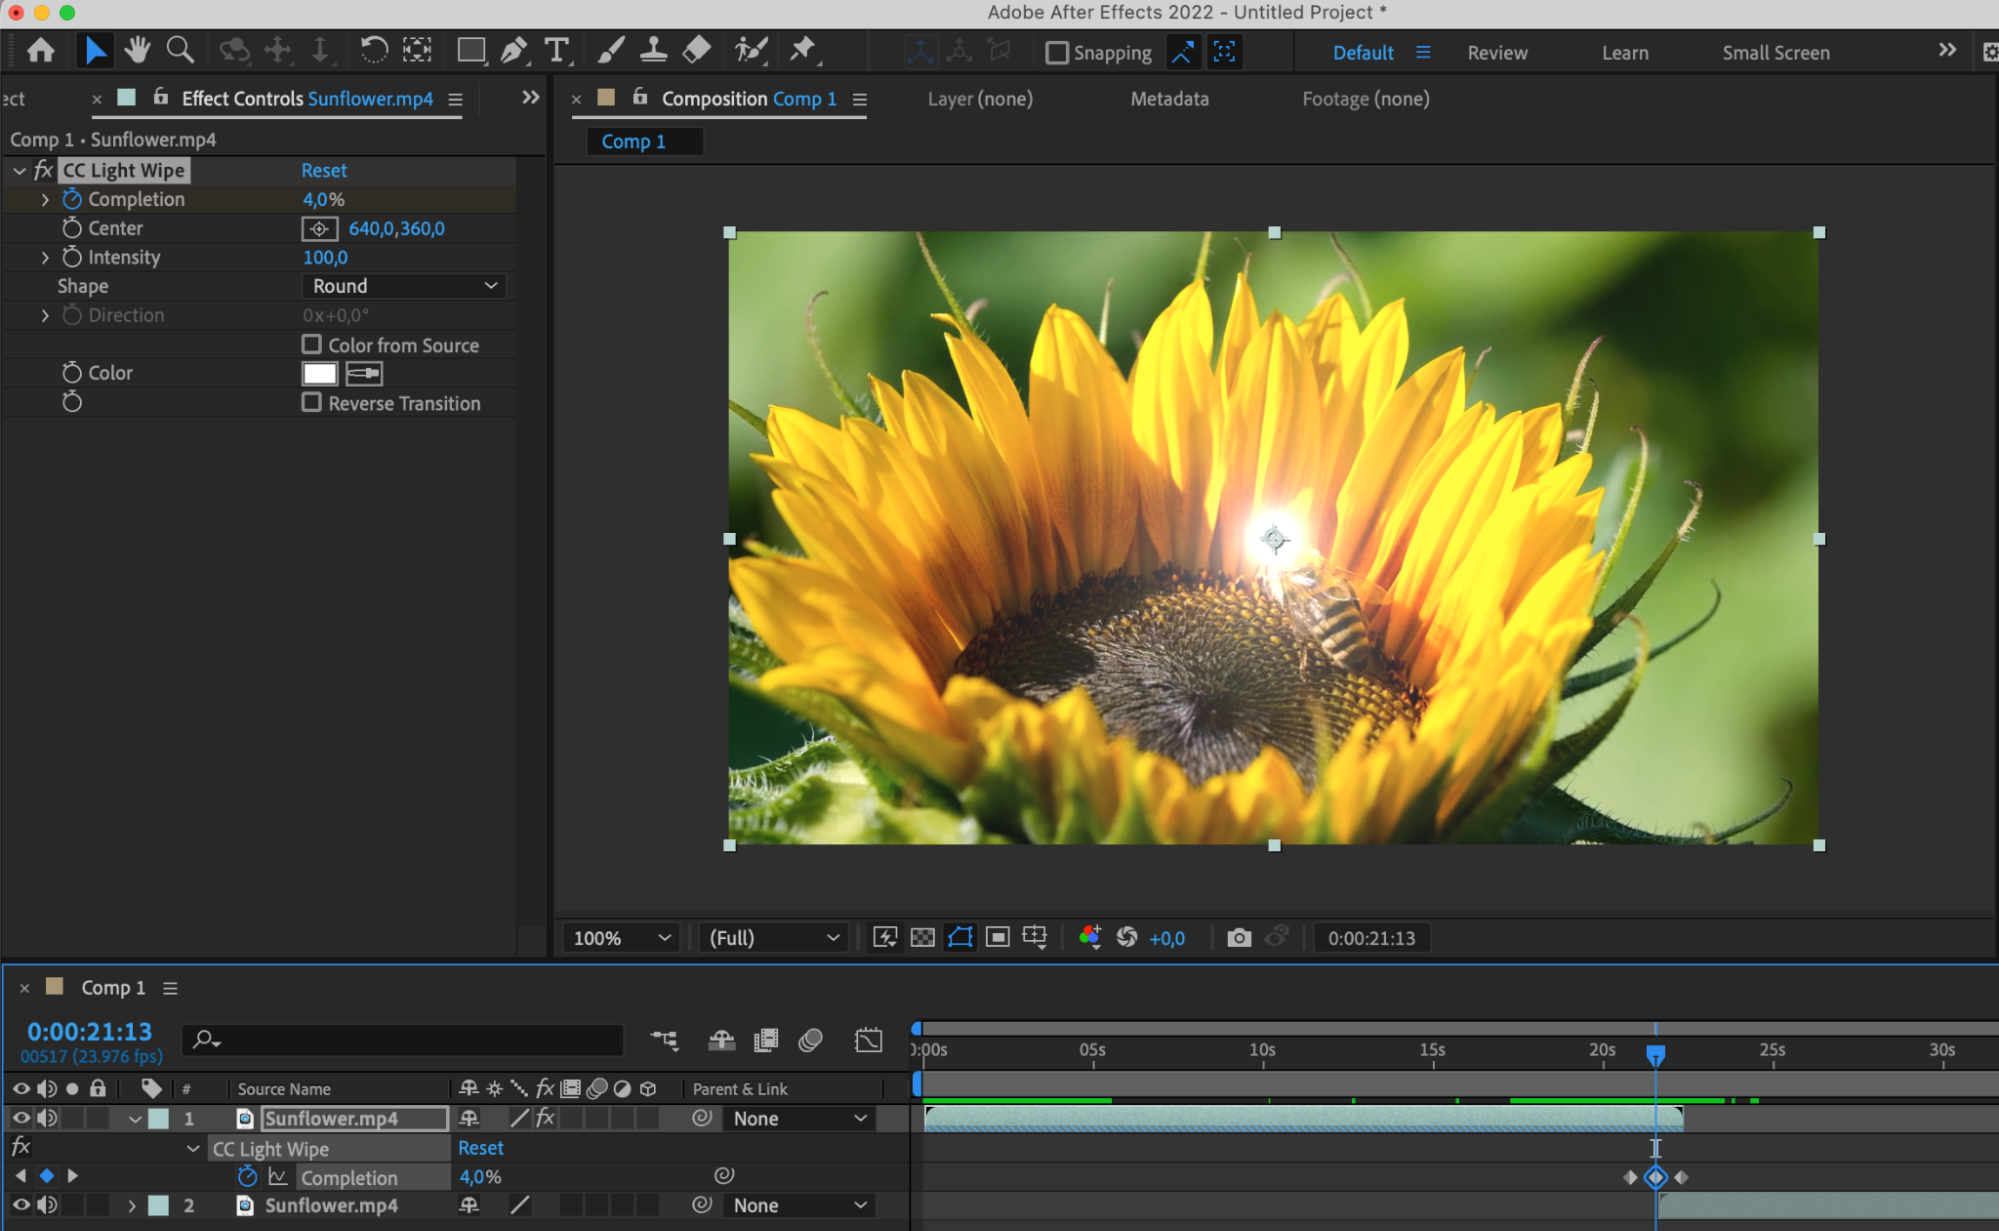
Step 4: Add Effects
You can enhance the reversed video by adding effects or overlays to make it more interesting and impactful. Add various transition effects between the reversed and original footage (drag the original video from the project panel onto the composition panel and place this layer before or after the reversed layer), such as blurs, distortions, or flickers, to create smooth and unique transitions.


Step 5: Preview and Adjust
Preview your reversed video to evaluate the playback and make any necessary adjustments. Pay attention to the flow of motion and timing to achieve the desired effect.

Conclusion
By following these step-by-step instructions, you can effectively play a video in reverse using Adobe After Effects. Mastering this technique opens up a world of creative possibilities, allowing you to enhance the visual appeal of your projects with captivating effects.
So, dive into the world of playing videos in reverse with Adobe After Effects, experiment with different techniques, and let your creativity flow to create visually stunning effects that leave a lasting impression on your viewers. Unlock the full potential of reverse video effects and take your projects to new creative heights!
Our Bestsellers


