How to Effectively Remove Watermarks from Videos in After Effects
Introduction to Removing Watermarks
Are you tired of having watermarks ruin your video content? Thankfully, with Adobe After Effects, you can easily remove those unwanted watermarks and logos to enhance the quality of your videos. In this article, we will provide you with a step-by-step guide on how to remove watermarks from videos using After Effects. By following these simple instructions, you’ll be able to create professional-looking videos that leave a lasting impression on your audience.
Step-by-Step Guide to Remove Watermarks in After Effects
Step 1: Import Your Video
The first step is to import your video into After Effects. To do this, open After Effects and click on File in the menu bar. Then, select Import and choose File. Navigate to your video file and import it into the project panel.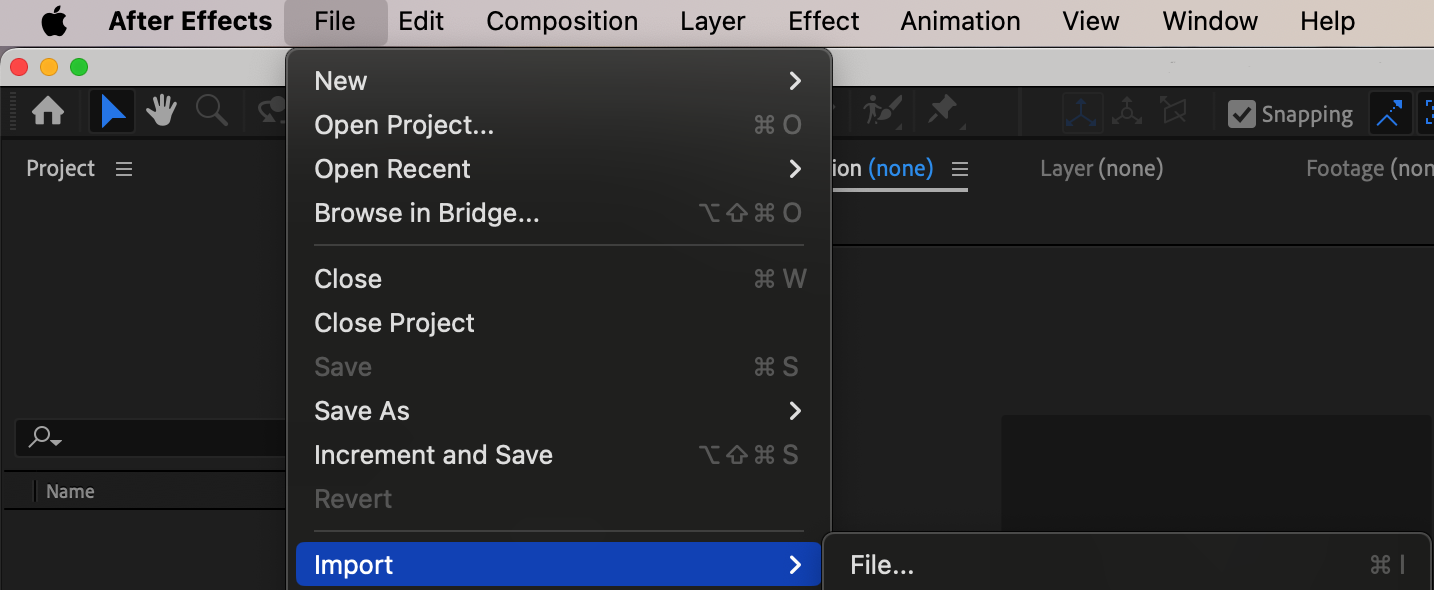 Step 2: Create a New Composition
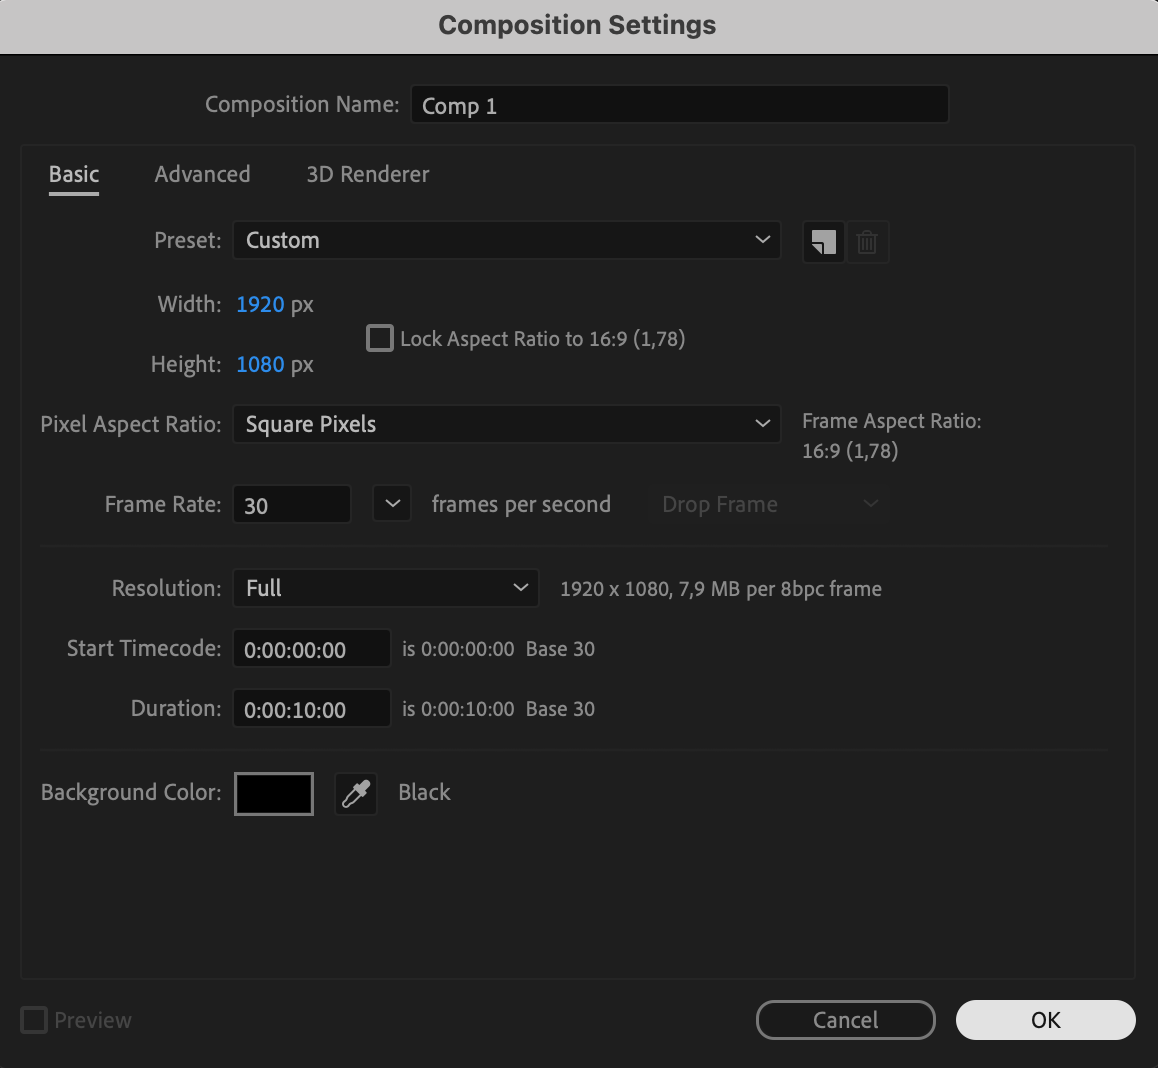
Once you have imported your video, you need to create a new composition. Go to the Composition tab in the menu bar and select New Composition. Choose the settings that match your video’s resolution and duration to ensure optimal results.

Get 10% off when you subscribe to our newsletter

Step 3: Add Video to Composition
Now, drag and drop your imported video into the newly created composition. Make sure it is aligned properly and that the watermark is visible within the frame.

Step 4: Duplicate the Video Layer
Create a duplicate of your video layer by selecting the layer in the timeline. Then, hide the original layer by clicking the eye icon next to it in the timeline panel.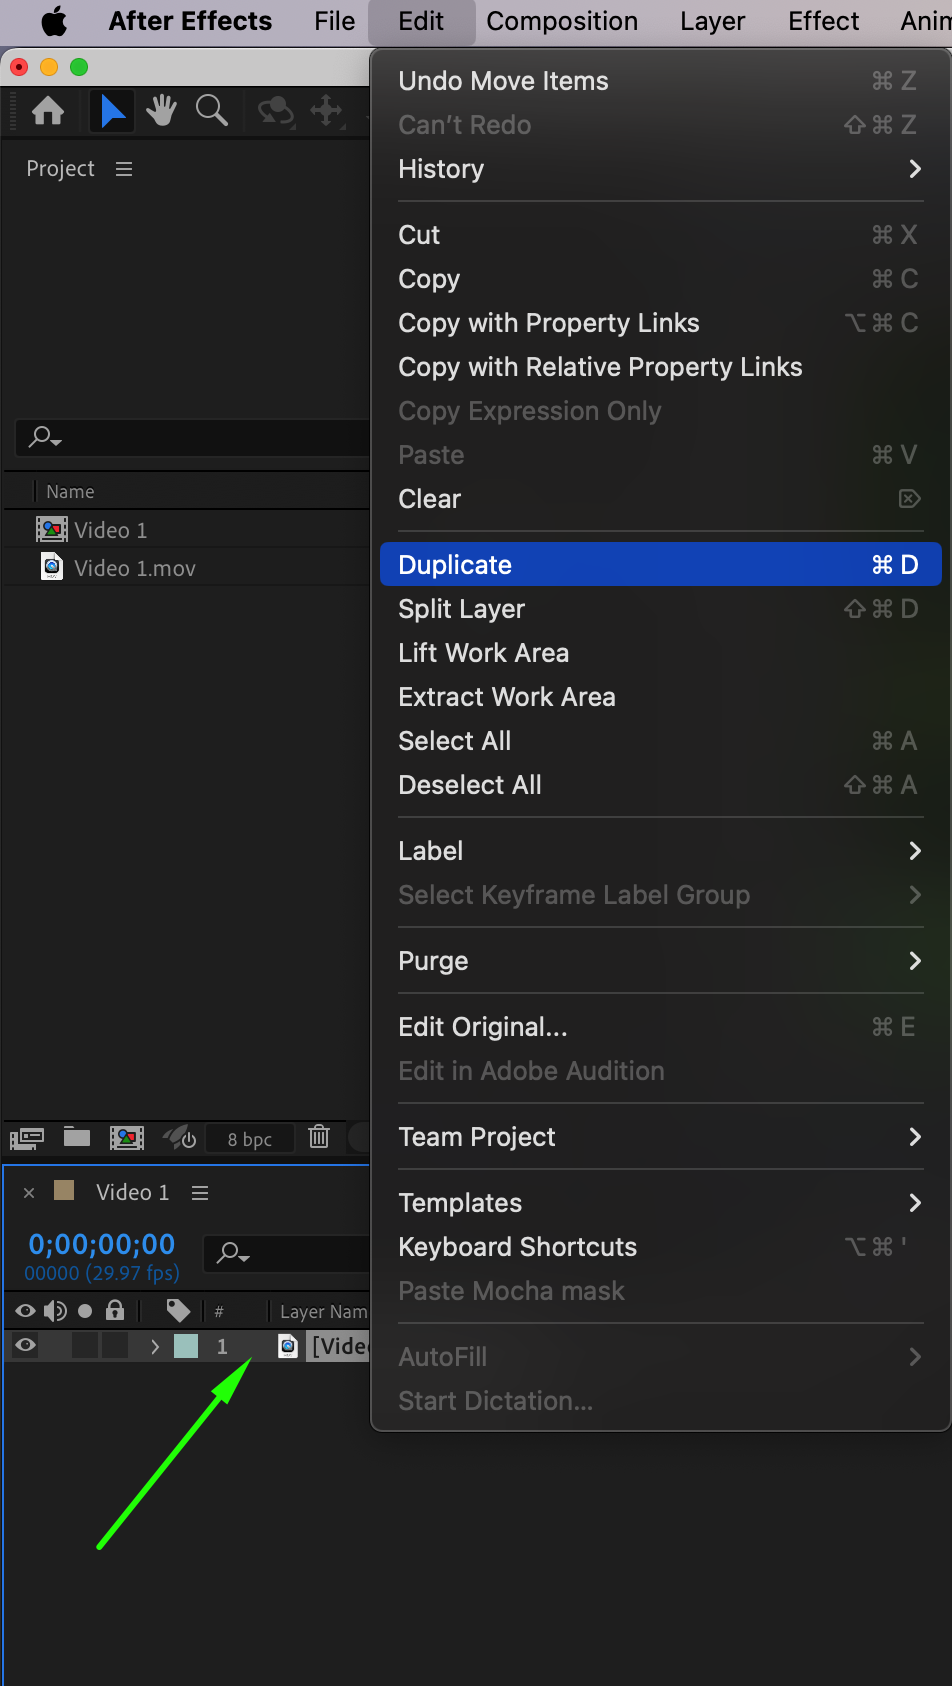
 Step 5: Use the Roto Brush Tool
Select the duplicated video layer and activate the Roto Brush Tool by pressing Alt/Option + W. Carefully paint over the watermark to create a selection around it. Ensure the selection accurately covers the watermark. Step 6: Duplicate the Layer Again
Create another duplicate of the video layer (this will be the third layer). Keep the original duplicated layer visible and the second duplicate hidden for now.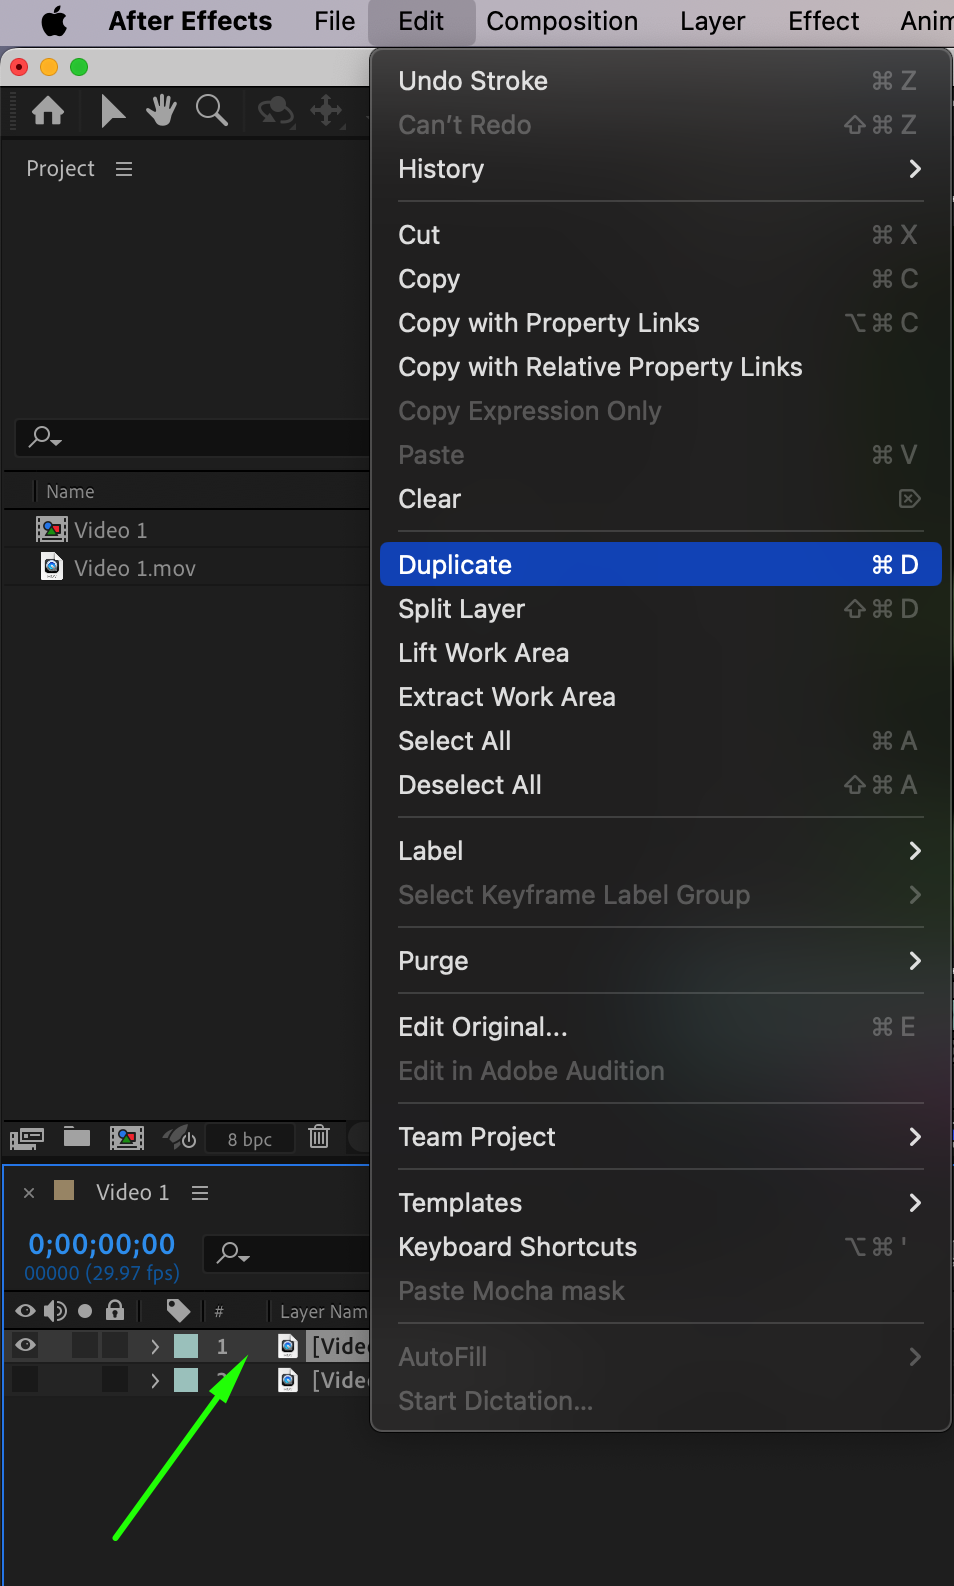 Step 7: Freeze the Roto Brush Selection
With the first duplicated layer selected, click the Freeze button in the Roto Brush options to lock in the selection. This will help maintain the selection throughout the video.

Step 8: Invert the Roto Brush Selection
Select the second duplicate layer and in the Effect Controls panel, use the Invert Foreground/Background option. Then, click the Freeze button again to lock this inverted selection. Step 9: Hide the First Duplicated Layer
Hide the first duplicated layer by clicking the eye icon next to it in the timeline panel. This will allow you to focus on the third layer for the next steps. Step 10: Use Content-Aware Fill
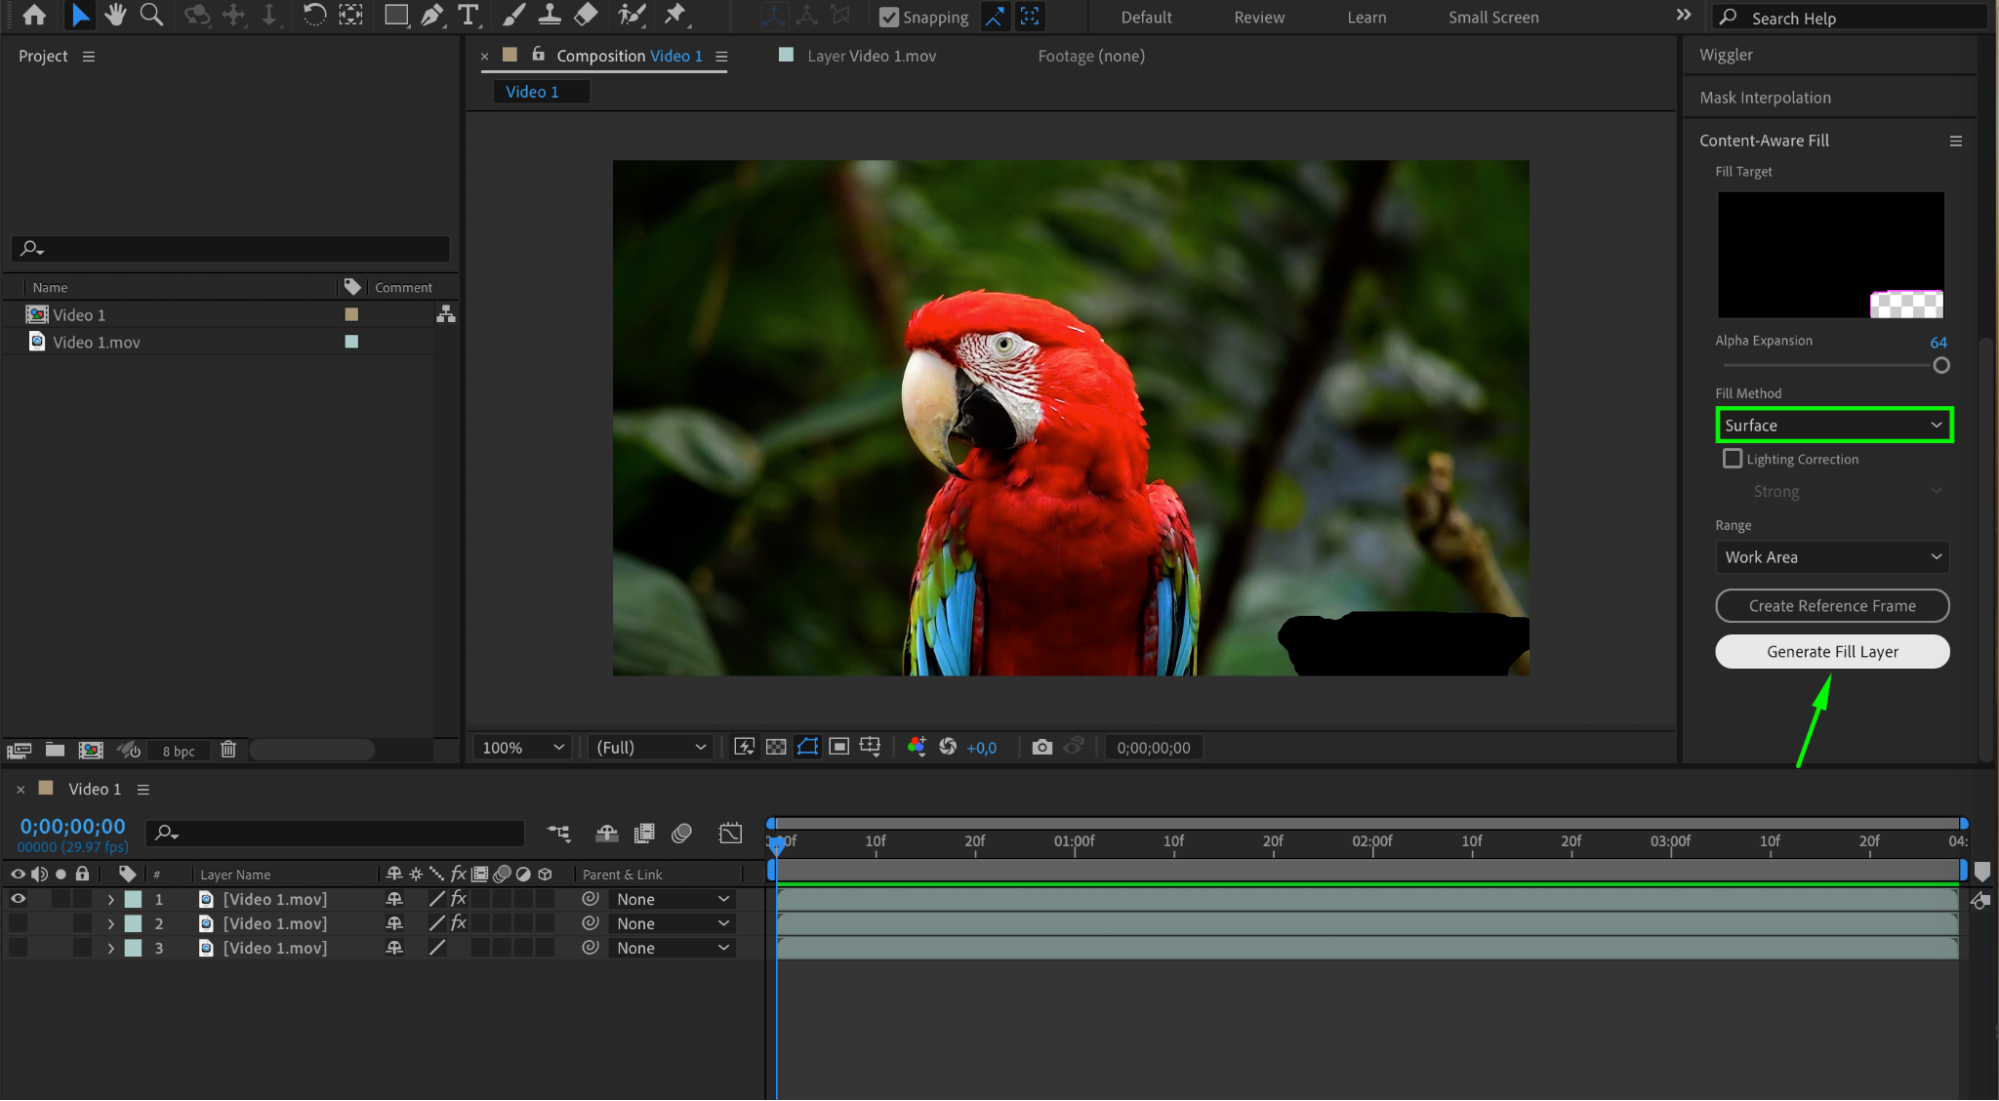
Open the Content-Aware Fill panel by going to Window > Content-Aware Fill. Set the Fill Method to Surface. Then, click on the Generate Fill Layer button to let After Effects analyze and fill the selected area based on surrounding pixels.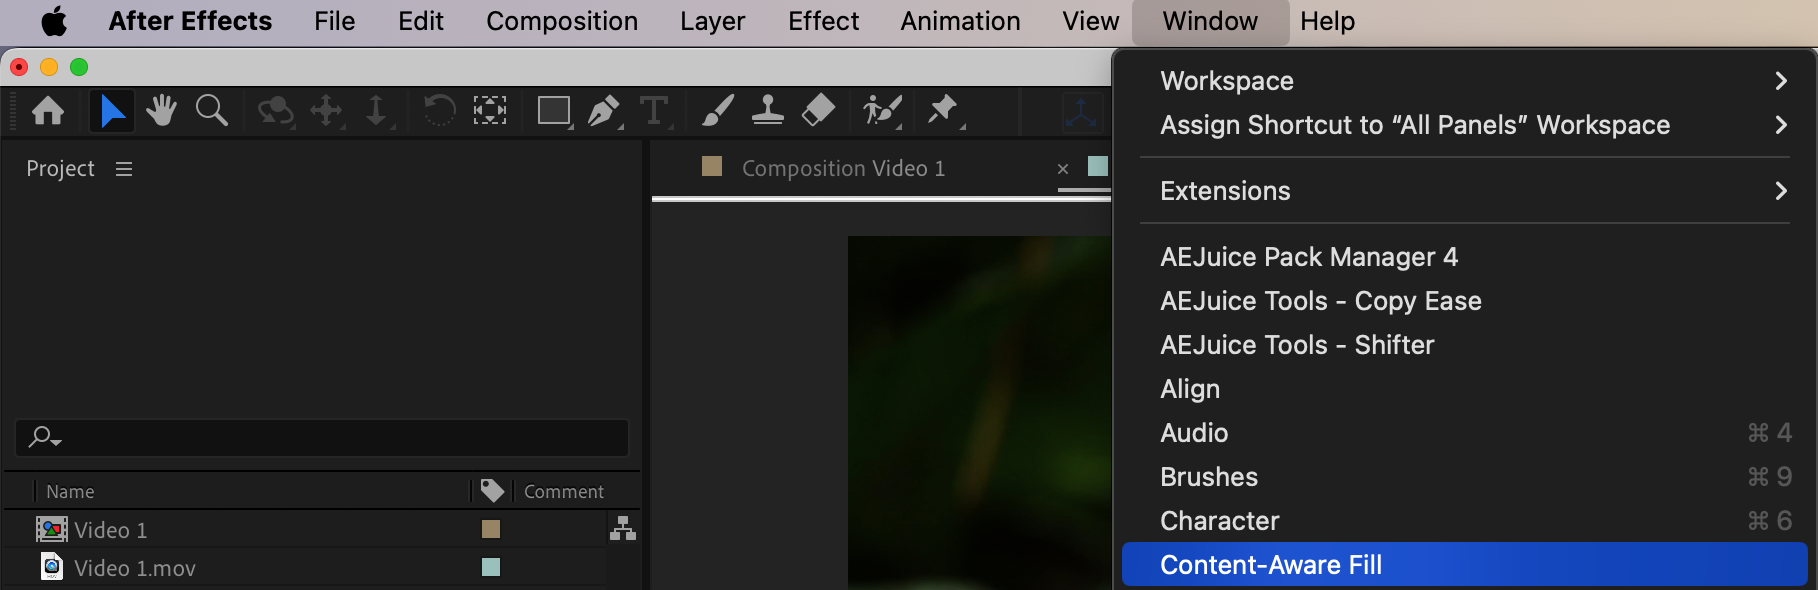

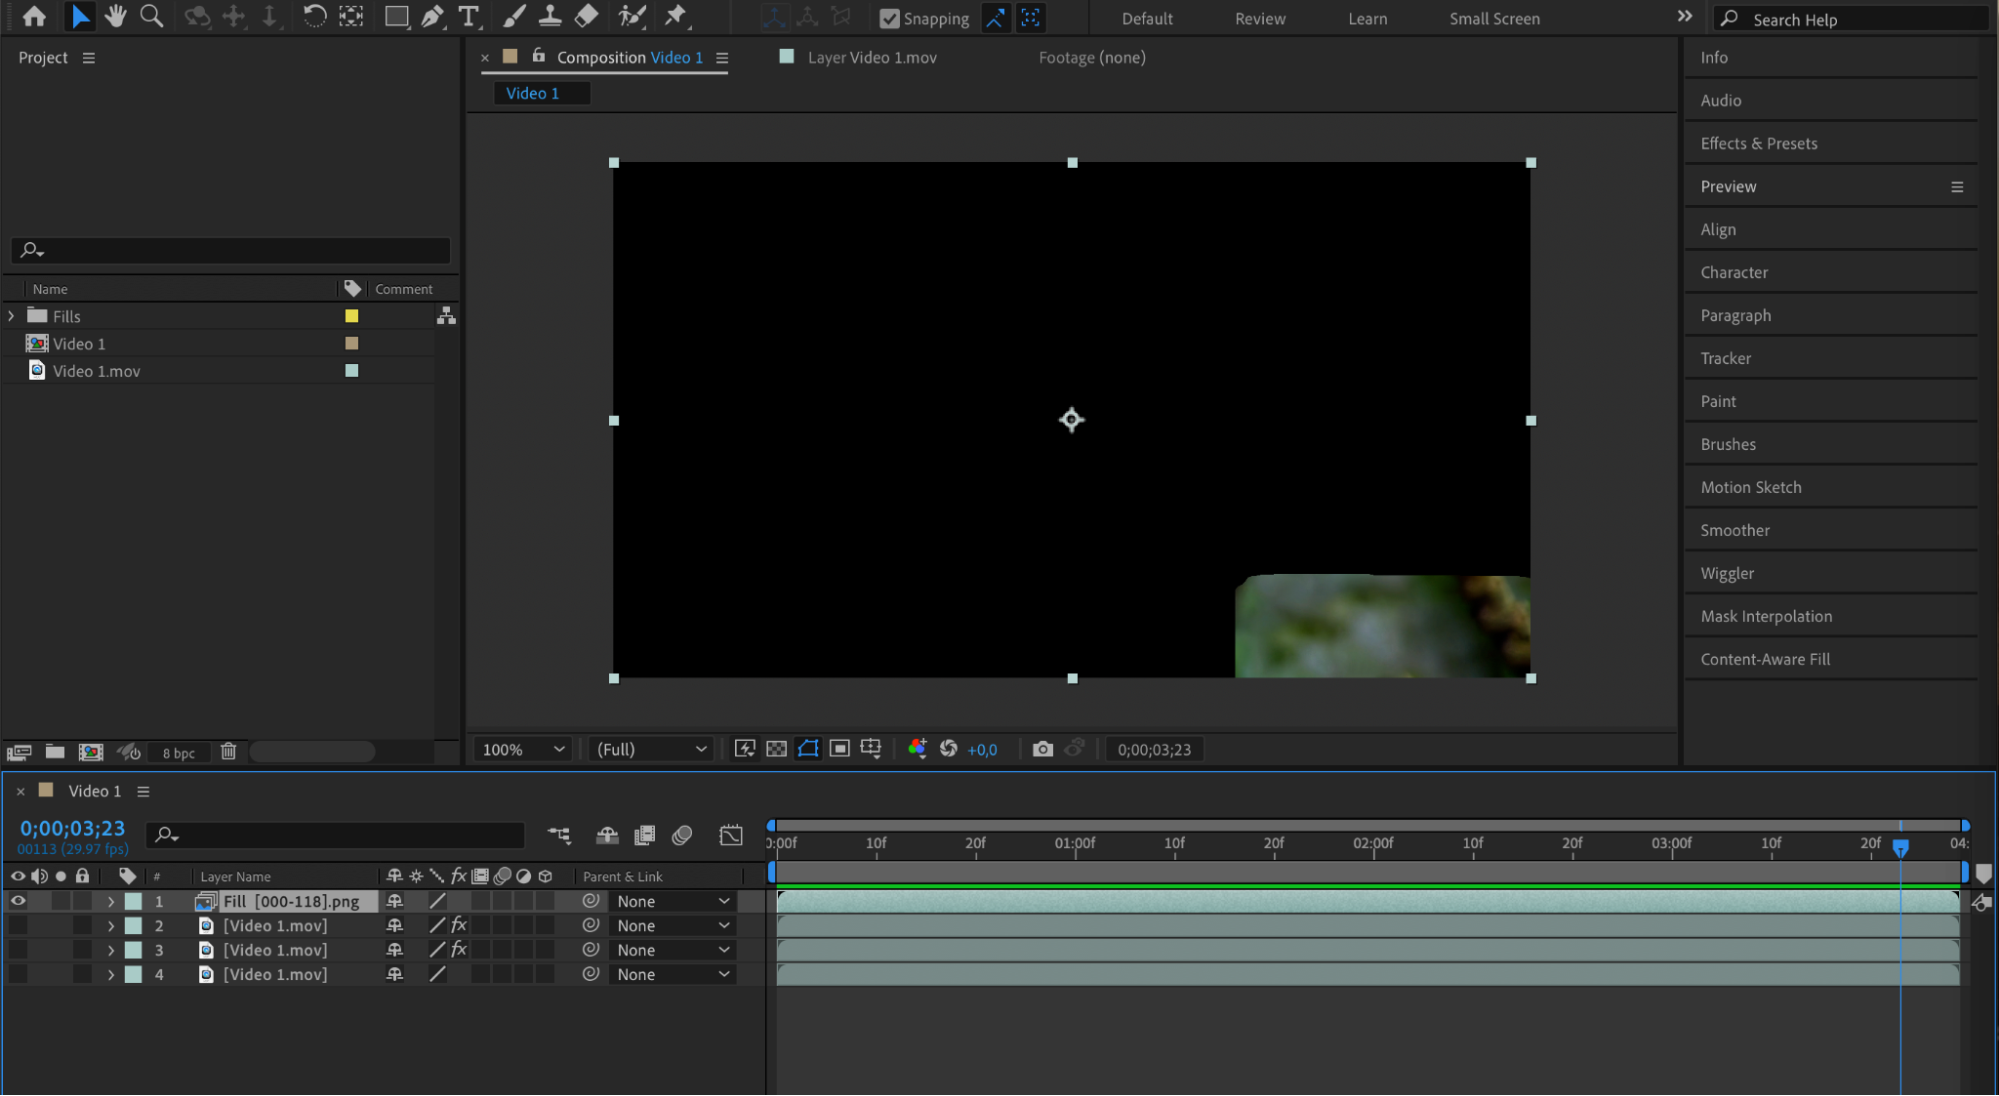 Step 11: Preview the Result
Use the Preview button to play through your video and see the result of the Content-Aware Fill process. Ensure the watermark has been removed cleanly and that the filled area looks natural. Conclusion
With Adobe After Effects, removing watermarks from videos is a relatively straightforward process. By following the steps outlined above, you can successfully remove unwanted watermarks and logos from your videos, leaving you with a clean and professional-looking end product. So don’t let watermarks detract from your video content – get rid of them using After Effects!
Our Bestsellers


