A Complete Guide on Rendering PNG Videos in After Effects
Introduction: Exporting PNG Video Sequences from After Effects
Rendering a video as a PNG sequence in After Effects is a powerful technique used for creating high-quality, individual frame images. PNG files are lossless, meaning they retain the highest quality without compression artifacts, making them perfect for graphics, animations, and images requiring transparency. This guide will walk you through the process of rendering a video as a PNG sequence from After Effects, step by step.
Step 1: Set Up Your Project in After Effects
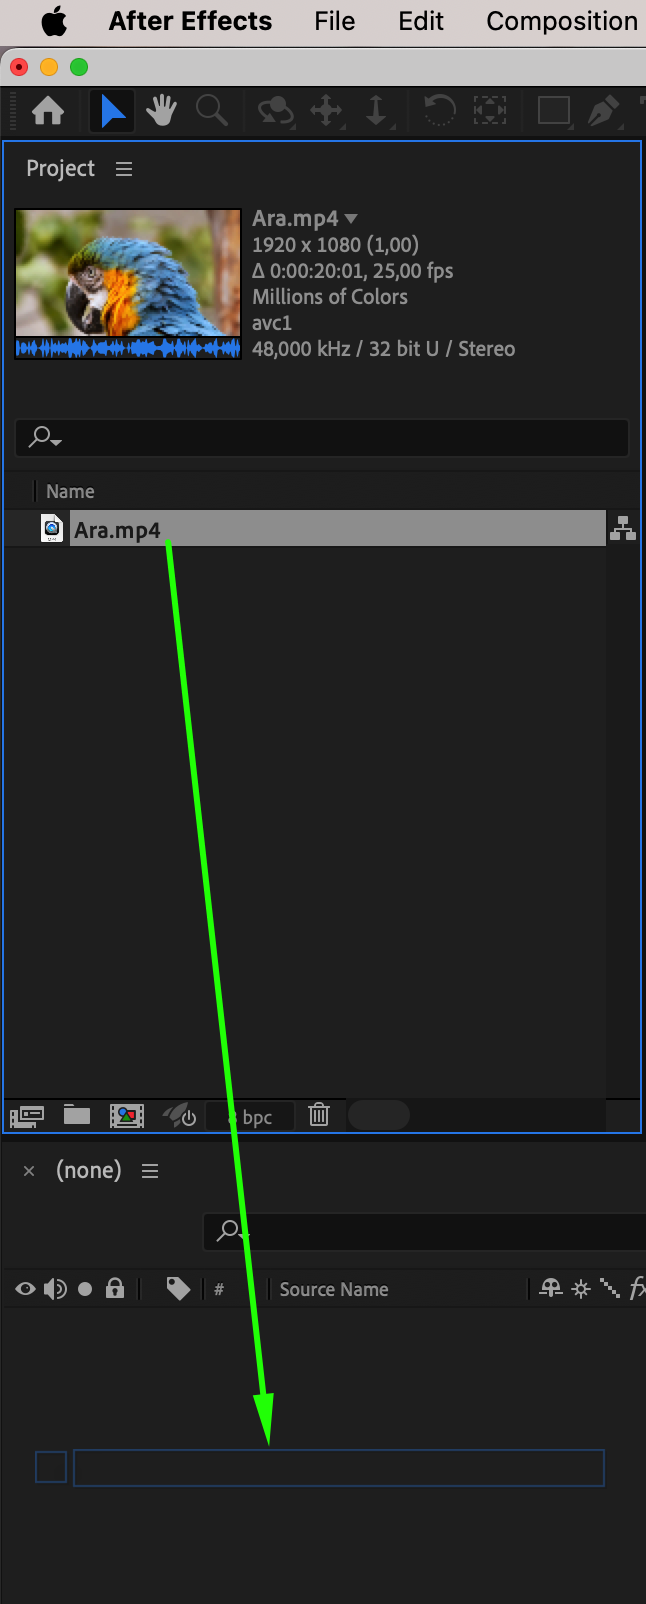
The first step in rendering a PNG video is to create or import your project in After Effects. Open After Effects and create a new composition or import an existing project that you wish to render as a PNG sequence. To do so, go to File > Import and select the project or video files you need. Once the files are in After Effects, drag them to your timeline and set up your composition with the desired settings (frame rate, resolution, etc.).

 Step 2: Open the Render Queue
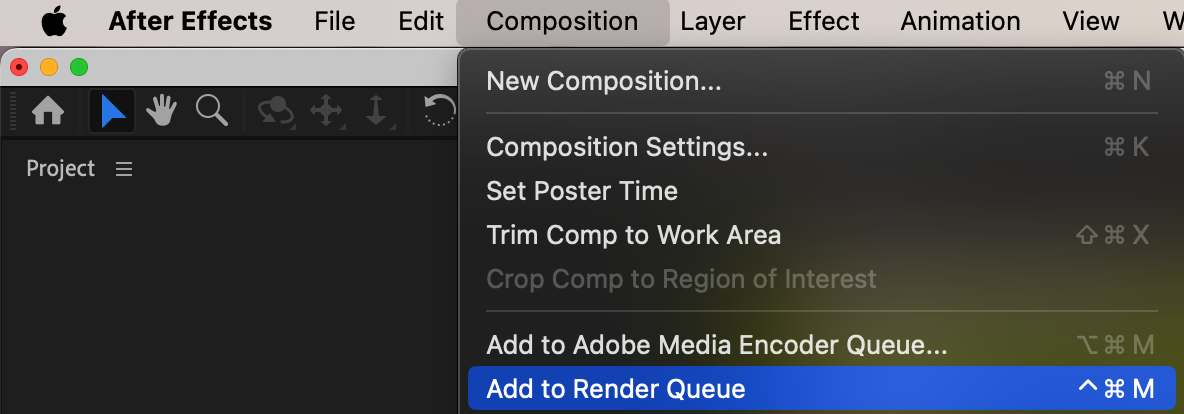
Once your composition is ready, the next step is to open the Render Queue. Go to Composition > Add to Render Queue. The Render Queue is where you will configure your render settings and choose the output format
Step 3: Choose PNG Format as the Output
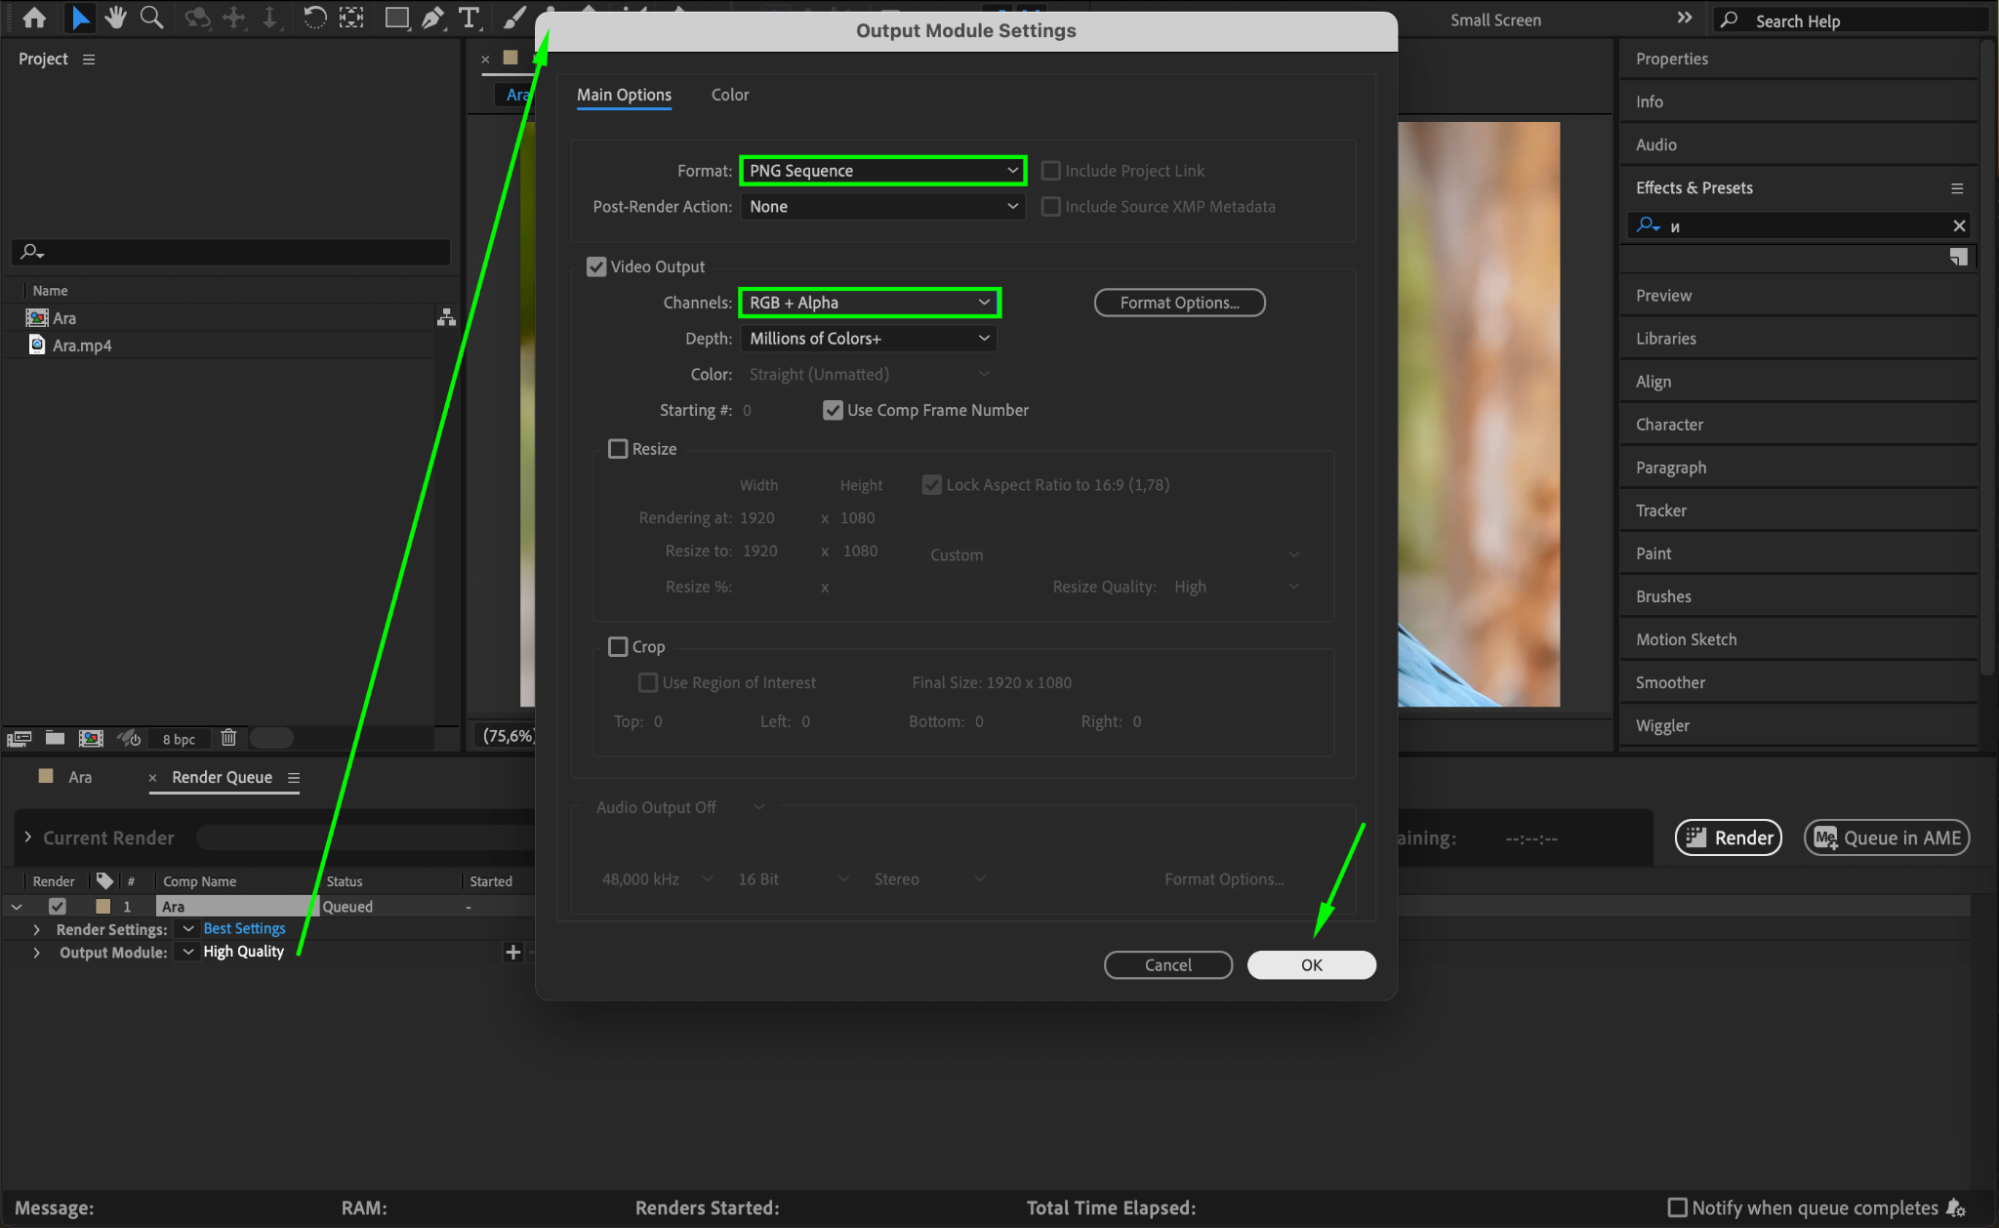
In the Render Queue panel, click on the Output Module link (usually labeled “High Quality” by default). This will open the Output Module Settings window, where you can select the format for your rendered files. Choose PNG Sequence from the Format dropdown menu.
Step 4: Adjust the Output Location
In the Render Queue, click on the Output To link to choose where the PNG sequence will be saved. Select a folder on your system where you want the images to be stored. After setting your preferred location, click OK.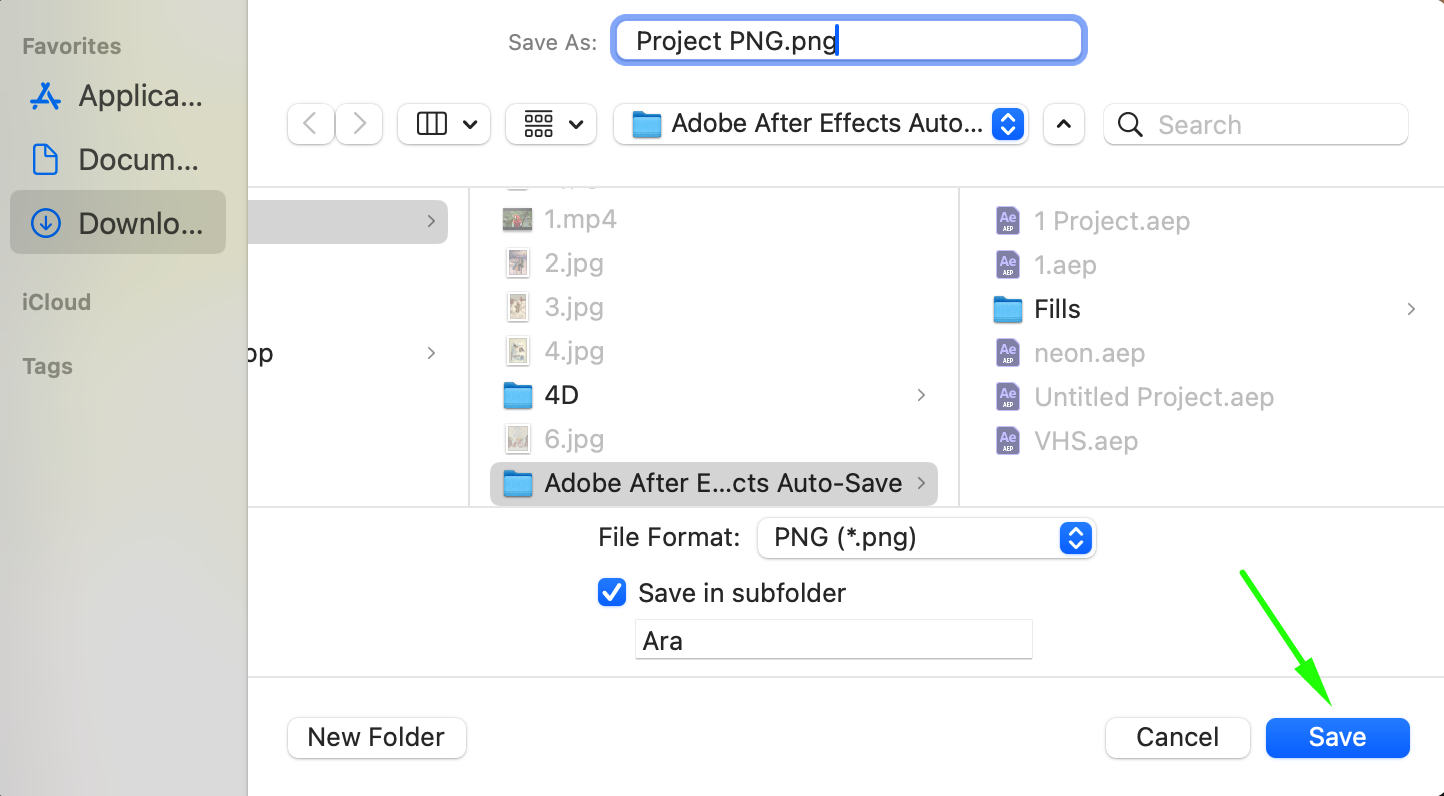 Step 5: Start Rendering
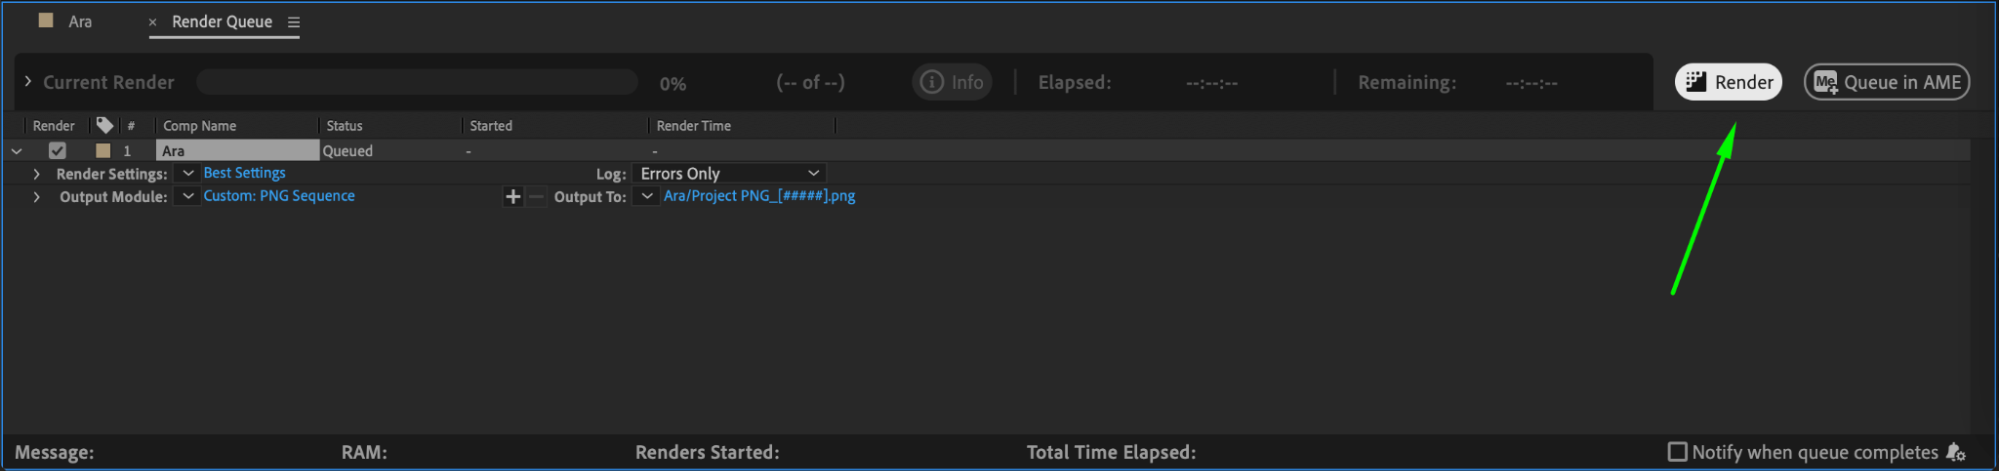
Once all your settings are configured, click on the Render button in the Render Queue panel. After Effects will begin rendering each frame of your composition as a separate PNG file, saving them to the location you specified in Step 4. Depending on the length of your composition and the complexity of your layers, this process might take some time.
Step 6: Check the Rendered PNG Sequence
After rendering is complete, navigate to the folder where your PNG sequence was saved. You should see each frame of your video as an individual PNG image, named in sequence (e.g., “Project_PNG_001.png”, “Project_PNG_002.png”, etc.). Open a few files to check the quality and ensure that transparency (if used) is maintained.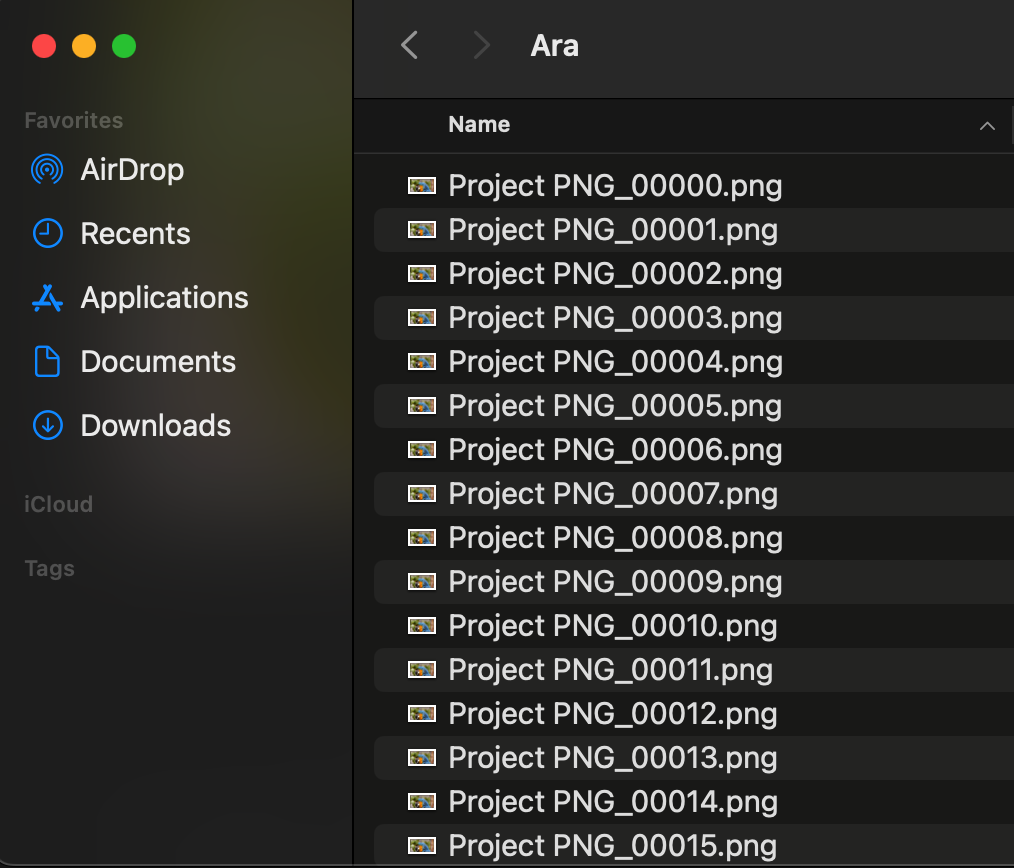
Step 7: Use the PNG Sequence in Other Projects
Once your PNG sequence is rendered, you can easily import it into other projects, whether it’s for compositing in After Effects, editing in Premiere Pro, or using it in a 3D animation software. Since PNG images retain their transparency, they are ideal for layering on top of other footage or backgrounds.
Conclusion
Rendering a PNG video sequence in After Effects is a useful technique for creating high-quality, transparent images or animations. Whether you’re working on a detailed animation or need individual frames for compositing, following the steps in this guide ensures you can render your project efficiently and with excellent results. By adjusting your output settings and organizing your files, you can maximize the potential of your PNG sequences in any future projects.
Our Bestsellers


