Replacing a Face with an Image Mask in Adobe After Effects
Introduction to Face Replacement in After Effects
Replacing a face with an image mask in Adobe After Effects is a useful technique for creating digital disguises, animated masks, or creative visual effects. By using the built-in Face Tracking tool, you can accurately follow facial movements and apply an image overlay that moves naturally with the subject’s face.
Get 10% off when you subscribe to our newsletter

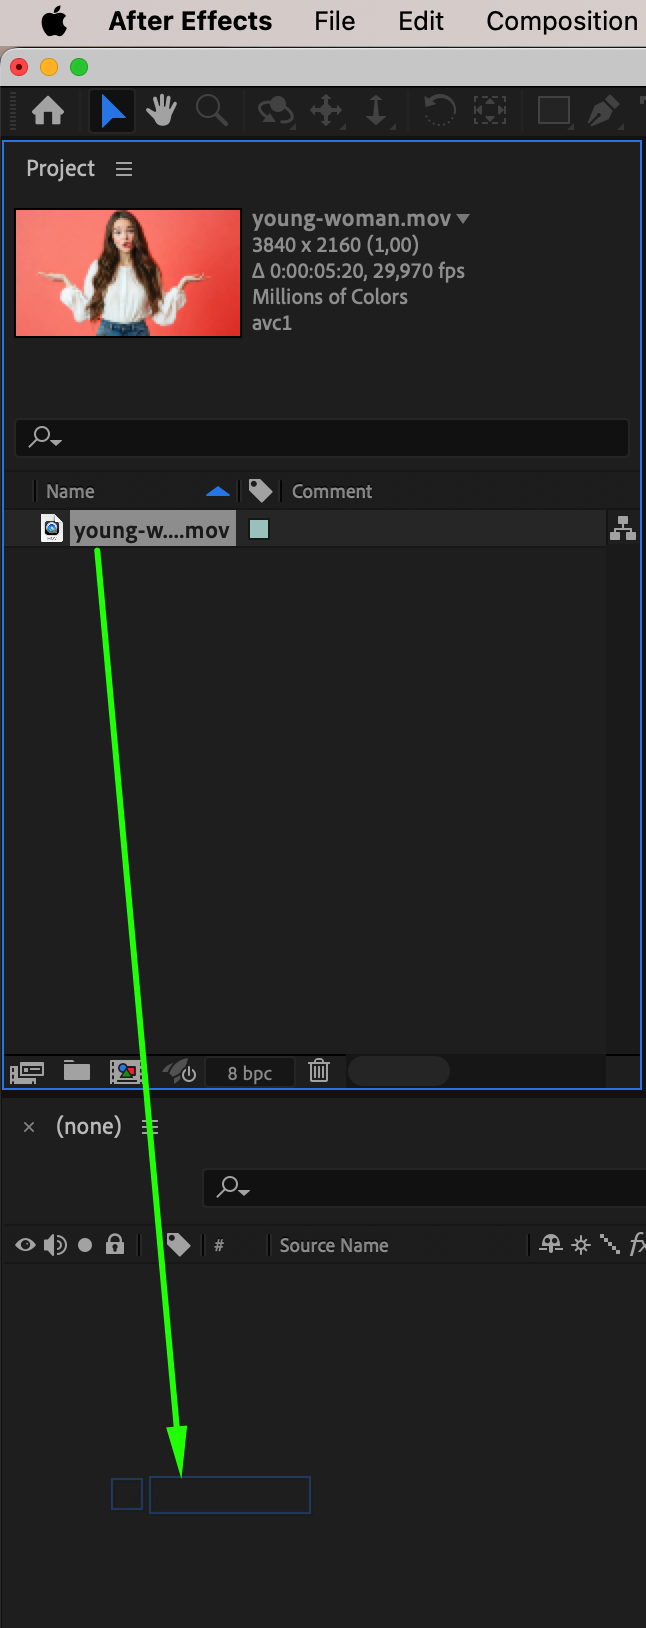
Step 1: Import the Video File
Go to File > Import > File, select your video file, and drag it onto the Timeline. This will create a new composition with your video as the main layer.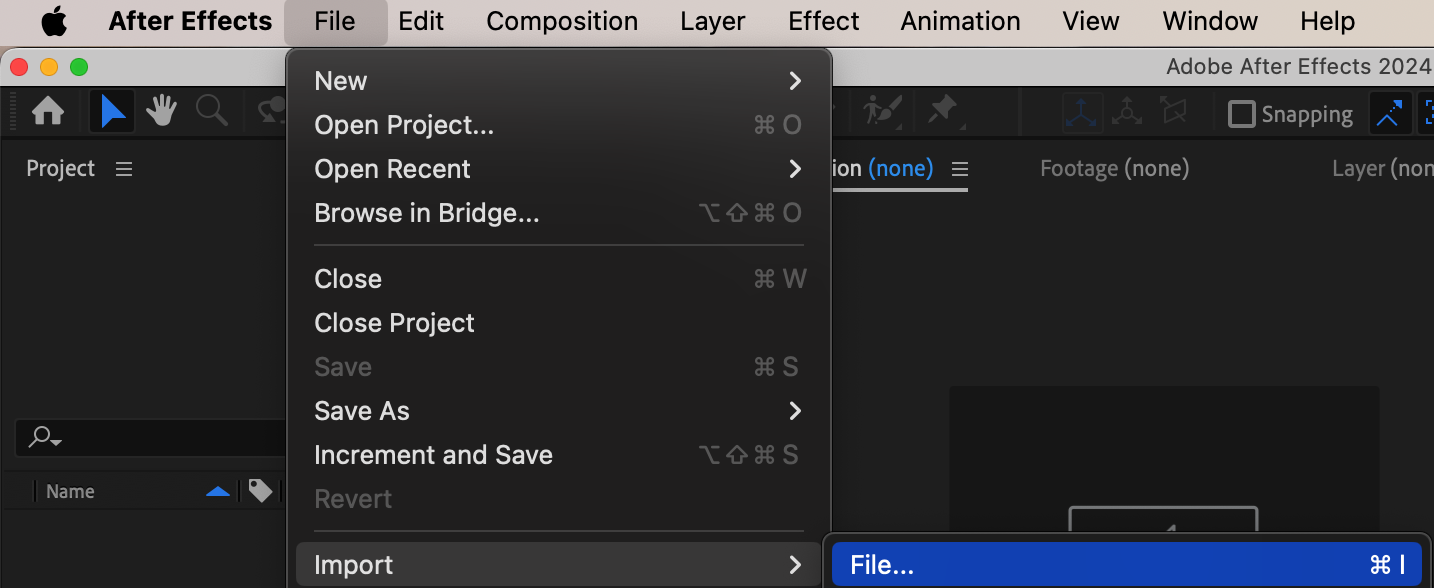
 Step 2: Create a Mask Around the Face
Select the video layer and choose the Ellipse Tool (Q) from the toolbar. Draw a mask around the face. In the Mask settings, set the Mask Mode to None so it doesn’t affect the video yet.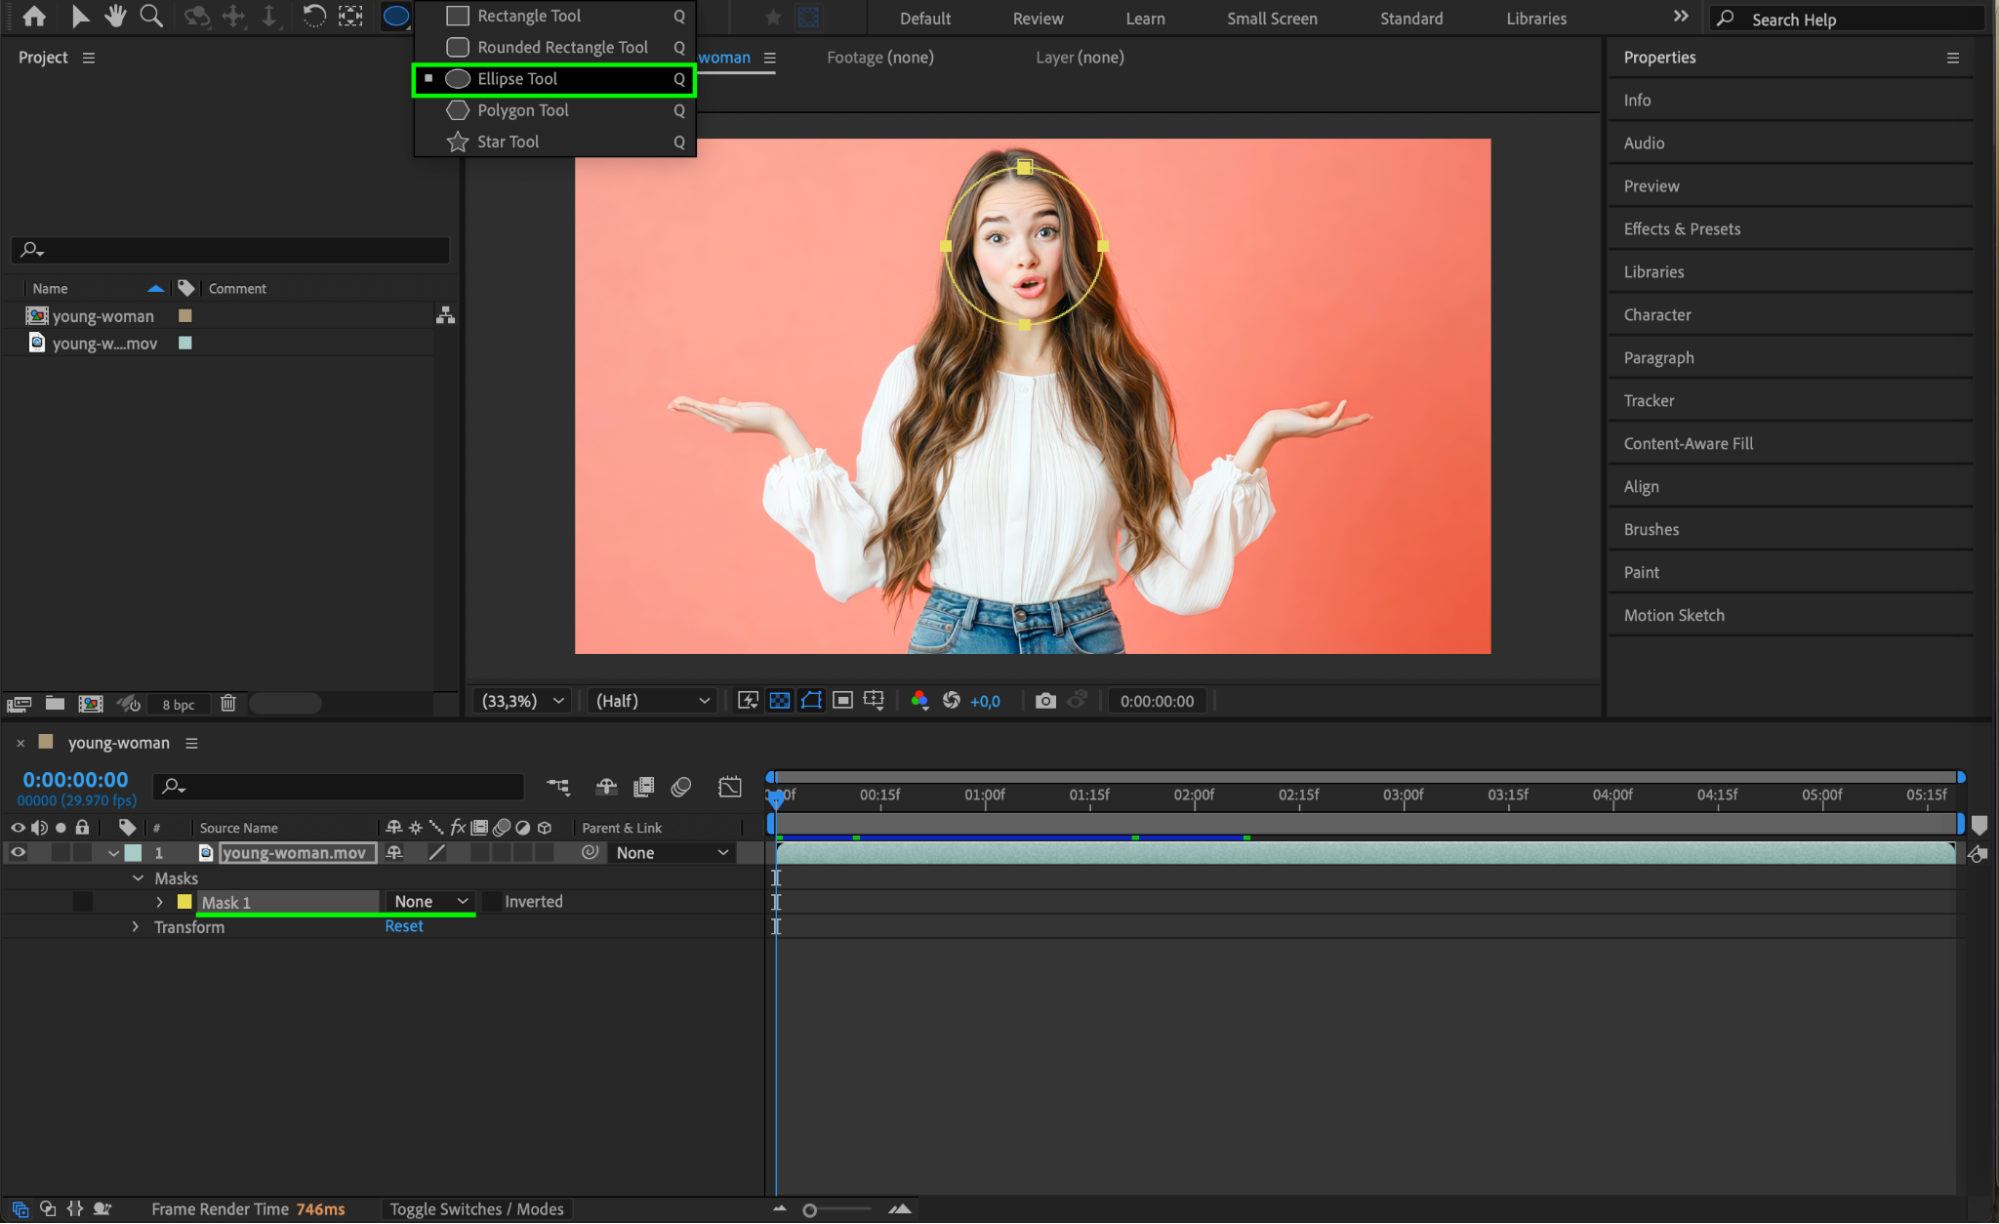 Step 3: Enable Face Tracking
Right-click on the mask and select Track Mask. The Tracker Panel will open. In the Method dropdown, choose Face Tracking (Detailed Features) for accurate tracking.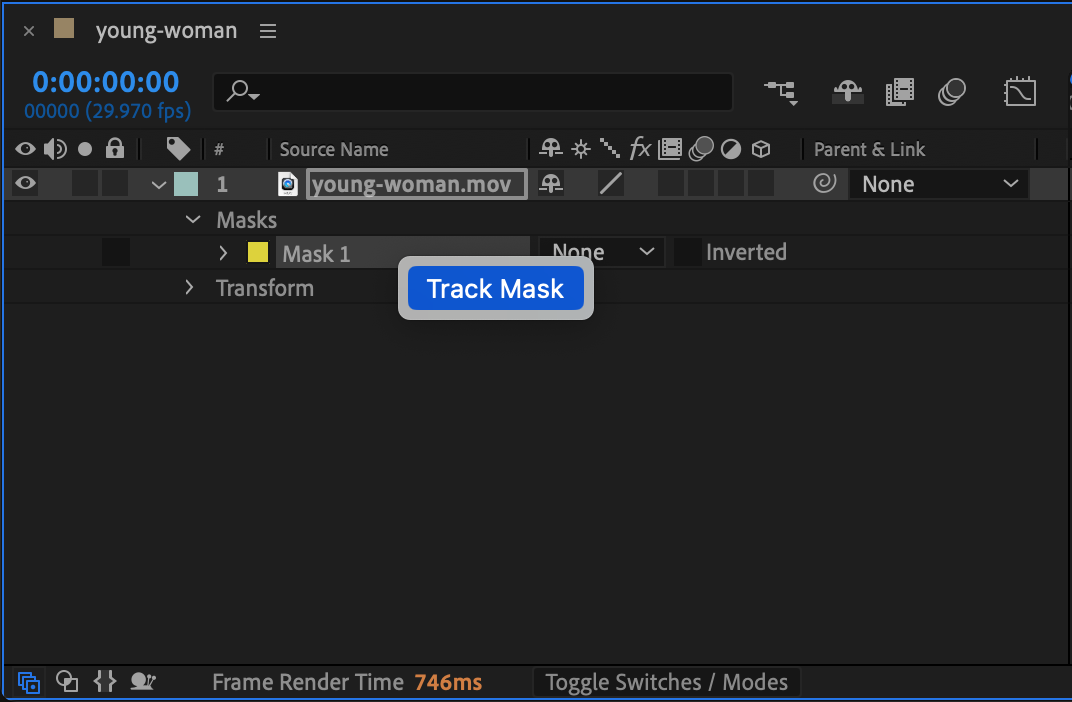 Step 4: Analyze the Face Motion
In the Tracker Panel, click the Analyze Forward button (Play icon). After Effects will track facial movements frame by frame, generating keyframes for various facial features.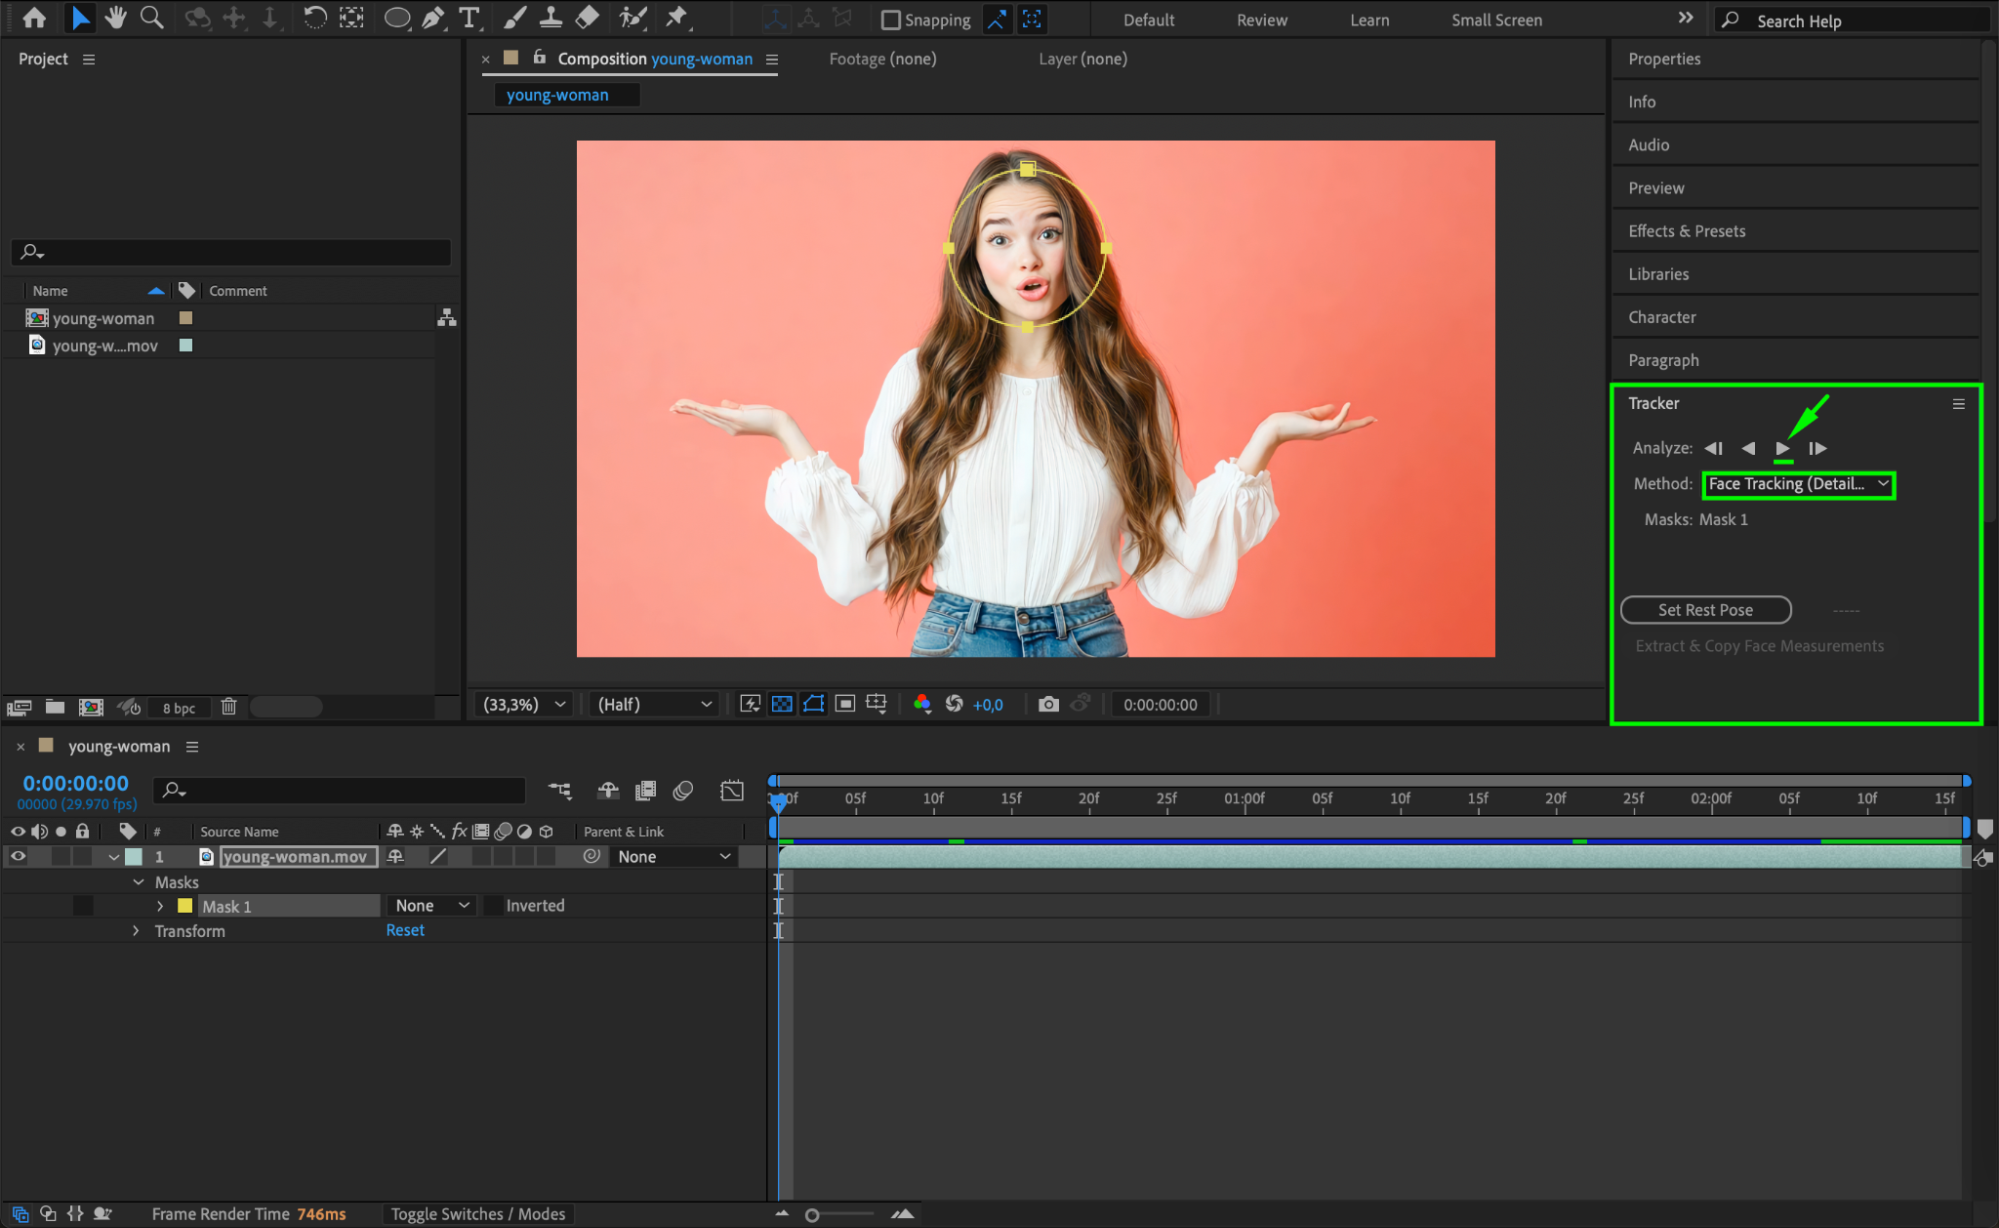
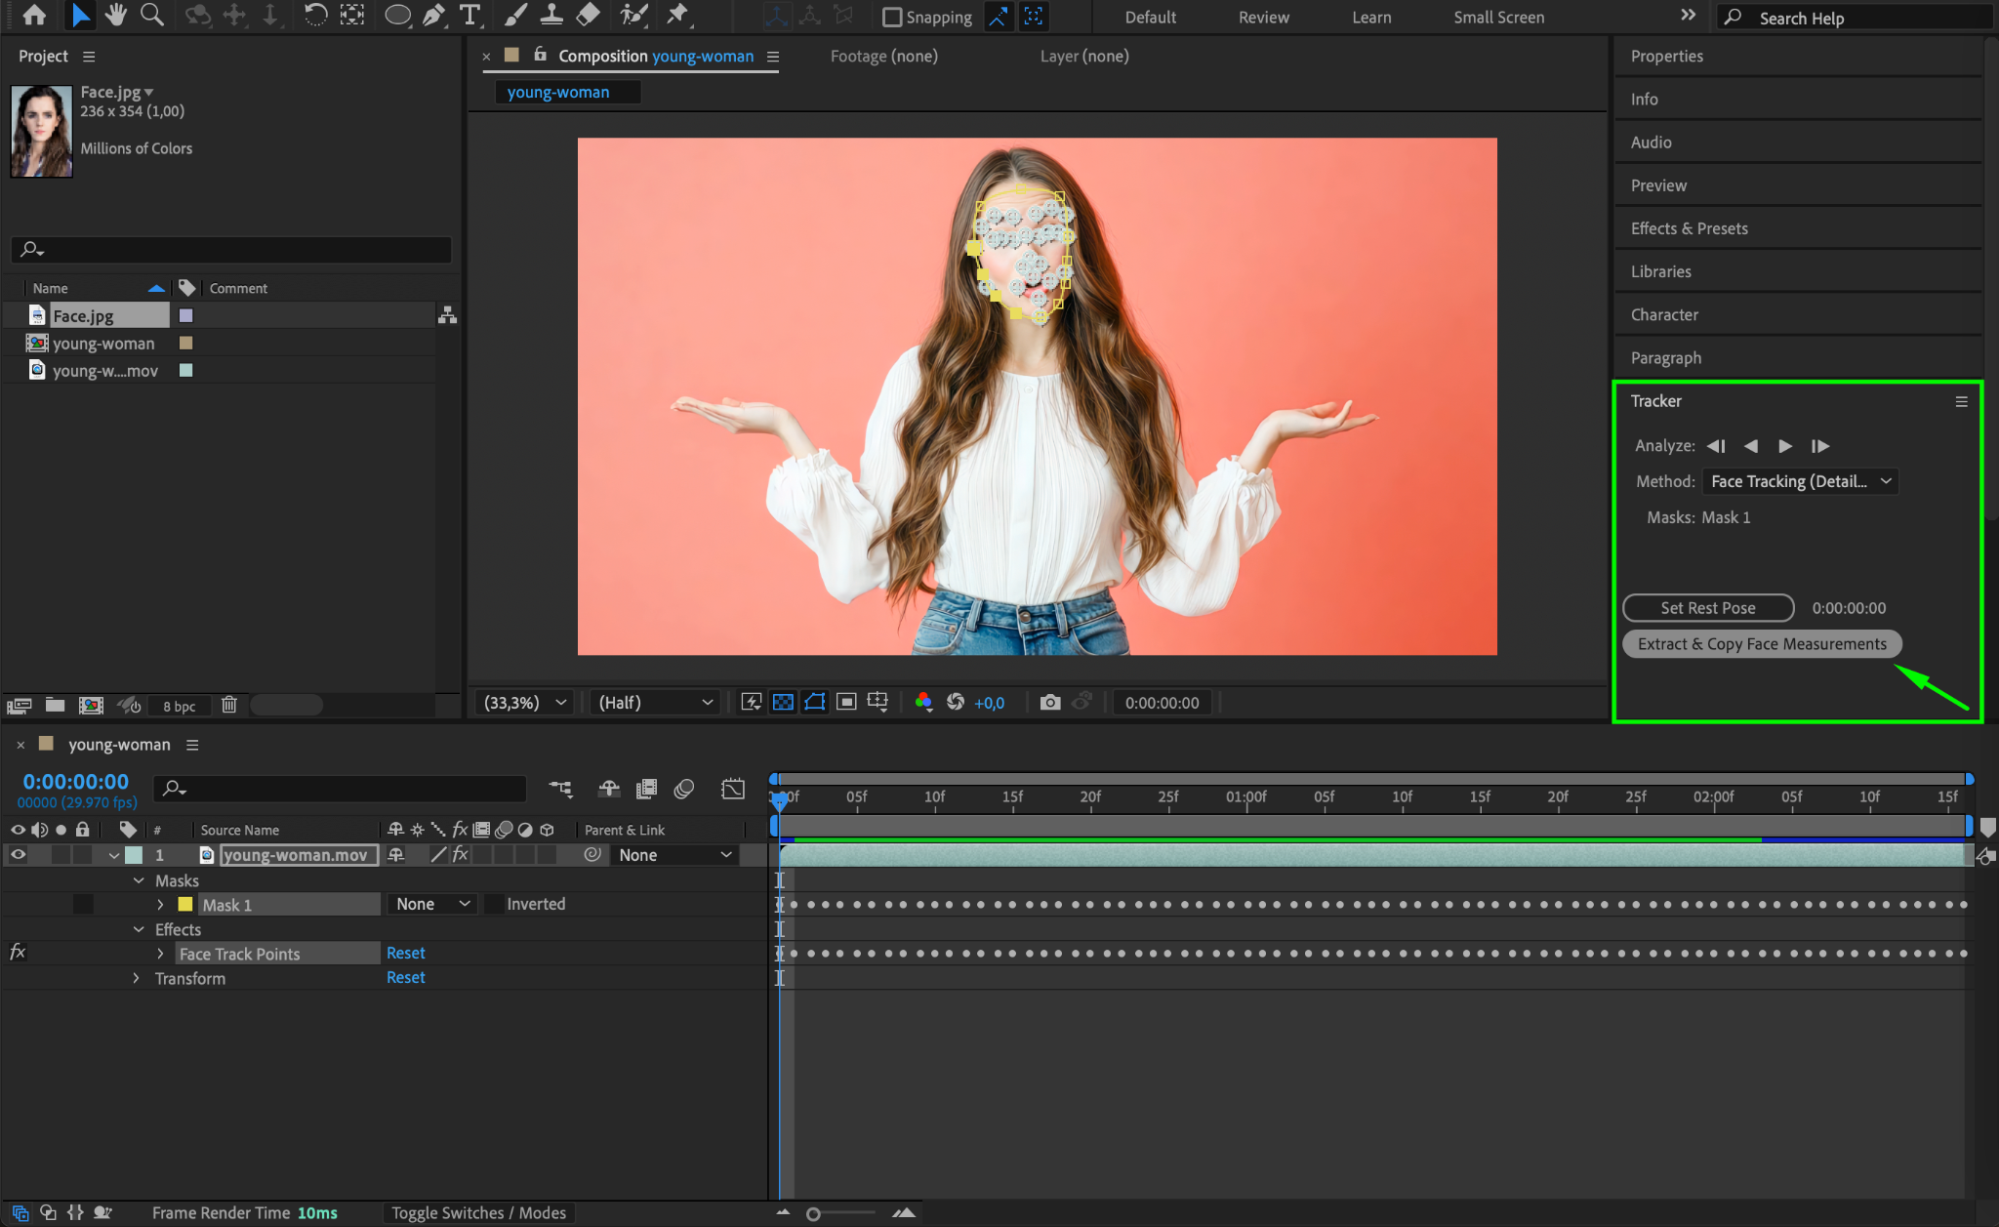
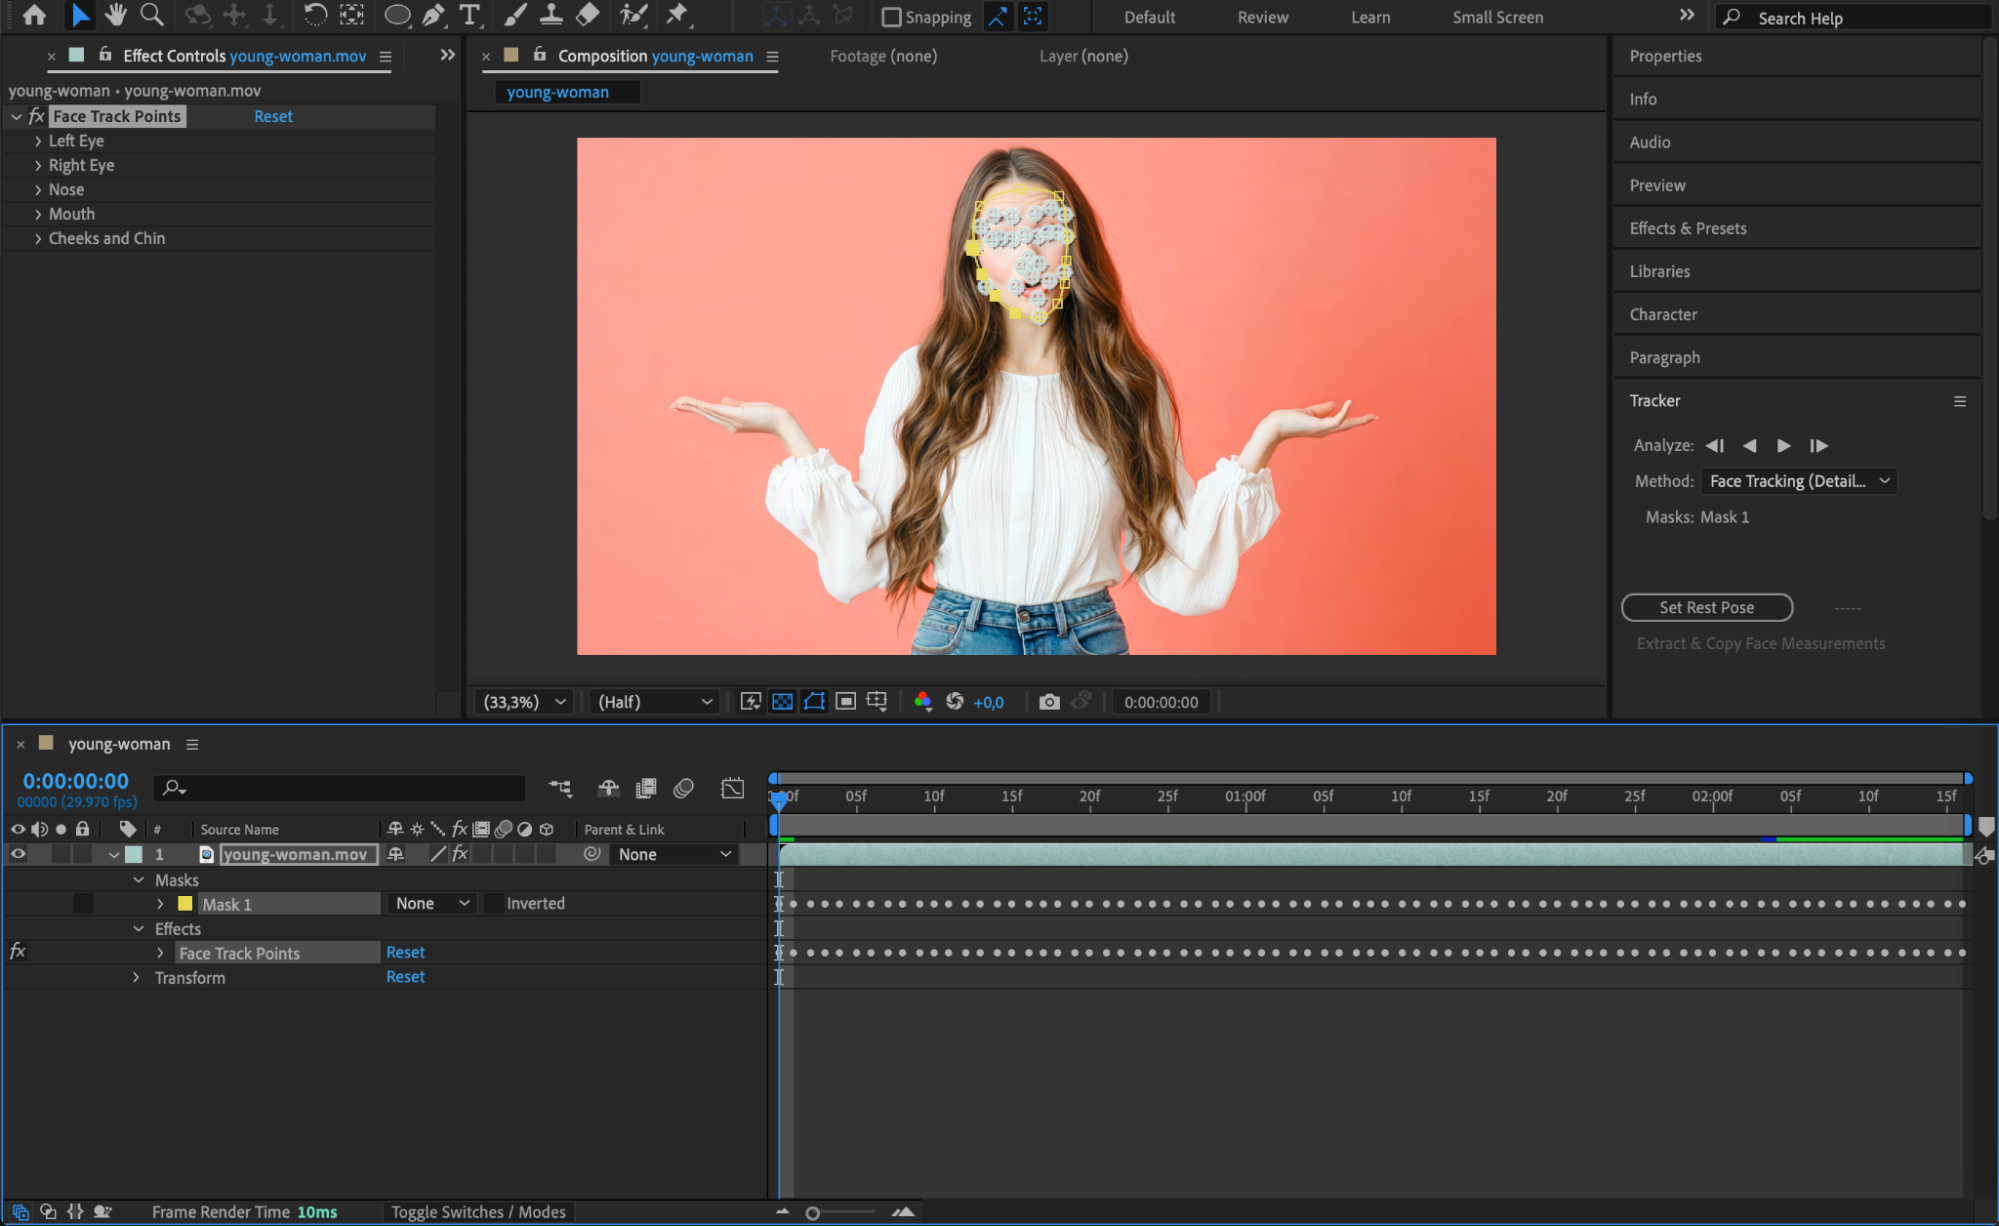 Step 5: Extract and Copy Face Measurements
Once tracking is complete, click Set Rest Pose, then click Extract & Copy Face Measurements. This will store tracking data that can be applied to other layers.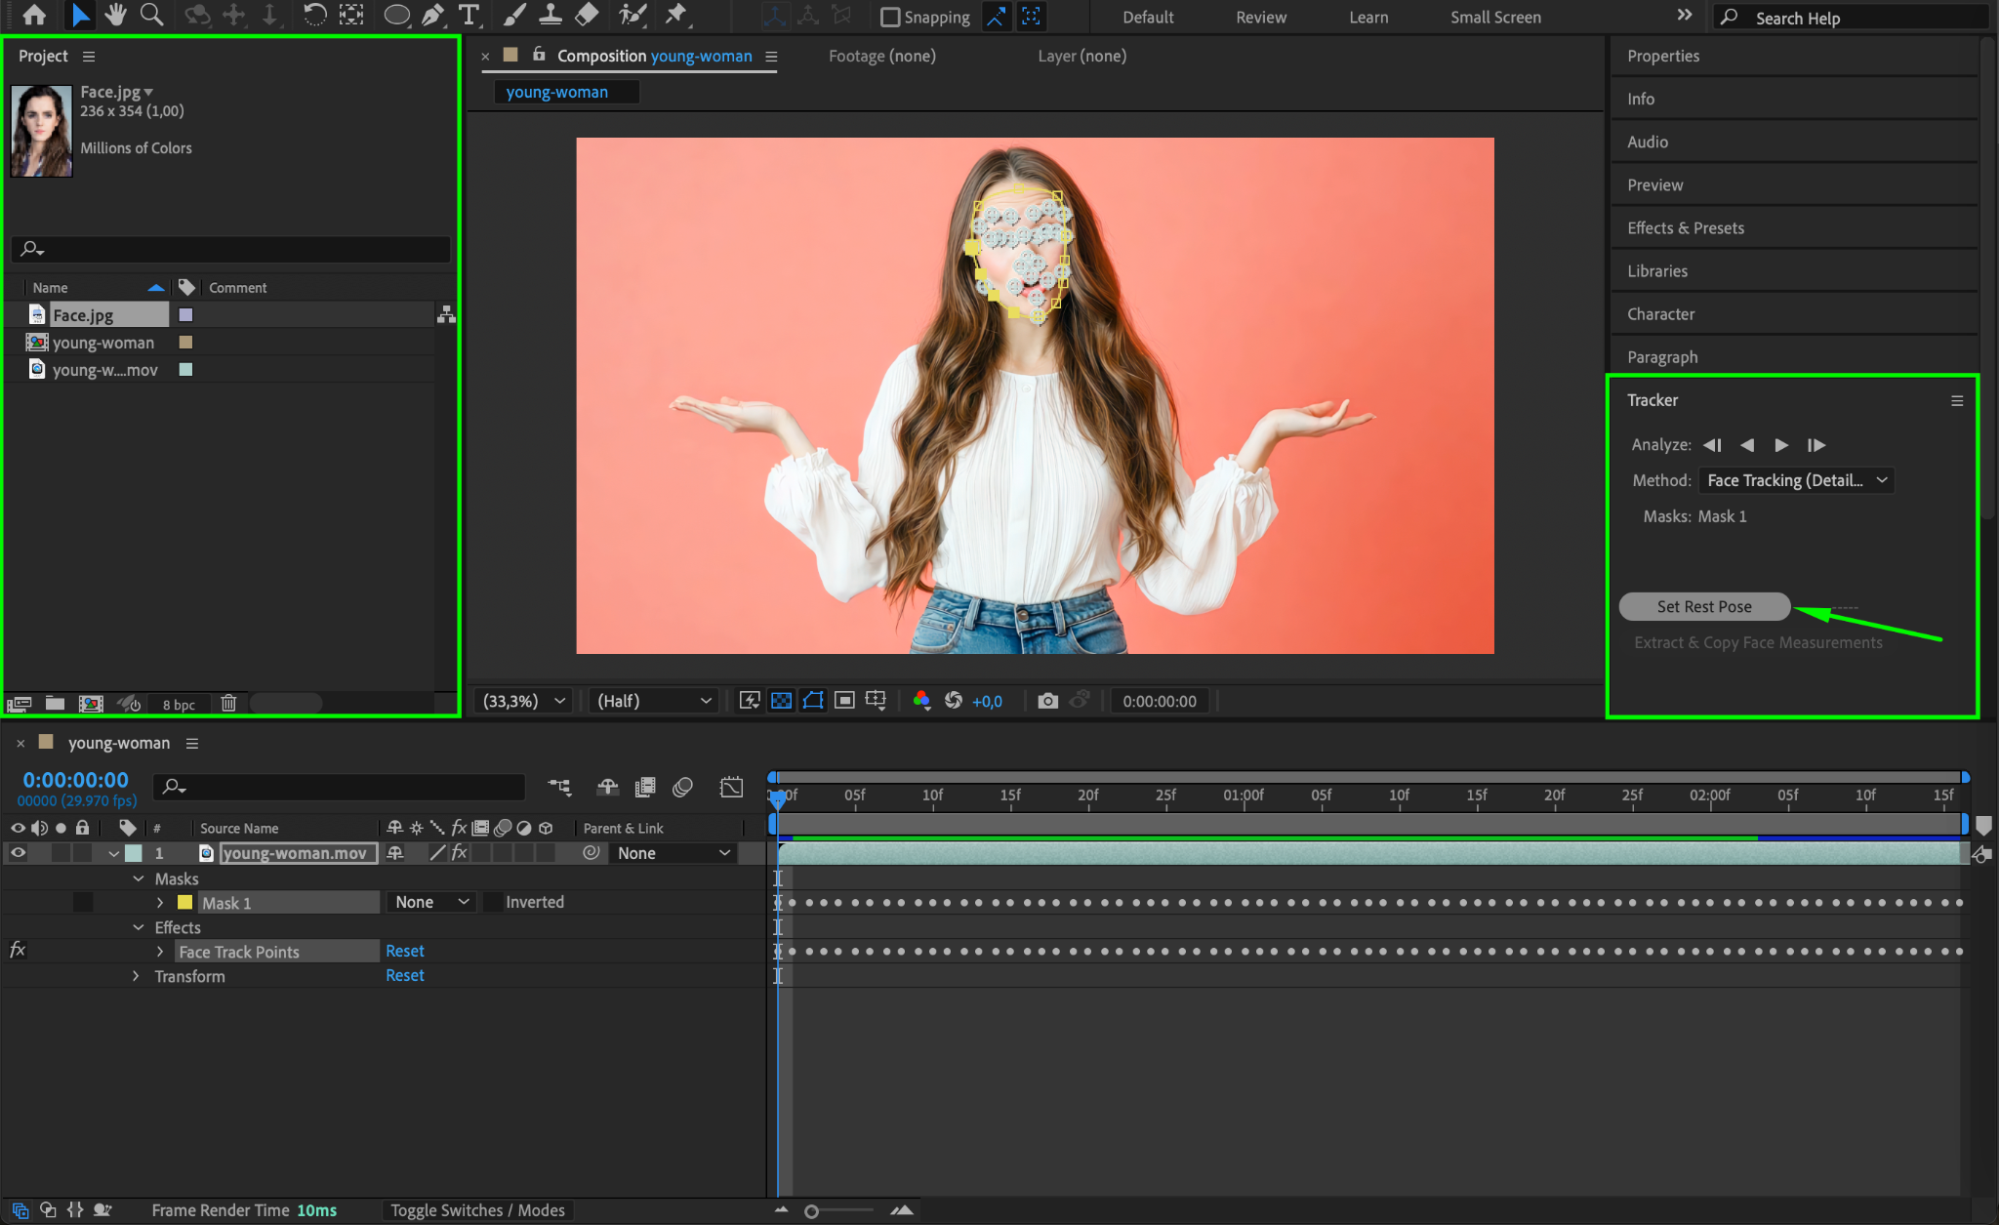
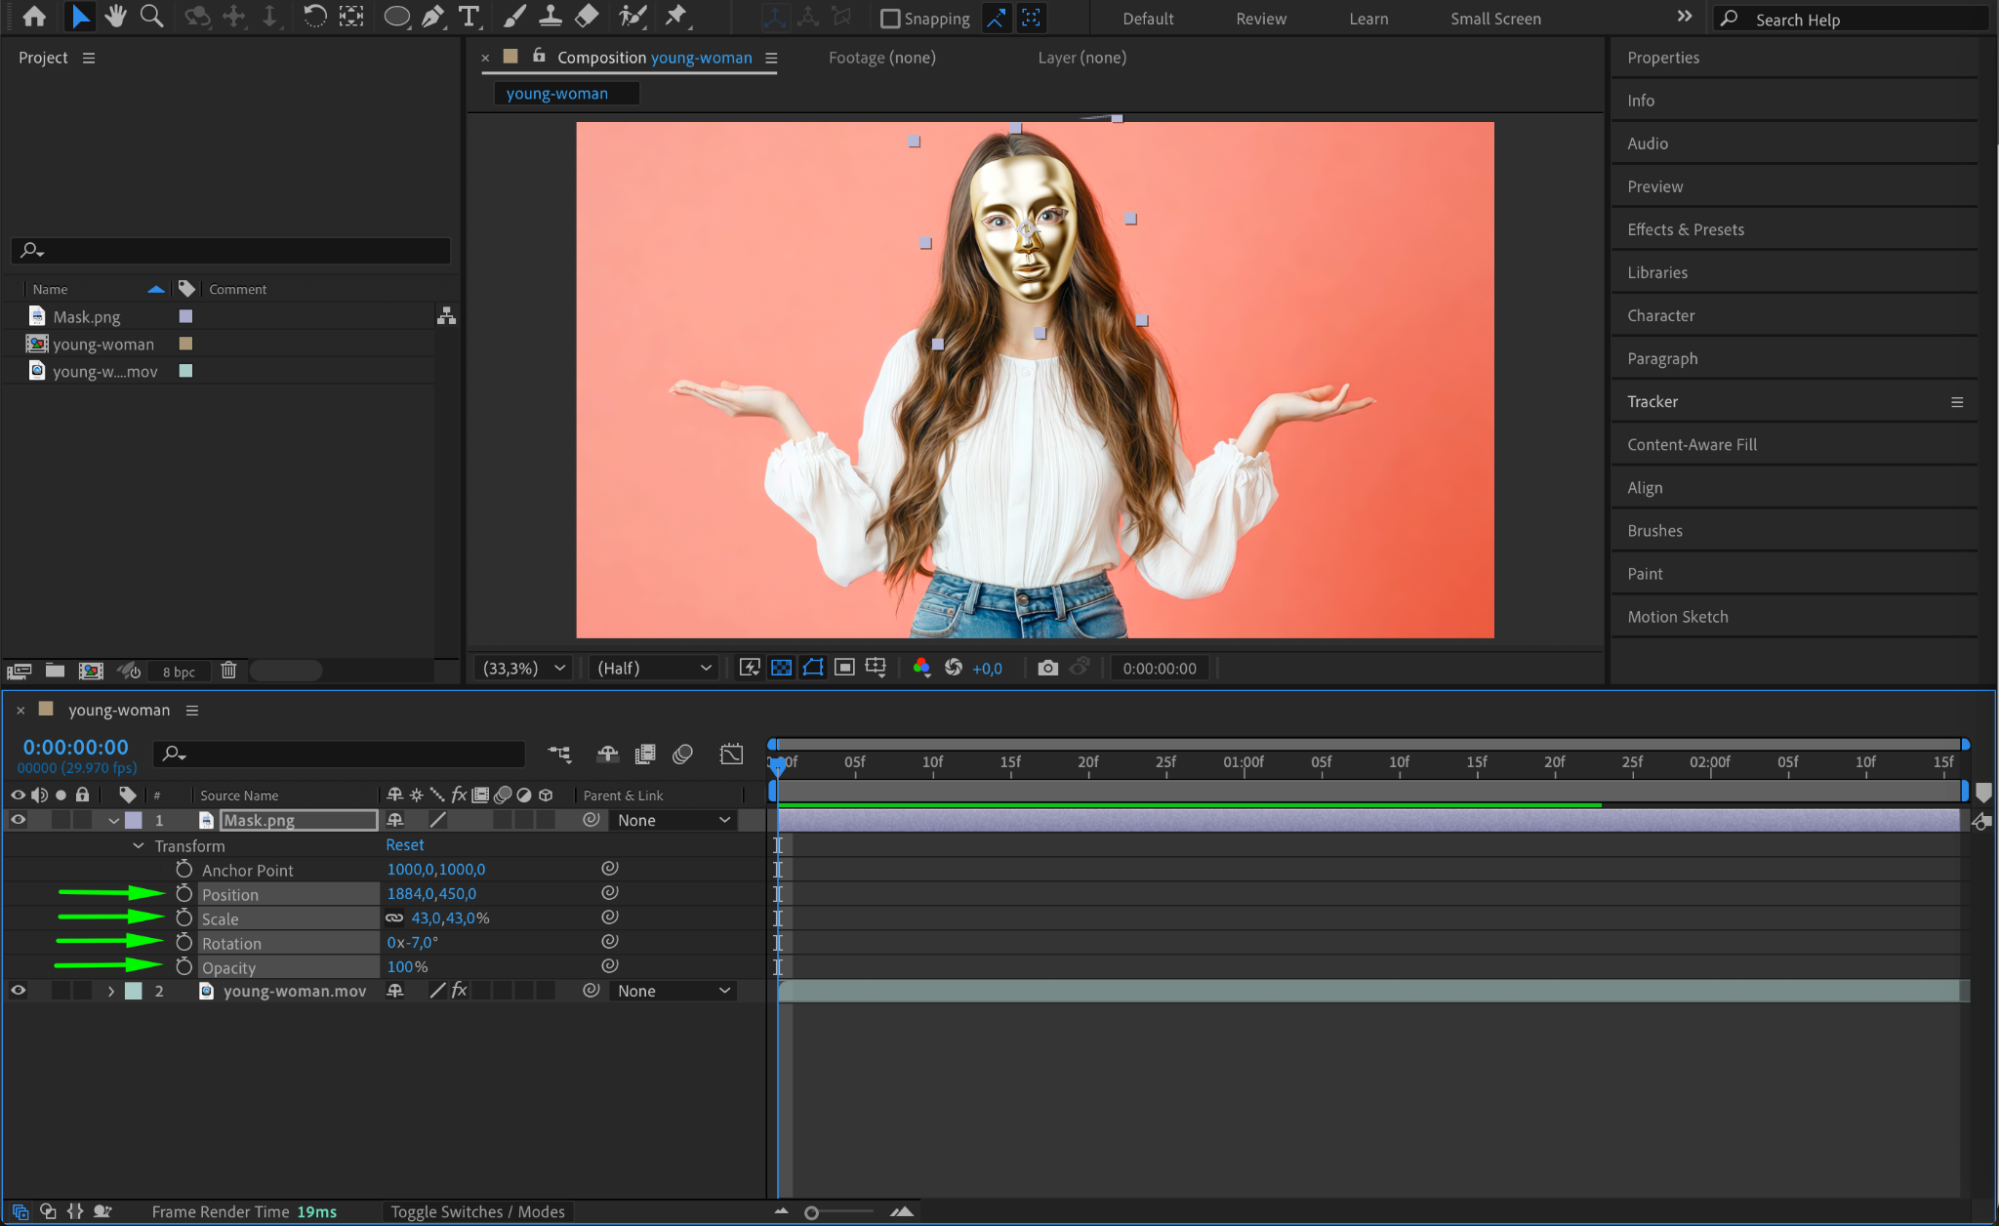
 Step 6: Import and Position the Face Mask Image
Go to File > Import > File, select the image you want to use as a face mask (e.g., a golden mask), and drag it onto the Timeline. Use the Transform controls to scale, rotate, and position the image over the face.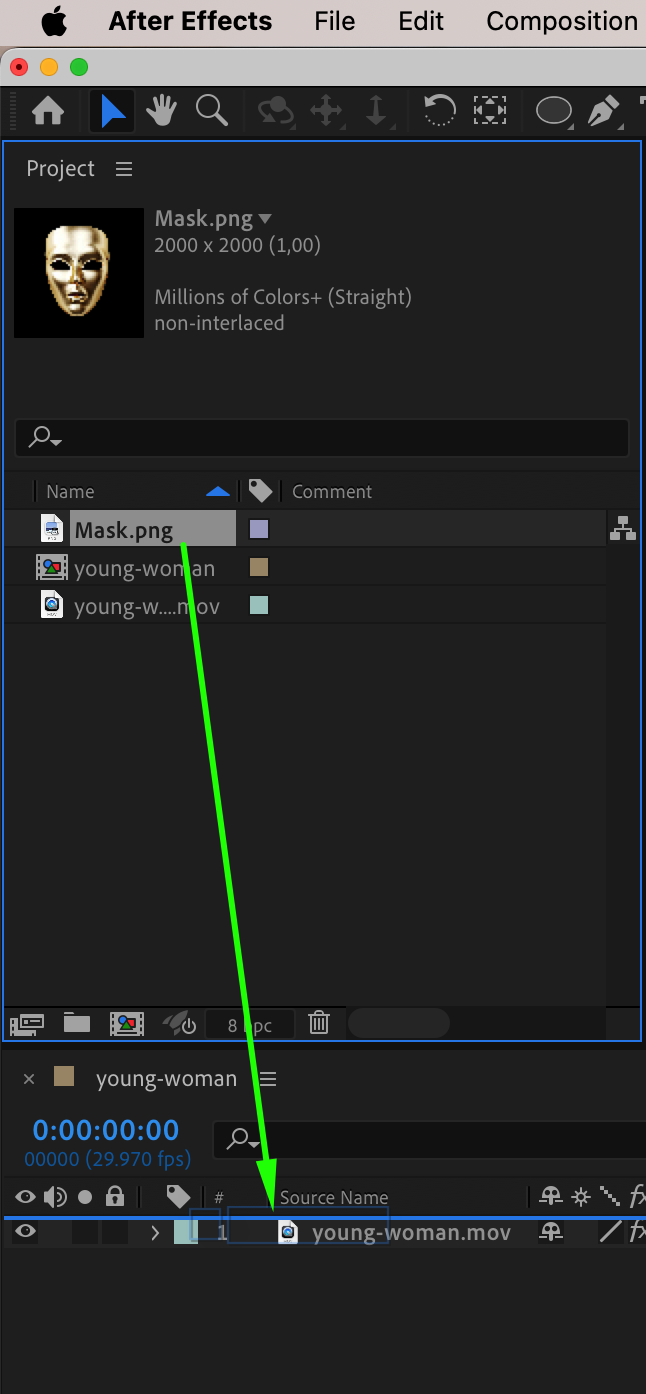
 Step 7: Adjust the Anchor Point for Better Tracking
Select the image layer and use the Pan Behind Tool (Y) to move the Anchor Point to the center of the nose area of the mask. This helps the mask move naturally with facial motion.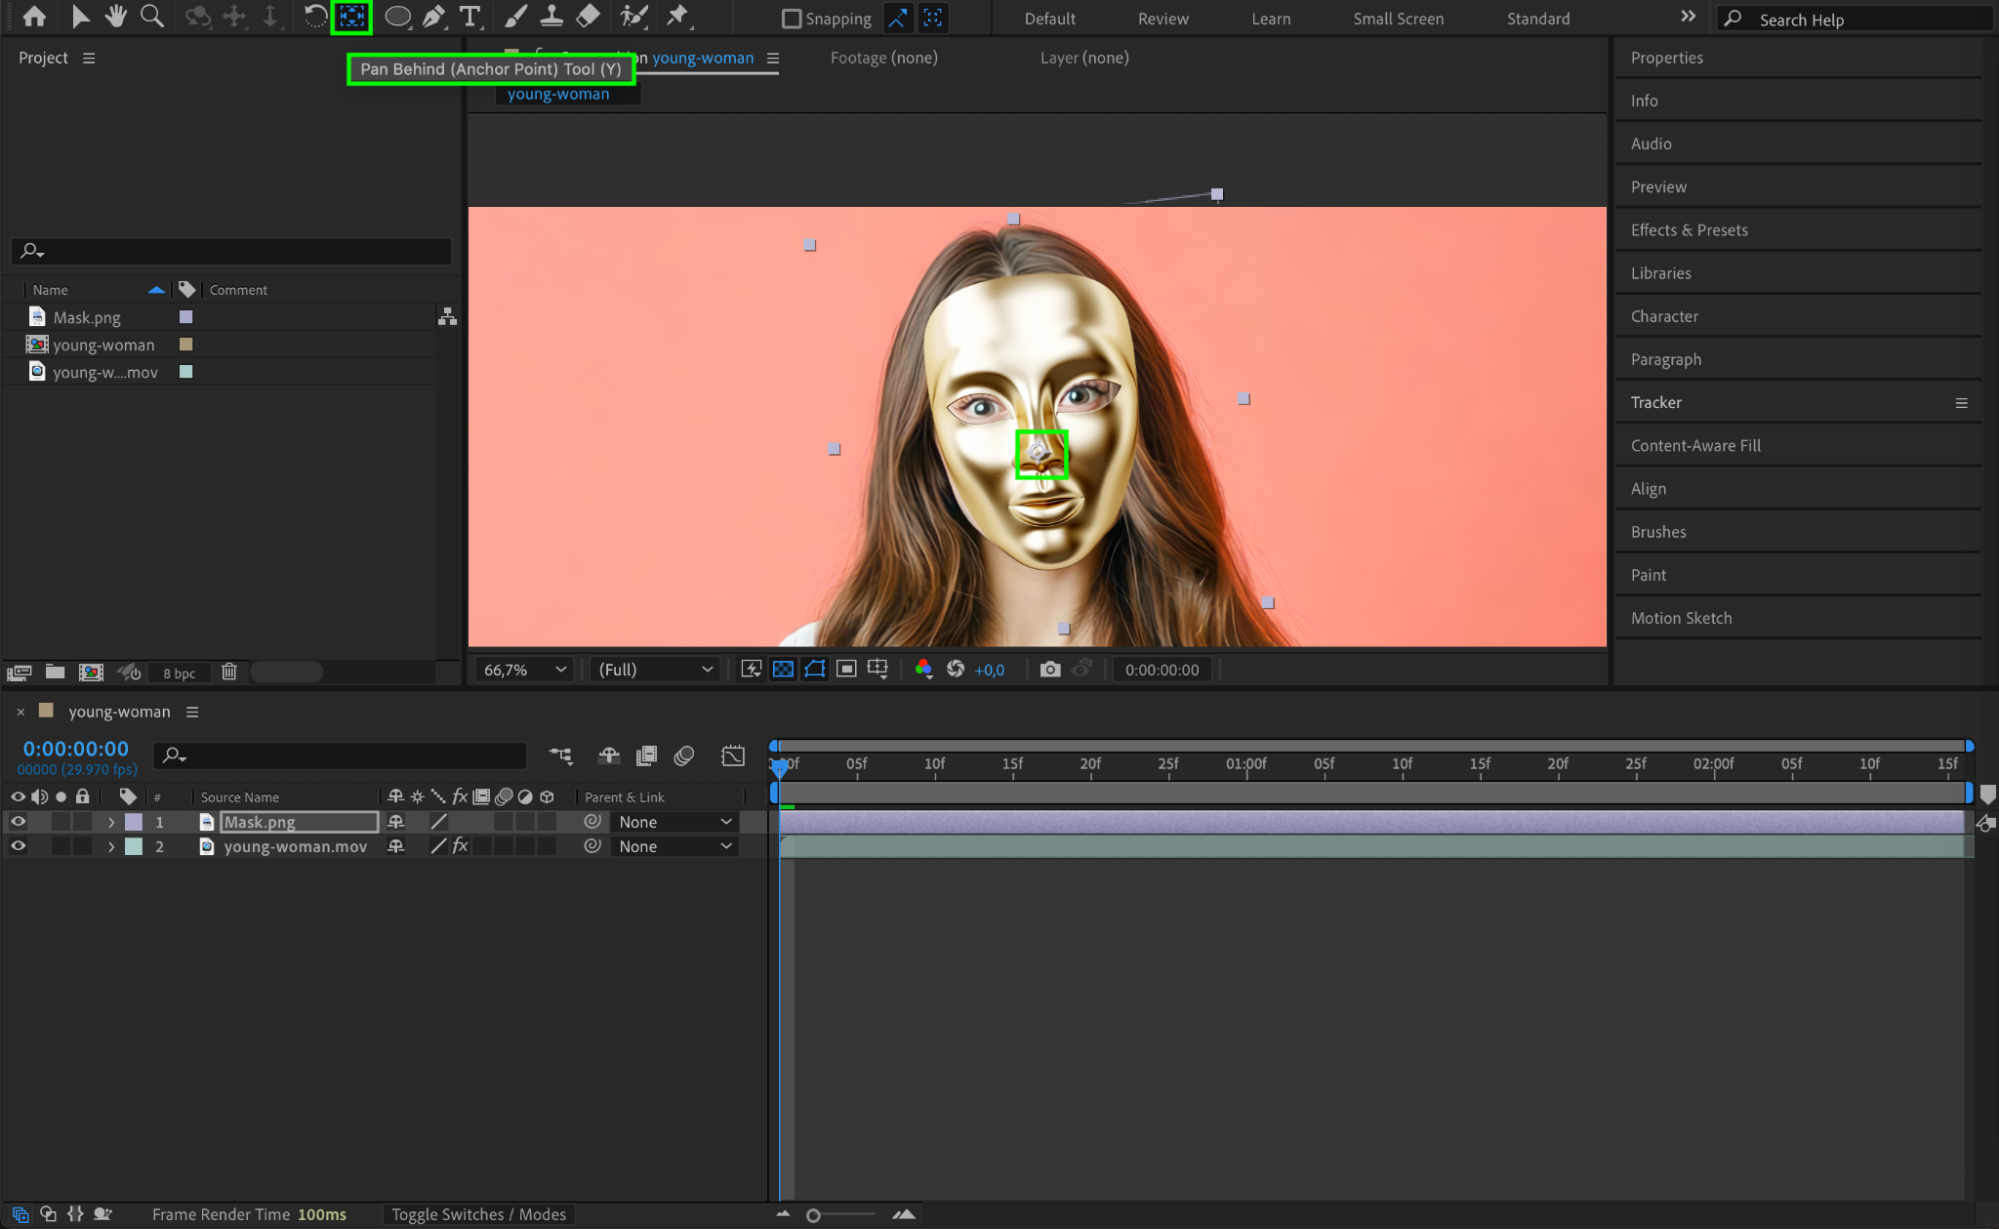 Step 8: Apply the Face Tracking Data to the Image
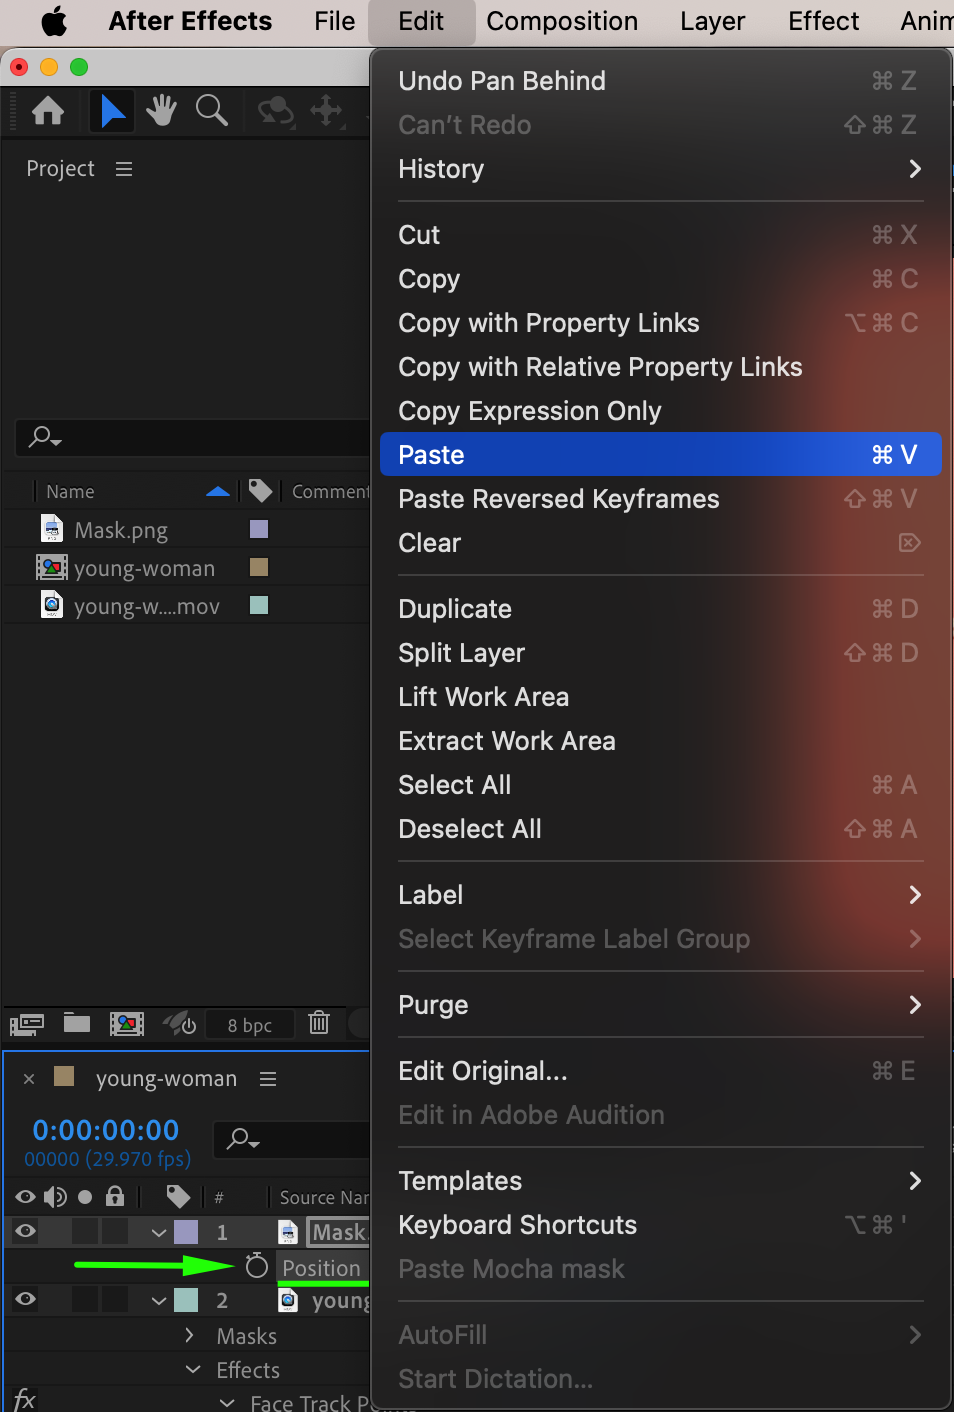
Expand the Video Layer in the Timeline and navigate to the Face Track Points section. Locate the Nose Tip keyframes. Select all keyframes by clicking on Nose Tip, then press “Ctrl/Cmd + C” to copy them. Next, select the face mask layer, go to its Position property, and press “Ctrl/Cmd + V” to paste the copied keyframes. This will ensure that the face mask follows the tracked motion accurately.
 Step 9: Preview the Effect
Press Spacebar to preview the animation. If needed, adjust the mask’s position, rotation, or scale to improve the alignment with the face.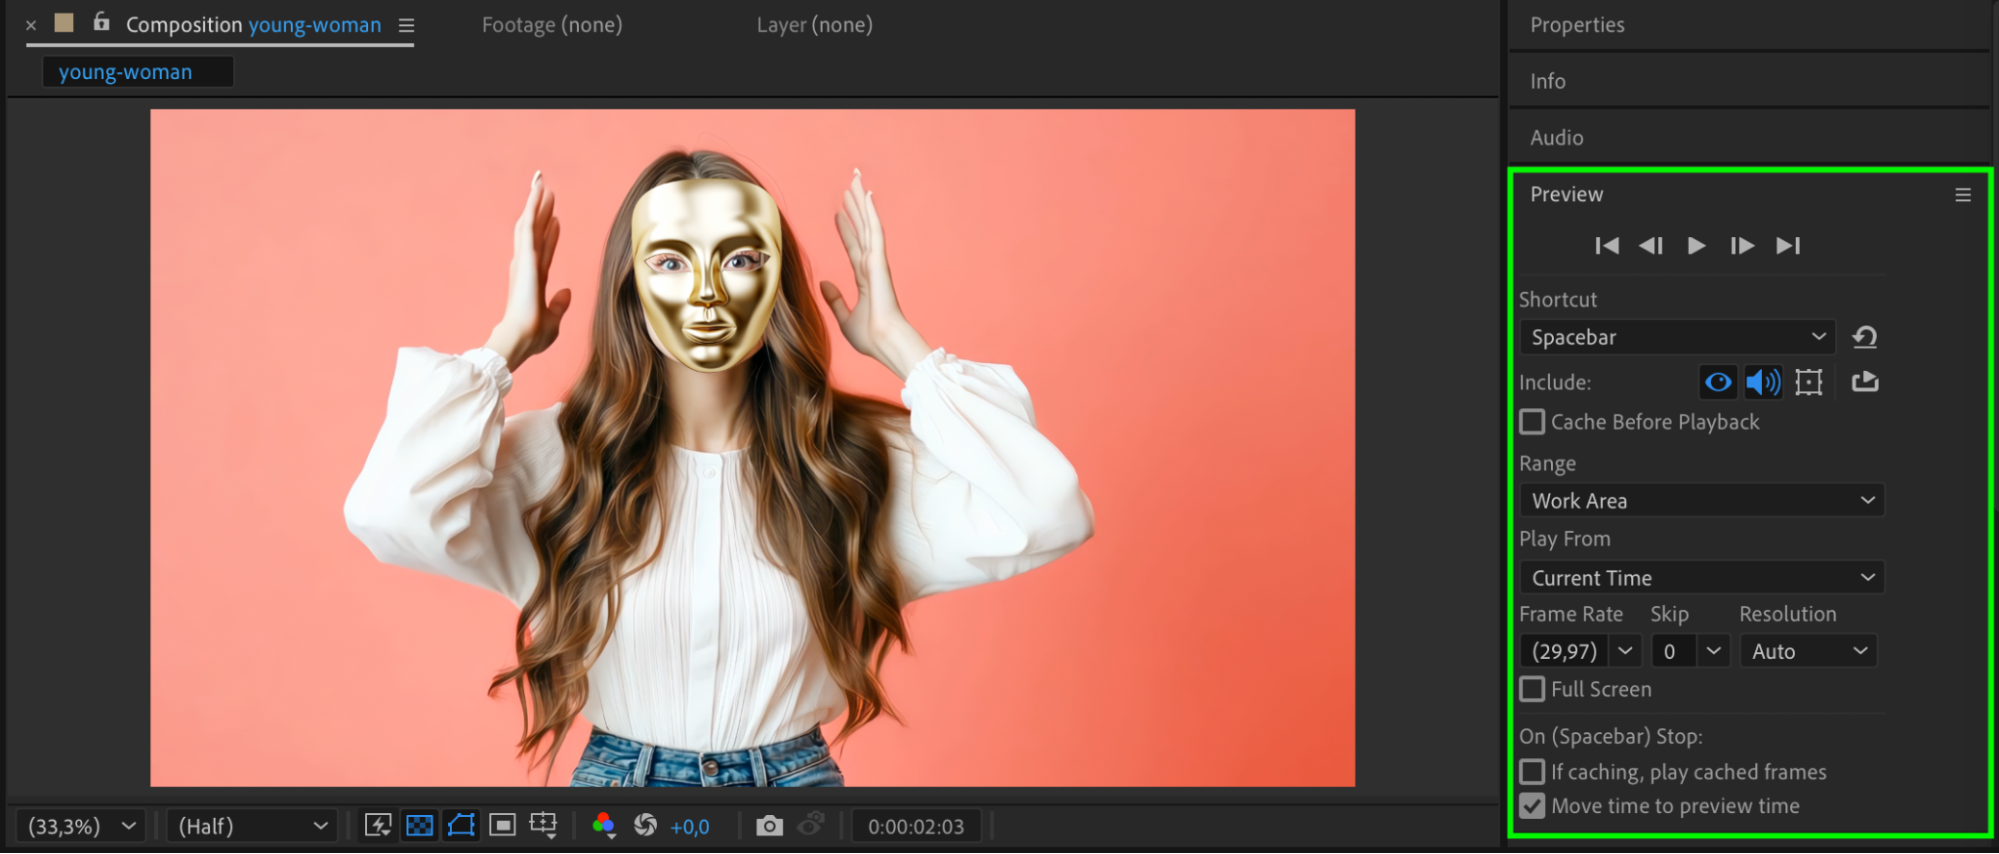 Step 10: Render and Export
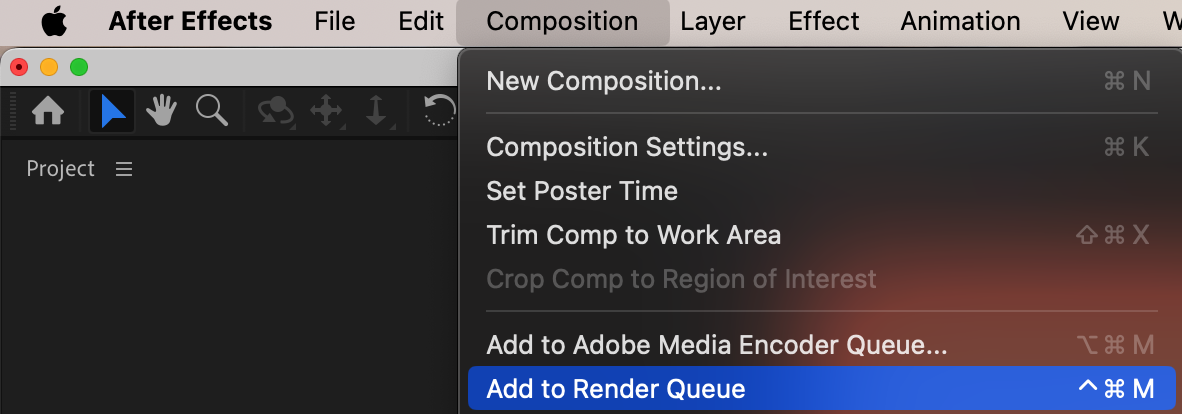
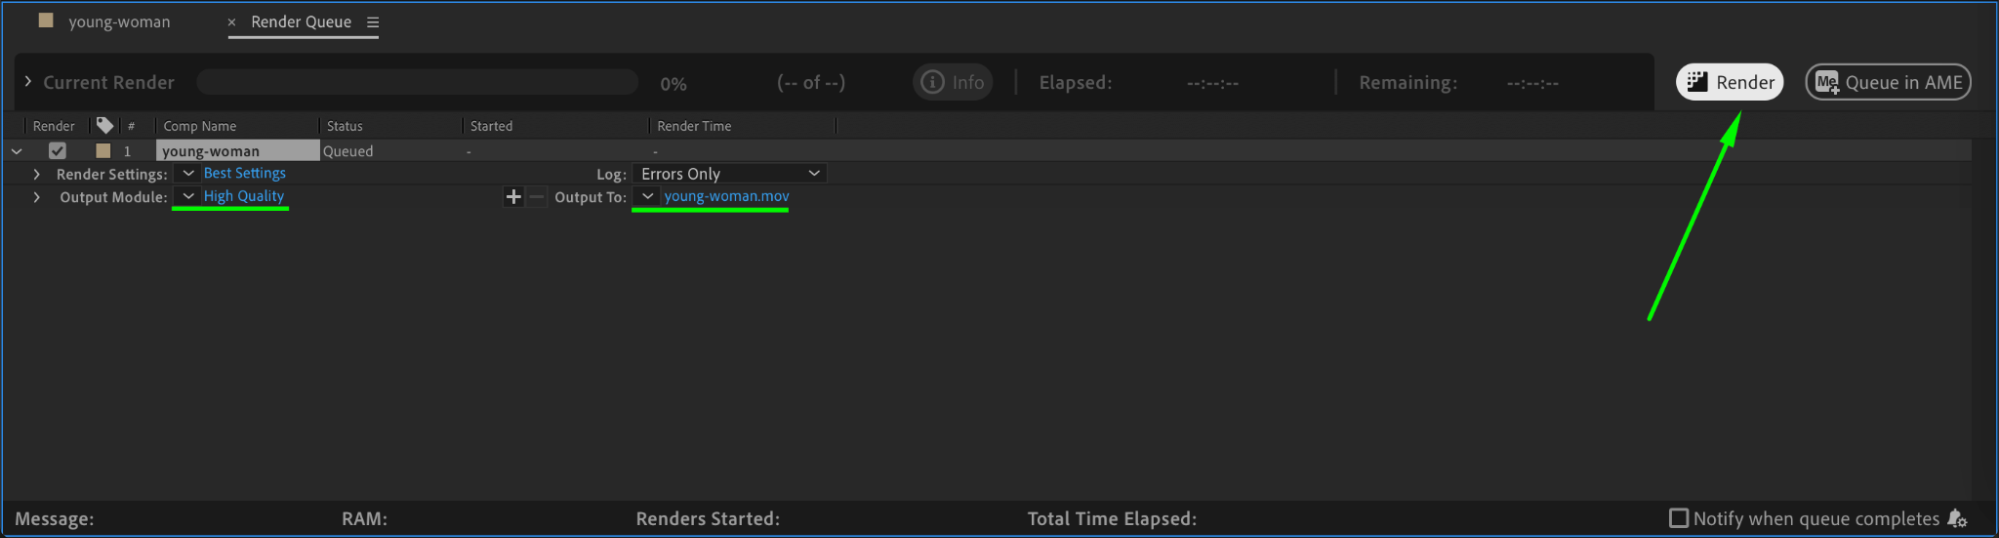
Once satisfied with the result, go to Composition > Add to Render Queue, select the desired format, and click Render to export the final video.
Conclusion
By using the Face Tracking tool and applying tracking data to an image, you can seamlessly replace a face with an image mask in After Effects. This technique is great for creative projects, disguise effects, and motion graphics.
Our Bestsellers


