A Comprehensive Guide to Speeding Up Animations in After Effects
Introduction: Why Adjusting Animation Speed is Important
Animation speed plays a critical role in storytelling and visual engagement. Whether you want to match the pace of a scene or enhance energy, After Effects offers multiple ways to adjust animation speed. This guide explains various techniques to speed up animations while maintaining smooth and professional results.
Get 10% off when you subscribe to our newsletter

Step 1: Shorten Layer Duration
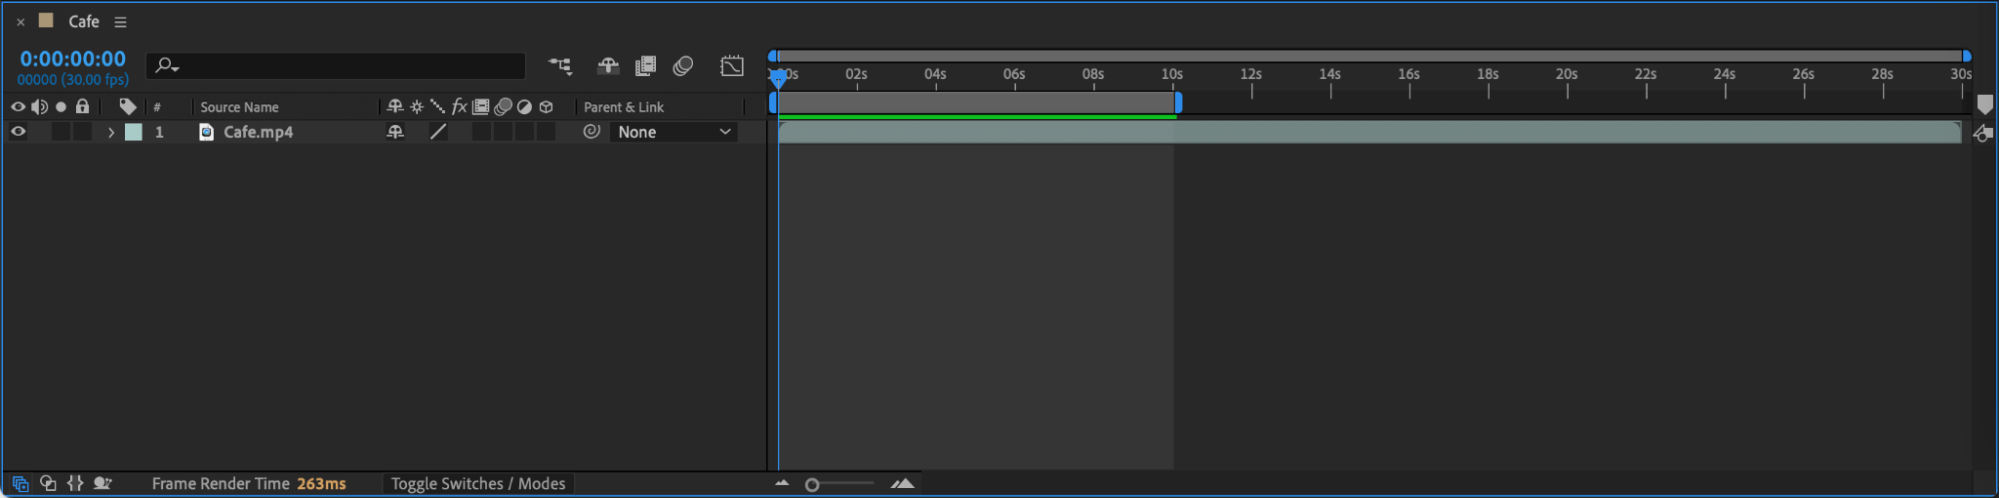
Reducing the duration of a layer directly impacts its animation speed. Select the layer in the timeline and drag its end point to shorten its length. This compresses the animation into a shorter time, effectively increasing its speed. Use this method for simple animations where no keyframes are involved.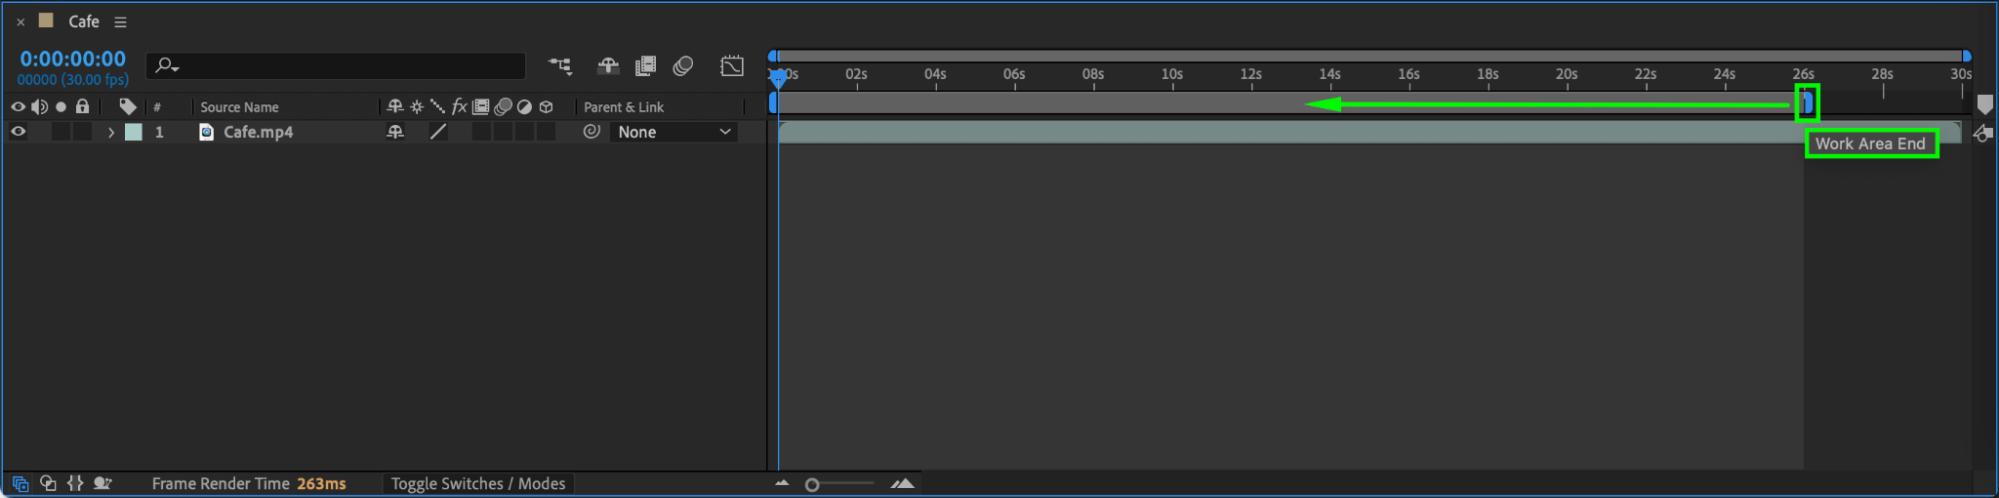
 Step 2: Adjust Keyframe Spacing
If your animation uses keyframes:
Select all keyframes by clicking and dragging over them in the timeline.
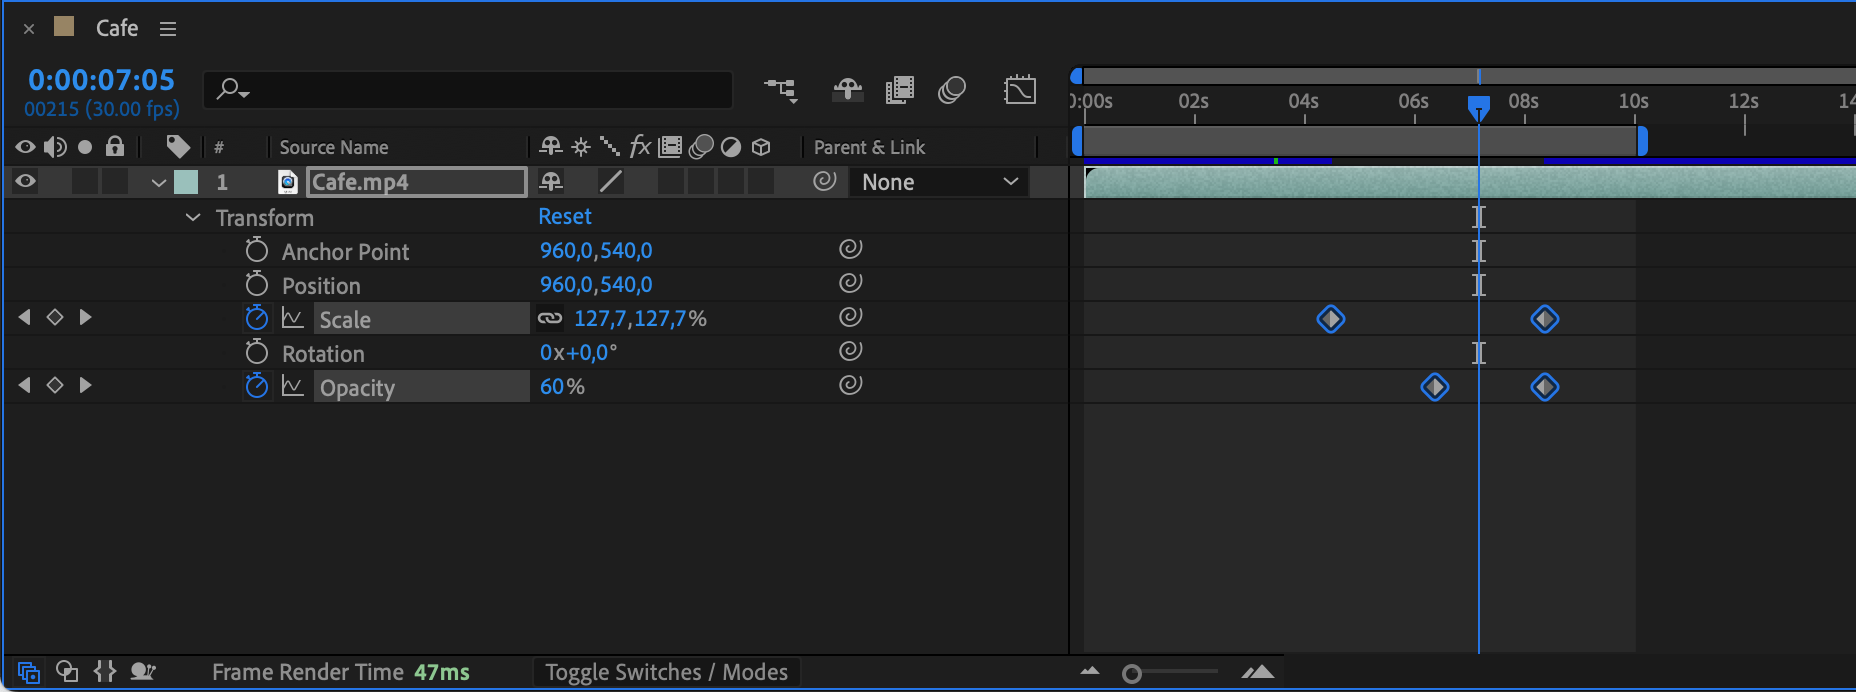
Hold the Alt/Option key while dragging the keyframes closer together to speed up the animation.
This technique works for position, rotation, scale, or other animated properties. Closer keyframes result in faster transitions, while maintaining the original motion path.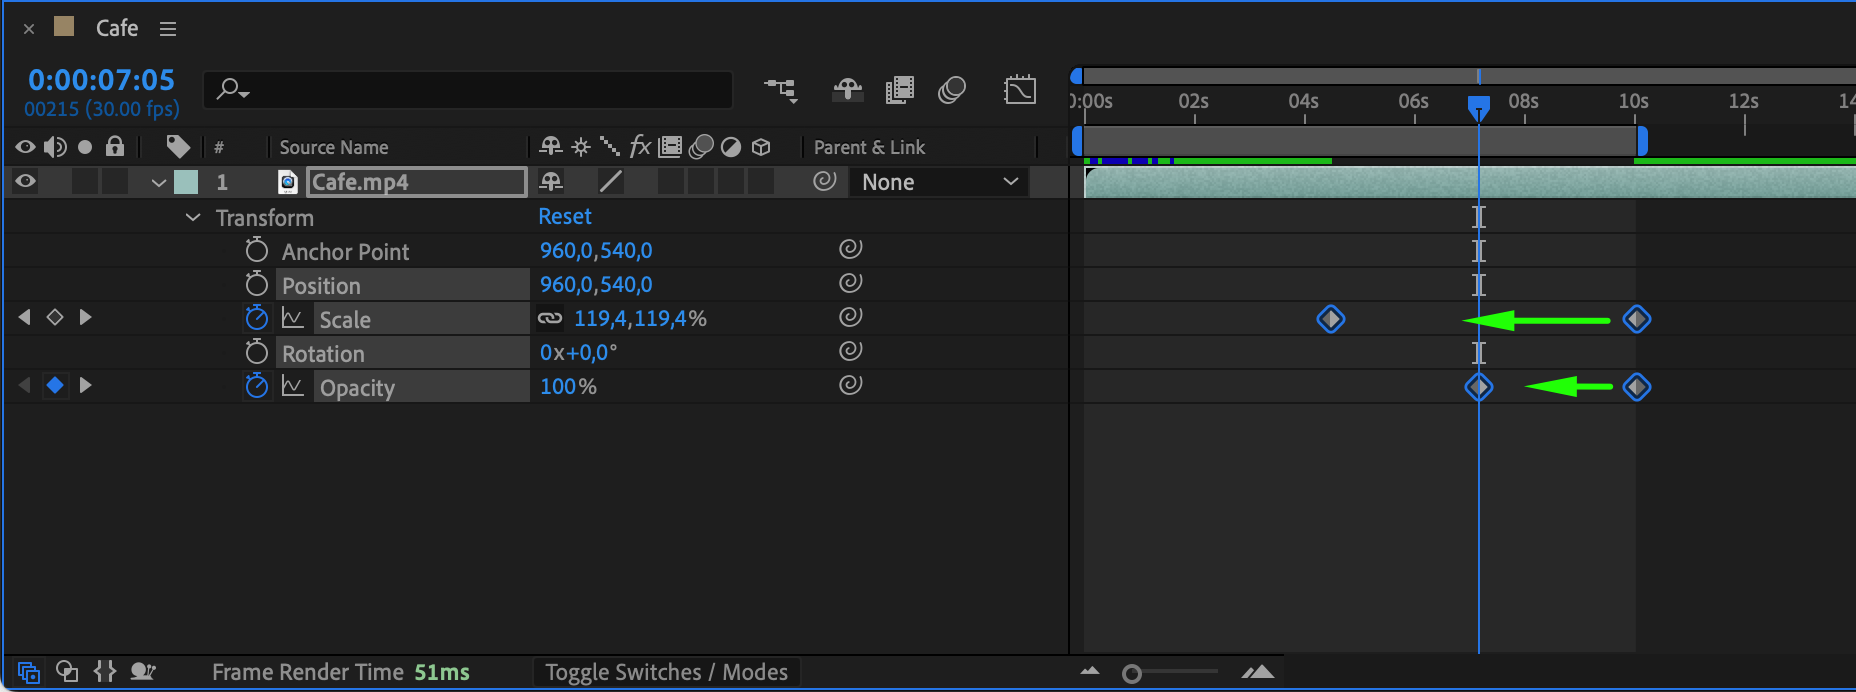
 Step 3: Use the Stretch Property
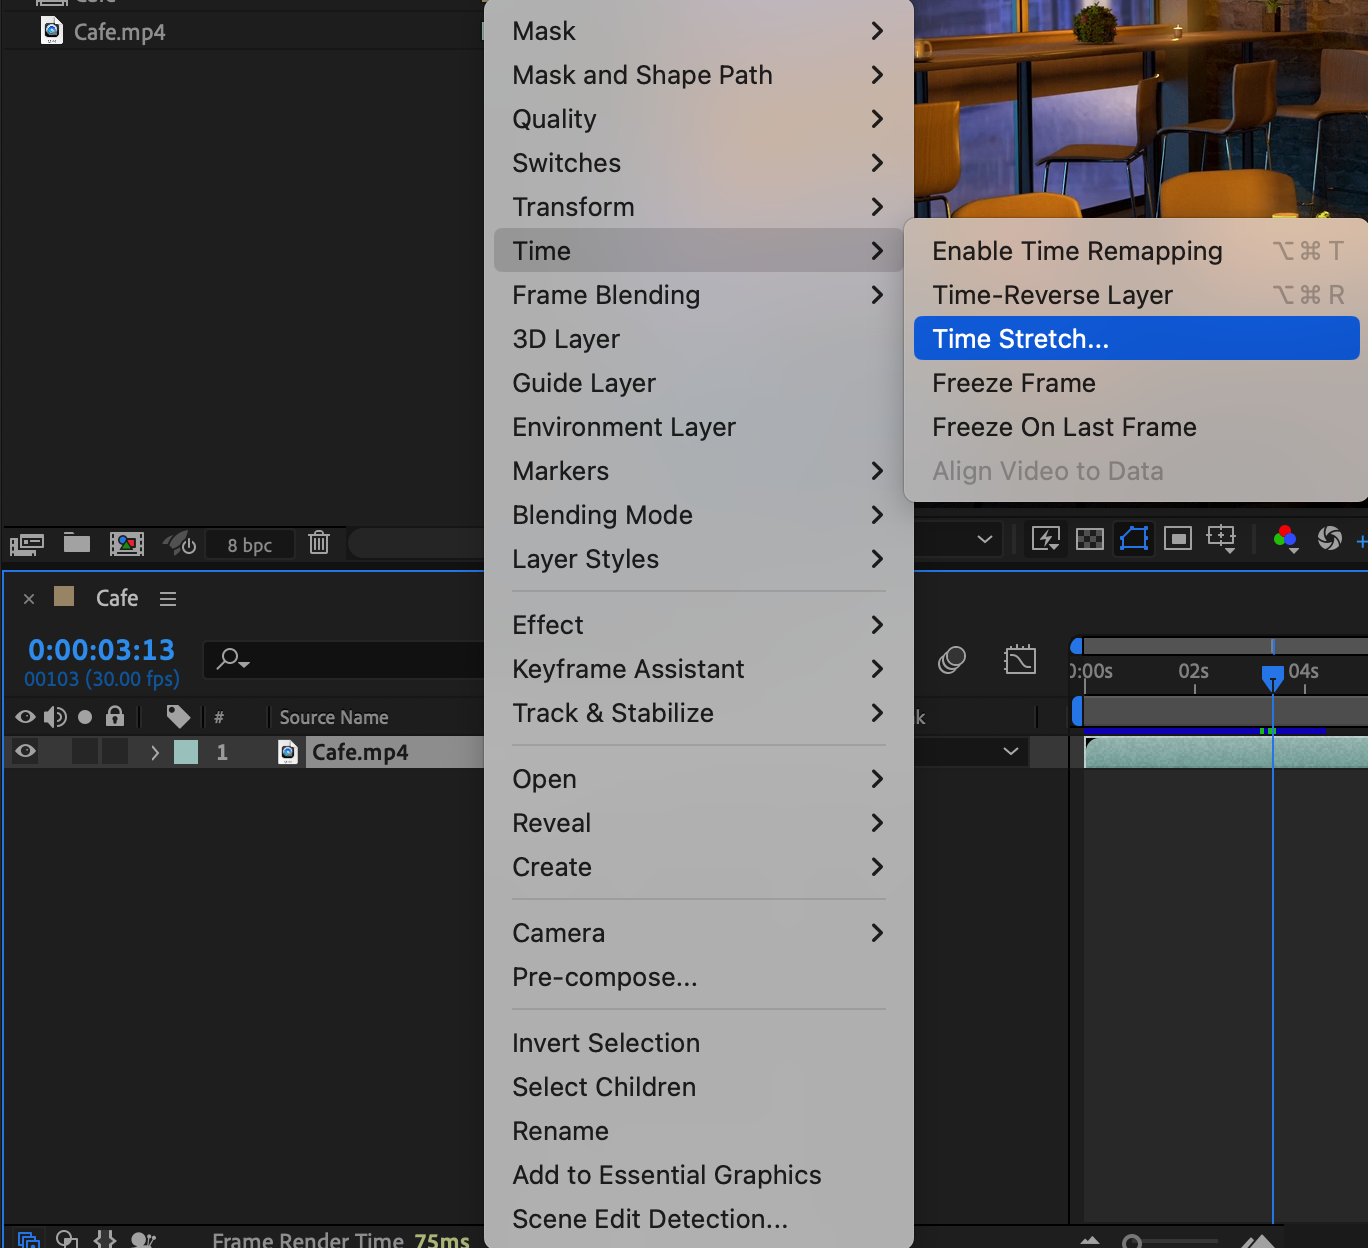
The Stretch property lets you adjust the playback speed of a layer. To access it:
Right-click the layer in the timeline and select Stretch.
Enter a smaller percentage (e.g., 50%) to speed up the layer.
This method is quick and effective but may result in frame skipping if the layer has complex motion.
 Step 4: Use Frame Blending for Smooth Transitions
When speeding up animations, frame blending can improve visual quality by creating smoother motion. To enable frame blending:Click the Frame Blending icon in the timeline (a square with two circles).
Choose between Frame Mix or Pixel Motion for the desired effect.
This technique is especially helpful for footage with significant motion changes.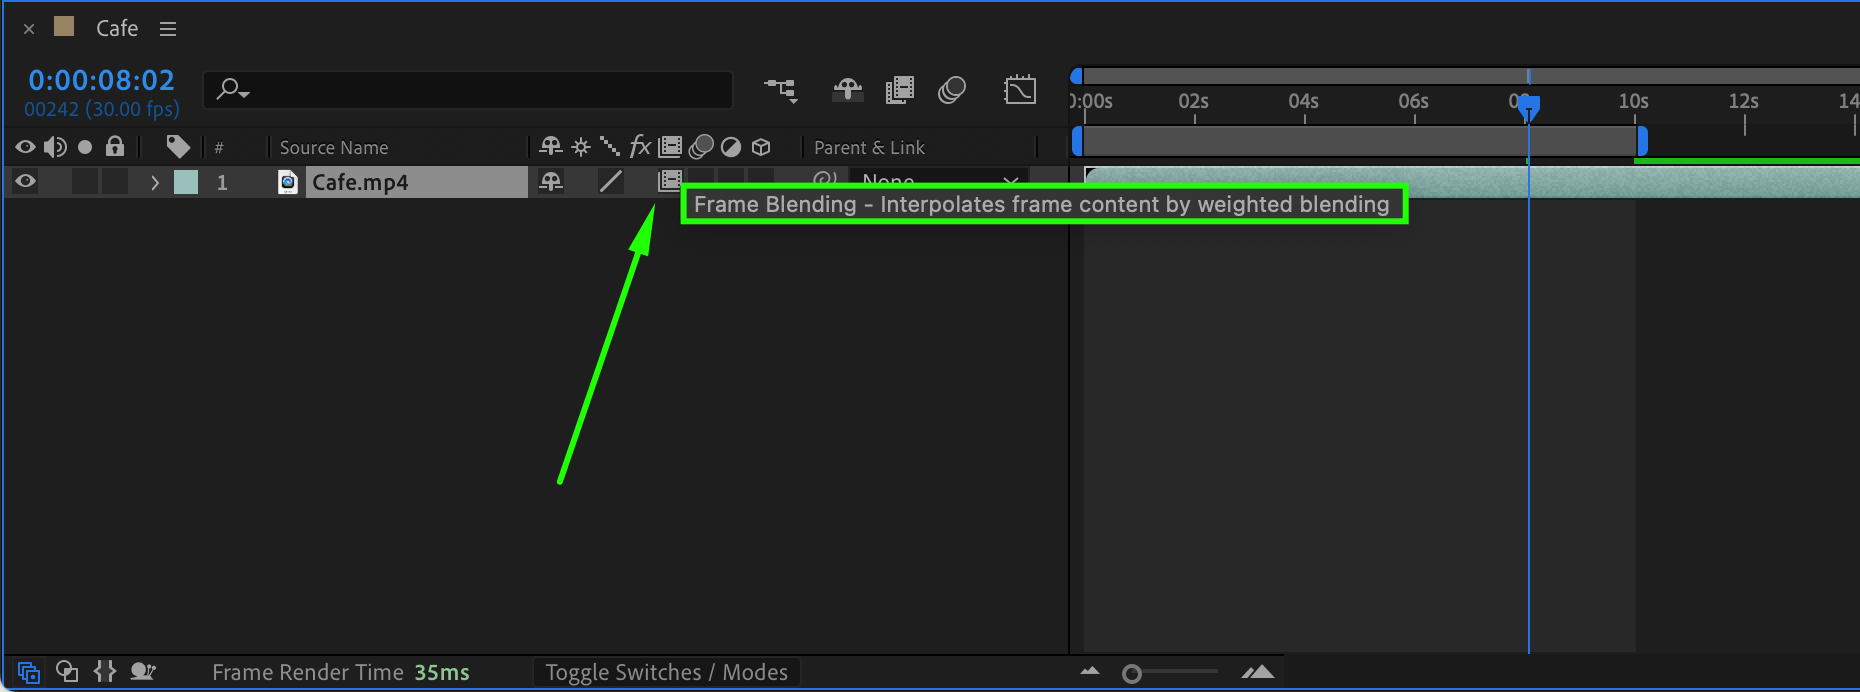 Step 5: Preview and Refine Your Animation
After making adjustments, preview your animation by pressing the Spacebar. Look for any inconsistencies or abrupt movements caused by speed changes. Refine keyframes, stretch properties, or effect parameters to ensure a smooth and professional look.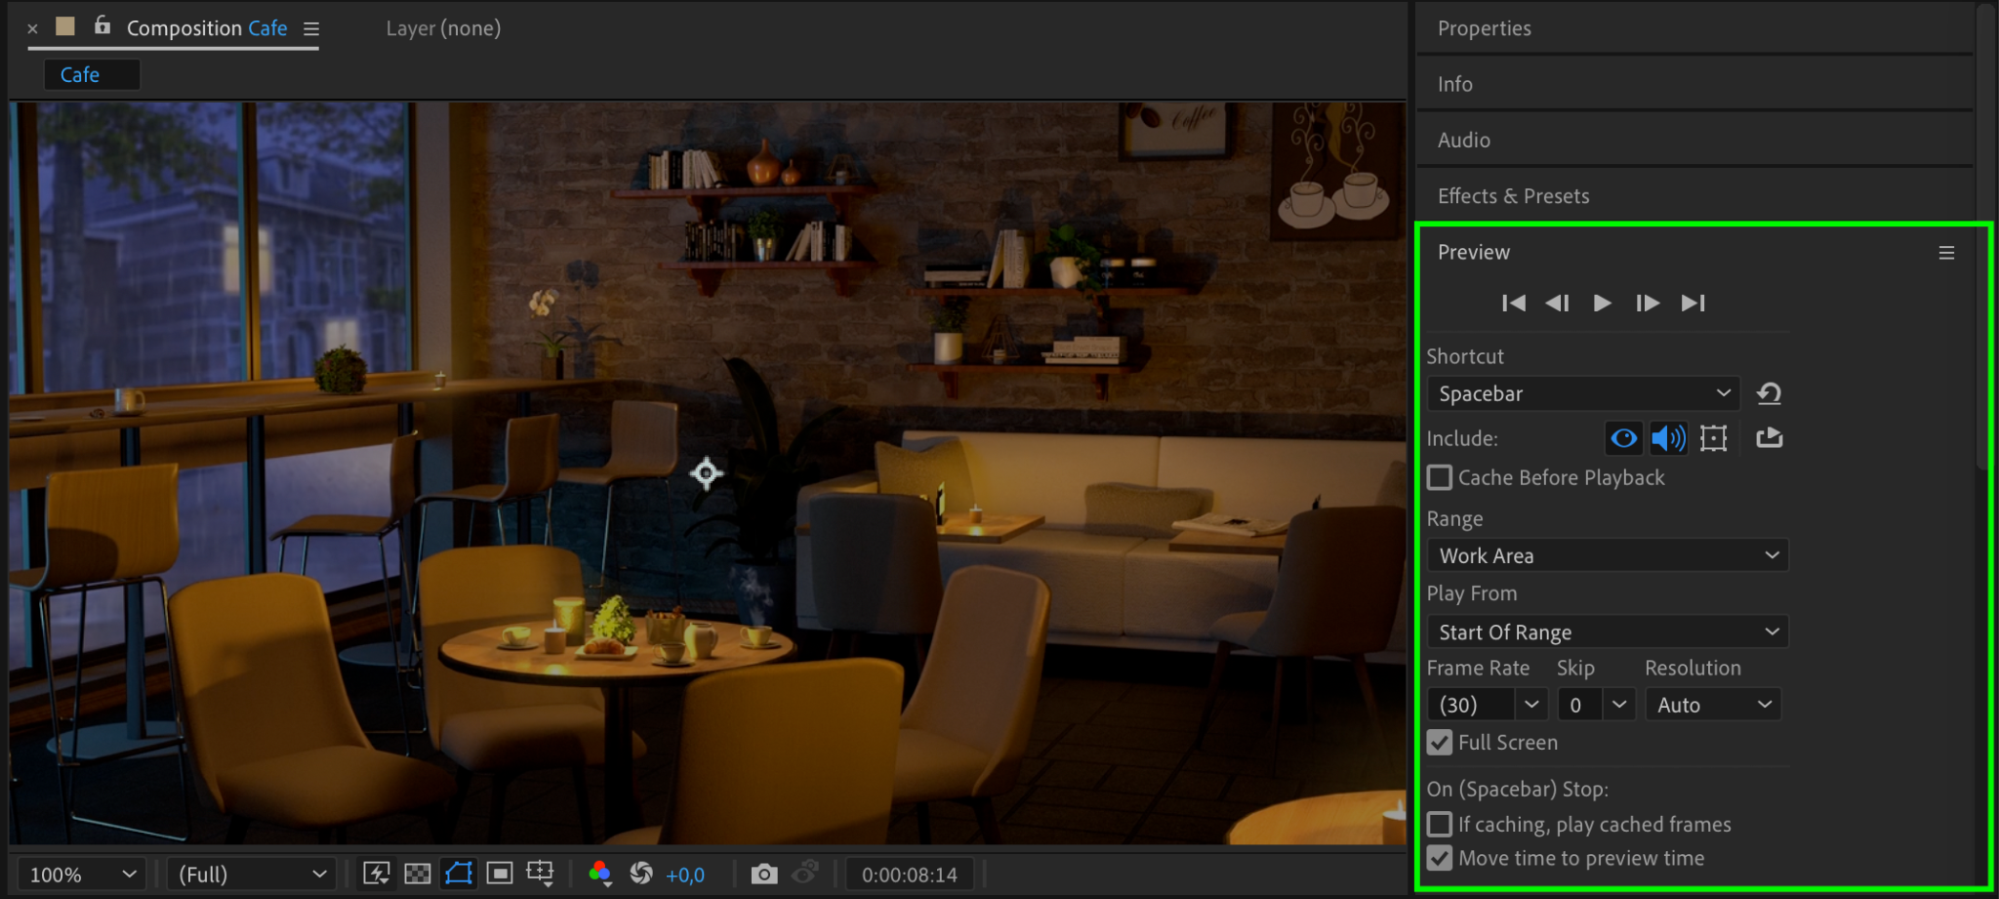 Step 6: Render the Final Animation
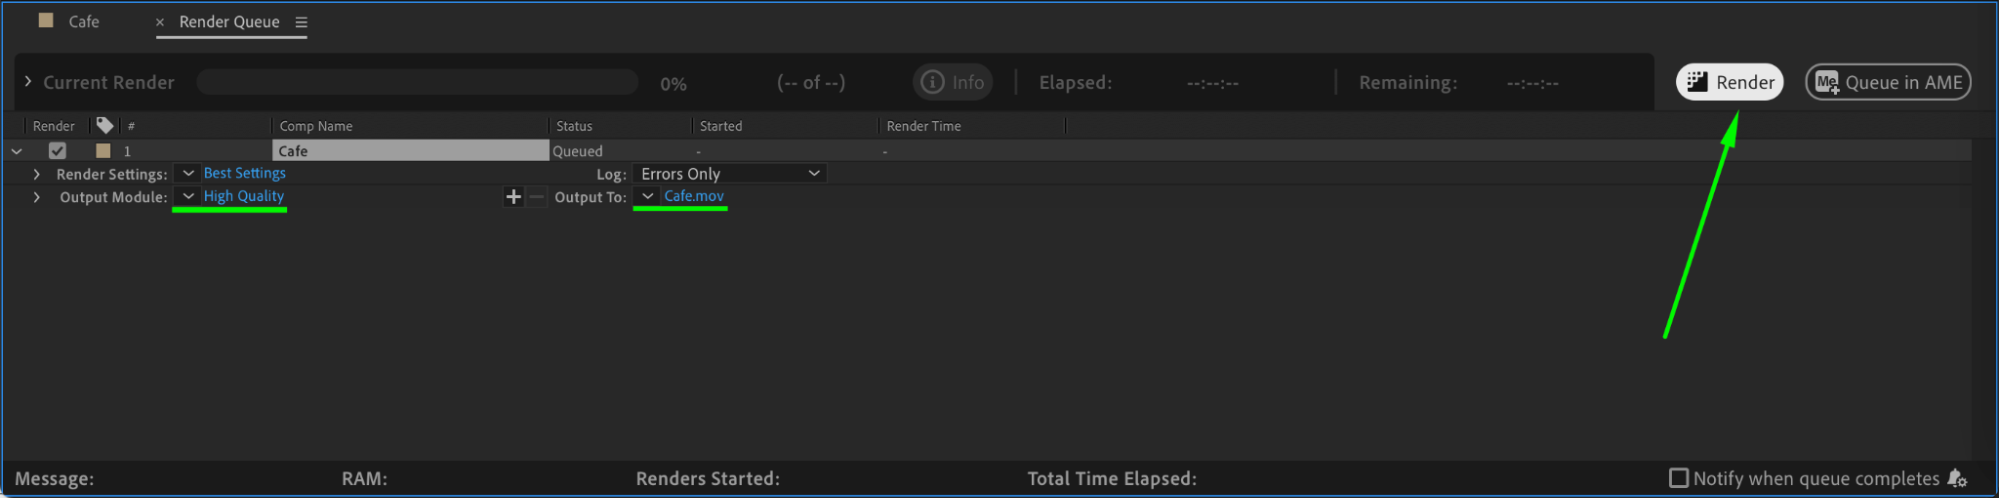
Once you’re satisfied with the speed adjustments, render your project for final output. Go to Composition > Add to Render Queue, choose your desired format and quality settings, and press Render. Exporting preserves the speed changes, making the animation ready for use.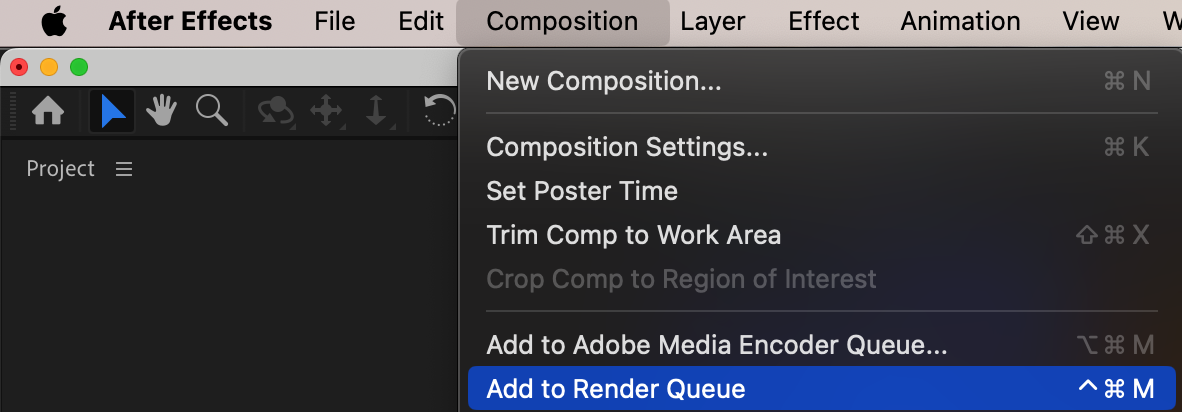
Conclusion
Adjusting animation speed in After Effects is an essential skill for creating dynamic and engaging visuals. Whether you’re shortening layer duration, tweaking keyframe spacing, or using advanced features like frame blending, these techniques provide flexibility and precision in your workflow. By experimenting with these methods, you can achieve the desired pacing for your project while maintaining a professional finish. Practice these steps to enhance your animations and tailor them to fit your creative vision.
Our Bestsellers


