Mastering Clip Splitting in Adobe After Effects
Introduction to Splitting Clips in After Effects
Adobe After Effects is a robust tool for video editing and motion graphics, offering a diverse array of features to elevate your projects. Among the many tasks it facilitates, splitting clips stands out as a crucial step, allowing you to precisely cut and trim footage for a polished final product. Whether you’re a novice or seasoned user, mastering the art of splitting clips in After Effects is essential for achieving professional-grade results.
In After Effects, you have access to multiple methods for splitting clips, granting you the flexibility to edit your footage with precision. Whether you’re trimming a video clip, creating seamless transitions, or organizing your timeline, knowing how to split clips proficiently is a fundamental skill every editor should possess. In this guide, we’ll delve into various techniques for splitting clips in After Effects and provide practical tips to streamline your editing workflow.
Method 1: Splitting at the Playhead
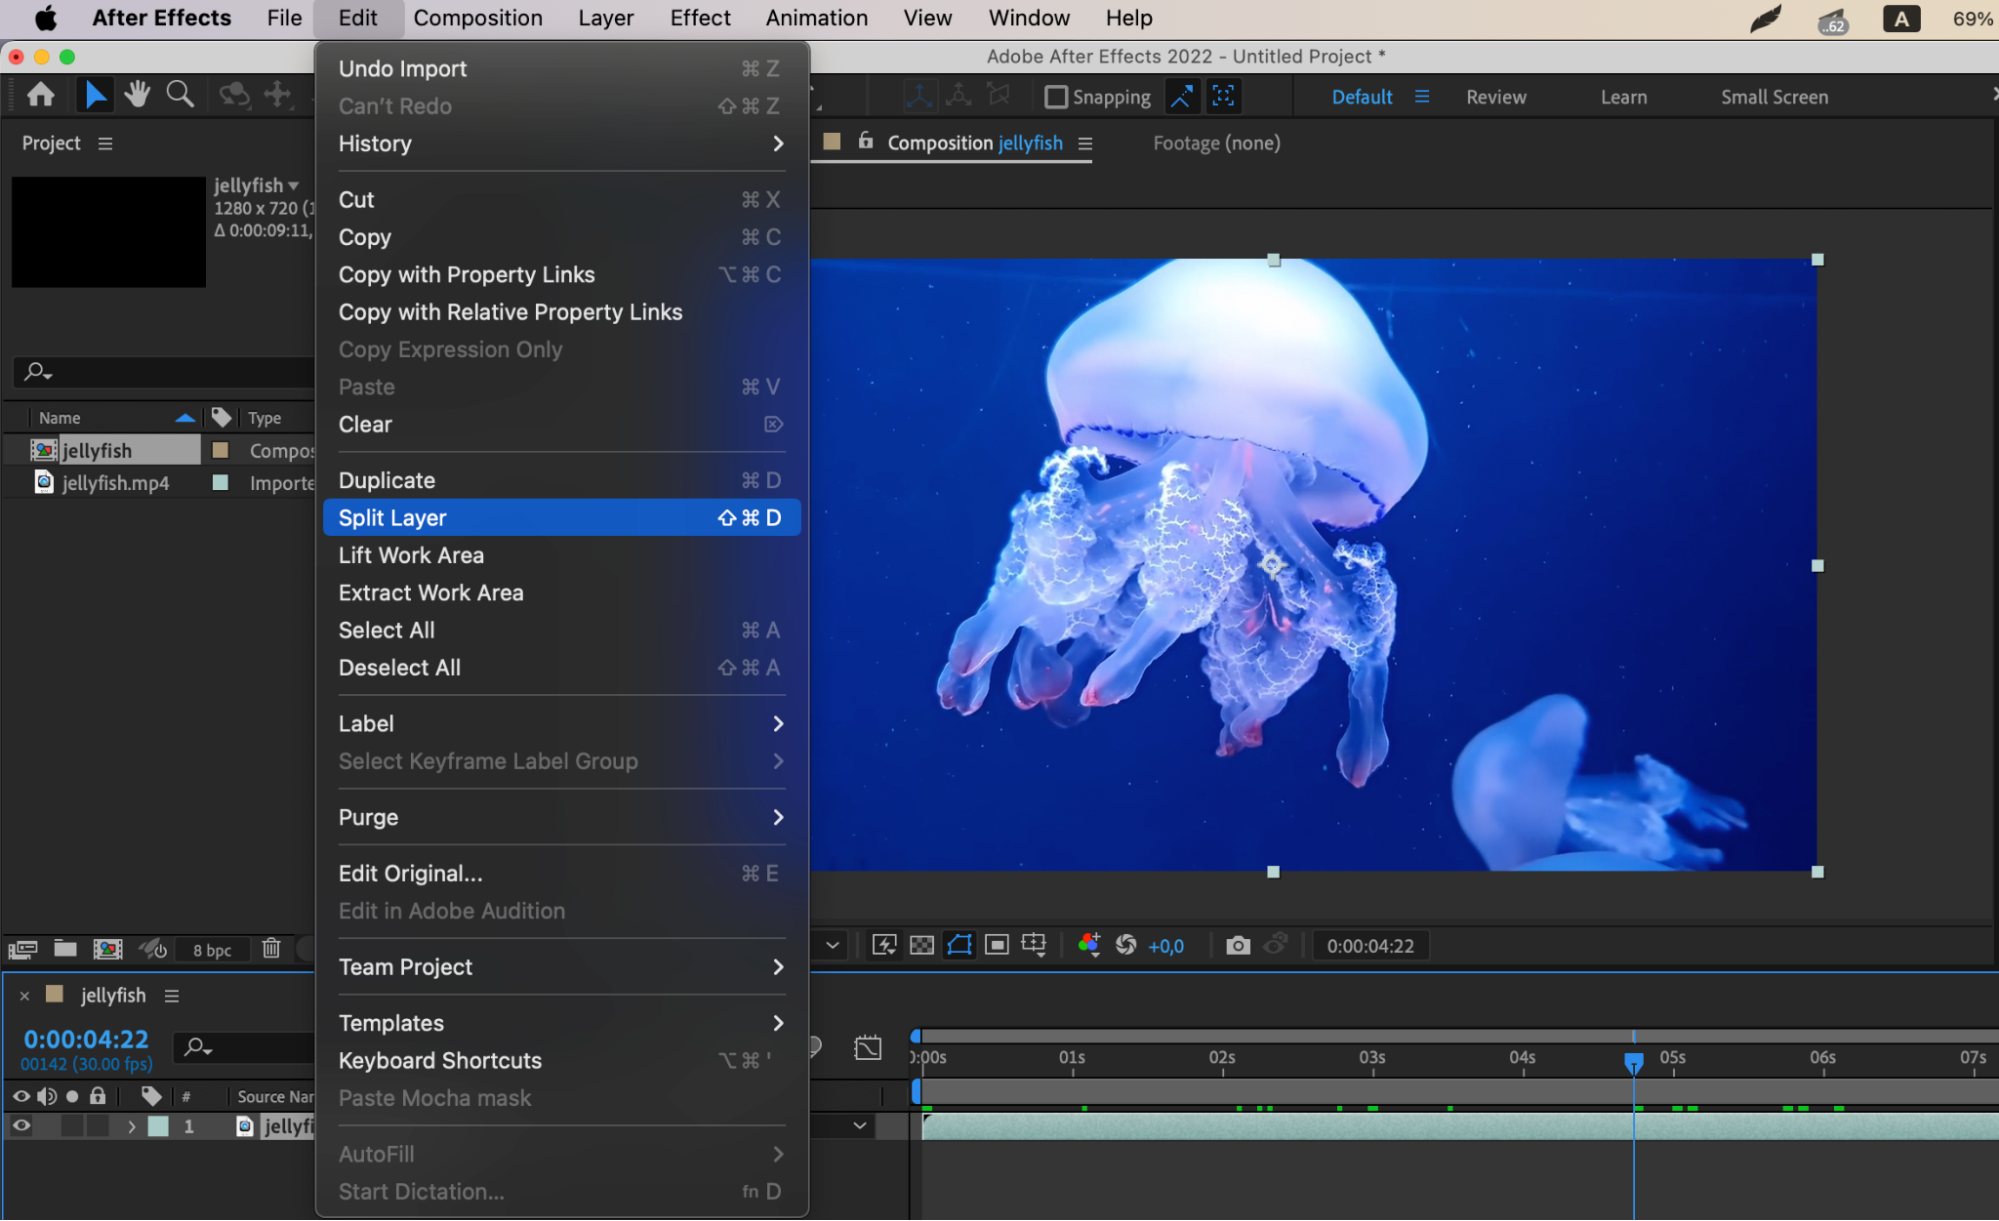
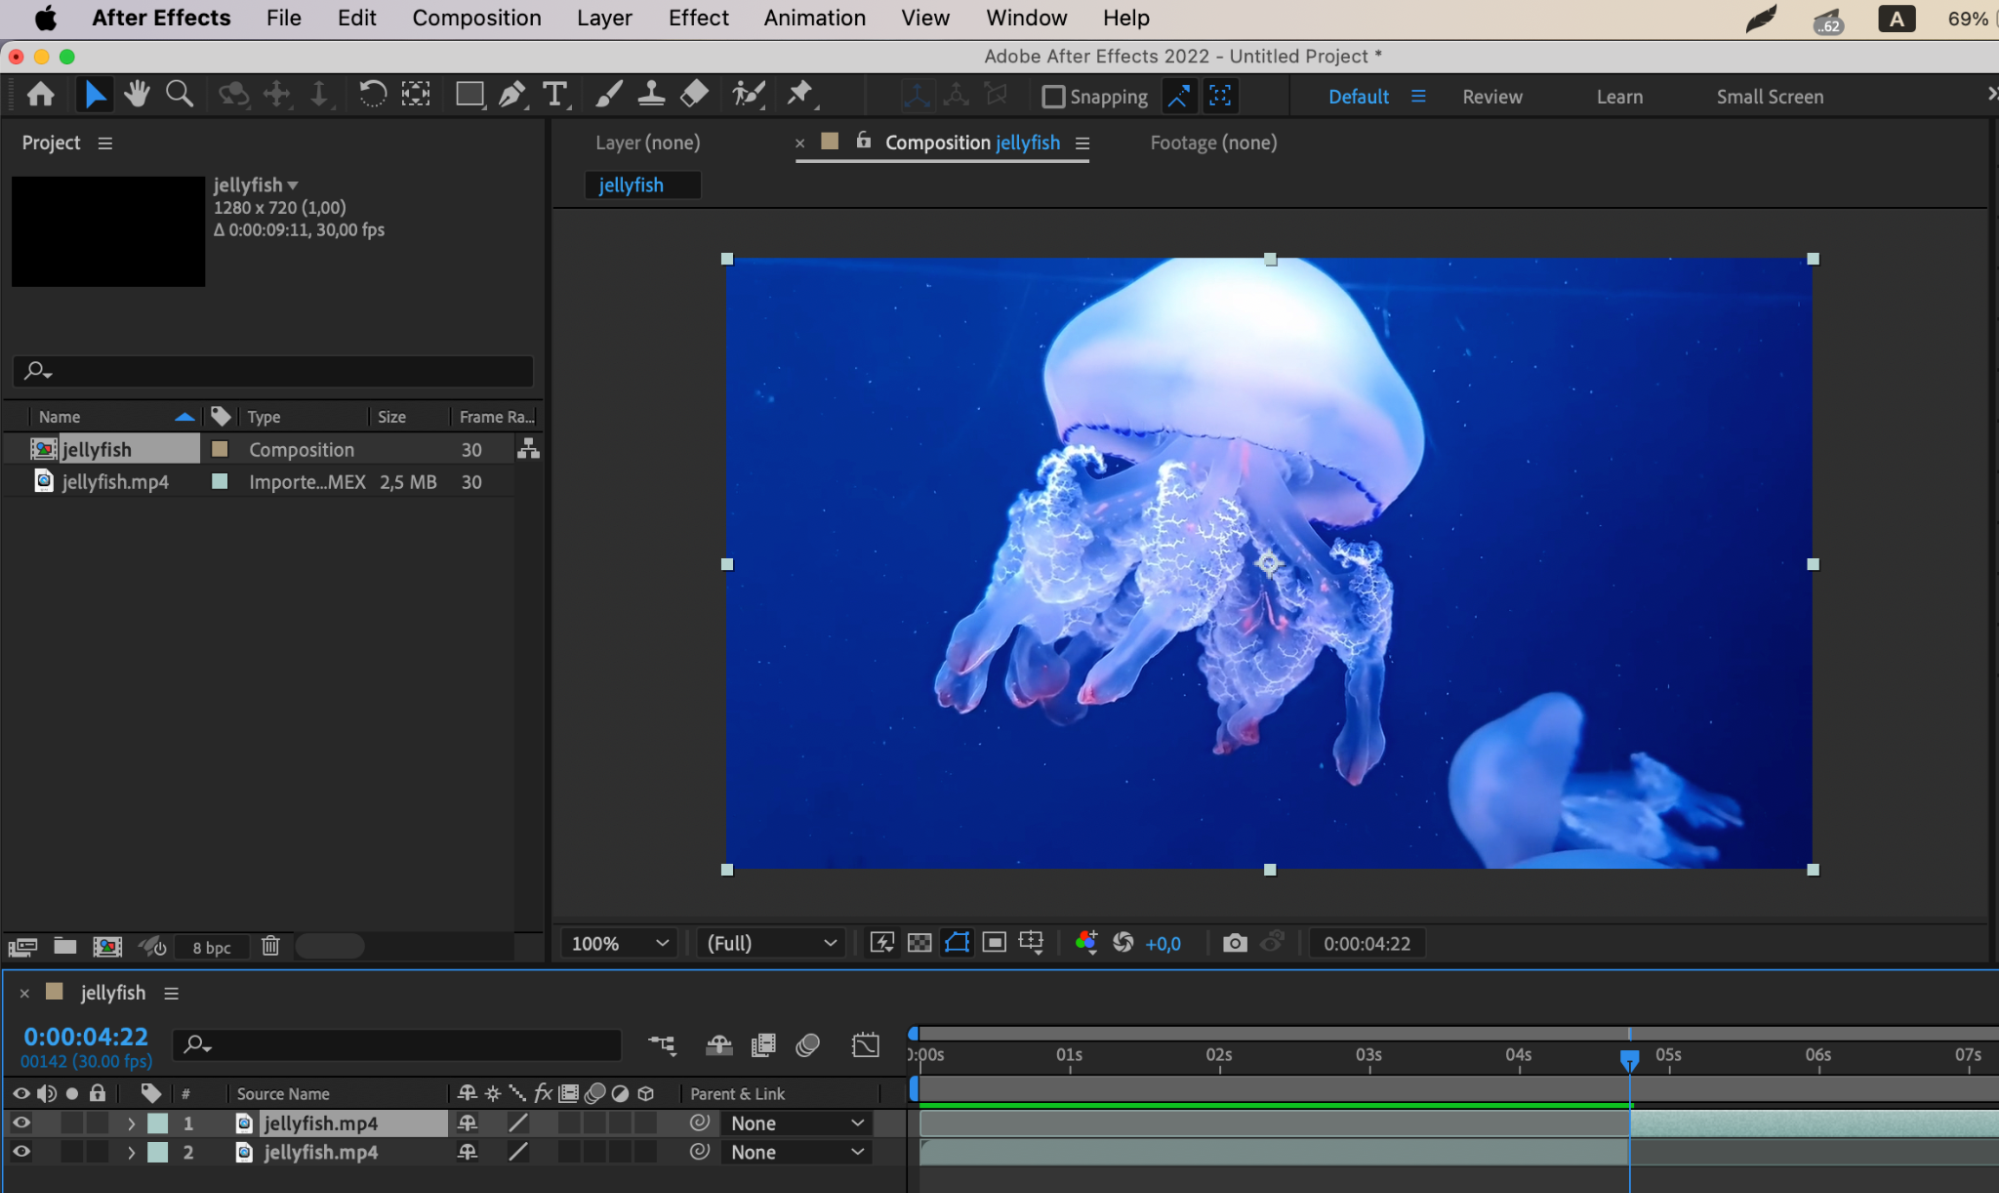
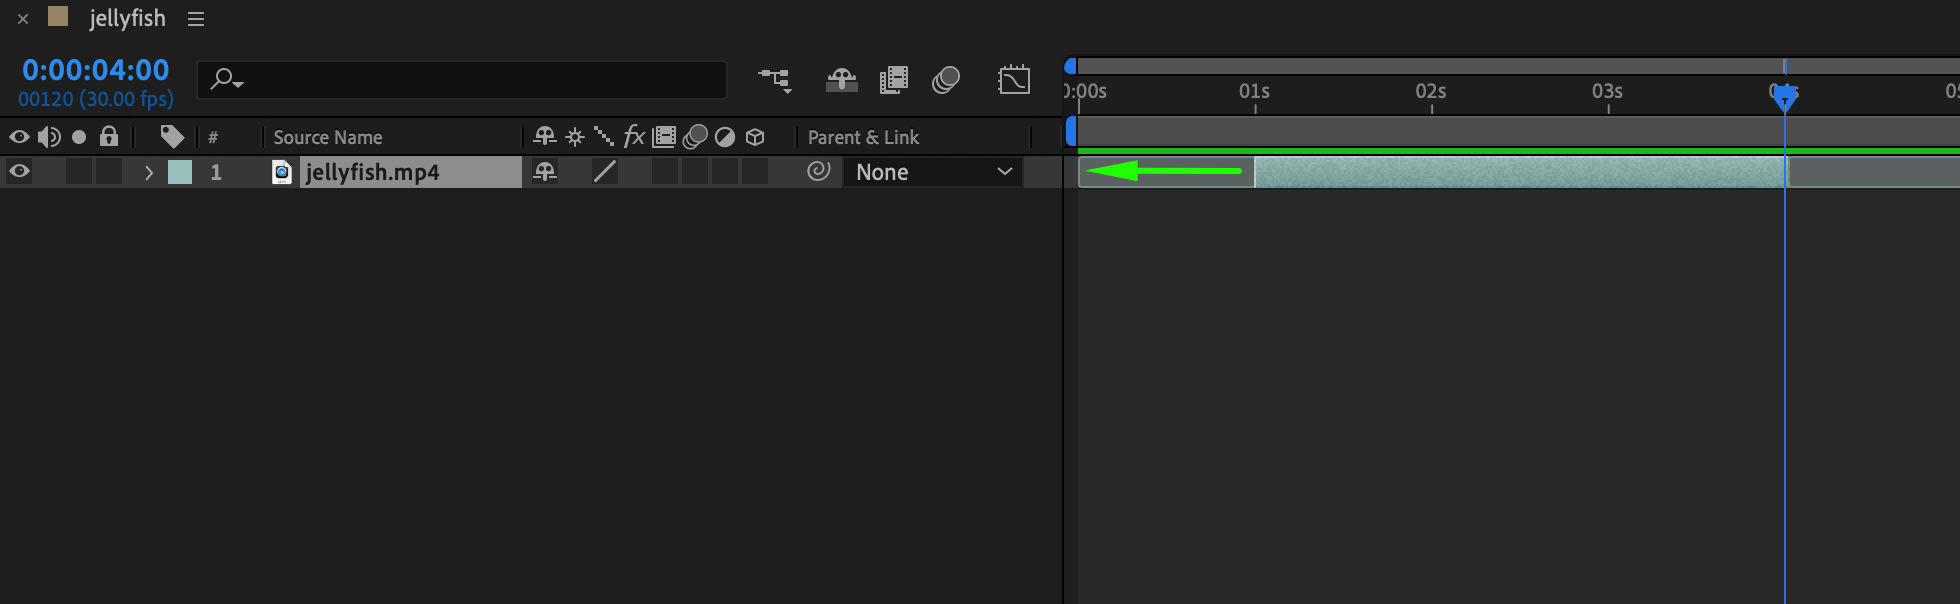
Another way to split clips in After Effects is by using the Playhead as a reference point. Position the Playhead at the frame where you want to split the clip, go to the Edit menu, and select “Split Layer.” This action divides the clip at the Playhead, giving you precise cuts in your footage.
Method 2: Using Keyboard Shortcuts
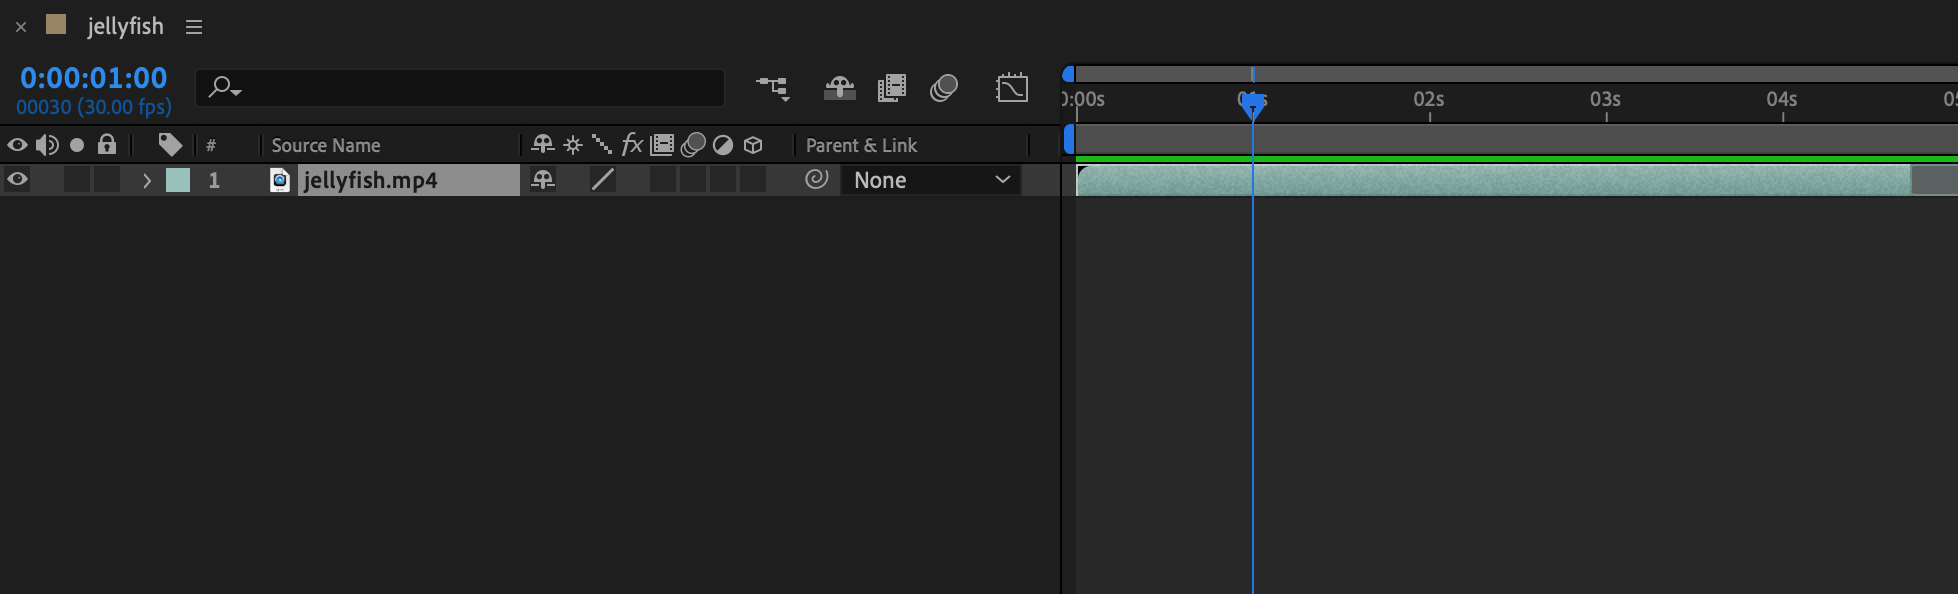
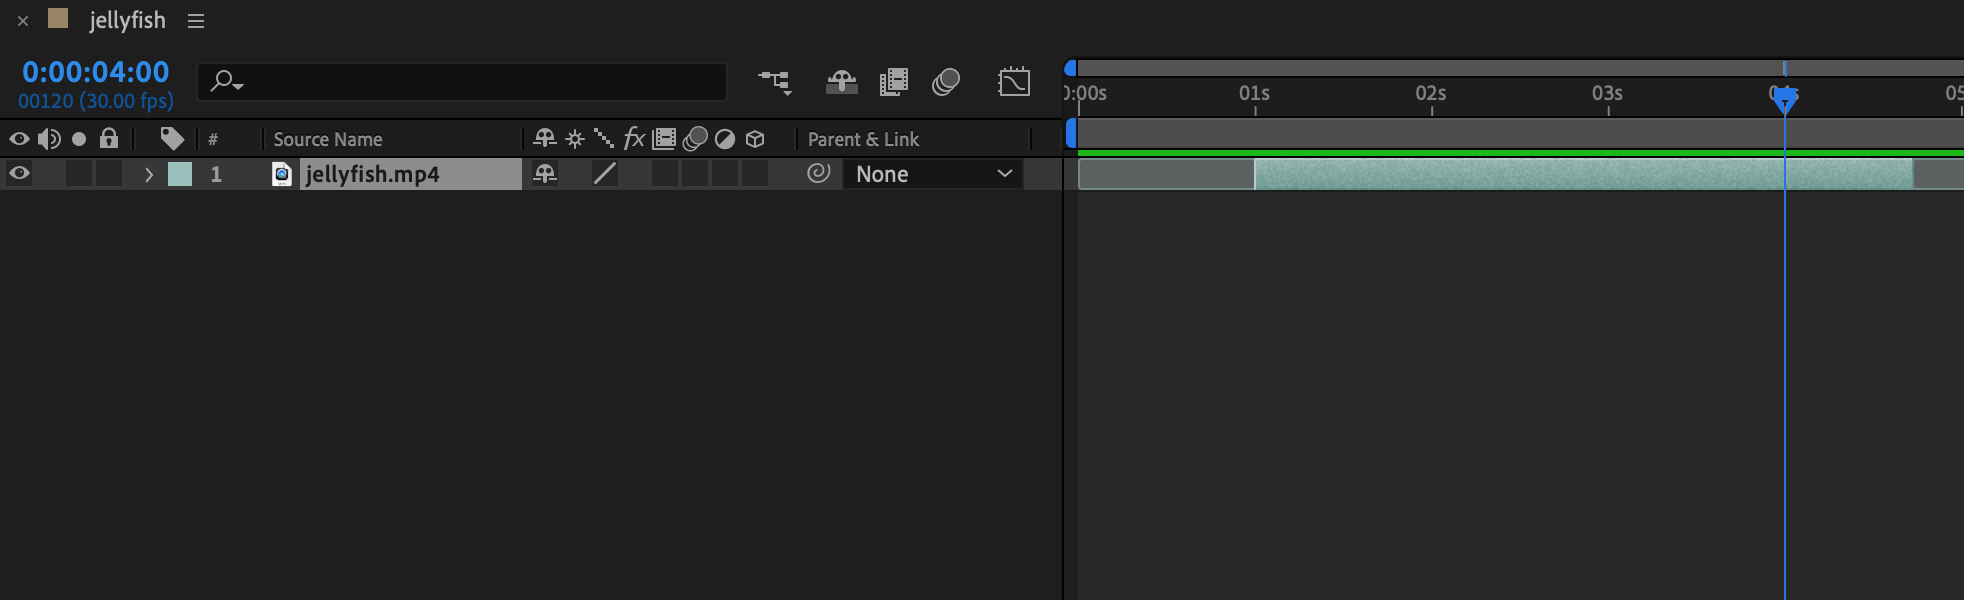
To expedite clip splitting in After Effects, utilize keyboard shortcuts for increased efficiency. For example, use “Alt/Option + [” to delete the portion before the current time indicator or “Alt/Option + ]” to delete the portion after the current time indicator. By learning these keyboard shortcuts, you’ll be able to navigate the timeline and split clips effortlessly.
Get 10% off when you subscribe to our newsletter

Tips for Efficiently Splitting Clips:
Get 10% off when you subscribe to our newsletter
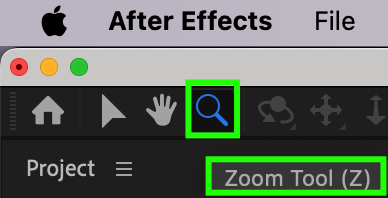
Use the Zoom tool to get a closer look for accurate cuts.
Double-check the Playhead position before splitting a clip.
Try using markers to mark specific points for splitting.

Get 10% off when you subscribe to our newsletter
Experiment with different splitting techniques to find what works best for you.
By mastering the art of splitting clips in Adobe After Effects, you can enhance the quality of your video projects and create polished content. Practice these techniques, explore After Effects’ options, and unlock new creative possibilities in your editing workflow.
Common Challenges When Splitting Clips in Adobe After Effects
Get 10% off when you subscribe to our newsletter
Splitting clips in Adobe After Effects is a critical step in video editing, but it can present challenges that may disrupt your workflow. Understanding these common issues and solutions will help you navigate the editing process efficiently and produce high-quality results. Let’s discuss typical challenges when splitting clips in After Effects and how to overcome them.
1. Misaligned Edits:
Misaligned edits occur when cuts are not where you intended, leading to abrupt transitions and a disjointed final product. To avoid this, zoom in on the timeline for precision and use snapping to align cuts accurately.
2. Audio Sync Issues:
When splitting clips with audio, you might encounter audio sync problems where audio doesn’t match the video post-split. To address this, work on audio tracks separately or adjust sync manually after splitting.
3. Complex Layer Structures:
In intricate projects with multiple layers, splitting clips can be tricky due to complex layer setups. Label your layers, organize the timeline well, group related elements, and use markers to streamline the process.
4. Lengthy Editing Processes:
Manual clip splitting can be time-consuming, especially in projects with many cuts. Consider using scripts or plugins to automate the process. Also, use keyboard shortcuts and customize your workspace for efficiency.
5. Rendering and Playback Issues:
After splitting clips, you might face rendering or playback problems like dropped frames. Optimize project settings, clear cache files, and allocate enough resources for a smoother playback experience.
Get 10% off when you subscribe to our newsletter
By understanding and resolving these challenges, you can improve your workflow when splitting clips in Adobe After Effects. Practice these techniques, experiment with methods, and refine your skills to achieve seamless and professional results in your video projects. With patience and creativity, you’ll master splitting clips and elevate the quality of your video content in After Effects.
Best Practices for Splitting Clips in Adobe After Effects
To streamline your video editing workflow and achieve professional results when splitting clips in Adobe After Effects, follow best practices that enhance efficiency and precision. By adopting effective strategies and techniques, you can optimize the splitting process, maintain project organization, and ensure seamless transitions between clips. Let’s delve into best practices for splitting clips in After Effects, offering valuable insights to elevate your editing skills and enhance your video projects’ quality.
Get 10% off when you subscribe to our newsletter
1. Plan Your Cuts and Edits:
Before splitting clips in After Effects, strategically plan your cuts and edits. Identify key points for cuts, consider video pacing, and visualize how each clip contributes to the narrative. Planning edits in advance enables informed decisions on where to split clips for a coherent visual story.
2. Utilize Markers and Labels:
Markers and labels help mark specific points in the timeline, identify sections for splitting, and organize your project effectively. Use markers to indicate cut locations, label layers to differentiate elements, and color-code segments for easy identification. Leveraging markers and labels streamlines splitting and maintains clarity in the editing timeline.
3. Employ Keyboard Shortcuts:
Keyboard shortcuts enhance editing speed and efficiency in After Effects. Learn essential shortcuts for splitting clips, navigating the timeline, and moving between frames. Customize shortcuts to suit your workflow preferences for effortless control over the splitting techniques.
4. Experiment with Transitions and Effects:
Incorporate transitions, effects, and visual enhancements when splitting clips in After Effects to elevate your edits. Explore different transition styles, effects presets, and visual treatments to add depth and polish to your clips. Experiment with motion graphics techniques, animation presets, and blending modes for seamless transitions and enhanced visual appeal in your video projects.
Get 10% off when you subscribe to our newsletter
5. Seek Inspiration and Learn Continuously:
Continuously seek inspiration from professional projects, tutorials, and industry resources to expand your creative skills and stay updated with trends. Engage with online communities, attend workshops, and participate in training programs to acquire new techniques, skills, and insights that enhance your editing proficiency. Constant learning and growth as an editor enable you to push creative boundaries in After Effects and produce innovative video content.
Get 10% off when you subscribe to our newsletter
By integrating these best practices into your editing workflow, you can efficiently split clips in Adobe After Effects, optimize creative processes, and achieve professional results in your video projects. Embrace these strategies, experiment with techniques, and refine your editing skills to unleash After Effects’ full potential as a versatile editing tool. Elevate your editing proficiency, create captivating visual narratives, and showcase creativity through expertly split clips that captivate your audience.
Our Bestsellers


