Changing the Time Display from Frames to Seconds in After Effects
Introduction
By default, After Effects can display time in frames, which is useful for frame-by-frame animation. However, many video editors and motion designers prefer working with seconds and minutes for more precise timing adjustments. Fortunately, After Effects allows you to switch between frames and timecode with a simple setting. In this guide, we’ll show you how to change the time display format in just a few steps.
Get 10% off when you subscribe to our newsletter

Step 1: Open Your Project
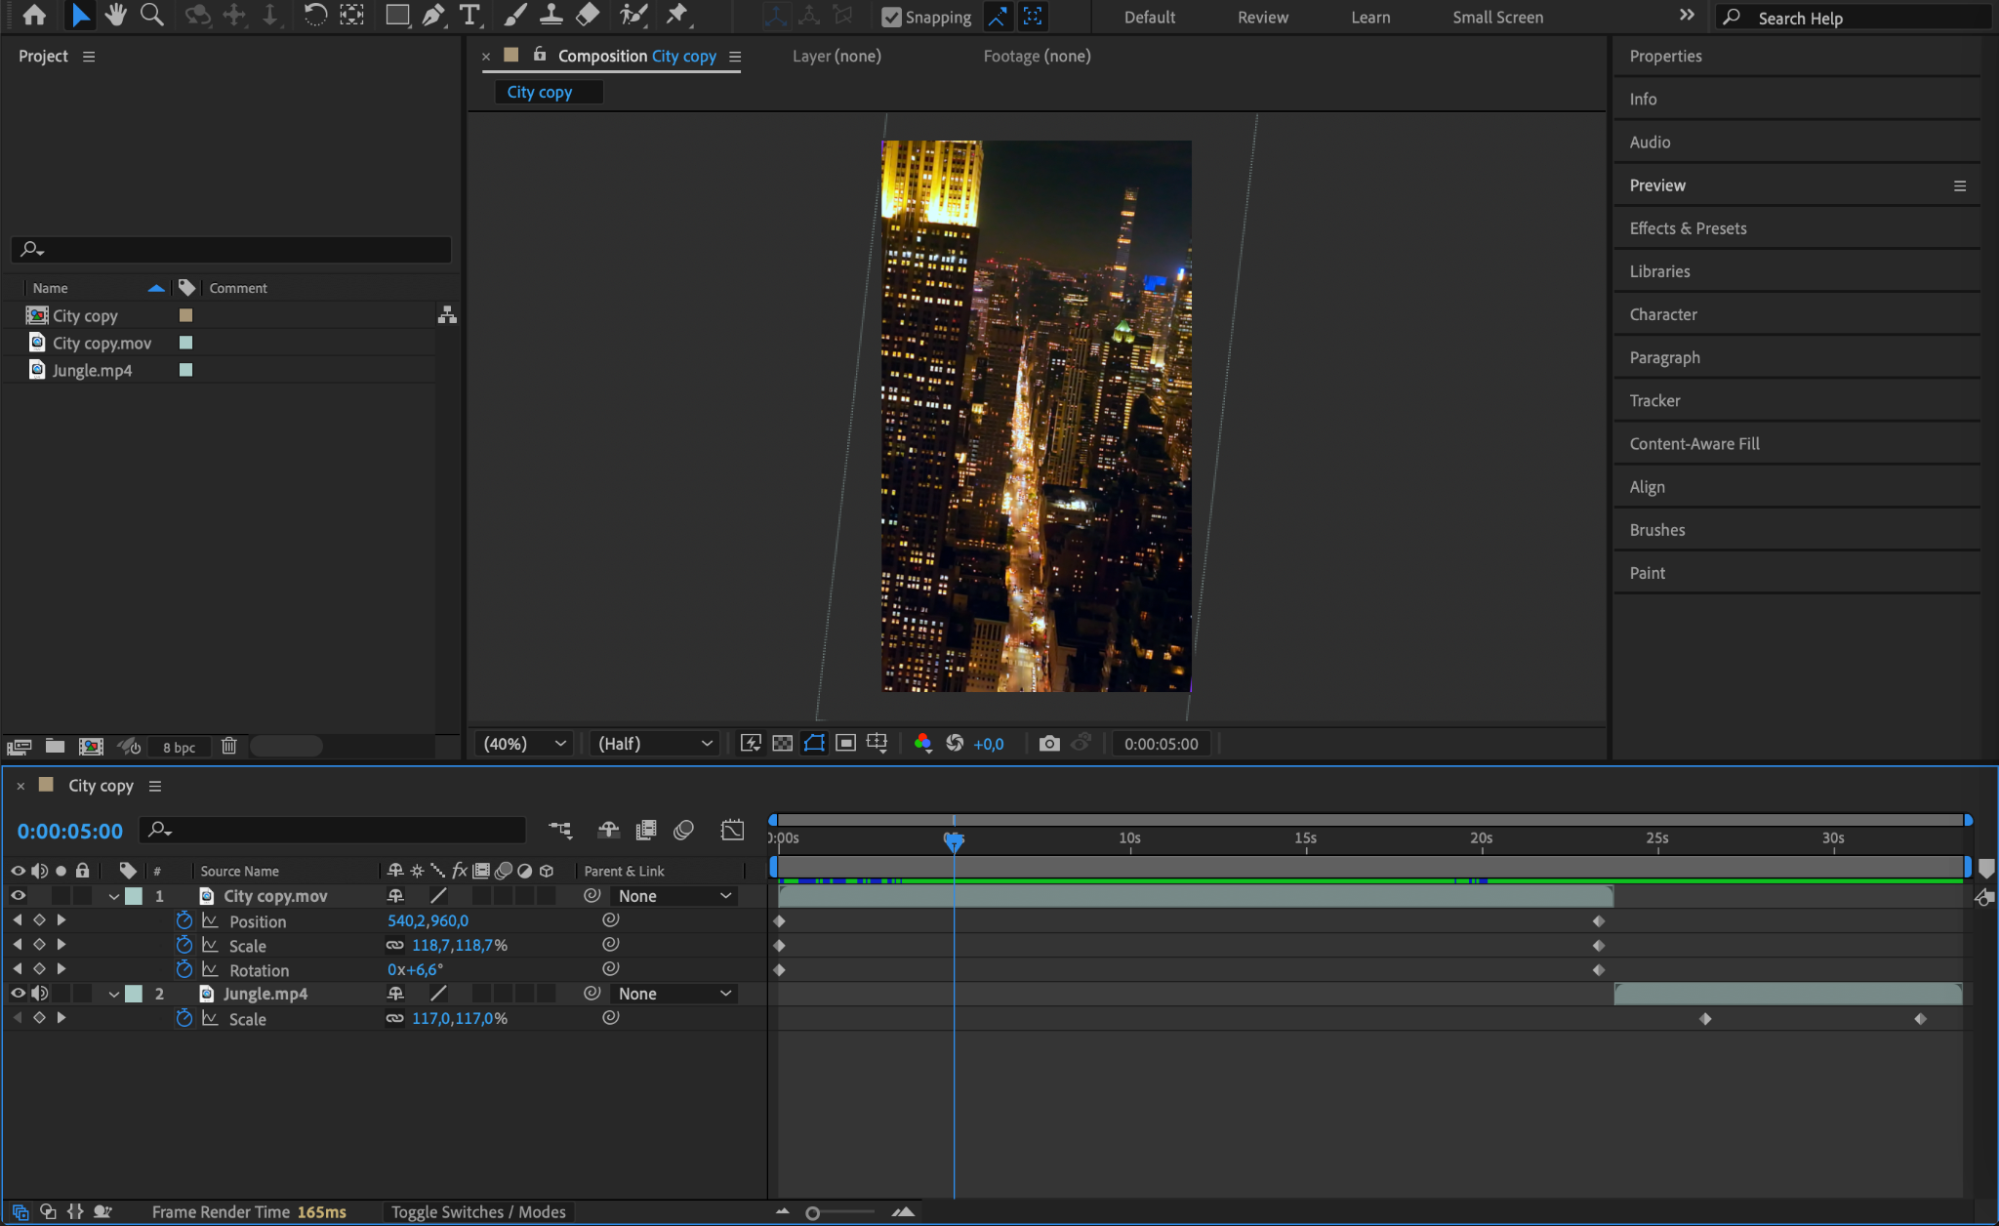
Launch Adobe After Effects and open your project. Navigate to the Timeline panel, where all your layers and keyframes are displayed. This is where you’ll be able to switch between time formats.
 Step 2: Locate the Timecode Display
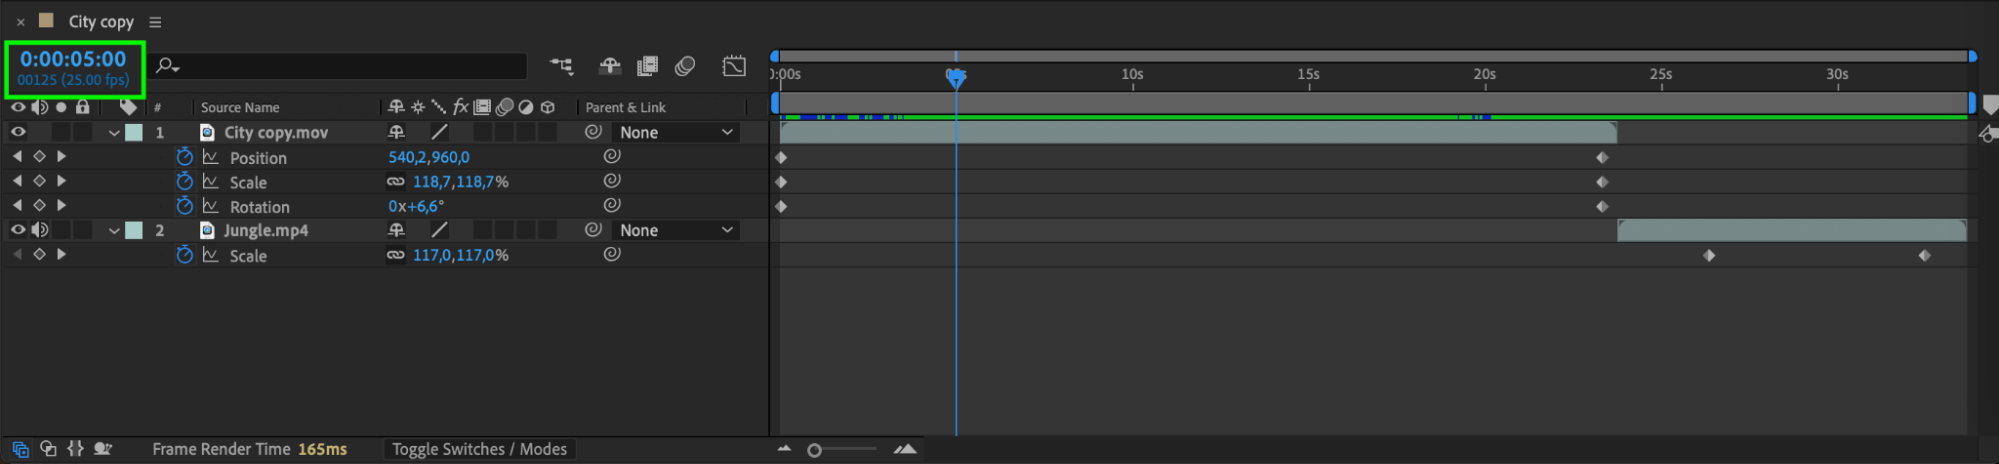
At the bottom-left corner of the Timeline panel, you’ll see the Current Time Indicator (CTI) displaying time either as frames (e.g., “00125” for frame count) or seconds (e.g., “0:00:05:00” for timecode). This is the area where you will change the time format.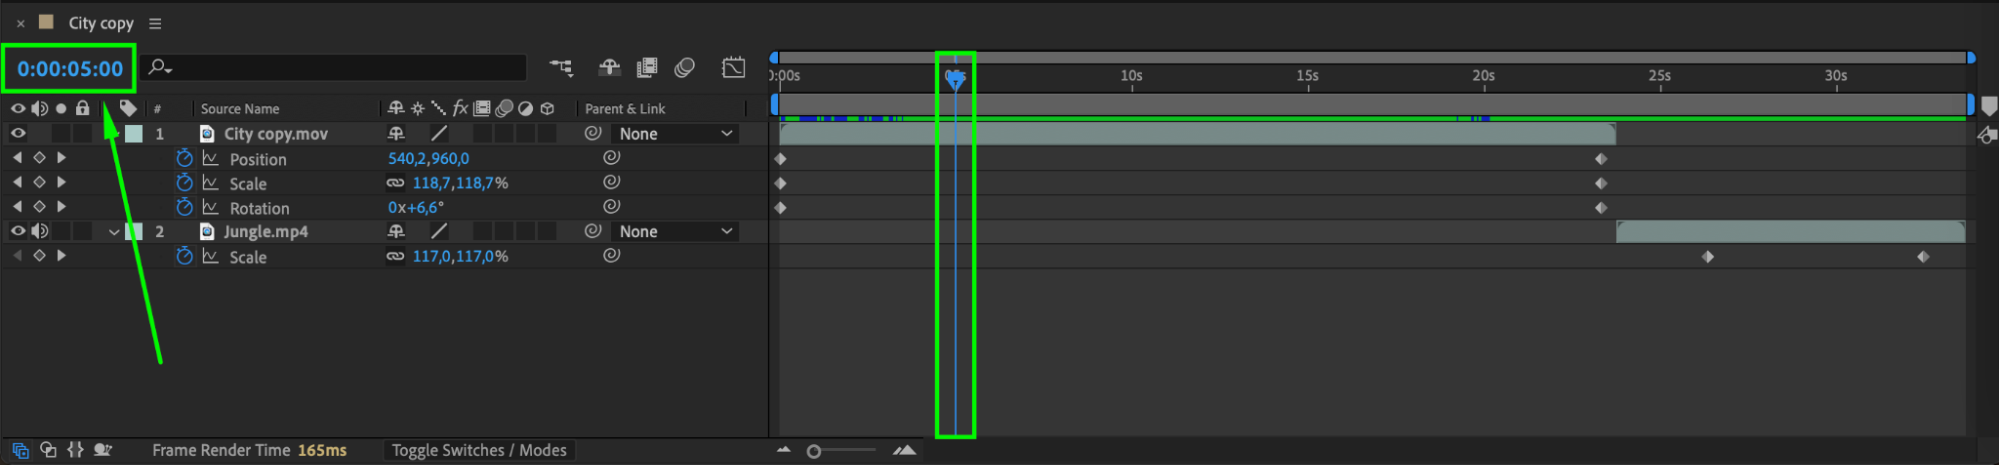 Step 3: Switch Between Frames and Timecode
To quickly toggle between frames and timecode, simply hold “Ctrl (Windows) / Cmd (Mac)” and click on the time display in the Timeline panel.
If it was showing frames, it will now display timecode (hours, minutes, and seconds).
If it was showing timecode, it will now switch back to frames.
This is a quick way to change the time format without opening settings.
Step 4: (Optional) Change Display Preferences Permanently
If you want After Effects to always show both frames and timecode, follow these steps:
Windows: Go to Edit > Preferences > Display
Mac: Go to After Effects > Settings > Display
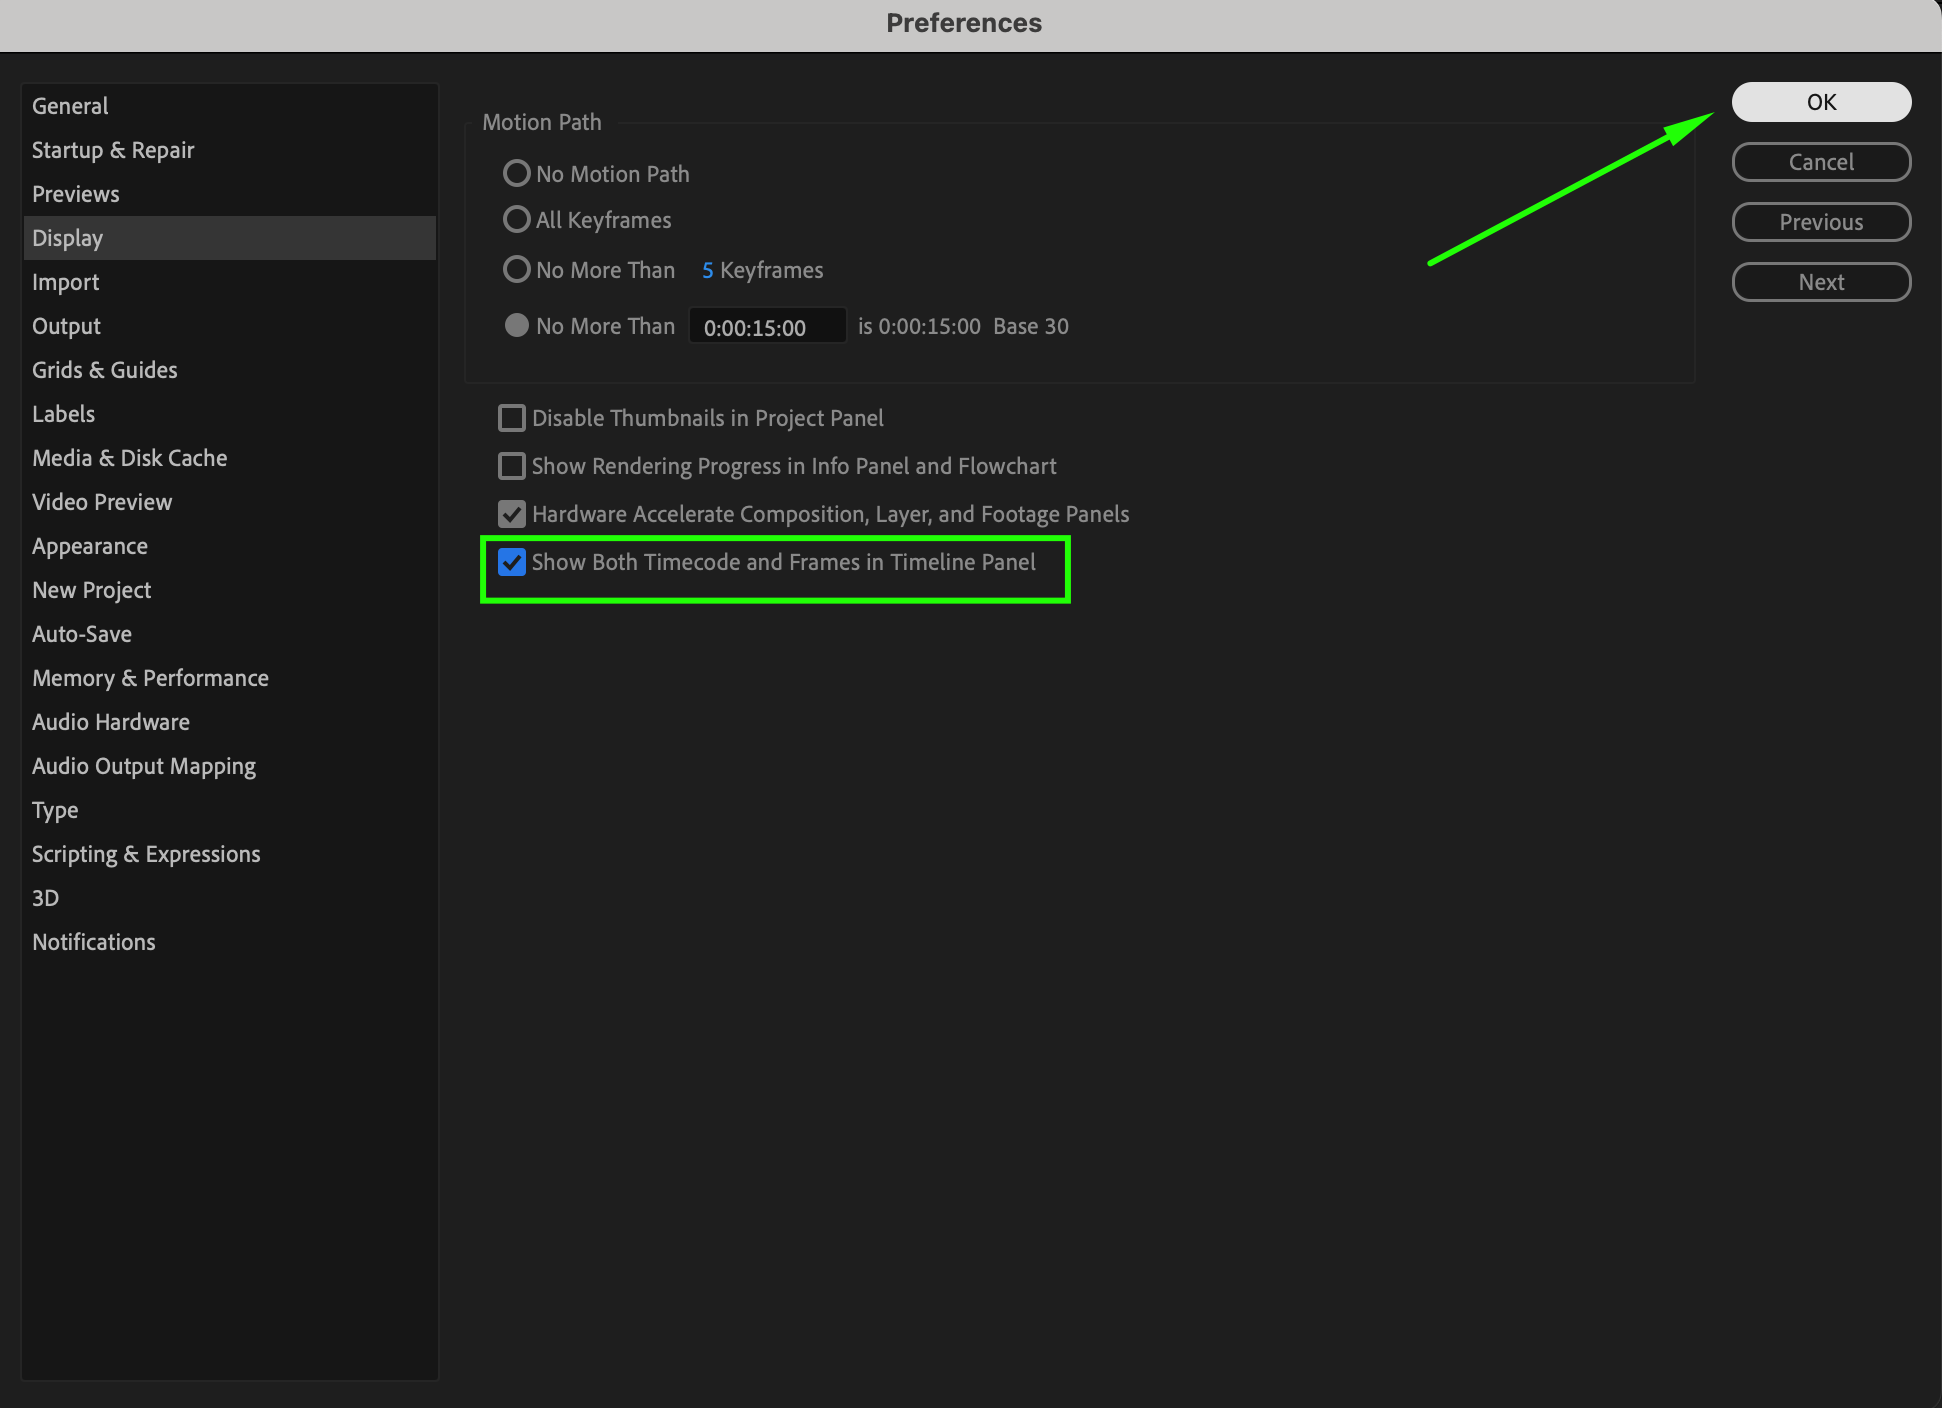
Check the box next to “Show Both Timecode and Frames in Timeline Panel”
Click OK to apply the changes.
This will allow you to see both formats simultaneously, which can be useful for animations requiring both frame-based precision and time-based accuracy.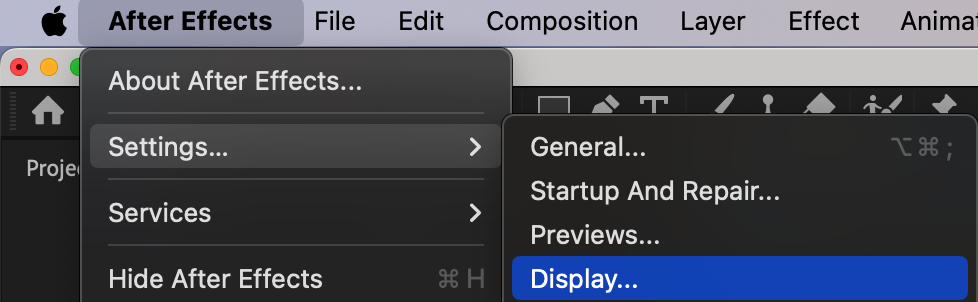
 Step 5: Verify the Change
Look at your Timeline panel again to confirm the time format has been updated. If it still shows the old format, try toggling the time display again (Ctrl/Cmd + Click) or restarting After Effects to apply the settings.
 Step 6: Continue Editing and Preview Your Work
Now that your time format is set, you can continue working on your project. Using seconds instead of frames can help with precise timing adjustments for motion graphics, VFX, and animations. Scrub through the timeline using the Playhead (Current Time Indicator) to ensure everything is aligned correctly.
Conclusion
Switching between frames and seconds in After Effects is a simple but essential setting that improves your workflow efficiency. Whether you’re working on animations, VFX, or motion graphics, selecting the right time format makes editing easier and more accurate. Use this feature to match your editing preferences and optimize your production process!
Our Bestsellers


