Mastering the Art of Taking Screenshots in After Effects: A Step-by-Step Guide
Introduction: Capturing the Perfect Moment in After Effects
In the world of motion design and visual effects, After Effects has become an indispensable tool for professionals and enthusiasts alike. Its powerful features and intuitive interface allow users to create stunning visuals and striking animations. However, when capturing and sharing those mesmerizing frames, things can get a bit challenging.
Get 10% off when you subscribe to our newsletter

Whether you want to showcase your work on social media, collaborate with clients, or simply document your creative process, having the ability to take screenshots in After Effects is essential. In this article, we will guide you through the step-by-step process of capturing those perfect moments in your projects.
From selecting the ideal frame to saving your screenshot in the desired format, we’ll share the best techniques and handy tips to make this task a breeze. Whether you’re a seasoned After Effects user or just getting started, we’ve got you covered. Let’s dive in and unlock the secrets of screenshotting in After Effects!
Ideal Practices of Screenshotting in After Effects
Taking a screenshot in After Effects may seem simple, but there are a few best practices to keep in mind to ensure you capture the perfect frame. Here are some top tips to enhance your screenshotting experience:
1. Choose the ideal frame: Before taking a screenshot, make sure you pause your composition at the frame you want to capture. Use the playback controls or hotkeys like “Spacebar” to play and pause the animation until you find the perfect moment. Remember, timing is crucial in getting the most impactful screenshot.
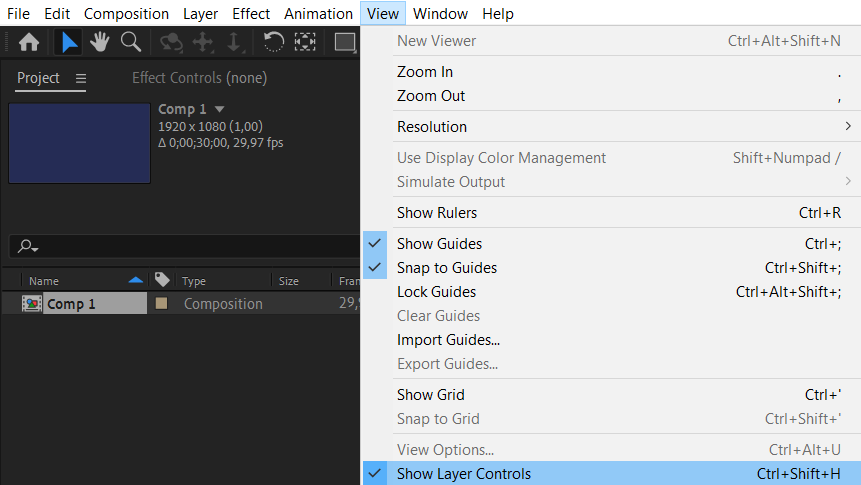
2. Hide unnecessary elements: To focus solely on your composition, hide any unnecessary layers or overlays. This will allow you to capture a clean image without any distractions. Use the hotkey “Ctrl/Cmd + Shift + H” to quickly hide or reveal layers as needed.
3. Adjust preview quality: If you’re working with complex compositions, adjusting the preview quality can help optimize the screenshot. Lowering the preview quality will reduce rendering time and provide smoother real-time playback, allowing you to capture more frames within a shorter period. Use the hotkey “Ctrl/Cmd + /” to access the preview panel and adjust the quality settings.
Get 10% off when you subscribe to our newsletter

4. Customize the workspace: Make use of After Effects’ versatile workspace options to create a customized layout for your screenshotting needs. Remove unnecessary panels or dock them in a way that gives you a clear view of your composition. You can save your preferred workspace configuration and easily switch back to it when needed.
Get 10% off when you subscribe to our newsletter
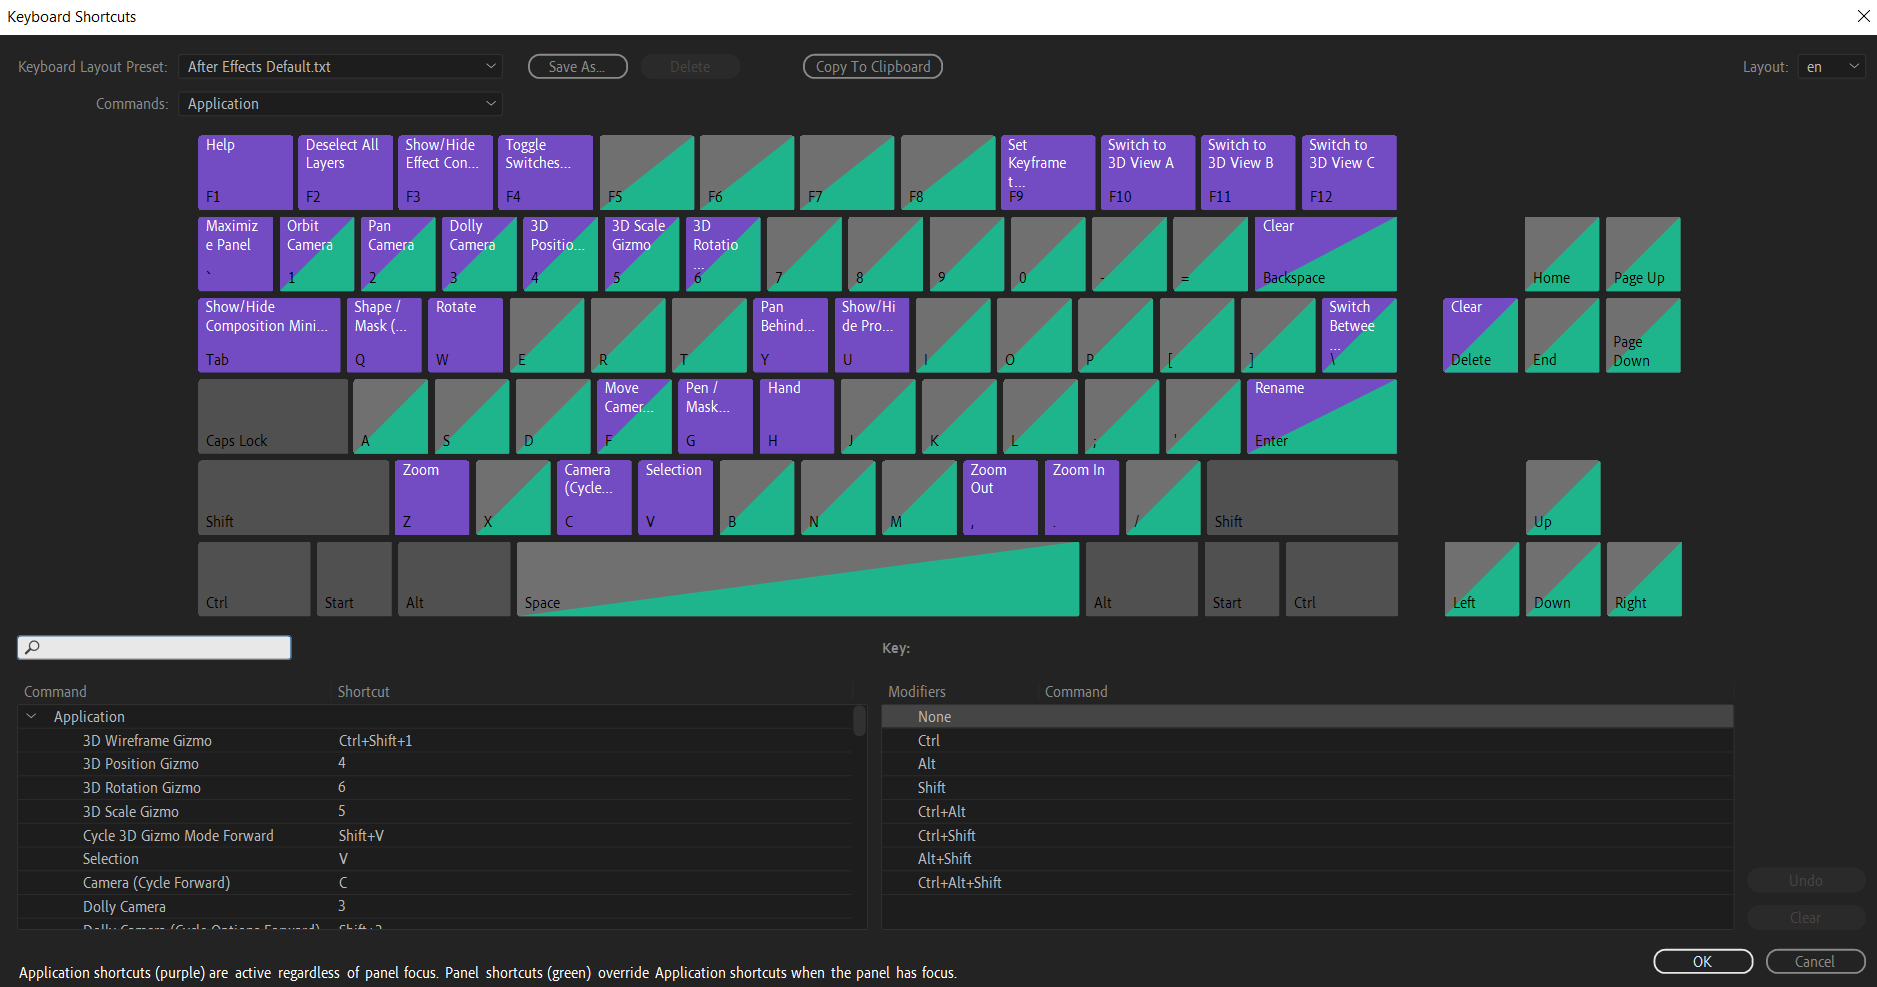
5. Use hotkeys for efficiency: After Effects offers a multitude of hotkeys to streamline your workflow. Familiarize yourself with commonly used hotkeys, such as “Ctrl/Cmd + /” for toggling layer visibility or “Ctrl/Cmd + Alt + S” to save your screenshot. Utilizing these shortcuts will significantly save you time and allow for a smoother screenshotting process.
Remember, practice makes perfect when it comes to mastering screenshotting in After Effects. Experiment with different techniques, try out various hotkeys, be bold, and explore the vast capabilities of this powerful software. With these tips in mind, you’ll be capturing stunning screenshots of your animations in no time.
Saving and Sharing Your Screenshots
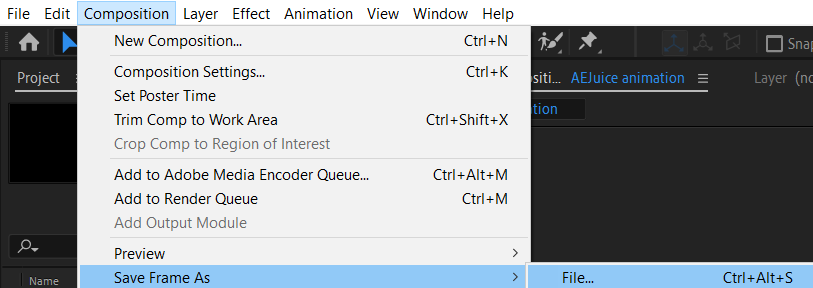
Saving and sharing screen captures in Adobe After Effects is a convenient process for capturing and exchanging visual elements within your project. Easily capturing an image involves selecting the desired frame and utilizing the “Composition” and “Save Frame As” options. Files can be saved in various formats, such as JPEG or PNG, providing flexibility for sharing and compatibility across different platforms.
Get 10% off when you subscribe to our newsletter
Following the capture, annotations or markers can be added to highlight specific elements, ensuring clarity and context for colleagues or clients.
Integration with Creative Cloud facilitates seamless sharing of captures and projects, along with version history to revert to previous states. By collaboratively using project links, colleagues can assess captures and provide feedback, fostering effective communication and enhancing the collective aspect of creative projects in After Effects.
Conclusion: Unleash Your Creative Screenshots in After Effects
Capturing and sharing screenshots of your After Effects projects is an essential skill for every motion designer and visual effects artist. With the right techniques and a little practice, you can effortlessly showcase your work, collaborate with clients, or document your creative process.
In this article, we’ve explored the step-by-step process of screenshotting in After Effects, including selecting the perfect frame, hiding unnecessary elements, adjusting preview quality, customizing your workspace, and utilizing hotkeys for efficiency. Implementing these best practices can streamline your workflow and enhance your screenshotting experience.
Get 10% off when you subscribe to our newsletter
Remember, After Effects offers endless possibilities for customization and creativity. Don’t be afraid to experiment with different techniques, try out various hotkeys, and tailor your workflow to suit your unique needs. The more you practice, the more you will discover the power of capturing stunning screenshots to showcase your talent.
So, unleash your creativity, fine-tune your compositions, and start capturing those breathtaking frames. With the knowledge and skills gained from this guide, you can confidently share your visual masterpieces and inspire others in the world of motion design and visual effects.
Get 10% off when you subscribe to our newsletter
Now, it’s time to take your screenshotting game to the next level and let your After Effects skills shine!
Our Bestsellers


