Mastering Trimming in After Effects
Introduction – Efficient Trimming Techniques in After Effects
In the realm of video editing, precision is paramount. Learning how to trim videos effectively in After Effects can significantly enhance the quality and impact of your projects. By mastering the art of trimming, you gain the power to refine your storytelling and create seamless transitions that captivate your audience from start to finish.
Step 1: Creating a New Composition and Adjusting Settings
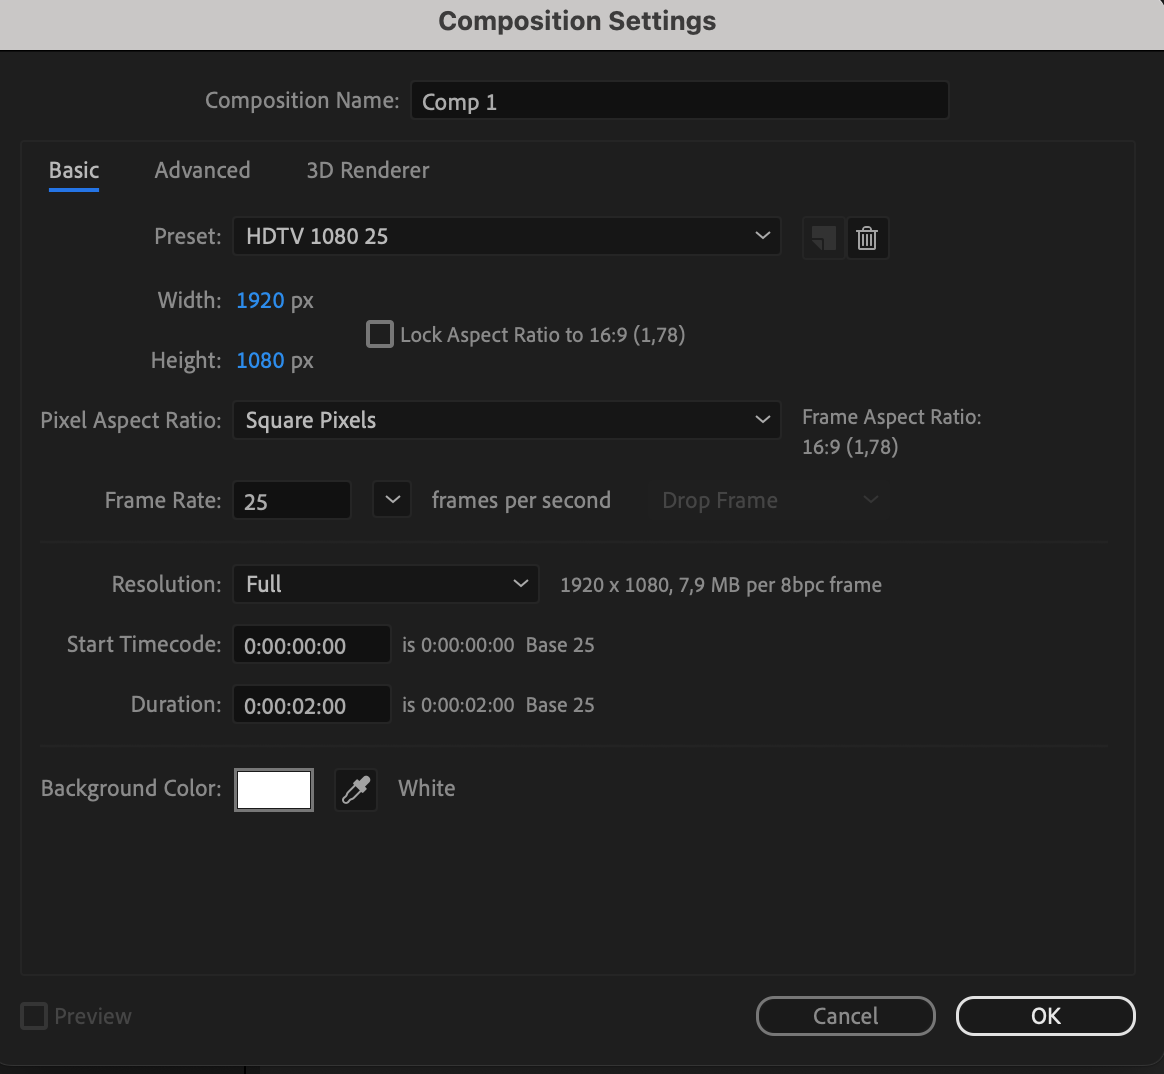
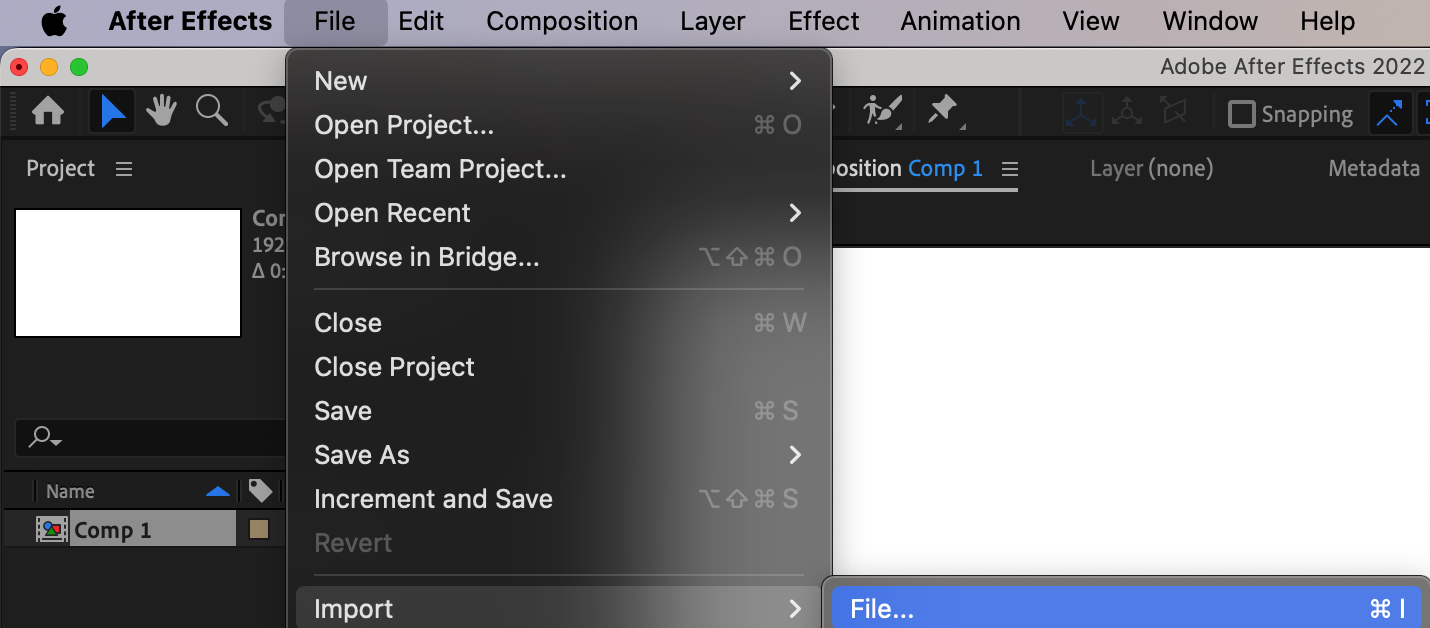
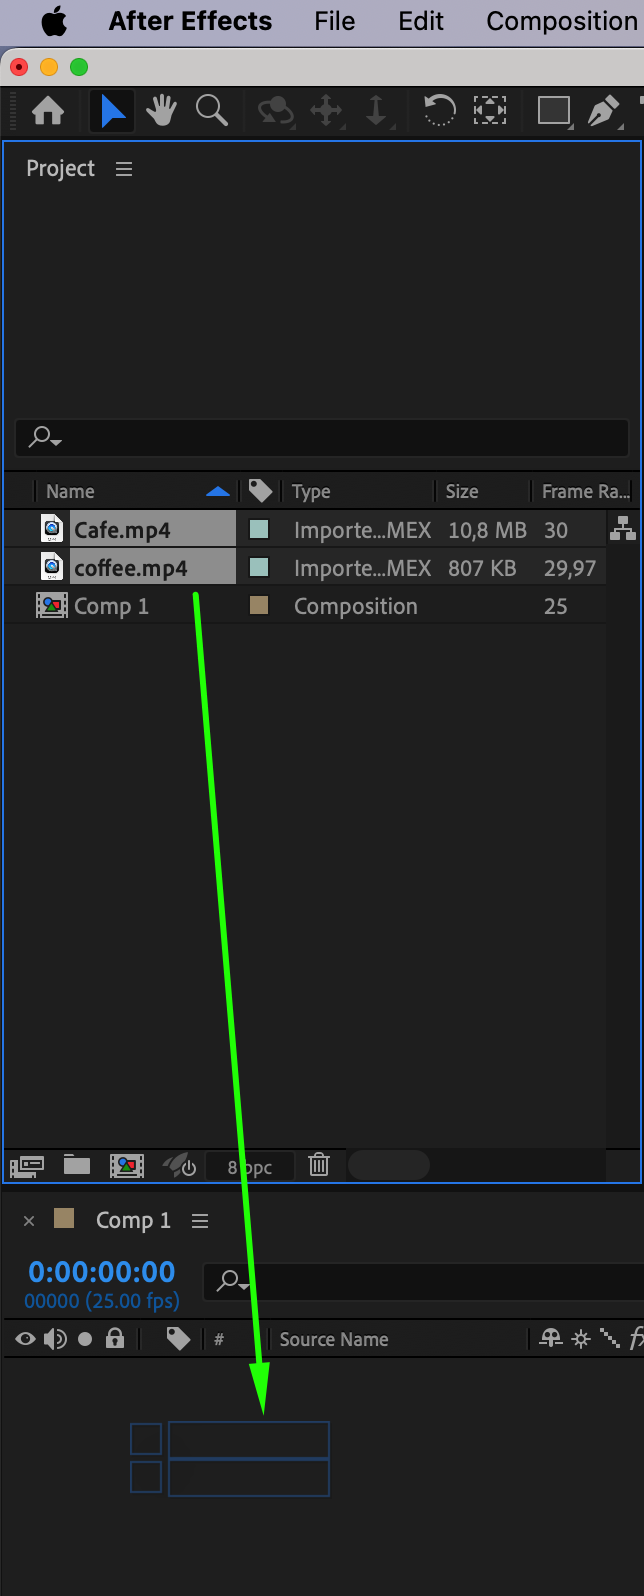
Create a new composition and adjust its settings. Import your files and drag them onto the timeline panel.

Get 10% off when you subscribe to our newsletter

Step 2: Using Hotkeys
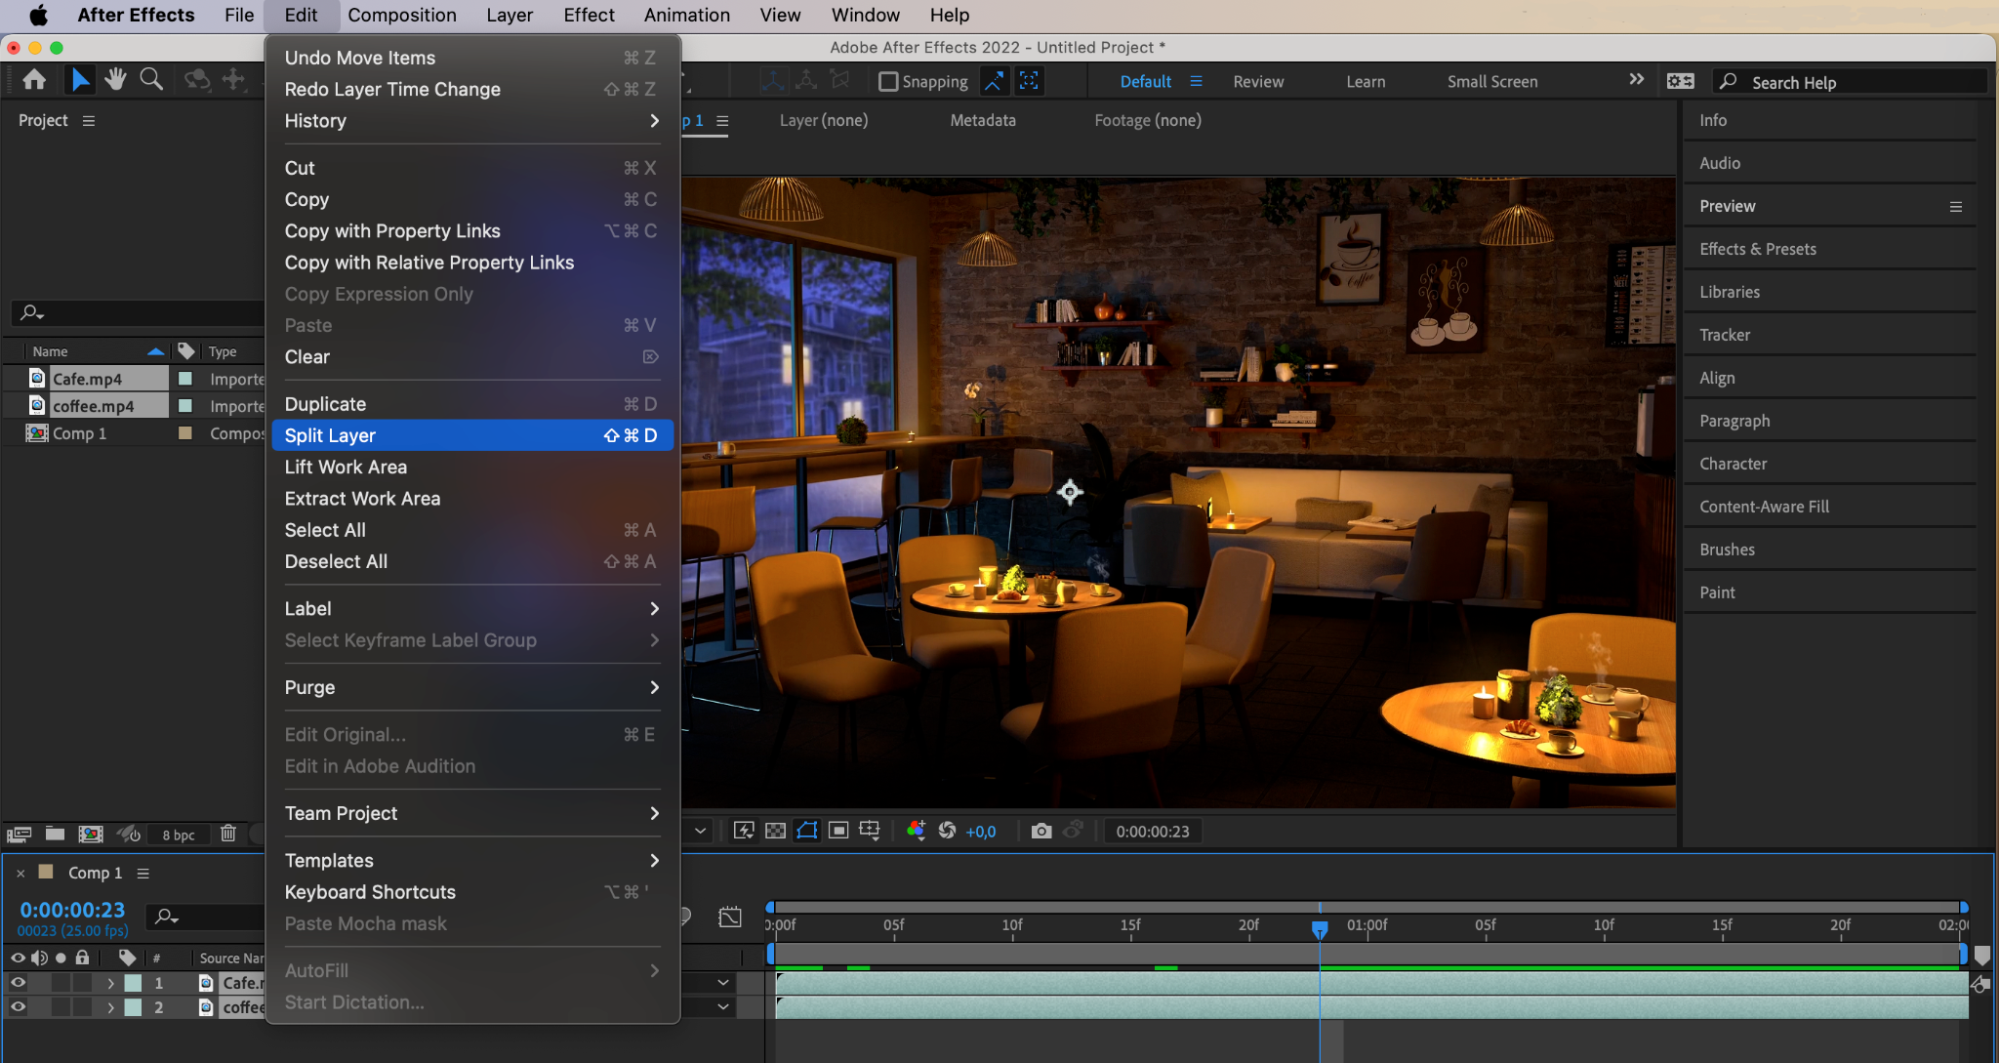
The second step in enhancing your video projects is mastering the cropping and editing shortcuts in After Effects. Use the hotkeys “Alt/Option + [“ and “Alt/Option + ]” to edit the duration of your video layers. Use the hotkey “Ctrl/Cmd + Shift” + D to split a layer into parts.


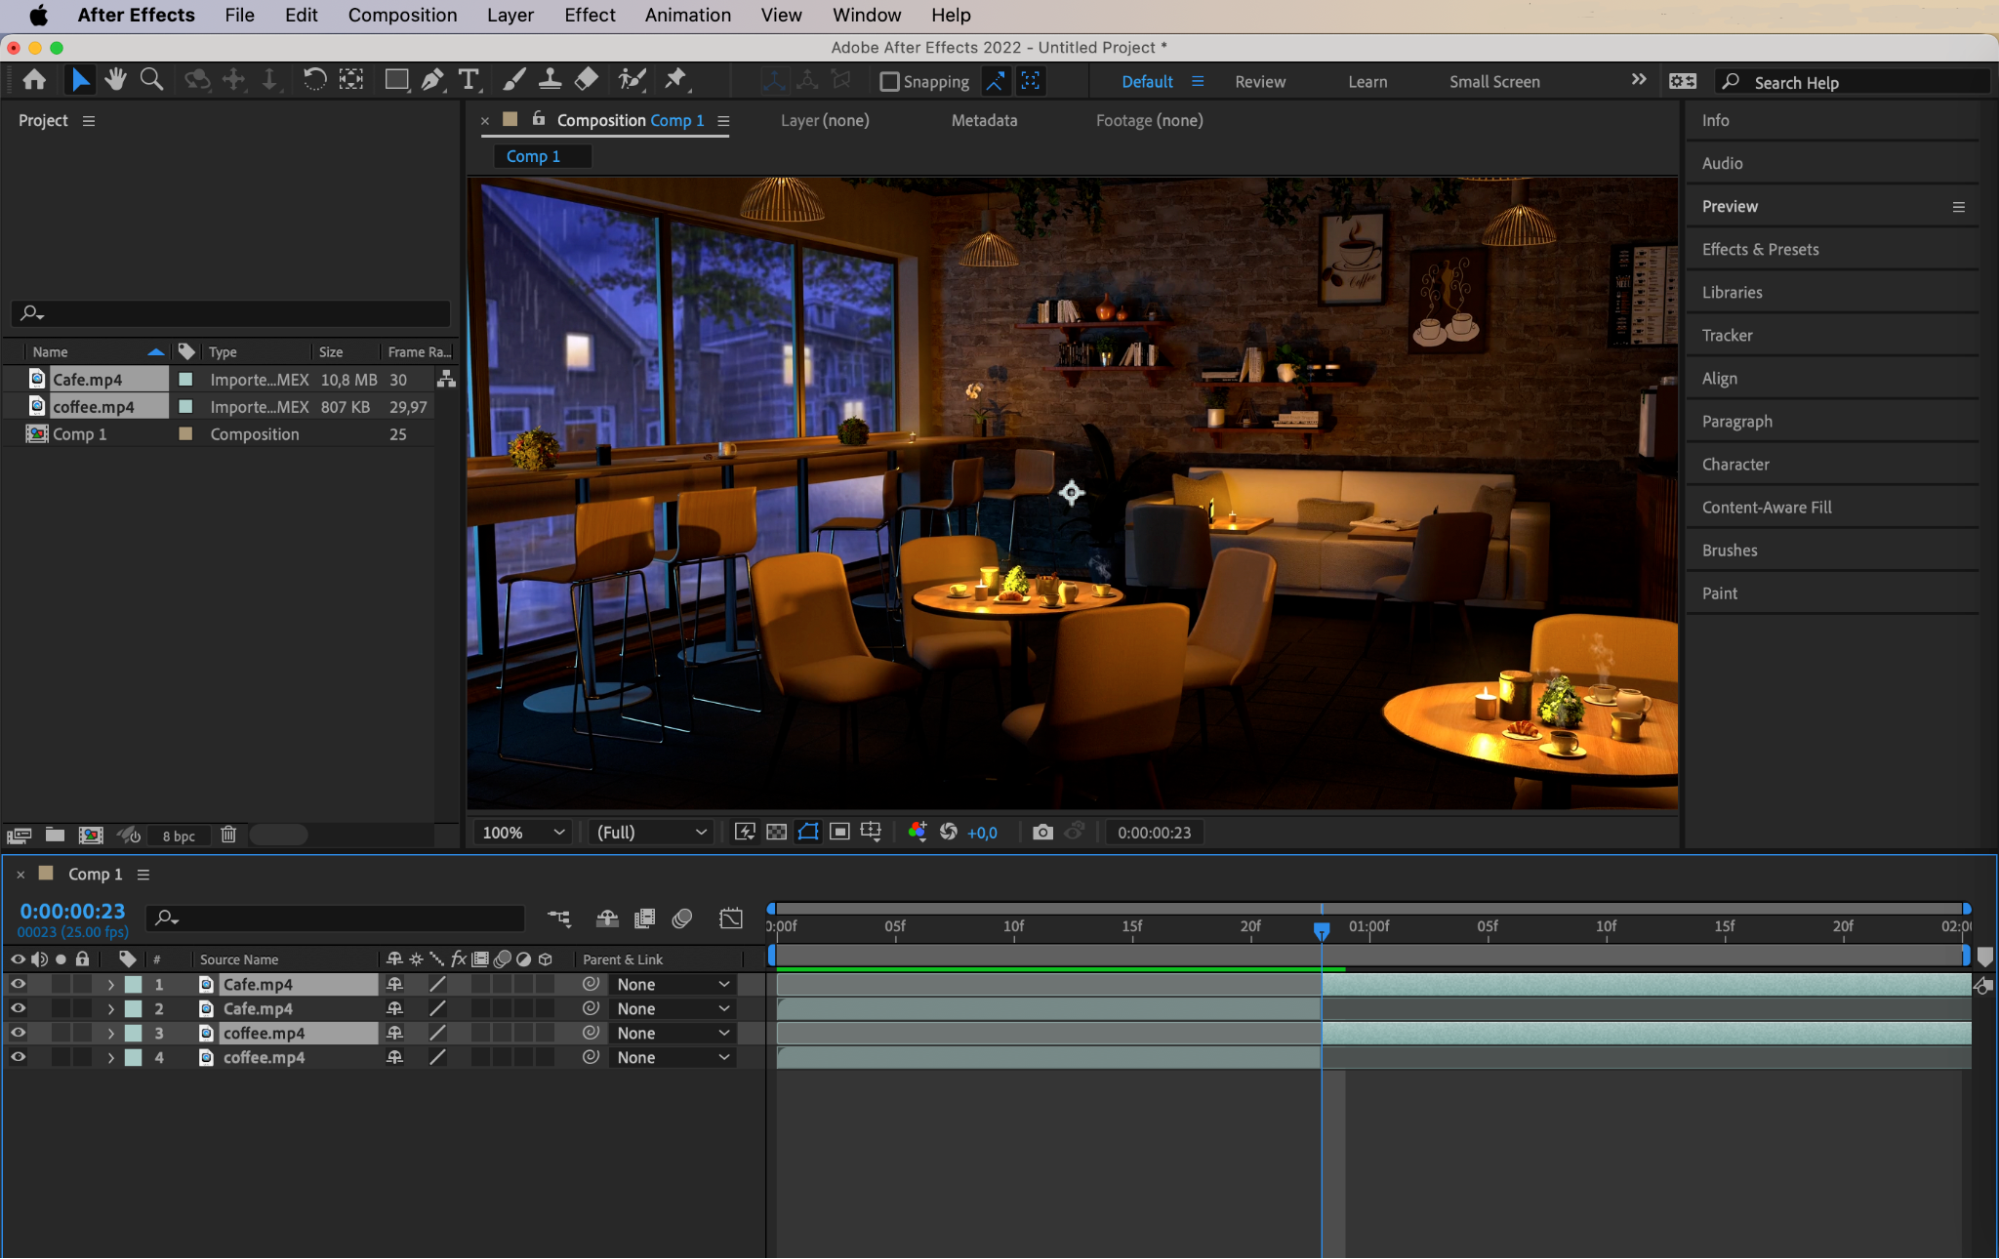 Step 3: Working with Timing and Animations
Timing plays a crucial role in video editing, especially when working with animations and motion graphics. After Effects allows you to adjust the timing of keyframes, effects, and transitions, synchronizing them with the rhythm of your video and creating dynamic visual effects.

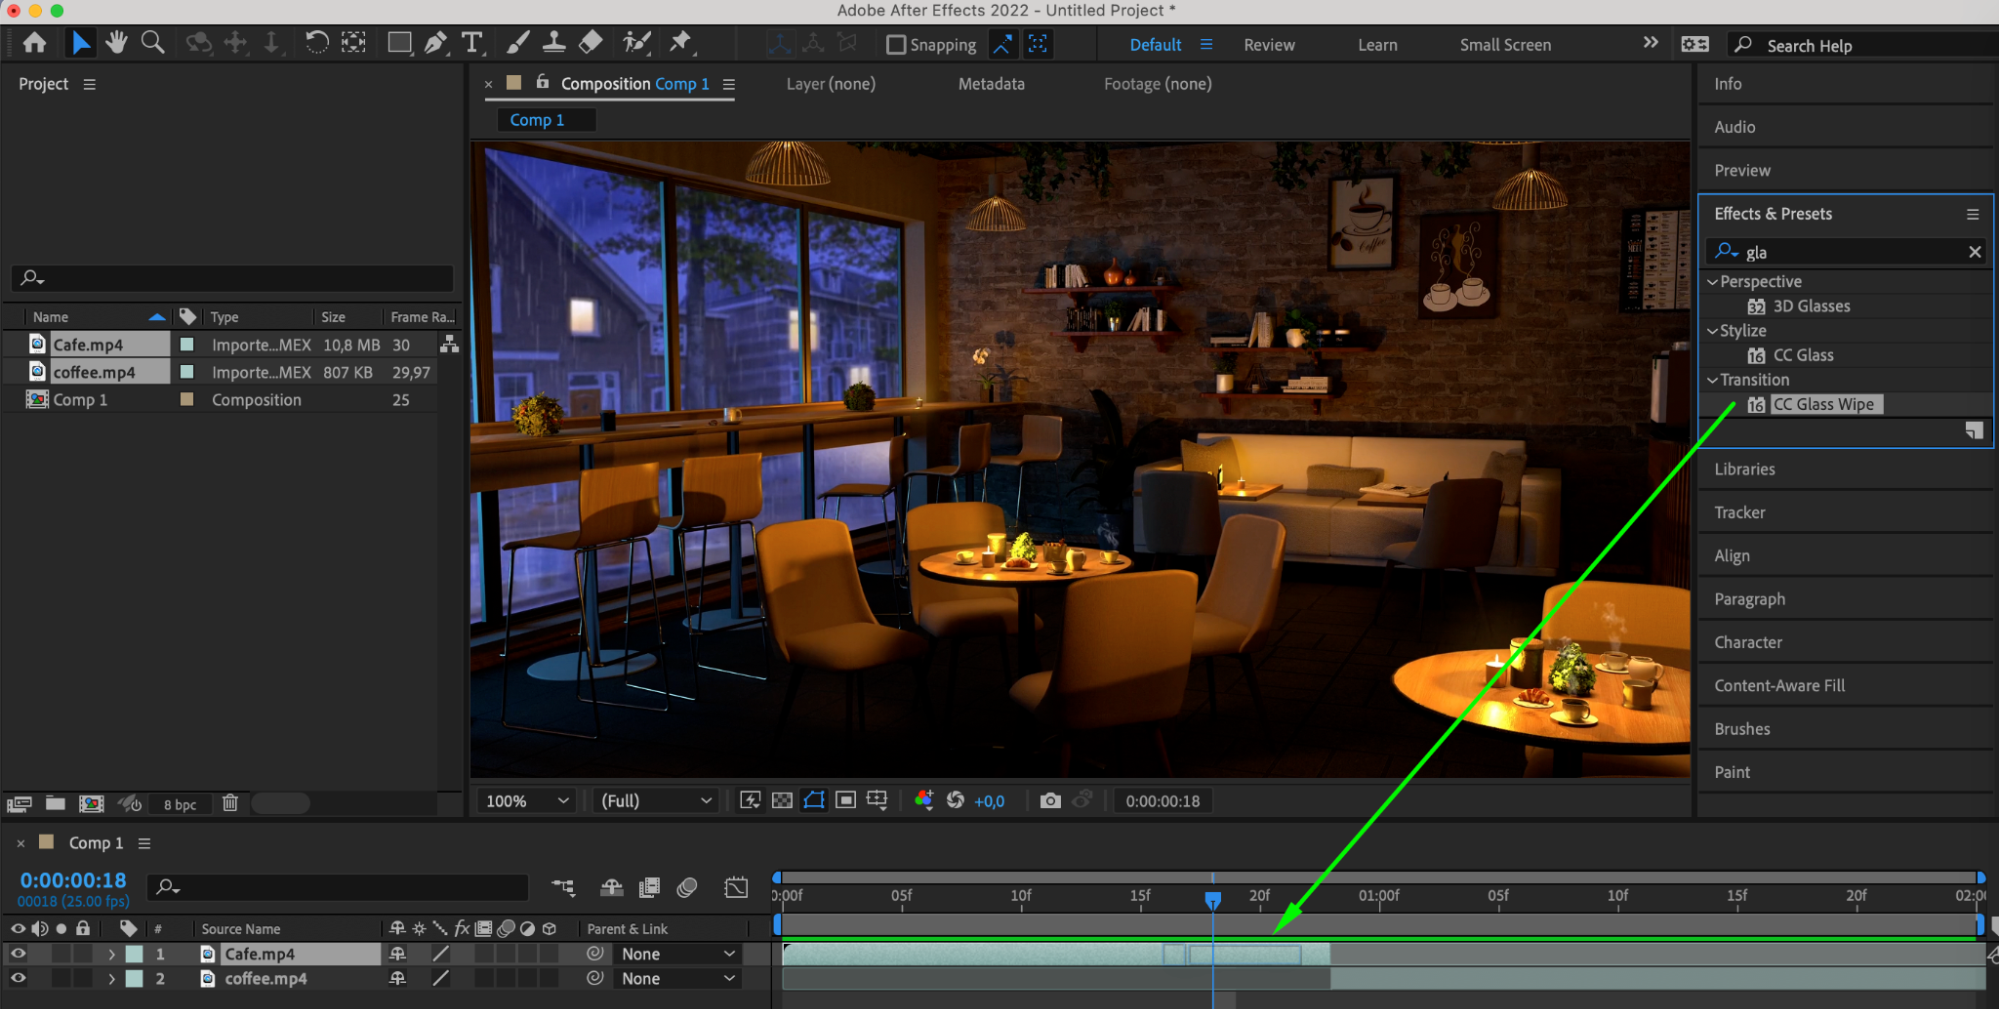
 Step 4: Using Transitions
Transitions play an important role in creating a smooth look in your videos. After Effects offers a wide range of transition effects and presets, allowing you to create a professional finish with smooth scene transitions.
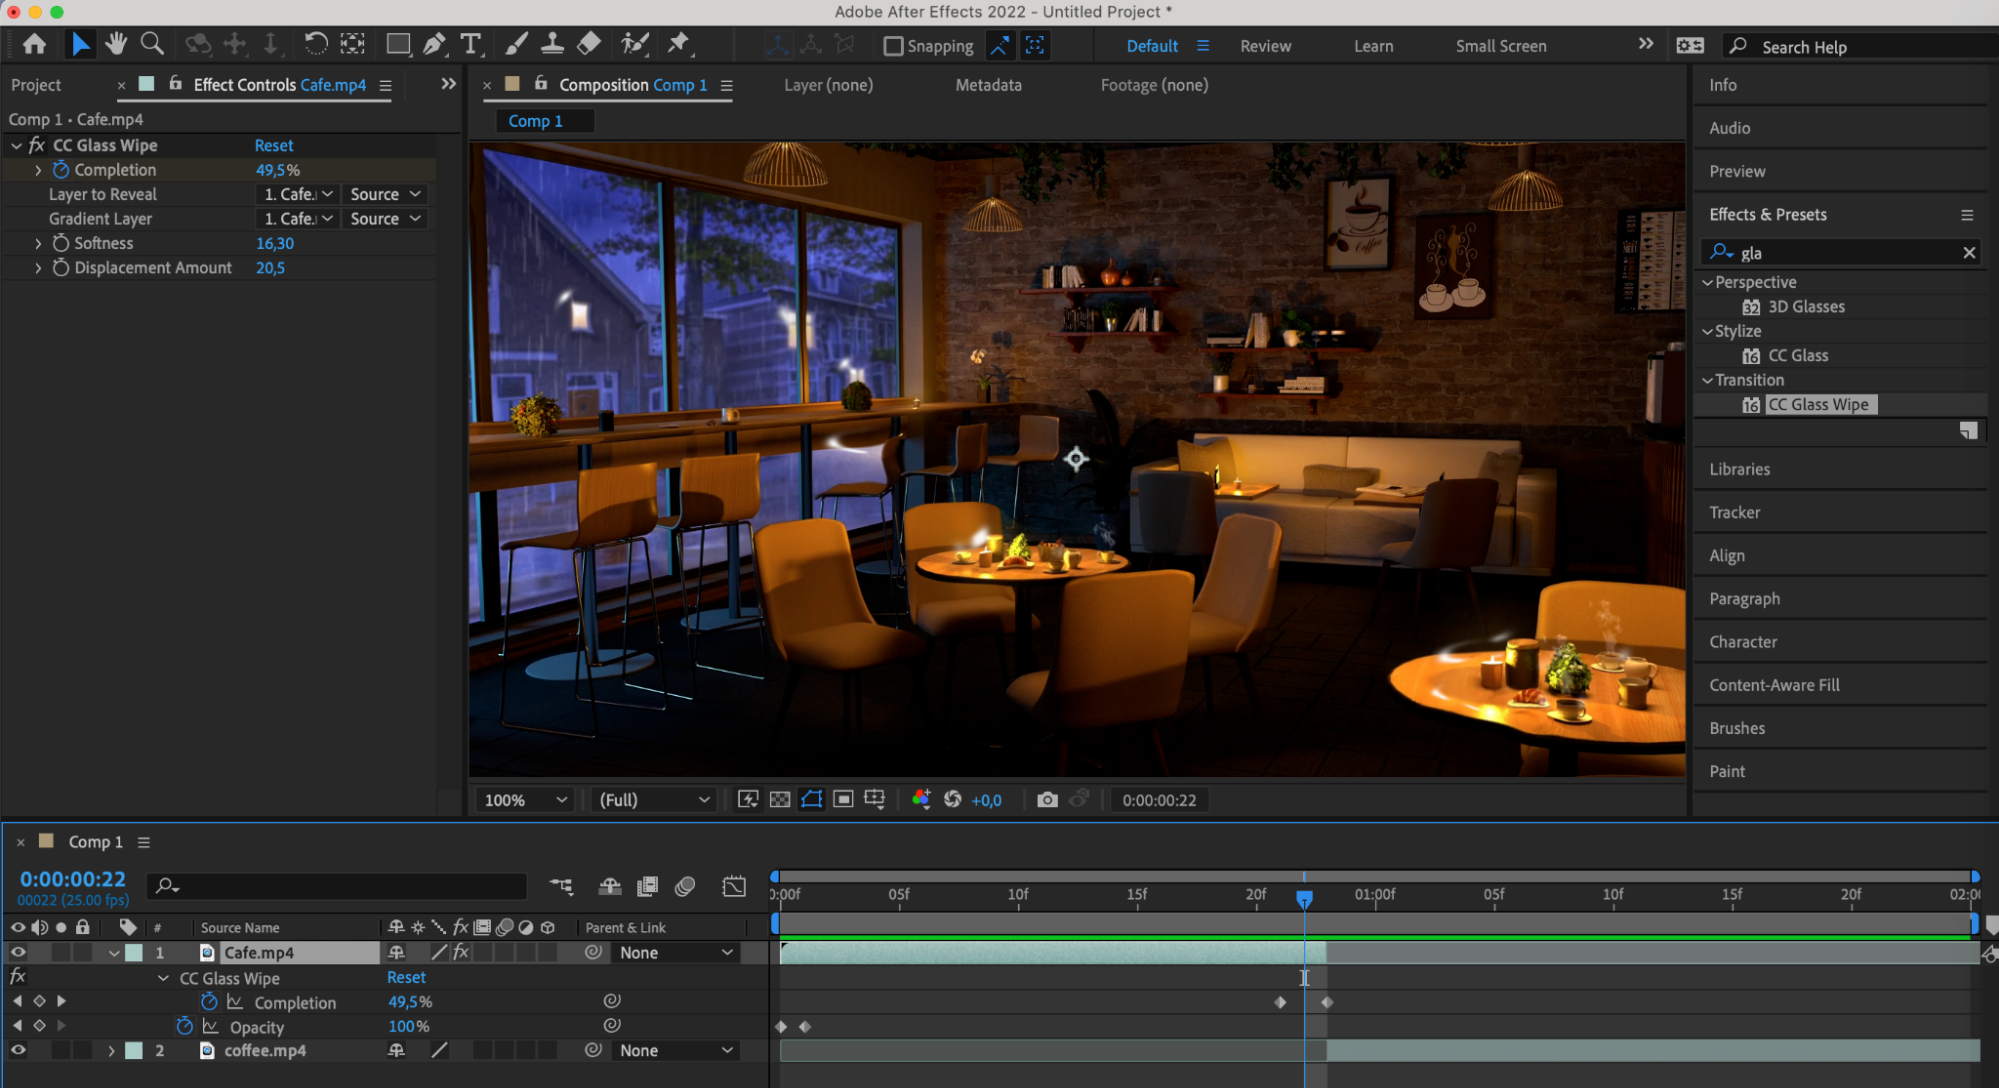 Step 5: Pre-Composition
With pre-composition, you can streamline your workflow. This allows you to easily make changes to specific parts of the video and maintain order in the project, ensuring smoother edits and changes.
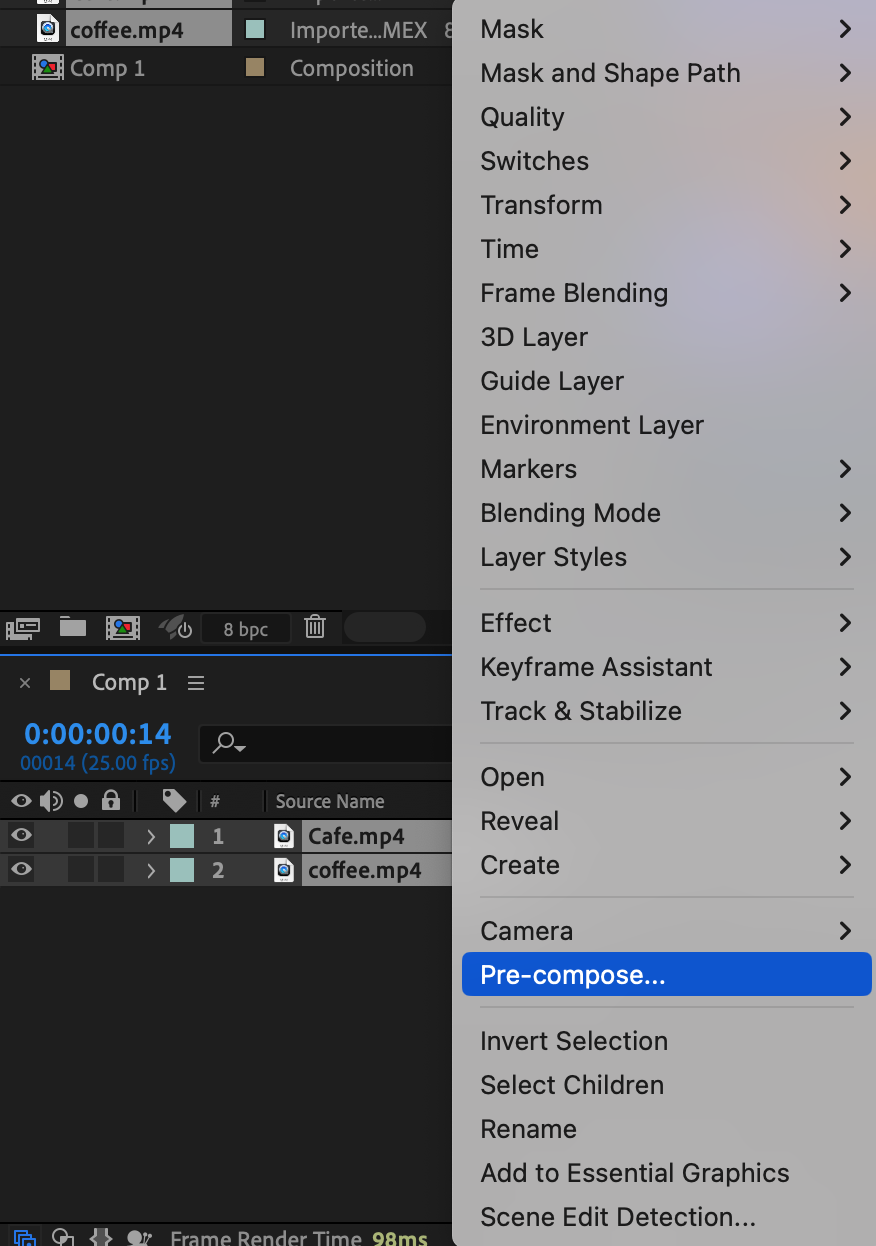

 Step 6: Unleashing Creativity
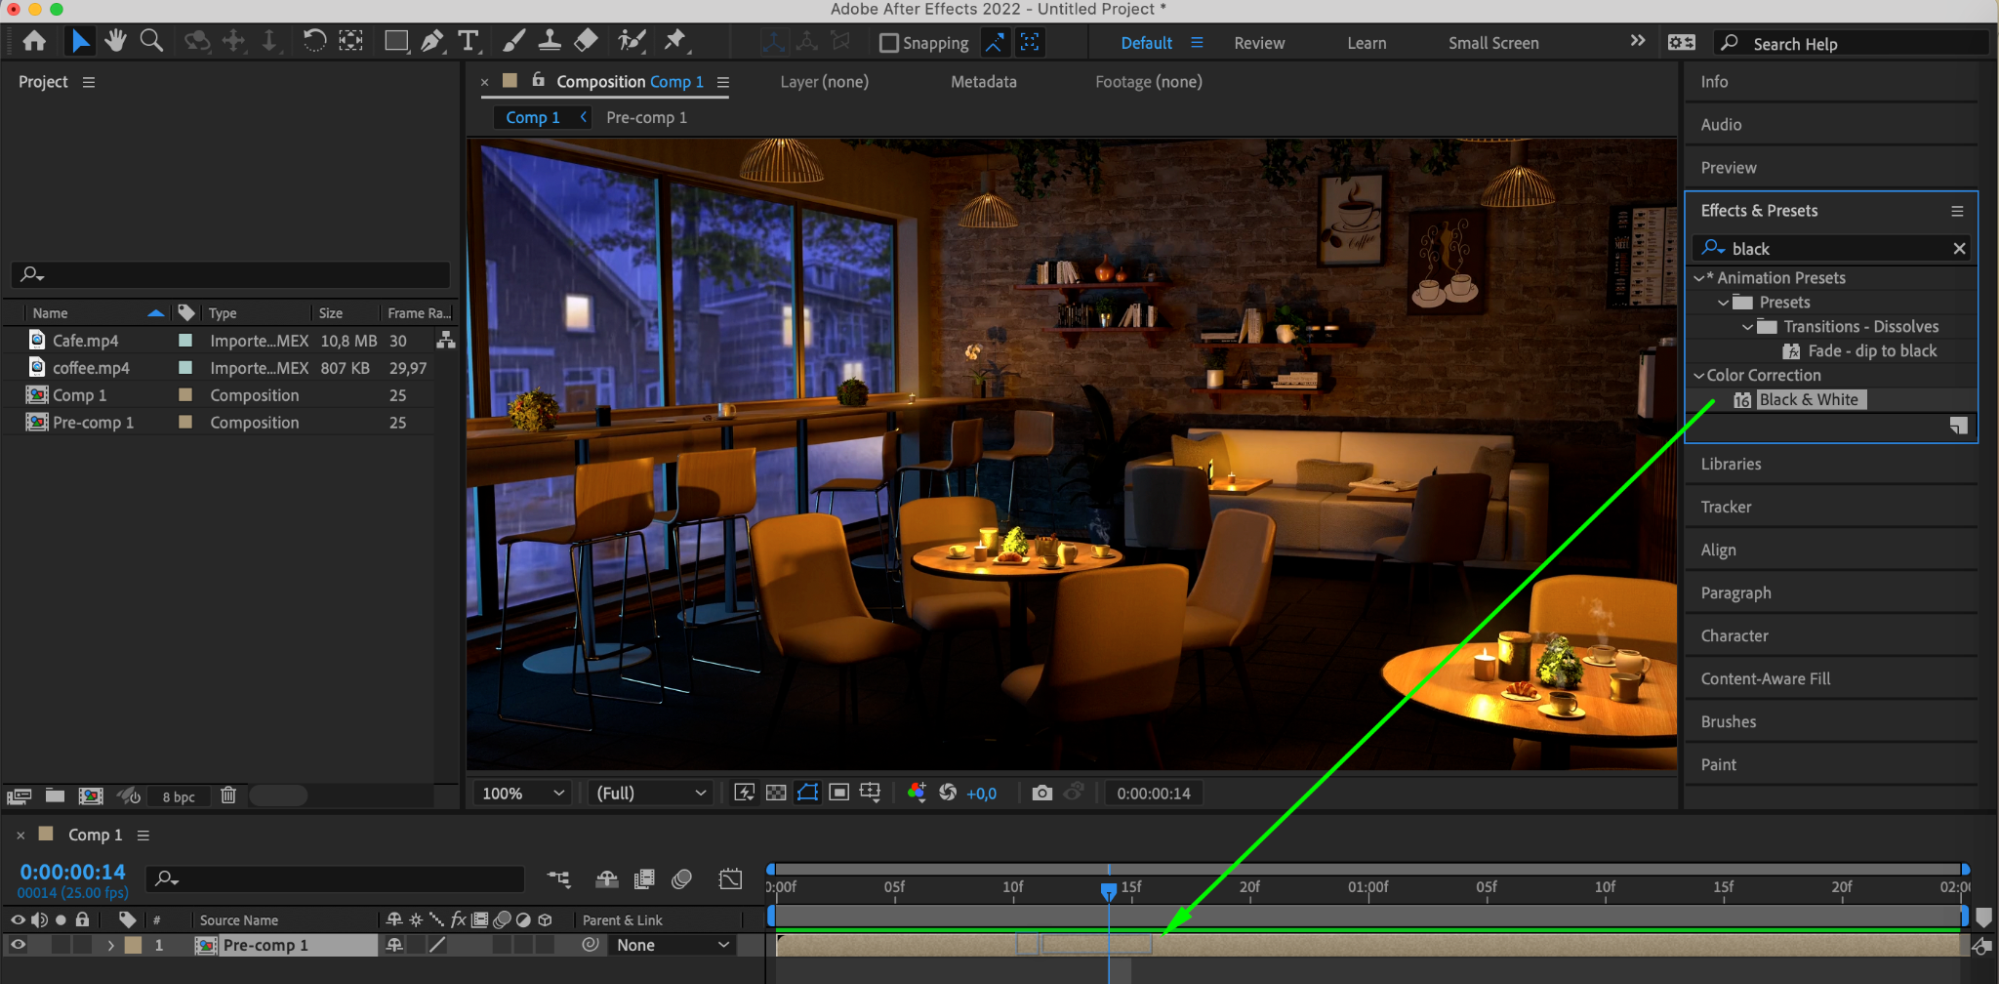
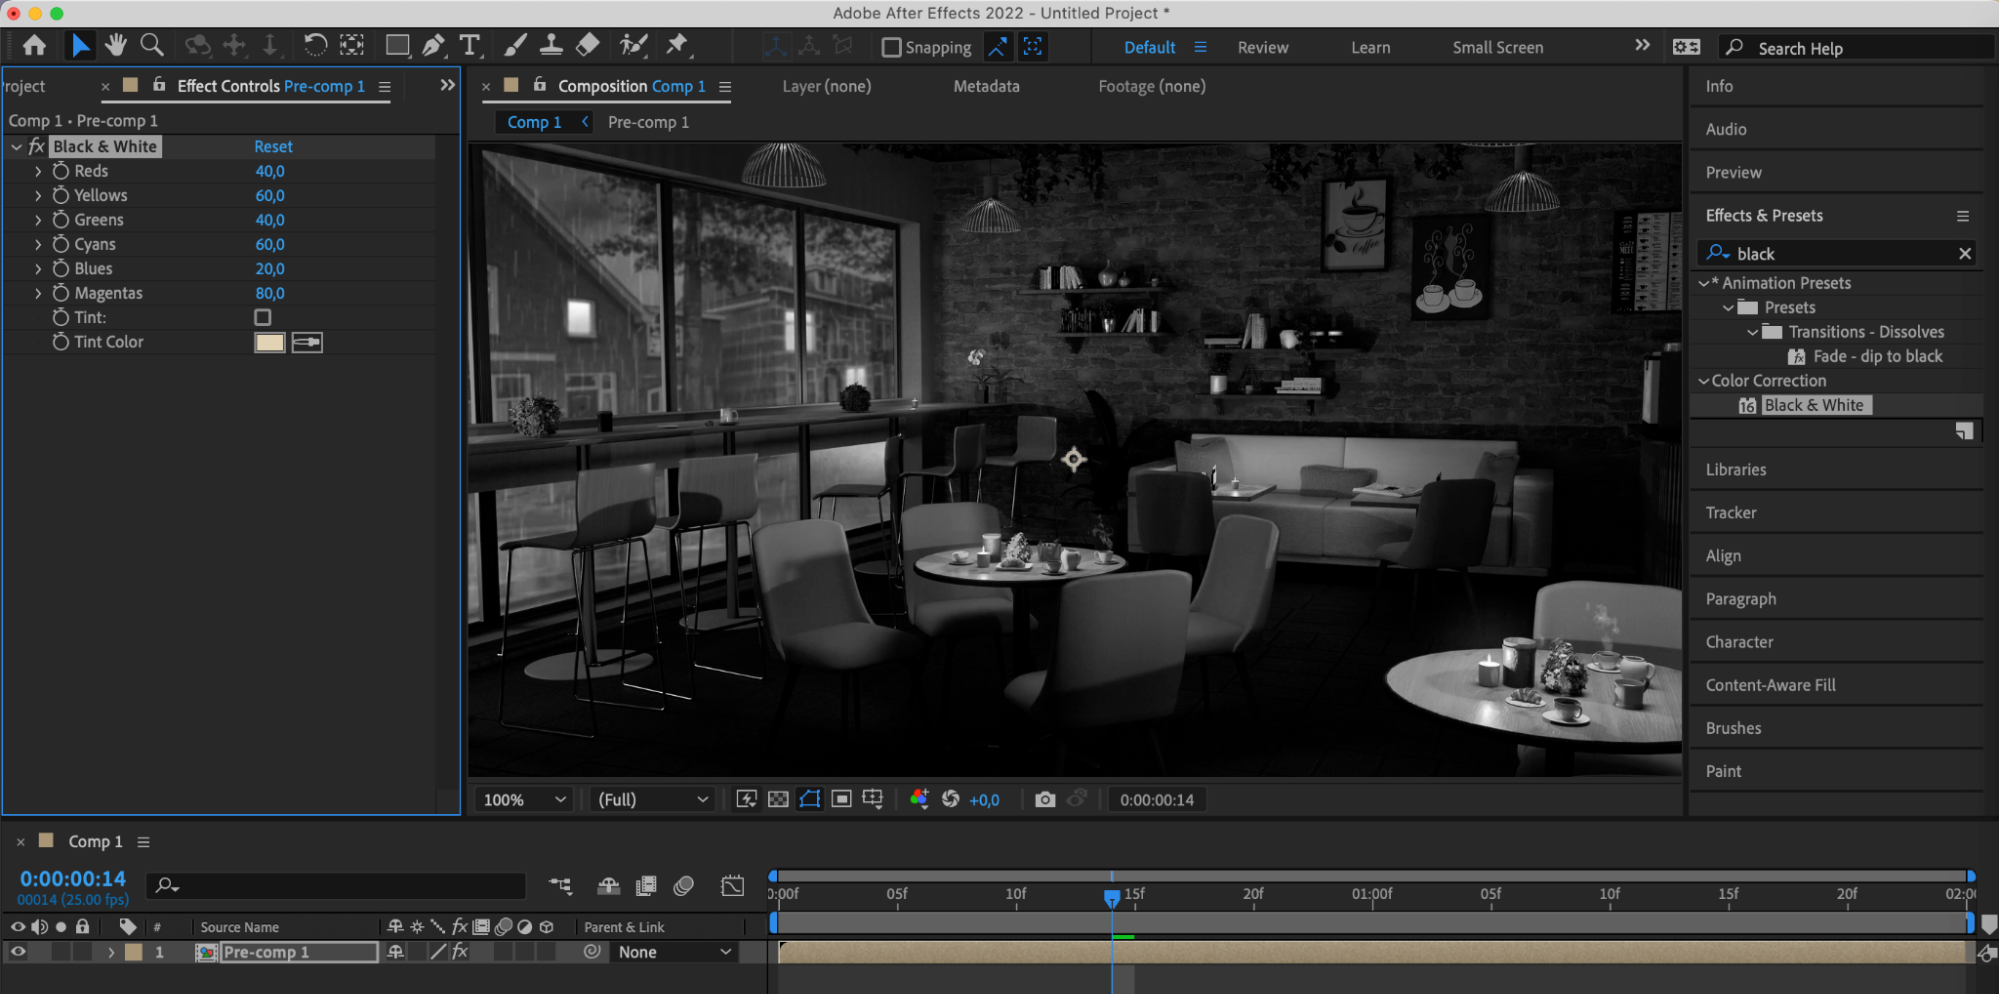
In addition to mastering the technical aspects of cropping and editing, don’t forget to unleash your creativity. Experiment with different editing techniques, effects, and filters to bring your unique vision to life. By pre-applying pre-composition to layers, you can immediately add effects, and they will be applied to every video layer in your project.
 Step 7: Preview and Final Touches
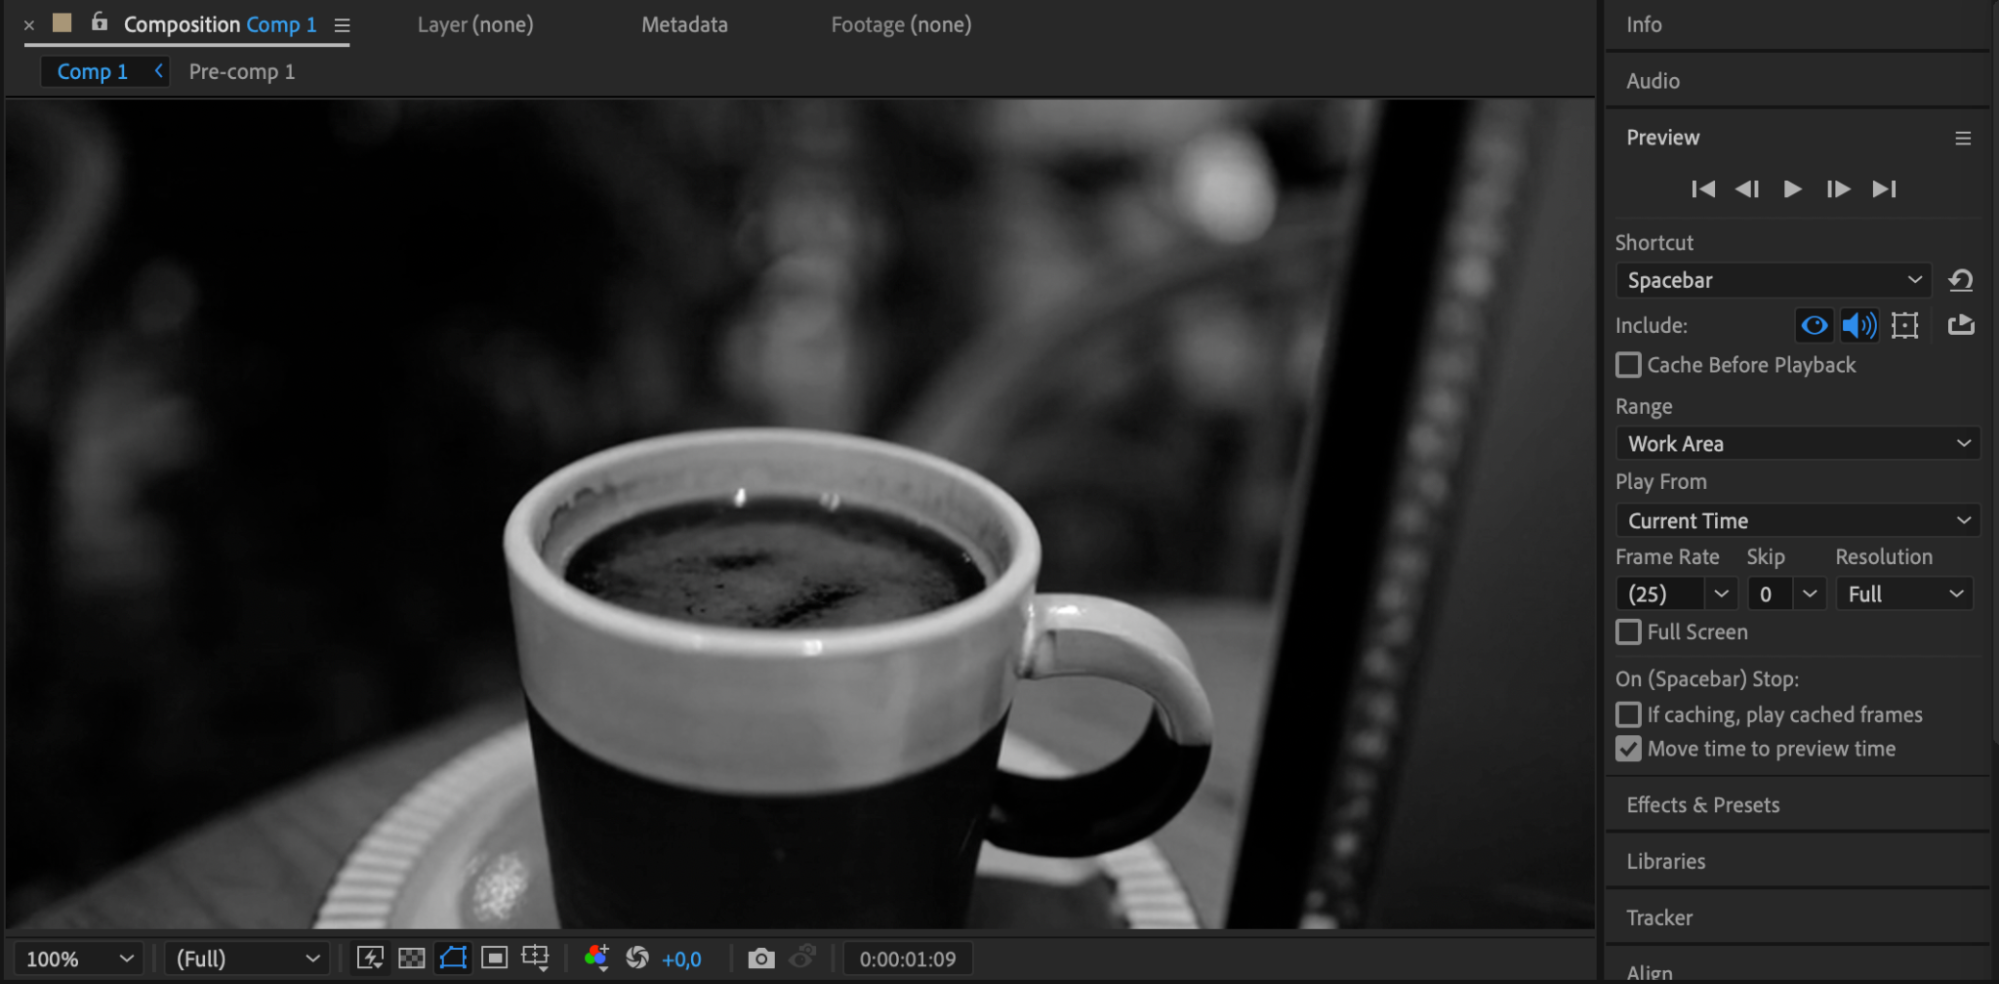
The final step is to preview your project before exporting. Use the preview feature in After Effects to ensure that all effects and transitions look as intended and make any final adjustments, ensuring the high quality of your video clip.
 Conclusion
Mastering trimming and editing in After Effects opens up a world of creative possibilities for your video projects. By implementing these techniques, you can elevate the quality of your work and captivate your audience with professional-looking results.


