Mastering Timeline Trimming in After Effects
Introduction to Timeline Trimming
Trimming the After Effects timeline is crucial for efficient video editing. It allows you to control the timing and duration of your clips, transitions, and visual elements. By trimming the timeline, you can remove unwanted sections, adjust animation timing, and create seamless effects.
Get 10% off when you subscribe to our newsletter

In this comprehensive guide, we will explore techniques and tools to help you trim the After Effects timeline like a pro. Whether you’re a beginner or advanced user, these tips and tricks will optimize your workflow and deliver professional-quality videos.
Let’s dive in!
Techniques and Tools for Trimming the After Effects Timeline
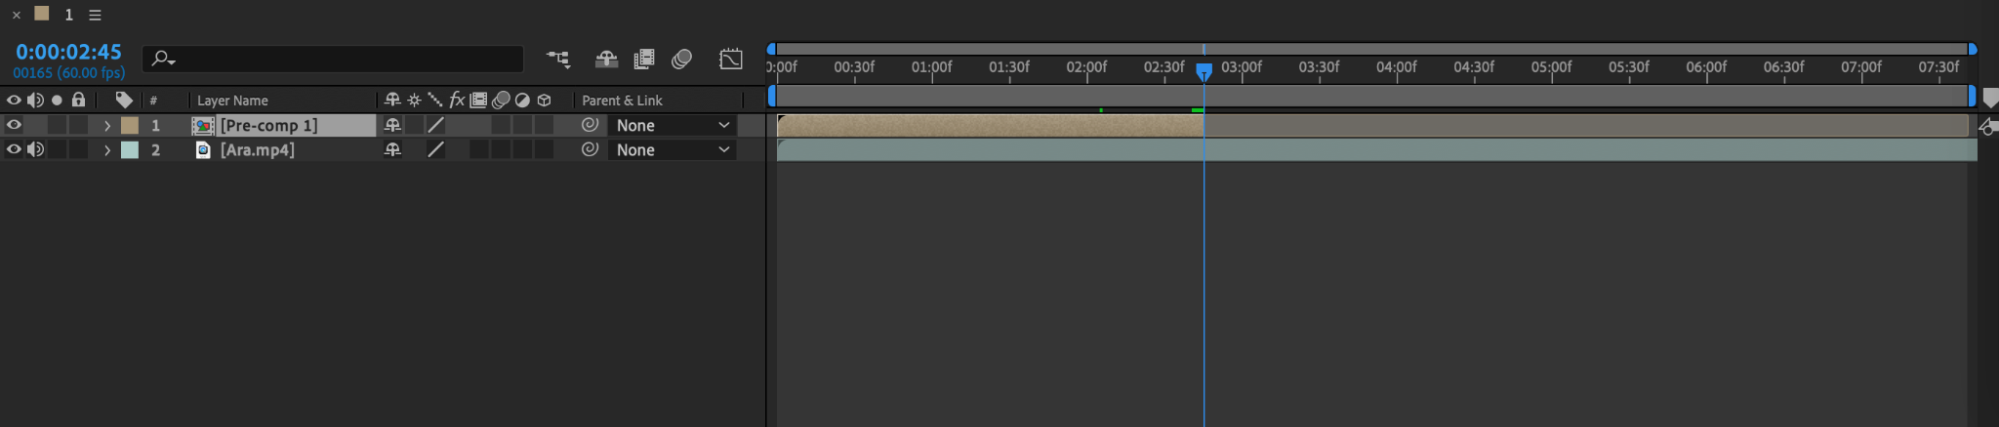
Step 1: Trim Layers with the Mouse
Get 10% off when you subscribe to our newsletter
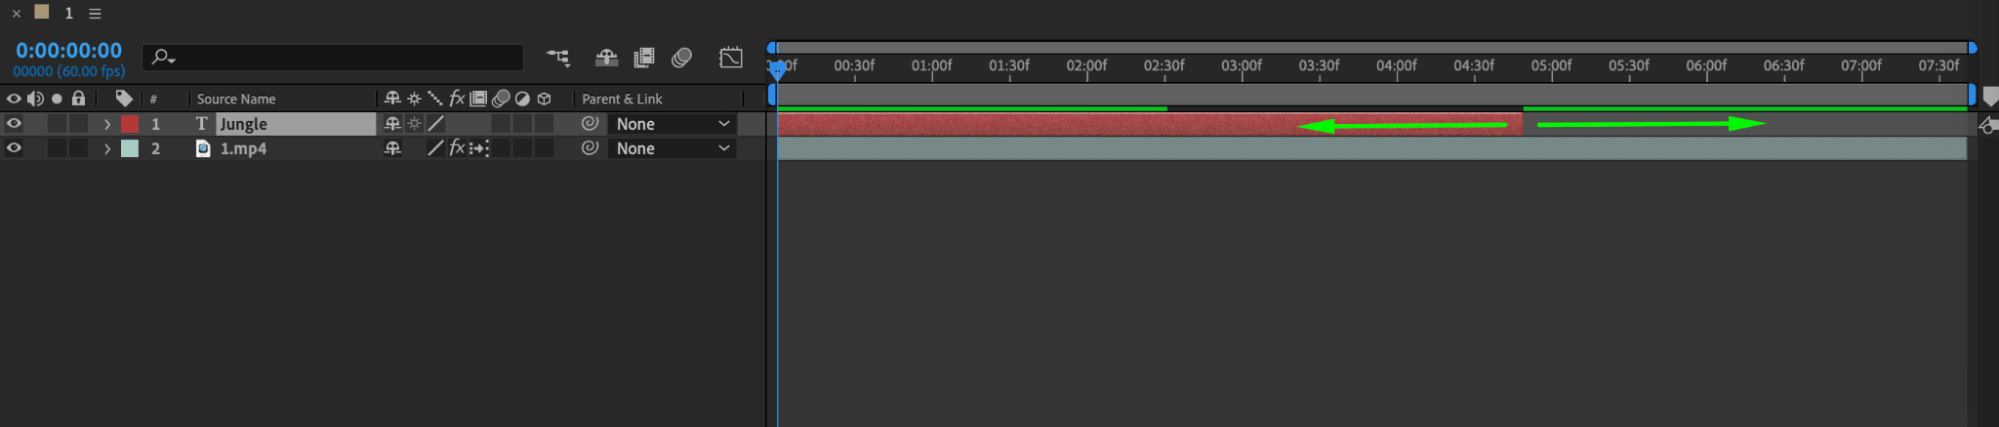
To trim a layer using your left mouse button, simply click on the layer in the timeline. Then, position your cursor at the beginning or end of the layer until it changes to a trim icon. Click and drag the edge of the layer to the desired position to trim it.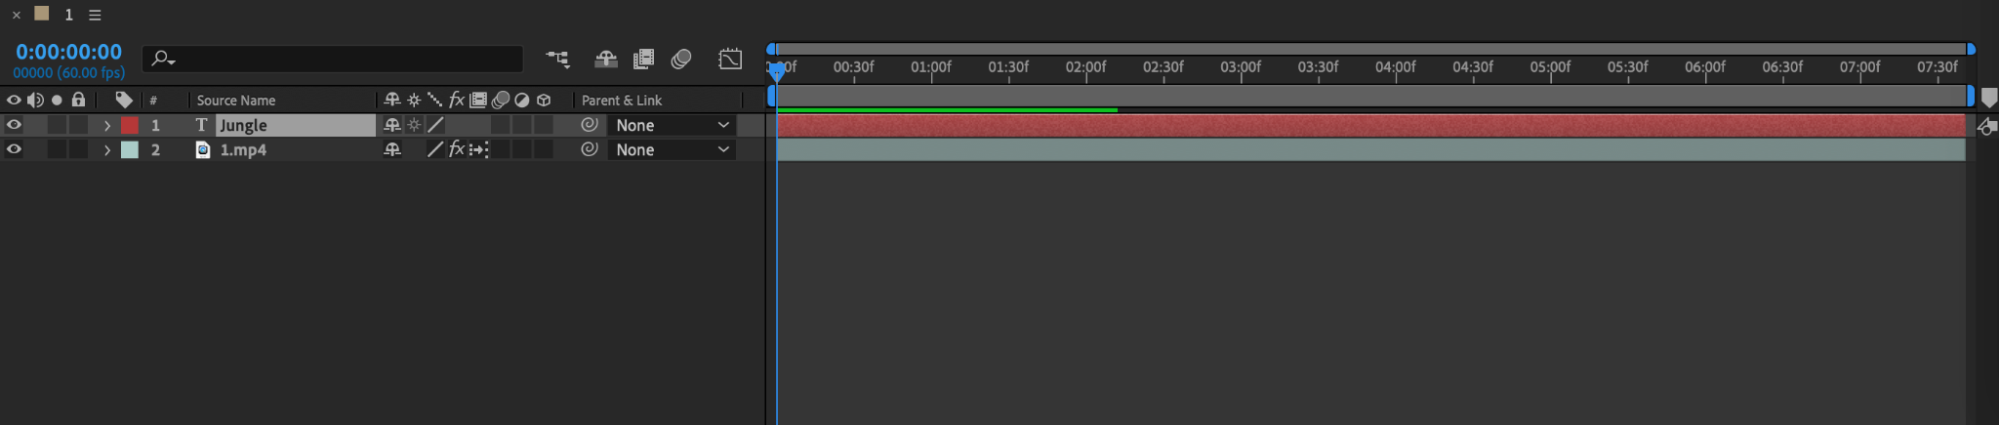
 Step 2: Use the Current Time Indicator and Hotkeys
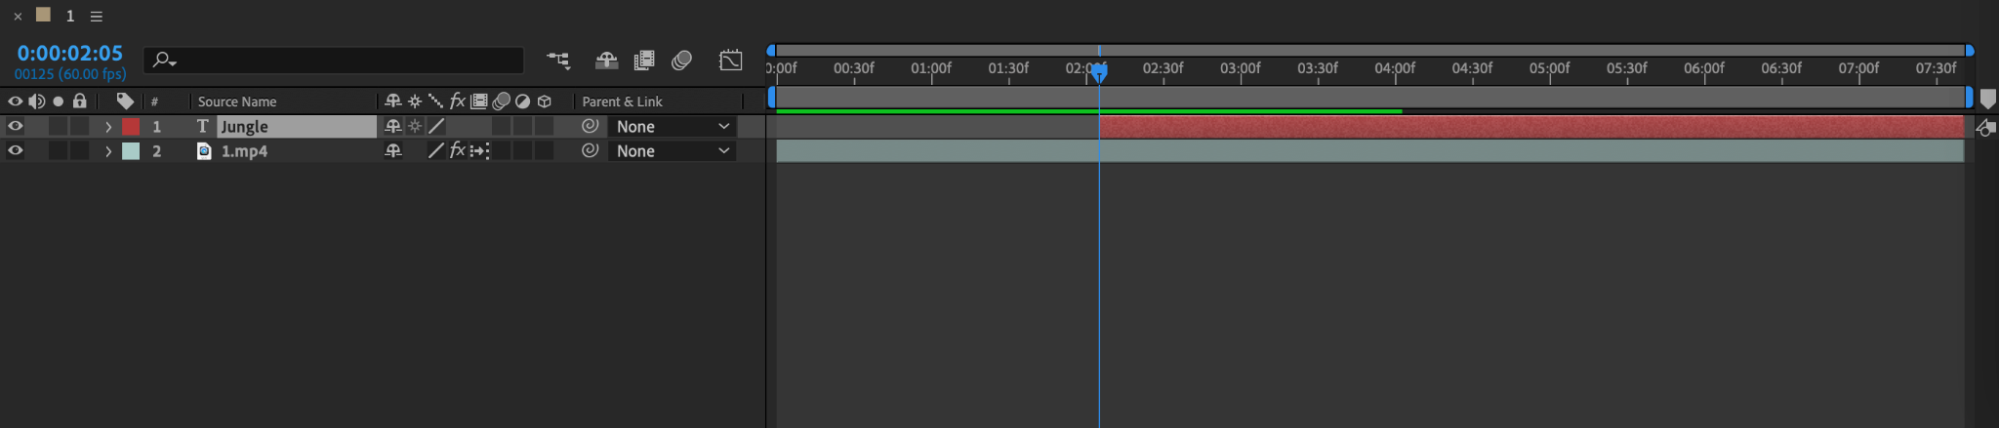
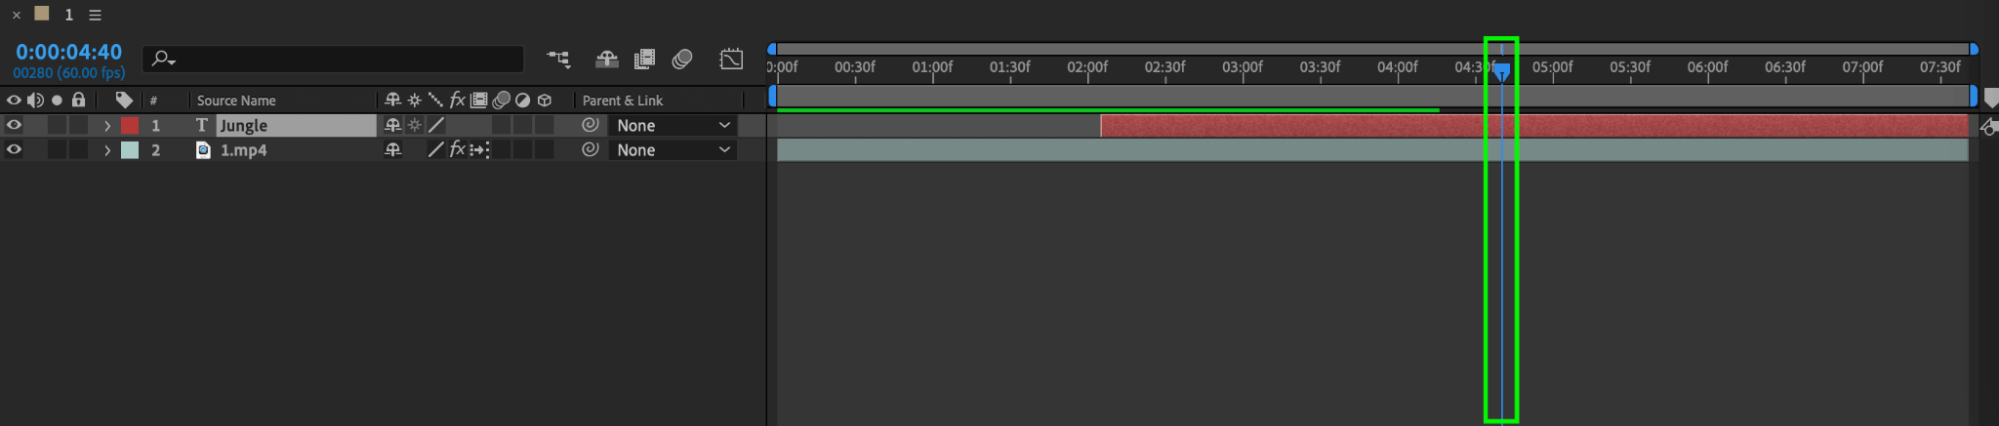
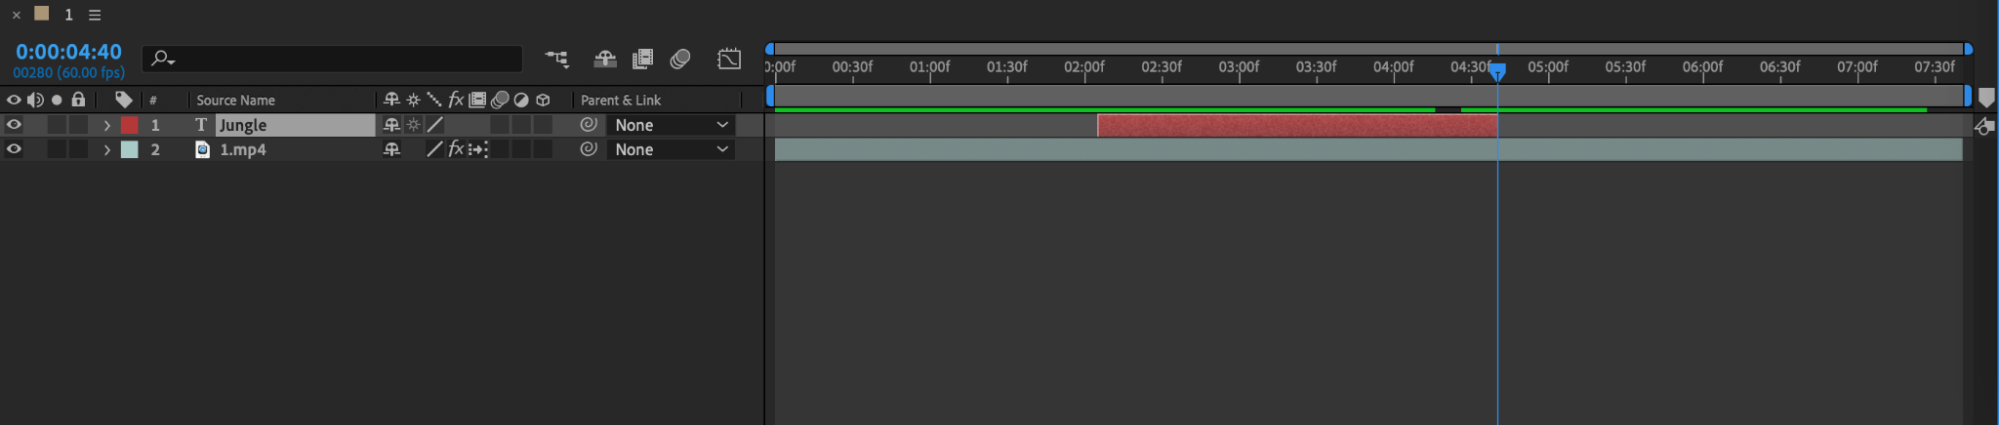
Utilize the current time indicator to find the exact point where you want to trim your layer. Place the indicator at the desired trim point and use the hotkeys “Alt/Option + [” to trim the start of the layer or “Alt/Option + ]” to trim the end. This method ensures precise trimming based on the current time position.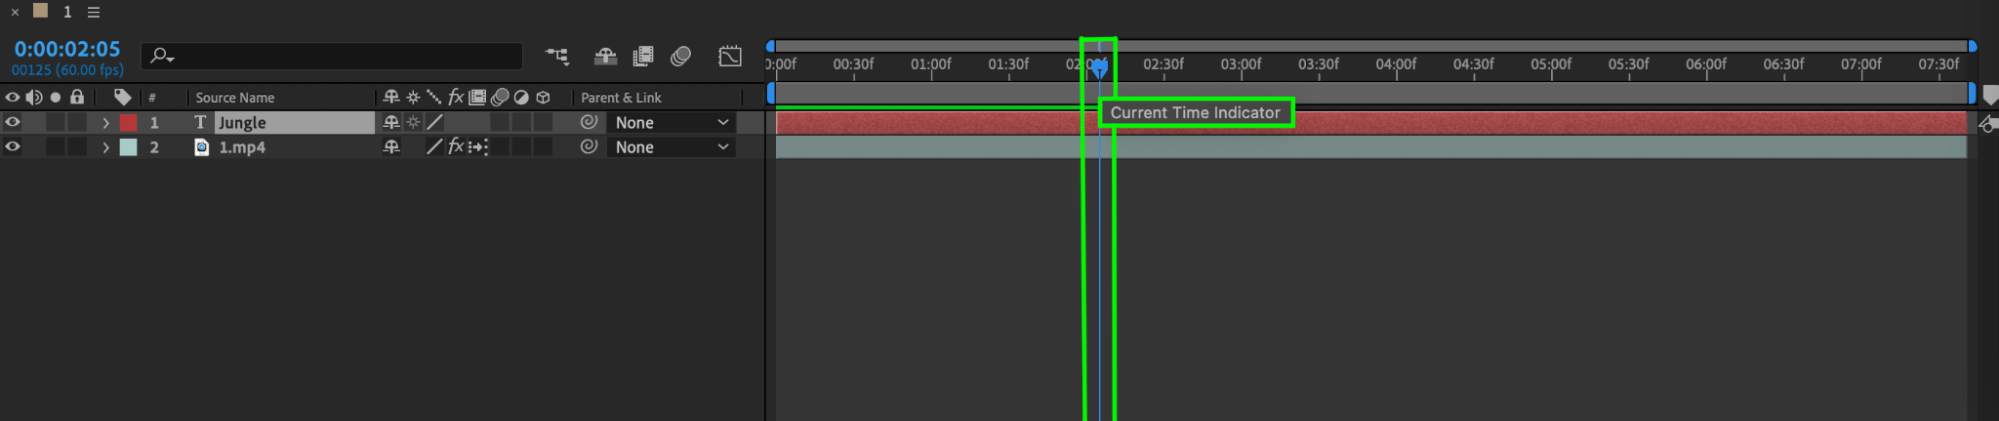
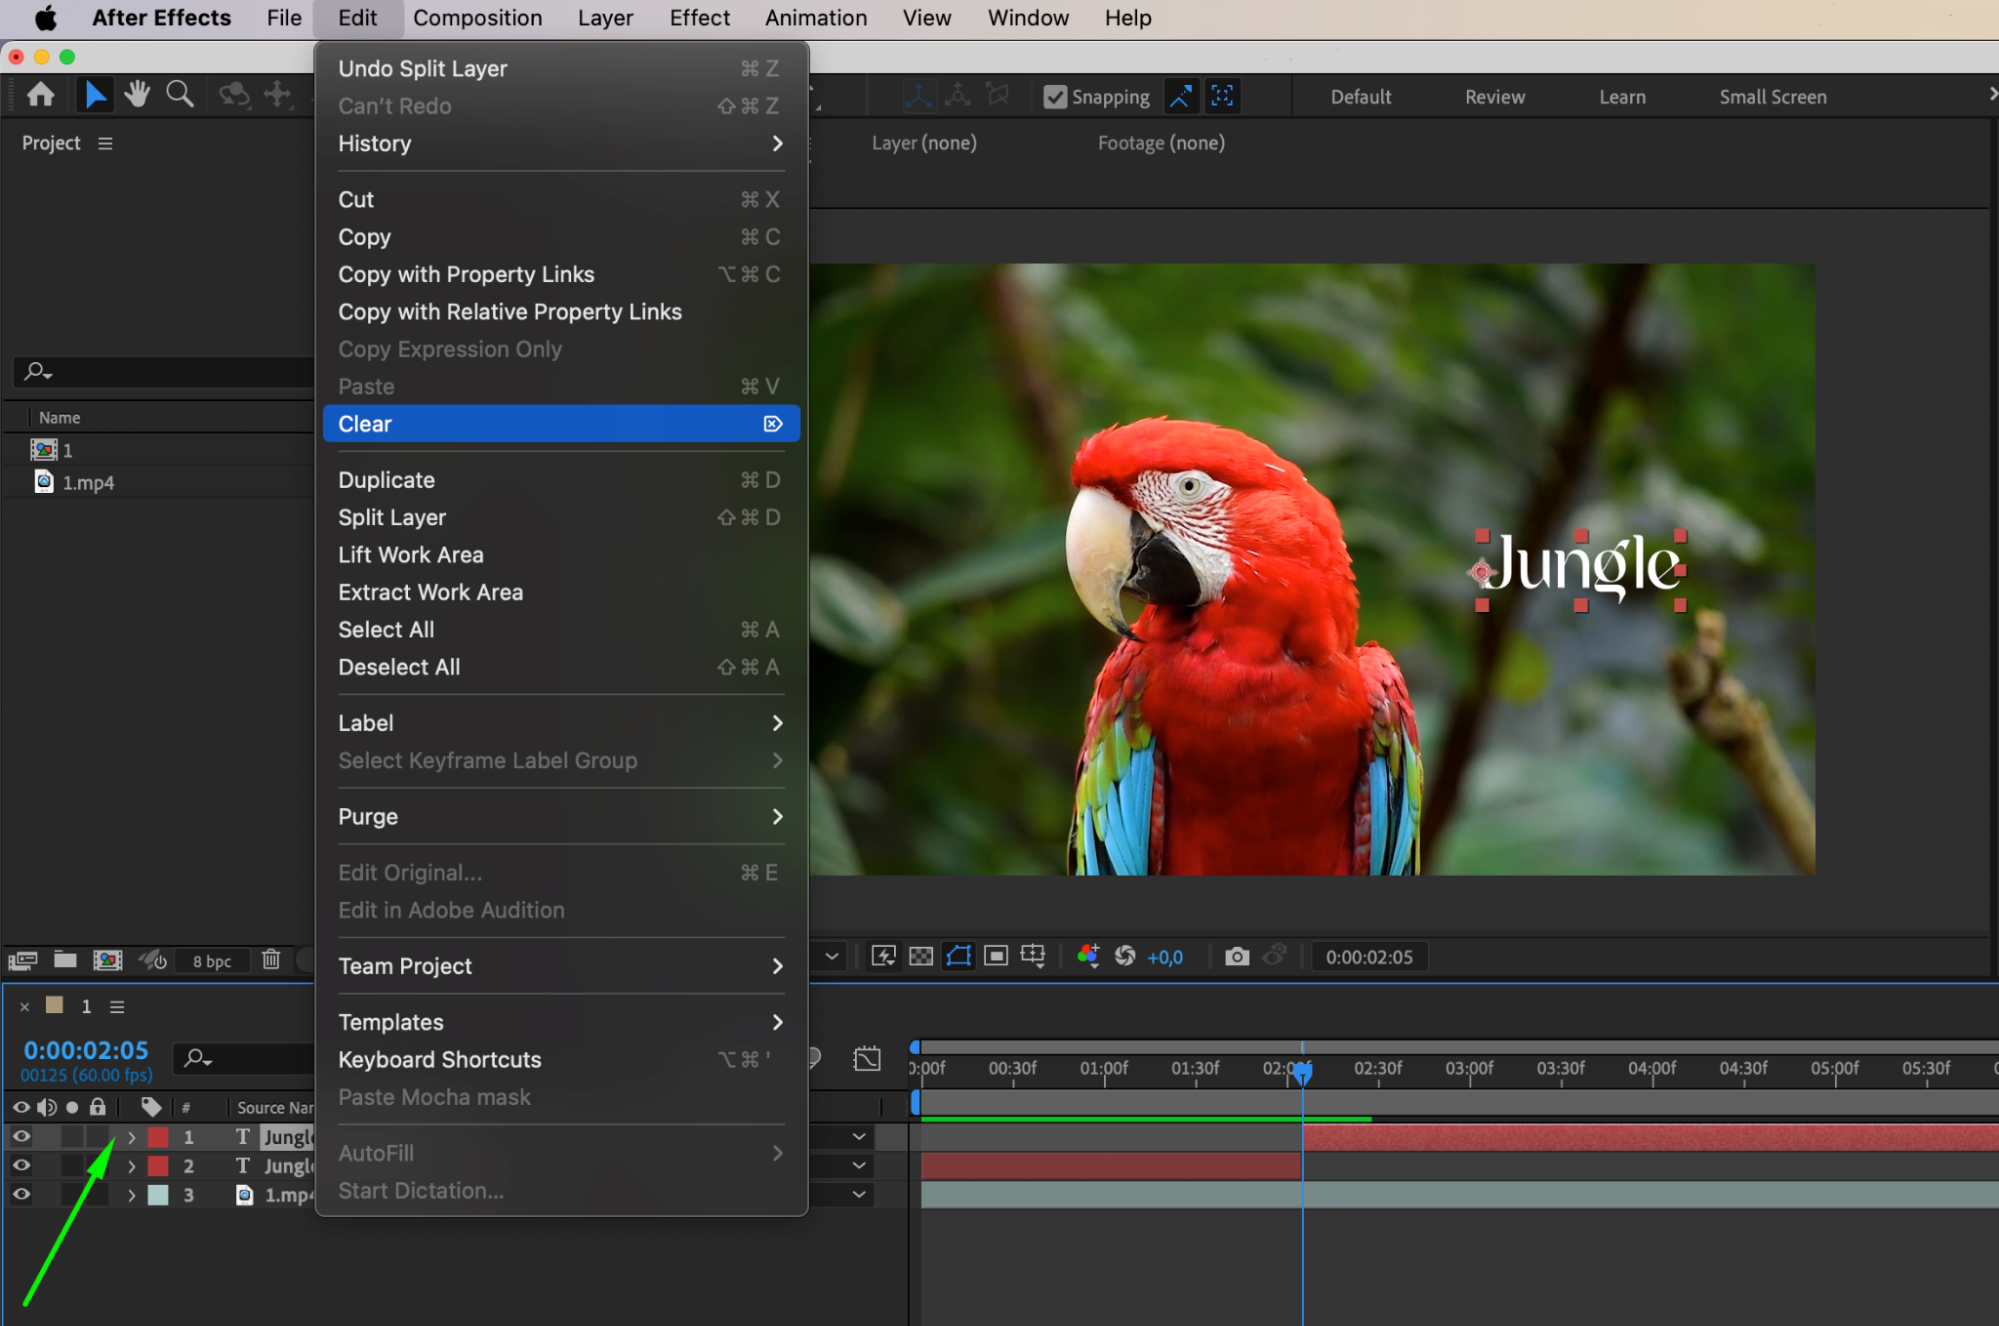
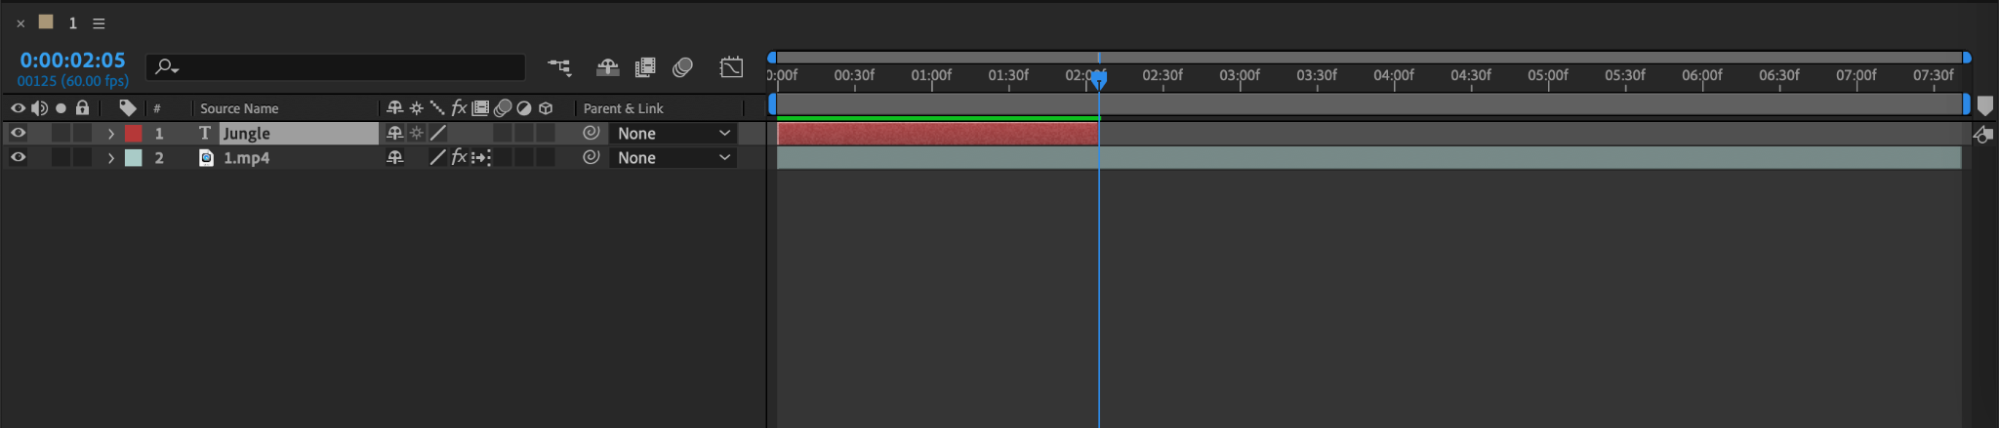
 Step 3: Split Layers with Keyboard Shortcuts
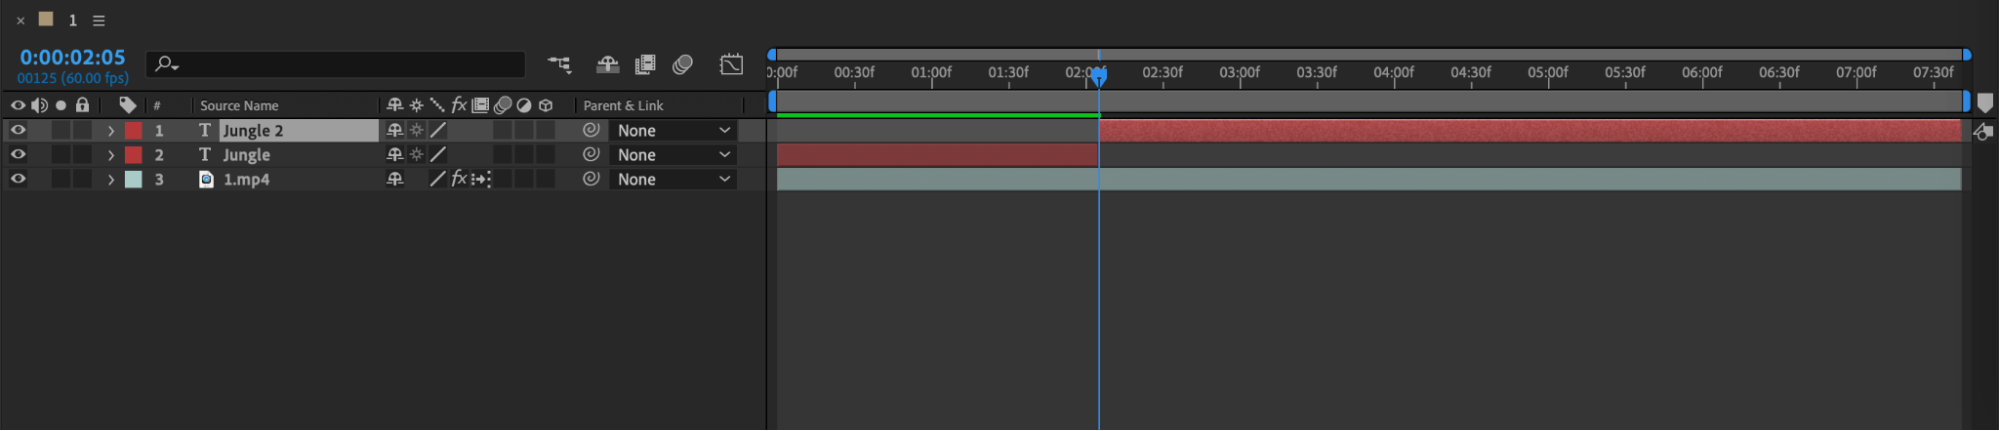
Keyboard shortcuts can significantly speed up your trimming process. Use “Ctrl/Cmd + Shift + D” to split a layer at the current time indicator position. This will create two separate layers. You can then delete the unnecessary part of the layer by selecting it and pressing the “Delete” key.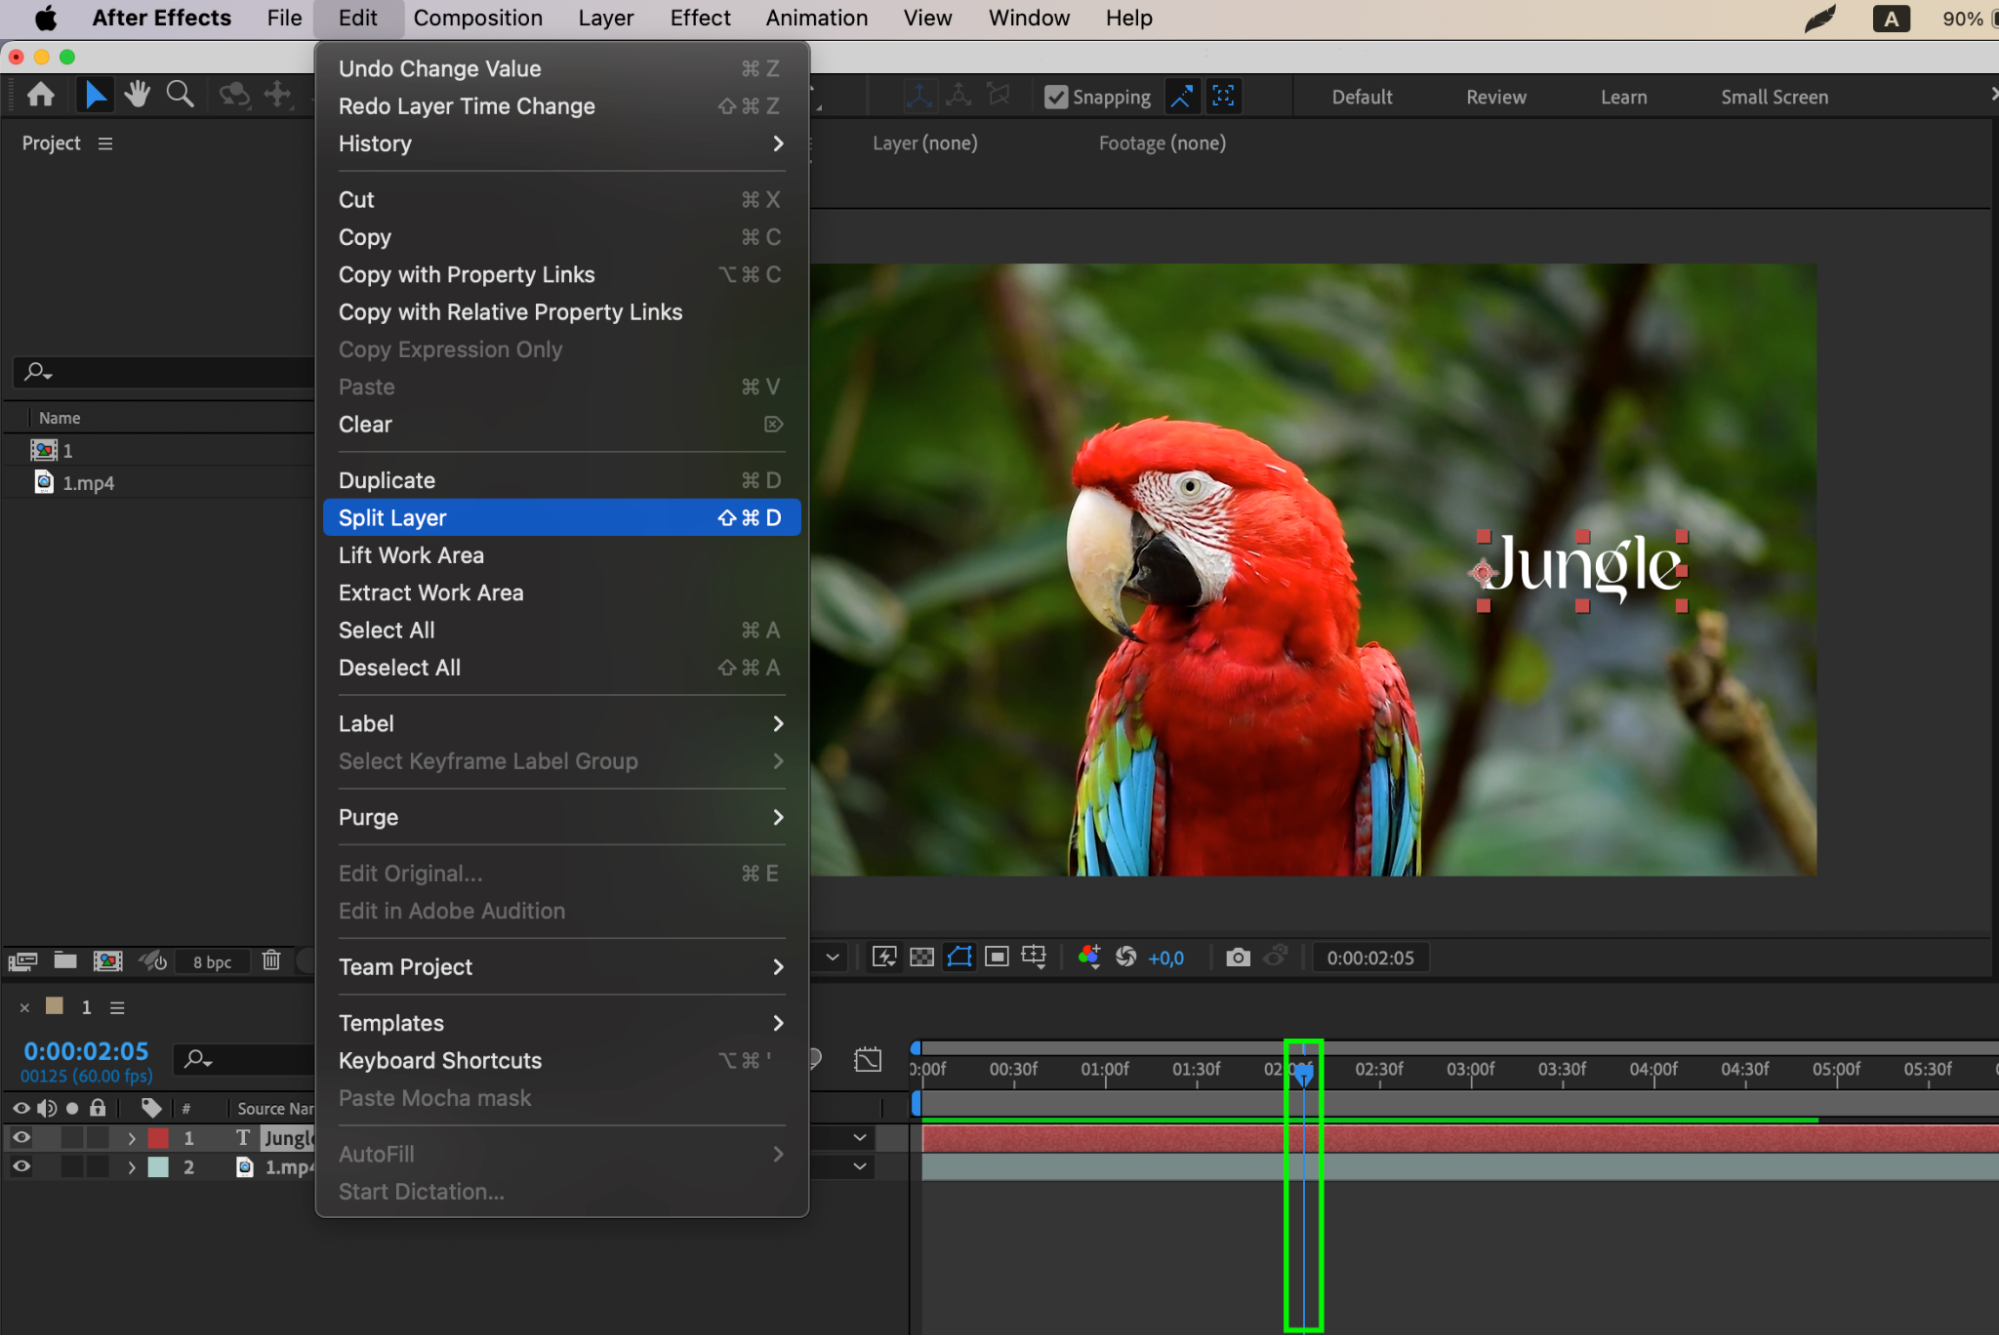
 Step 4: Precompose for Better Control
Get 10% off when you subscribe to our newsletter
Precomposing layers can provide more control when trimming complex compositions. Select the layers you want to trim, right-click, and choose “Precompose” to create a new composition. This allows you to trim and animate the layers independently without affecting the overall composition.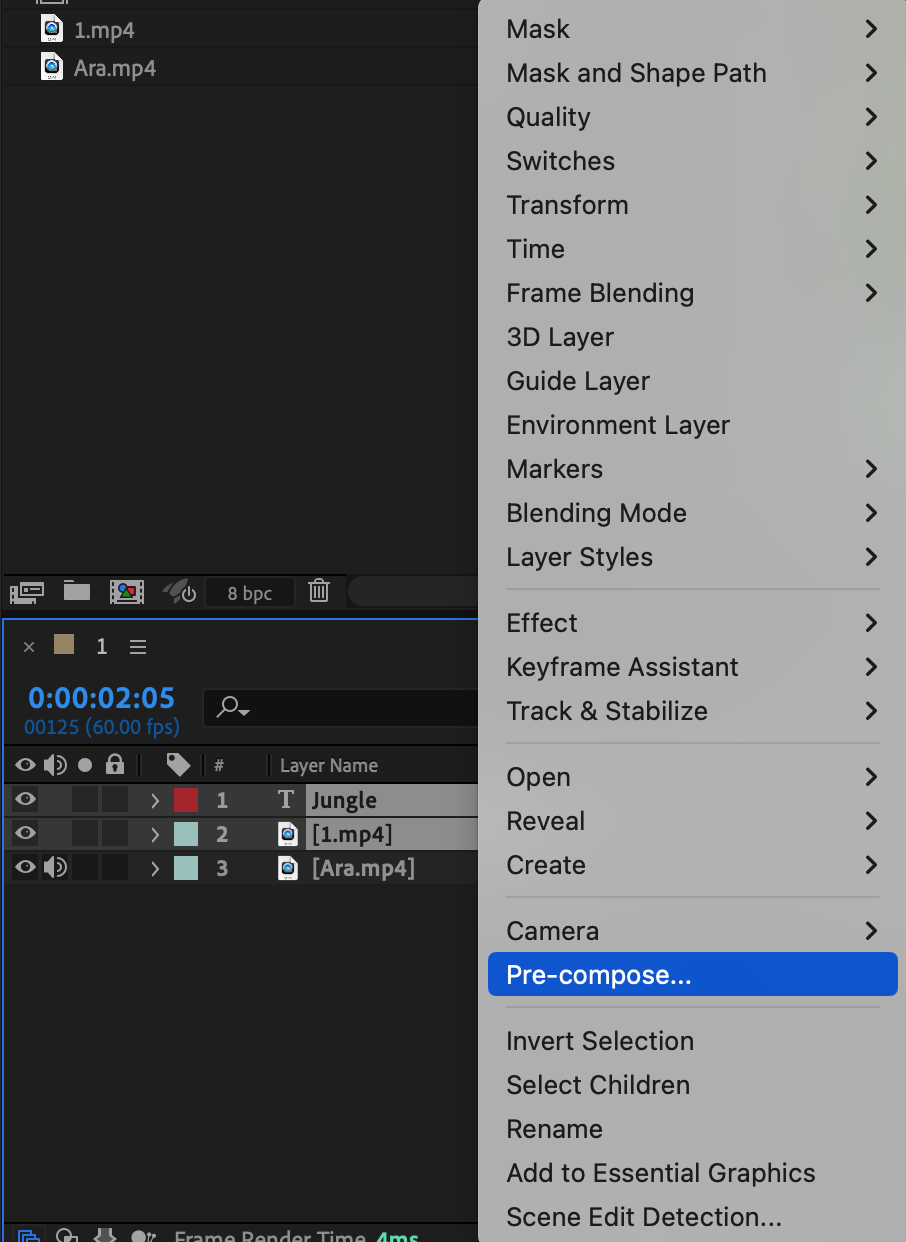
 Step 5: Utilize Zoom and Pan
Adjusting zoom and panning helps achieve precise trimming. Use the scroll wheel on your mouse or the zoom slider at the bottom of the timeline panel to zoom in or out. Click and drag the timeline to pan. Finding the right zoom level and position makes trimming tasks easier and more accurate.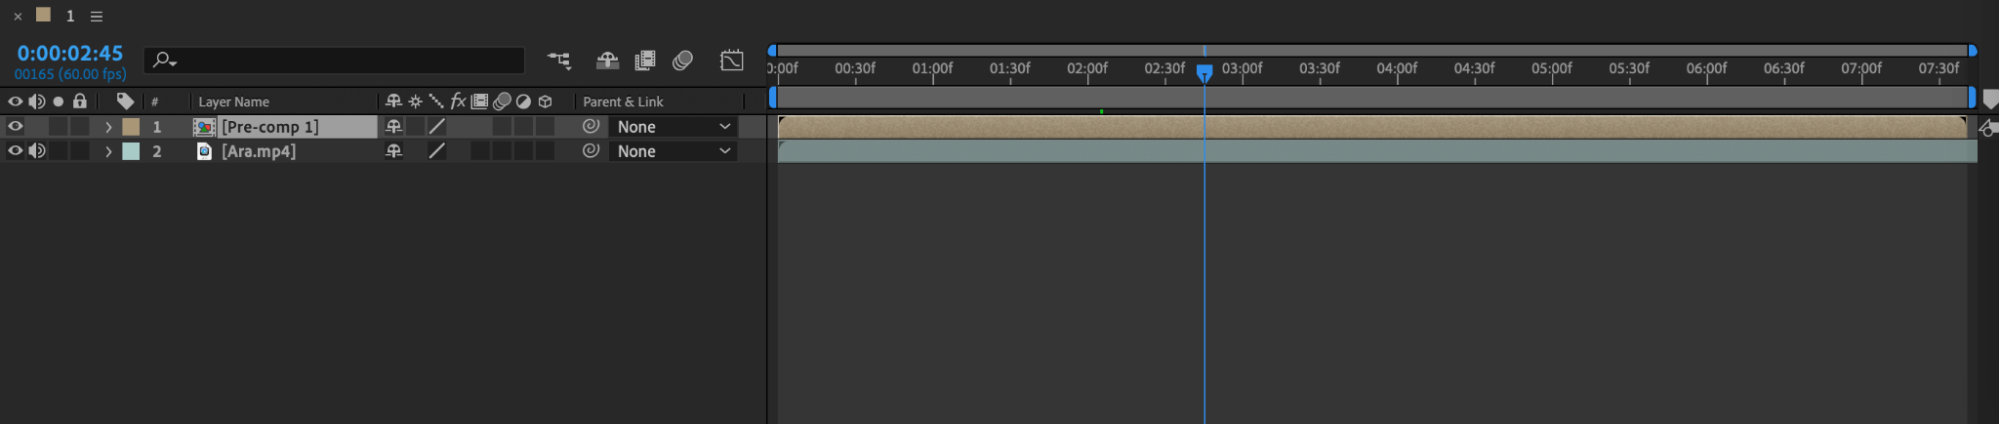
 Conclusion
Get 10% off when you subscribe to our newsletter
Trimming is a fundamental aspect of video editing in After Effects. Mastering timeline trimming will enhance your skills and streamline your workflow, saving you time and effort. Remember, practice and experimentation are key. Familiarize yourself with these techniques and tools, and find the workflow that suits you. Over time, you’ll develop a trimming process that allows you to create seamless and captivating videos.
So, explore these techniques, experiment, and unleash your creativity with precise timeline trimming in After Effects!
Our Bestsellers


