Trimming is an essential skill in video editing, removing unwanted frames, adjusting the duration of your clips, and creating seamless transitions. Adobe After Effects provides powerful trimming capabilities that enable you to precisely edit your videos to achieve the desired visual effects. In this guide, we will delve into various techniques and shortcuts to help you optimize your workflow and master the art of trimming in After Effects. Let’s get started!
Get 10% off when you subscribe to our newsletter

1. Understanding the Timeline:
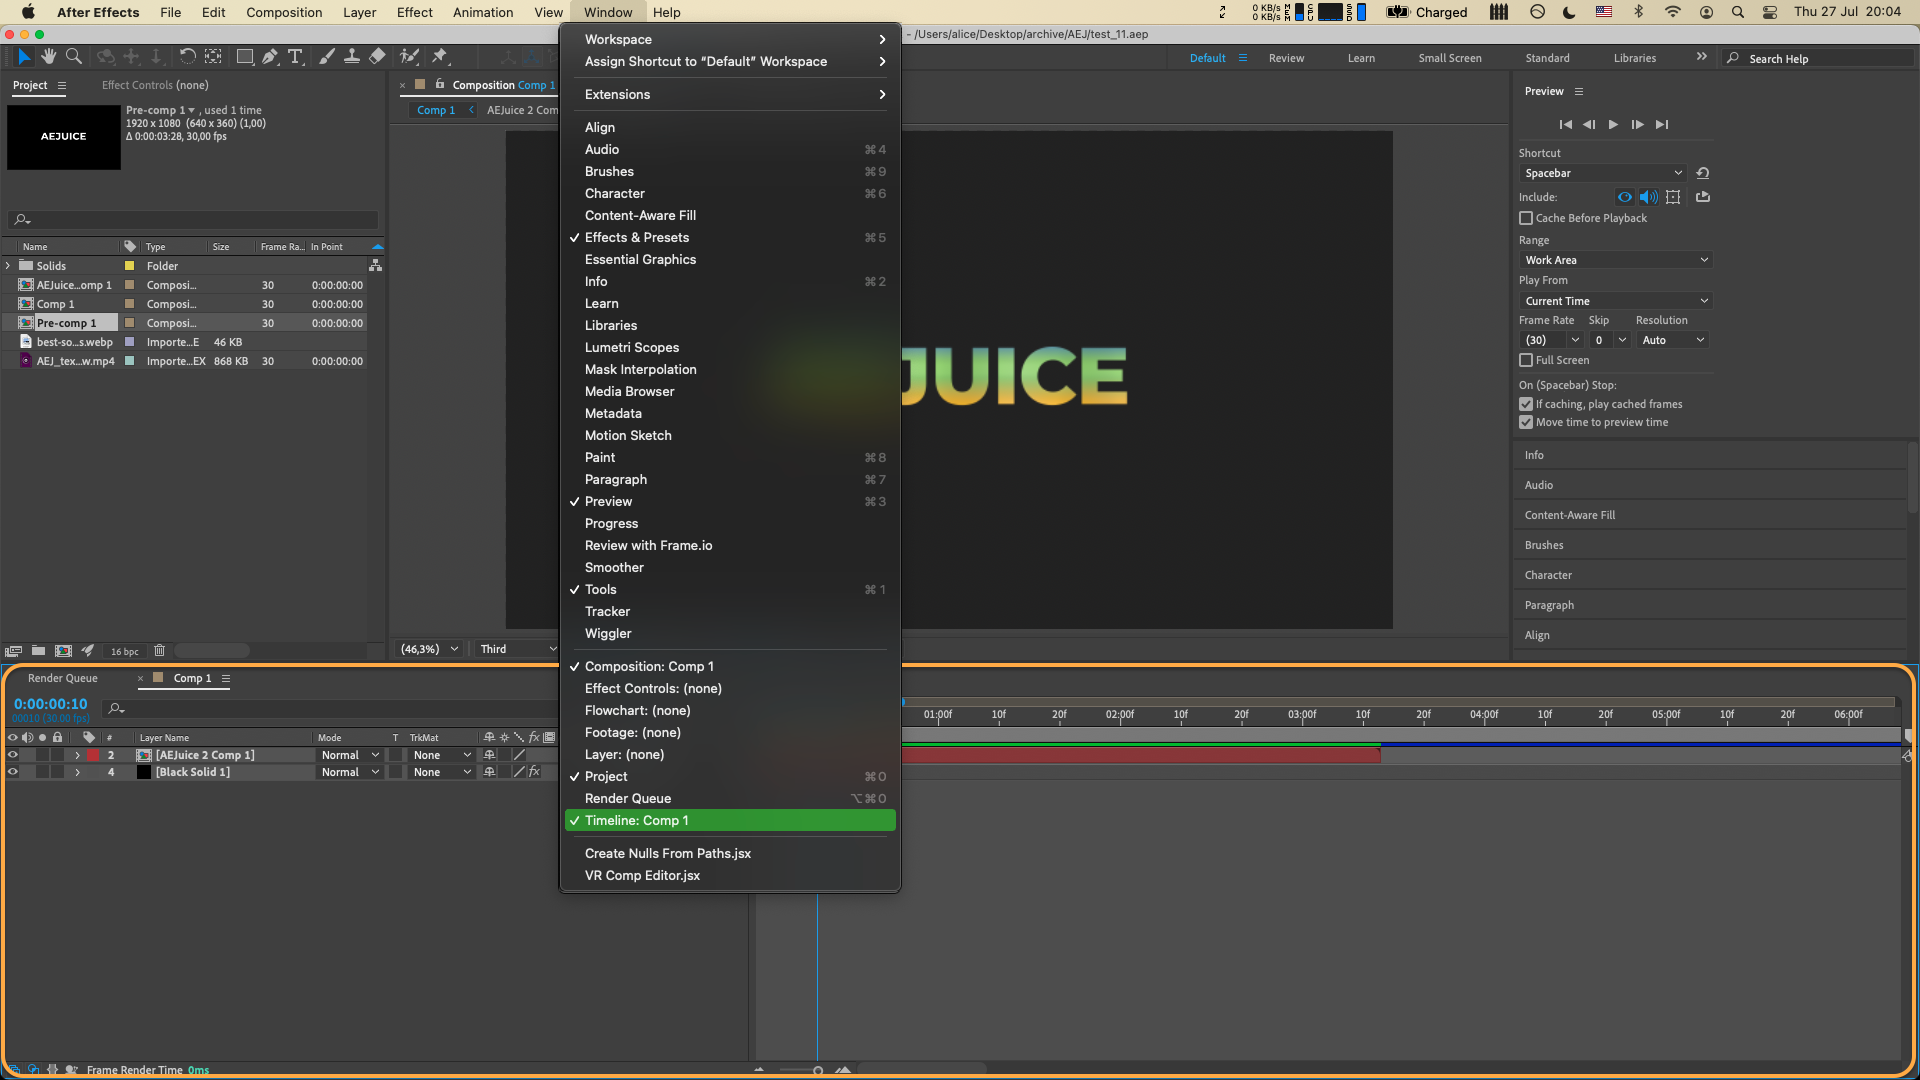
The Timeline is the heart of After Effects, and it’s where you’ll be doing most of your trimming work. Familiarize yourself with the Timeline panel, which displays your clips and allows you to manipulate their properties. By mastering the Timeline controls, you can easily select specific sections of your video for trimming.
 2. Basic Trimming Techniques:
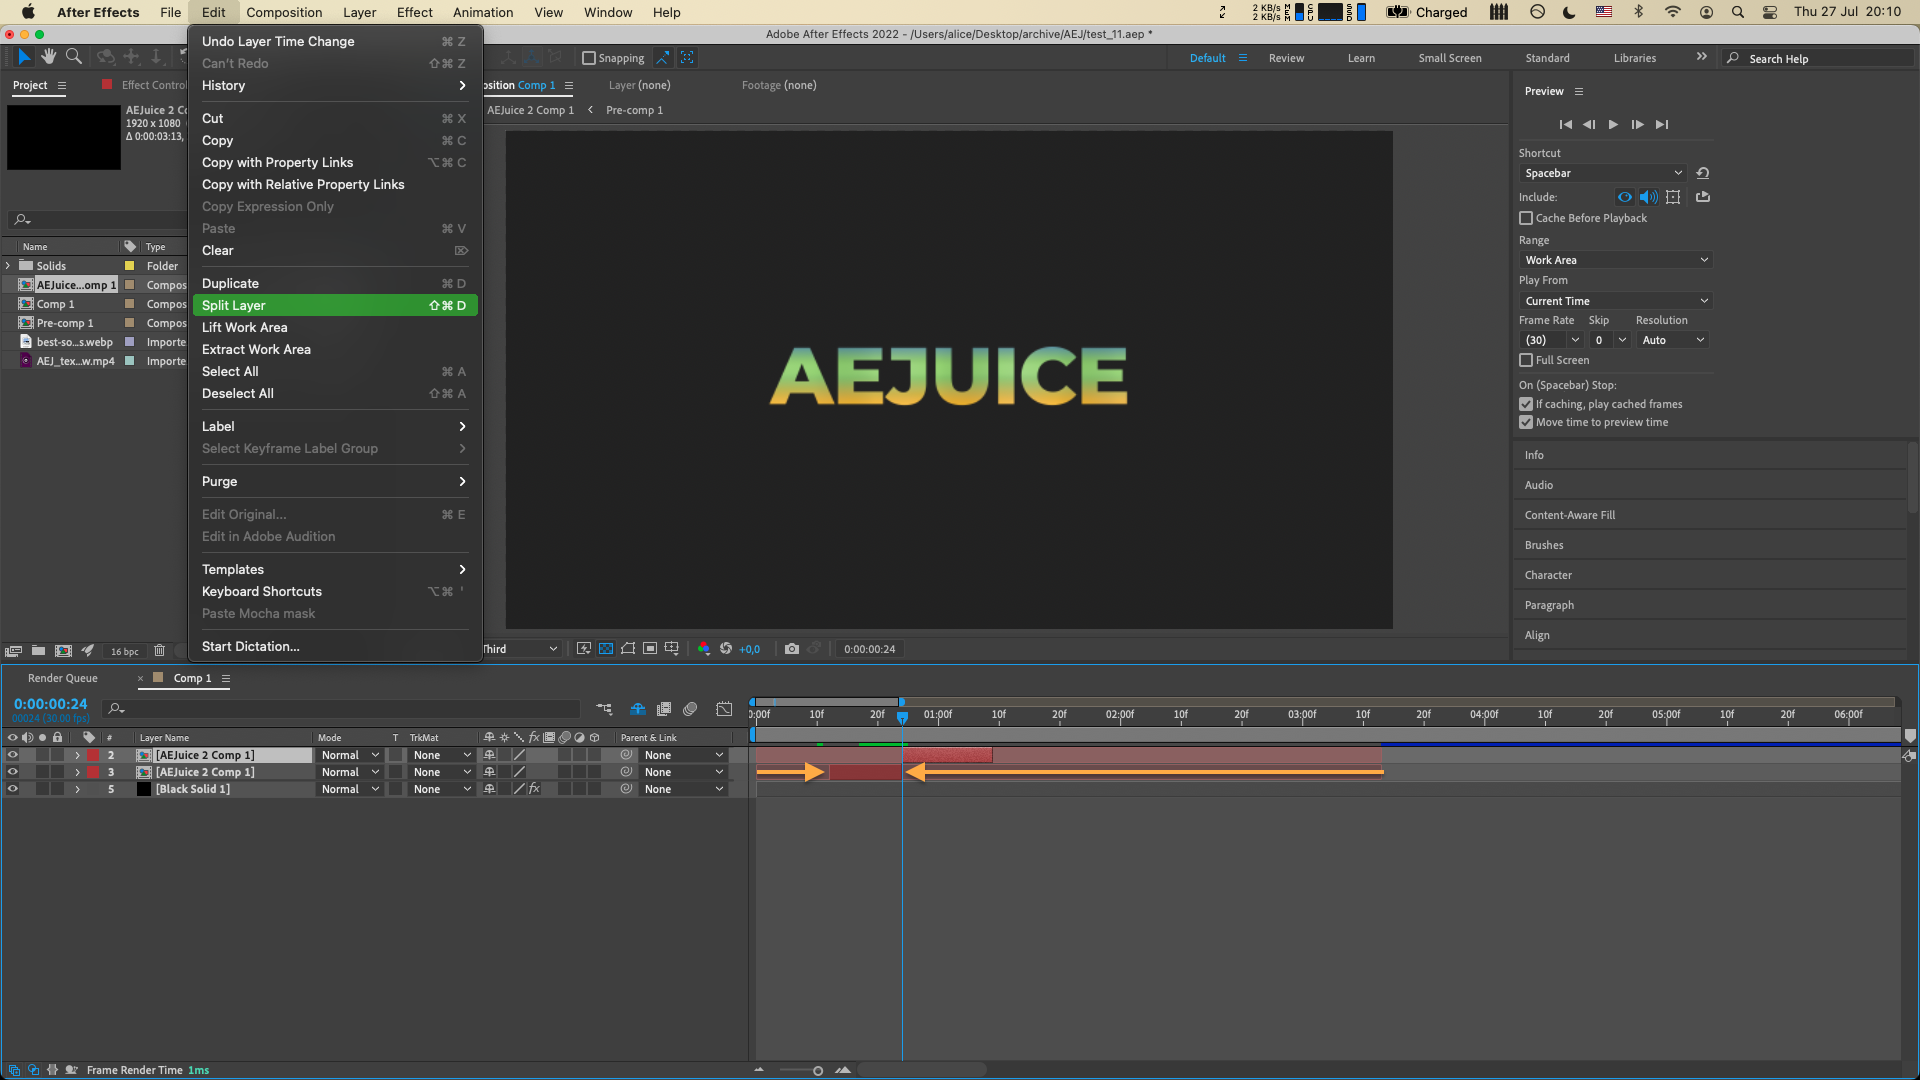
There are several ways to trim your clips in After Effects. One common method is to use the selection tool to drag and drop the beginning and the end of the layer. Alternatively, you can go to Edit > Split Layer to cut your clip into a two layers at specific points and delete the unwanted sections.
 3. Shortcut Keys:
Get 10% off when you subscribe to our newsletter

After Effects offers a plethora of keyboard shortcuts that can significantly speed up your trimming workflow. Learn essential shortcuts like the “Alt + [ (Windows) or Option + [ (Mac)” and “Alt + ] (Win) or Option + ] (Mac)” keys to trim the In and Out points of your clips, the “Ctrl + Shift + D (Win)” or “Cmd + Shift + D (Mac)” shortcut to split your layers, and the “Ctrl + Arrow (Win)” or “Cmd + Arrow (Mac)” keys to nudge your clips frame-by-frame. Mastering these shortcuts will help you work more efficiently and save valuable time.
4. Precomposing Clips:
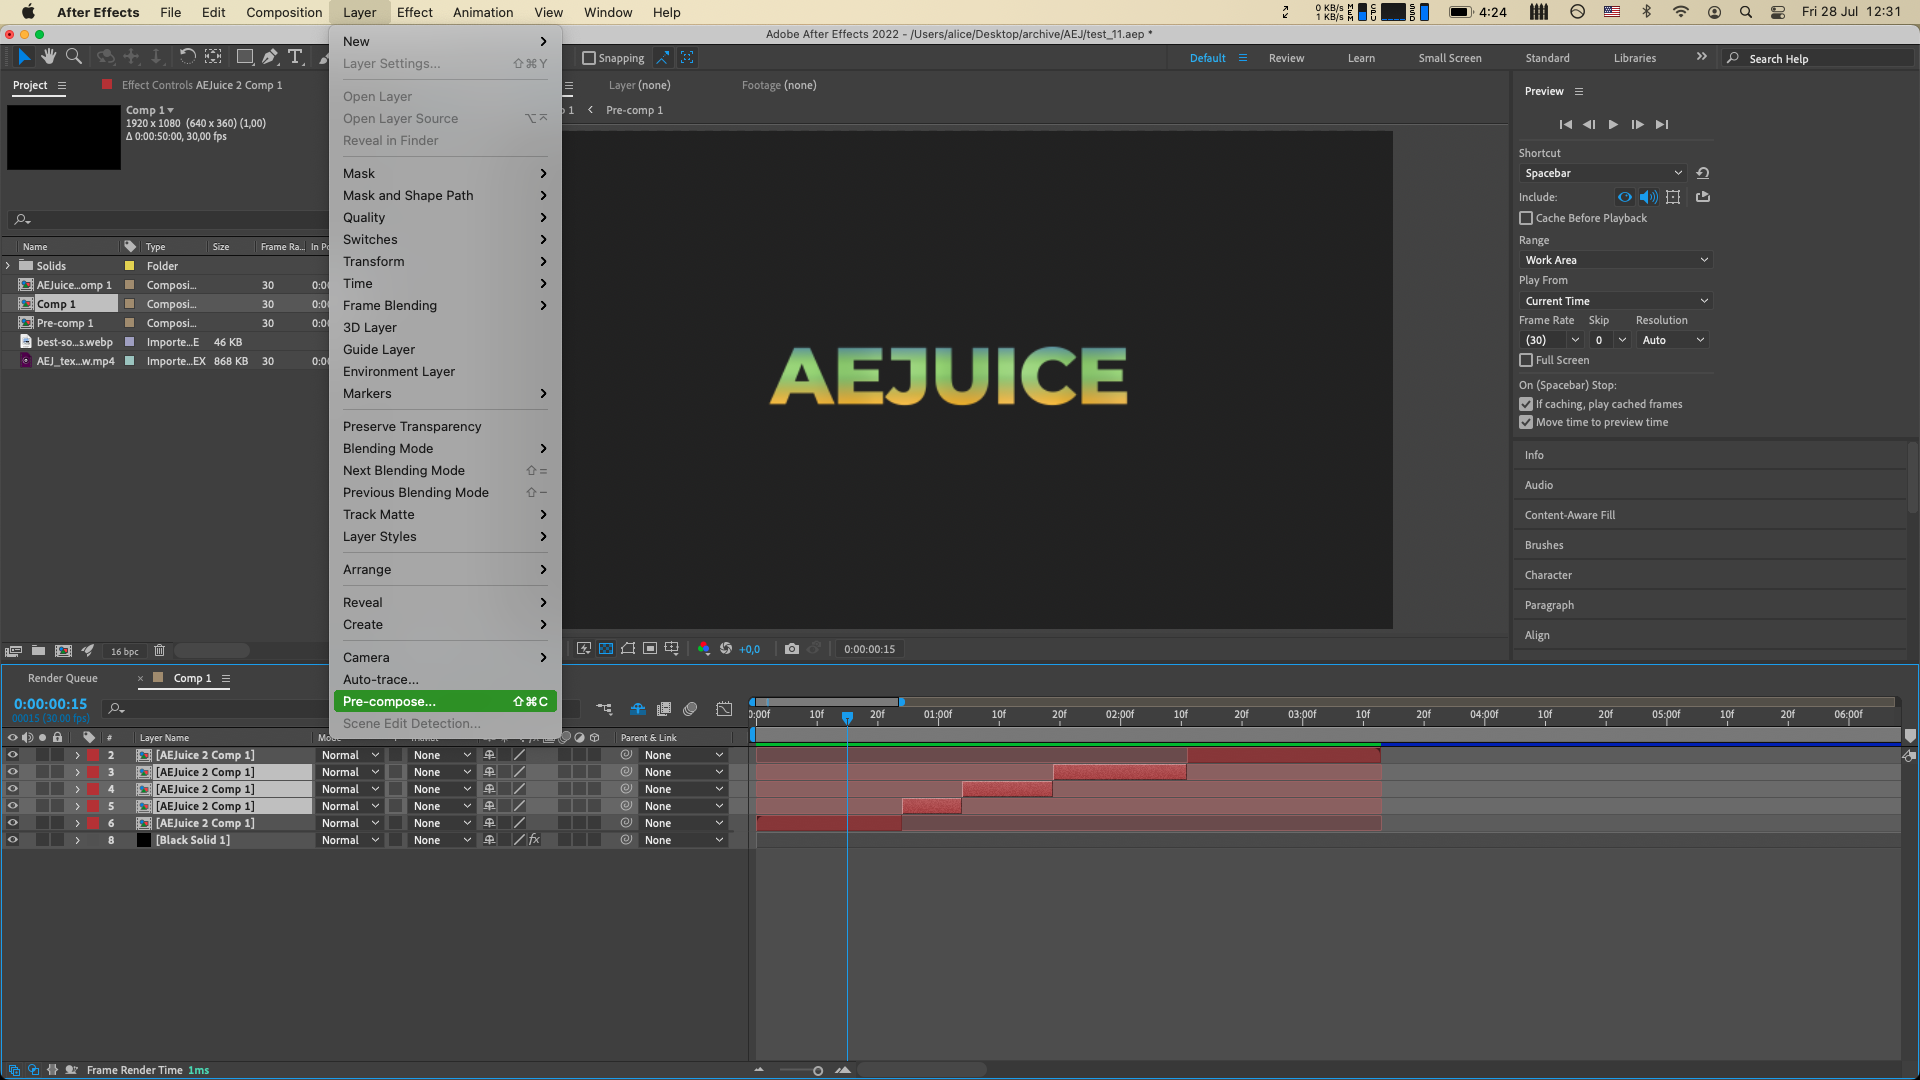
Precomposing is a technique that allows you to group layers together and treat them as a single entity. By precomposing your clips, you can easily trim, apply effects, and manipulate them without affecting the rest of your composition. This technique is especially useful when working with complex projects that involve multiple layers and effects.
5. Previewing your Trims:
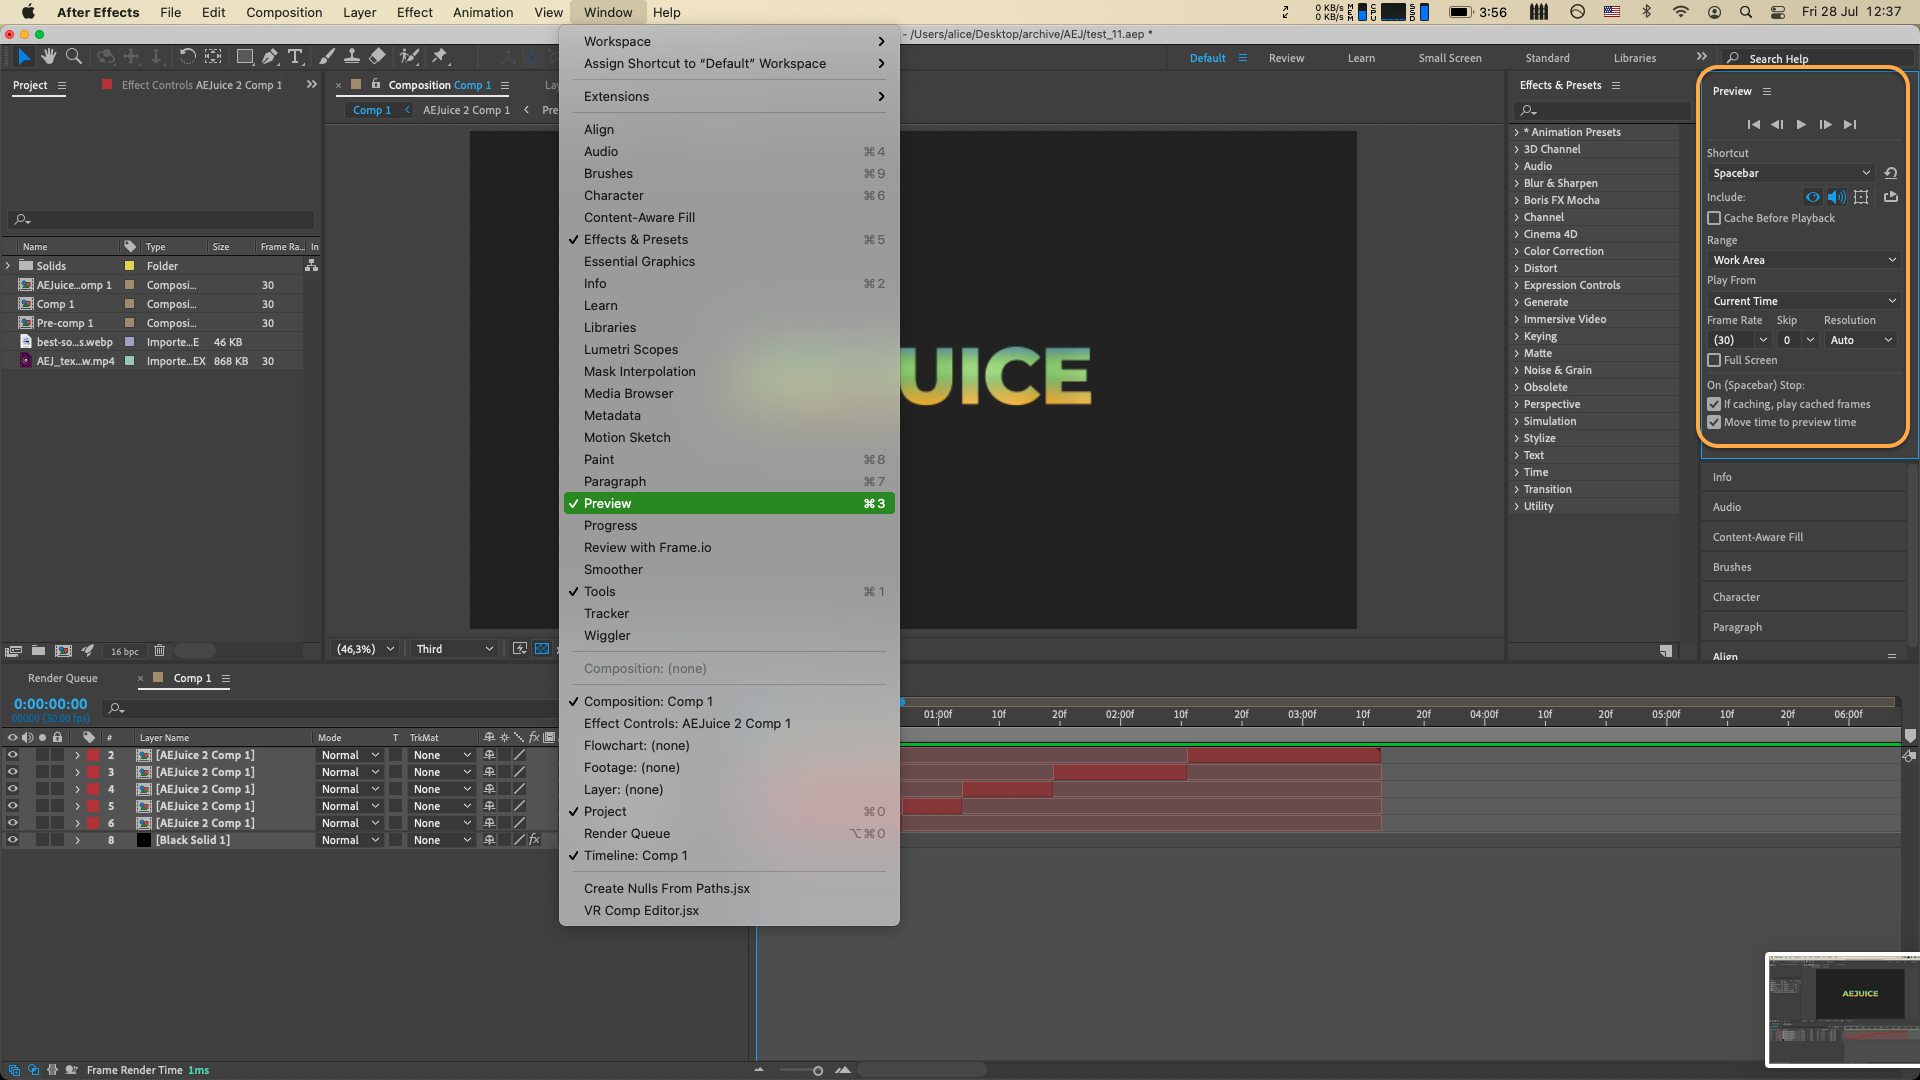
After making your trims, it’s essential to preview your changes before finalizing them. Use the RAM Preview feature in After Effects to play back your composition in real-time and check if your trims are smooth and seamless. If necessary, adjust your trims further until you achieve the desired result.
In conclusion, mastering the art of trimming in After Effects is crucial for producing professional-looking videos. By understanding the various trimming techniques, utilizing shortcuts, and employing precision editing tools, you can enhance your workflow and create seamless transitions between your clips. With practice and experimentation, you will become more proficient in trimming and elevating the overall quality of your video projects. Happy editing!

