How to Trim Layers in After Effects: A Step-by-Step Guide
Introduction to Trimming Layers in After Effects
Trimming layers in After Effects is a key technique for video editors who want to refine their compositions. By trimming, you can remove unnecessary frames and create smoother transitions, leading to higher-quality videos. This guide will take you through the process of trimming layers, adjusting their in and out points without deleting any actual footage. Whether you’re new to After Effects or looking to sharpen your skills, these methods will help you trim layers with precision.
Step 1: Select the Layer You Want to Trim
The first step in trimming a layer is selecting the layer that needs adjustment. To do this, navigate to your Timeline panel and click on the specific layer you want to trim. Once selected, the layer will be highlighted, making it easier for you to make precise edits.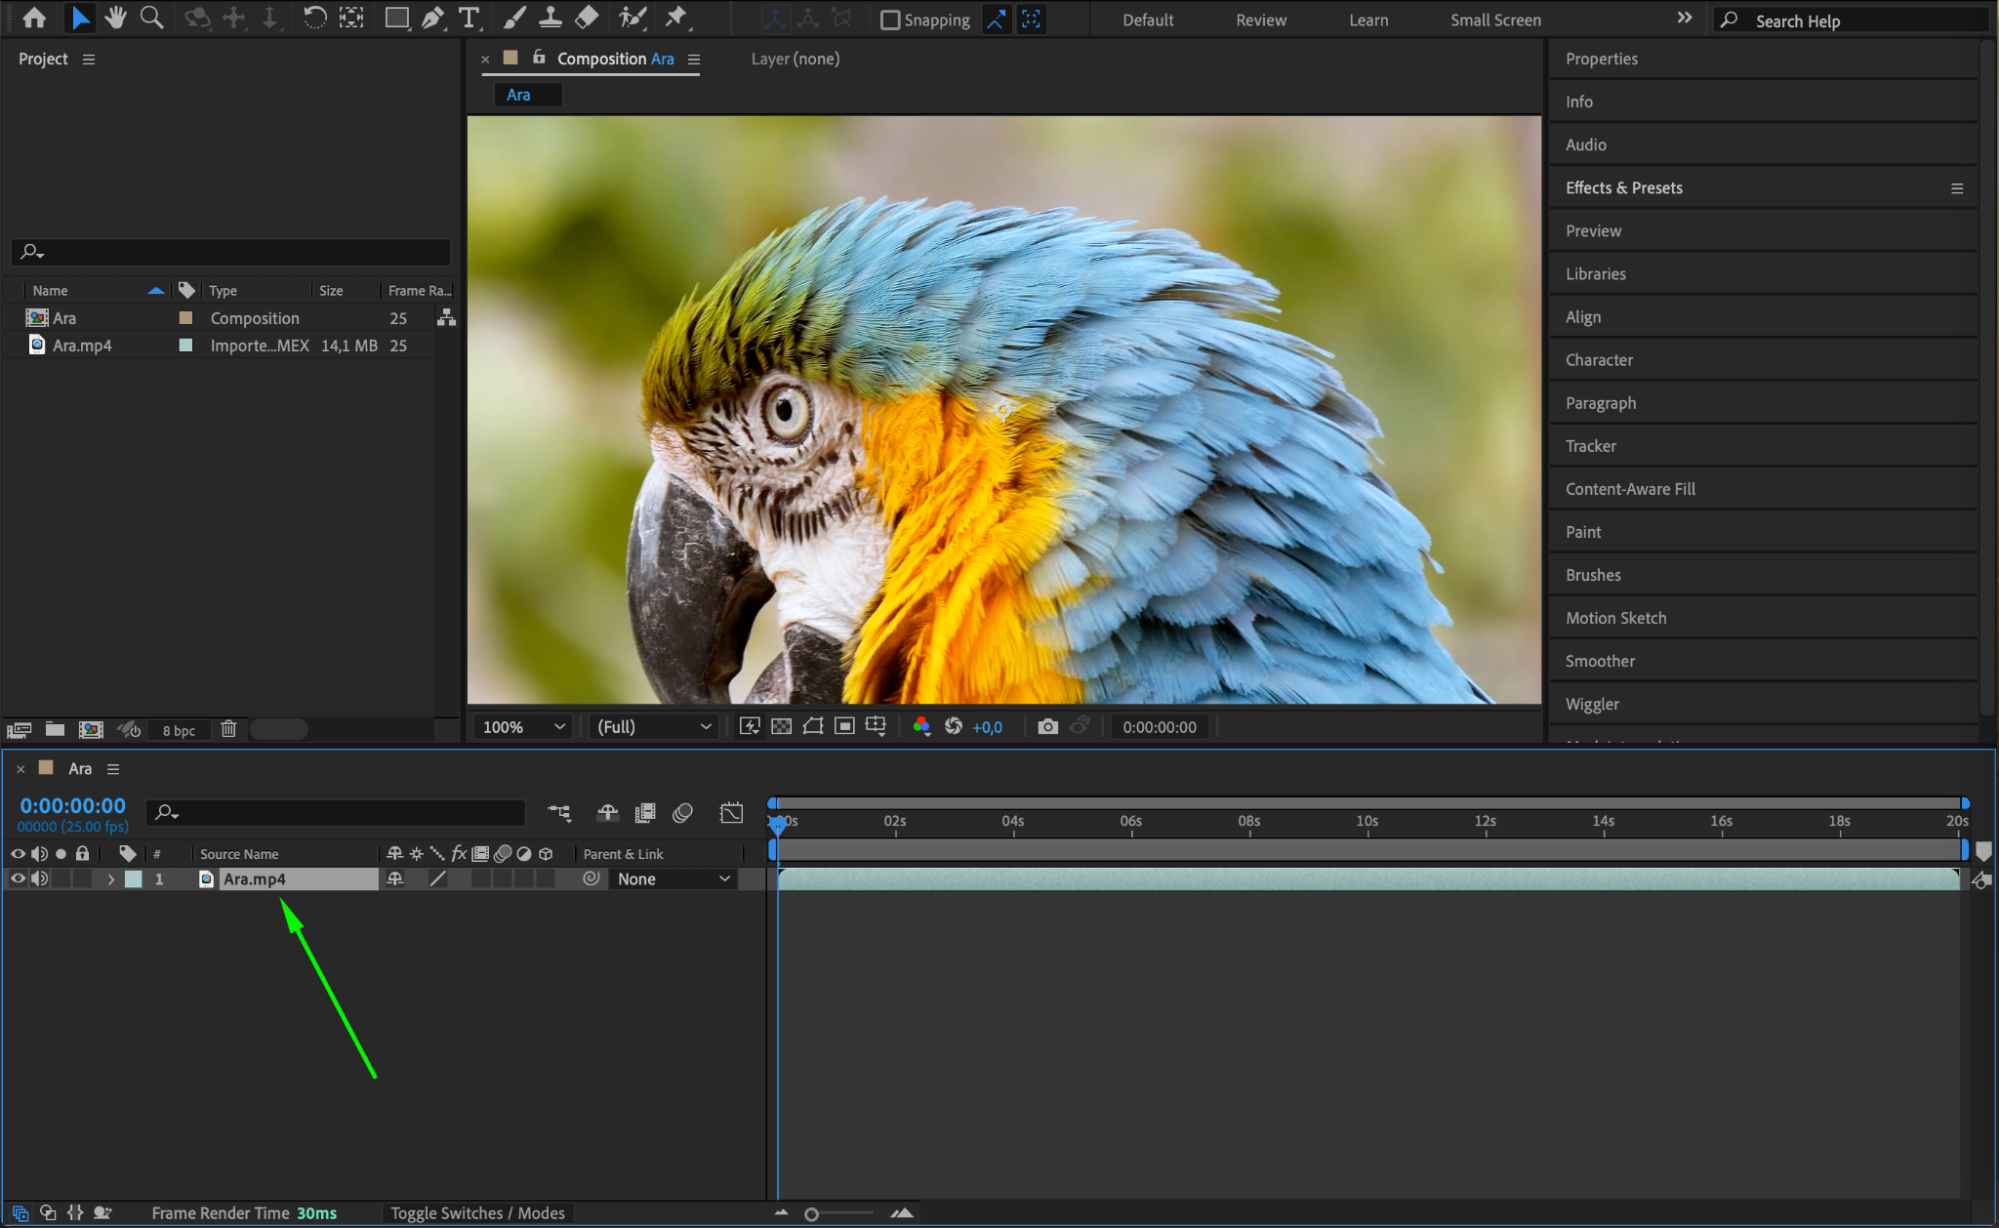 Step 2: Move the Current Time Indicator to the Desired In Point
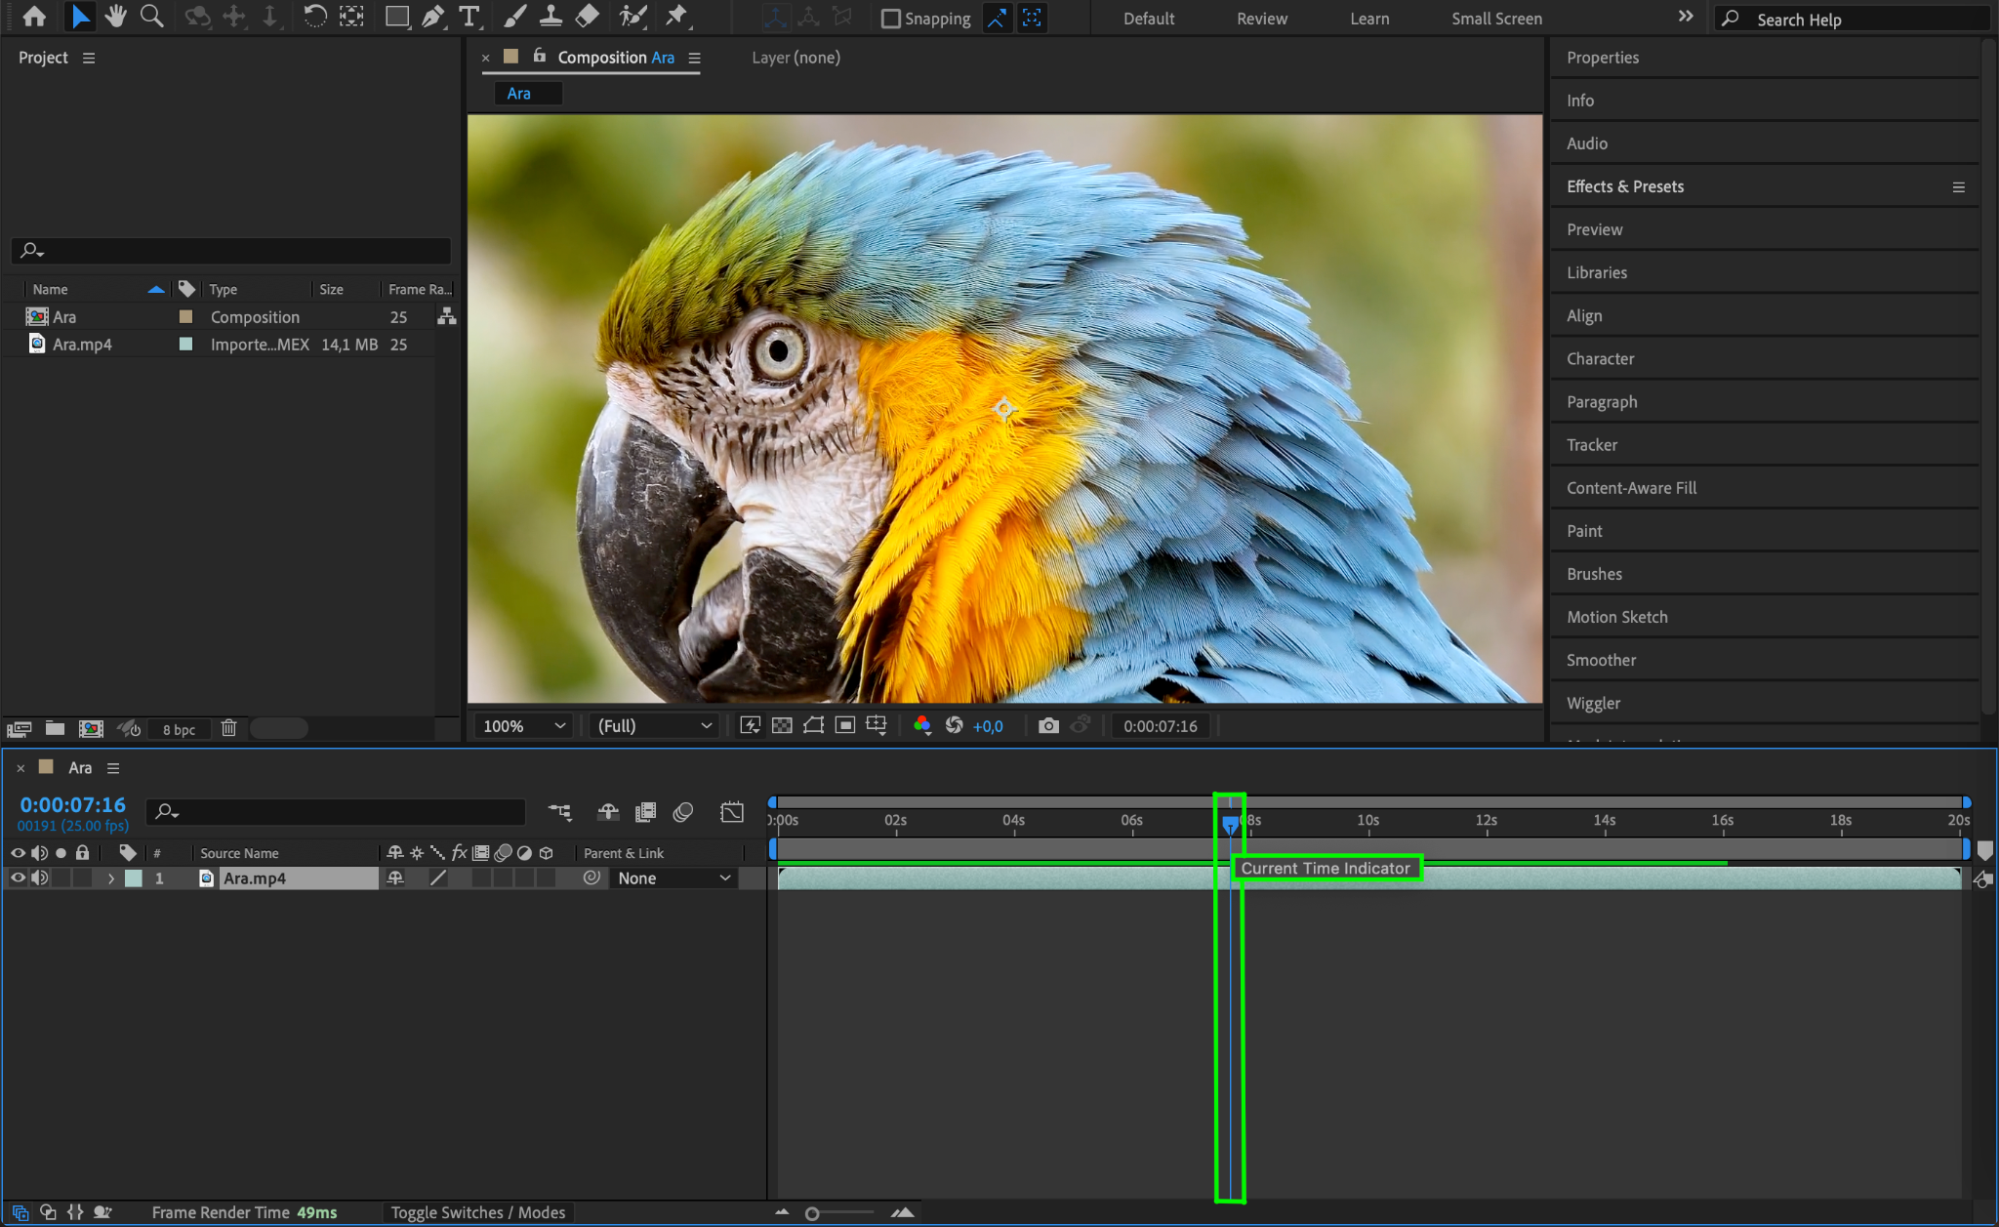
To trim the beginning of your layer, move the Current Time Indicator (CTI) to the point where you want the layer to start. You can do this by dragging the CTI along the timeline or typing in the exact time in the timecode box. This will serve as the new in point for your layer.
Step 3: Trim the Beginning of the Layer
Get 10% off when you subscribe to our newsletter

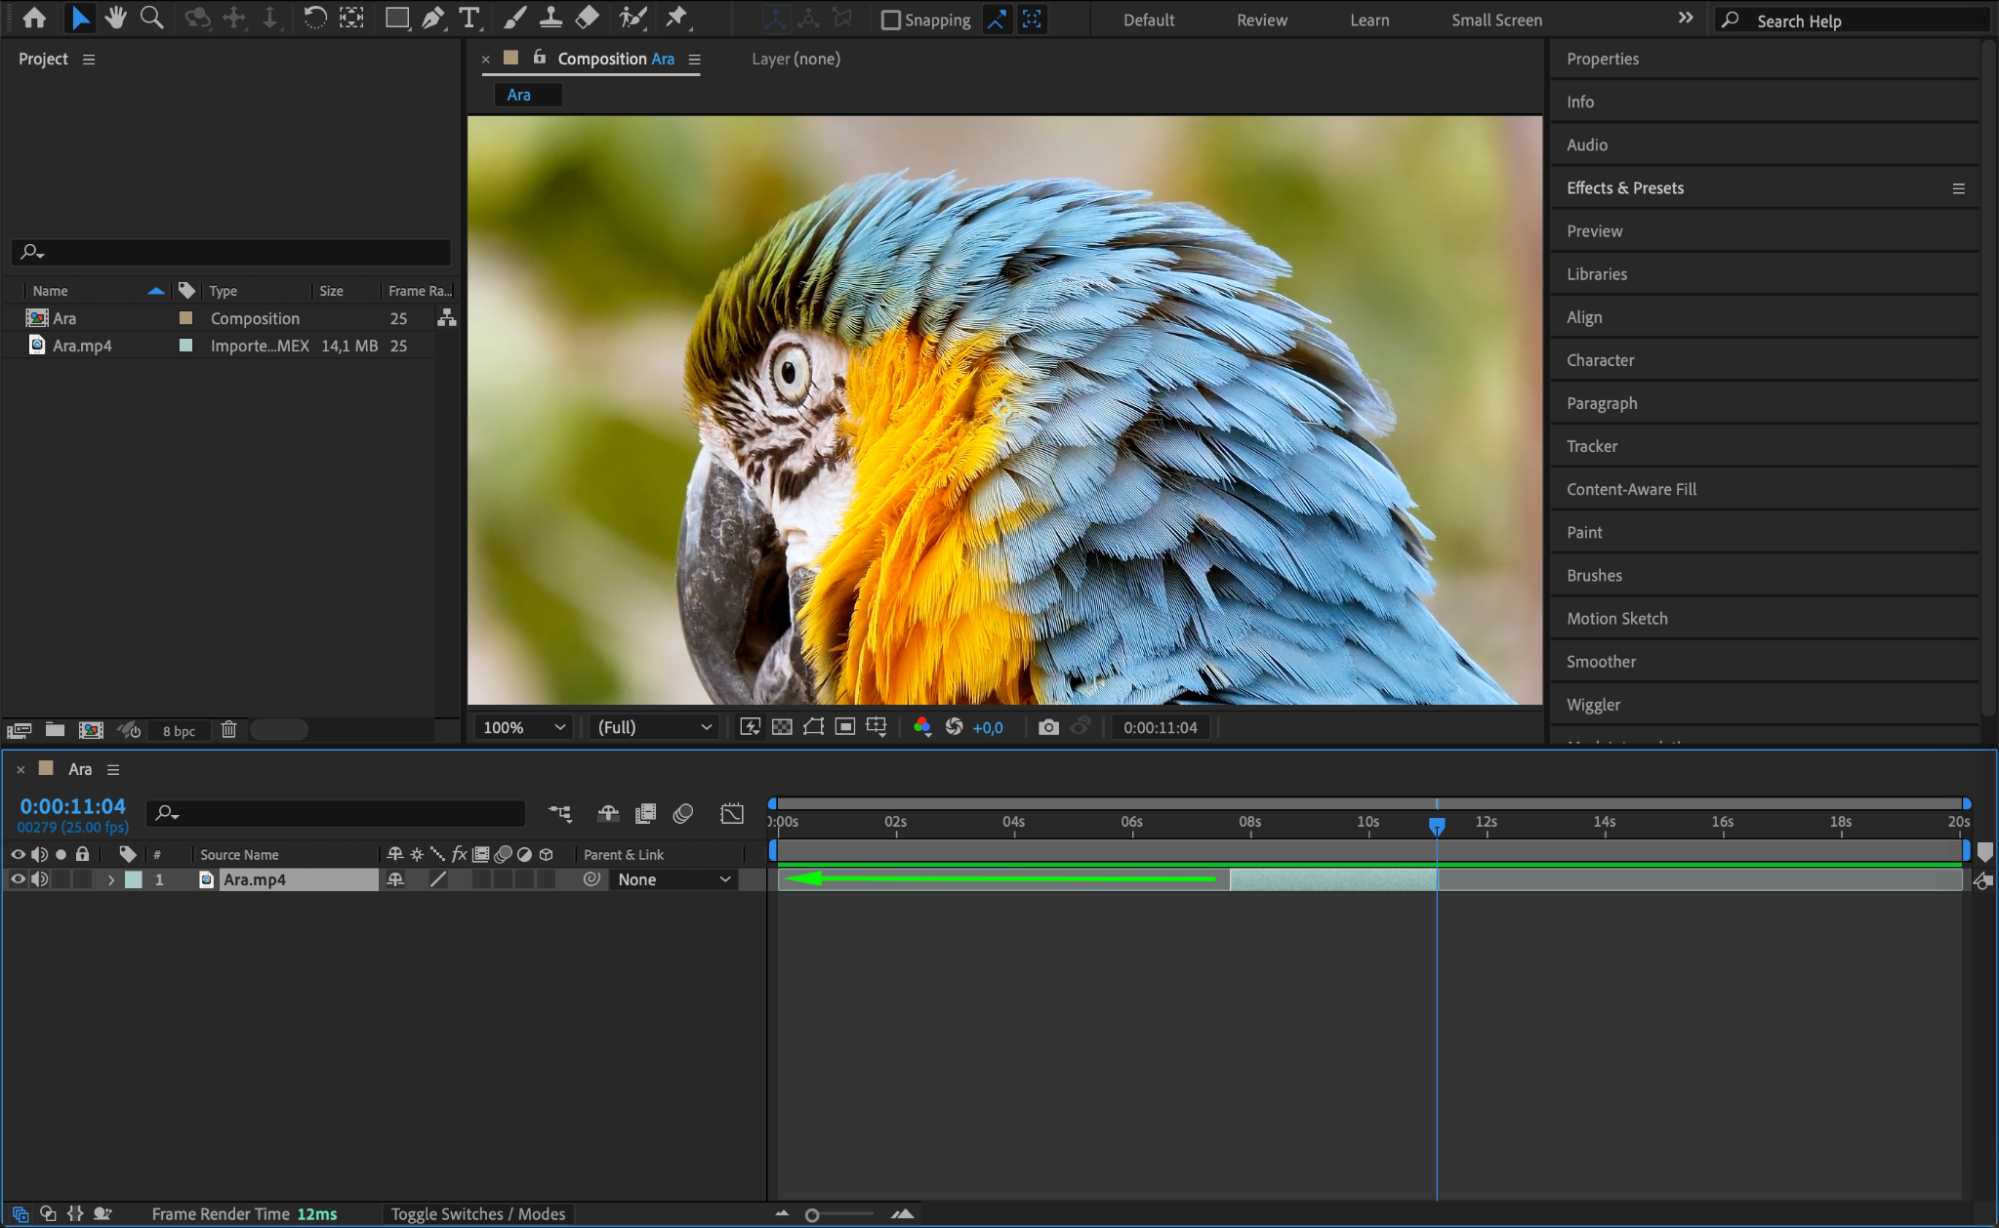
Once the CTI is in the correct position, use the shortcut “Alt/Option + [” to trim the start of the layer. This action will adjust the layer’s in point to the position of the CTI without deleting any footage, allowing you to keep the rest of the layer intact.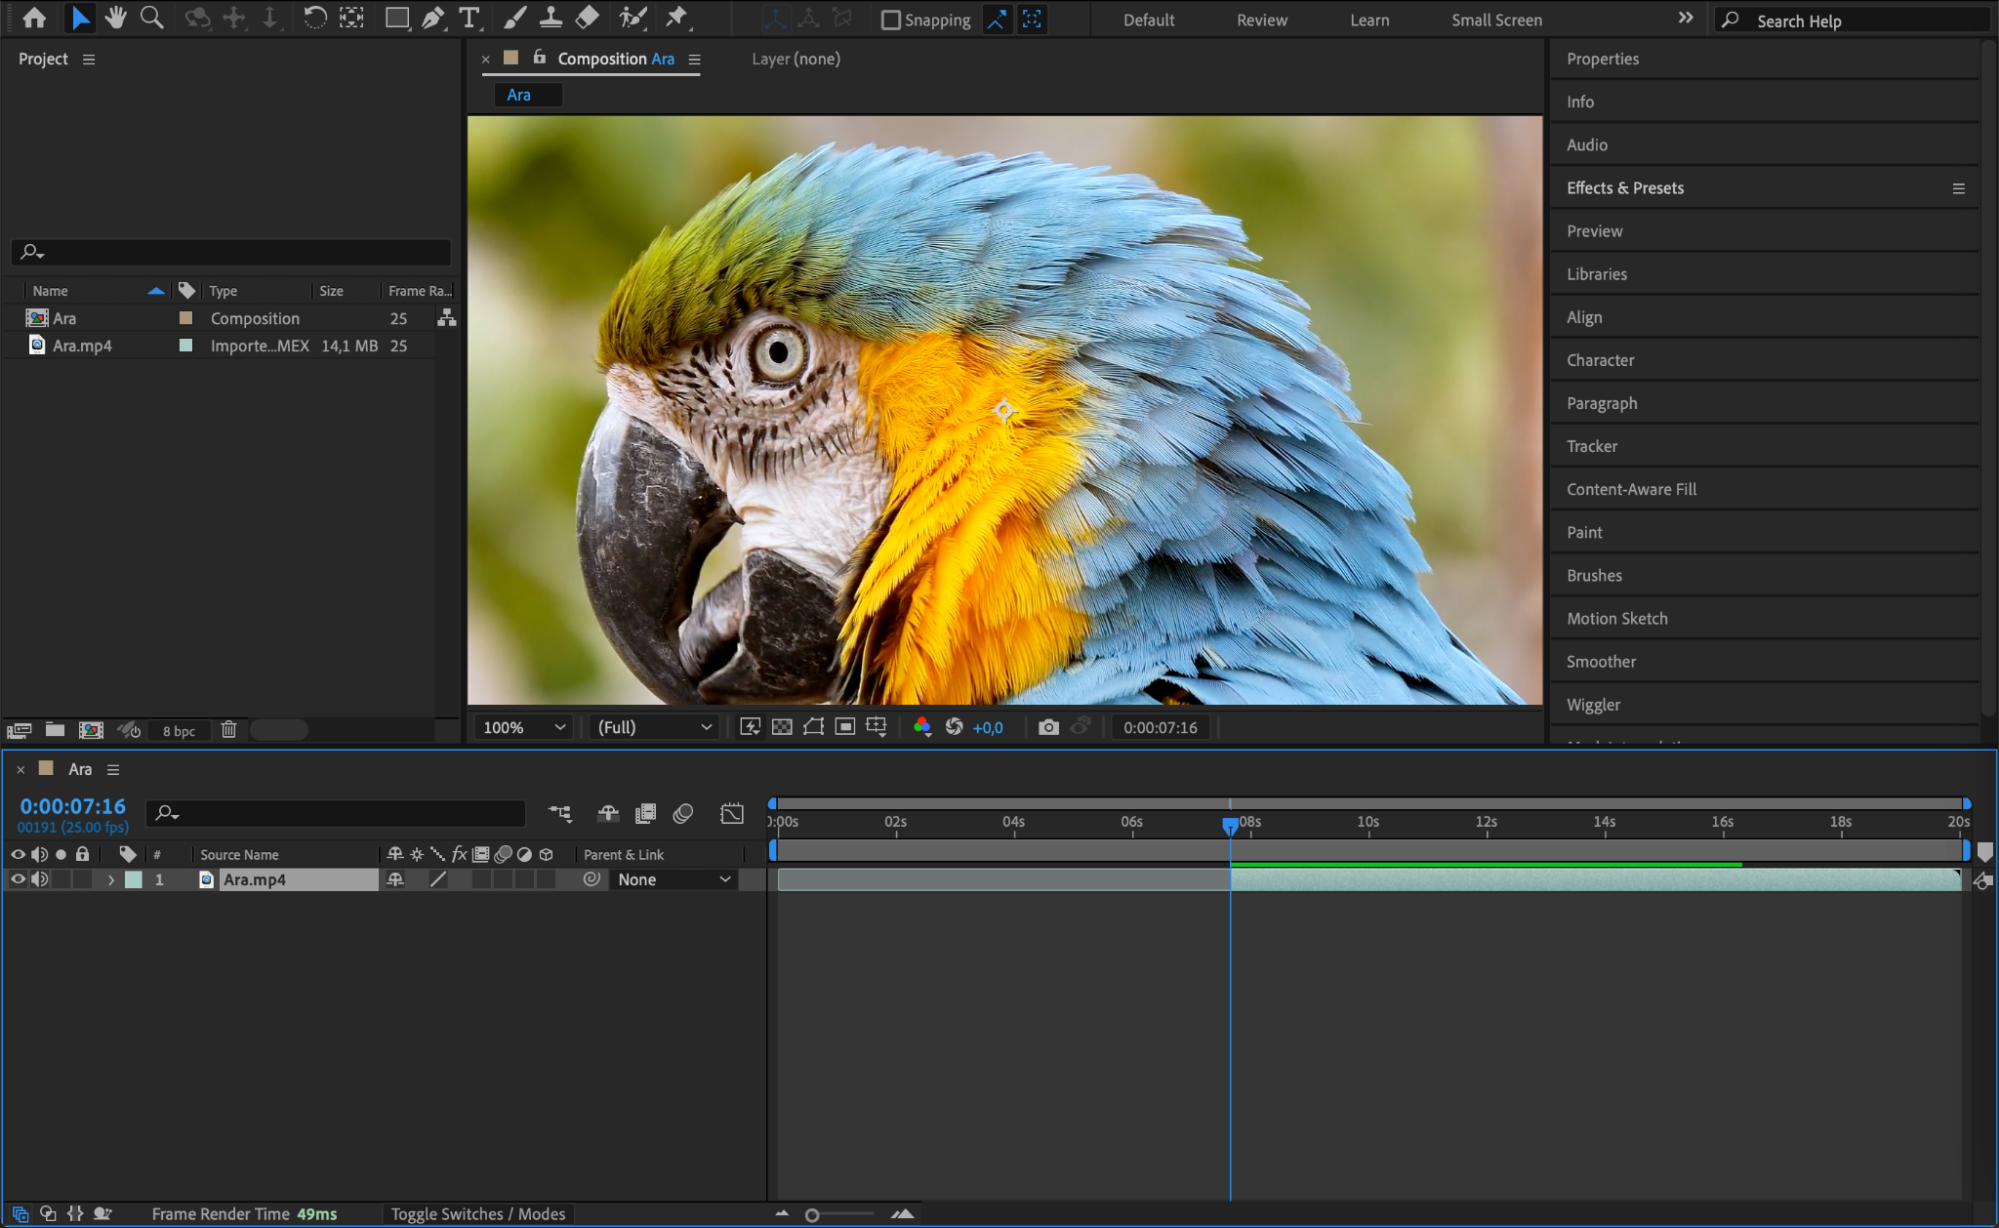 Step 4: Move the Current Time Indicator to the Desired Out Point
To trim the end of the layer, move the CTI to the point where you want the layer to finish. This will act as the new out point. Again, you can drag the CTI or enter the exact time manually in the timecode box.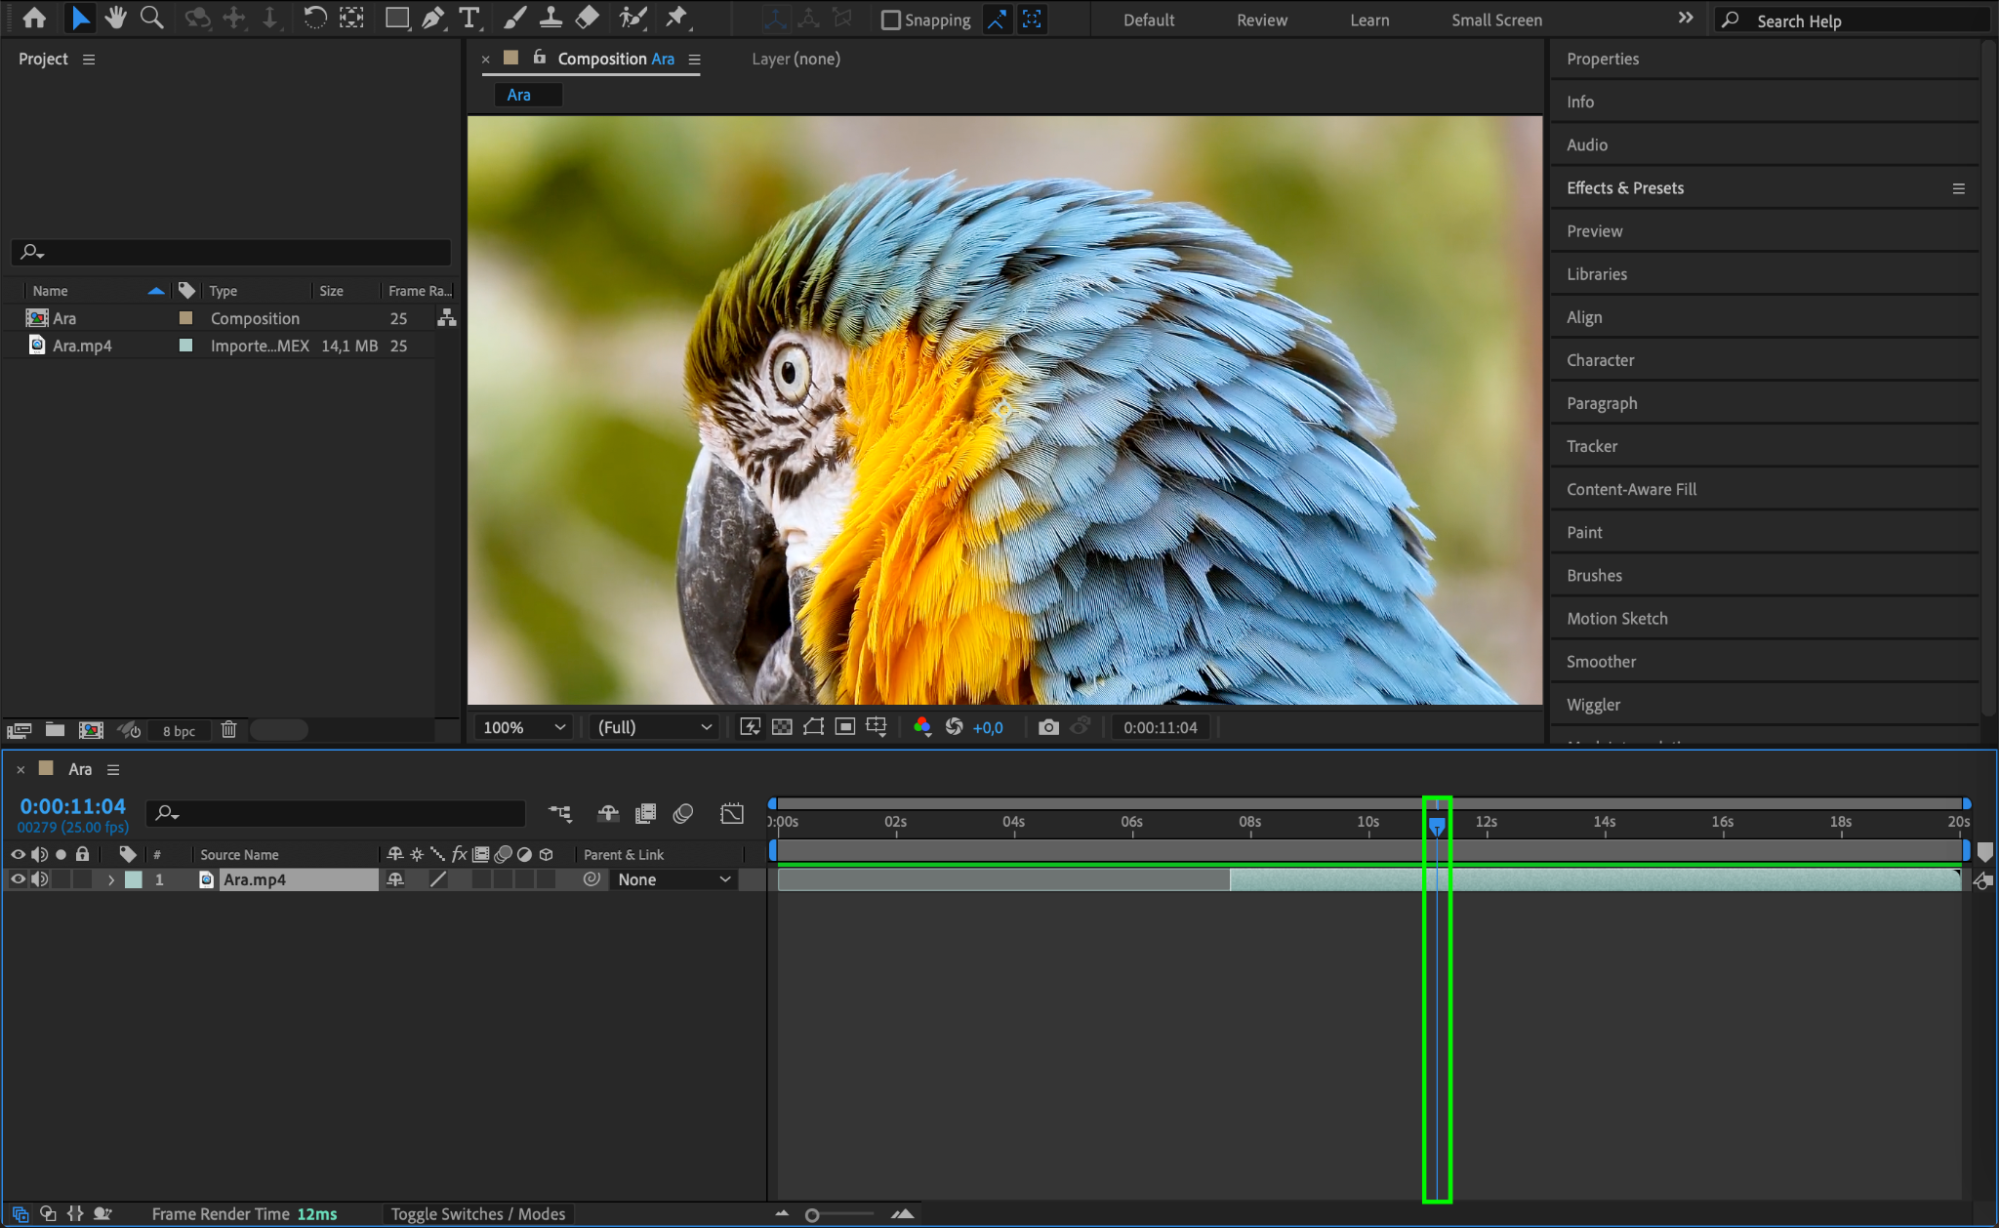
Step 5: Trim the End of the Layer
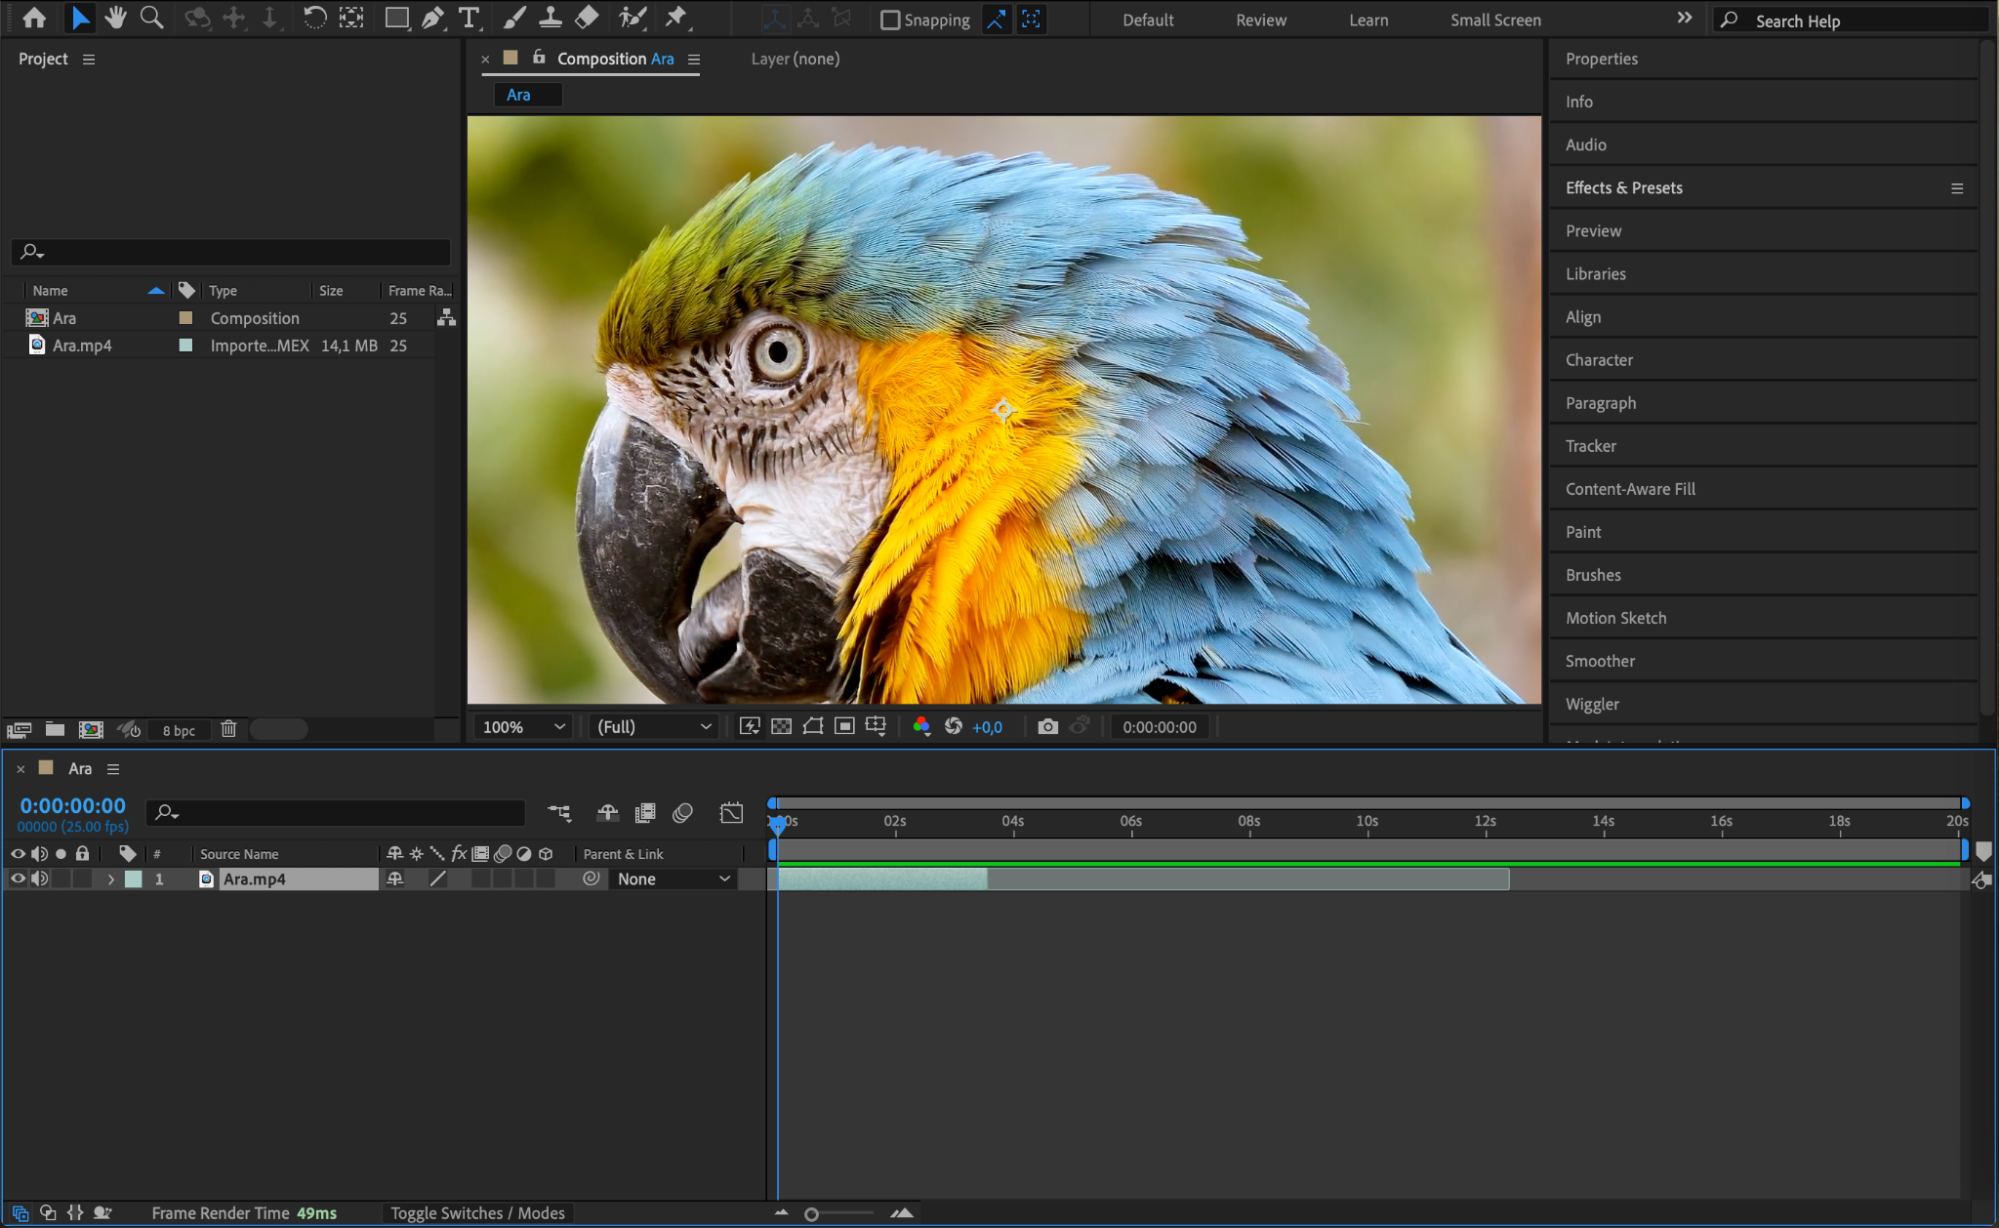
To set the out point, use the shortcut “Alt/Option + ]” on your keyboard. This will trim the layer’s end to the current time indicator position, effectively removing any footage after that point while keeping the earlier frames untouched.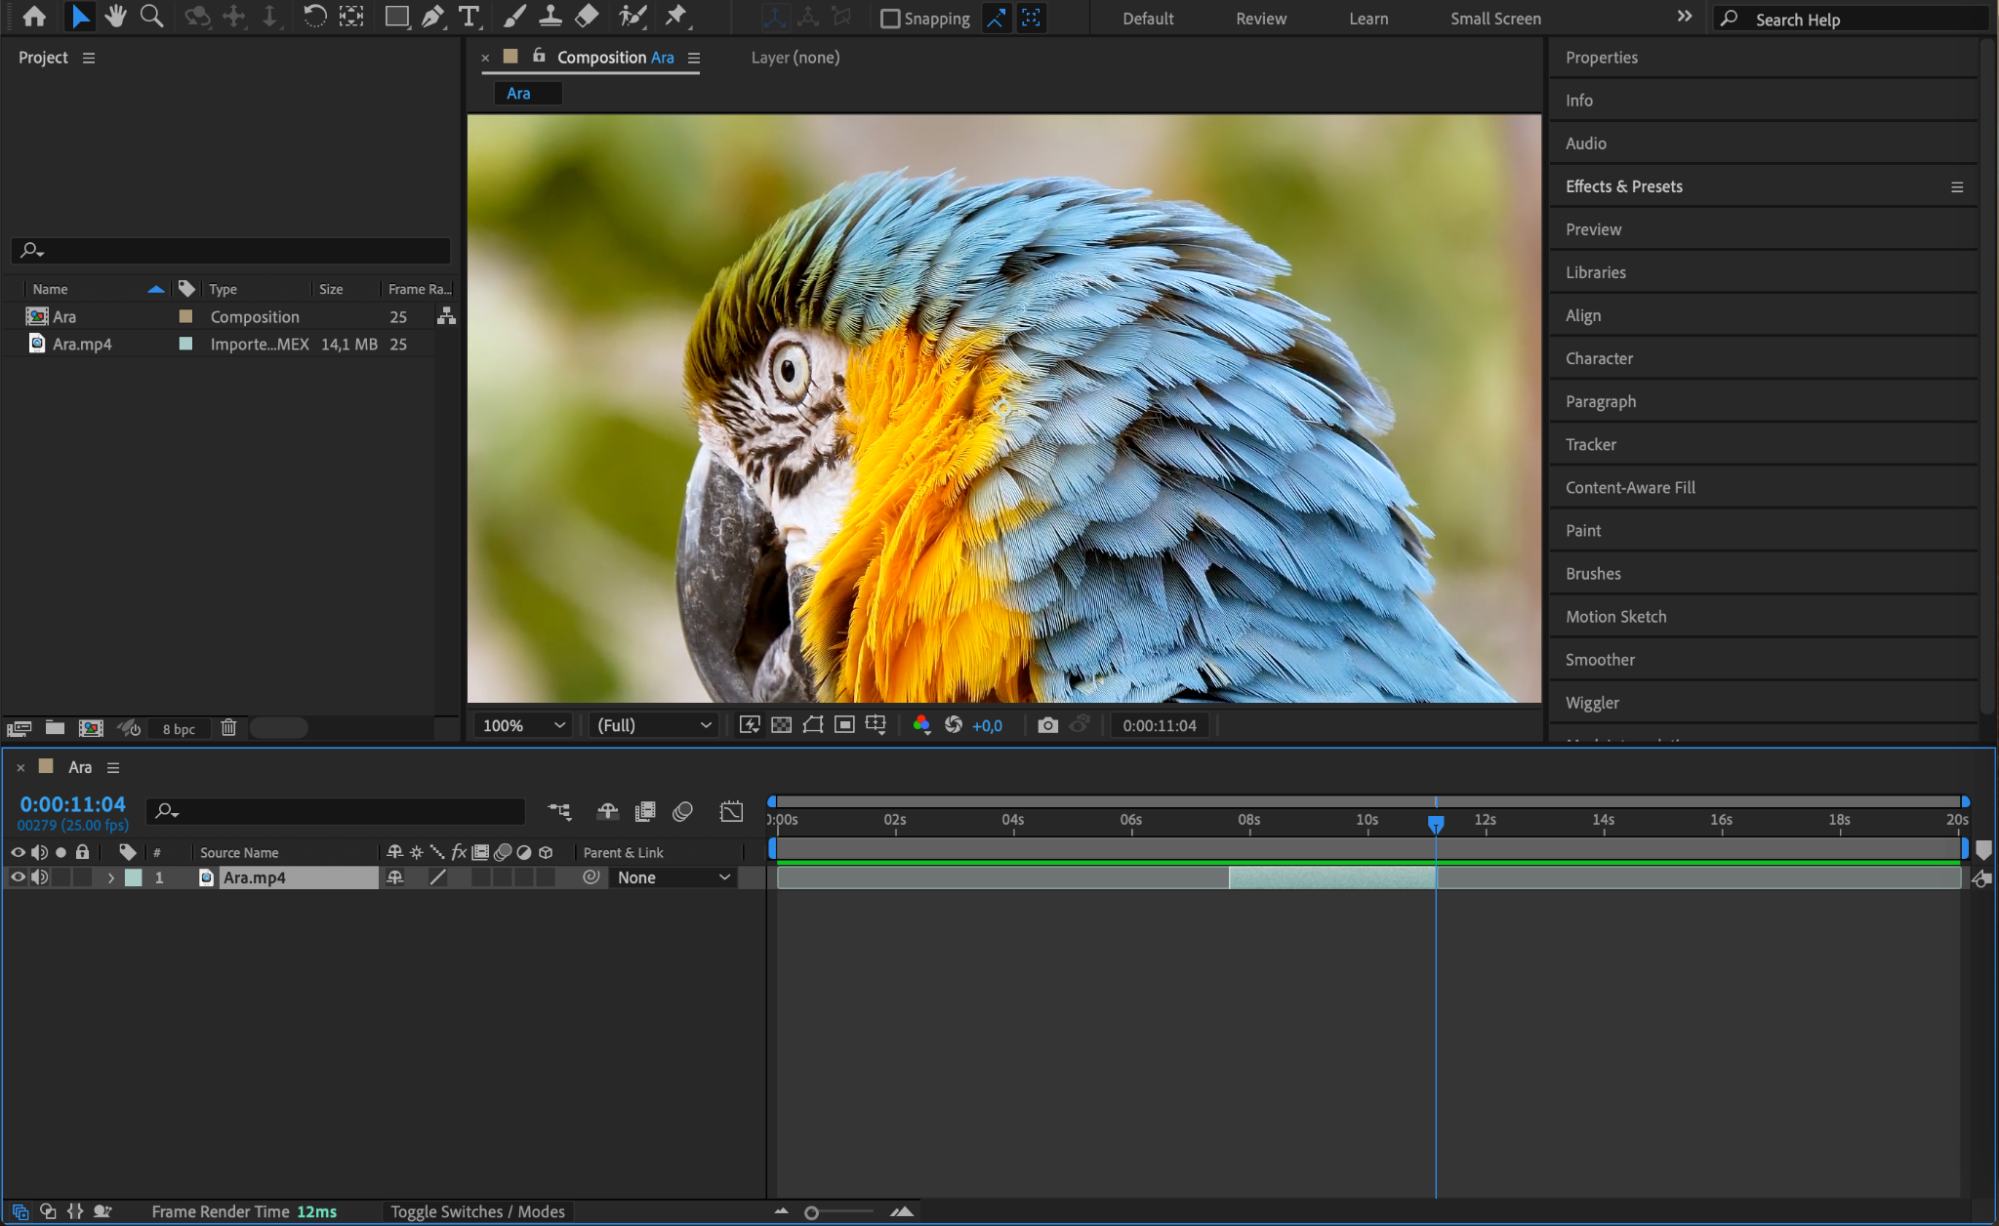
 Step 6: Preview the Trimmed Layer
After trimming, it’s a good idea to preview your adjustments. Press the Spacebar to play your composition and ensure that the trimming looks smooth and aligned with the rest of your project. This step will help you spot any areas that might need further tweaking.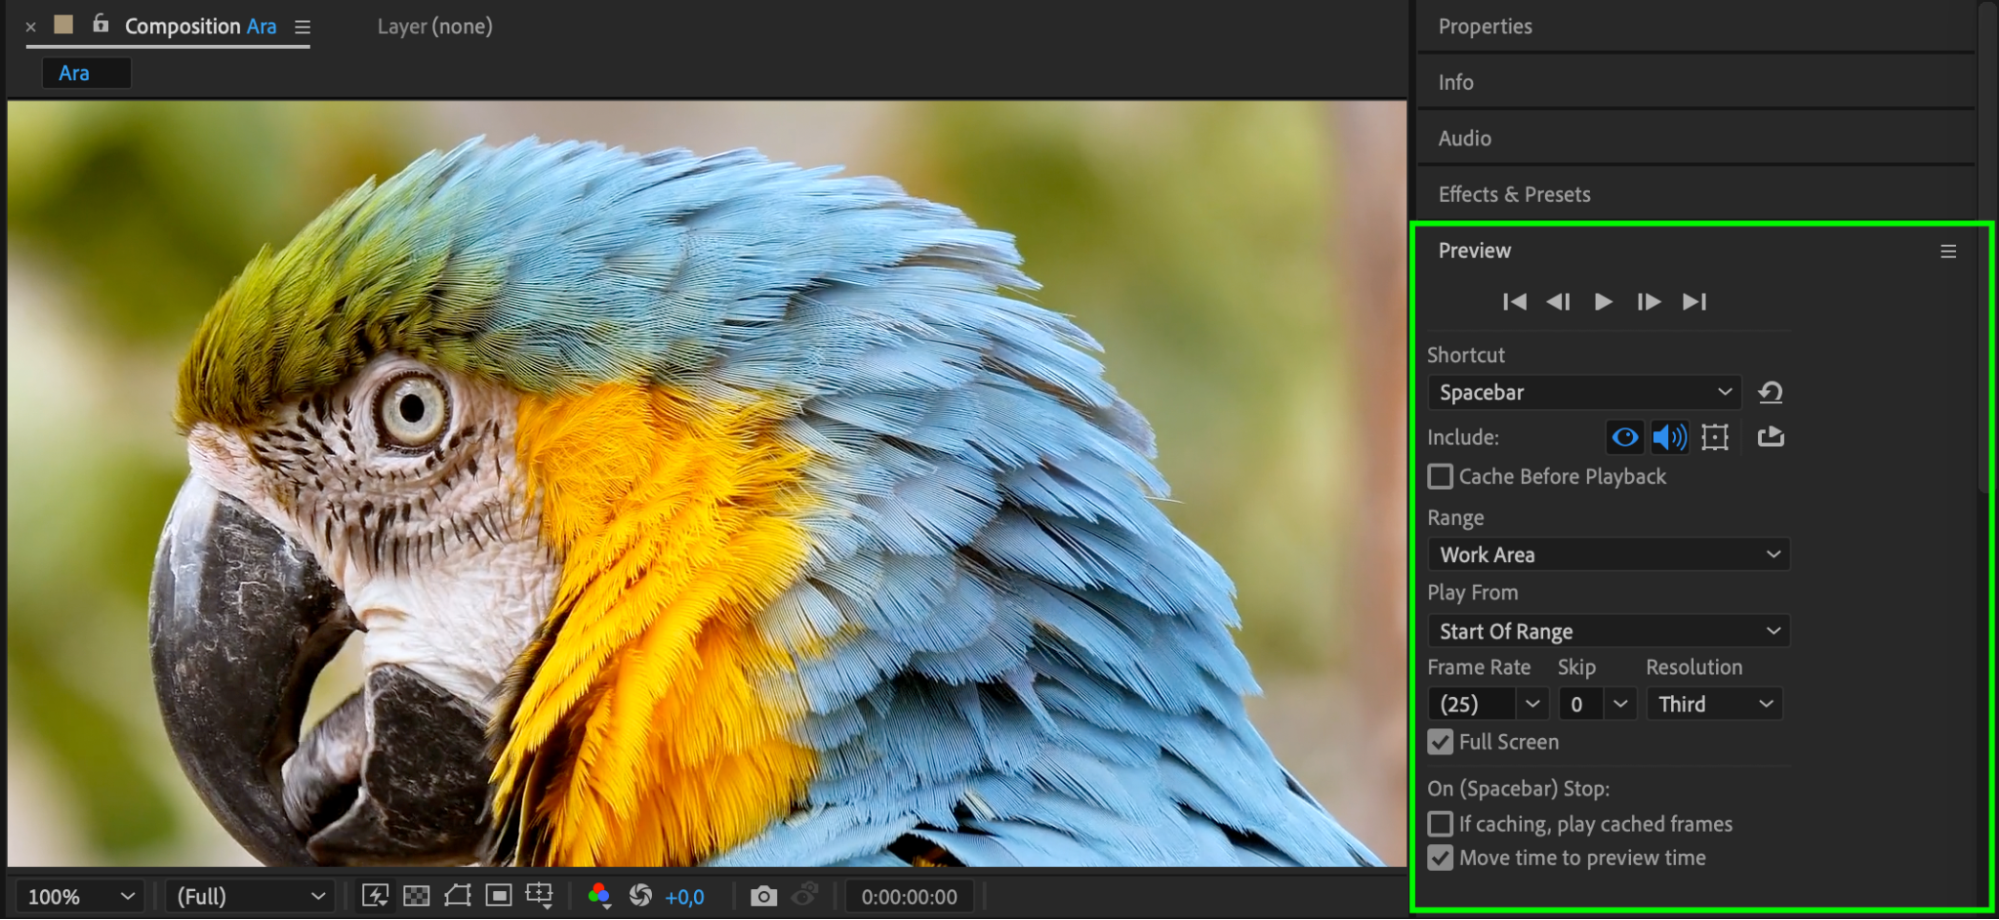 Step 7: Readjust the In and Out Points if Needed
If you’re not satisfied with the trimming, don’t worry. You can easily readjust the in and out points by repeating steps 2 through 5. Simply move the CTI to new positions and trim the layer accordingly. This flexibility allows you to experiment until you achieve the perfect cut.
Additional Trimming Options in After Effects
After Effects also offers more advanced trimming options for further refining your edits:
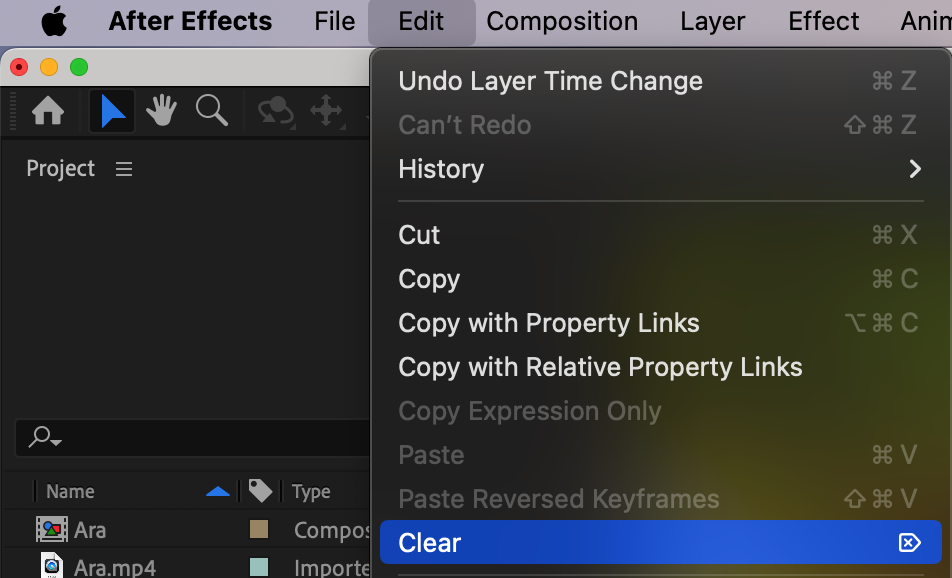
To split a layer at a specific point, go to the Edit menu and select Split Layer or use the shortcut “Ctrl/Cmd + Shift + D”. This will divide your layer into two parts, allowing you to work on each section independently. 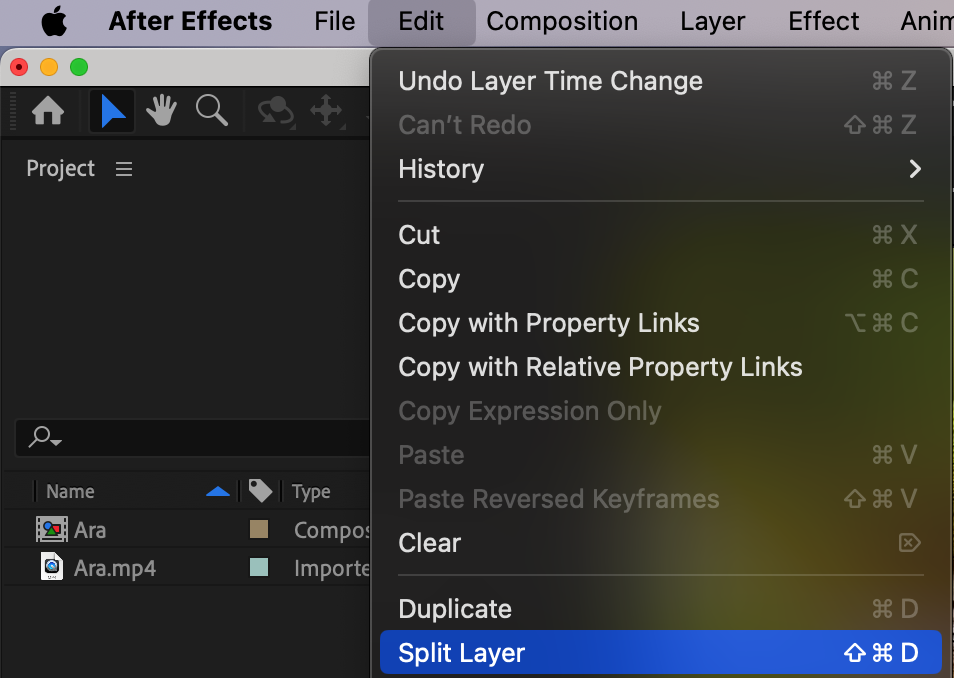 To delete any unnecessary part of the layer after splitting, simply highlight the unwanted section and press the Delete key.
 Conclusion
Mastering how to trim layers in After Effects is essential for achieving polished and professional video edits. By learning to adjust the in and out points of your layers, you can streamline your workflow, reduce unwanted frames, and enhance the overall quality of your compositions. With these trimming techniques, you’ll have more control over your project and be able to create visually engaging videos that stand out.


