How to Trim the Work Area in Adobe After Effects
Introduction to Trimming the Work Area in After Effects
In Adobe After Effects, the work area allows you to focus on a specific portion of your composition, making it easier to edit and preview just the segment you need. Trimming the work area also helps streamline the rendering process by limiting it to only the selected range. This guide will take you through the steps to efficiently trim the work area in After Effects.
Step 1: Set Your Work Area Start and End Points
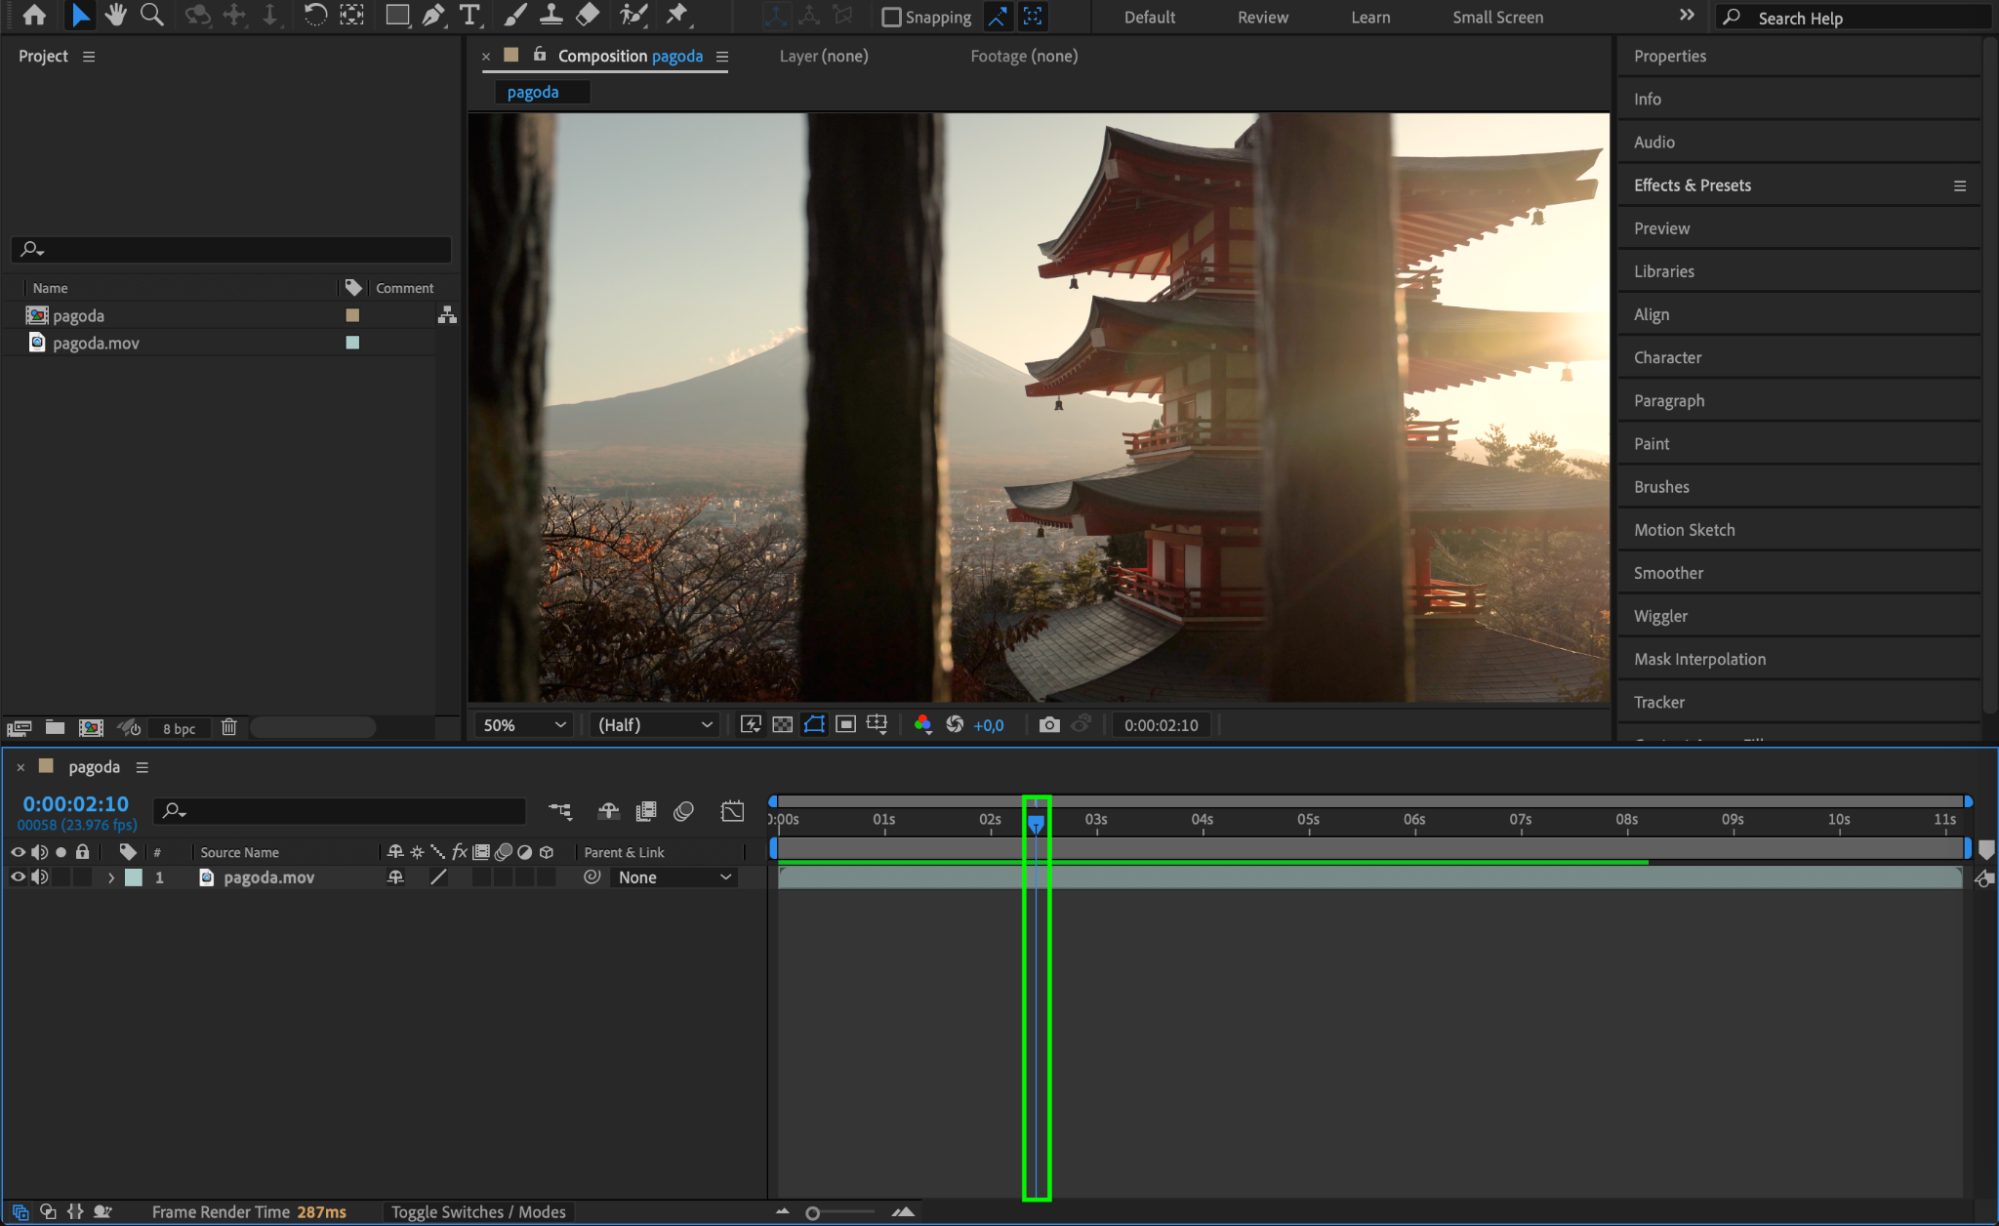
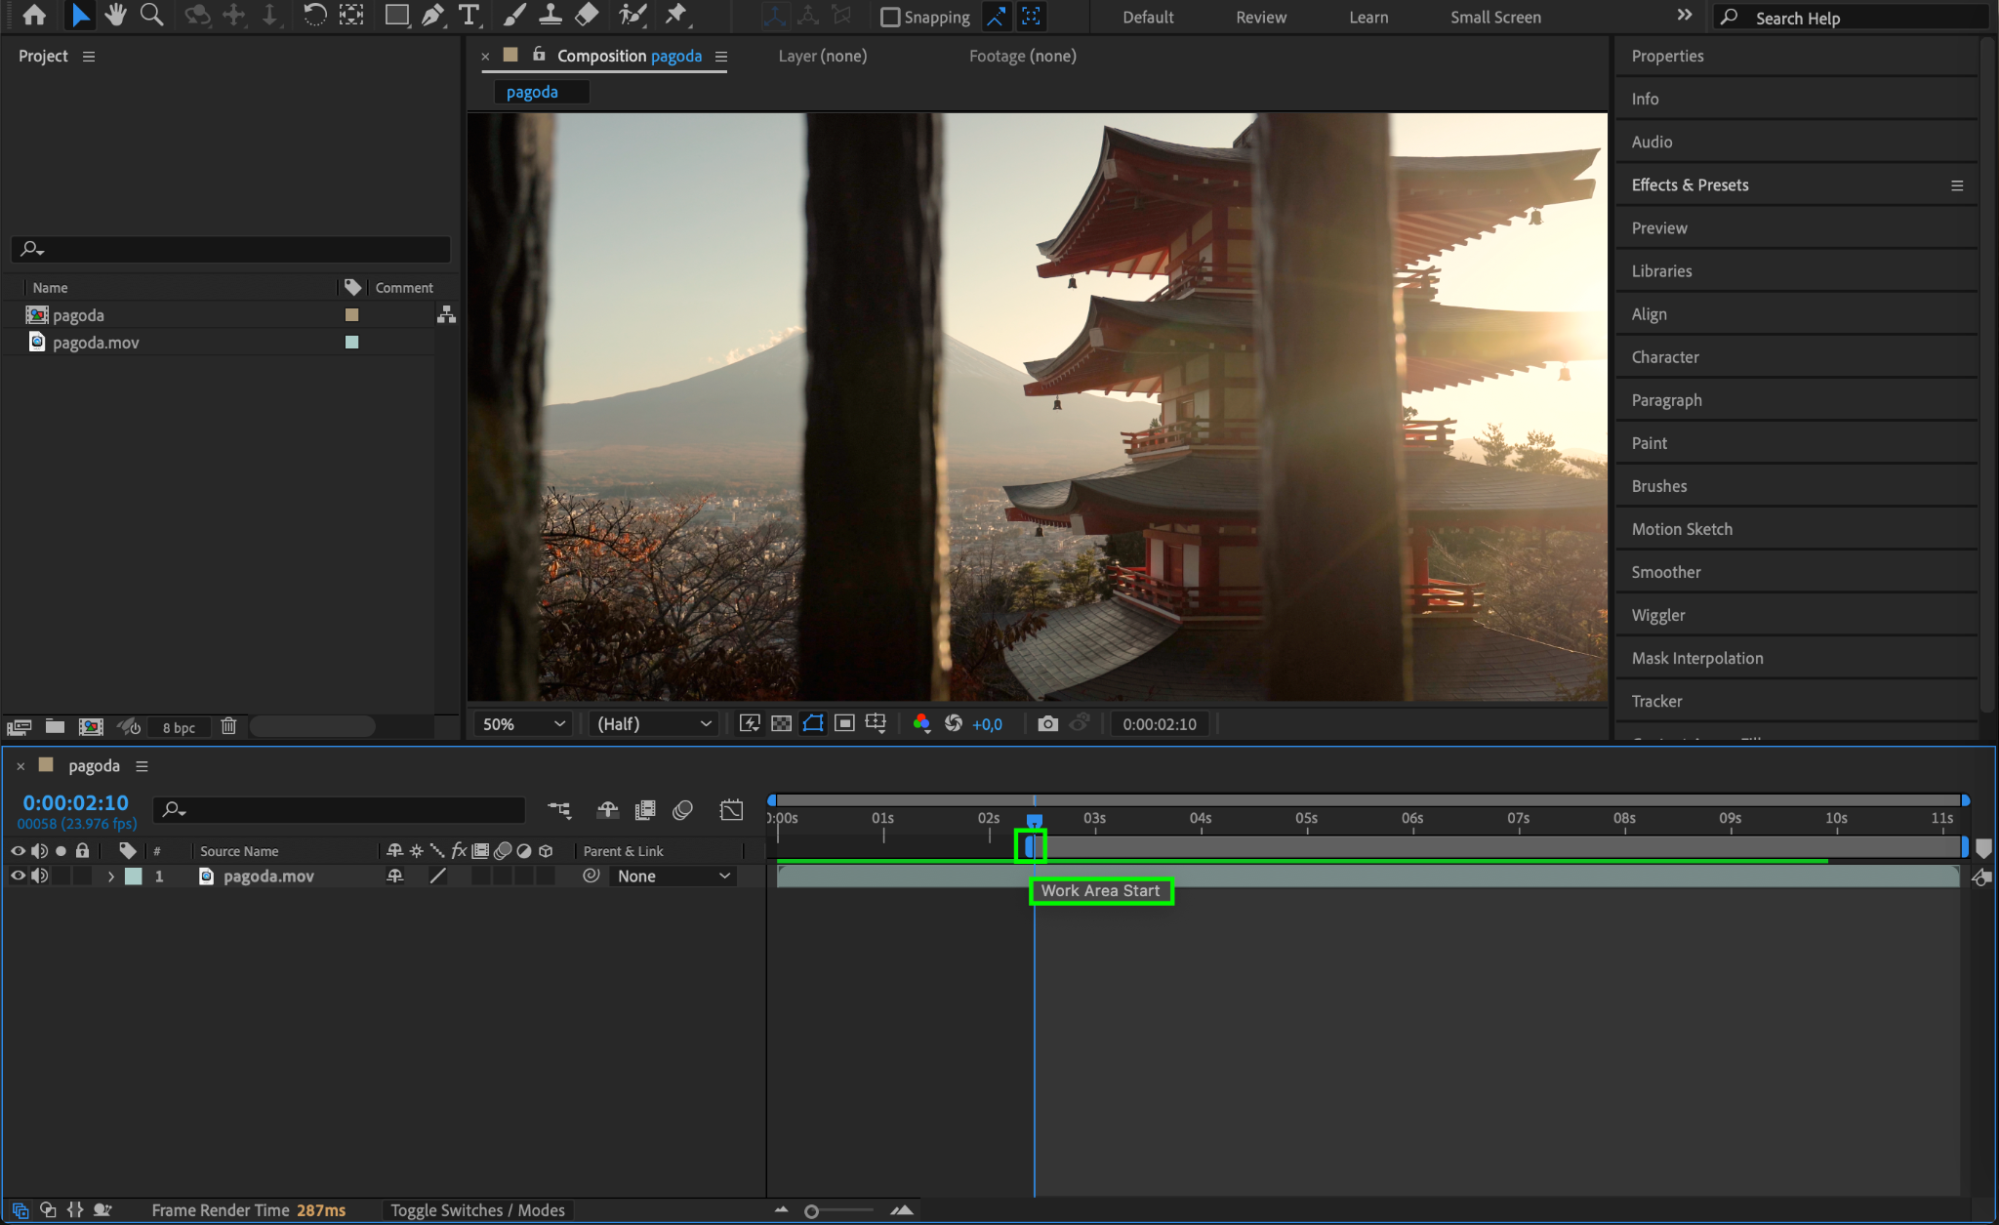
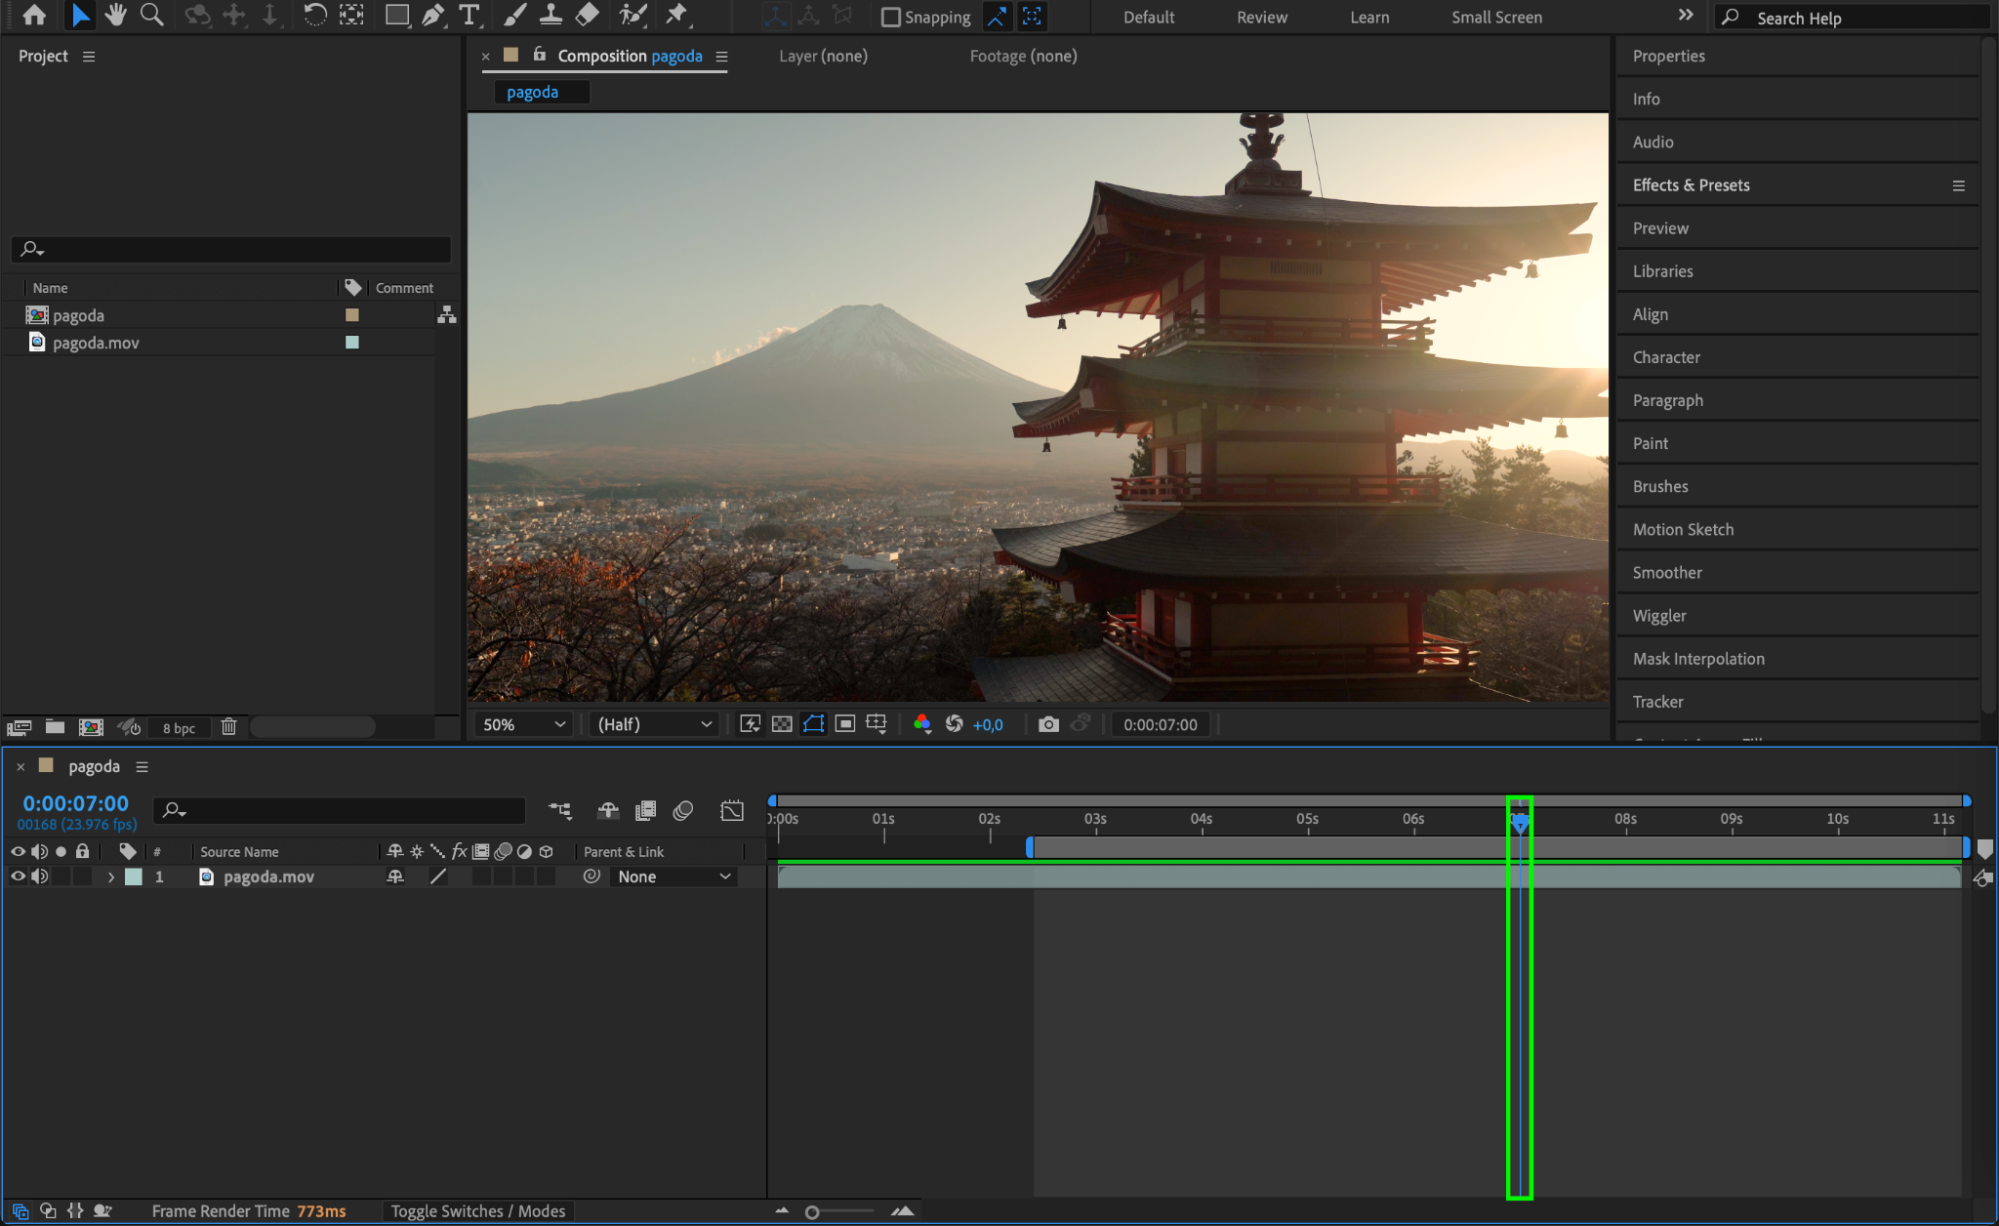
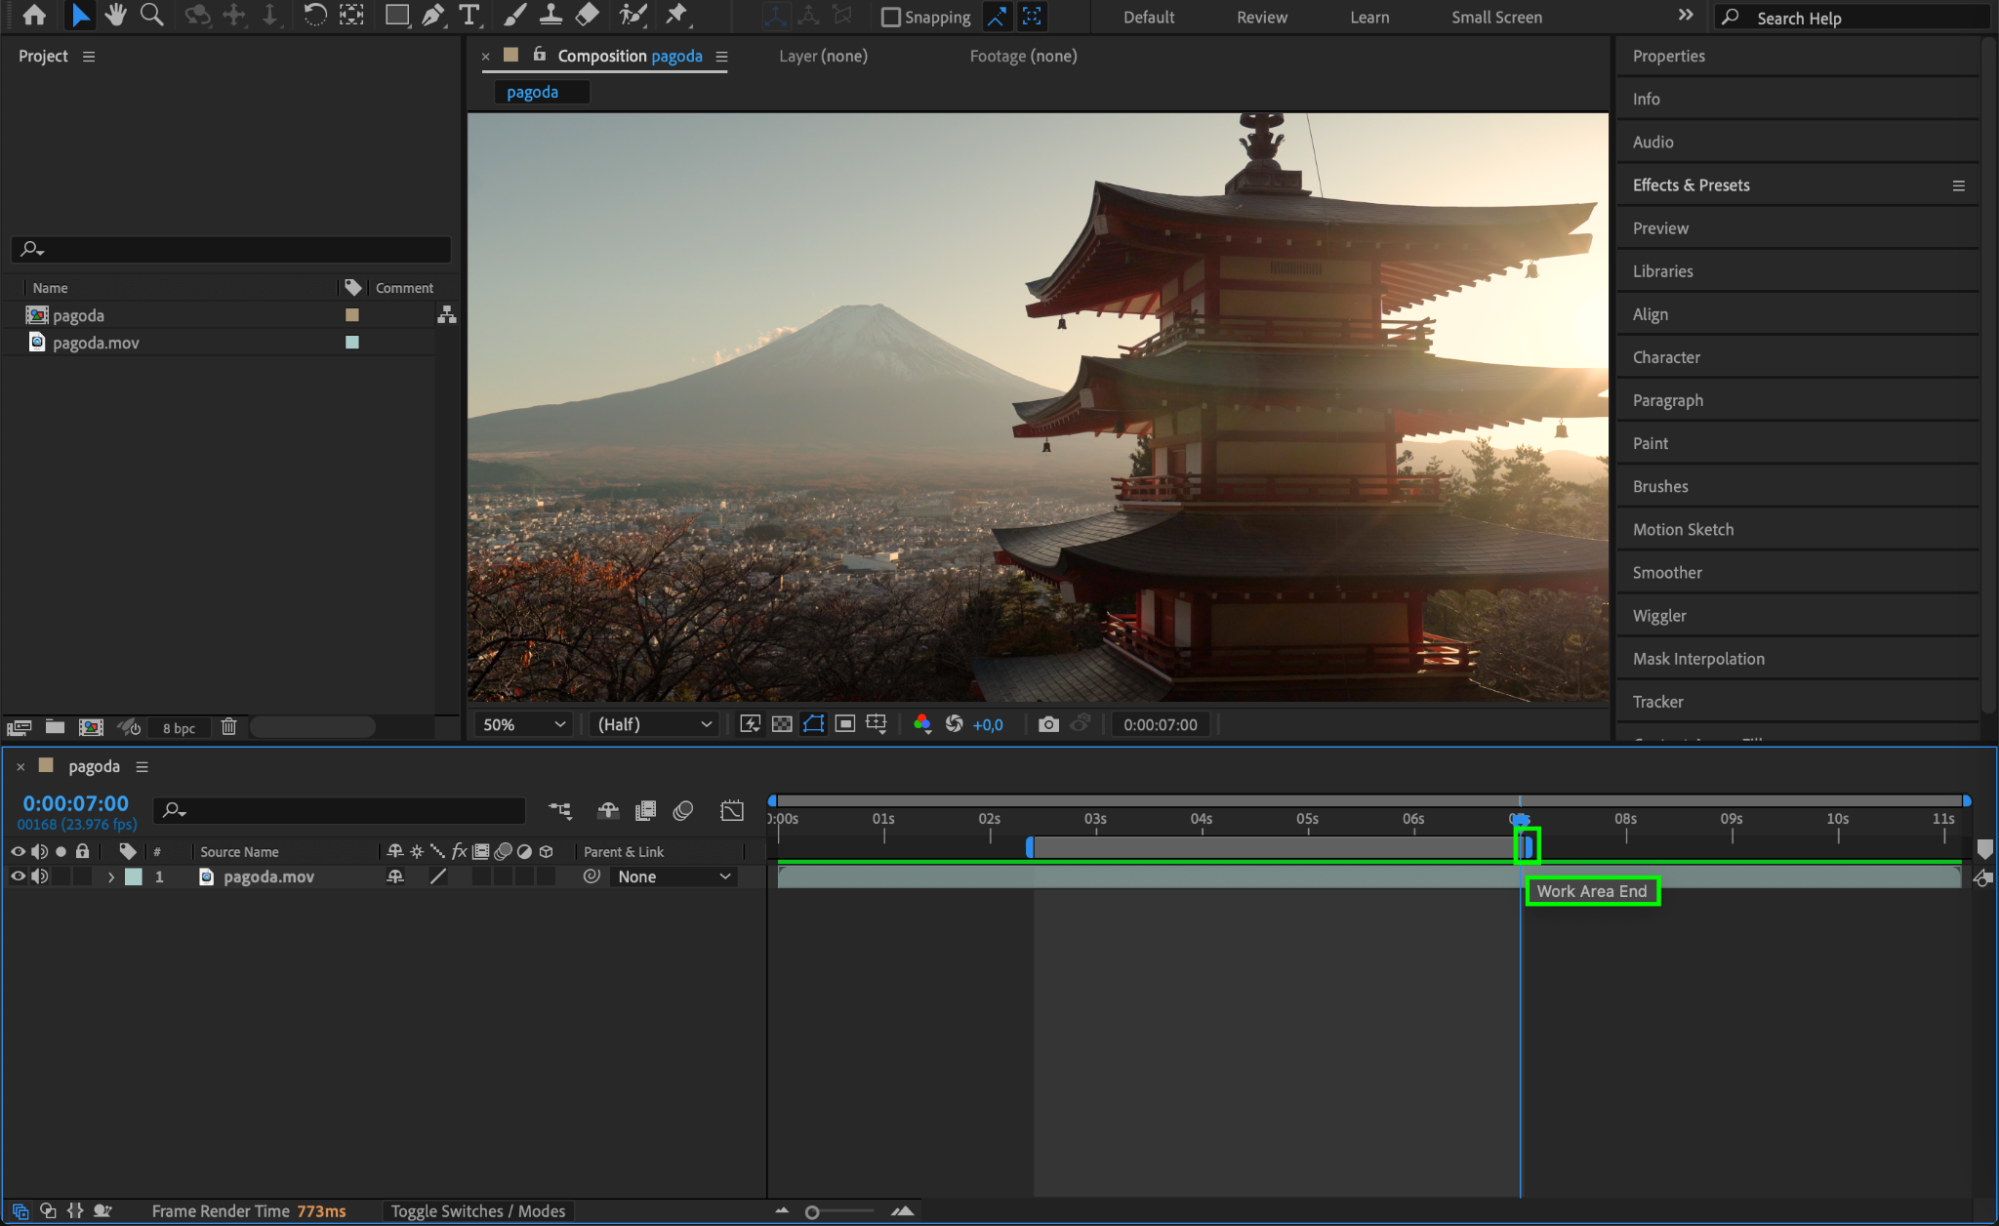
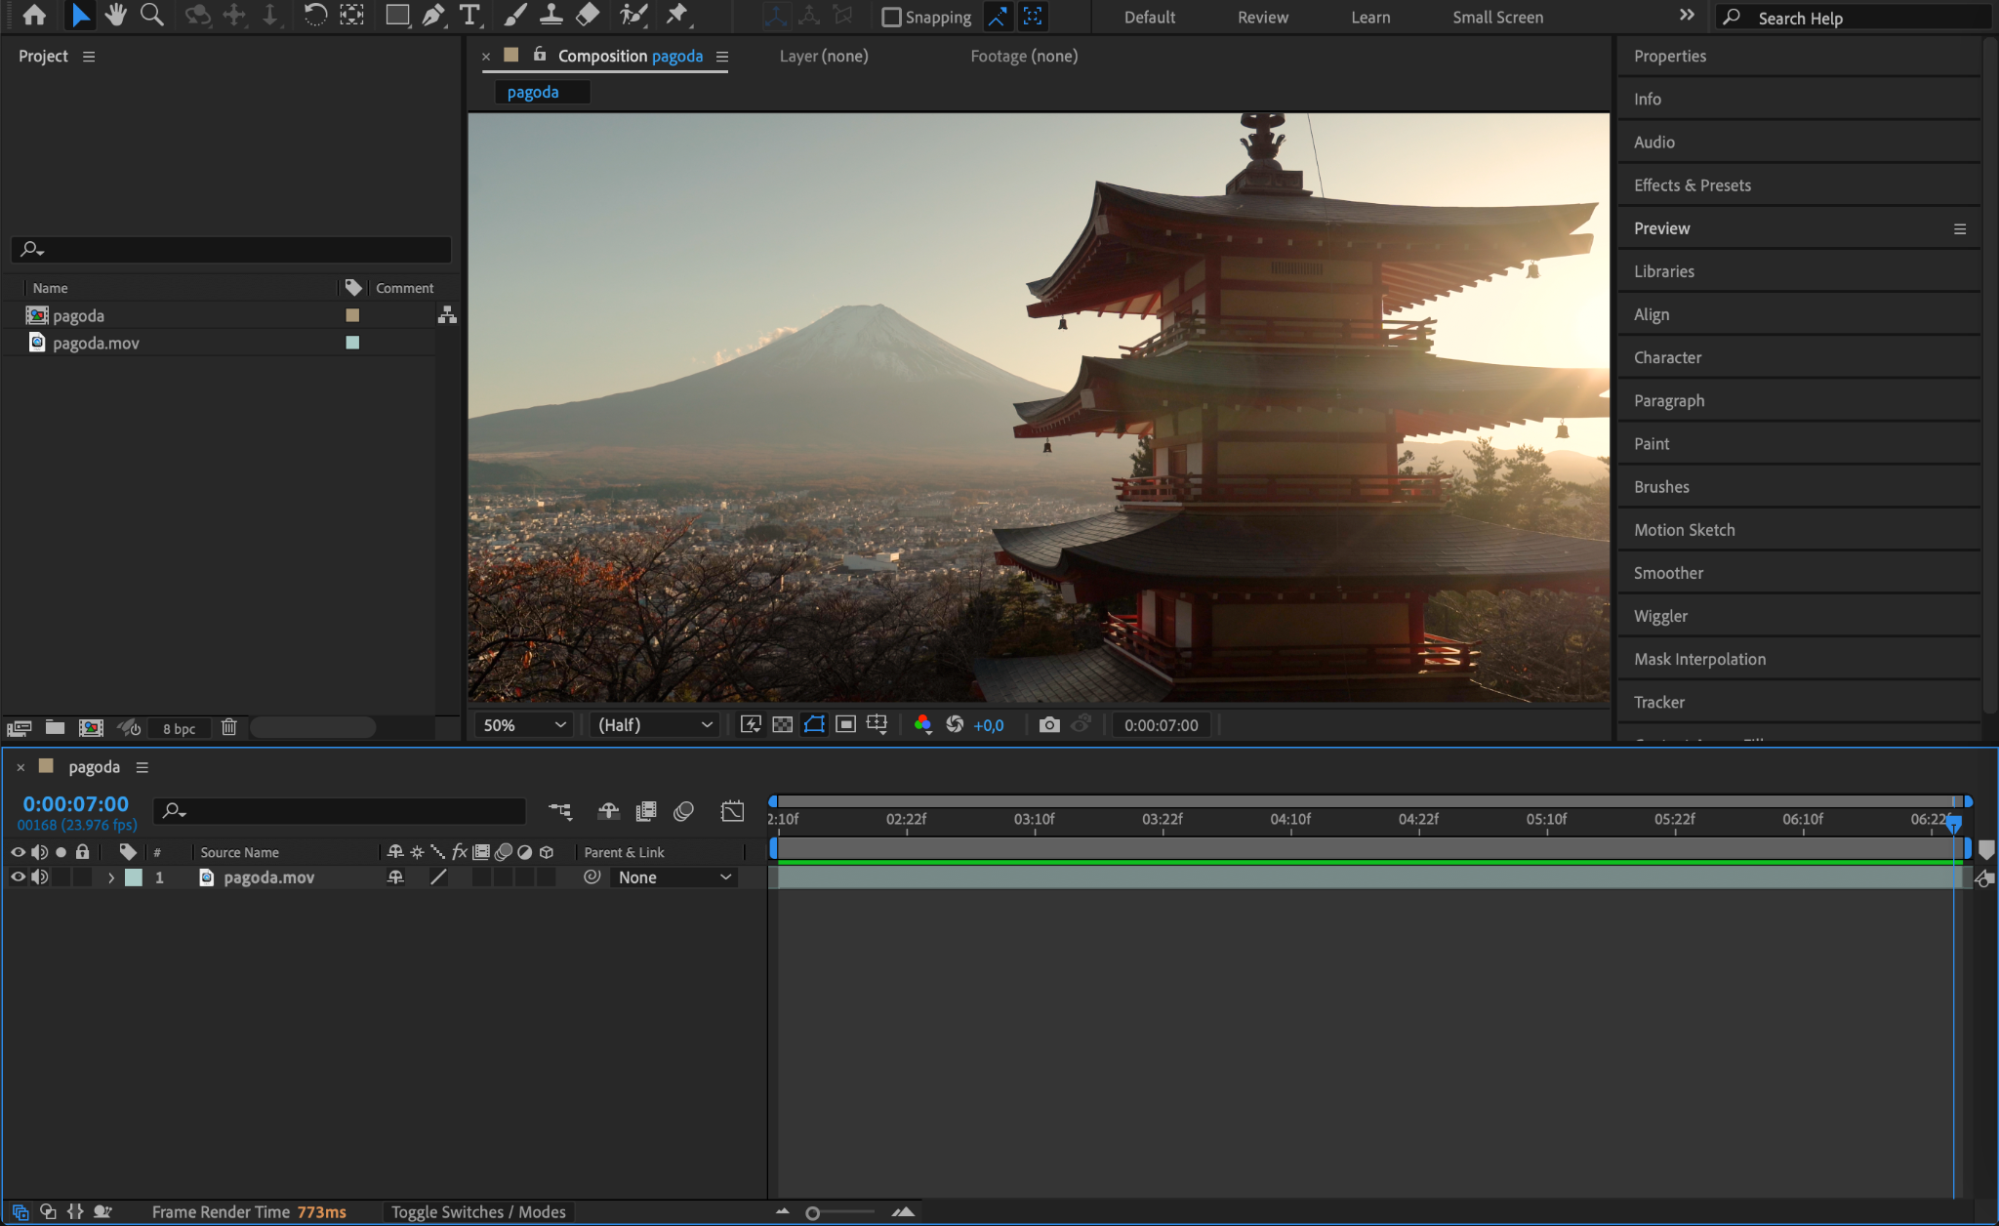
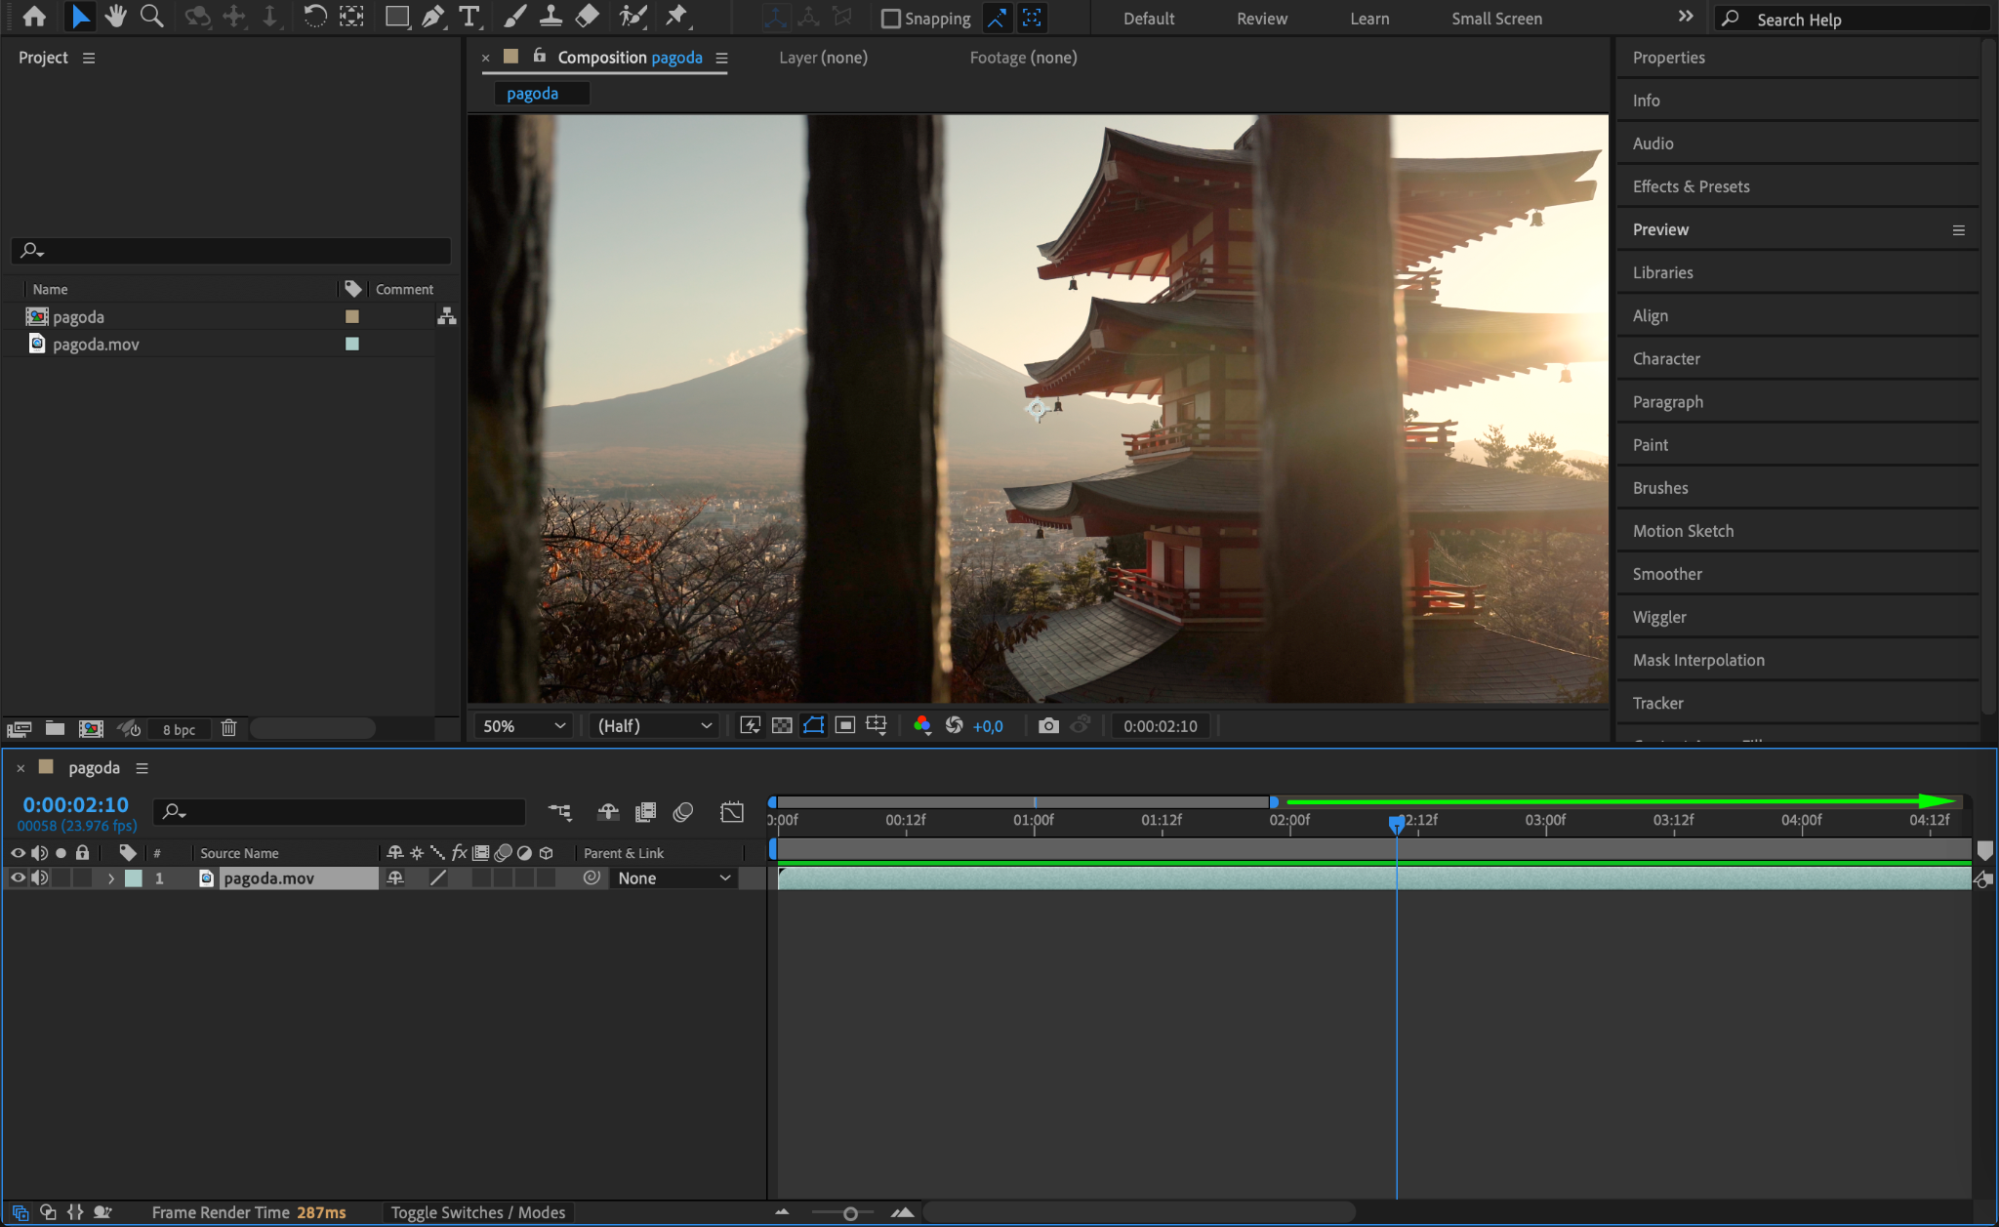
To trim the work area, you first need to define the start and end points. Move the Current Time Indicator (CTI) to the point where you want your work area to start. Then press the shortcut “B” to mark the beginning of the work area. After that, move the CTI to the point where you want the work area to end and press “N”. This defines the range of the work area, highlighting the portion of the timeline that will be affected by further actions.
 Step 2: Preview the Trimmed Work Area
Once you’ve set the work area, you can preview just that portion of your composition by pressing the Spacebar. After Effects will loop through only the selected range, allowing you to focus on refining the specific section you’re working on. This method is useful for fine-tuning smaller segments without needing to preview the entire composition.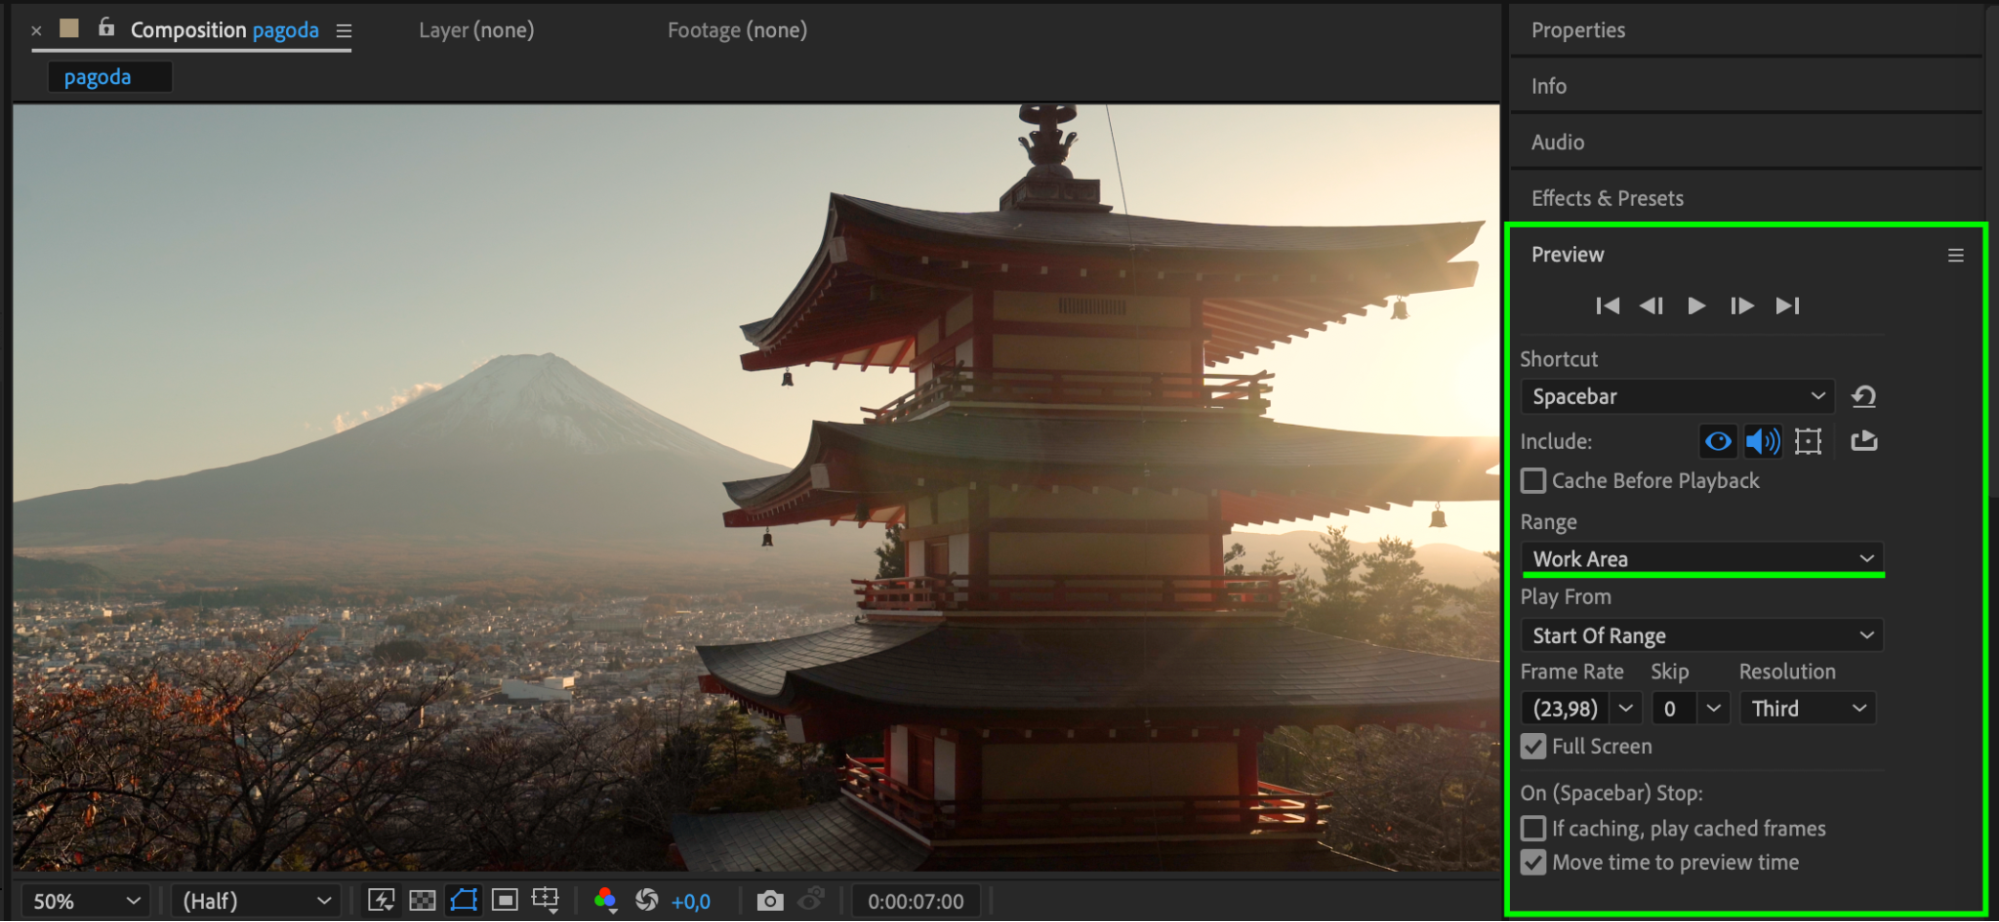 Step 3: Trim the Composition to the Work Area
If you need to permanently trim the composition to match the work area, go to the Composition menu at the top of the screen and select Trim Comp to Work Area. This action will crop the composition to only include the frames within your defined work area, effectively cutting out anything outside of that range. It’s a helpful step for finalizing compositions when you’re only focused on a particular part of the timeline.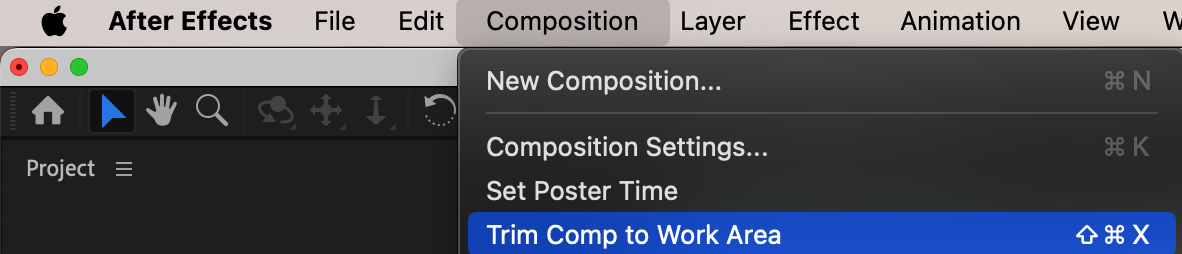
 Step 4: Render the Work Area
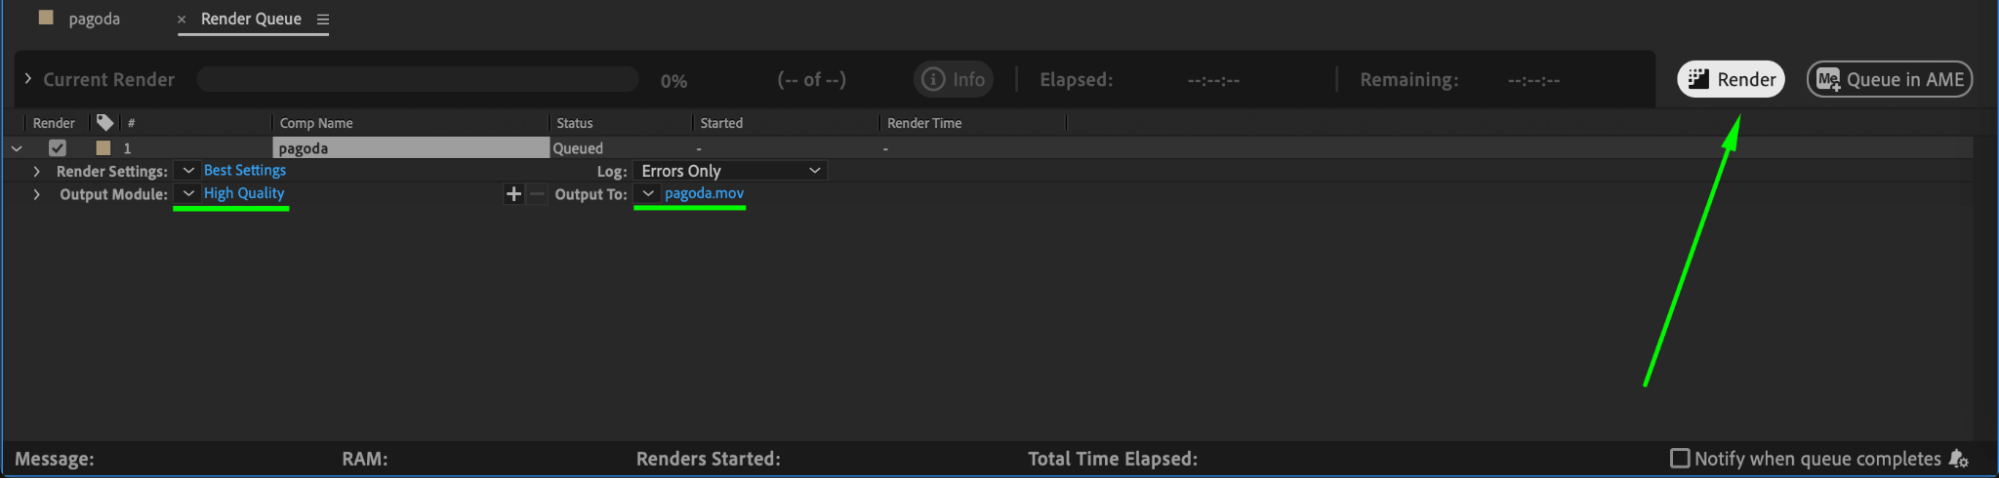
To render only the trimmed work area, add your composition to the Render Queue by selecting Composition > Add to Render Queue. This is especially useful when you’re exporting just a portion of the project, saving time and computing resources during the rendering process.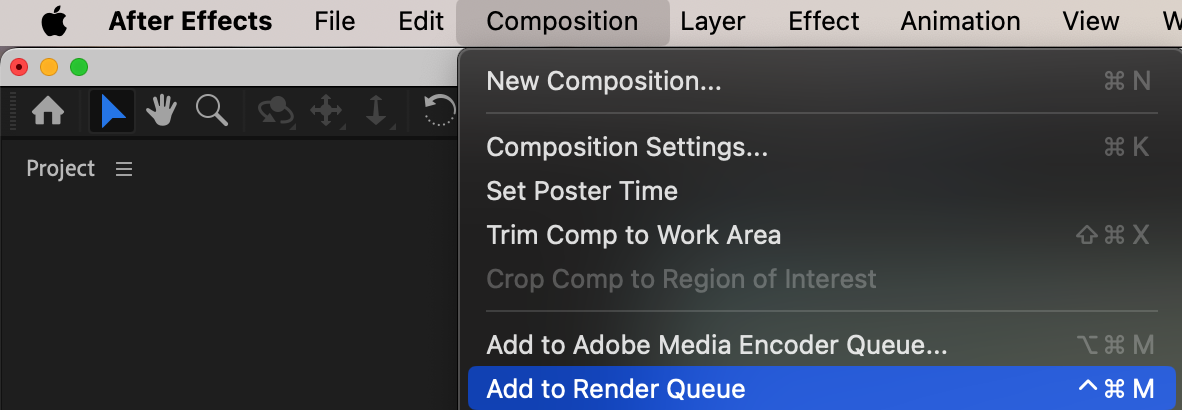
 Step 5: Reset the Work Area
Get 10% off when you subscribe to our newsletter

Once you’re done working on the trimmed section, you can reset the work area to the full composition. Simply go to the Edit menu, select History, and choose the action you want to undo, such as Undo Time Change. Alternatively, press “Ctrl/Cmd + Z” to undo the trimming action and restore the full timeline. You can also double-click the work area bar to automatically reset it to the full composition length, allowing you to continue working on the entire timeline.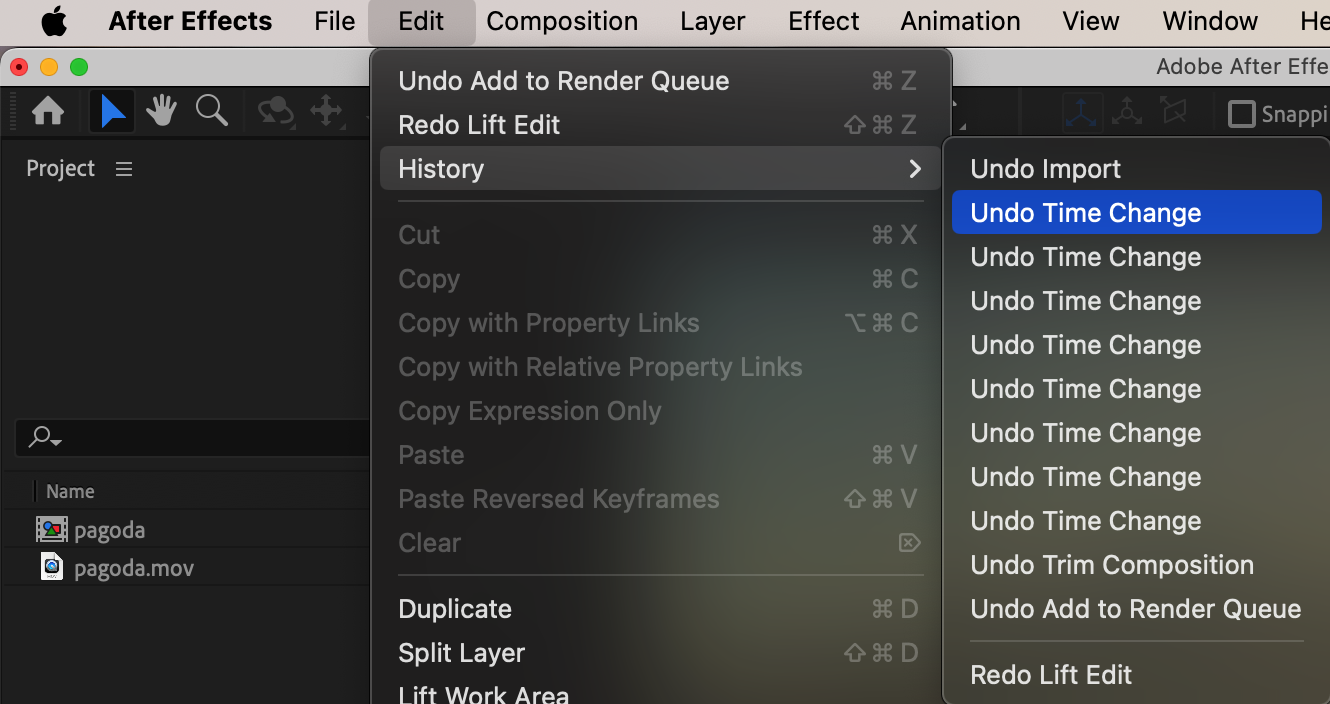
 Conclusion
Trimming the work area in After Effects is a simple yet powerful way to focus on specific parts of your composition and improve your workflow. Whether you’re editing or rendering, this technique saves time and helps you work more efficiently by isolating only the parts of the composition you need.
Our Bestsellers


