Trimming a video in Adobe After Effects can be a useful way to adjust the length of a clip or remove unwanted sections of footage.
Here are the steps you can follow to trim a video in After Effects:
First, you’ll need to import the video file that you want to trim into your project. This can be done by going to File > Import > File, or by dragging the video file from its saved location into the project window.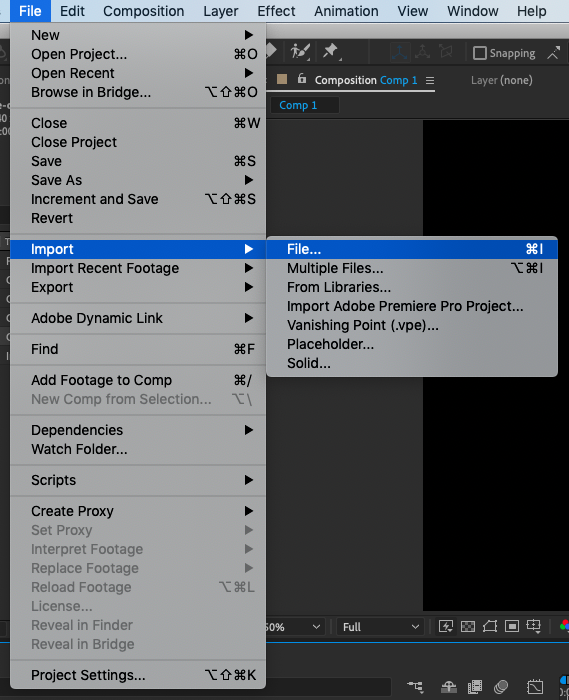 Once the video file has been imported, drag it to the Project panel to create a new composition. You can find the Project panel in the lower left corner of the interface.
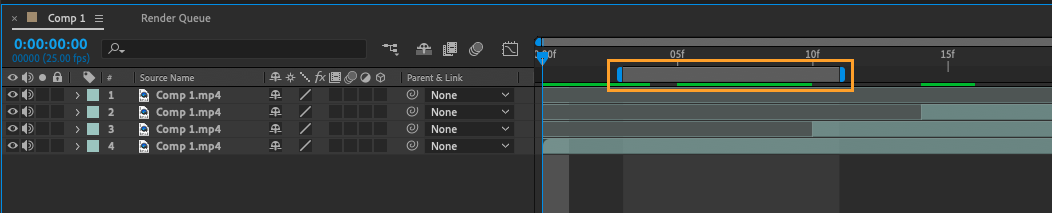
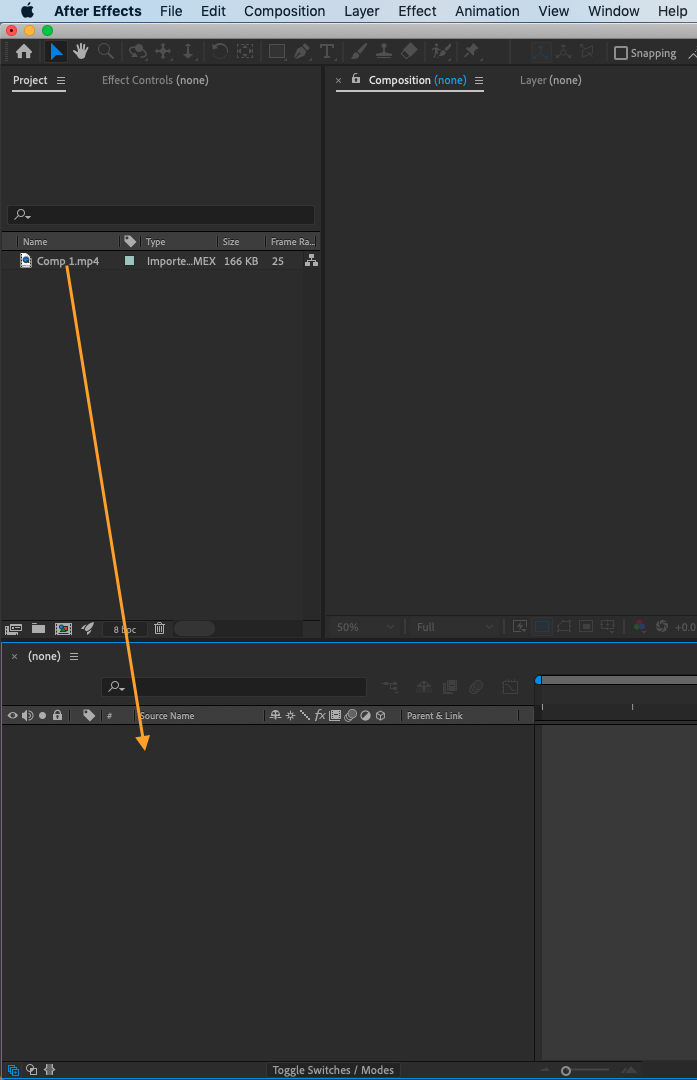 To trim the video from its beginning, locate your mouse at the start of the range bar and drag it to the desired position.
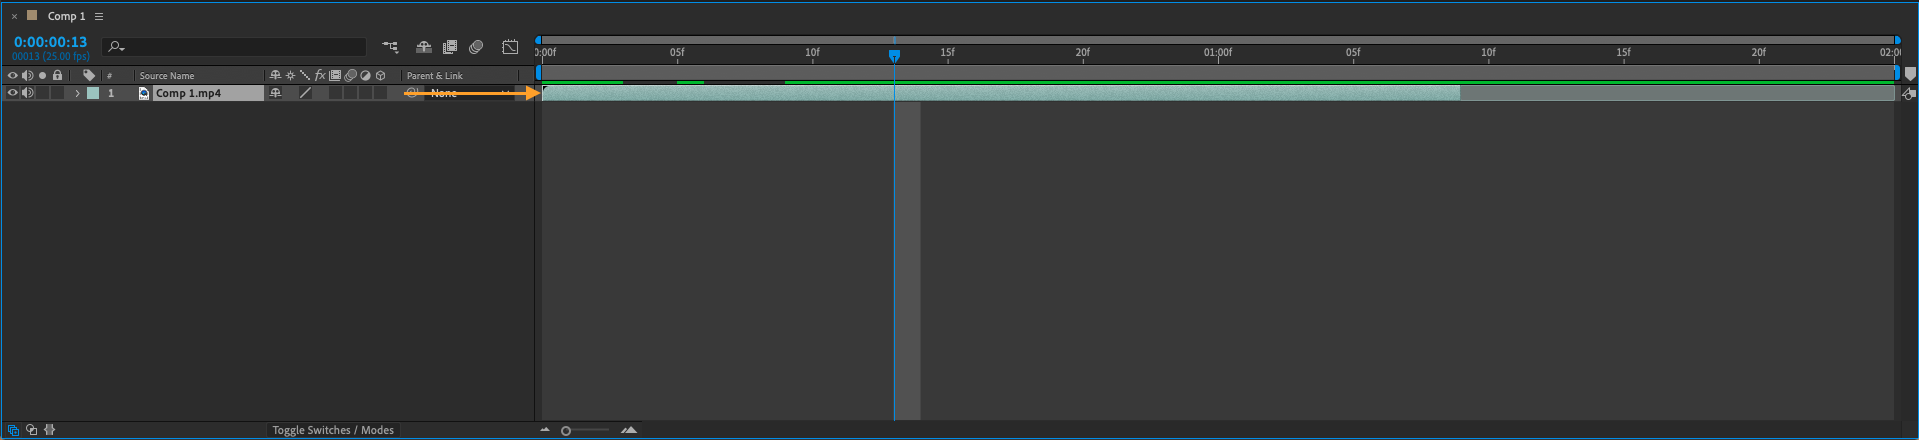
Get 10% off when you subscribe to our newsletter

 To trim the video from the end, click and drag the end of the range bar.
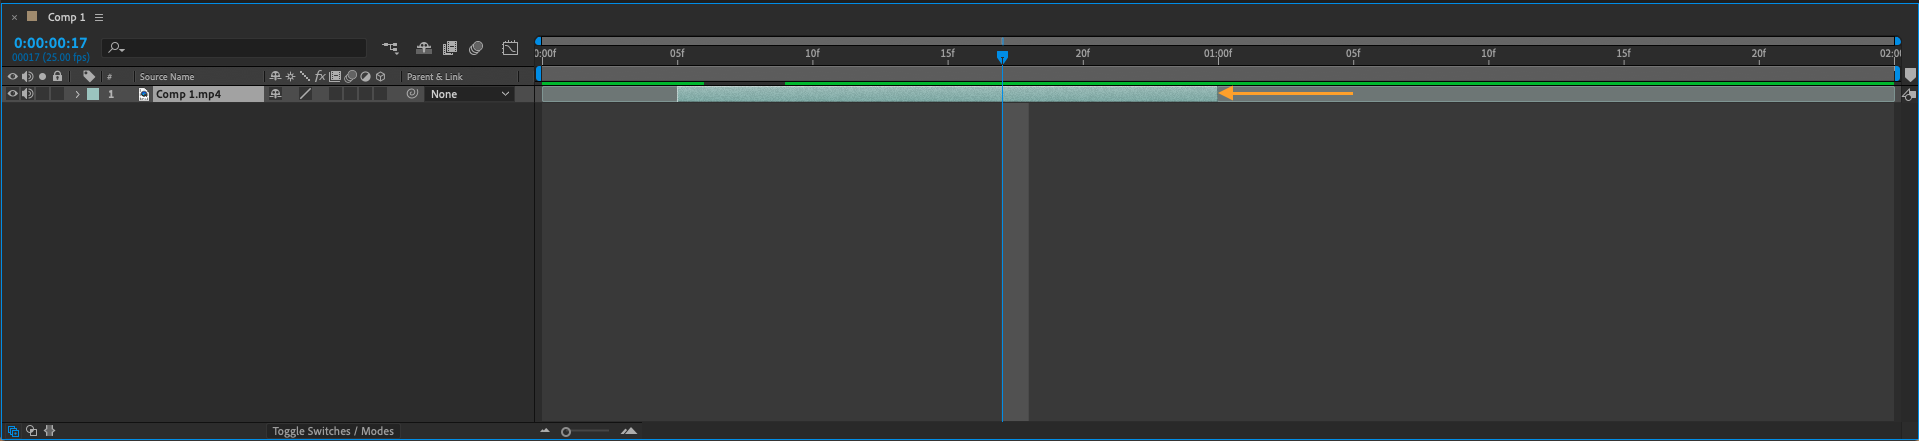 If you want to preview your trimmed video, hit the spacebar to play the video from the position of the playhead. Or you can use the Preview panel.
Once you are satisfied with your trim, you can then export the trimmed video by going to File > Export > Add to Render Queue, or by using the keyboard shortcut Ctrl + M on Win or Command + Ctrl + M on Mac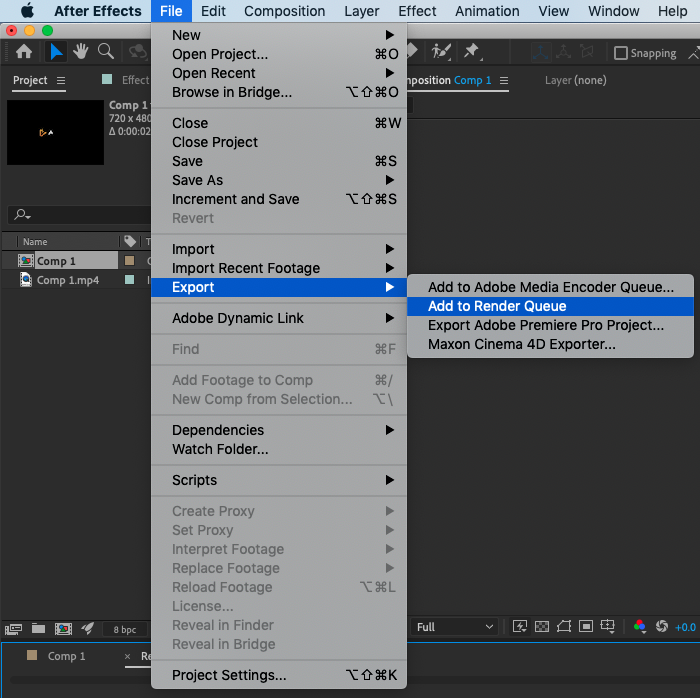 From the Render Queue, you can choose your desired output settings and render the video. This will create a new video file that contains only the trimmed portion of the original video
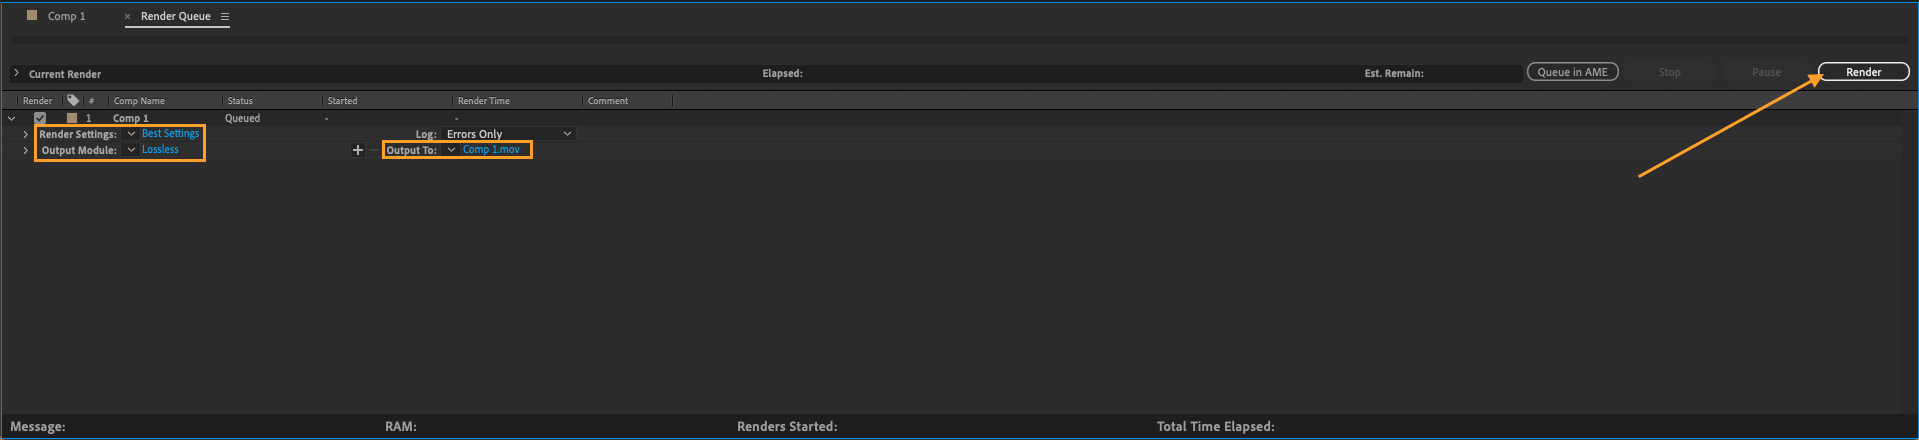 Also, you can use a Split Layer function:
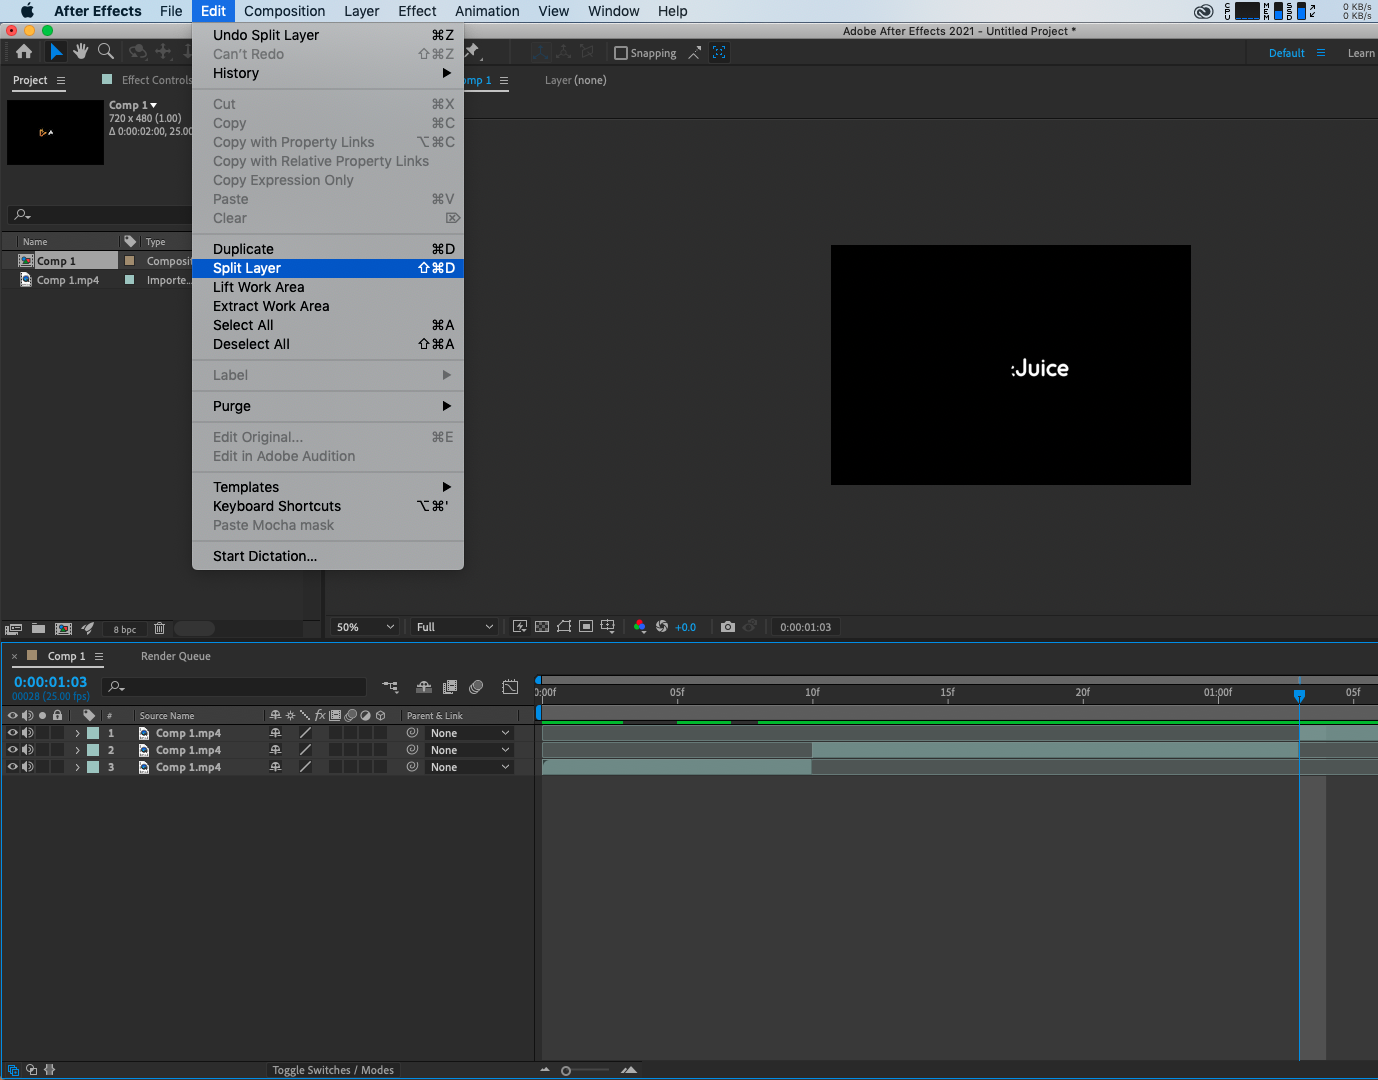
- Select your video and position the timeline indicator at the desired cut point.
- Then, go to Edit > Split Layer. This will duplicate the layer and cut it into two separate layers, allowing the clip to play uninterrupted but with independent layers
- Then, delete the layer you do not need in the composition by clicking the Delete key.
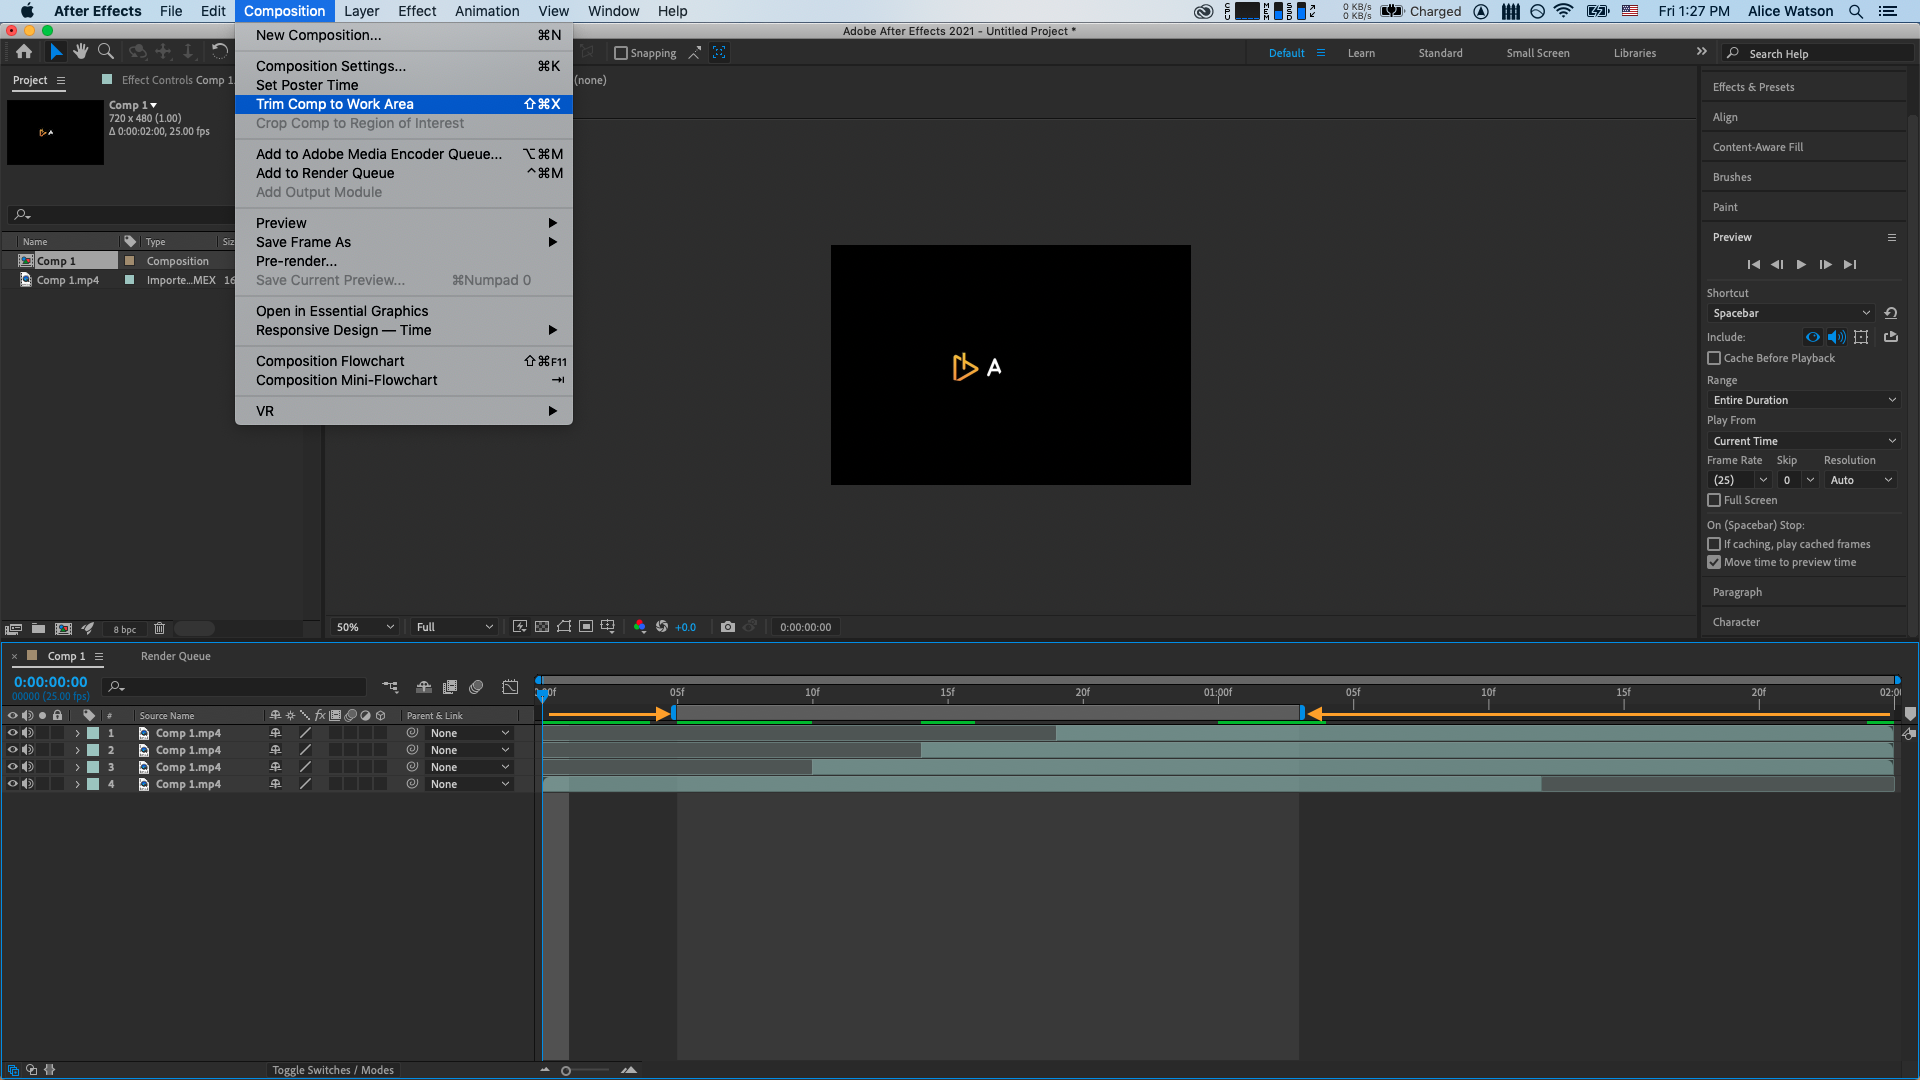
If you want to trim multiple videos at once, you can use the Trim Comp to Work Area function
- Specify the Start and End of Work Area by dragging its indicators to a desired position.
Our Bestsellers


