Mastering Shape Conversion to Masks in After Effects”
Unlocking Precision Control: Introduction to Shape-to-Mask Conversion in After Effects
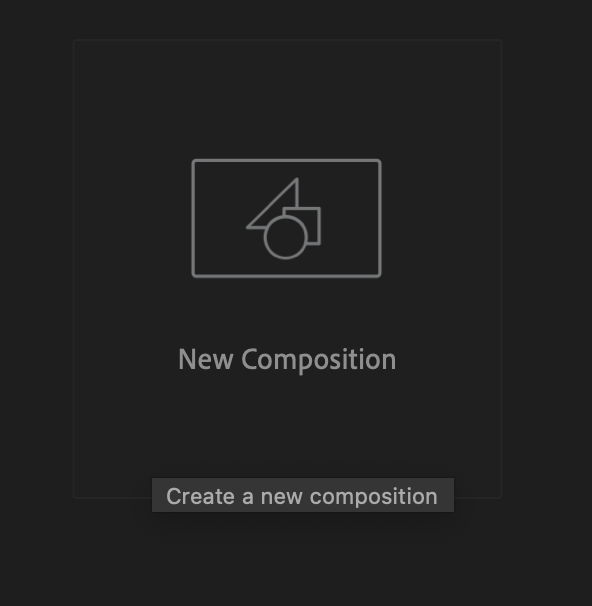
Step 1: Creating a Composition
Create a composition and adjust its settings.
Get 10% off when you subscribe to our newsletter


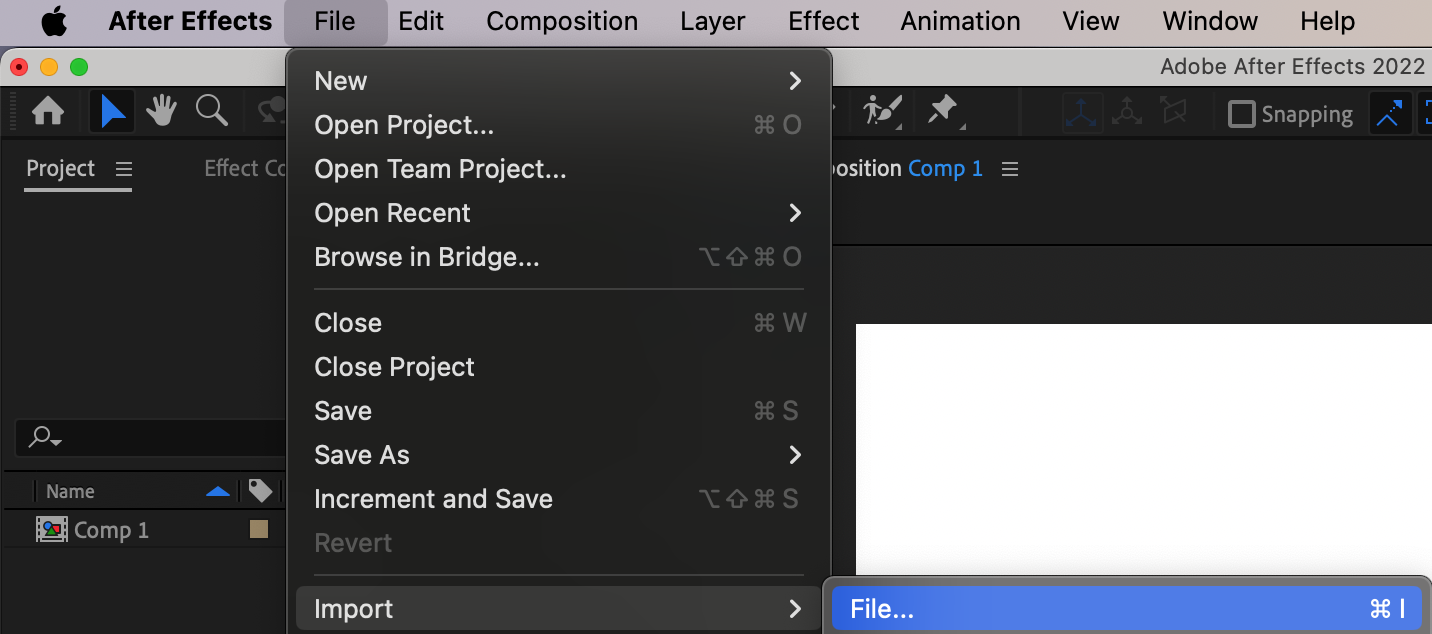
Step 2: Importing Your Video File
Import your video file into After Effects. You can do this by selecting “File” > “Import” > “File” and choosing your video file. Once imported, drag the video file onto the timeline panel.
Get 10% off when you subscribe to our newsletter
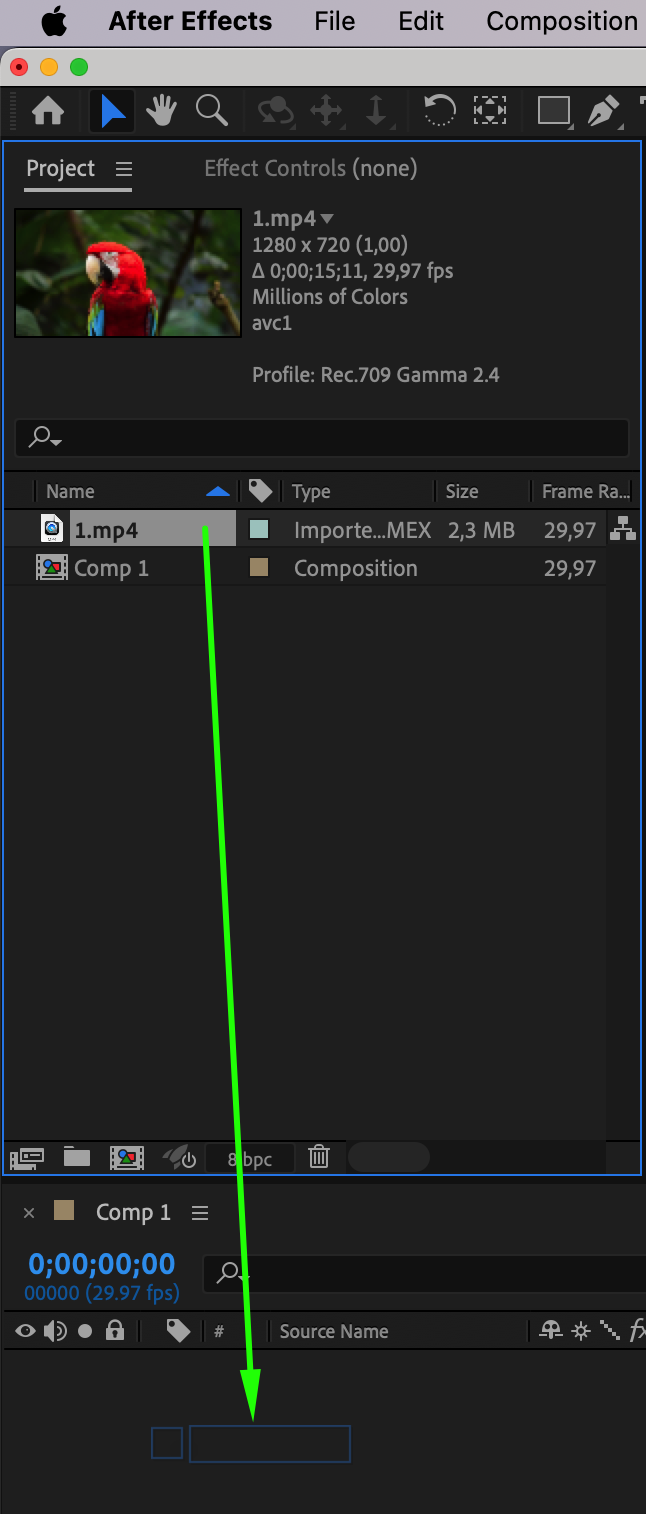
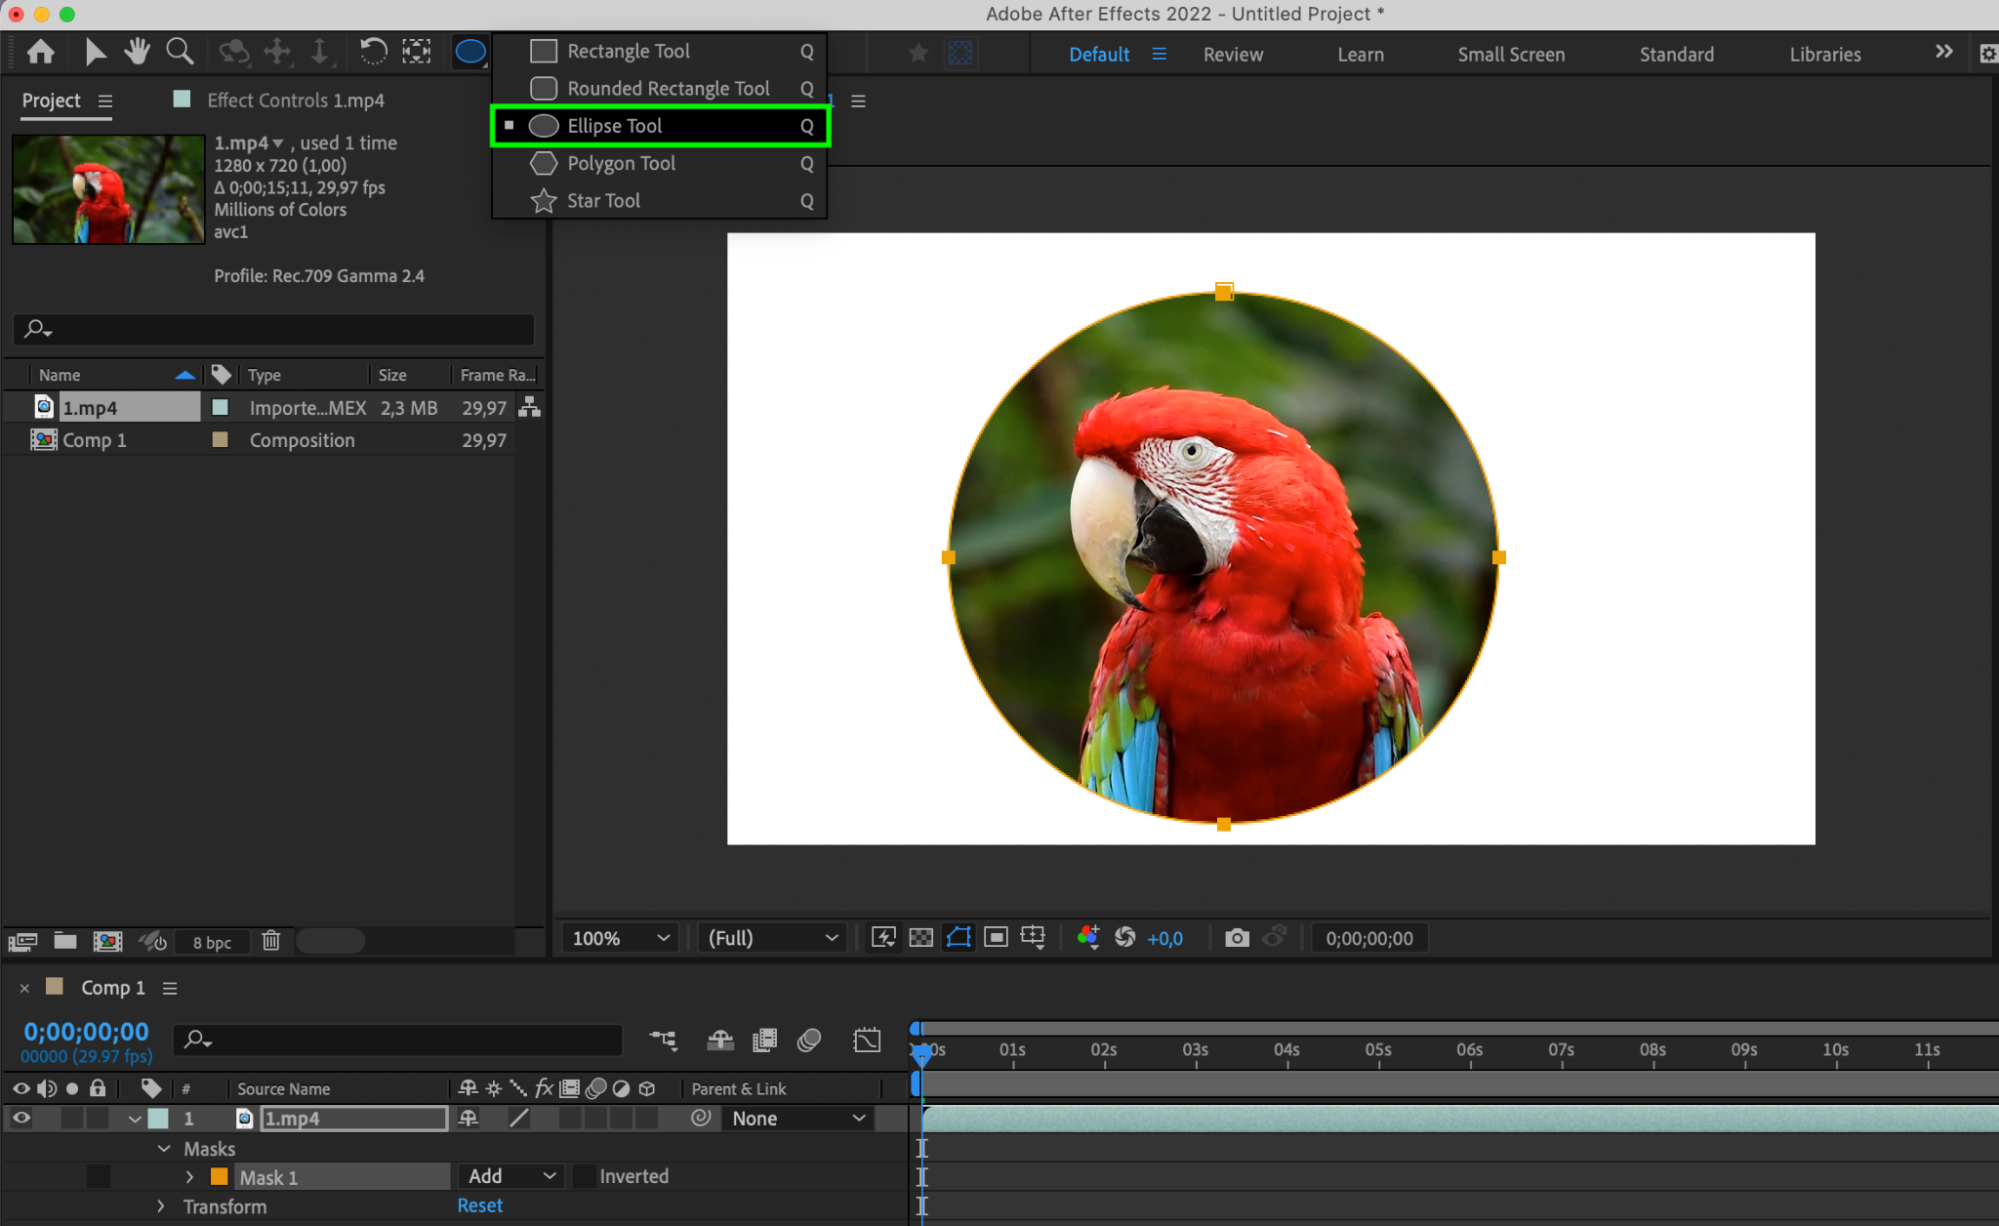
Step 3: Drawing a Shape
Use the shape tools in the toolbar to draw the desired shape directly in the composition window. You can choose from a variety of shapes, such as rectangles, ellipses, polygons, and others.
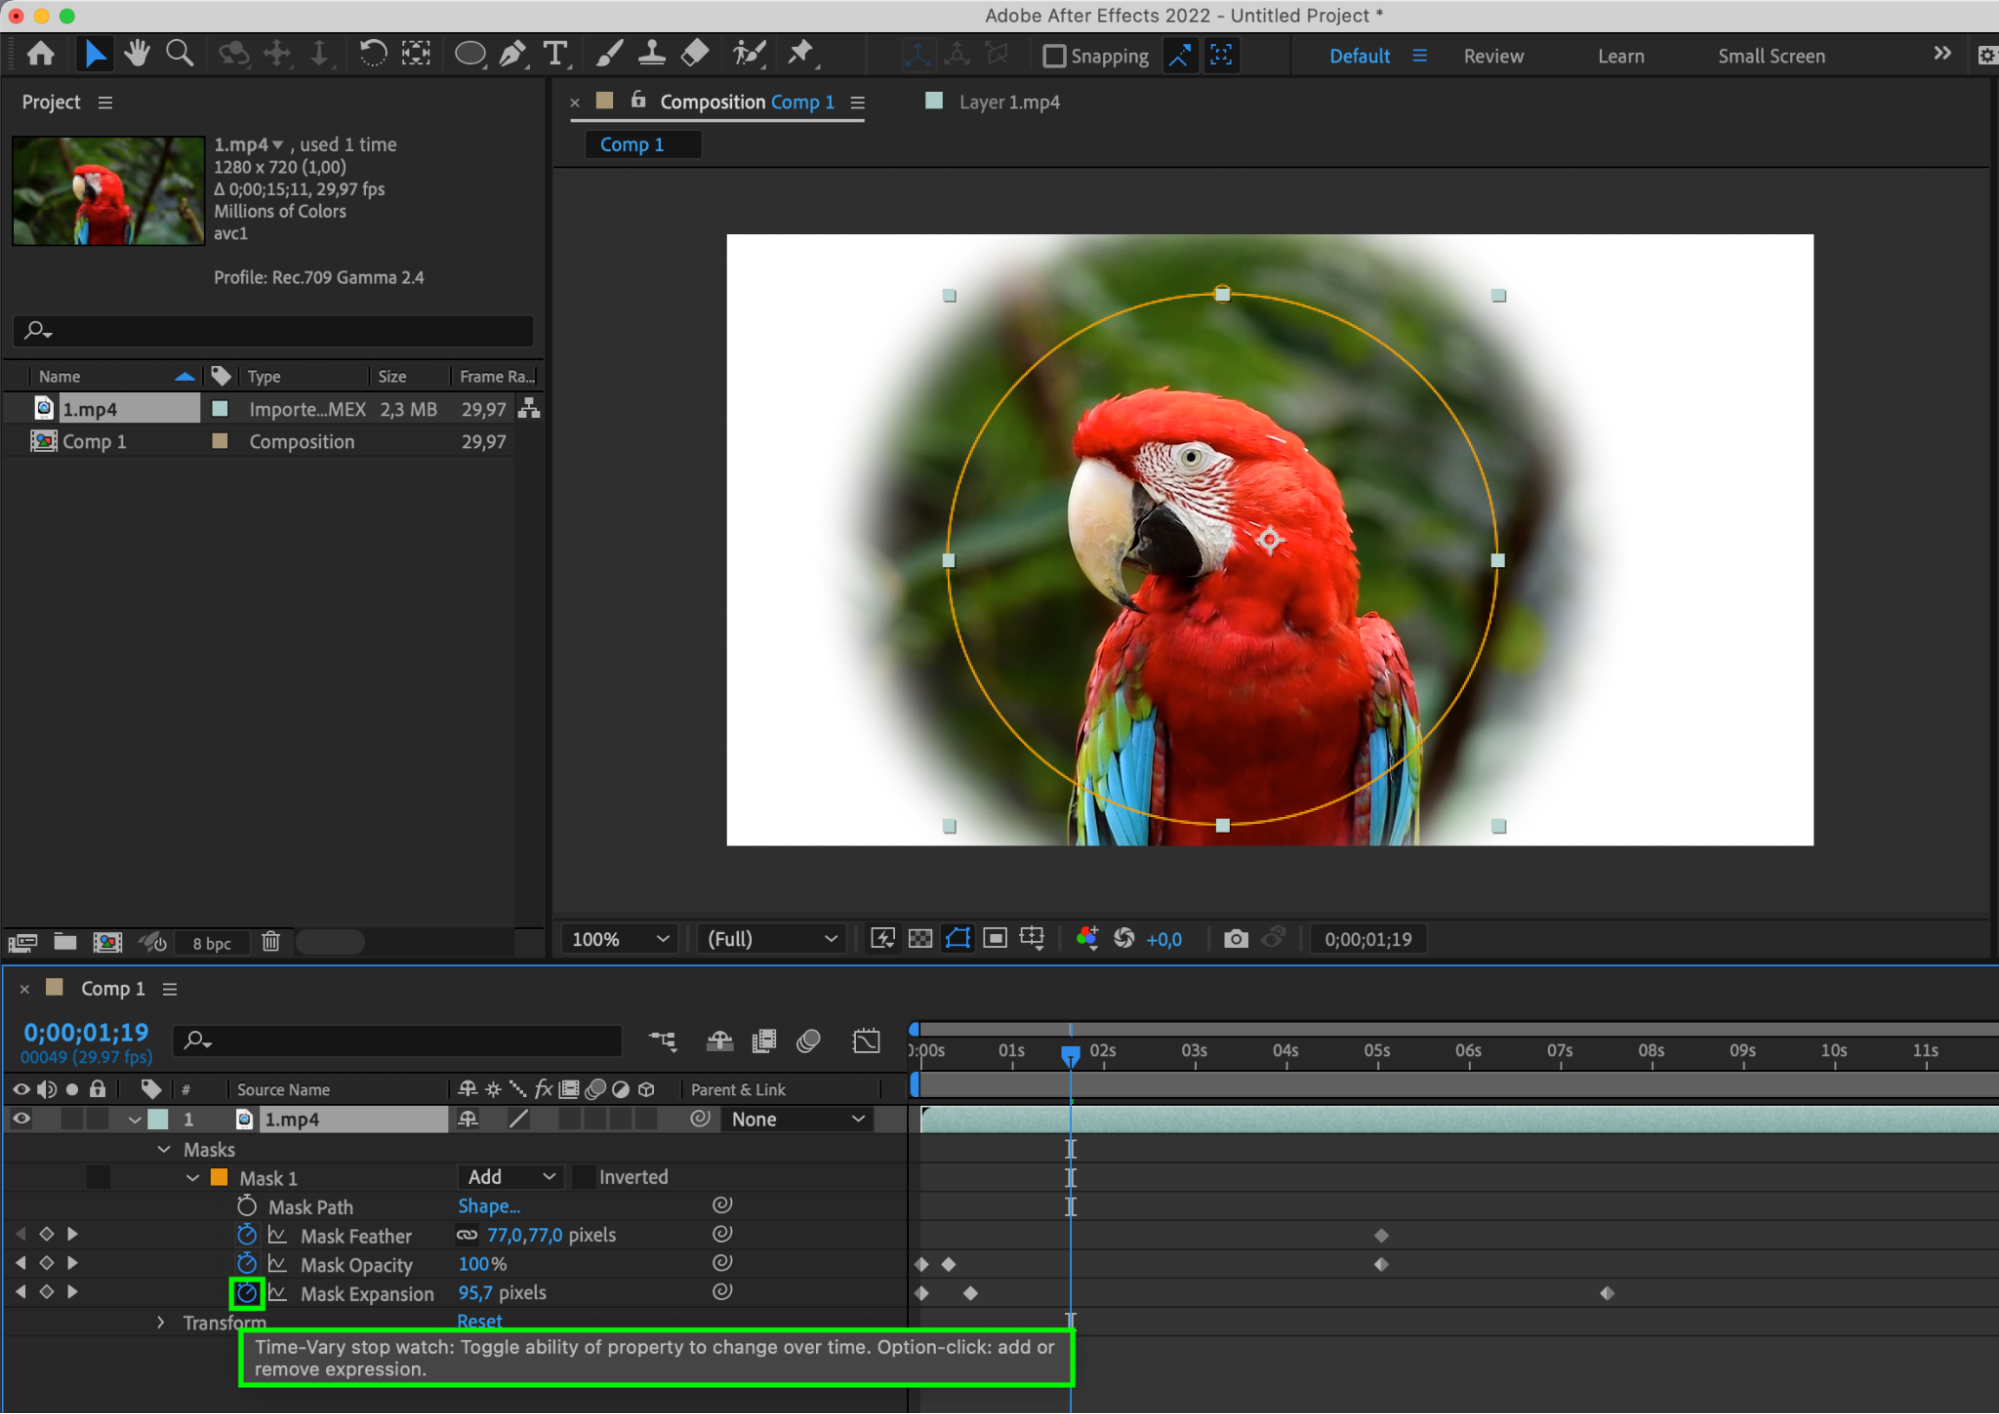
Step 4: Adjusting Mask Properties
Now that the mask is applied to the layer, adjust its properties such as position, size, feathering, and opacity to achieve the desired effect. Use the mask’s control points and handles to refine its shape and position as needed.
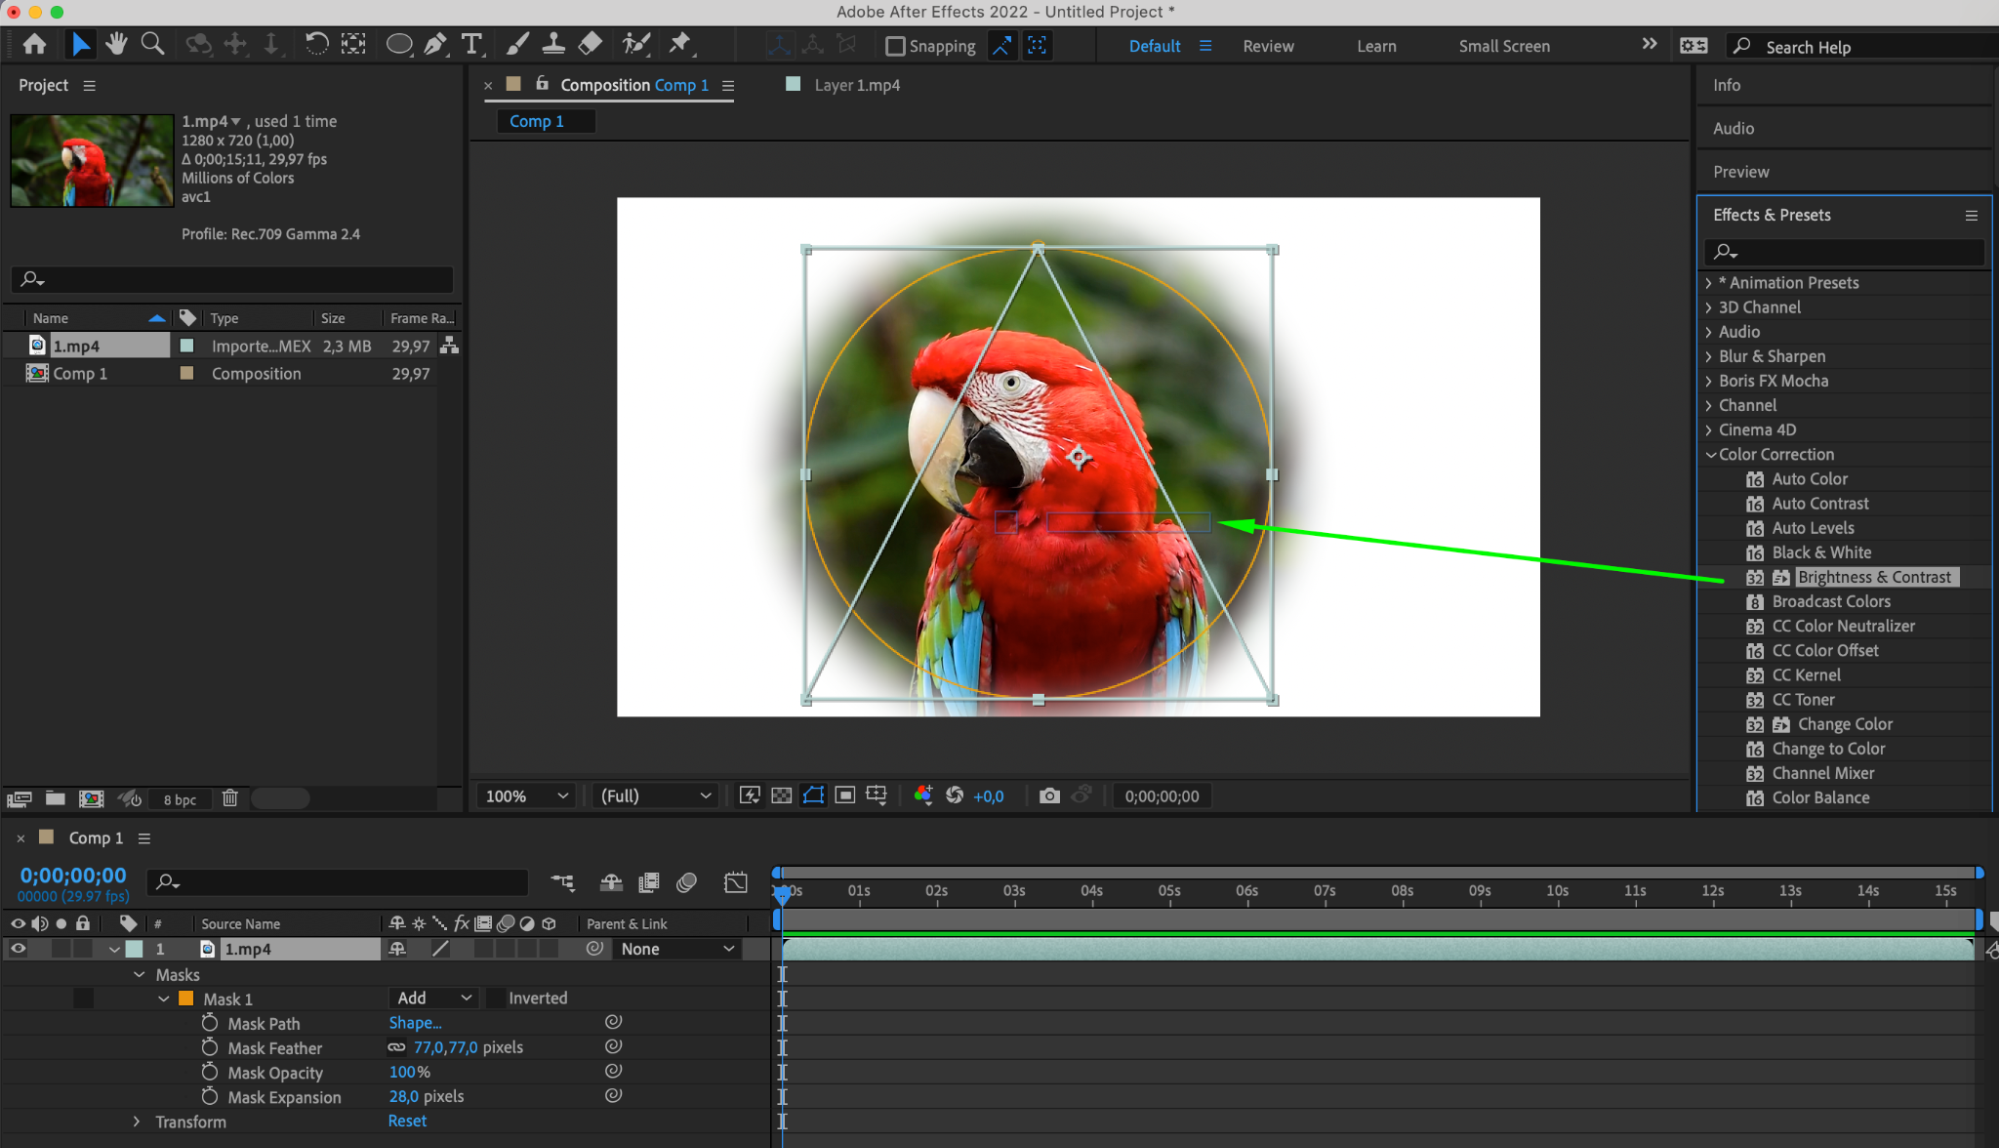
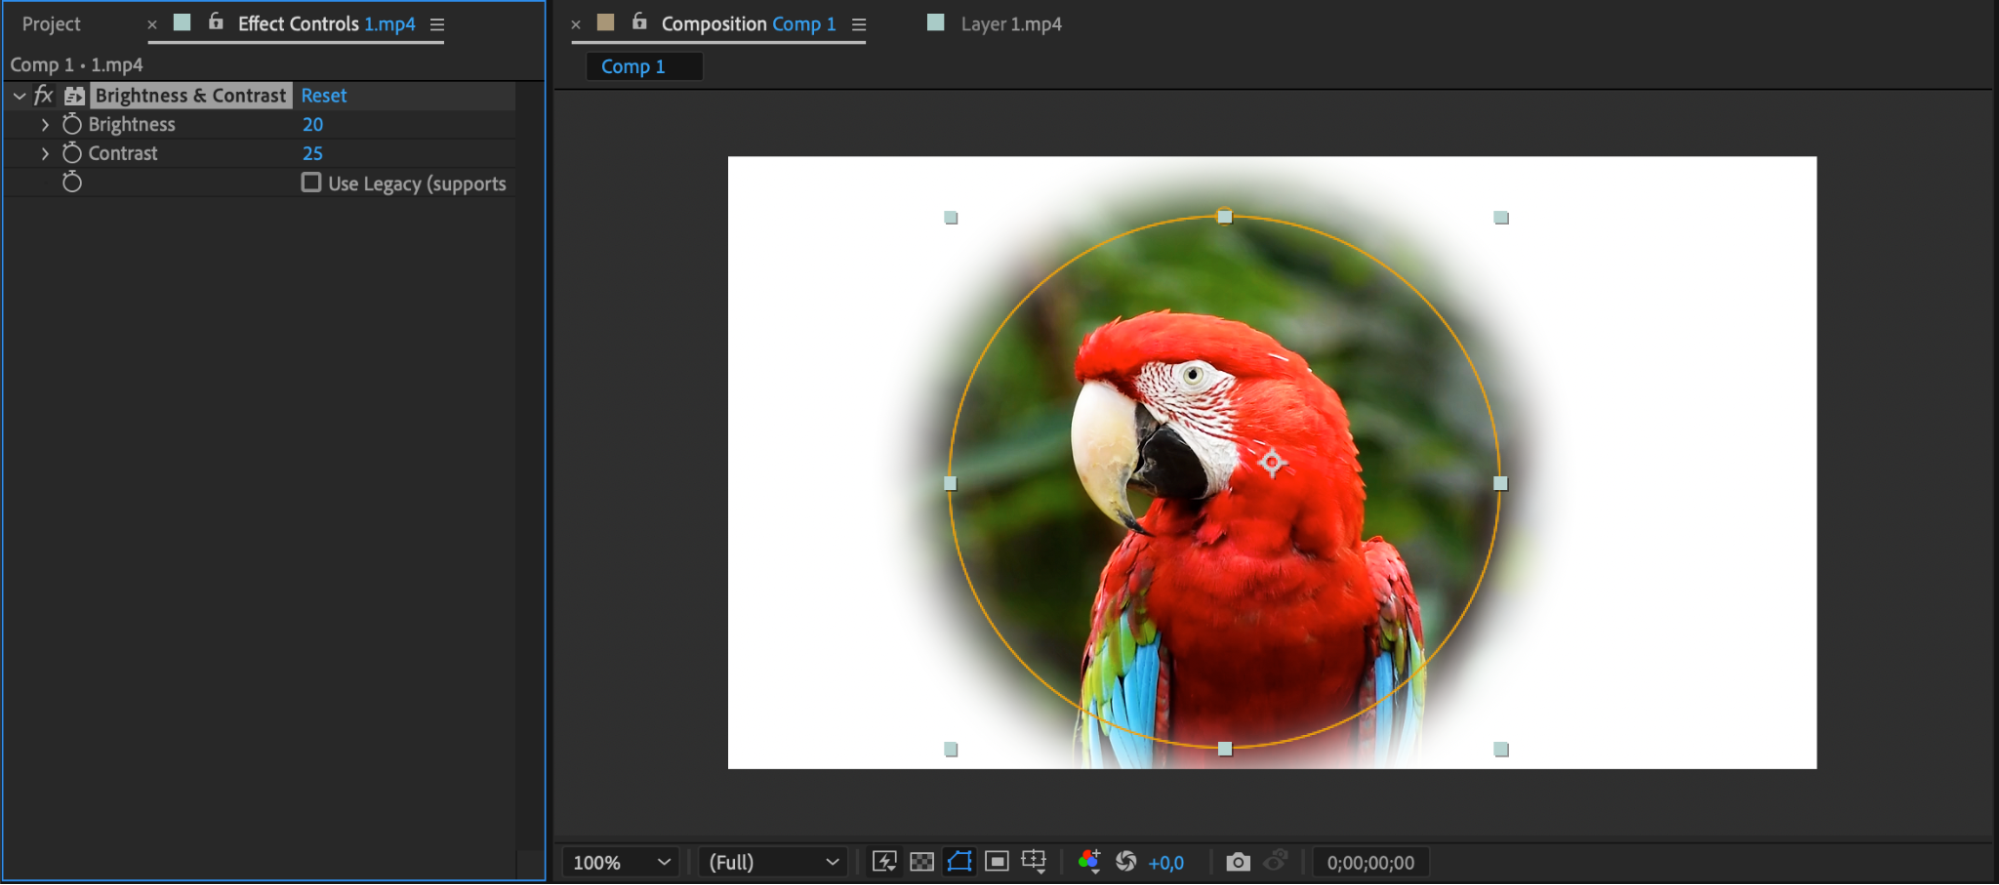
Step 5: Applying Effects and Animation
Get 10% off when you subscribe to our newsletter
Now that you have created a mask, use it to control the visibility of other layers in the composition. Apply effects and animations to the masked layer to create dynamic visual effects and animations.
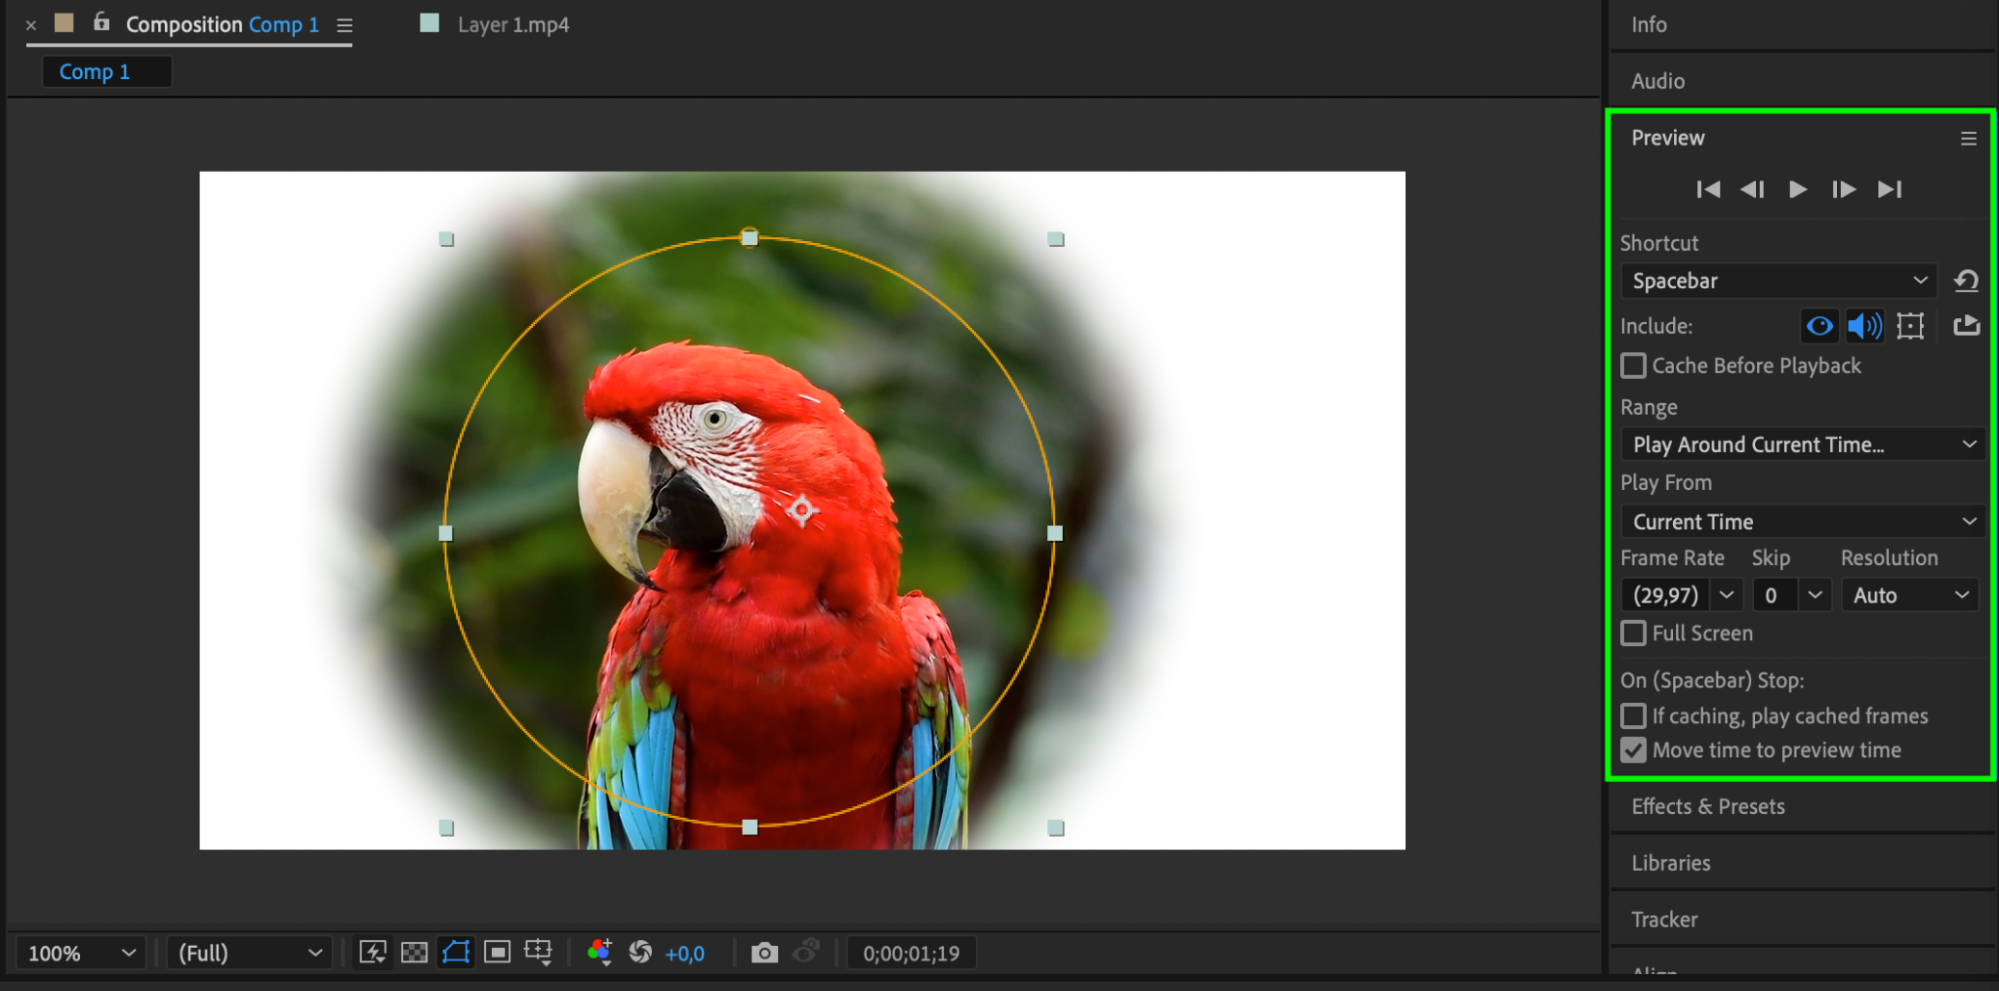
Step 6: Previewing Your Composition
Press the spacebar to play/pause the preview. Use the RAM preview function to render a higher-quality preview of your composition.
Conclusion
Mastering the conversion of shapes into masks in After Effects empowers you to wield unparalleled control over your compositions. By following these steps, you can seamlessly integrate shapes as masks, unlocking the potential for dynamic visual effects and animations. Embrace this technique to enhance your creative toolkit and bring your visions to life with precision and flair.
Our Bestsellers

