How to Effectively Ungroup Layers in After Effects
Introduction to Ungrouping Layers in After Effects
Ungrouping layers in Adobe After Effects is a crucial skill for any animator or video editor looking to manage their projects effectively. Grouping layers helps organize your timeline, but sometimes, you may need to ungroup them to edit or animate individual elements. This guide will walk you through the steps to ungroup layers and provide tips on how to manage your projects more efficiently.
Get 10% off when you subscribe to our newsletter

Step 1: Select the Grouped Layers
The first step in ungrouping layers is to identify the layers you want to ungroup. Click on the group in the timeline panel to select it. Grouped layers are usually indicated by a composition icon and a label color of sandstone in the timeline. This visual cue helps you quickly locate the grouped layers that need to be ungrouped.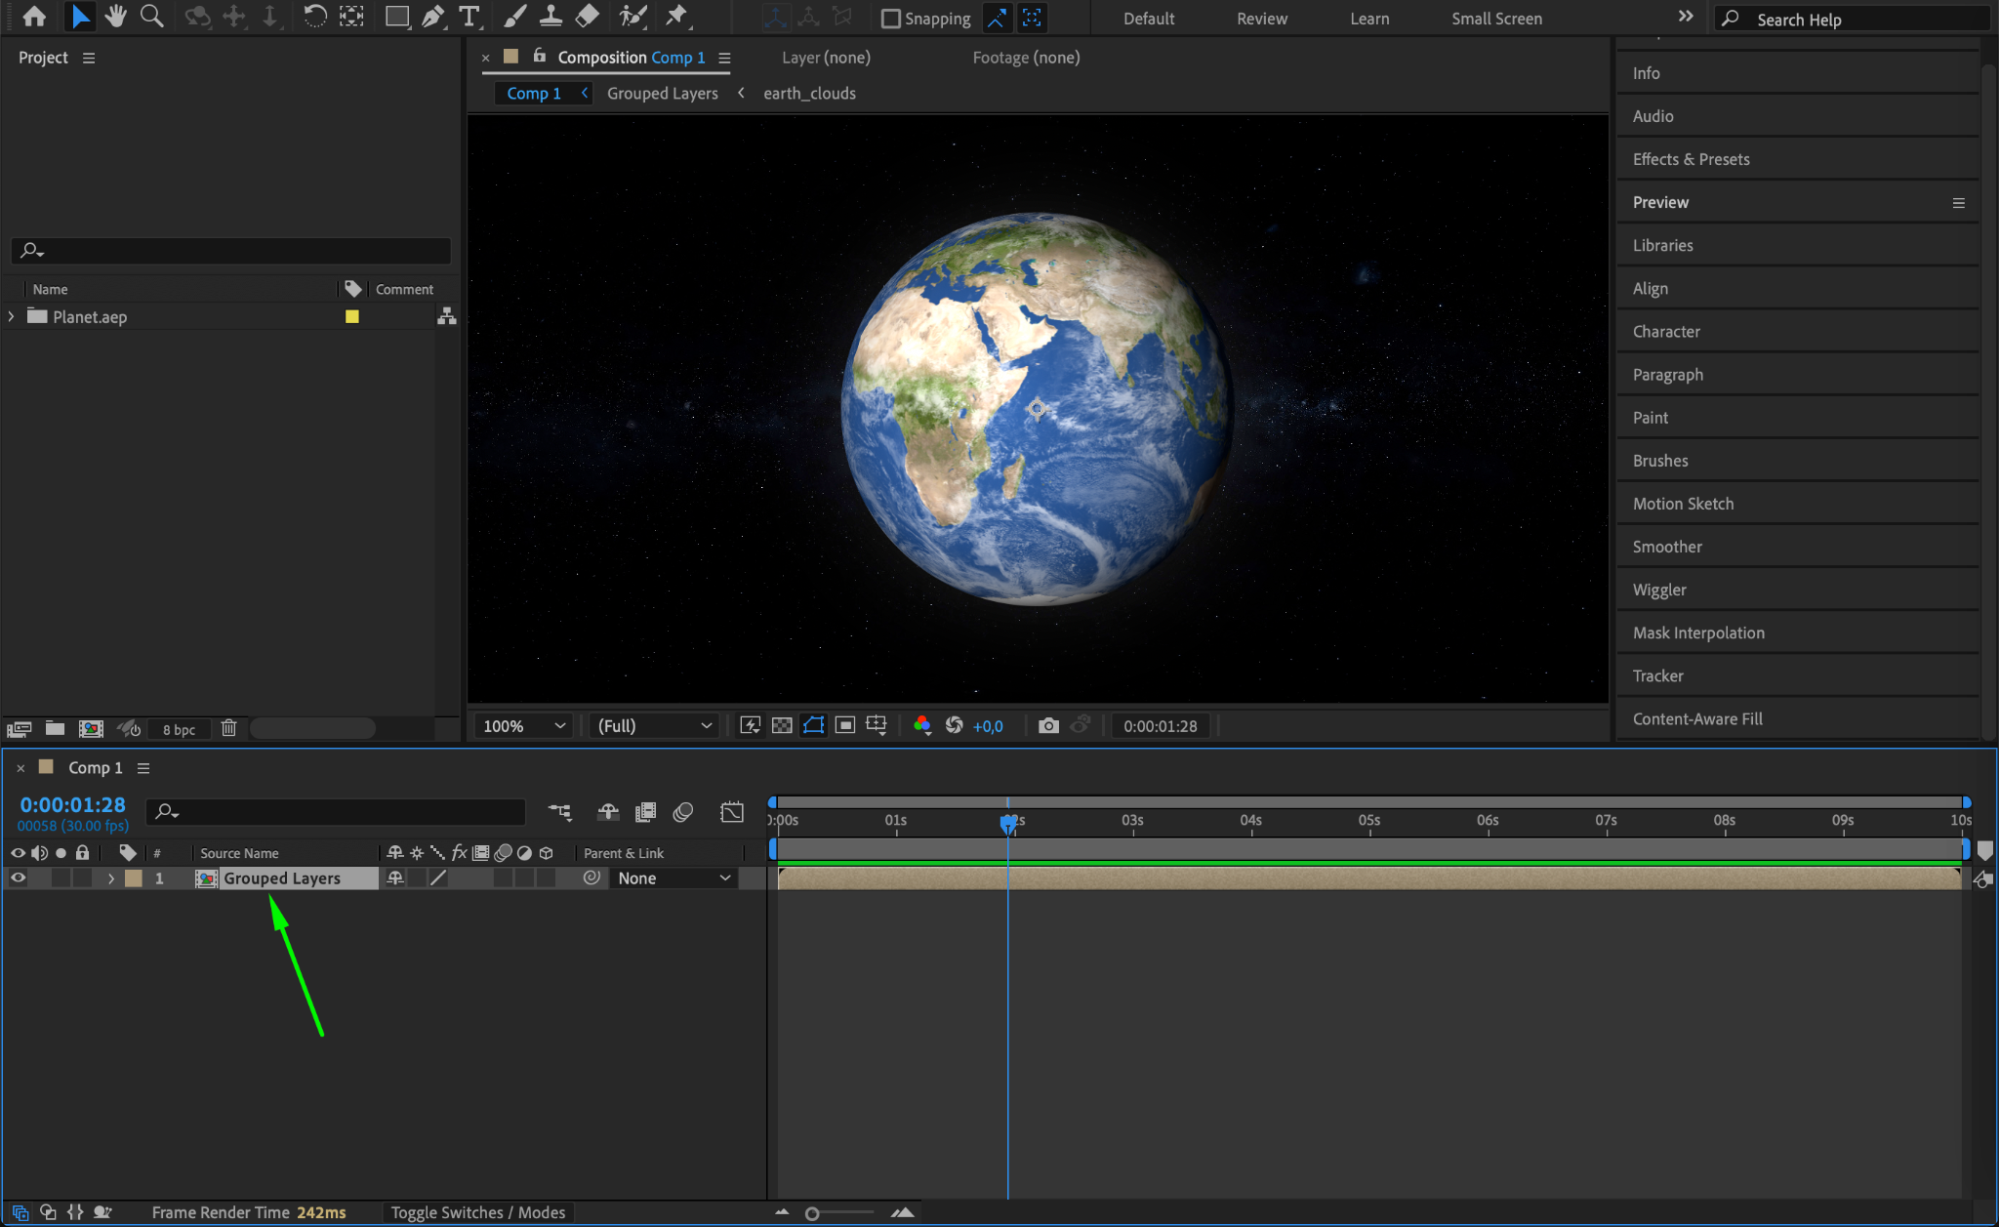 Step 2: Ungroup the Selected Layers
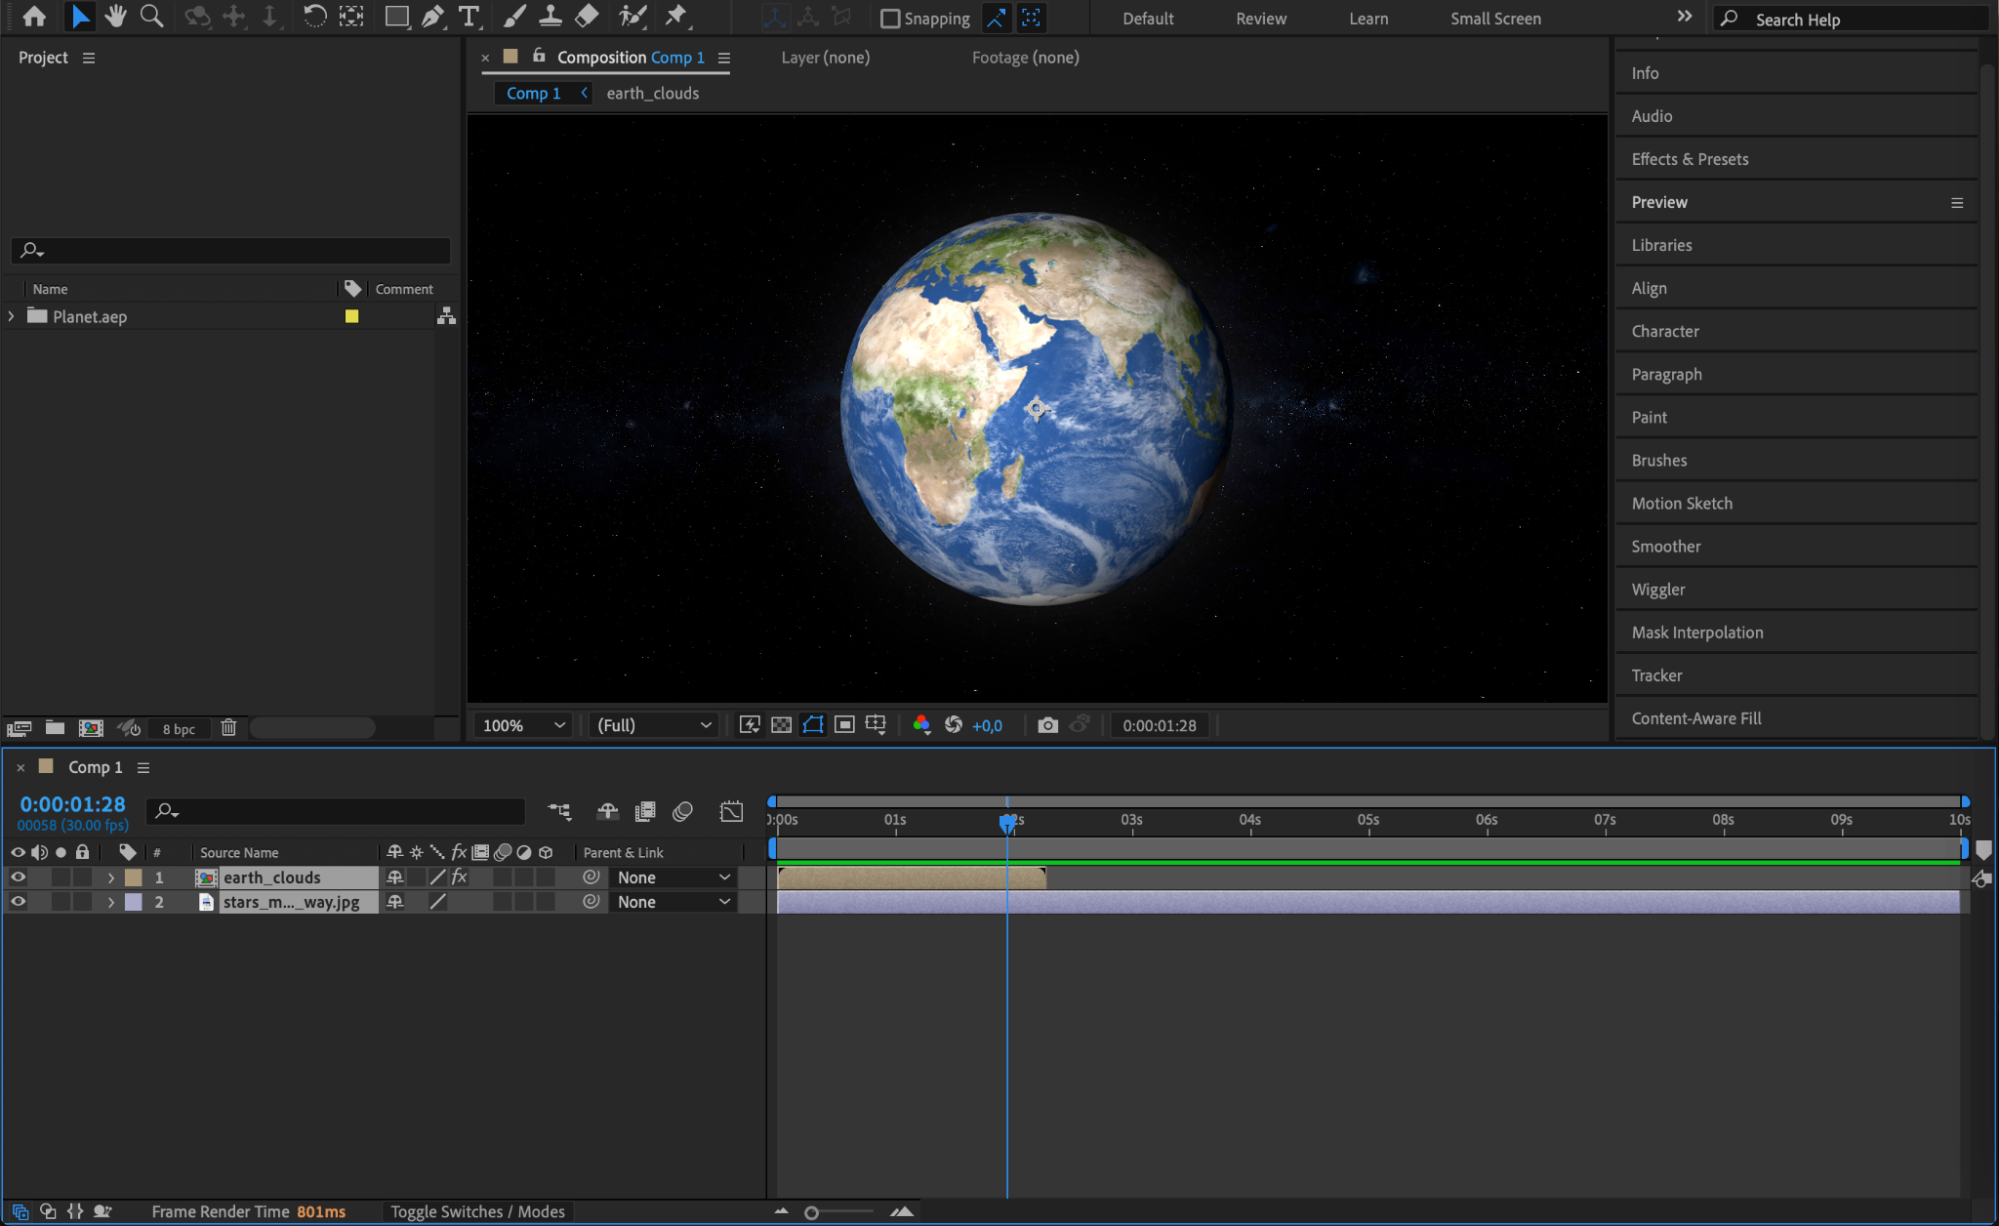
After selecting the grouped layers, navigate to the menu bar and go to Edit > Undo Pre-compose or use the shortcut “Ctrl/Cmd + Z” to reverse the pre-composition action. If you need to access layers for editing without deleting them, you can simply double-click on the pre-composed layer. This action will open the composition, allowing you to edit the individual layers directly.
 Step 3: Adjust Layer Properties as Needed
After ungrouping, take a moment to adjust the properties of the individual layers as necessary. You may want to change the position, scale, or opacity of each layer to fit your project’s needs. Ungrouping provides greater flexibility in editing and animating, so ensure each layer is correctly set up for your desired outcome. This step is crucial for achieving the right look and feel for your project.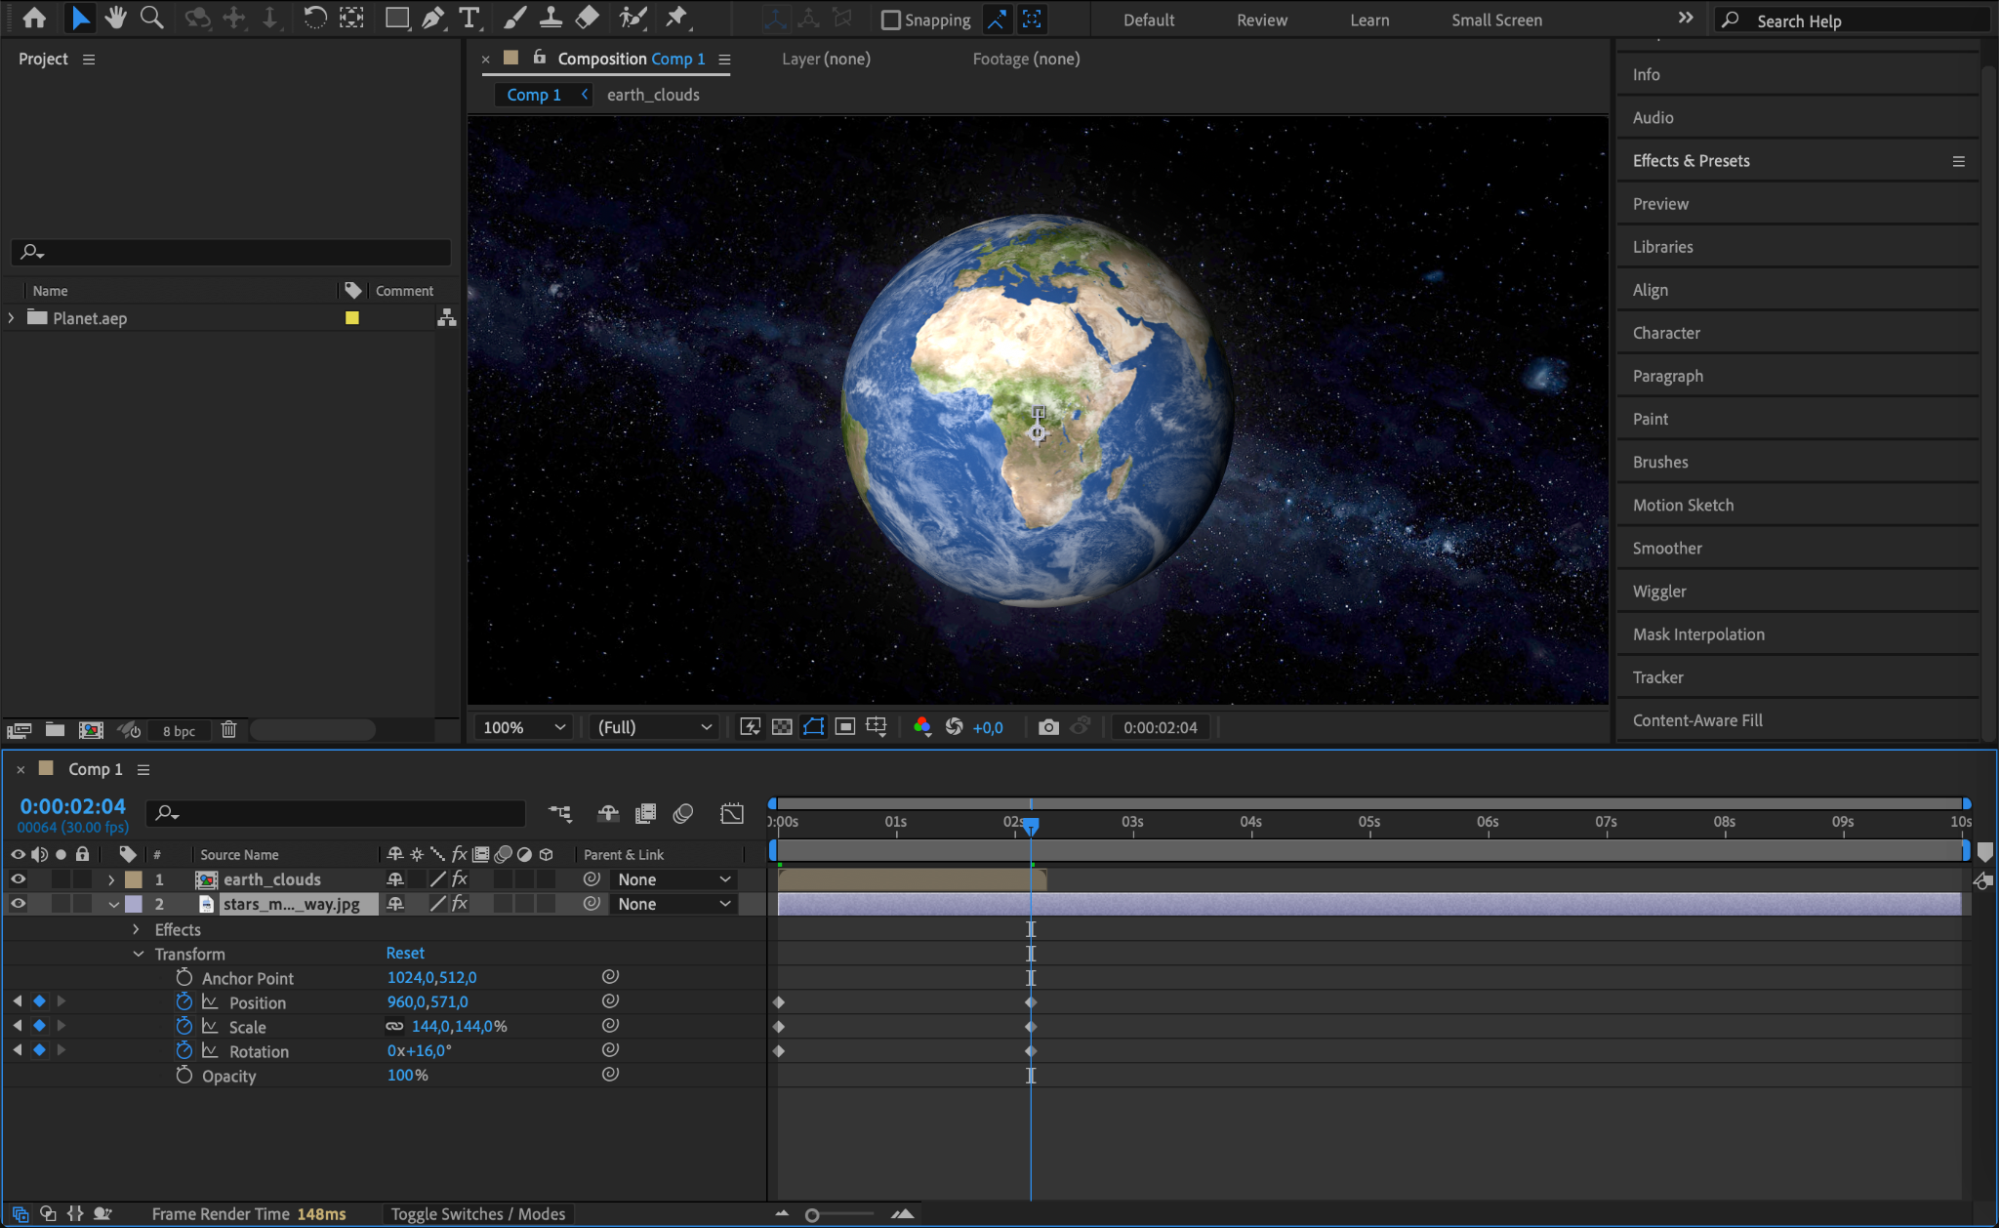 Step 4: Organize Your Layers
With the layers now ungrouped, it’s a good practice to reorganize them in your timeline for better visibility and management. You can change the color label of each layer or rename them for clarity. Keeping your timeline organized helps streamline your workflow and makes it easier to find and edit layers later on. A well-organized timeline contributes significantly to a smoother editing experience.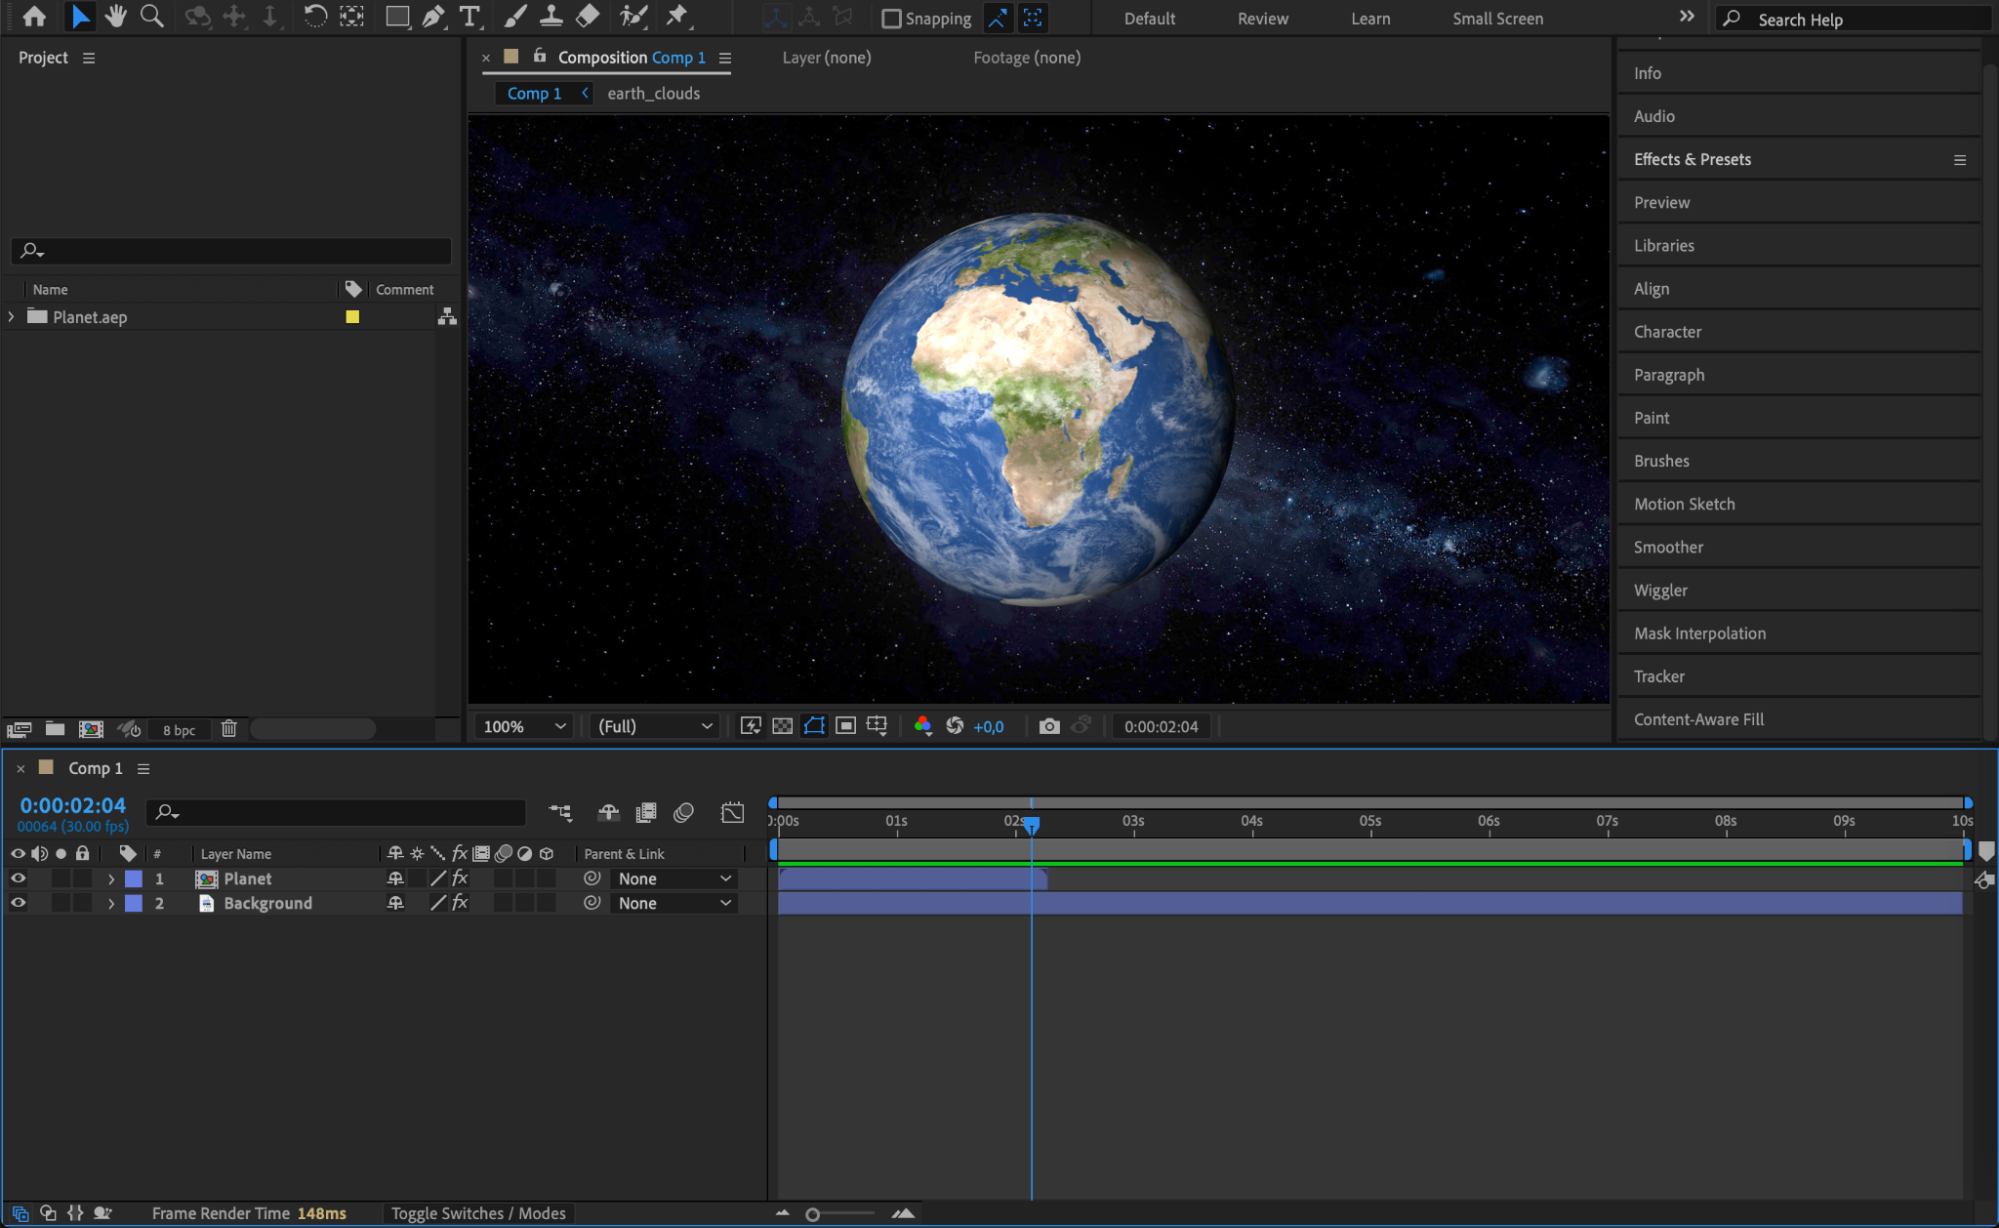 Step 5: Save Your Changes
Once you have finished ungrouping and adjusting your layers, make sure to save your project. Go to the File menu and select Save or use the shortcut “Ctrl/Cmd + S”. Regularly saving your project ensures that you do not lose any of your adjustments and allows you to revert to earlier versions if necessary. This step is essential to protect your hard work and maintain project integrity.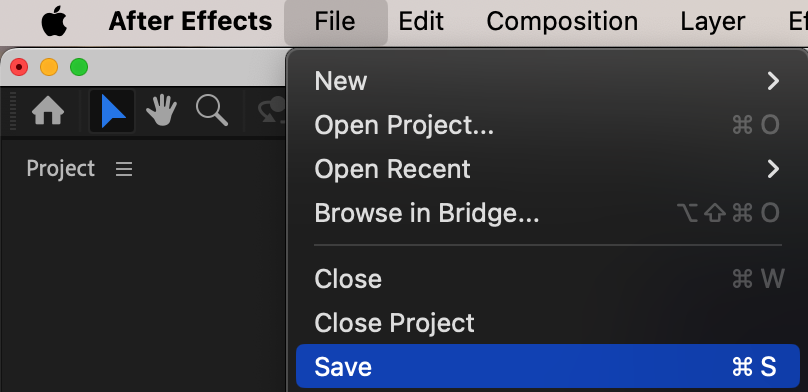 Conclusion
Ungrouping layers in After Effects is a straightforward process that enhances your workflow and allows for greater control over your animations. By following these steps, you can easily manage your layers and make precise adjustments to create dynamic and engaging visual content.


