Applying 2D Animation Presets in Adobe After Effects
Introduction to Easy 2D Animation for Motion Designers
Creating smooth 2D animations doesn’t always require complex keyframing. With the help of 2D animation presets, you can bring life to shapes, logos, and images in just a few clicks. This tutorial will guide you through using 2D animation presets in After Effects with AEJuice Pack Manager — one of the most powerful tools for motion designers. Whether you’re new to animation or need quick, professional results, this guide will help you get started.
Step 1: Select the Layer You Want to Animate
Open your After Effects project and choose the layer you want to animate. This could be a shape, image, logo, or text. Make sure your layer is clearly named to avoid confusion later on when working with multiple elements.
 Step 2: Open AEJuice Pack Manager
Go to Window > AEJuice Pack Manager 4 to open the AEJuice panel. This is where all your downloaded packs are organized and accessible. You’ll use this interface to browse and apply presets.

Get 10% off when you subscribe to our newsletter

Step 3: Download the 2D Animation Presets Pack
Inside the Pack Manager, find the 2D Animation Presets Pack. If it’s not downloaded yet, click on it and wait for the download to complete. Once ready, you’ll be able to preview and use the included animation templates.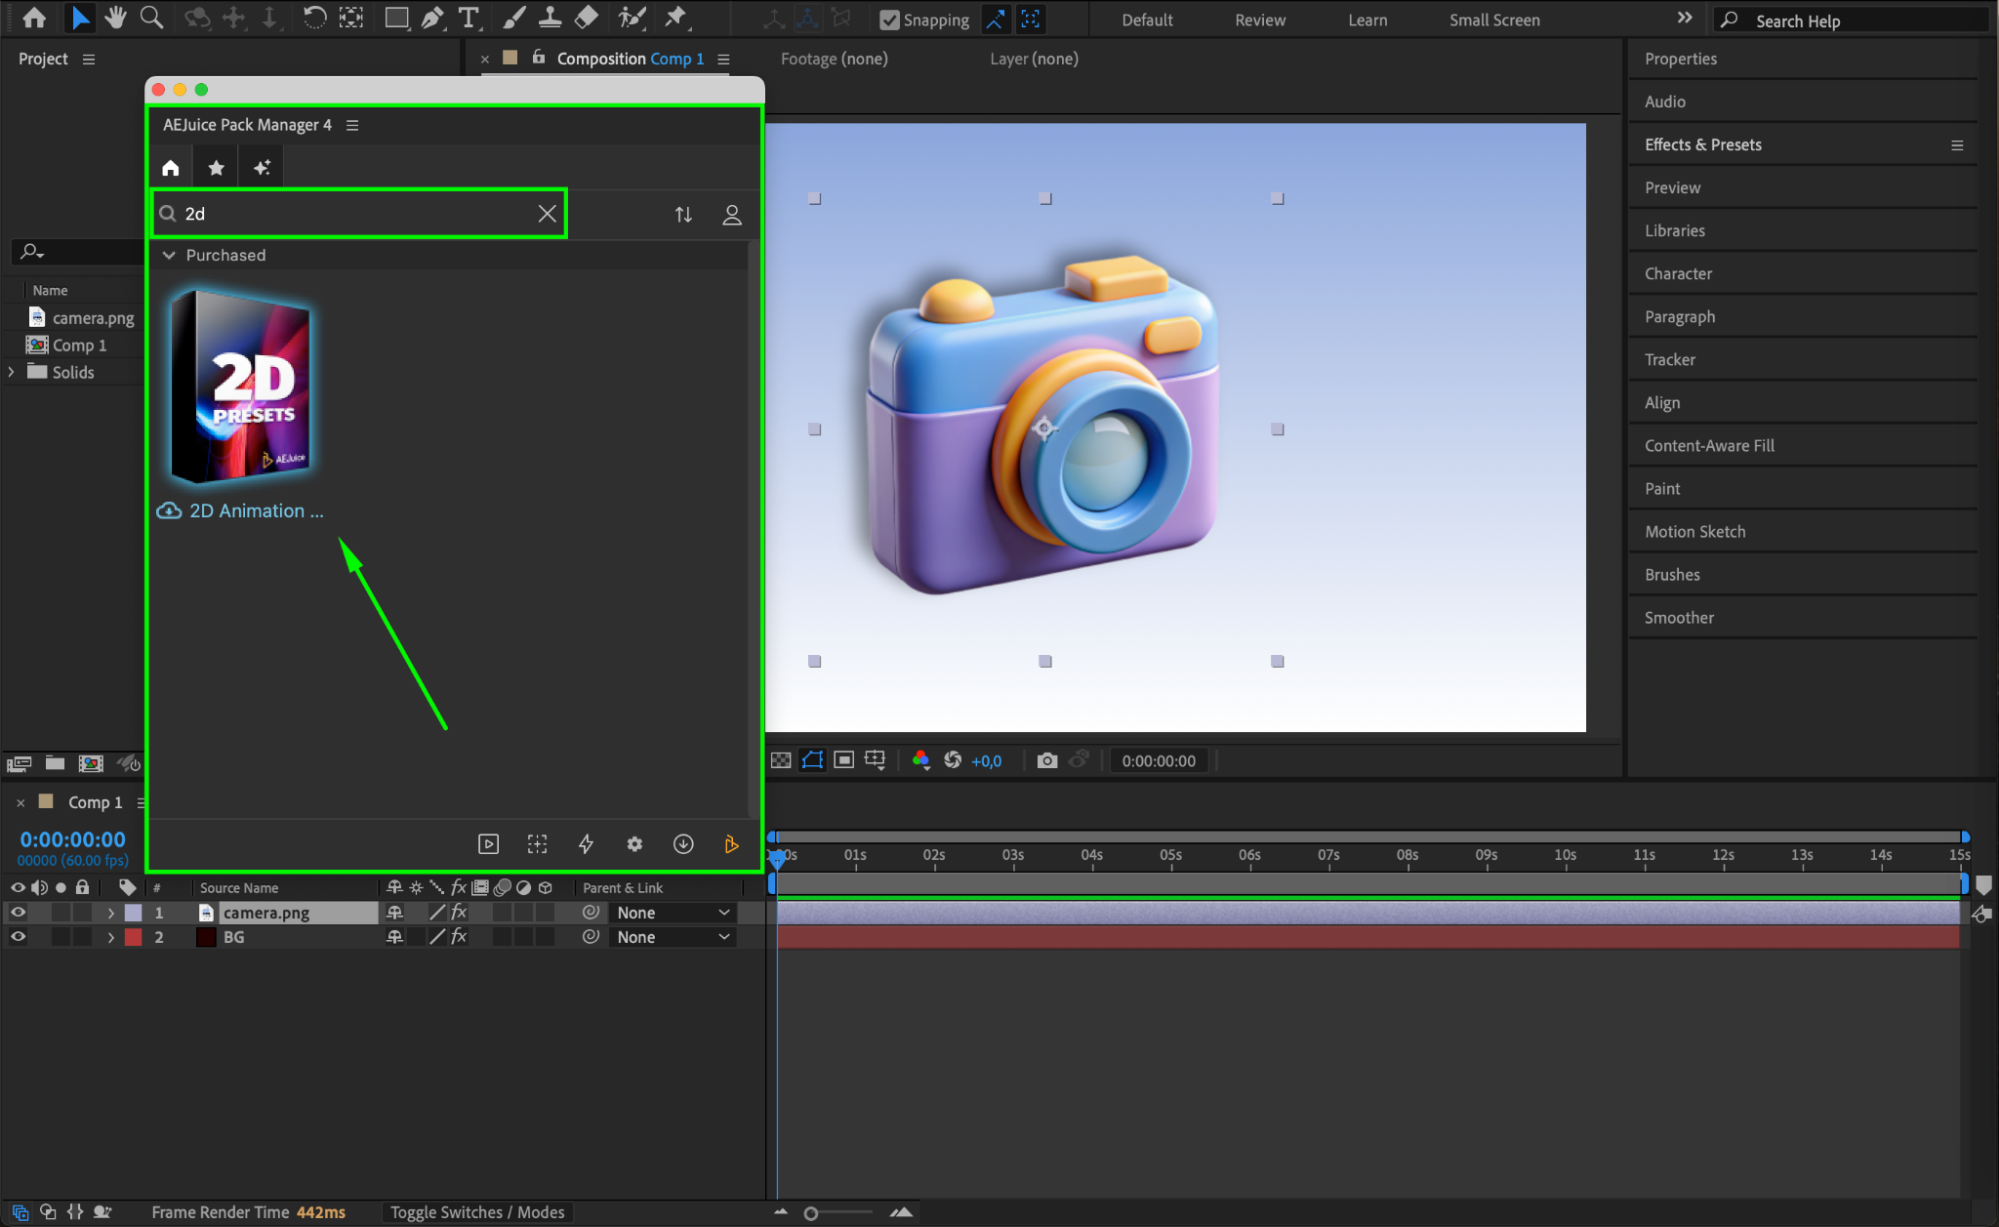 Step 4: Apply a Preset to Your Layer
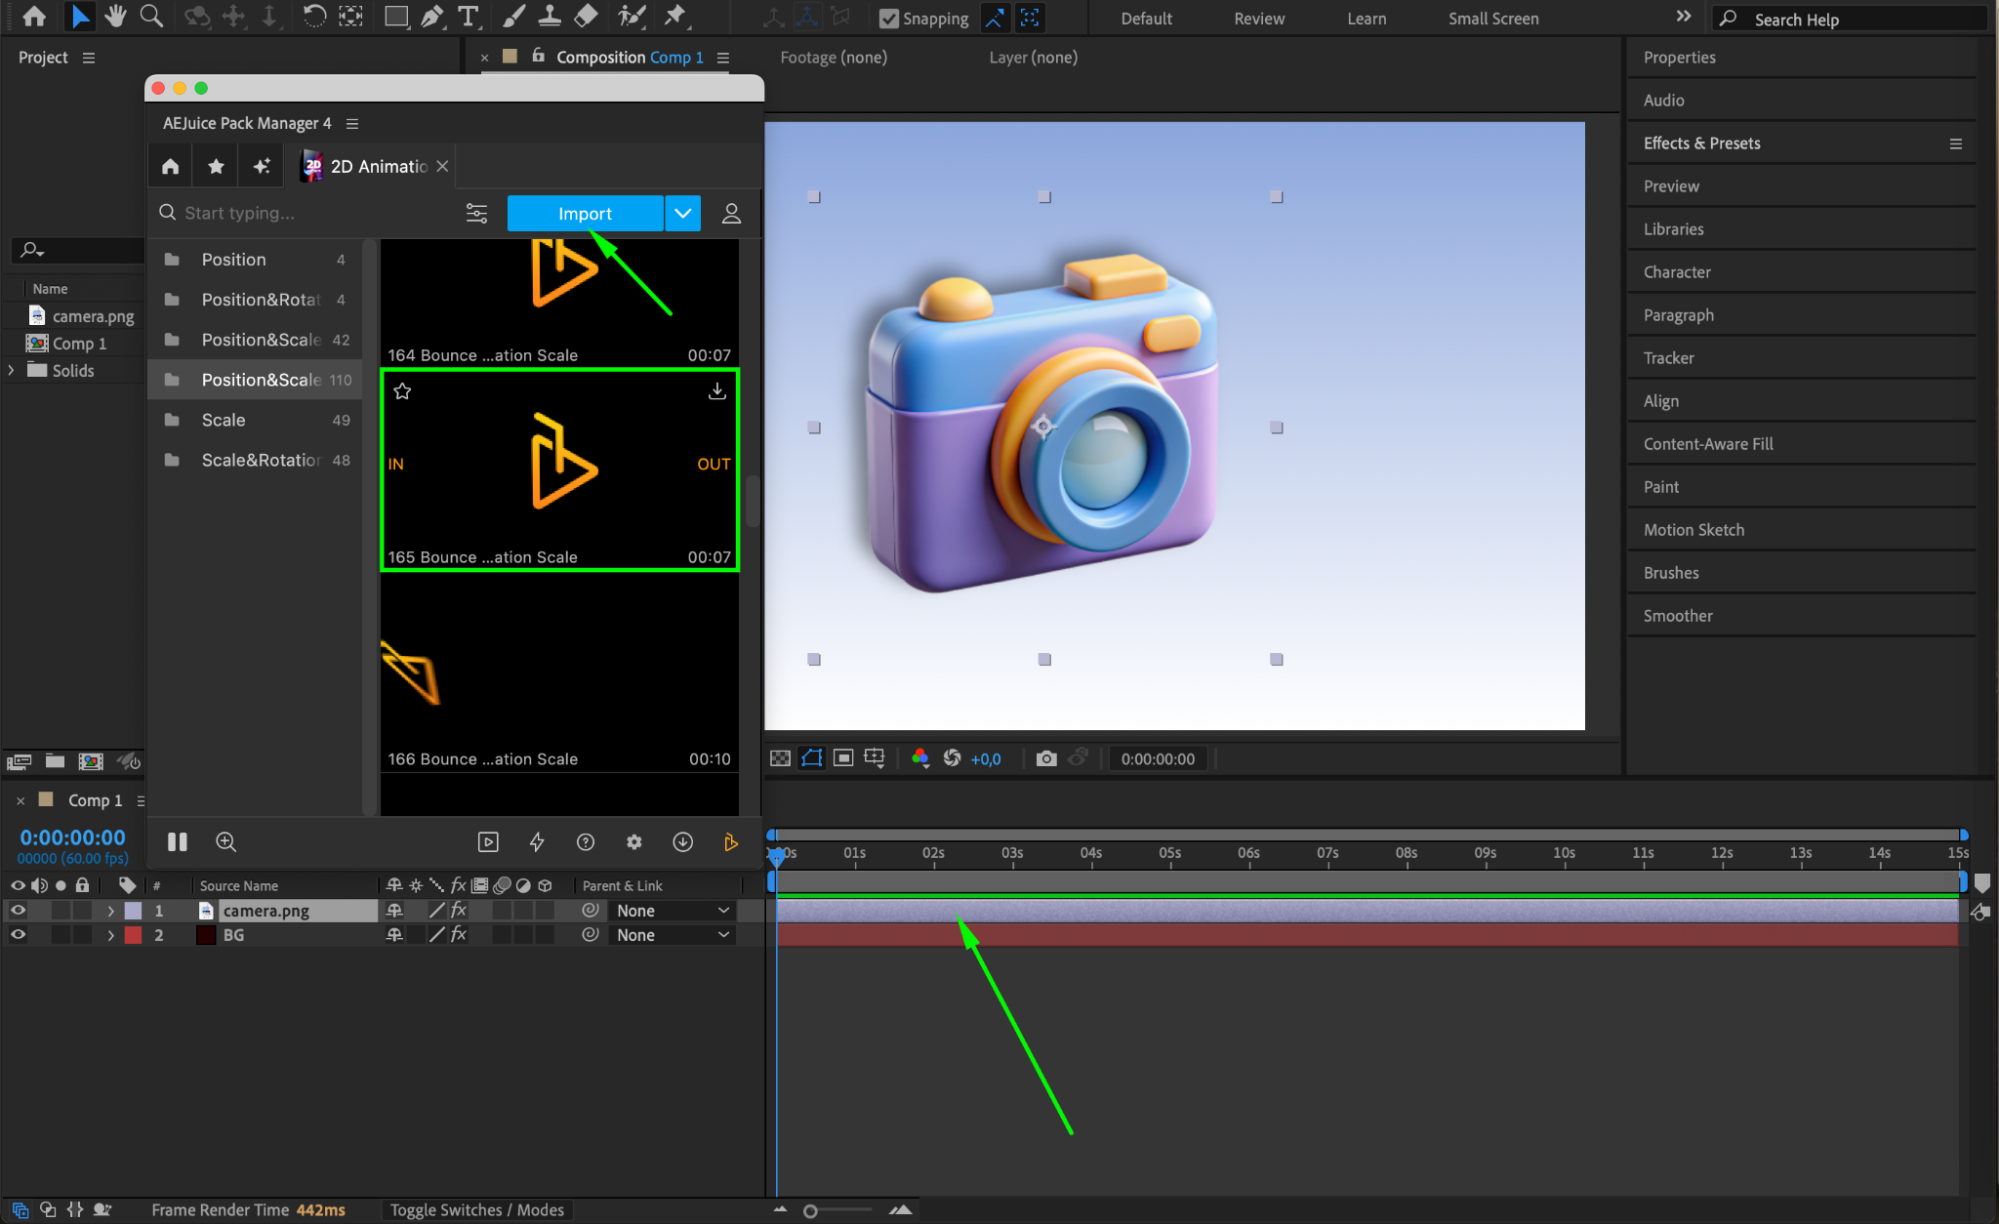
Select the layer you want to animate, then browse the presets in the Pack Manager. Click on the one you like and press Import. The preset will instantly be applied to the selected layer.
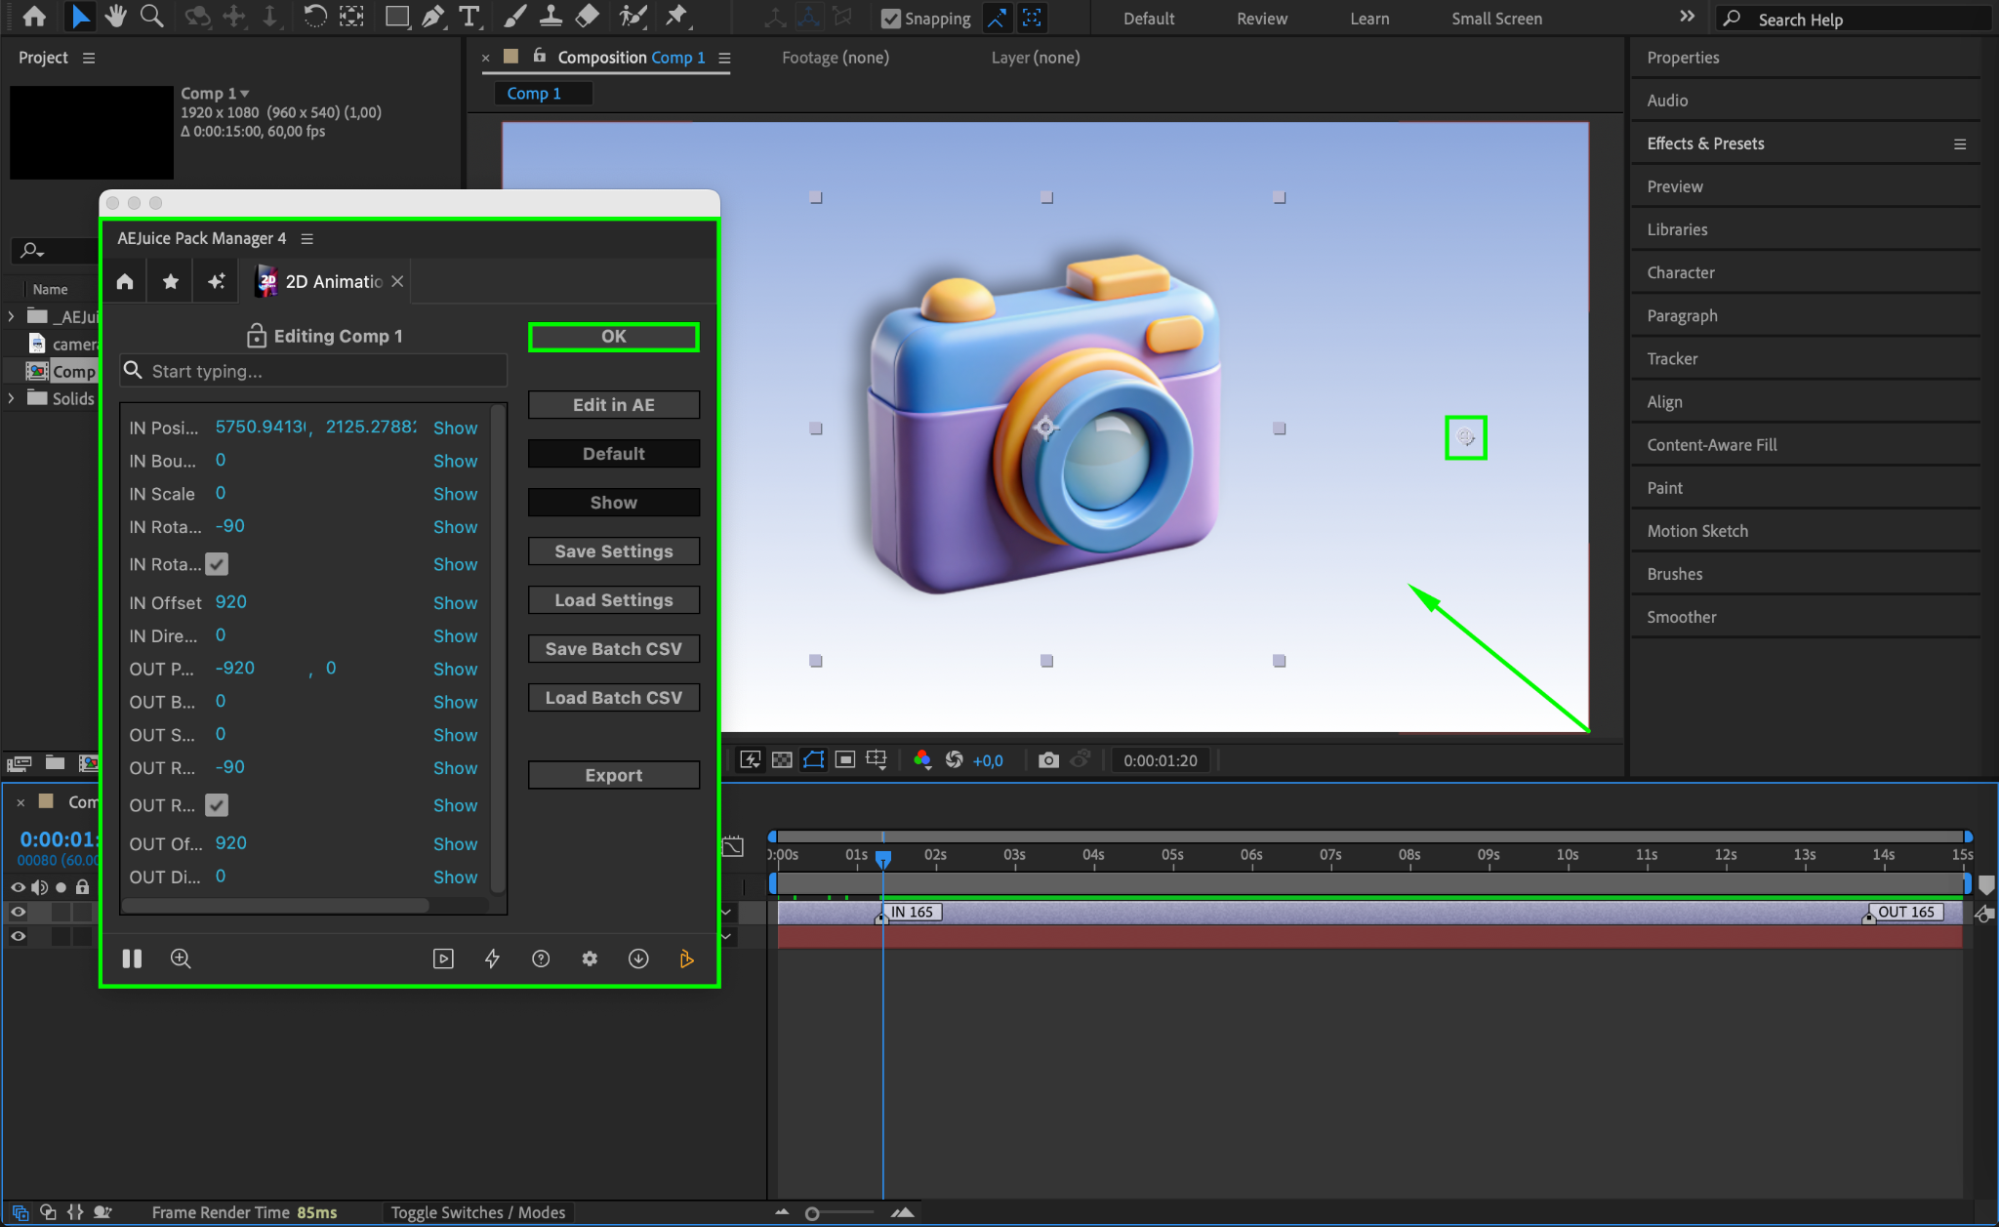
Step 5: Customize the Preset Using the Edit Button
After importing, you can click the Edit button (represented by three sliders) next to the Import button. This opens an editing panel where you can adjust animation parameters such as scale, position, rotation, and more. You’ll also see the anchor point — for example, if it’s placed in the lower right corner, the animation will originate from that direction.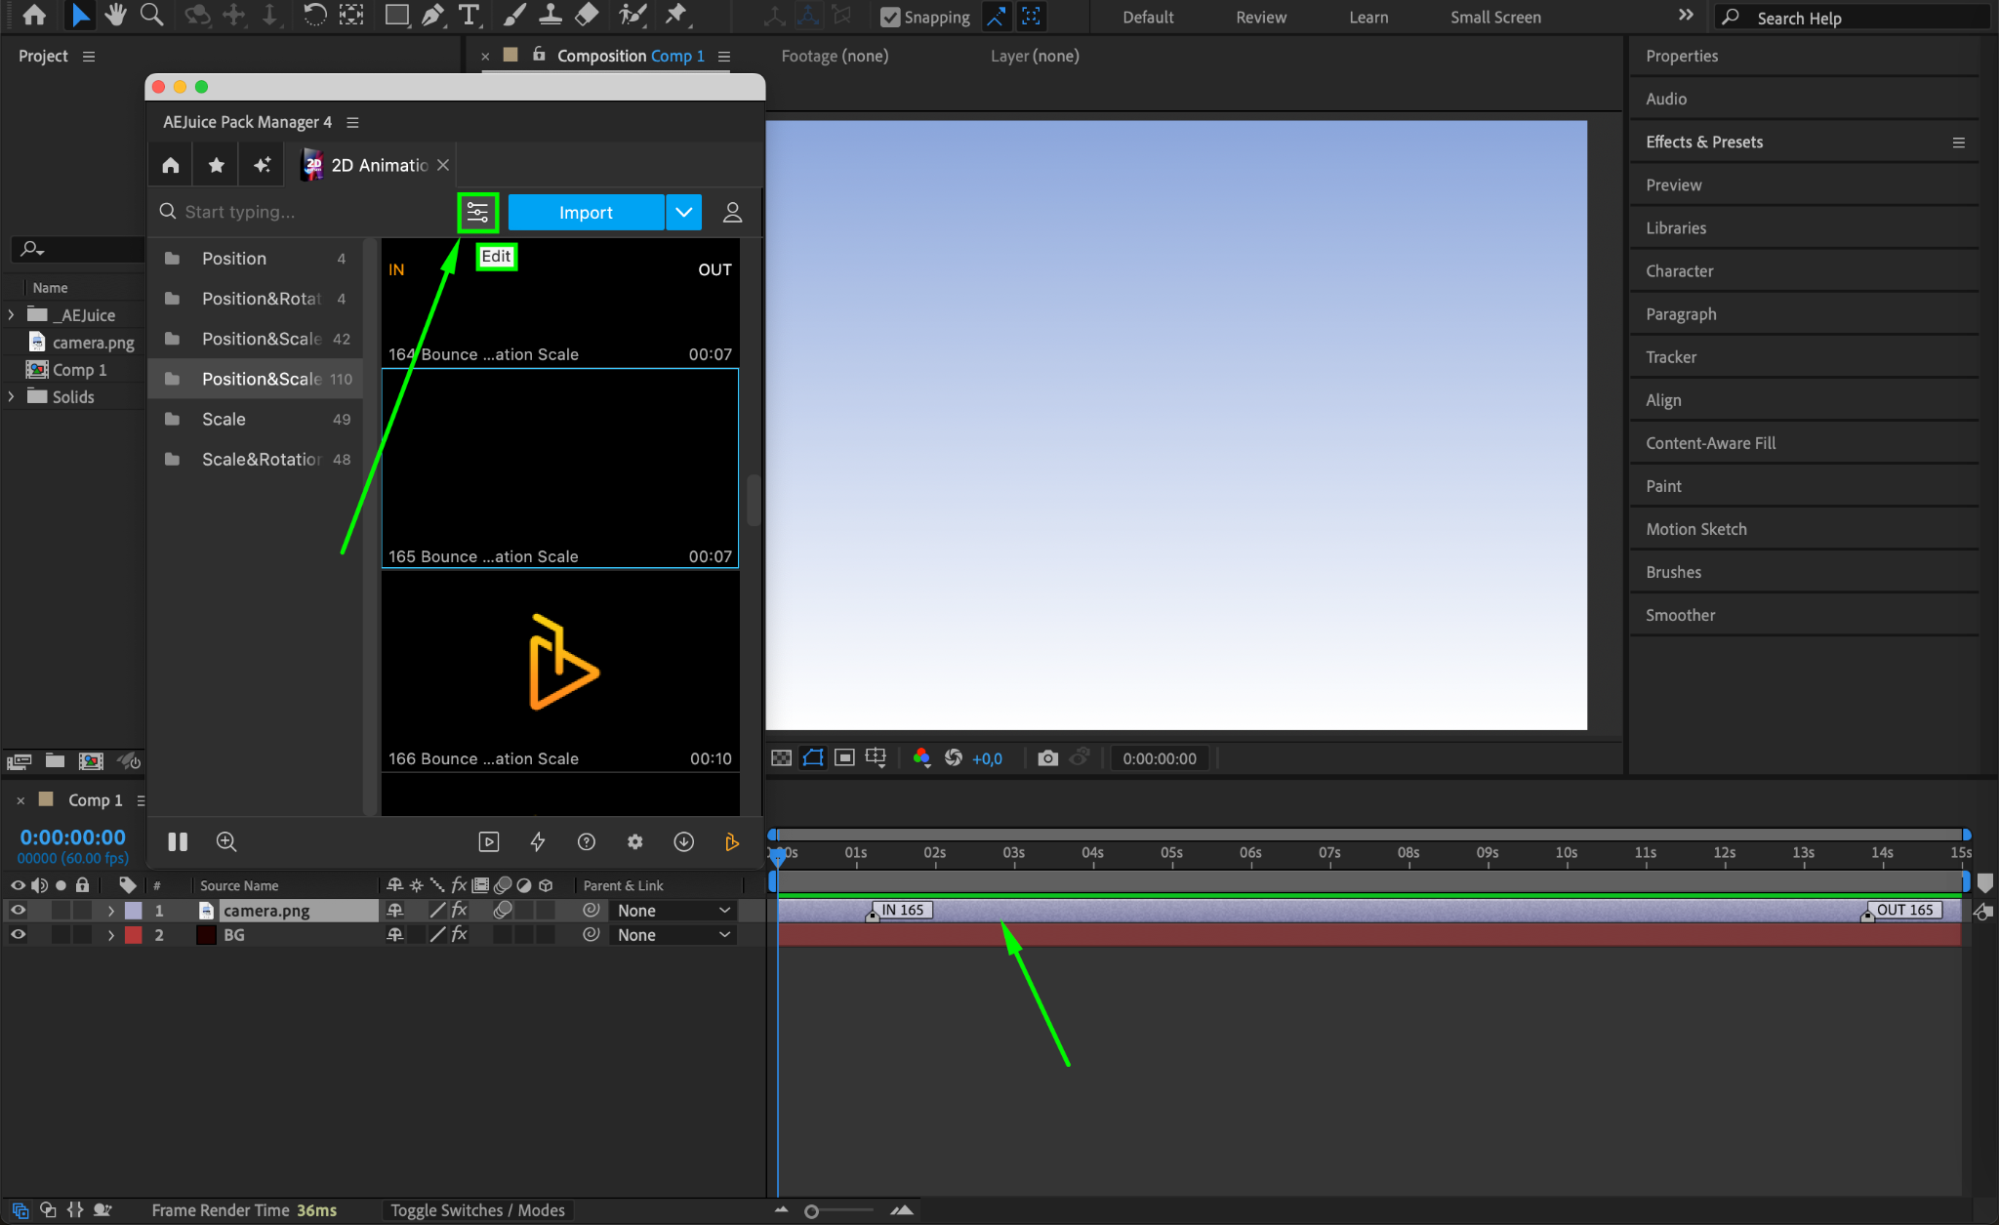
 Step 6: Adjust the Animation Speed
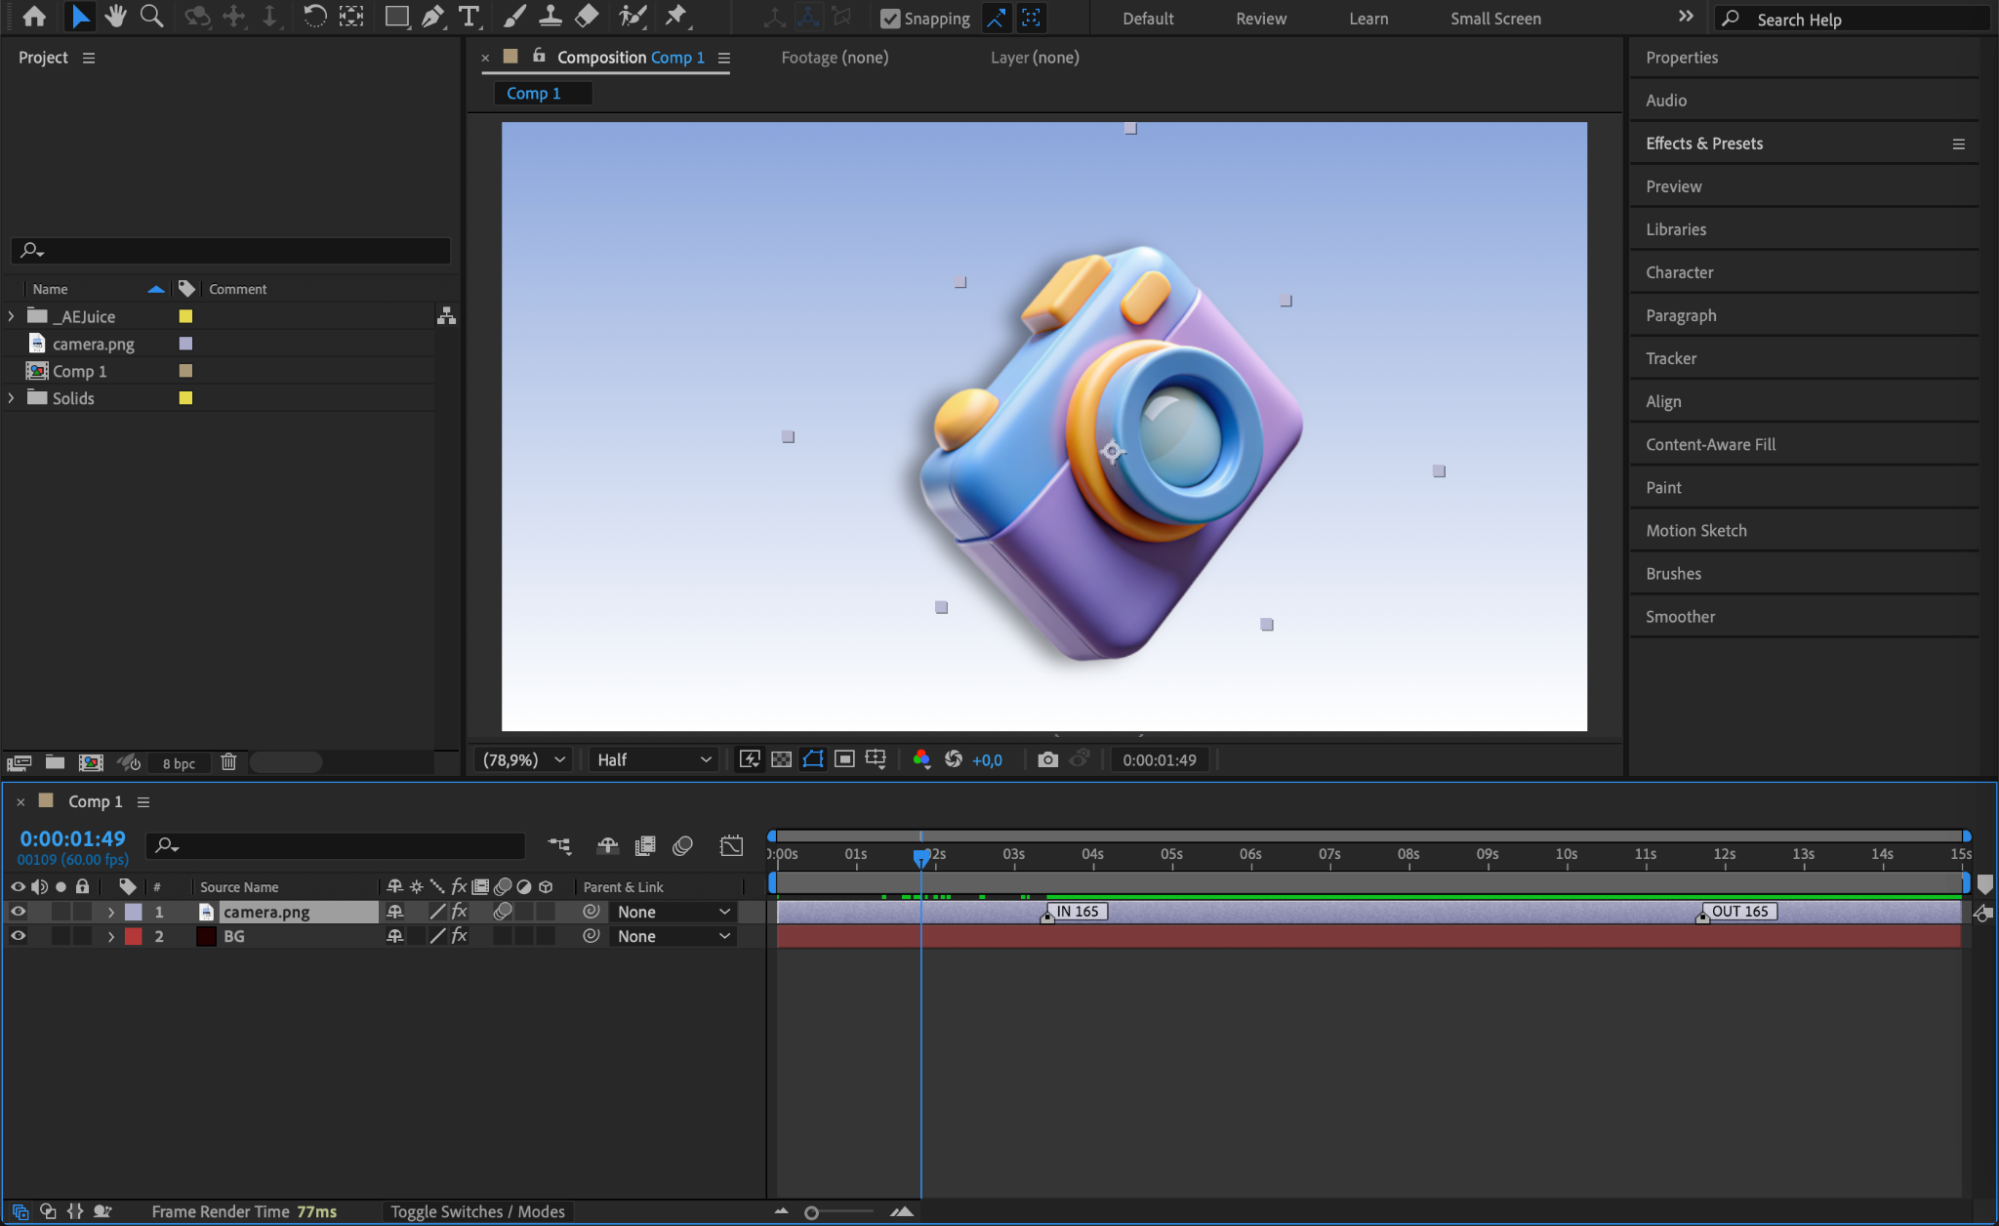
You can slow down or speed up the animation by moving the In and Out markers on the layer in the timeline. Moving the In marker further right and the Out marker closer to it will slow the animation down. This allows you to control timing without editing keyframes manually.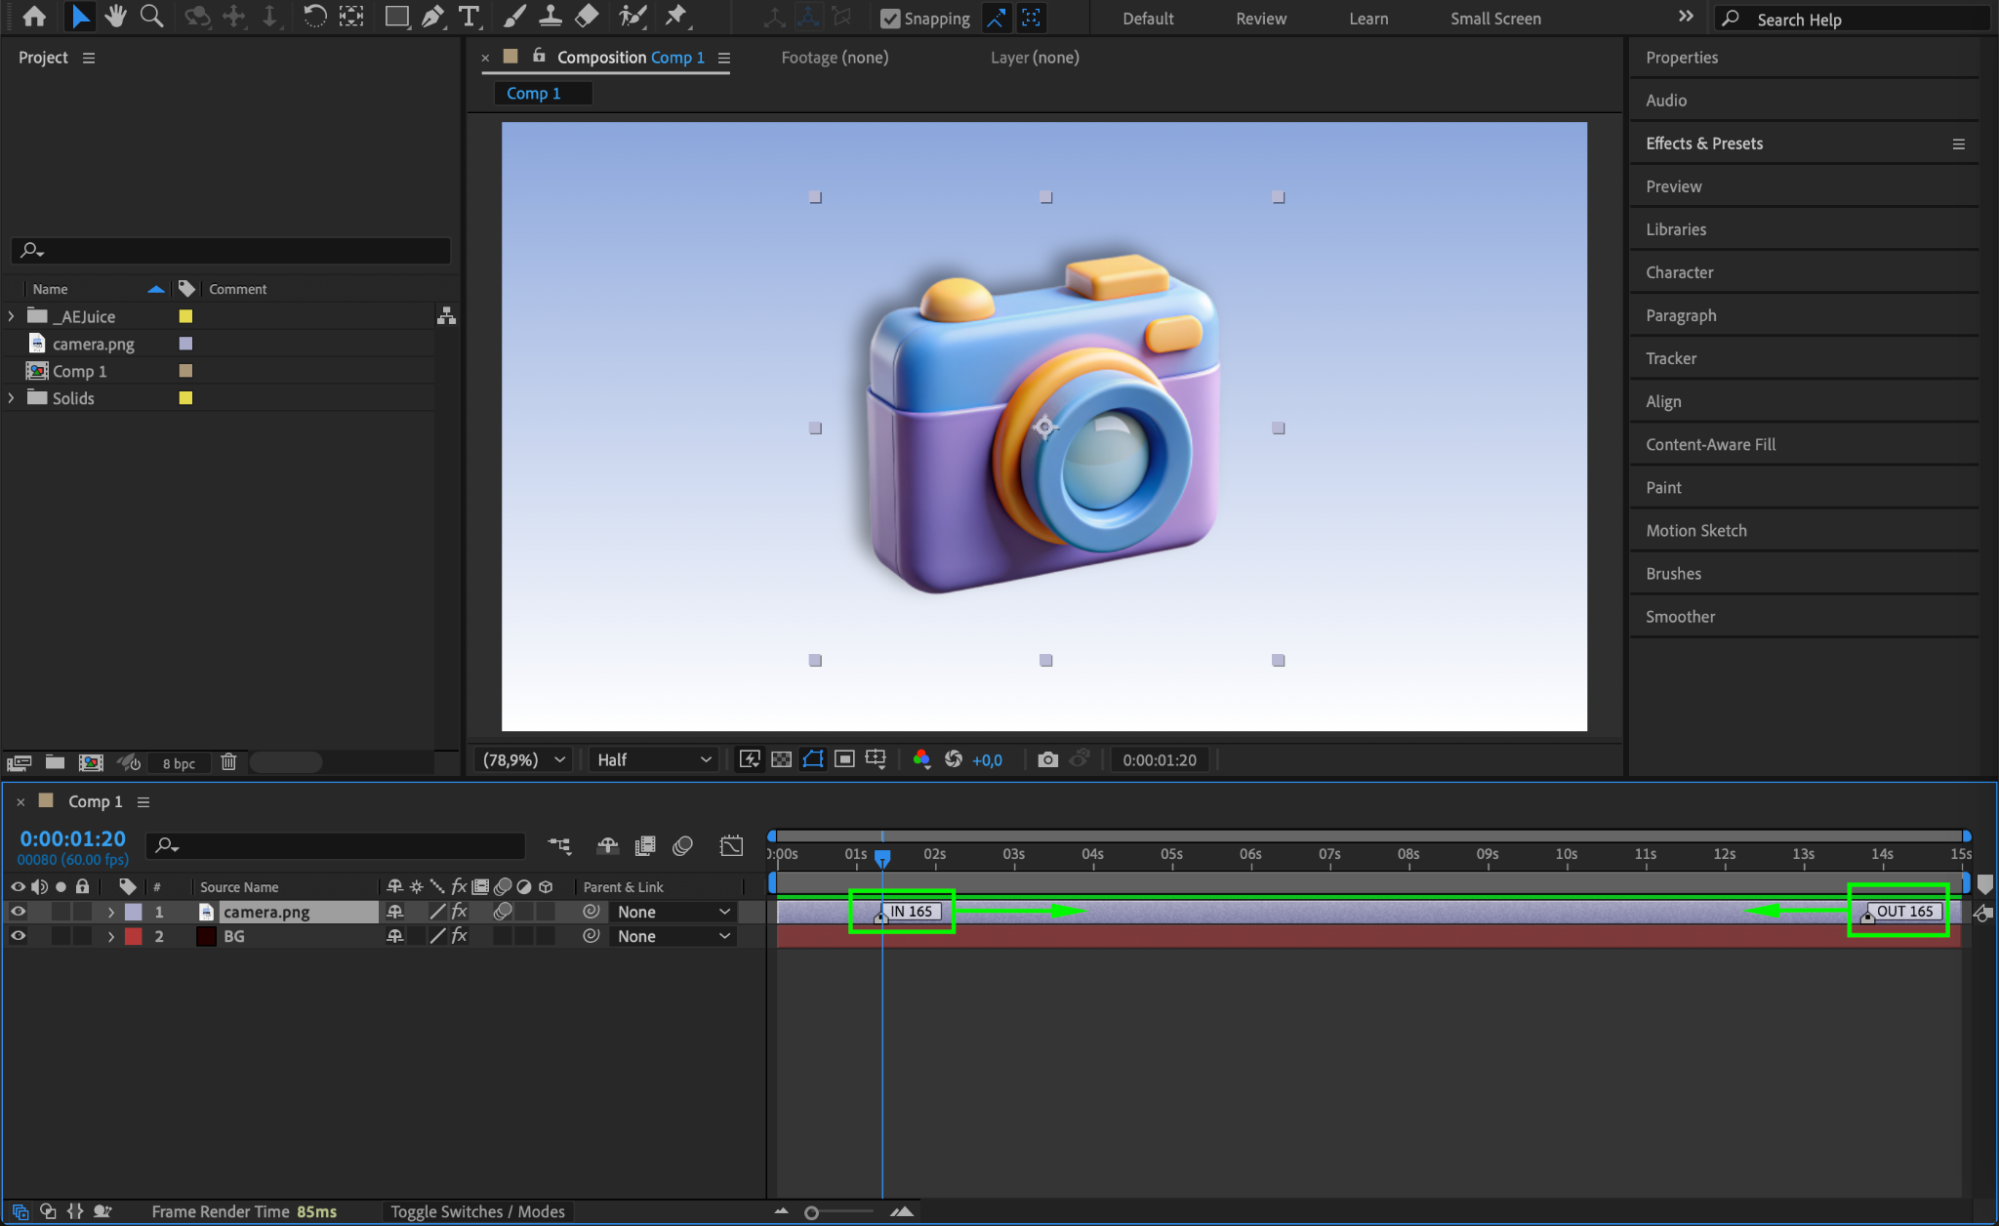
Step 7: Enable Motion Blur for Better Results
To make the animation feel more dynamic and realistic, enable Motion Blur. The blur switch is usually already enabled for the preset layer by default. All you need to do is activate the global “Enable Motion Blur for All Layers” toggle located at the top of the timeline panel. This will apply the motion blur effect throughout the composition.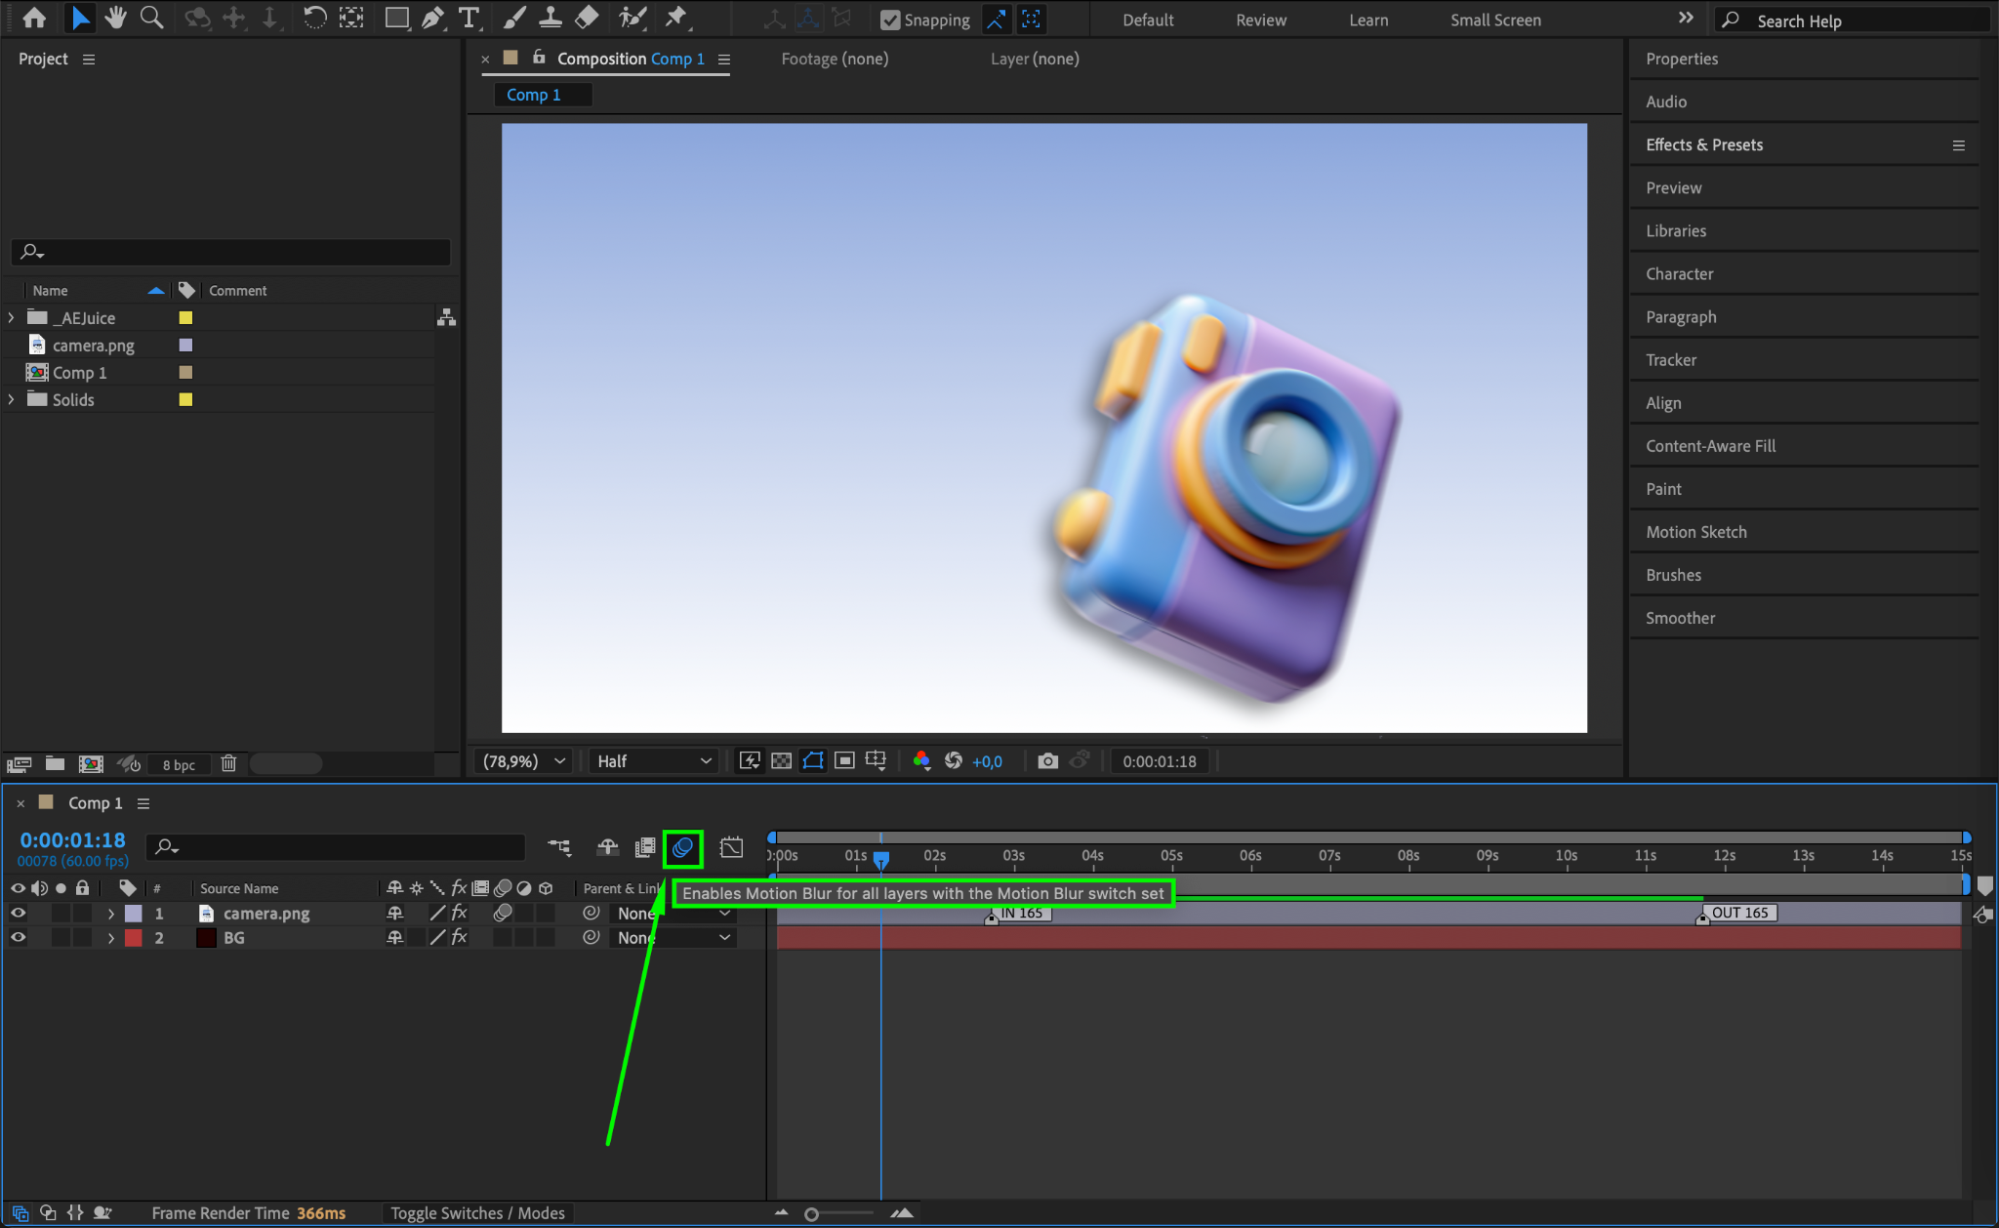 Step 8: Preview Your Animation
Press Spacebar to play your timeline and preview the result. Check how the animation moves and blends with the rest of your design. Make any necessary adjustments using the Edit panel or timeline markers.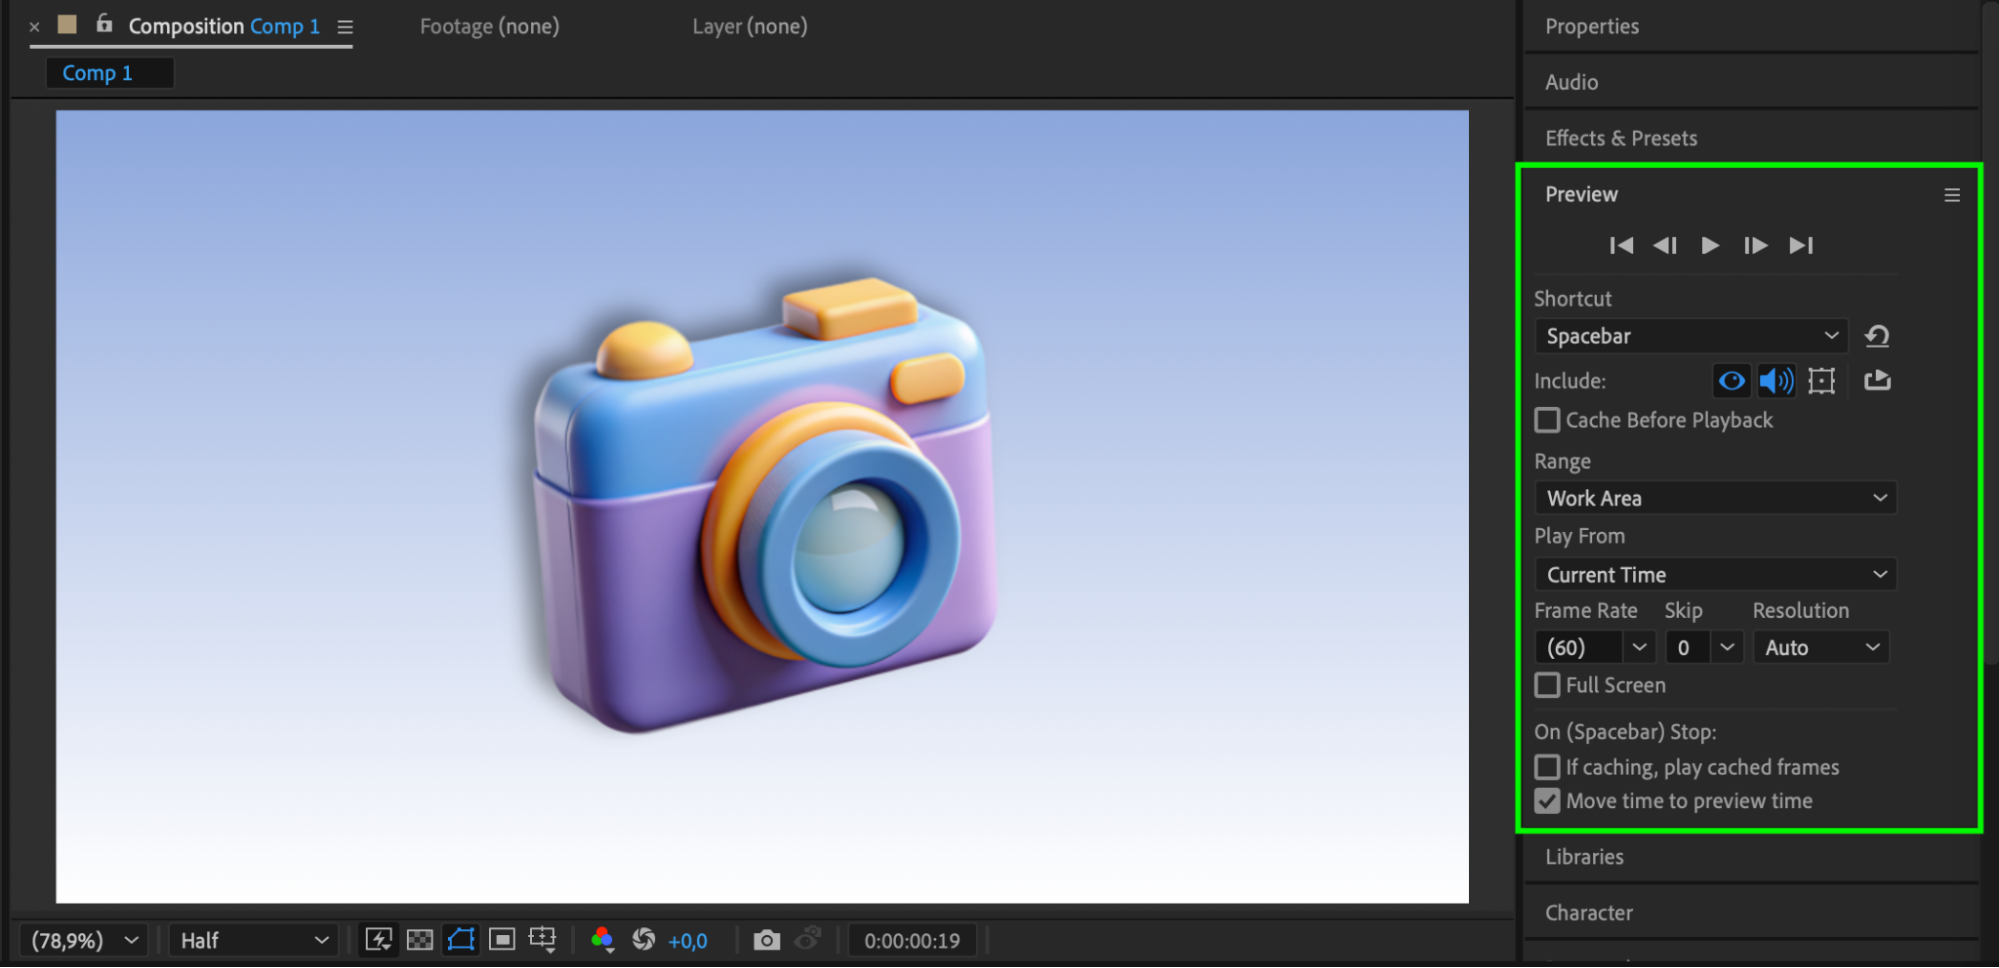
Conclusion
Using 2D animation presets in After Effects is a fast and powerful way to create professional-looking motion designs without spending hours on manual keyframes. AEJuice’s 2D Animation Presets Pack gives you creative flexibility, speed, and control — perfect for editors, designers, and content creators. Experiment with different presets, tweak the values, and enjoy faster workflows with impressive results.
Our Bestsellers


