Two Methods to Work with After Effects Templates in Premiere Pro
Introduction: What Are After Effects Templates and Why Use Them?
After Effects templates provide a powerful tool for creating complex animations, text effects, and motion graphics without starting from scratch. They allow you to streamline your workflow in Premiere Pro while maintaining professional-quality visuals. This guide explains two methods to integrate and use After Effects templates in Premiere Pro.
Get 10% off when you subscribe to our newsletter

Method 1: Using Templates via Rendering
Step 1: Select and Download an After Effects Template
Start by choosing a suitable After Effects template that meets your project requirements. Look for templates compatible with your versions of After Effects and Premiere Pro. It’s recommended to download templates from trusted platforms like Adobe Stock. For easier integration, choose .mogrt format templates when available.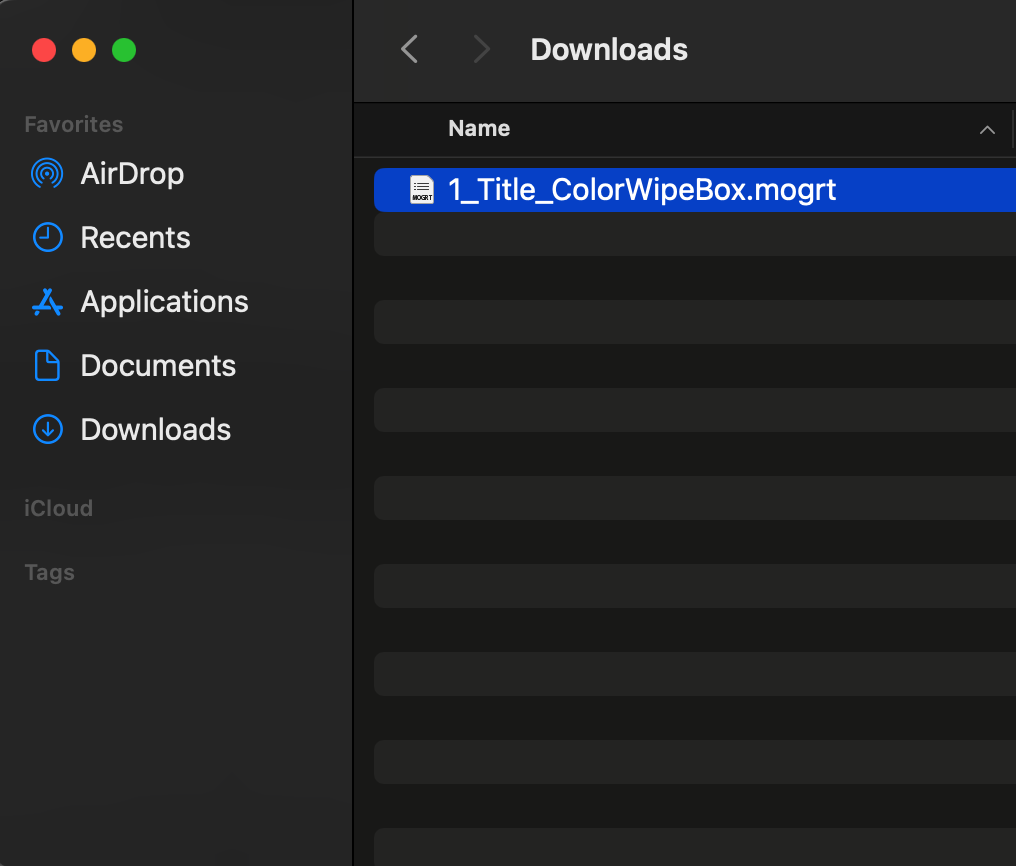 Step 2: Open and Customize the Template in After Effects
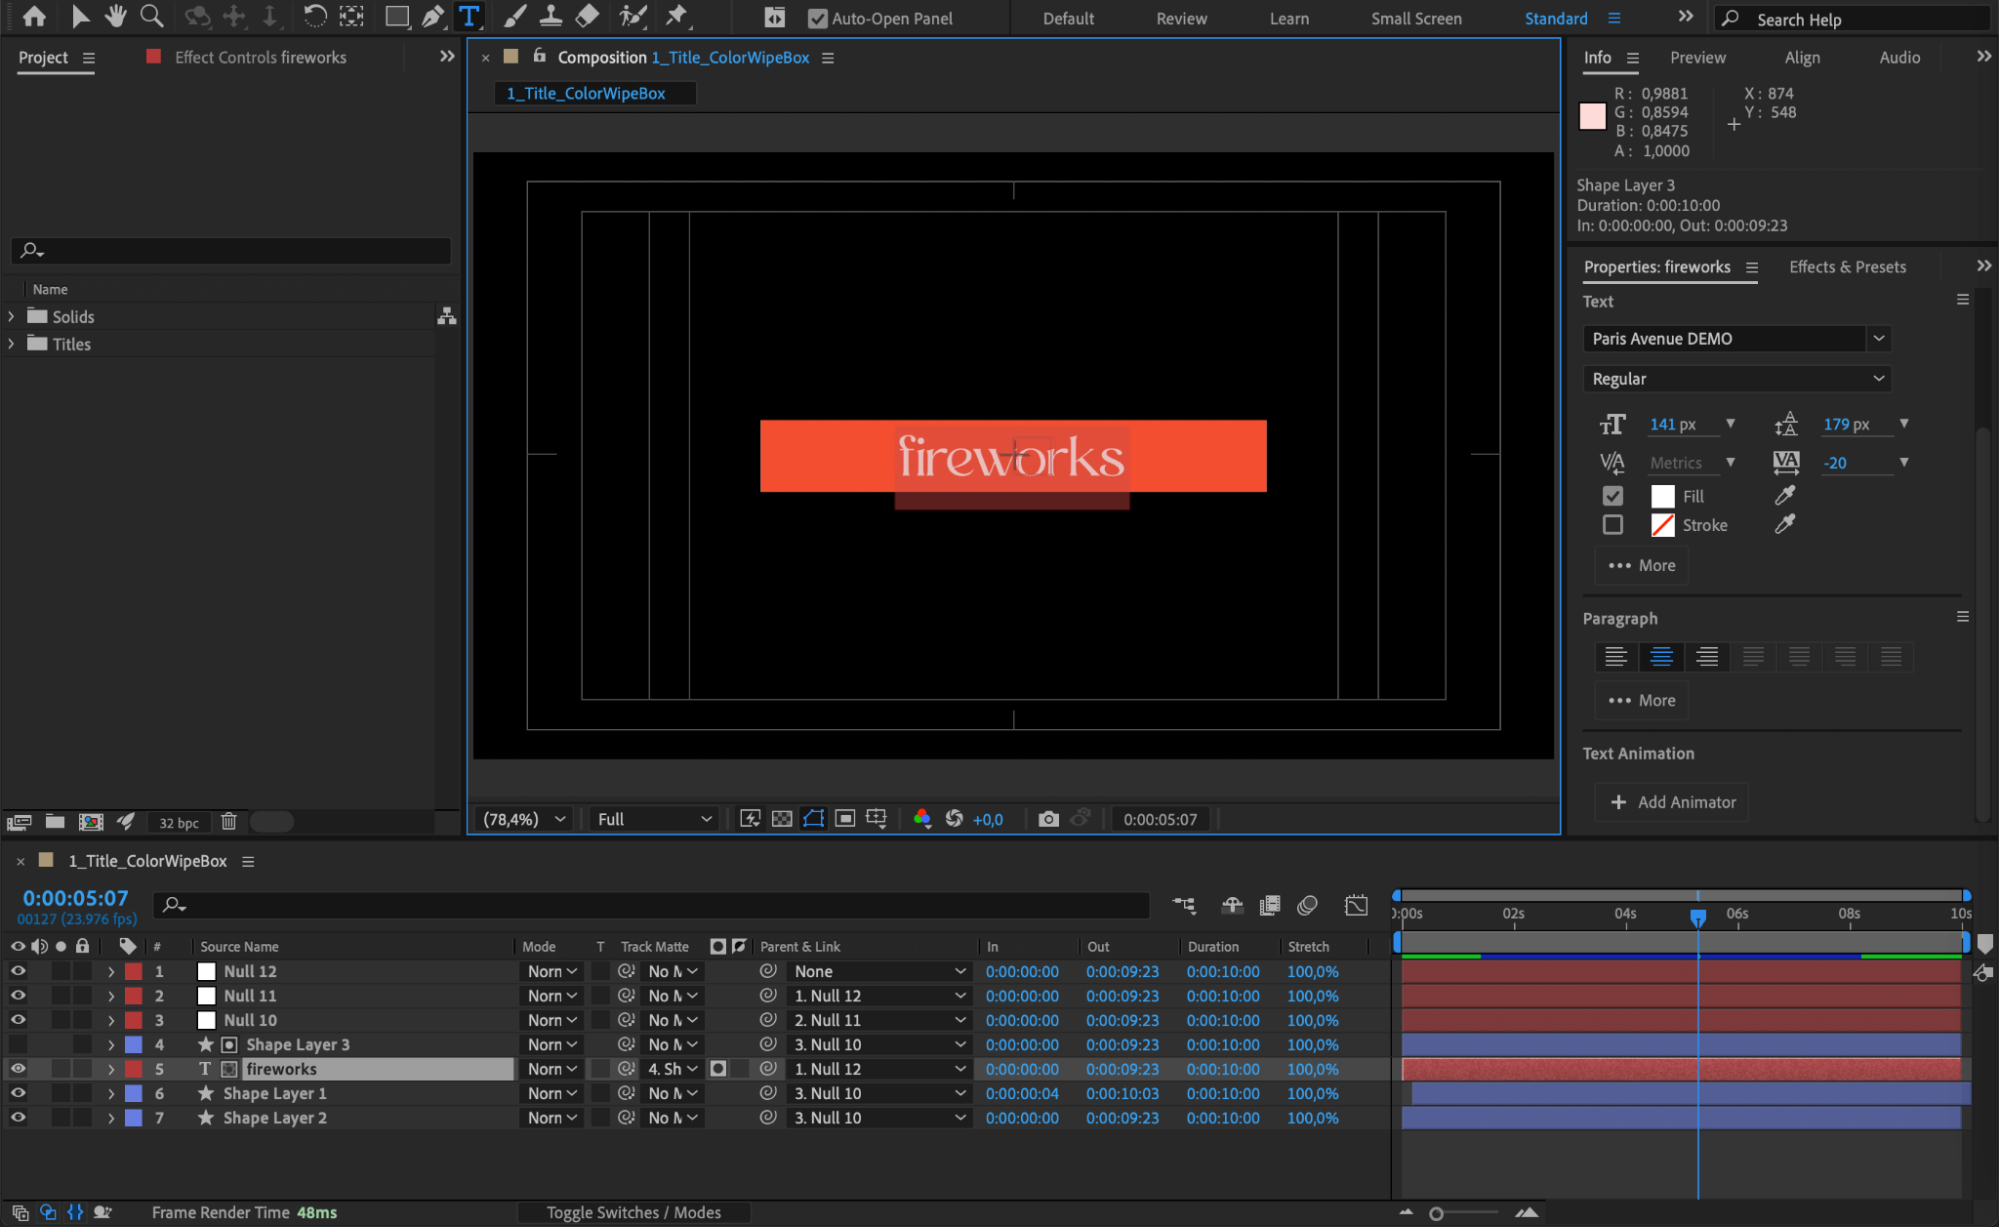
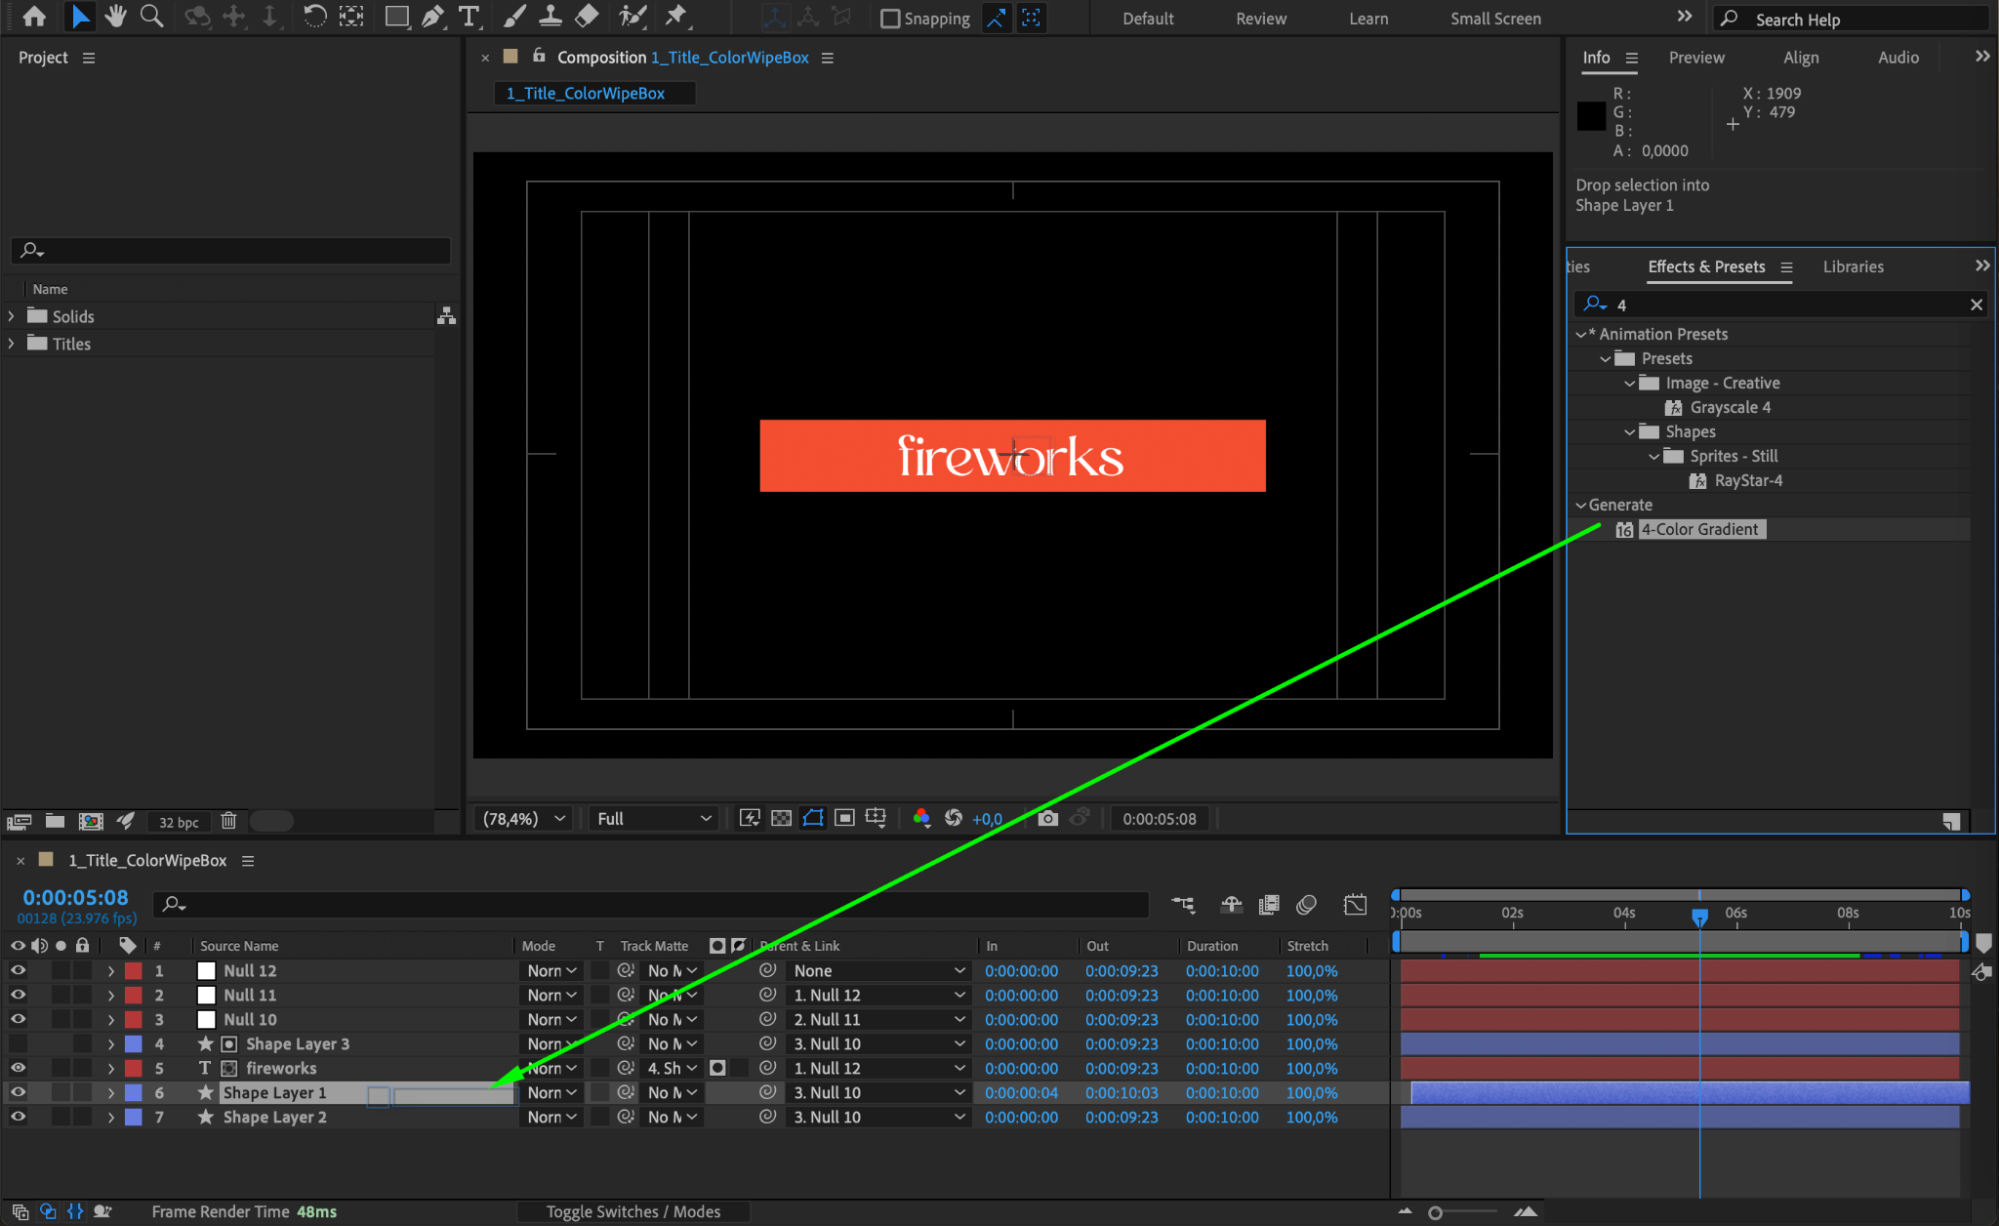
Open the downloaded template file in After Effects via File > Open Project. Most templates include multiple pre-designed layers. Customize the text, colors, logos, and images to fit your project’s theme. Review any included instructions to understand the structure and workflow of the template.

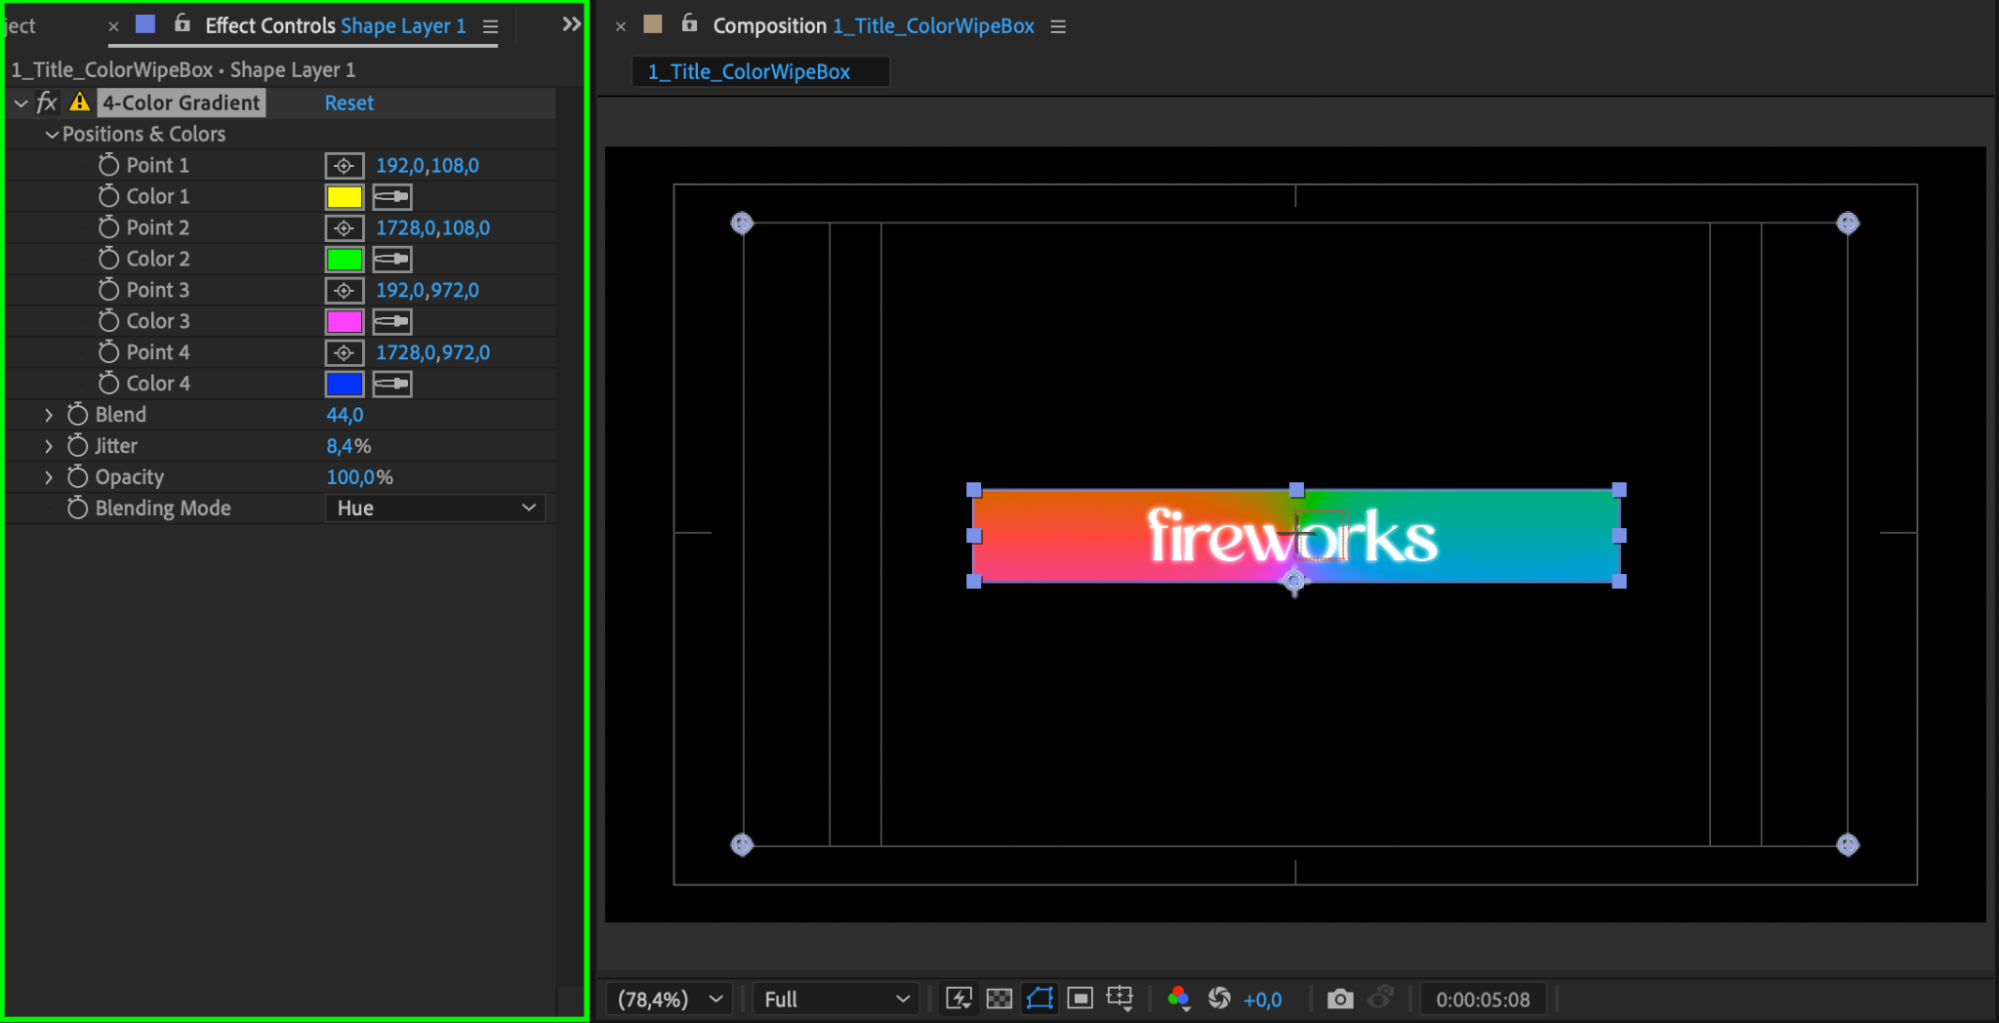 Step 3: Export the Template from After Effects
Once you’ve completed the adjustments, export the project in a format compatible with Premiere Pro. Go to Composition > Add to Render Queue. In the Render Queue panel, select an output format (e.g., H.264 for video) and adjust the settings as needed. Click Render to generate the file for import into Premiere Pro.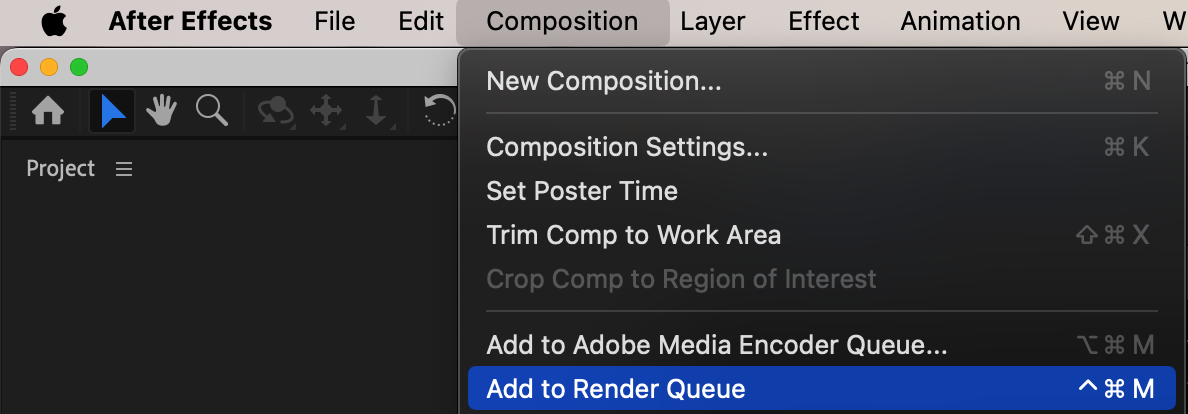

 Step 4: Import the Rendered File into Premiere Pro
Open Premiere Pro and create a new project. Navigate to File > Import, select the exported video file, and place it on your timeline. You can now incorporate the template into your video, combining it with other media assets.
 Method 2: Using .mogrt Files in Essential Graphics
Step 1: Prepare Your Premiere Pro Project
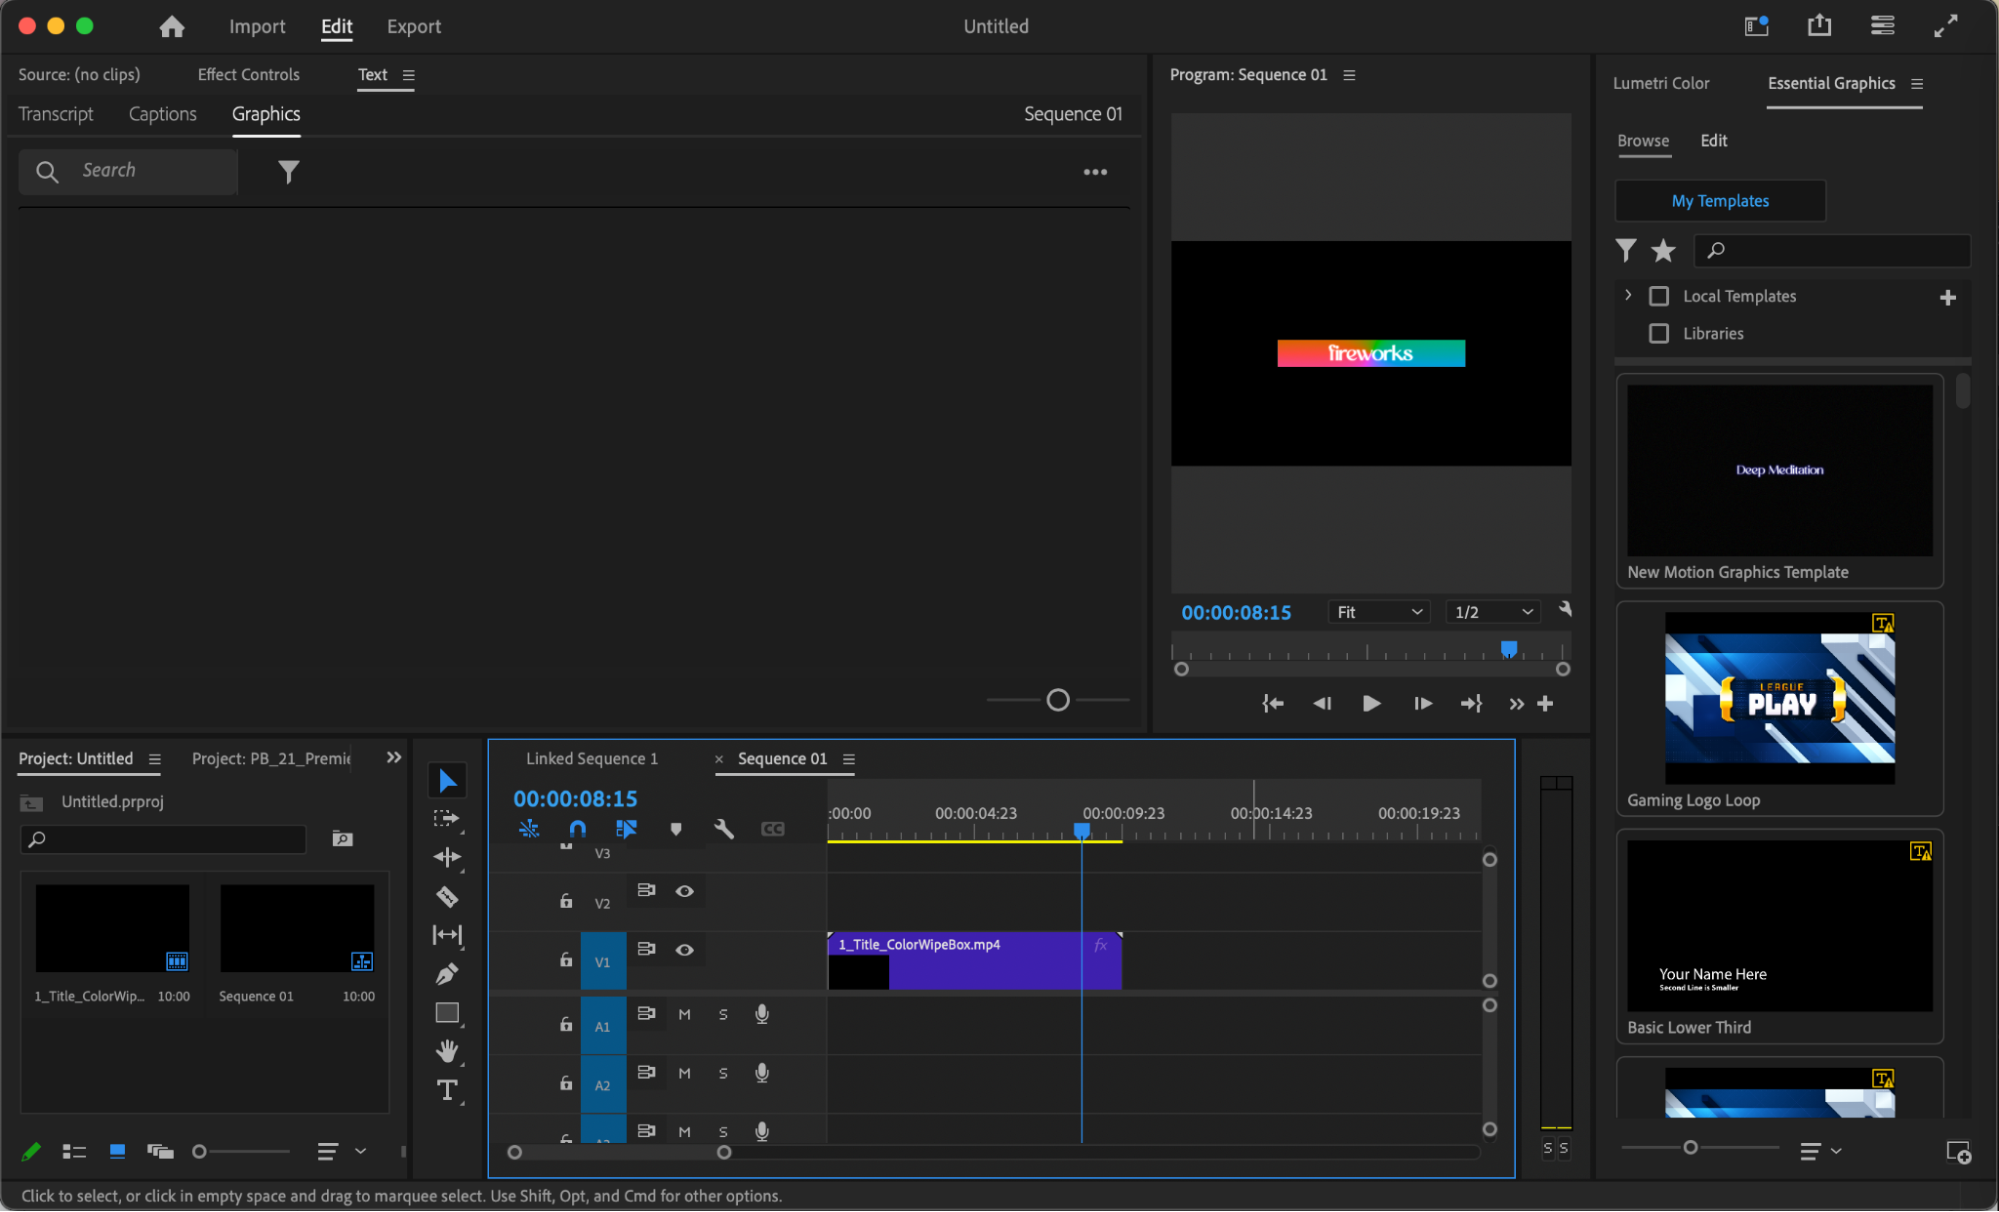
Open Premiere Pro and import the media files you want to use. Set up your timeline and ensure your project is ready for template integration.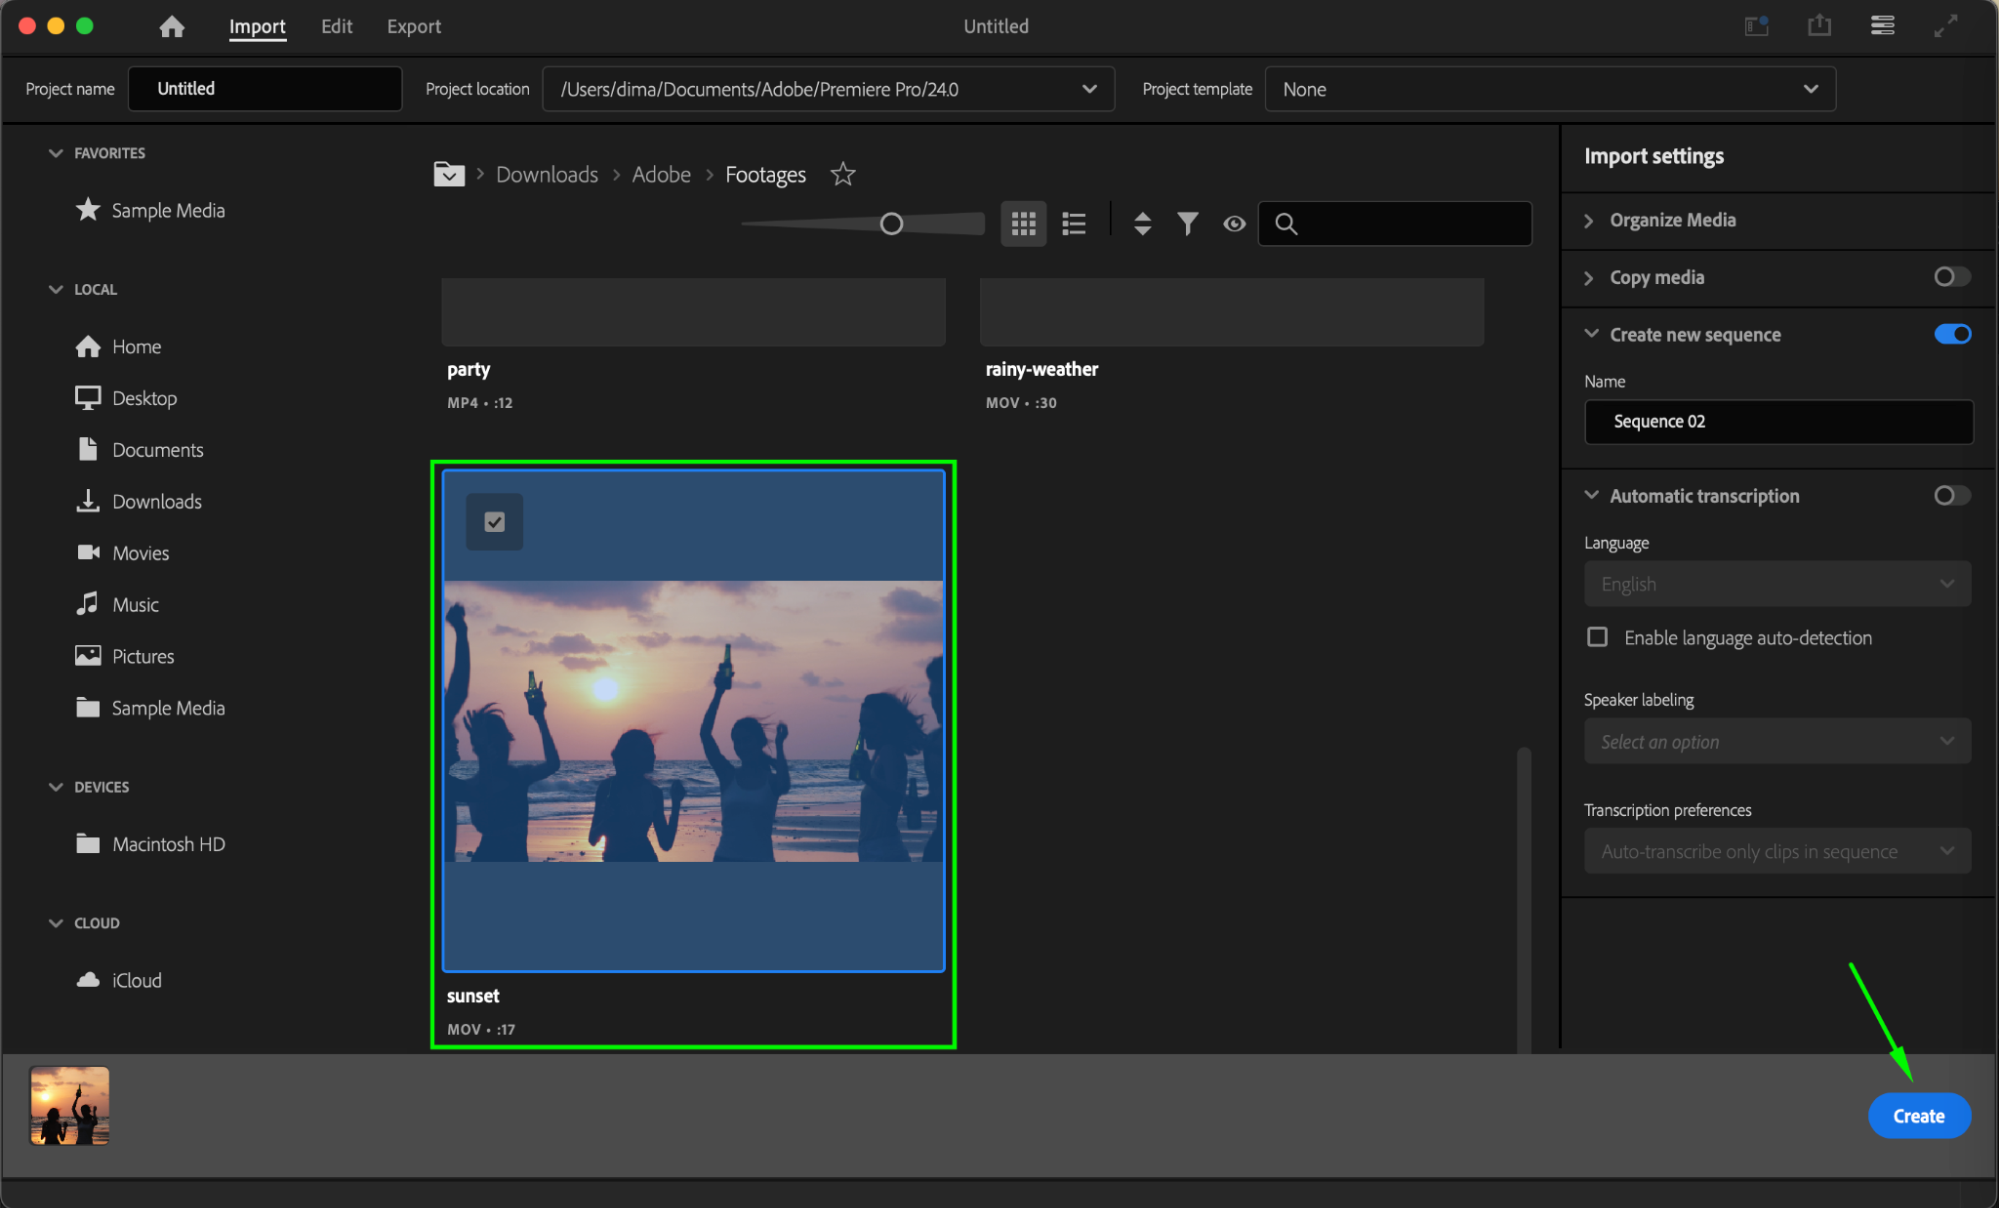 Step 2: Import the Template in Essential Graphics
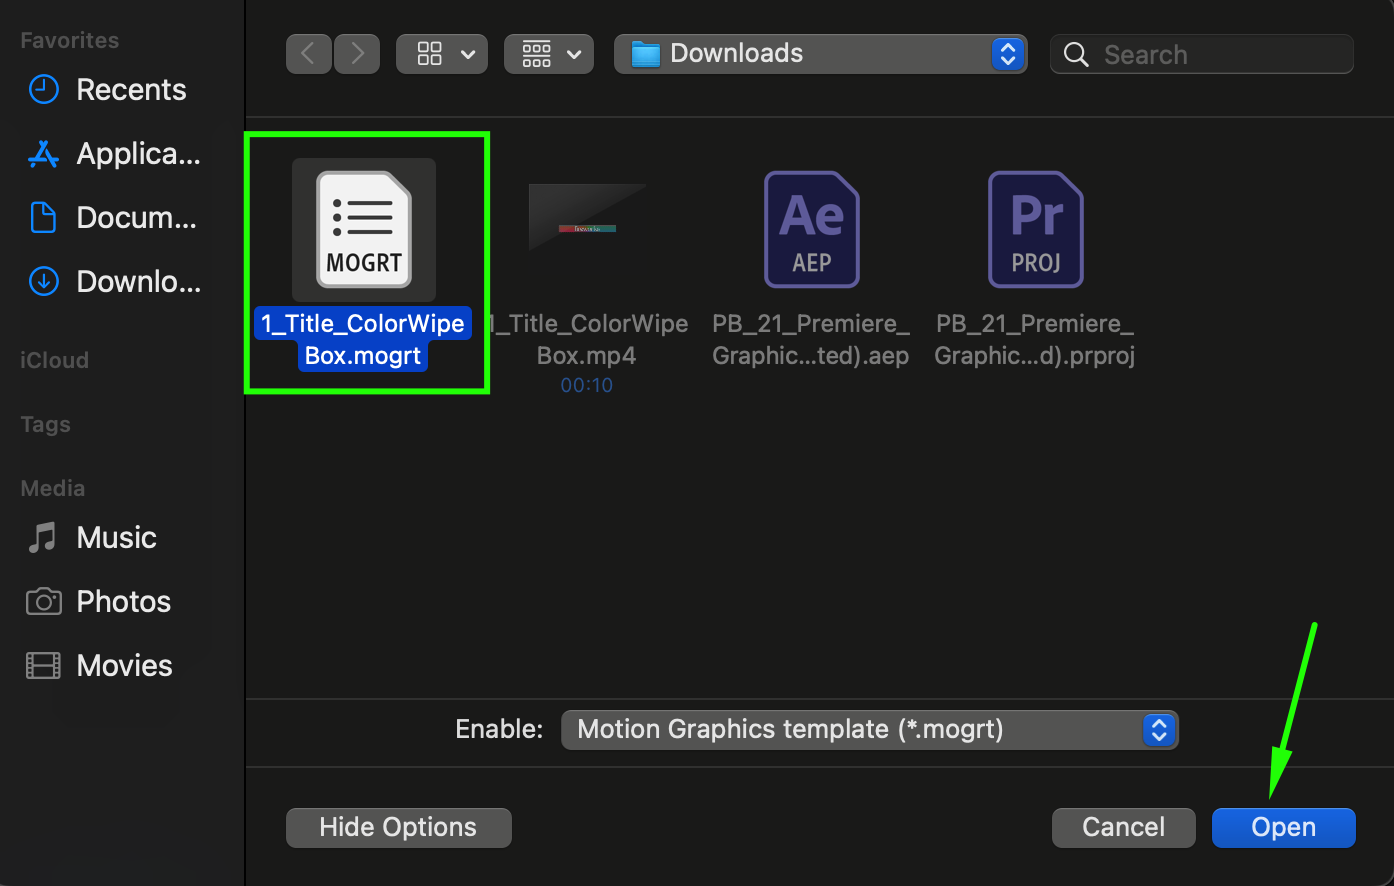
Go to the Essential Graphics panel. Click the Install Motion Graphics Template button at the bottom of the panel. Select the .mogrt file you downloaded and click Open.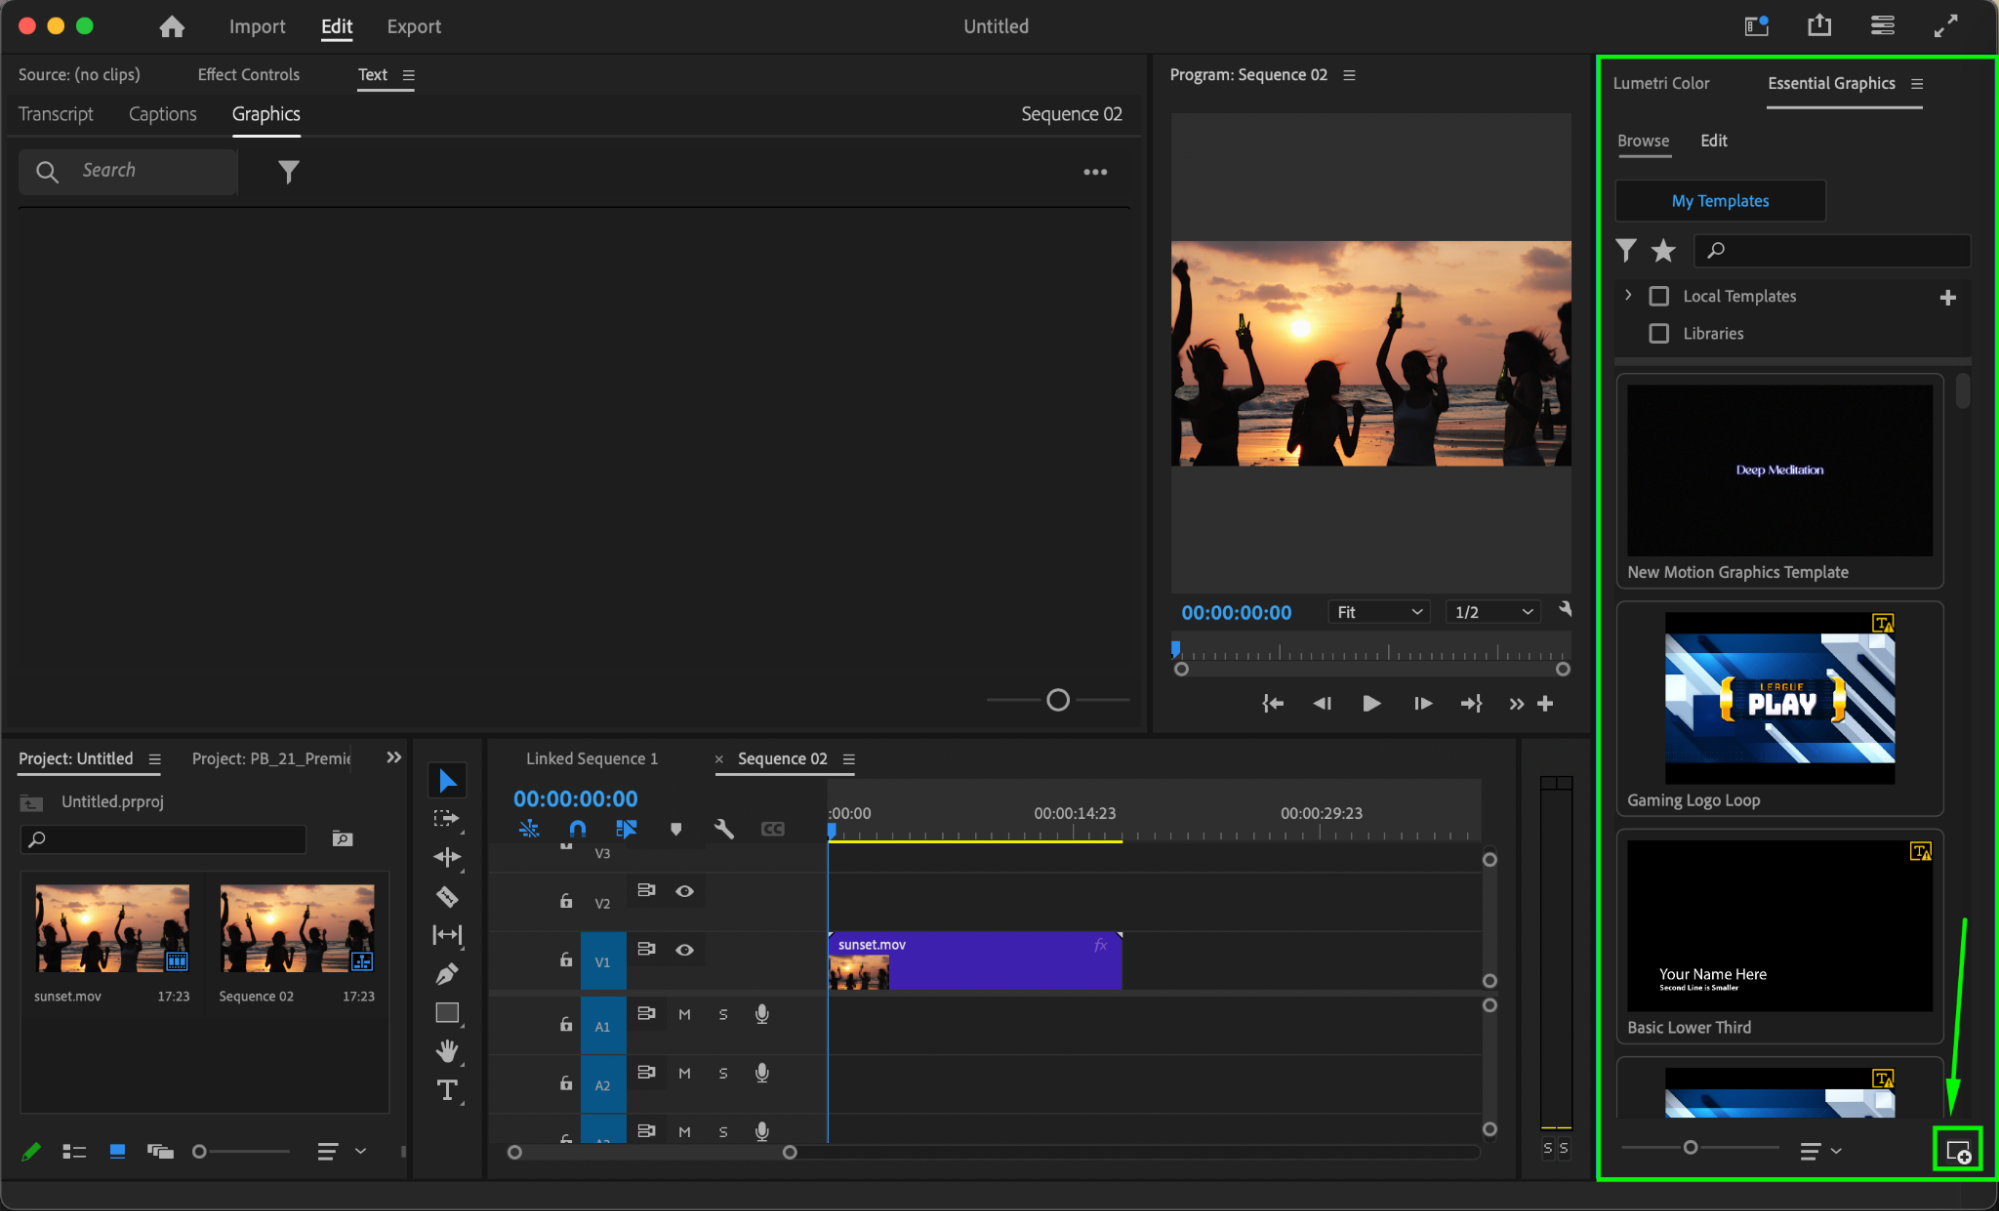
 Step 3: Add and Edit the Template
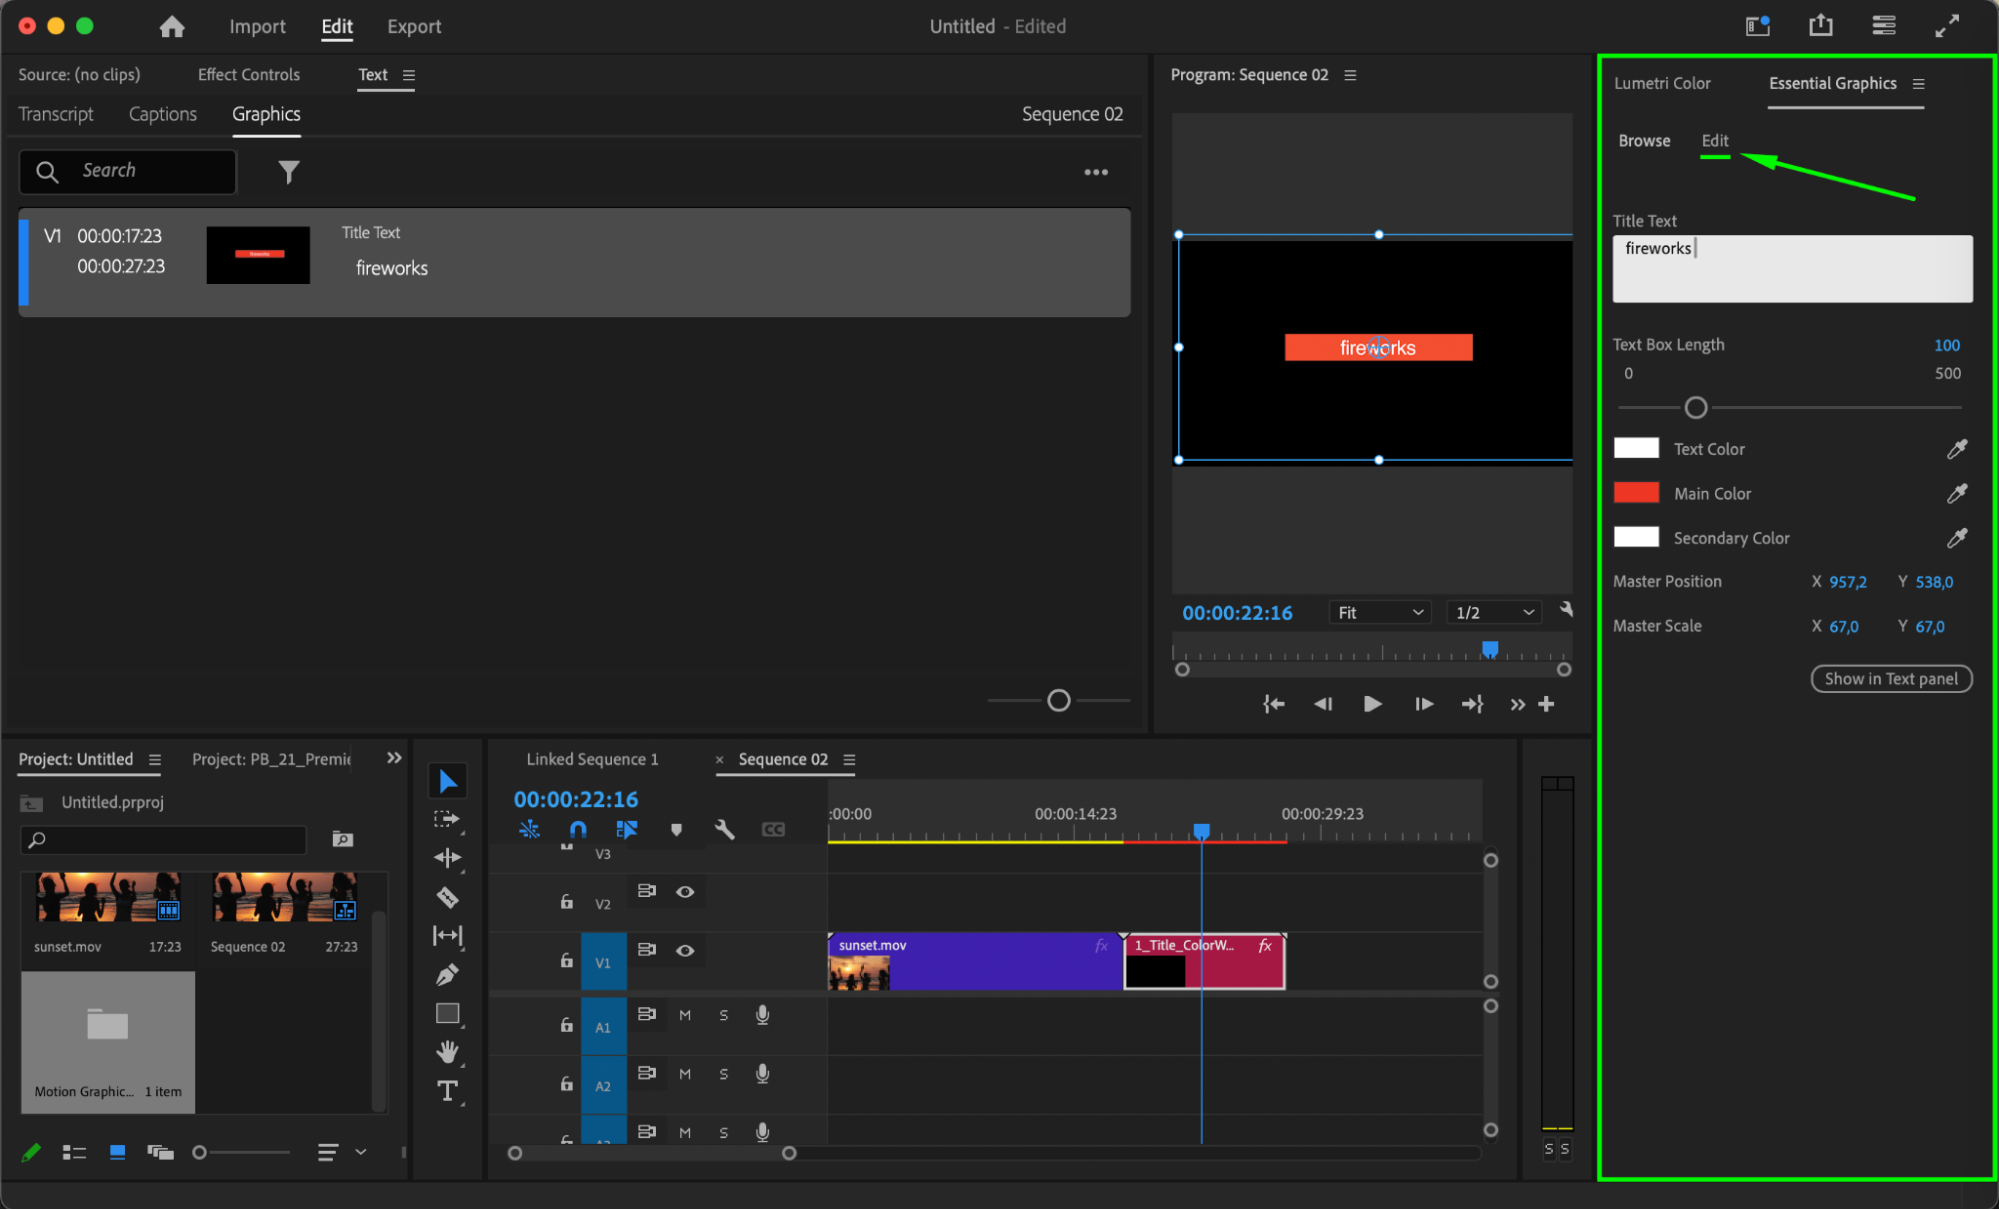
Drag the imported template onto your timeline. Select the template layer, then go to the Edit tab in the Essential Graphics panel. Customize the text, colors, and other parameters directly within Premiere Pro.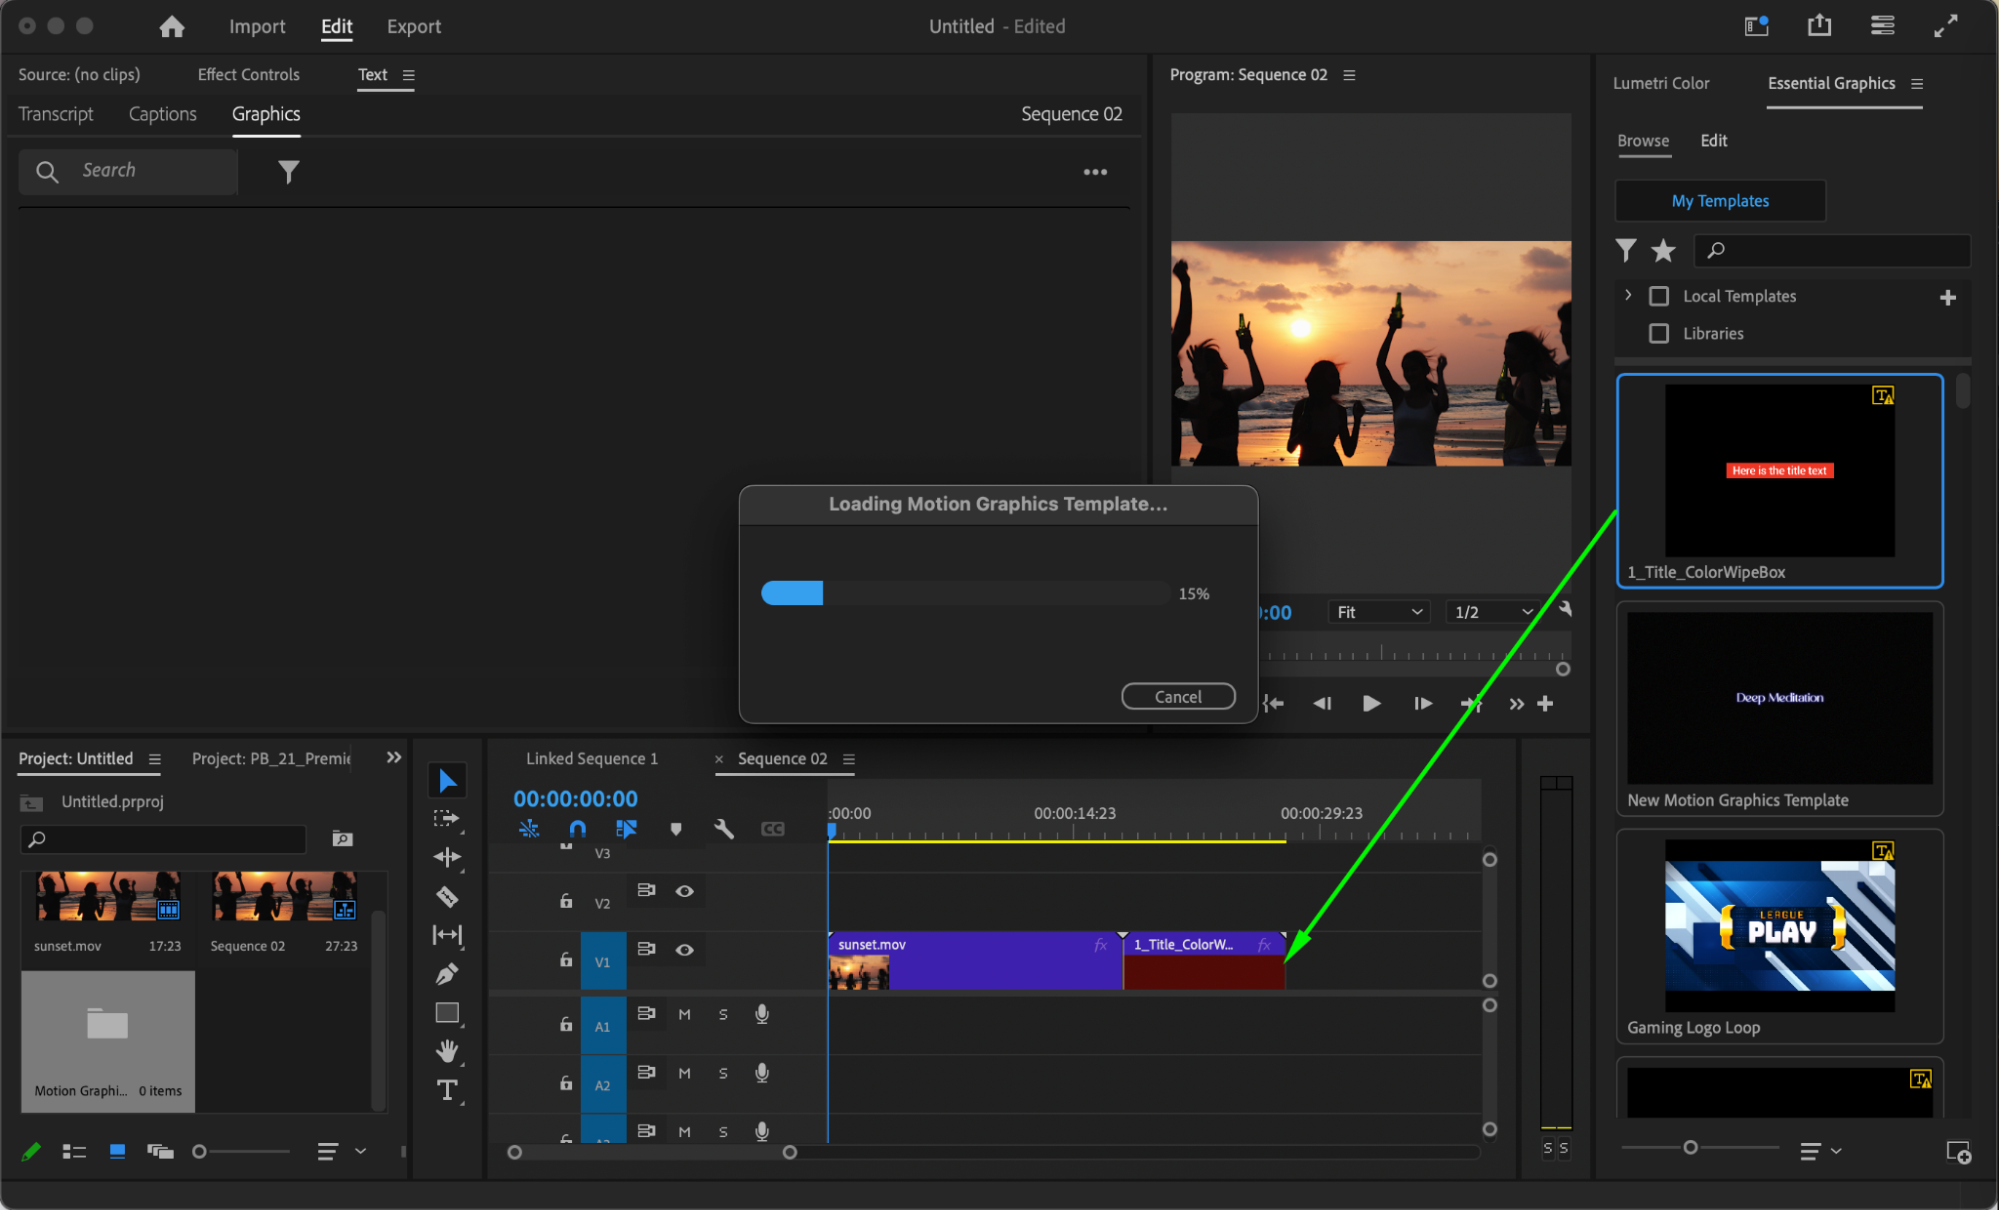
 Step 5: Export Your Final Video
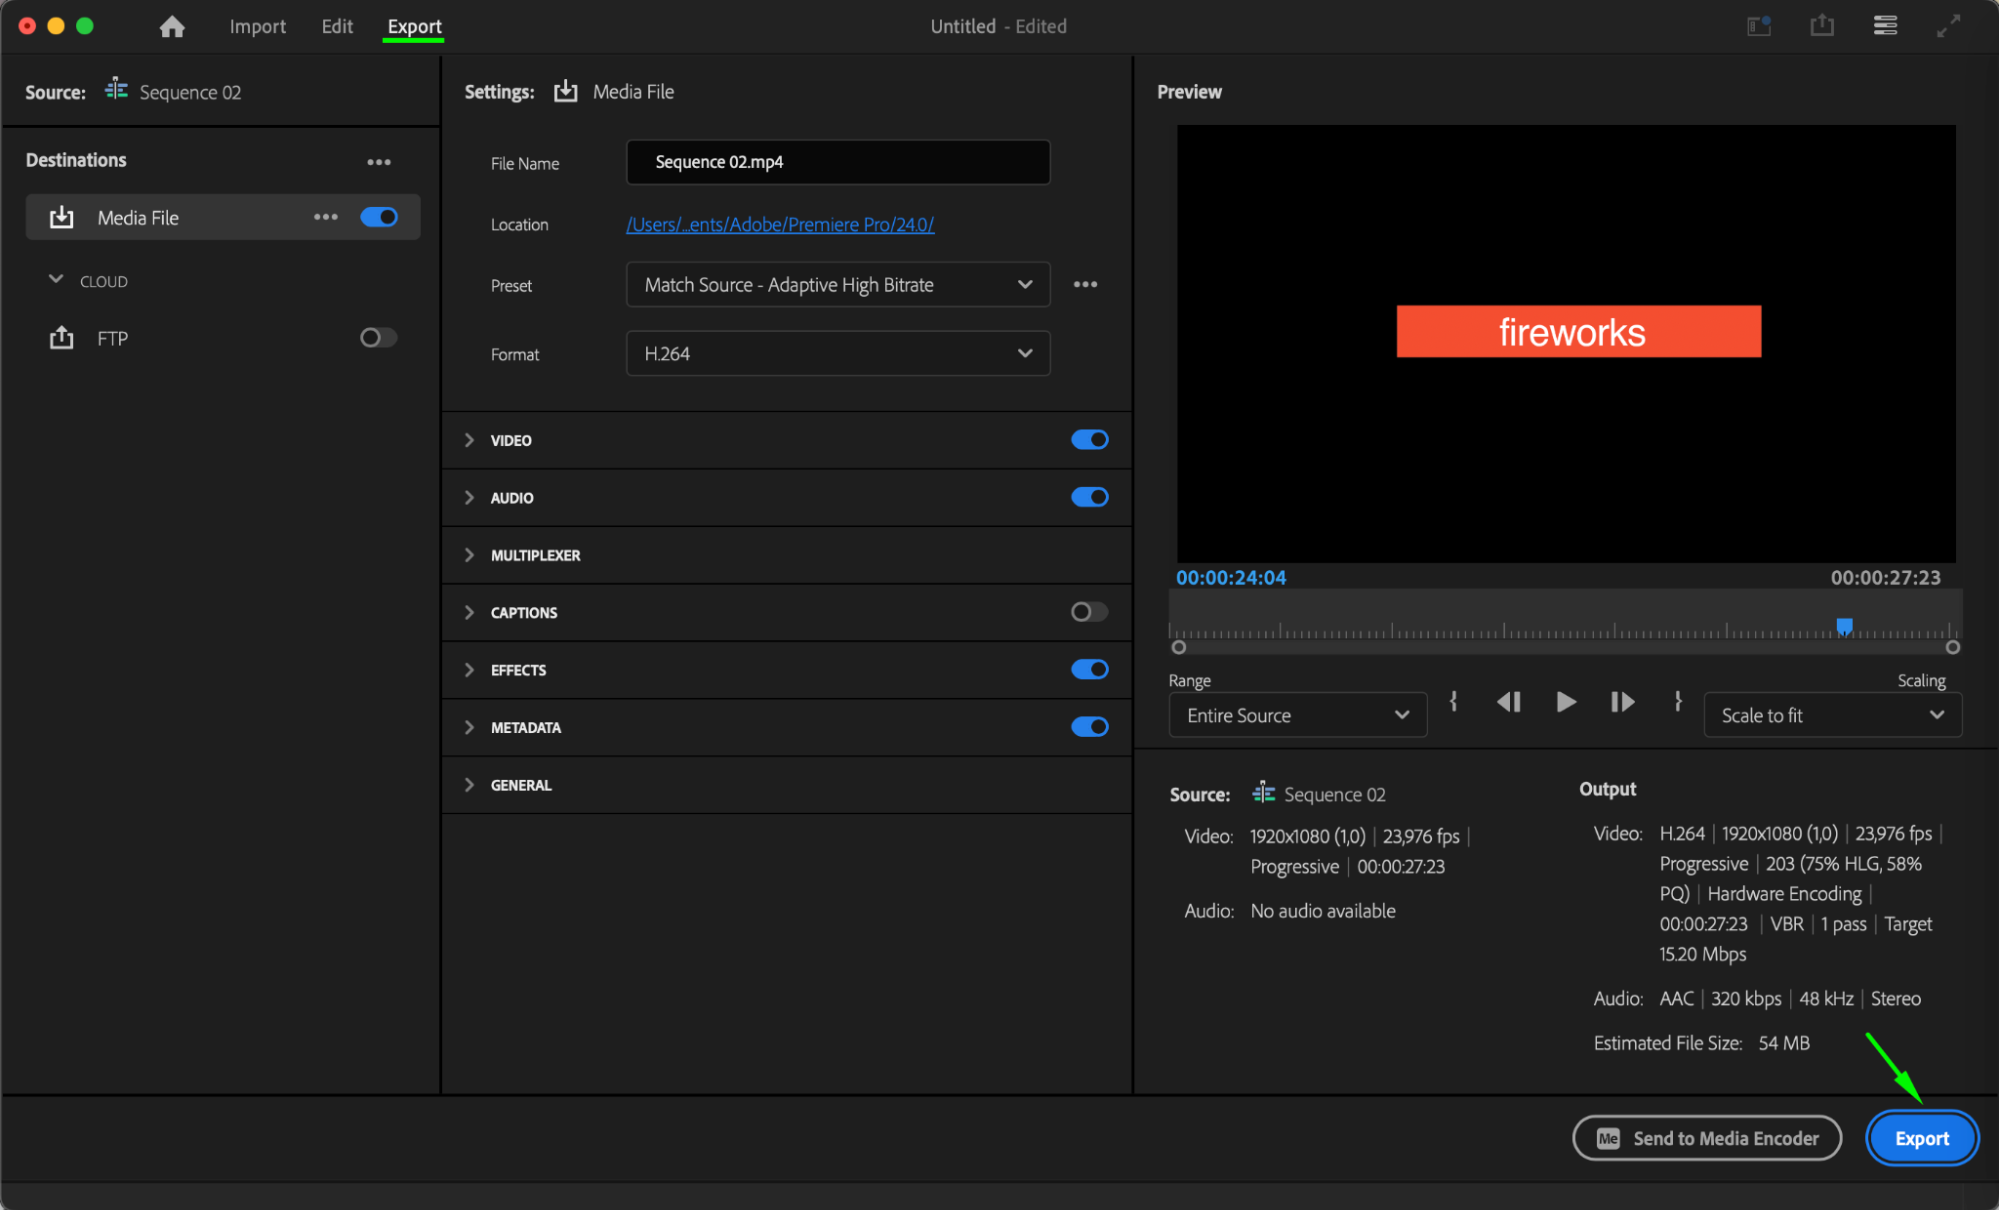
Once your edits are complete, export your project. Open the Export window, configure the render settings such as format, resolution, and codec, then click Export. Your professionally enhanced video will be ready to share.
Conclusion
Using After Effects templates in Premiere Pro provides a fast and efficient way to add professional motion graphics to your projects. Whether you choose to render templates from After Effects or use .mogrt files in Essential Graphics, both methods simplify the process and deliver high-quality results. Experiment with these techniques to find the workflow that best suits your needs!
Our Bestsellers


