Mastering the Camera Tool in After Effects
Unlocking Depth and Realism: A Guide to the Camera Tool in After Effects
Are you interested in taking your animations to the next level? It’s time to dive into the world of the Camera tool in After Effects! This essential feature allows you to bring depth, realism, and cinematic effects to your projects, creating visually stunning animations that engage and captivate your audience.
Elevate your animation game with After Effects’ powerful Camera tool. Dive into a world where depth and dimension bring your creations to life, captivating your audience with immersive visuals.
Step-by-Step Guide: Mastering the Use of the Camera in After Effects
1. Create a new project:
Launch After Effects and create a new project if you don’t have one already.
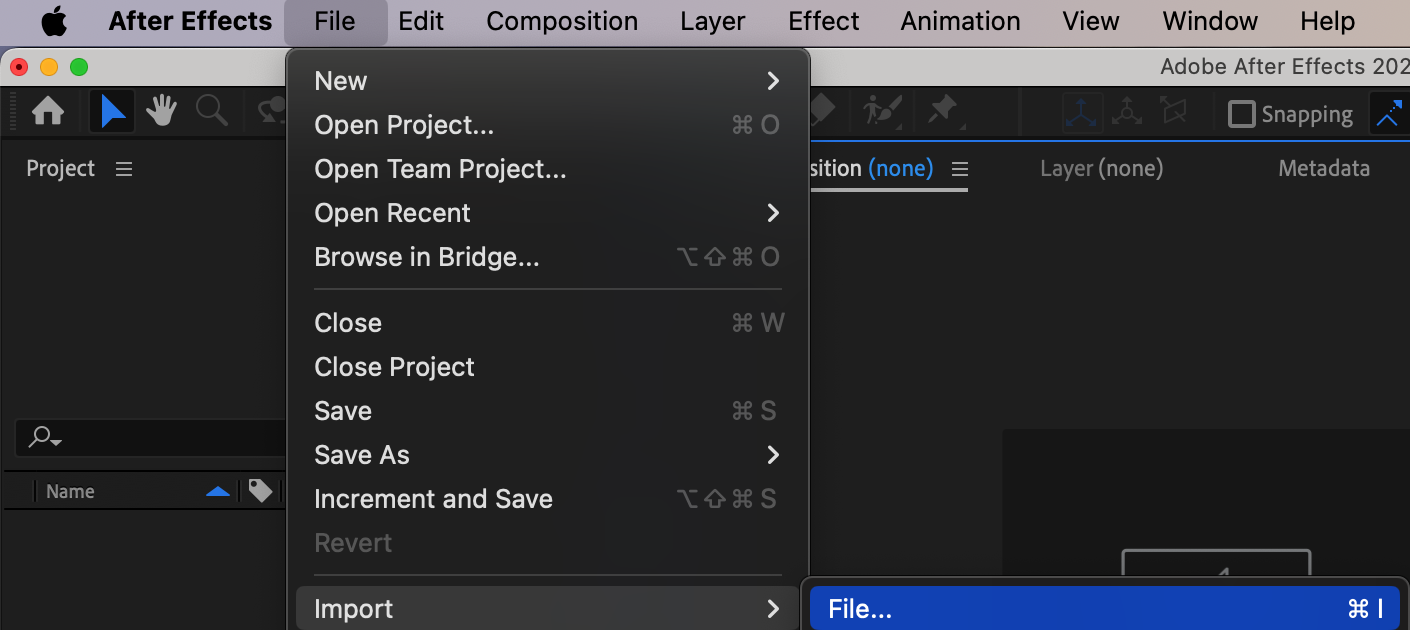
2. Import your assets:
To start working with the camera, import your video into the project. You can do this by dragging the file into the project panel or selecting “File > Import > File”.
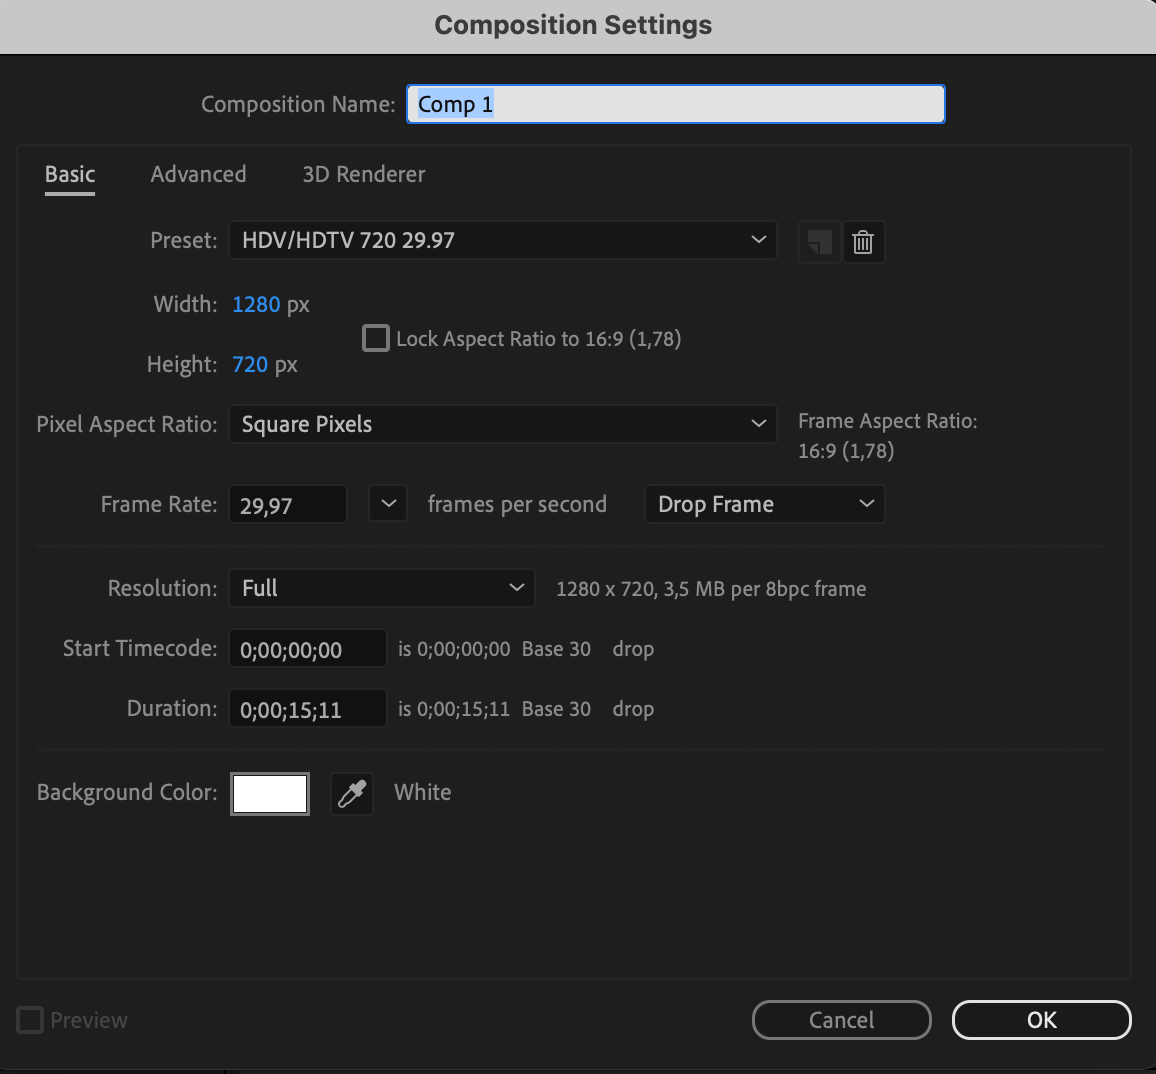
3. Create a composition:
Click on “Composition > New Composition” or use “Ctrl/Cmd + N”. Set the parameters such as size, resolution, and duration of the composition.
Get 10% off when you subscribe to our newsletter


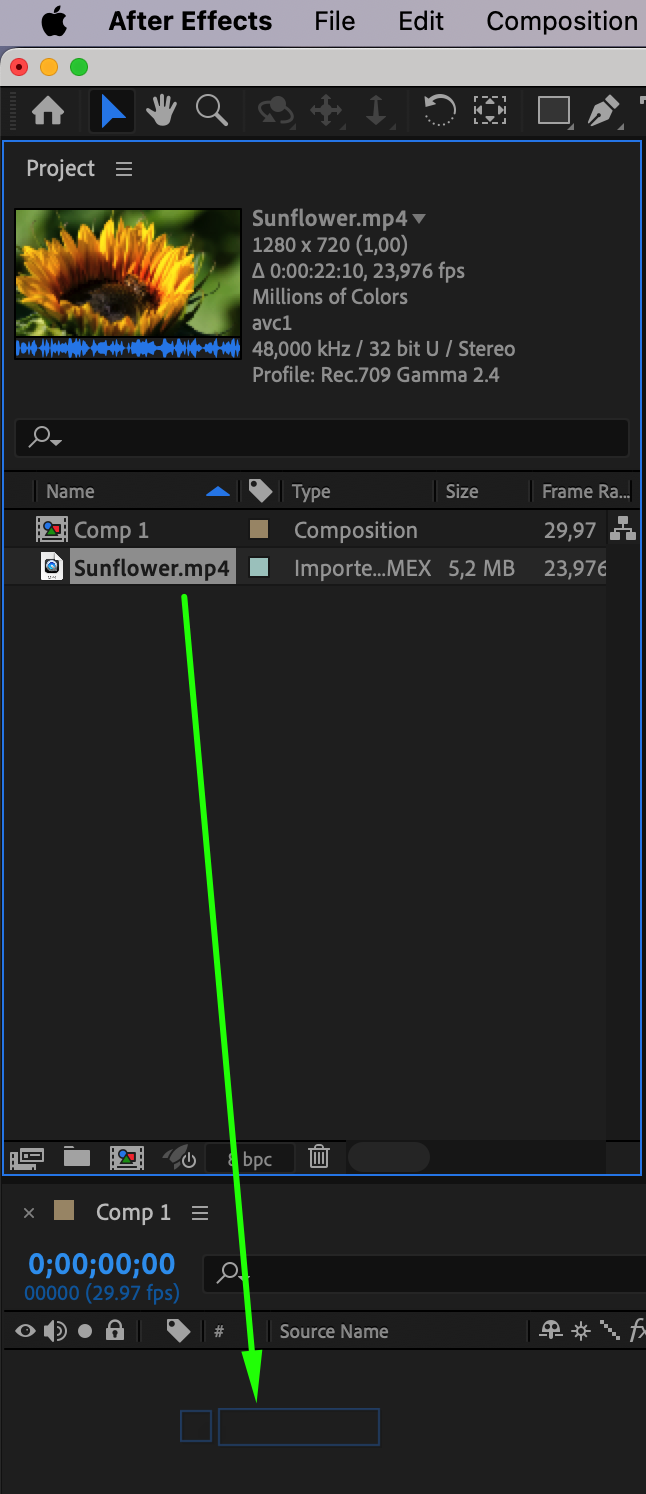
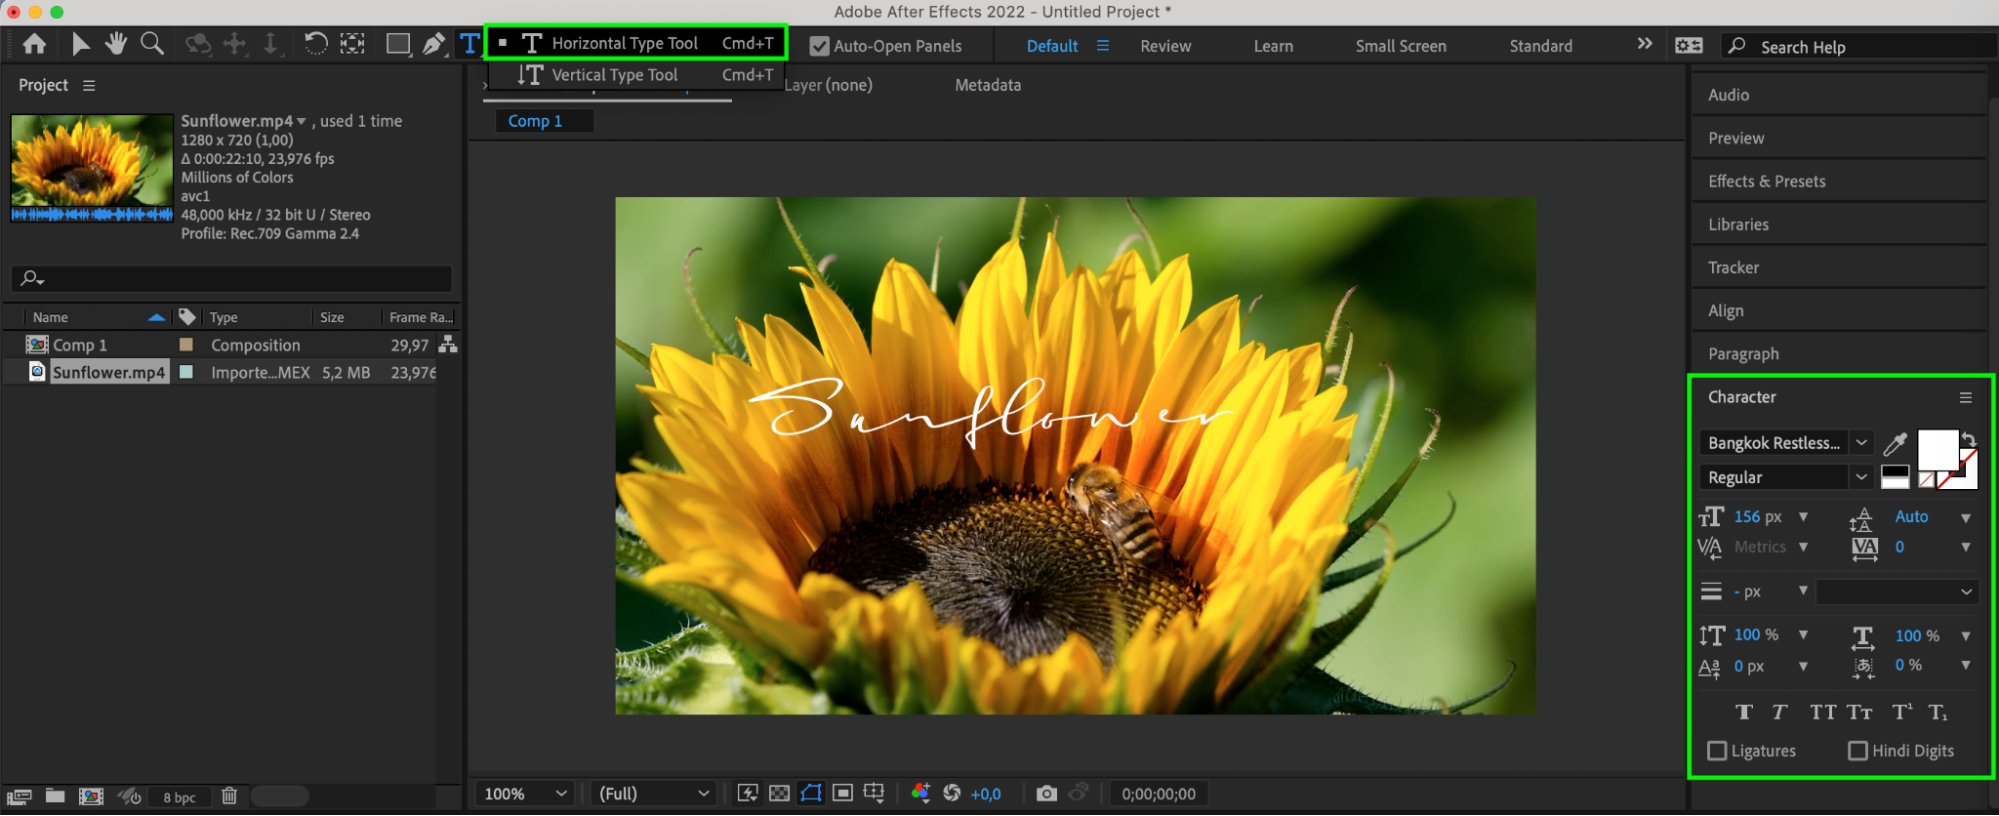
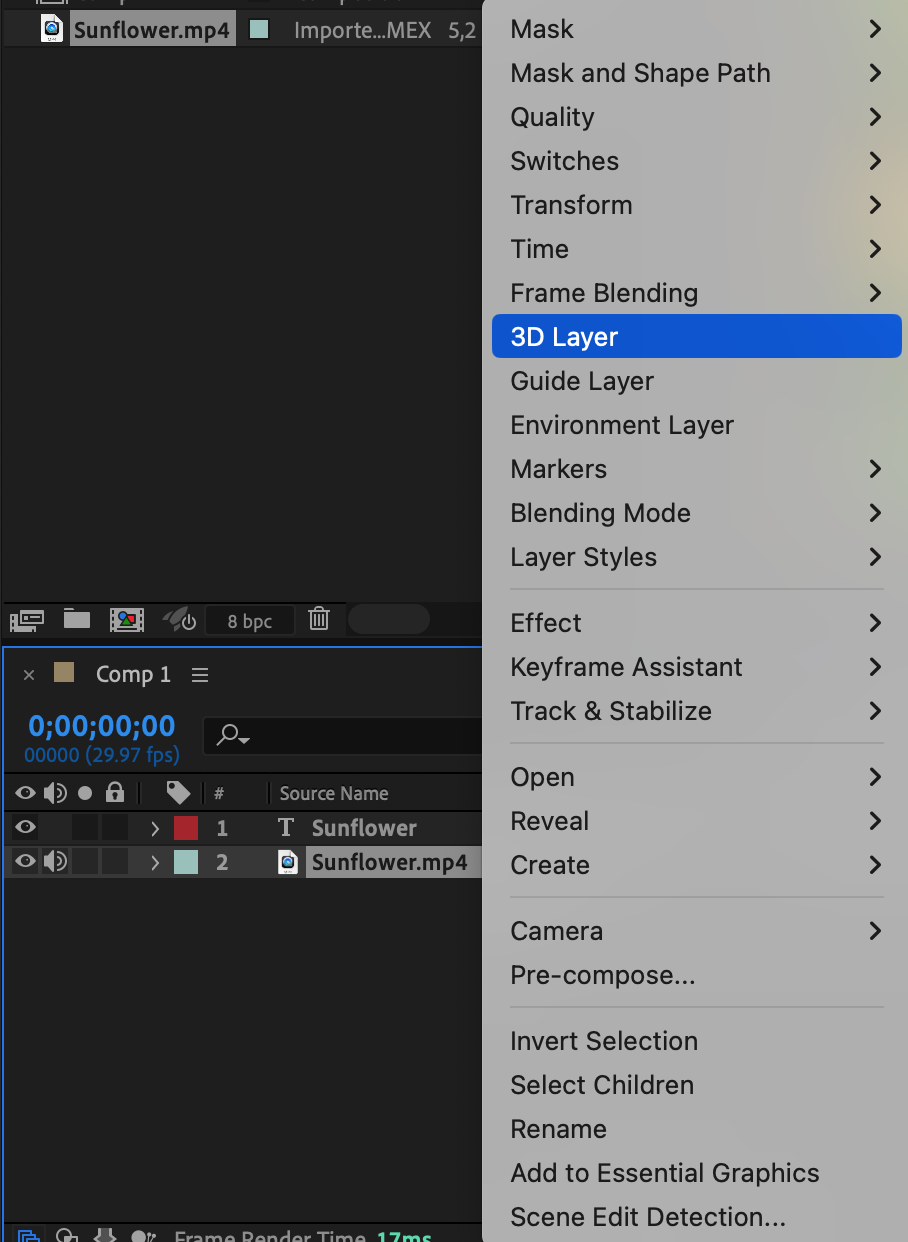
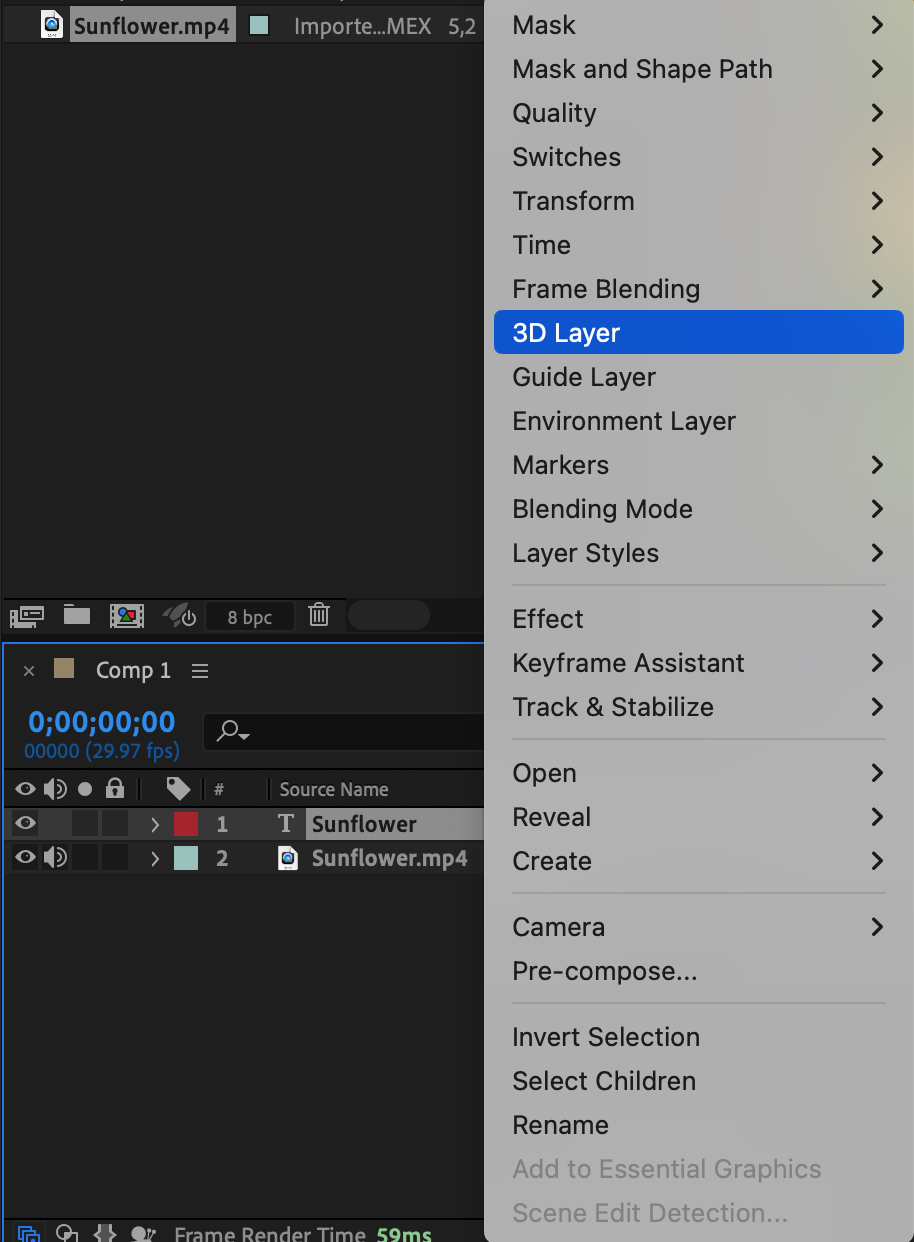
4. Add elements to the composition:
Drag the imported file from the project panel into your composition. You can also create new elements using After Effects tools such as text, shapes, etc. Convert them into 3D layers by right-clicking on each layer and selecting “3D Layer” or by clicking on the cube next to each layer.
Get 10% off when you subscribe to our newsletter
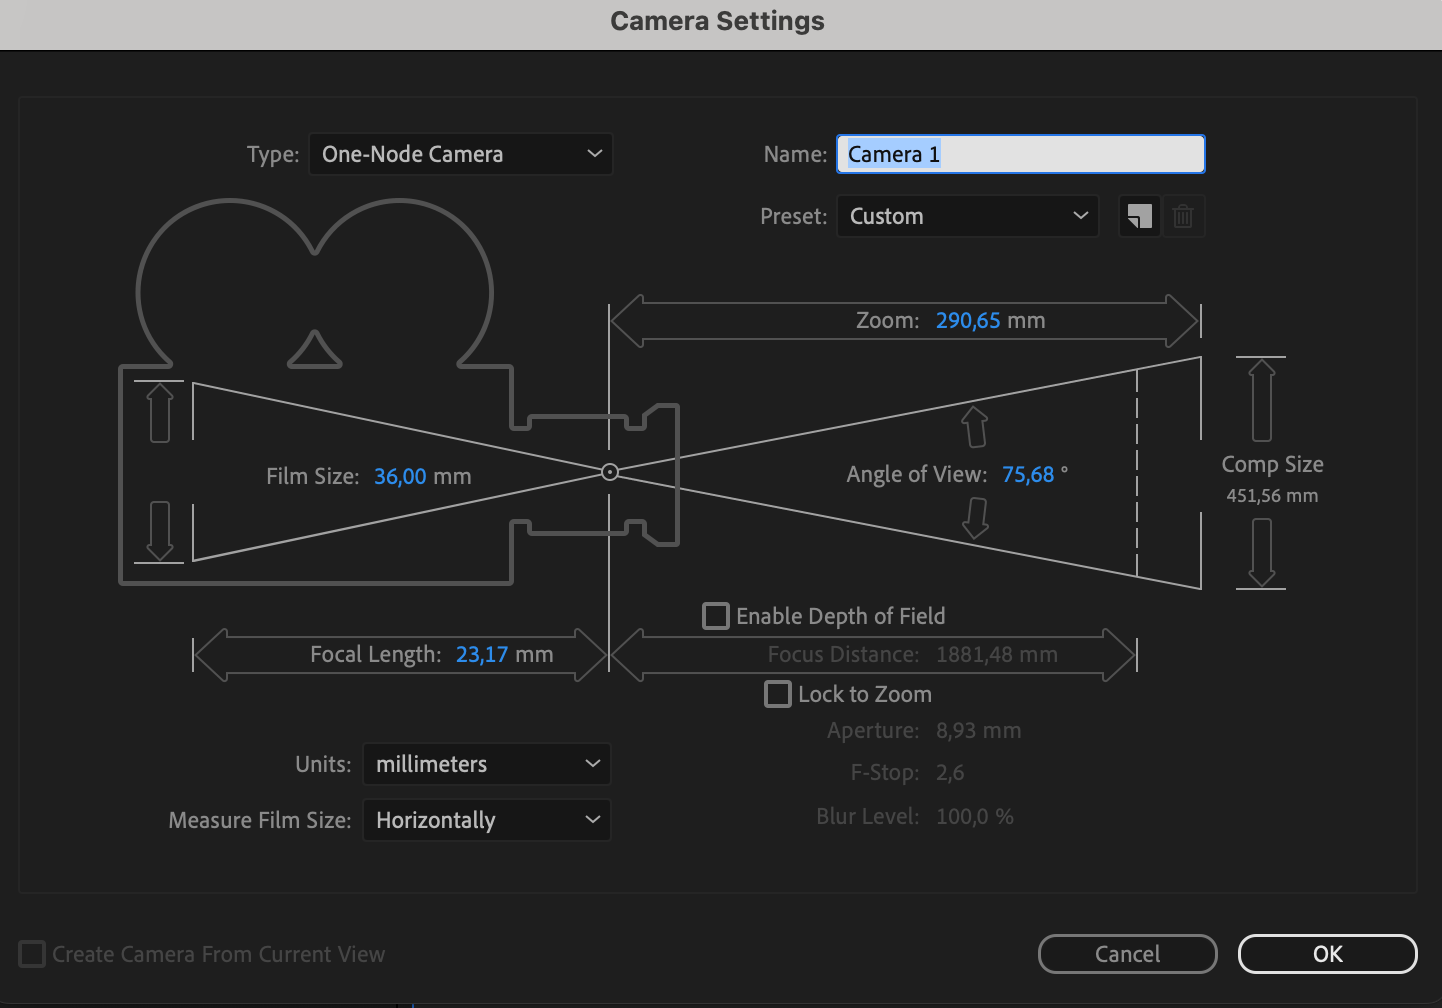
5. Create a camera:
Choose “Layer > New > Camera” or use “Ctrl/Cmd + Alt/Option + Shift + C” to create a new camera. Set the camera parameters in the pop-up window.

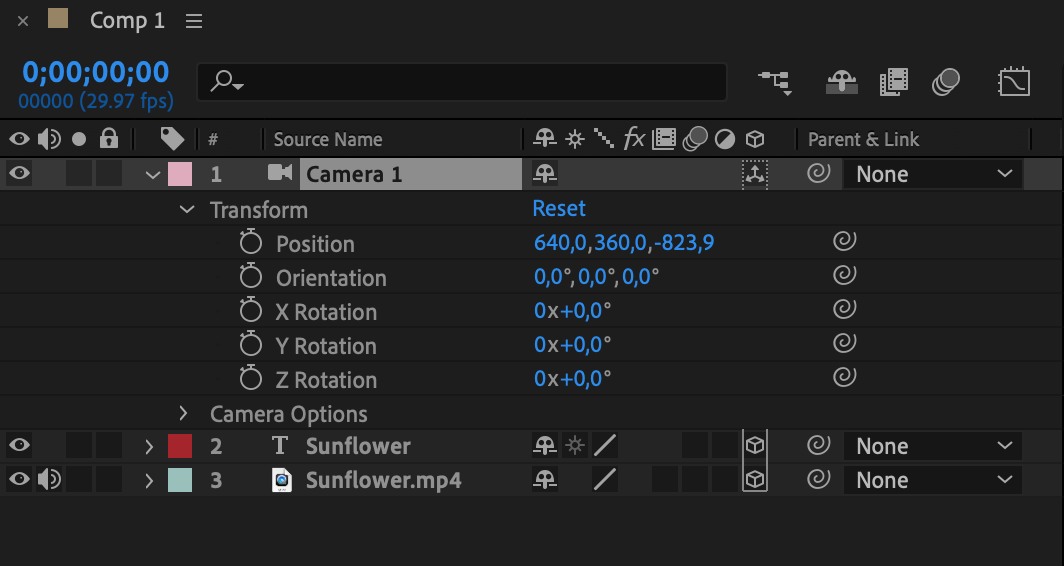
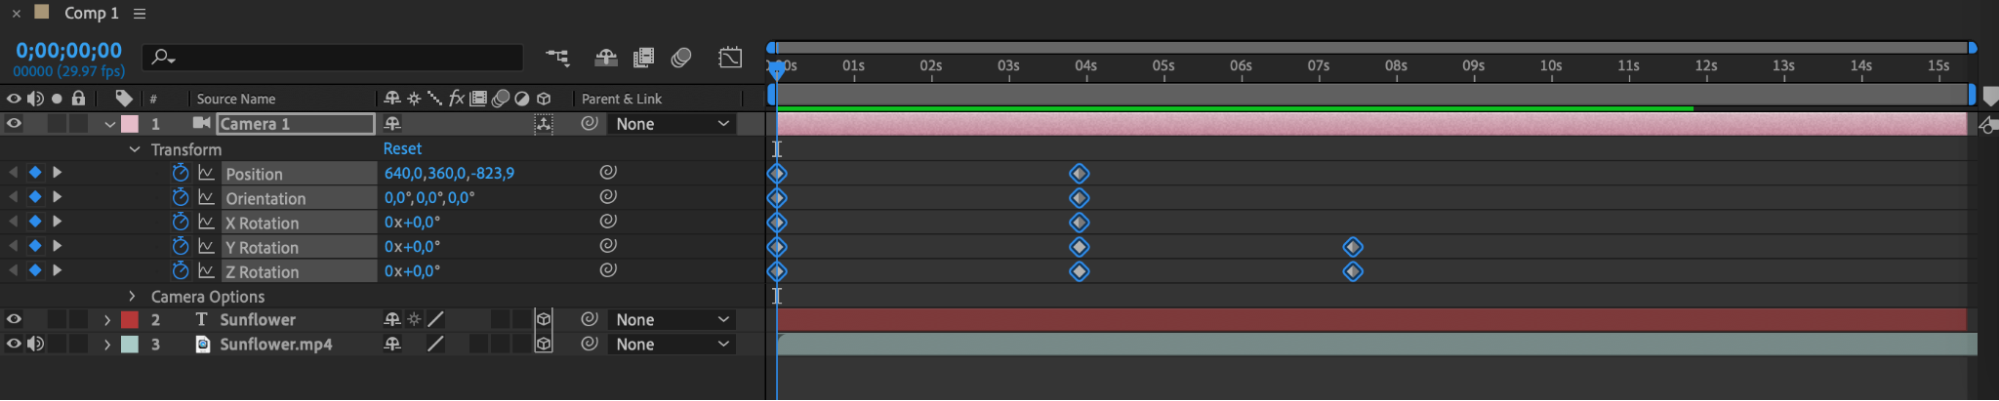
6. Adjust camera settings:
In the camera settings window (appearing as the Camera layer), edit properties under “Transform” such as Position, Orientation, x rotation, y rotation, z rotation. You can also edit various parameters in the “Camera Options” section.
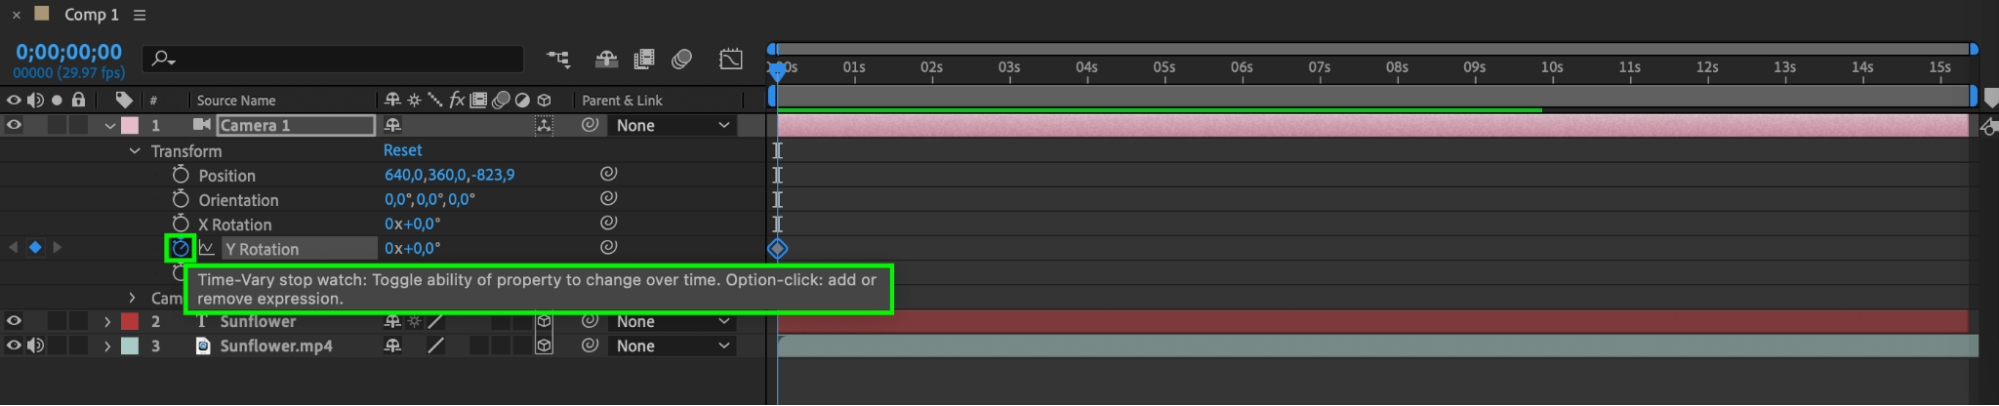
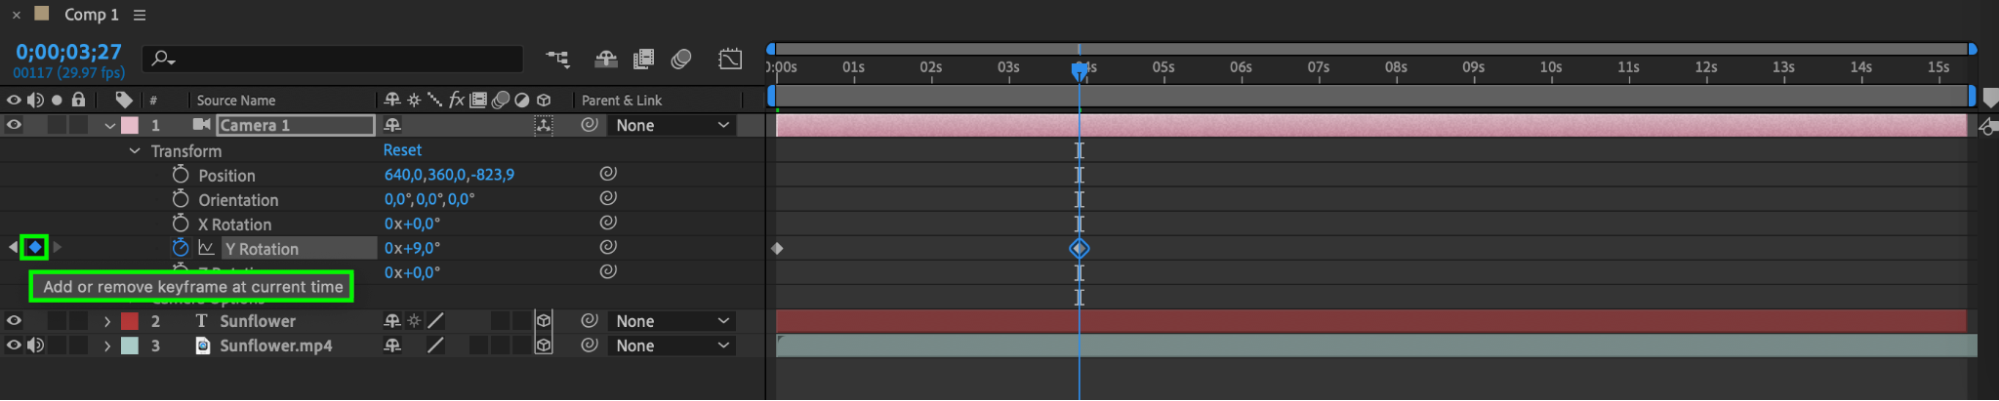
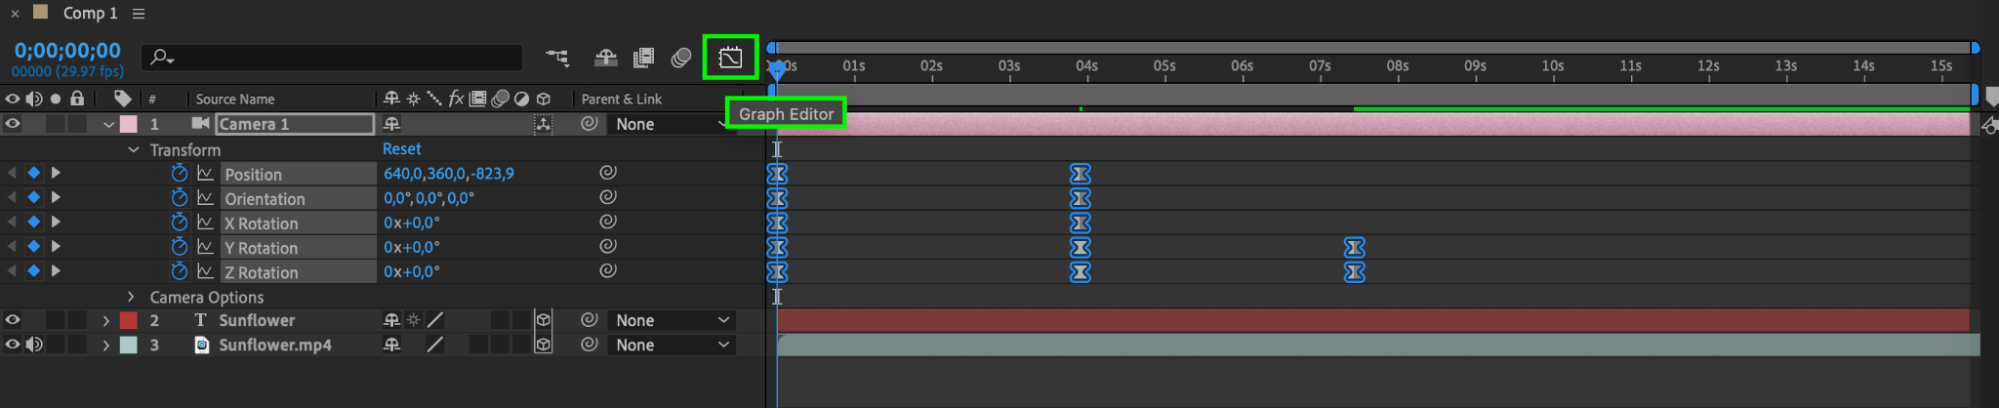
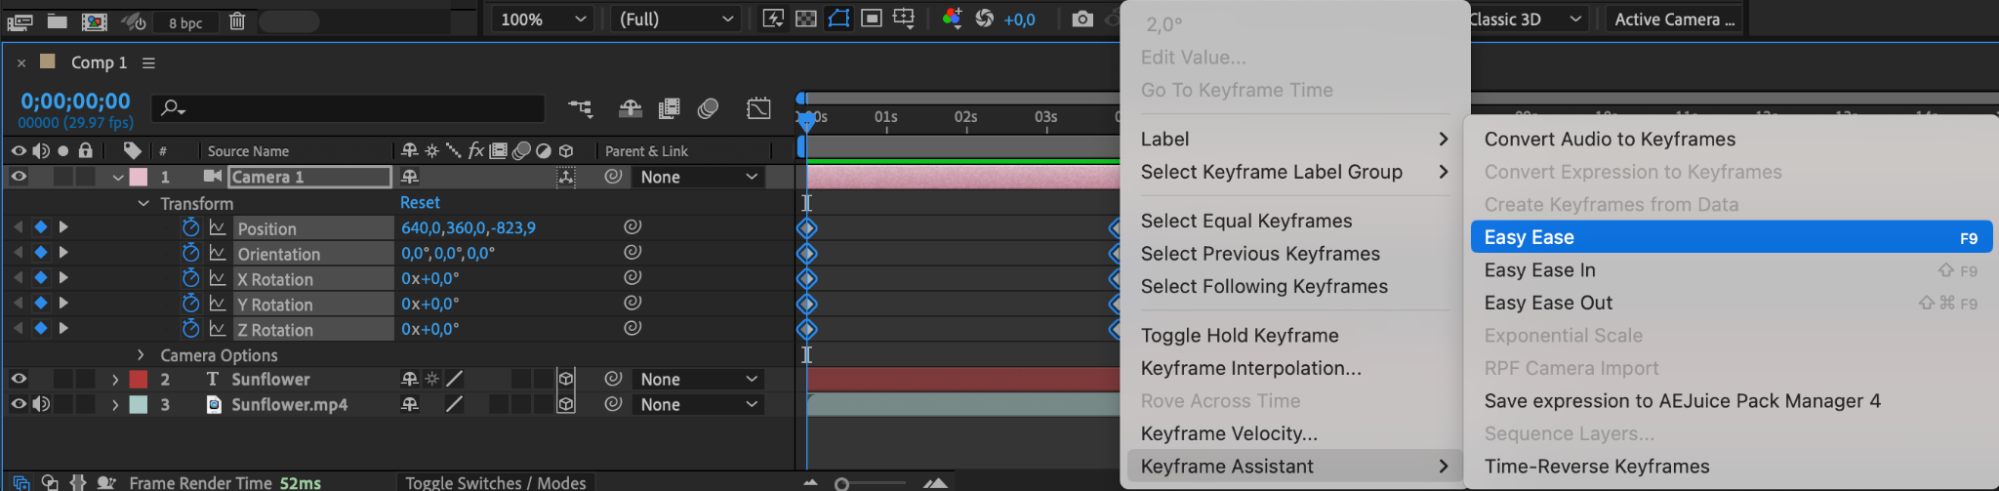
7. Animate the camera:
Create keyframes for camera properties by clicking the stopwatch icon next to the desired properties. Use “Keyframe Assistant > Easy Ease” if needed for smooth animations. Utilize the Graph Editor for additional animation adjustments.
Get 10% off when you subscribe to our newsletter
Get 10% off when you subscribe to our newsletter

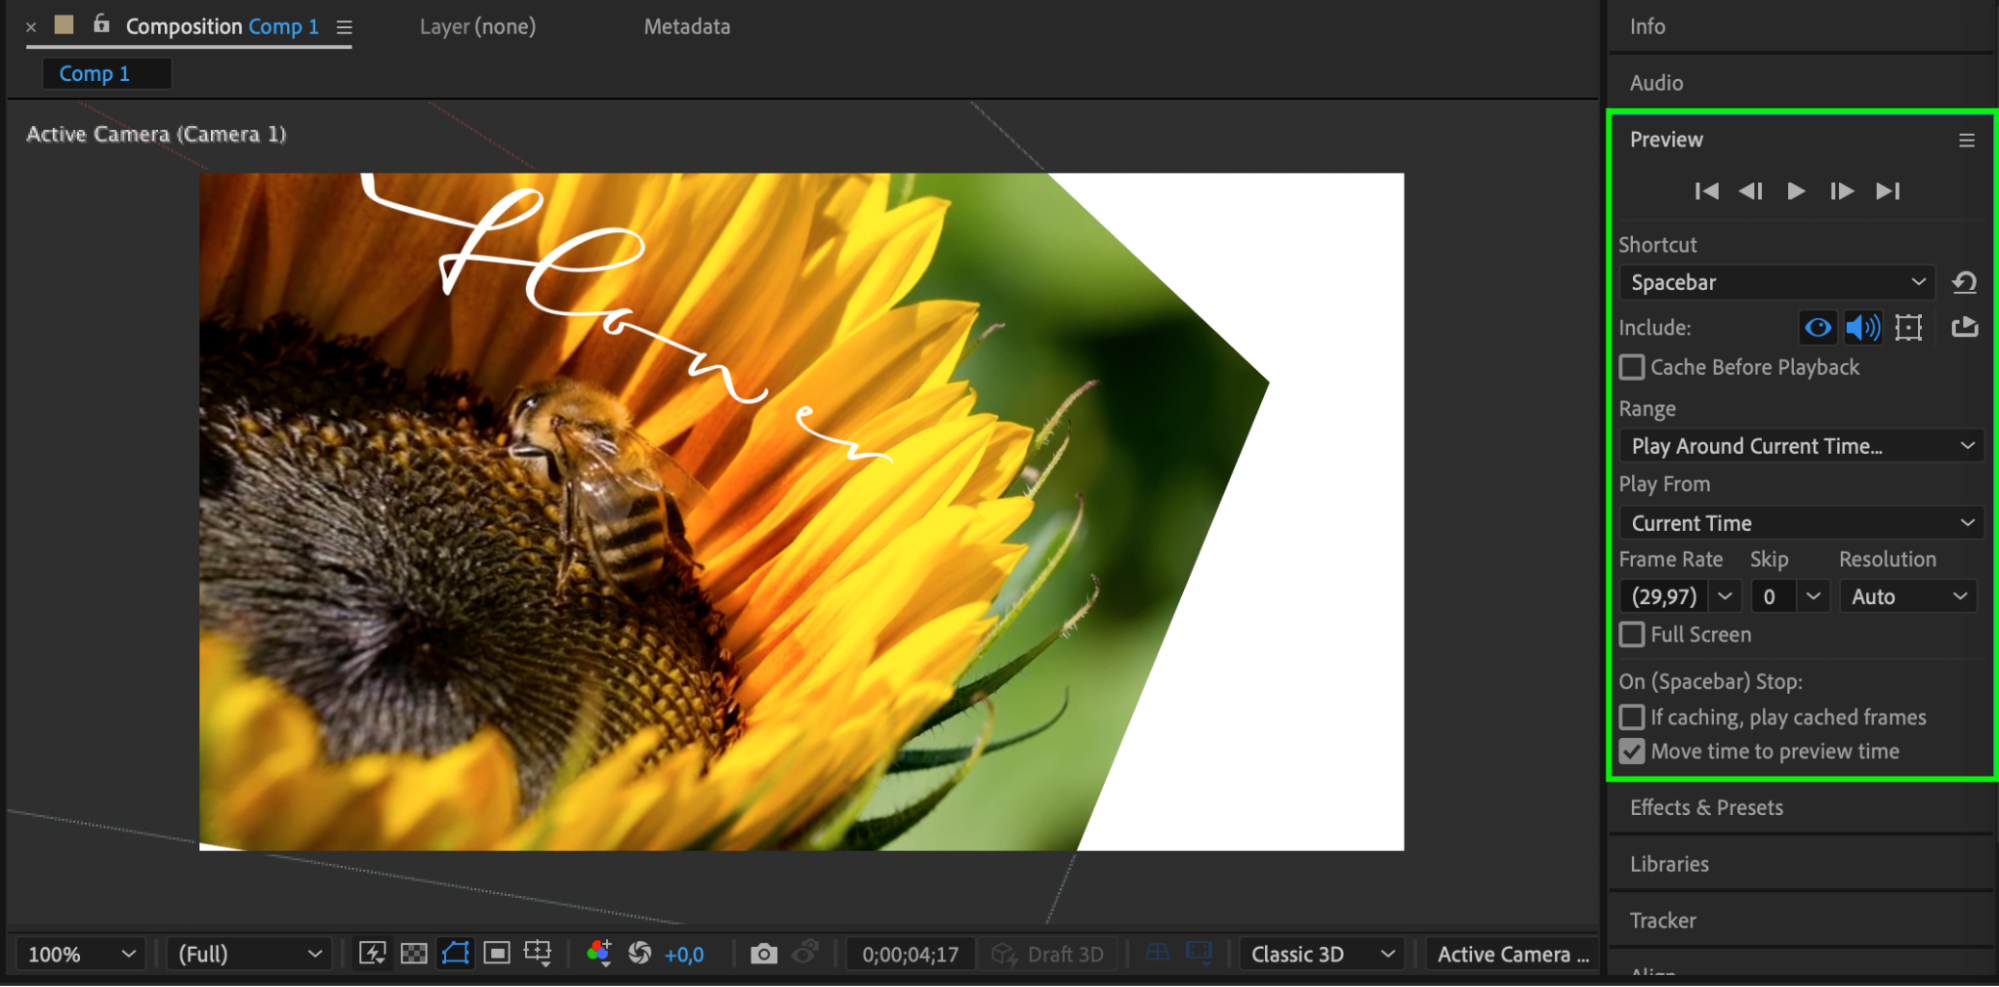
8. Preview the animation:
Press the play button or the spacebar to preview the camera animation in real-time.
Get 10% off when you subscribe to our newsletter
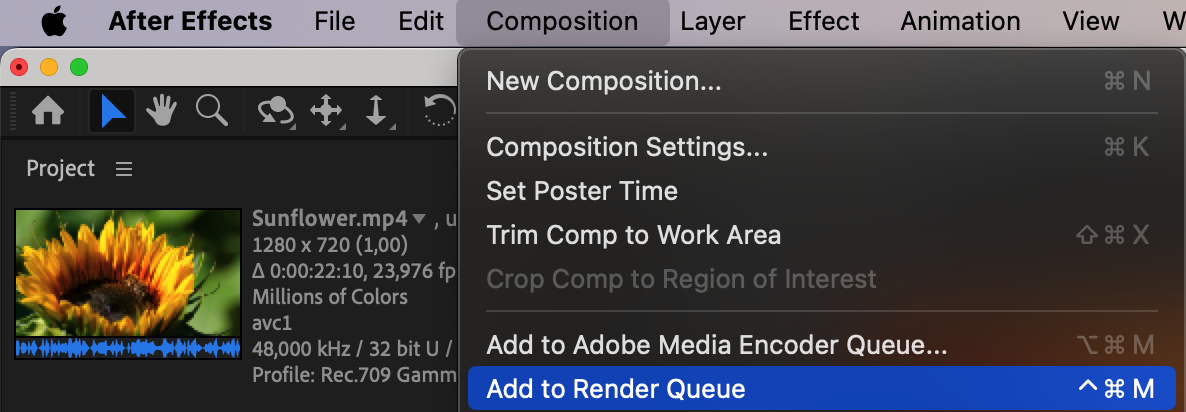
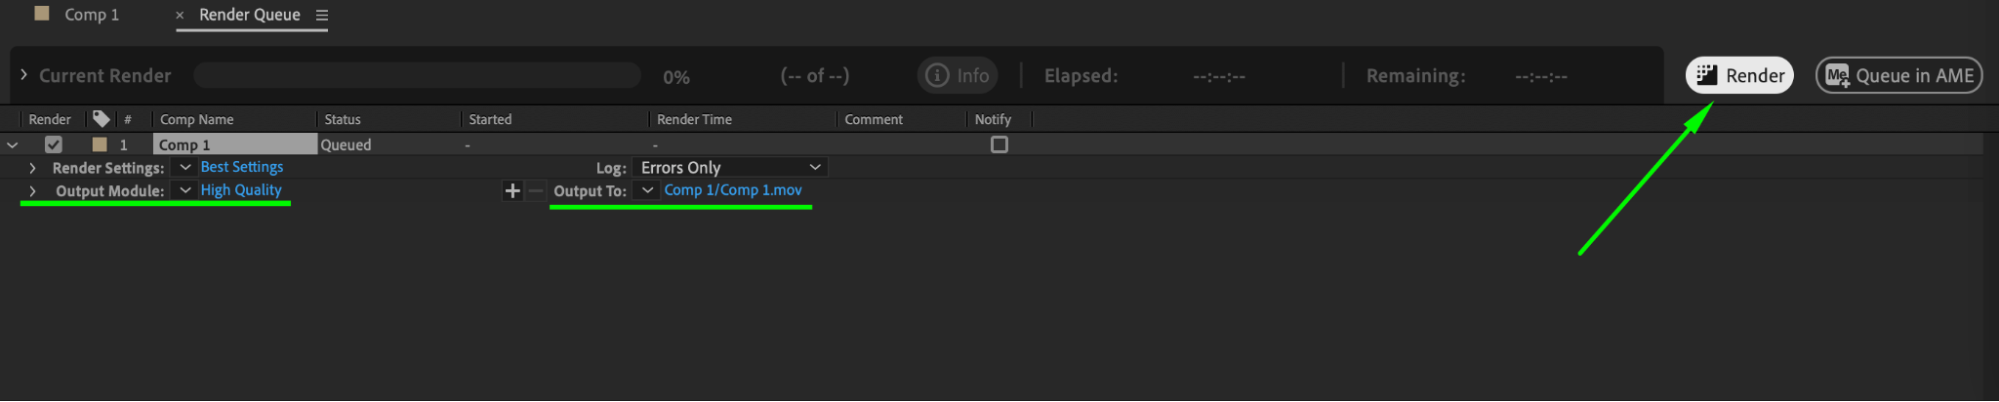
9. Render the composition:
Once you finish working with the camera and effects, add the composition to the render queue (“Composition > Add to Render Queue”), adjust the rendering settings, and start rendering by clicking the “Render” button.
These are the basics of using the camera in After Effects. Practice and experiment with different parameters to create interesting and professional-looking animations.
Conclusion
With these foundational steps, you’re equipped to harness the full potential of the Camera tool in After Effects. Explore, experiment, and let your creativity soar as you create captivating animations that leave a lasting impression.
Our Bestsellers


