A Step-by-Step Guide to Using Motion Array Templates in After Effects
Introduction
Motion Array templates are pre-designed After Effects projects that help speed up video production while maintaining a professional look. These templates are perfect for creating promos, intros, slideshows, and more. In this guide, we’ll go through the entire process – from downloading a template to customizing and rendering your final project.
Get 10% off when you subscribe to our newsletter

Step 1: Download and Extract the Template Files
Go to the official Motion Array website and browse for a template that fits your project. After purchasing or downloading a free template, locate the ZIP file on your computer. Double-click the file to extract its contents. You should now see a folder containing the After Effects project file (.AEP) along with other assets like fonts, images, or audio files.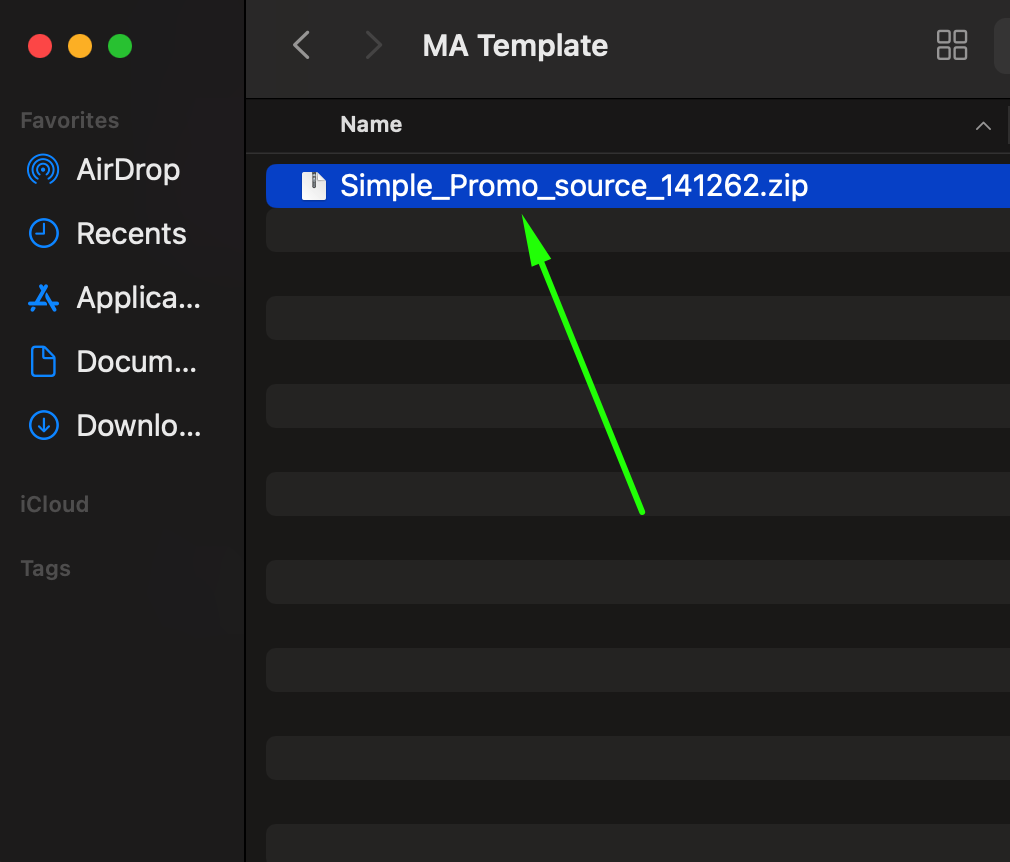 Step 2: Open the After Effects Project
Inside the extracted folder, look for the .AEP (After Effects Project) file. Double-click it to open in After Effects. If the template requires missing fonts or plugins, After Effects will prompt you to install them. Follow the instructions to ensure the project functions correctly.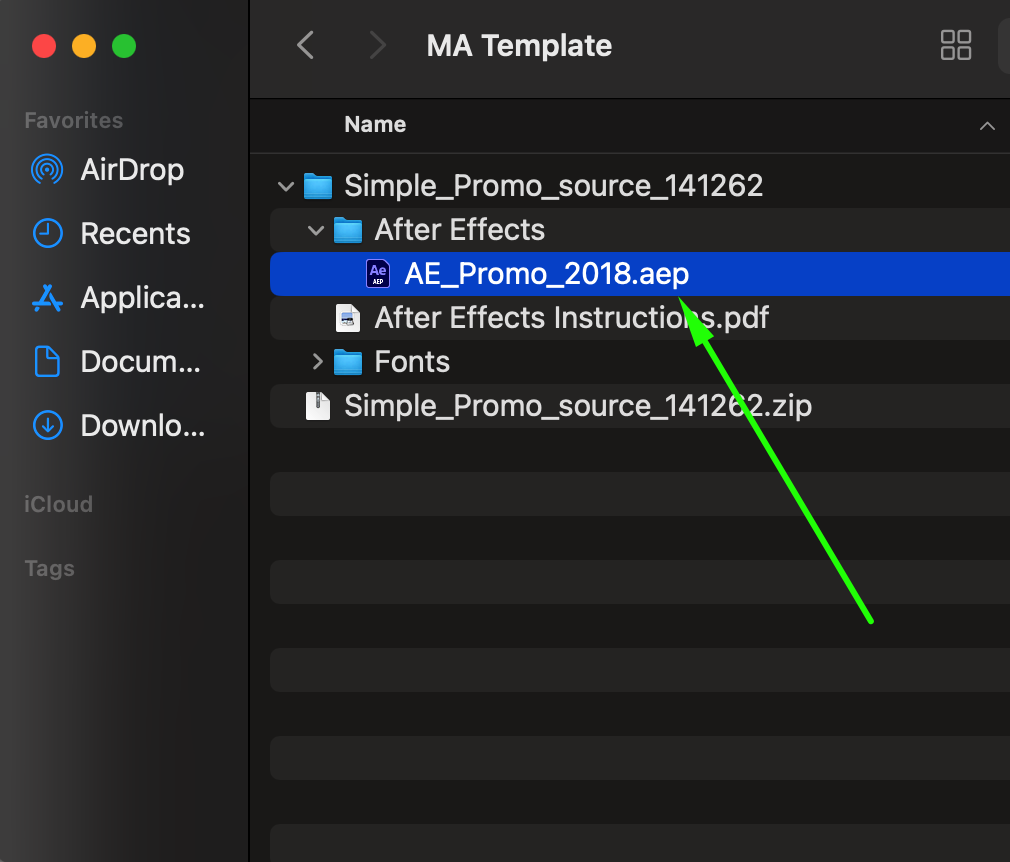 Step 3: Locate and Edit Text Layers
Most templates include multiple nested compositions (pre-comps) for text, images, and videos. In the Timeline panel, look for compositions labeled as “Text” or “Titles.” Open these by double-clicking the pre-comp or selecting the desired one in the Timeline panel, then select the text layer. Click on the Type Tool (T) in the toolbar and replace the placeholder text with your own.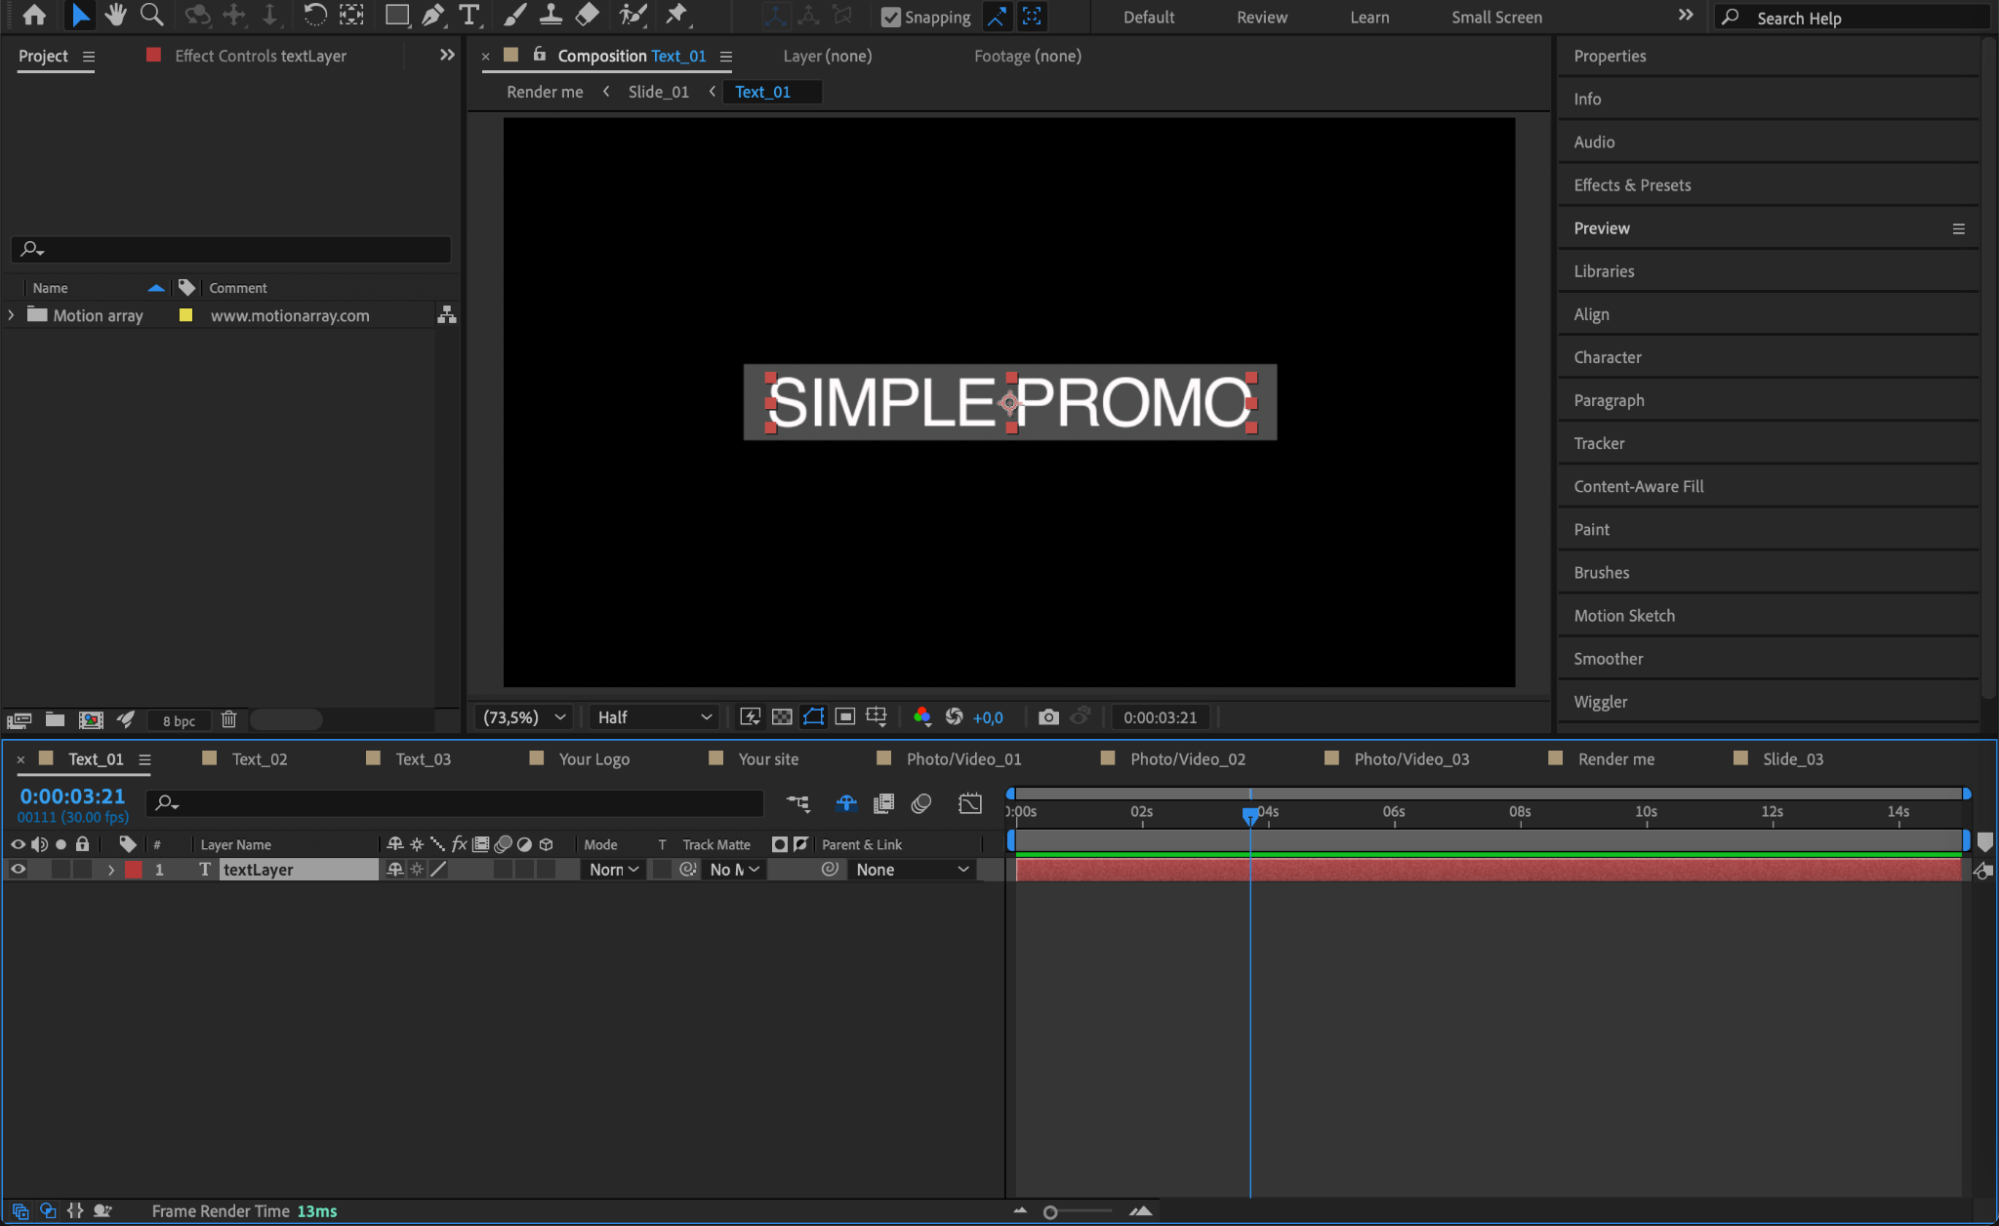 Step 4: Customize Text Appearance
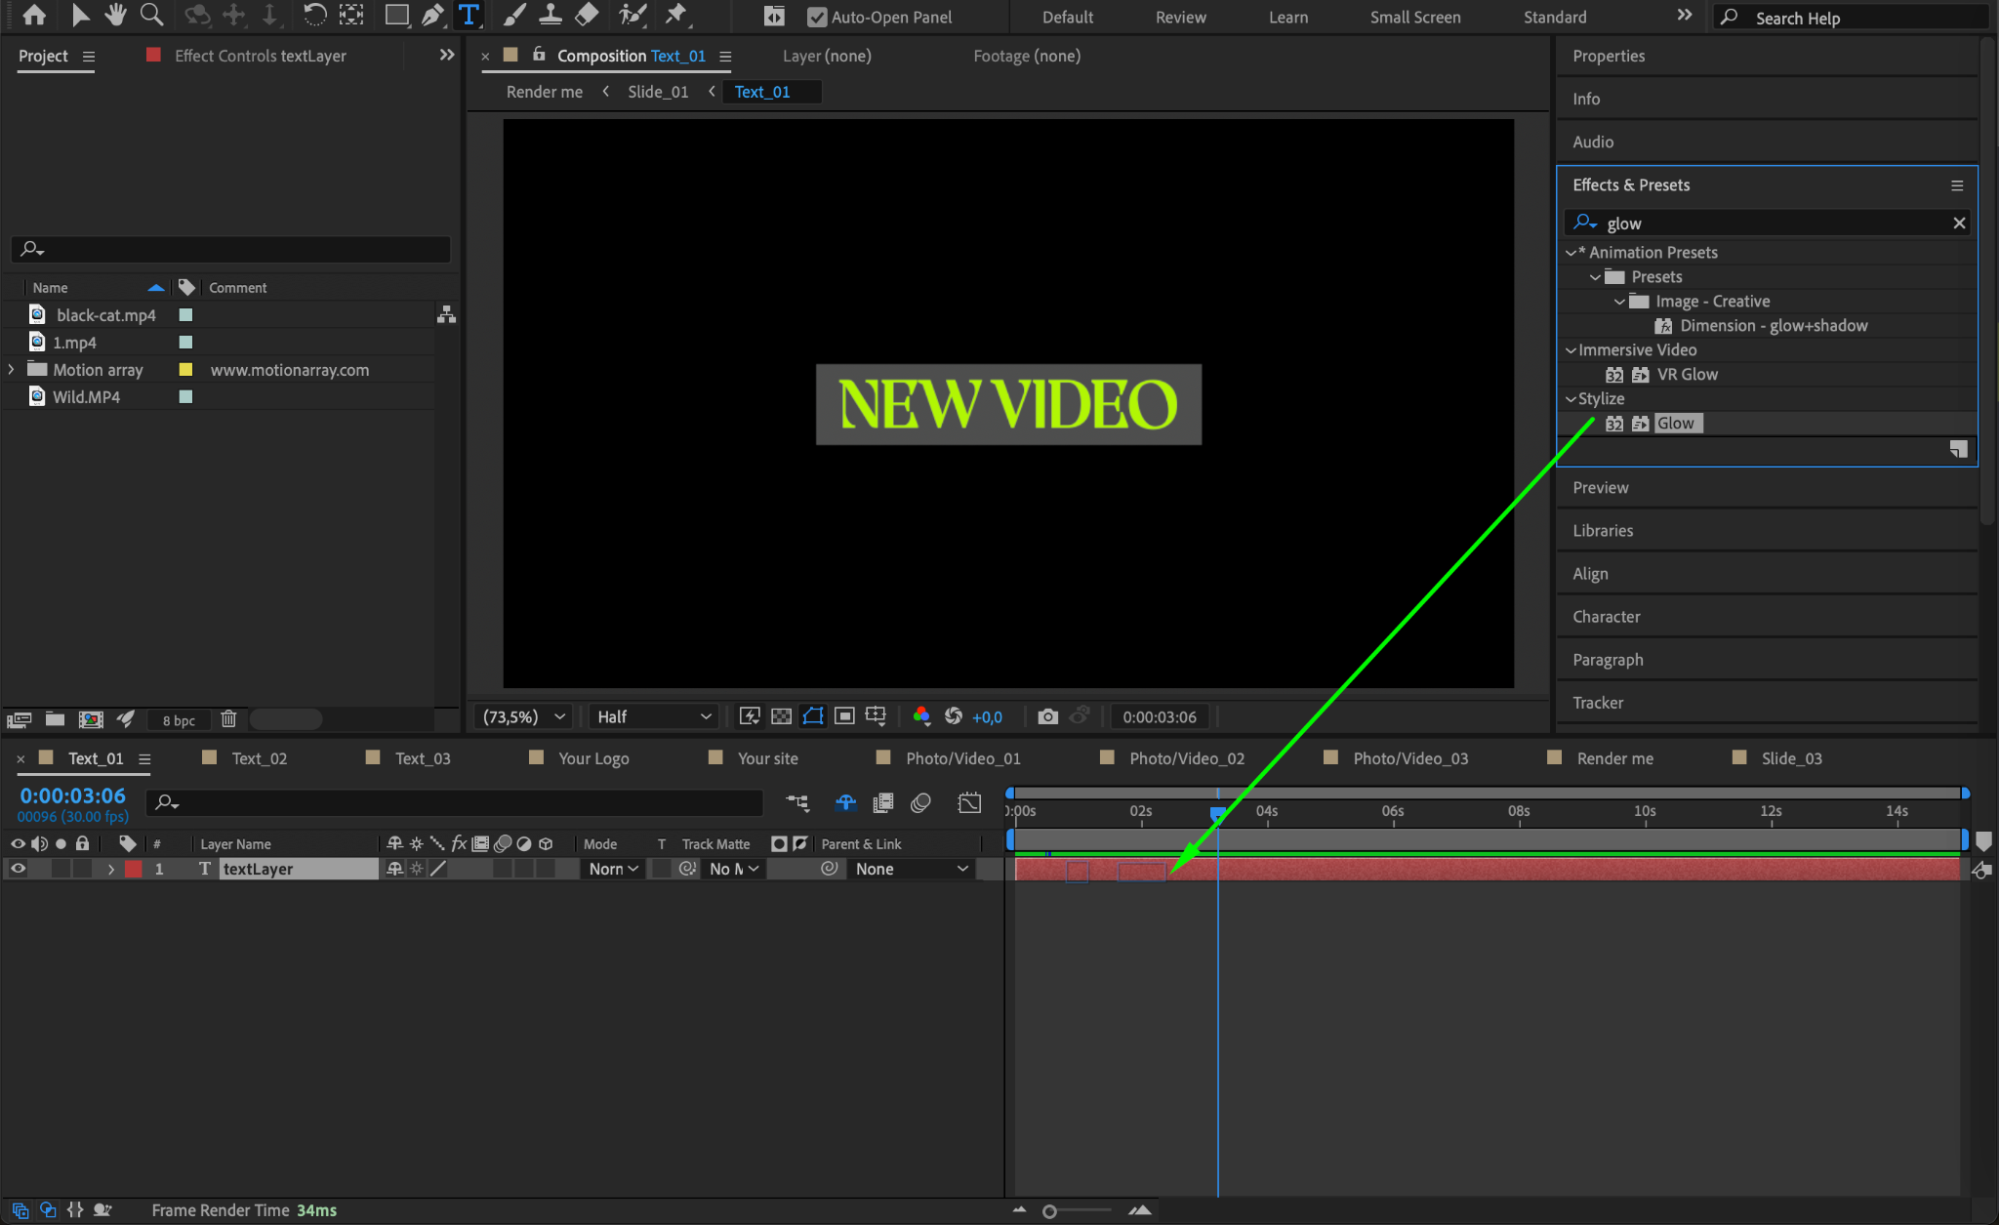
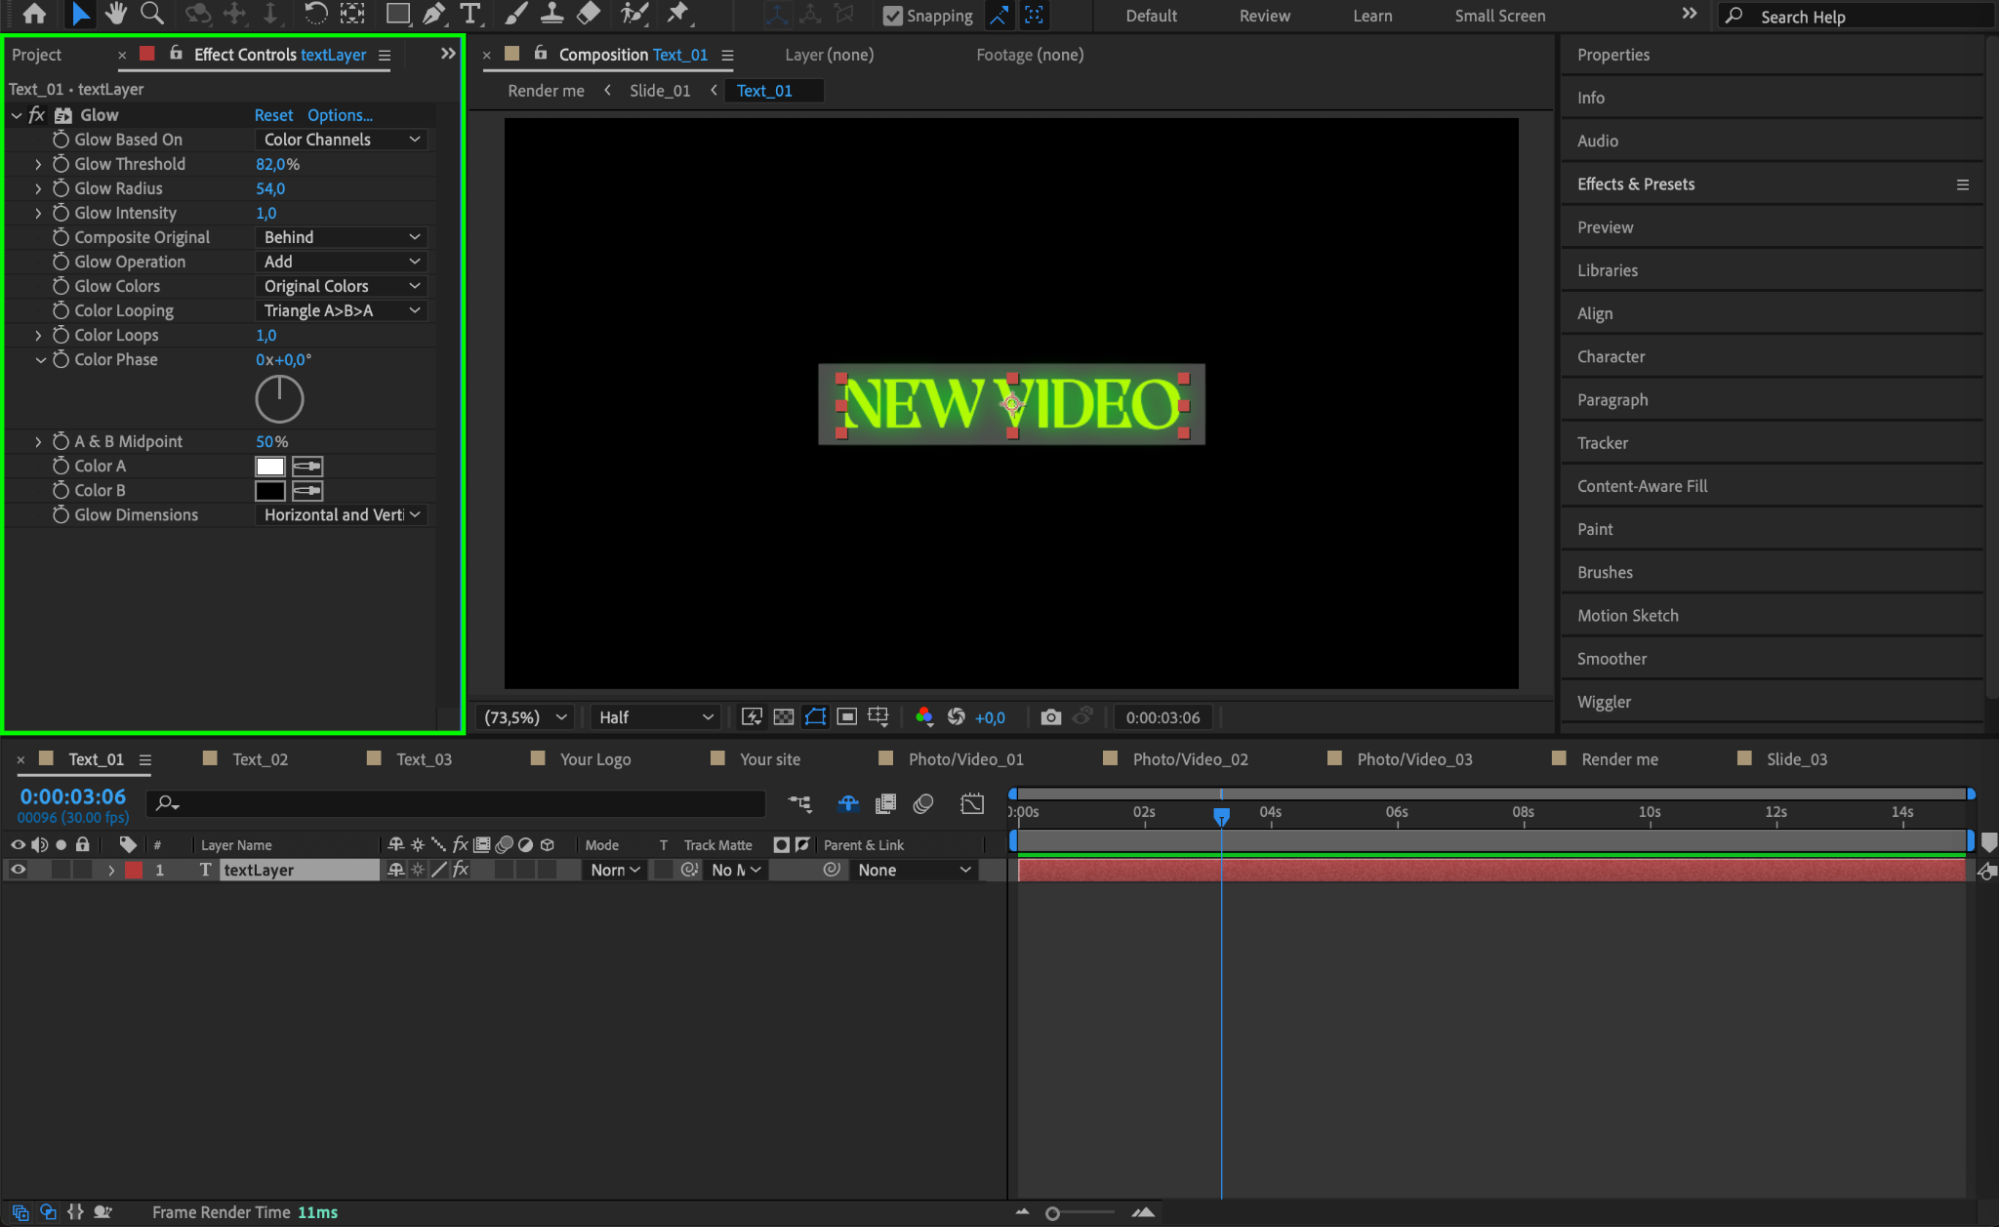
Use the Properties panel to modify the text’s font, color, and size. If you want to add effects, go to the Effect Controls panel and apply effects like Glow, Drop Shadow, or Stroke to enhance the text style.
 Step 5: Replace Placeholder Images and Videos
Templates often have photo or video placeholders labeled in the timeline. Open these compositions and drag your own footage from the Project panel onto the timeline. Make sure to resize and adjust your footage to fit the template’s layout.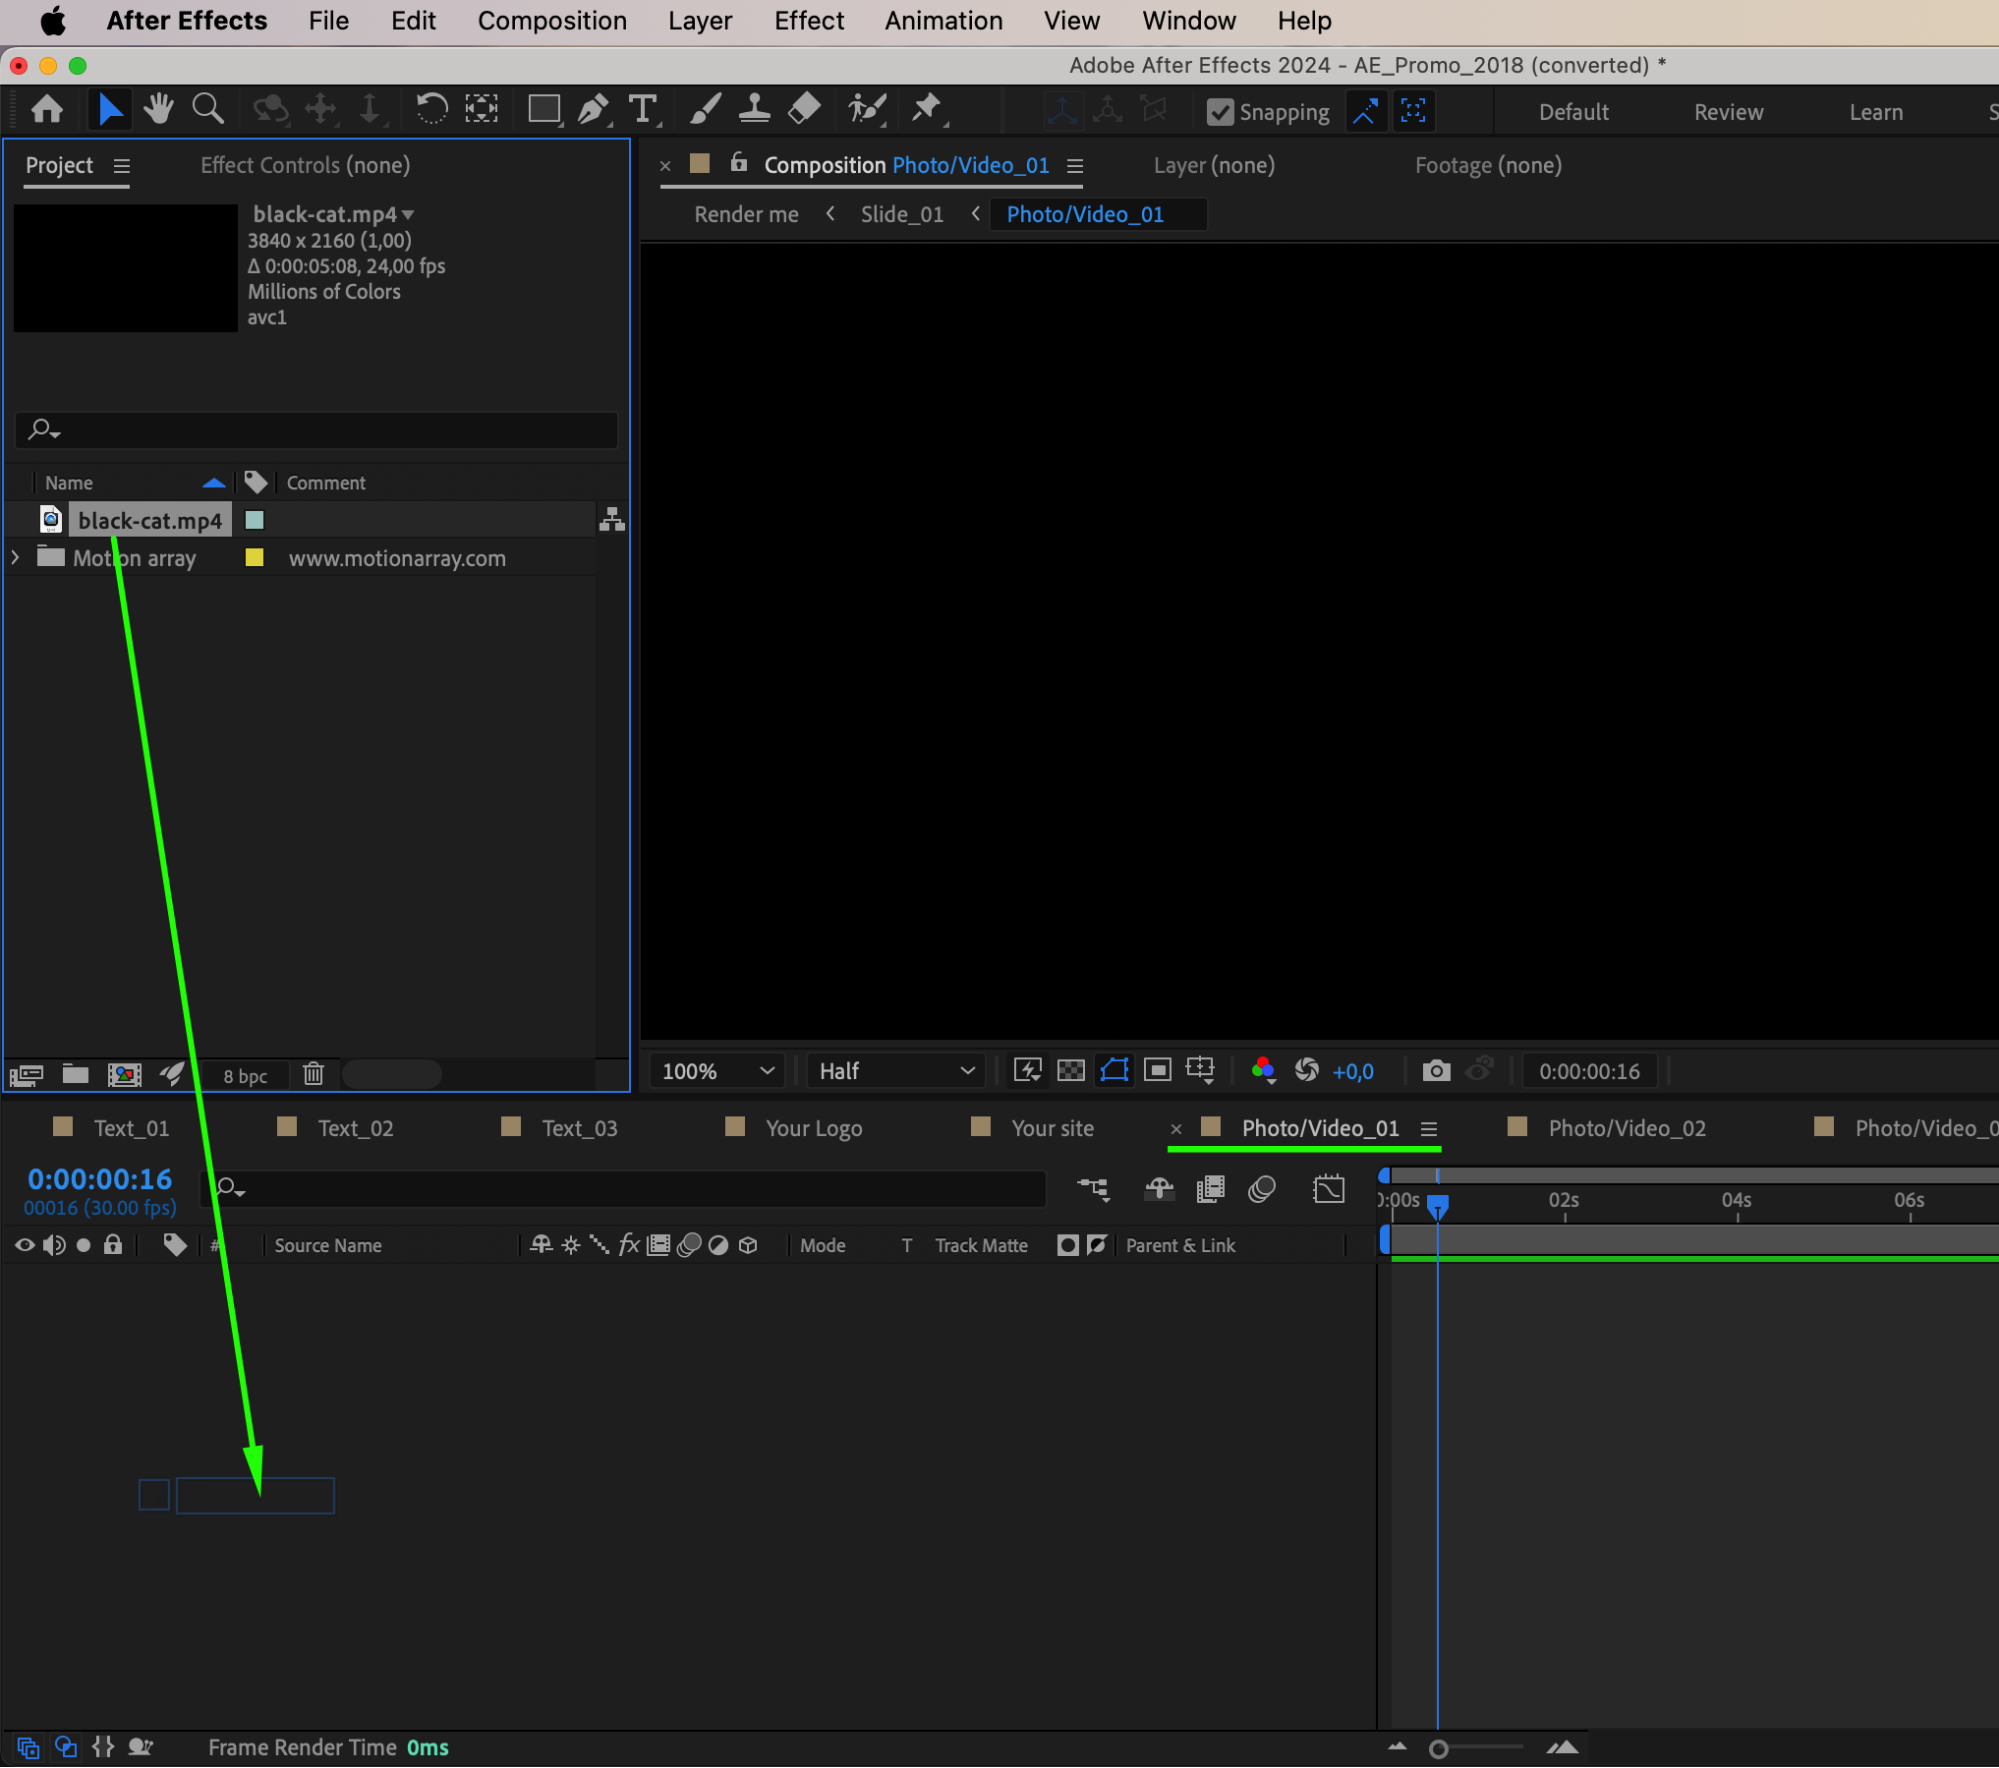 Step 6: Apply Effects to Footage
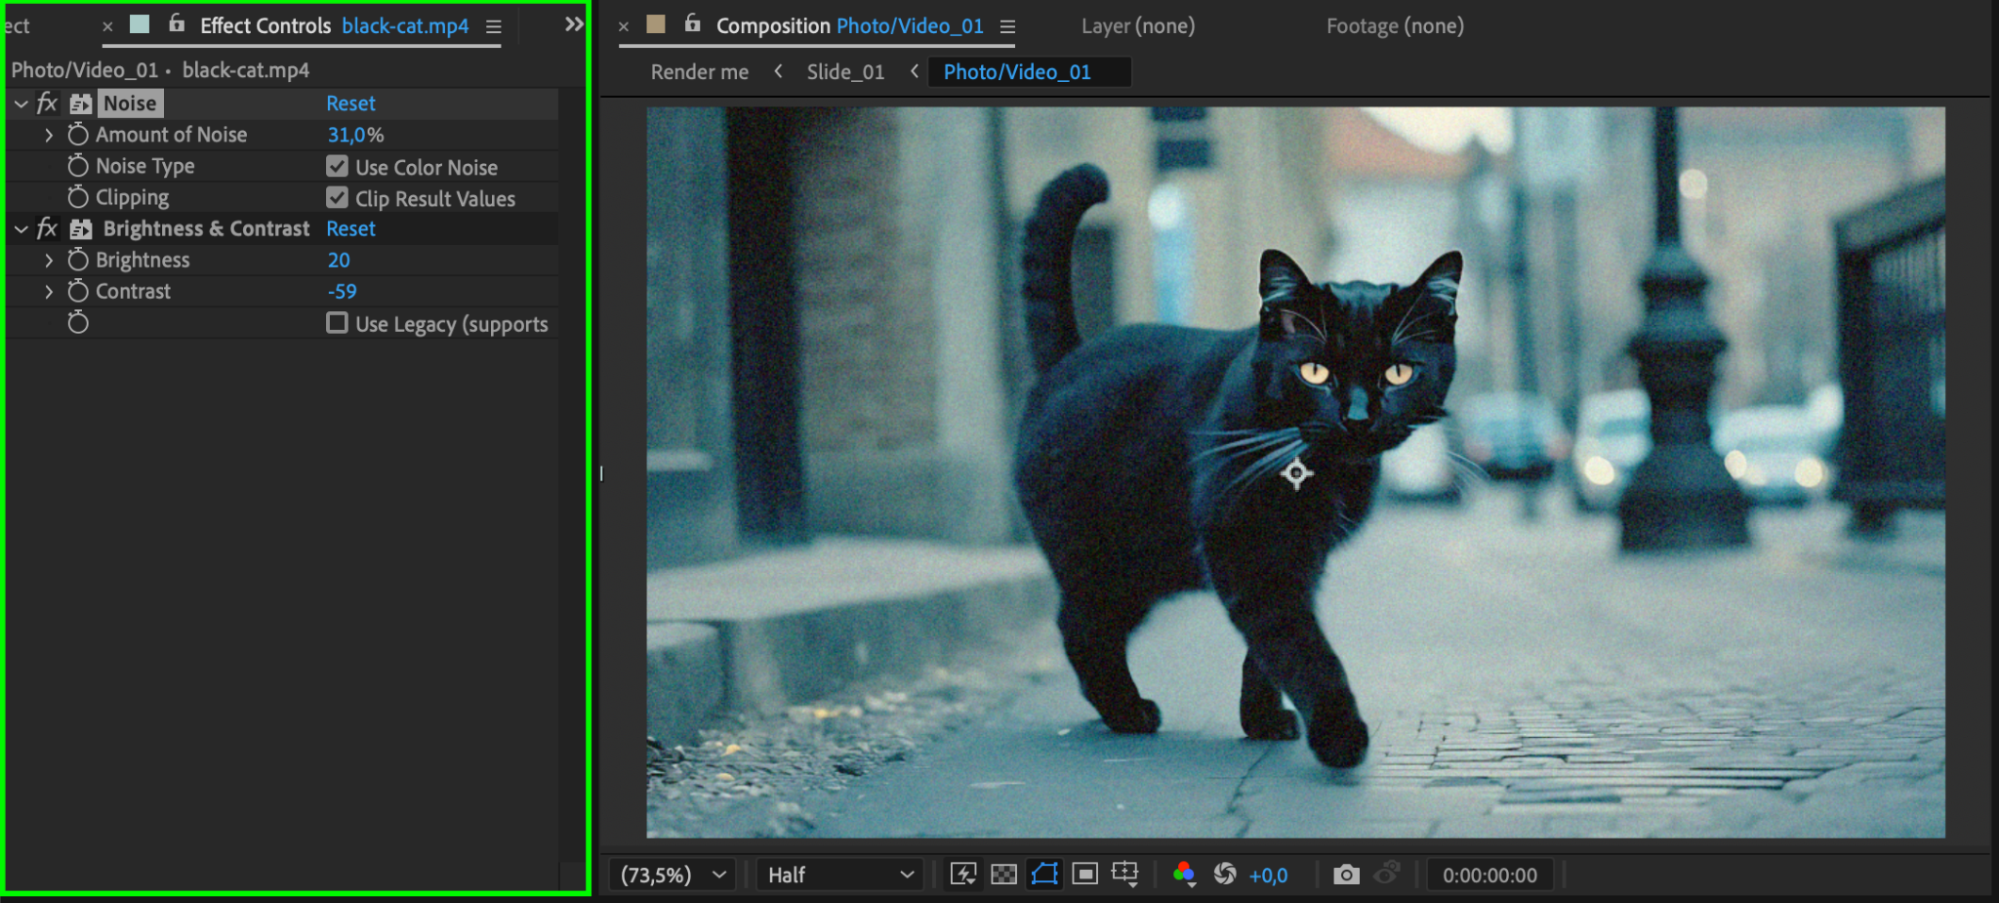
Enhance your videos by applying effects from the Effects & Presets panel. Use color correction tools like Lumetri Color or creative effects like Motion Blur, Noise, or Lens Distortion to match the template’s style.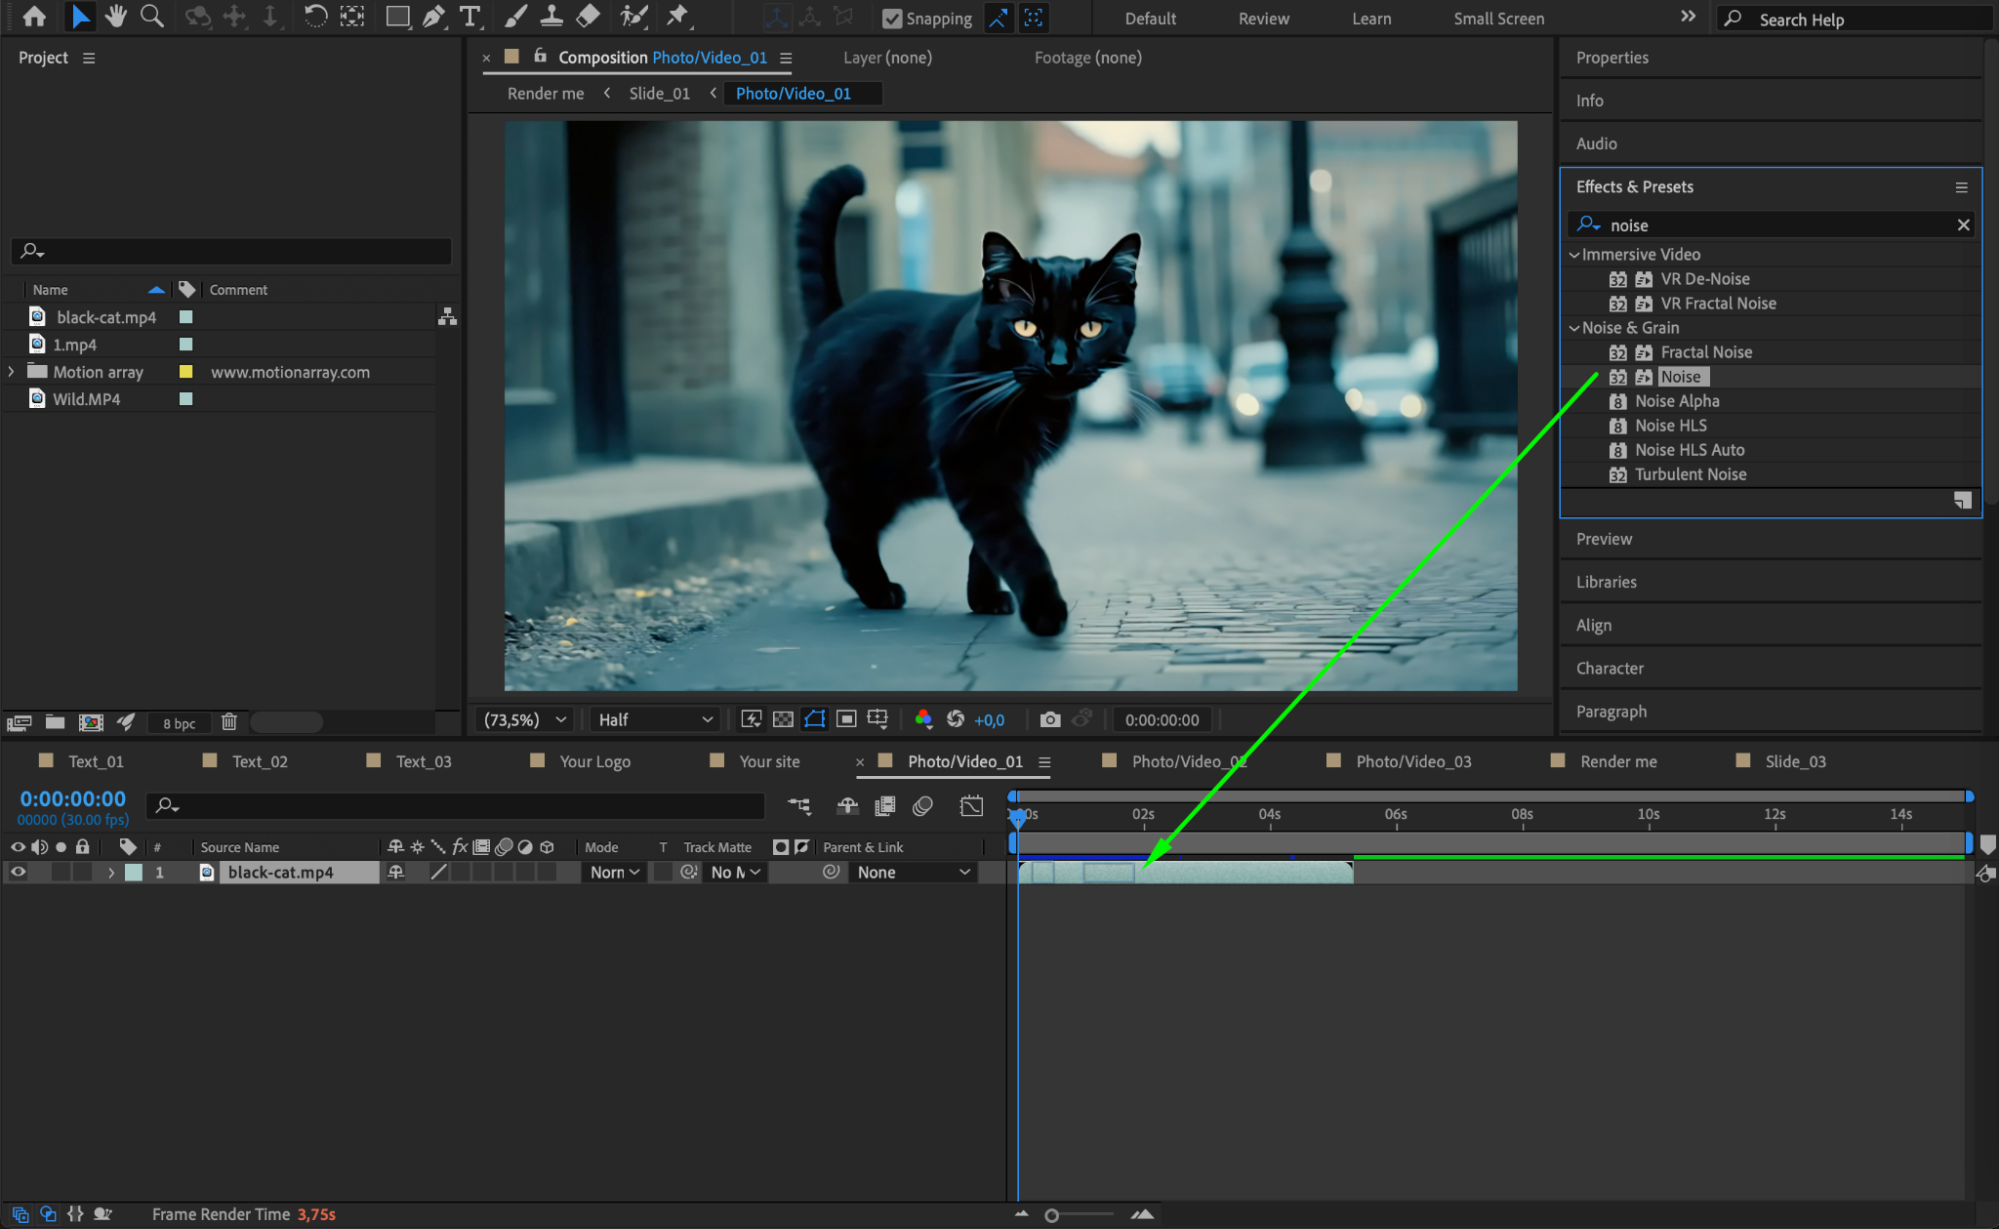
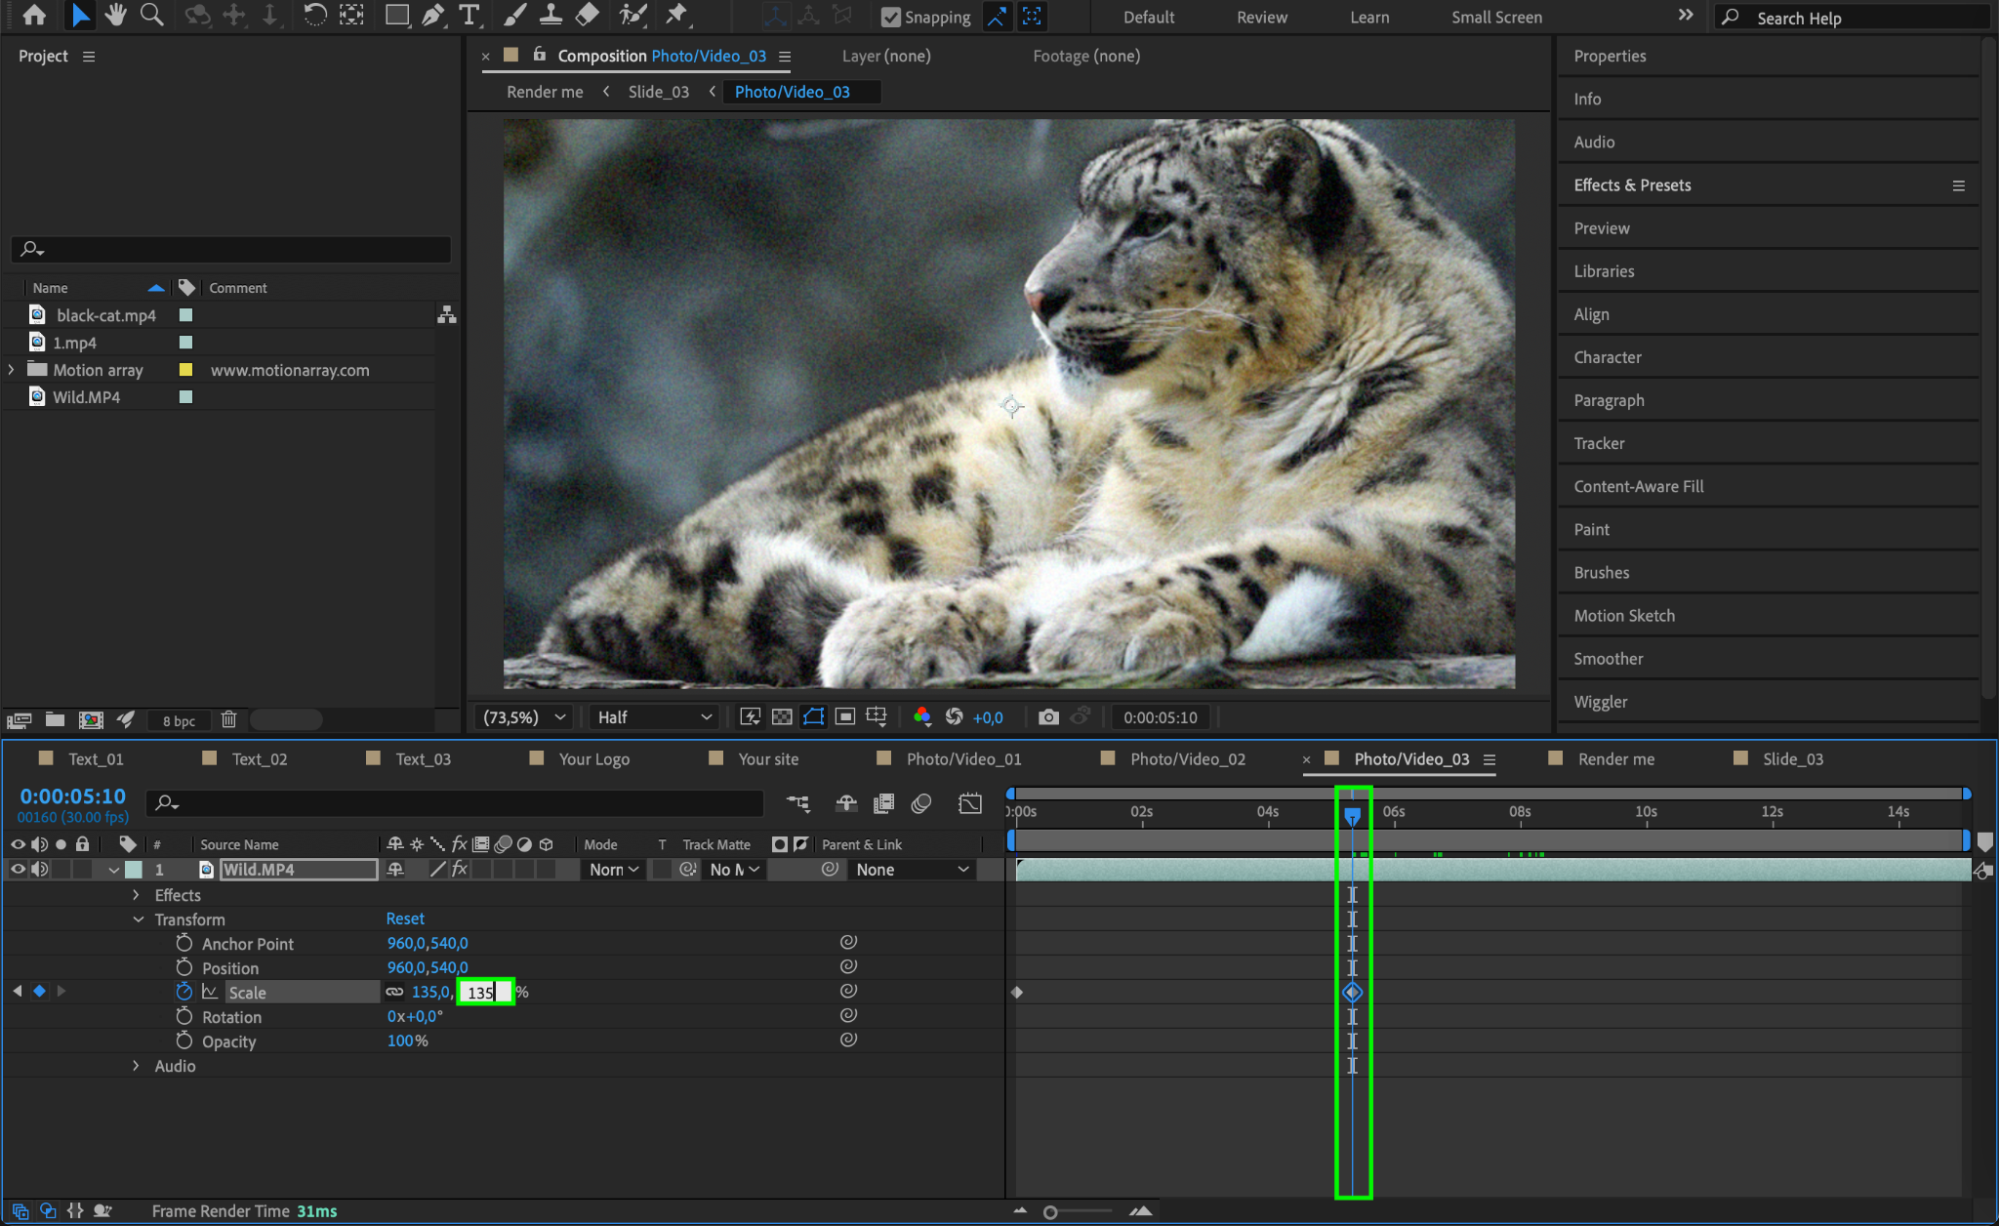
 Step 7: Animate Your Footage
To create smooth transitions and motion effects, use the Transform panel. Adjust Position, Scale, Rotation, and Opacity to bring your footage to life. Adding keyframes will help create dynamic animations that seamlessly integrate with the template.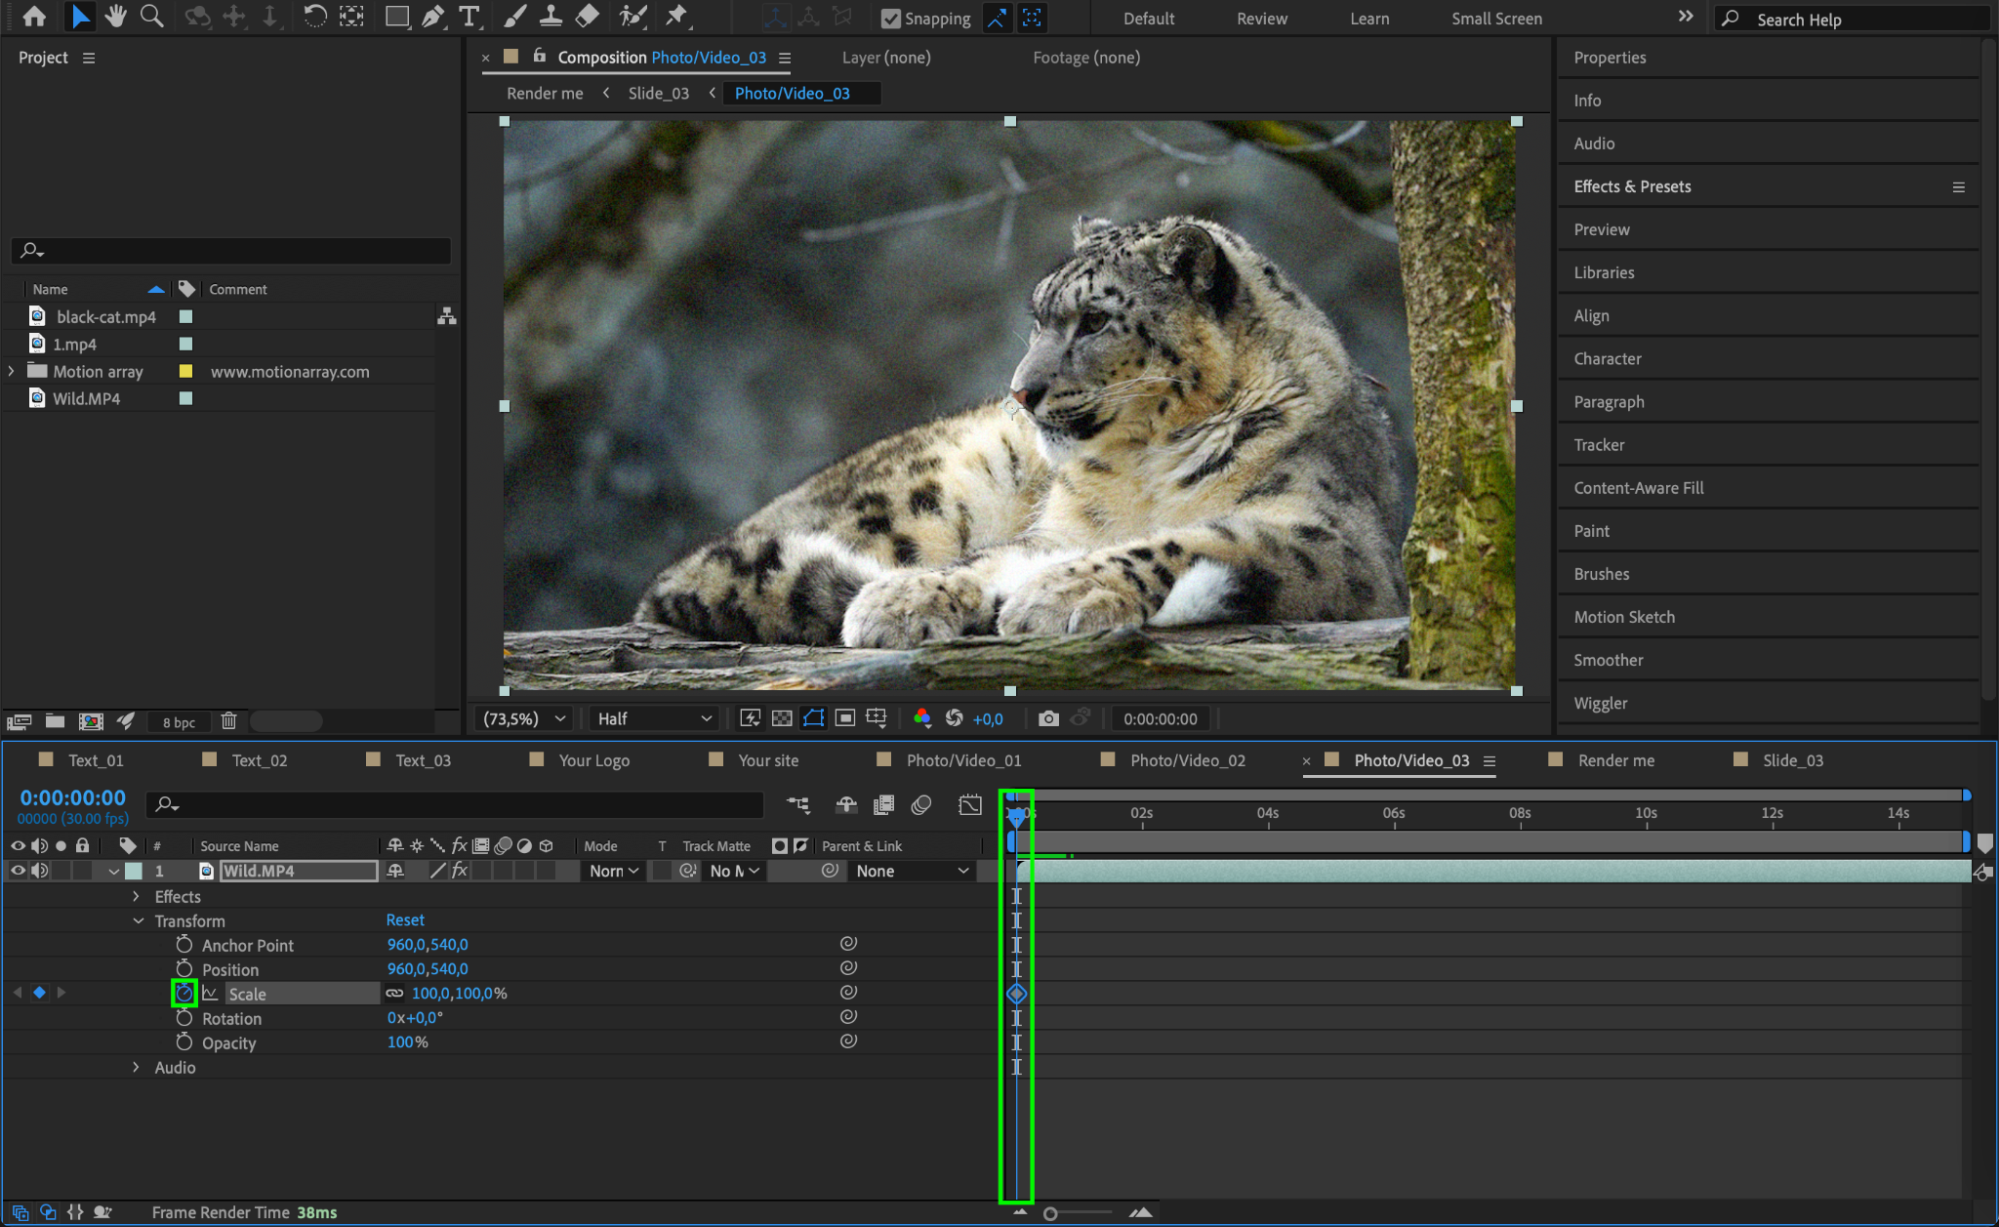
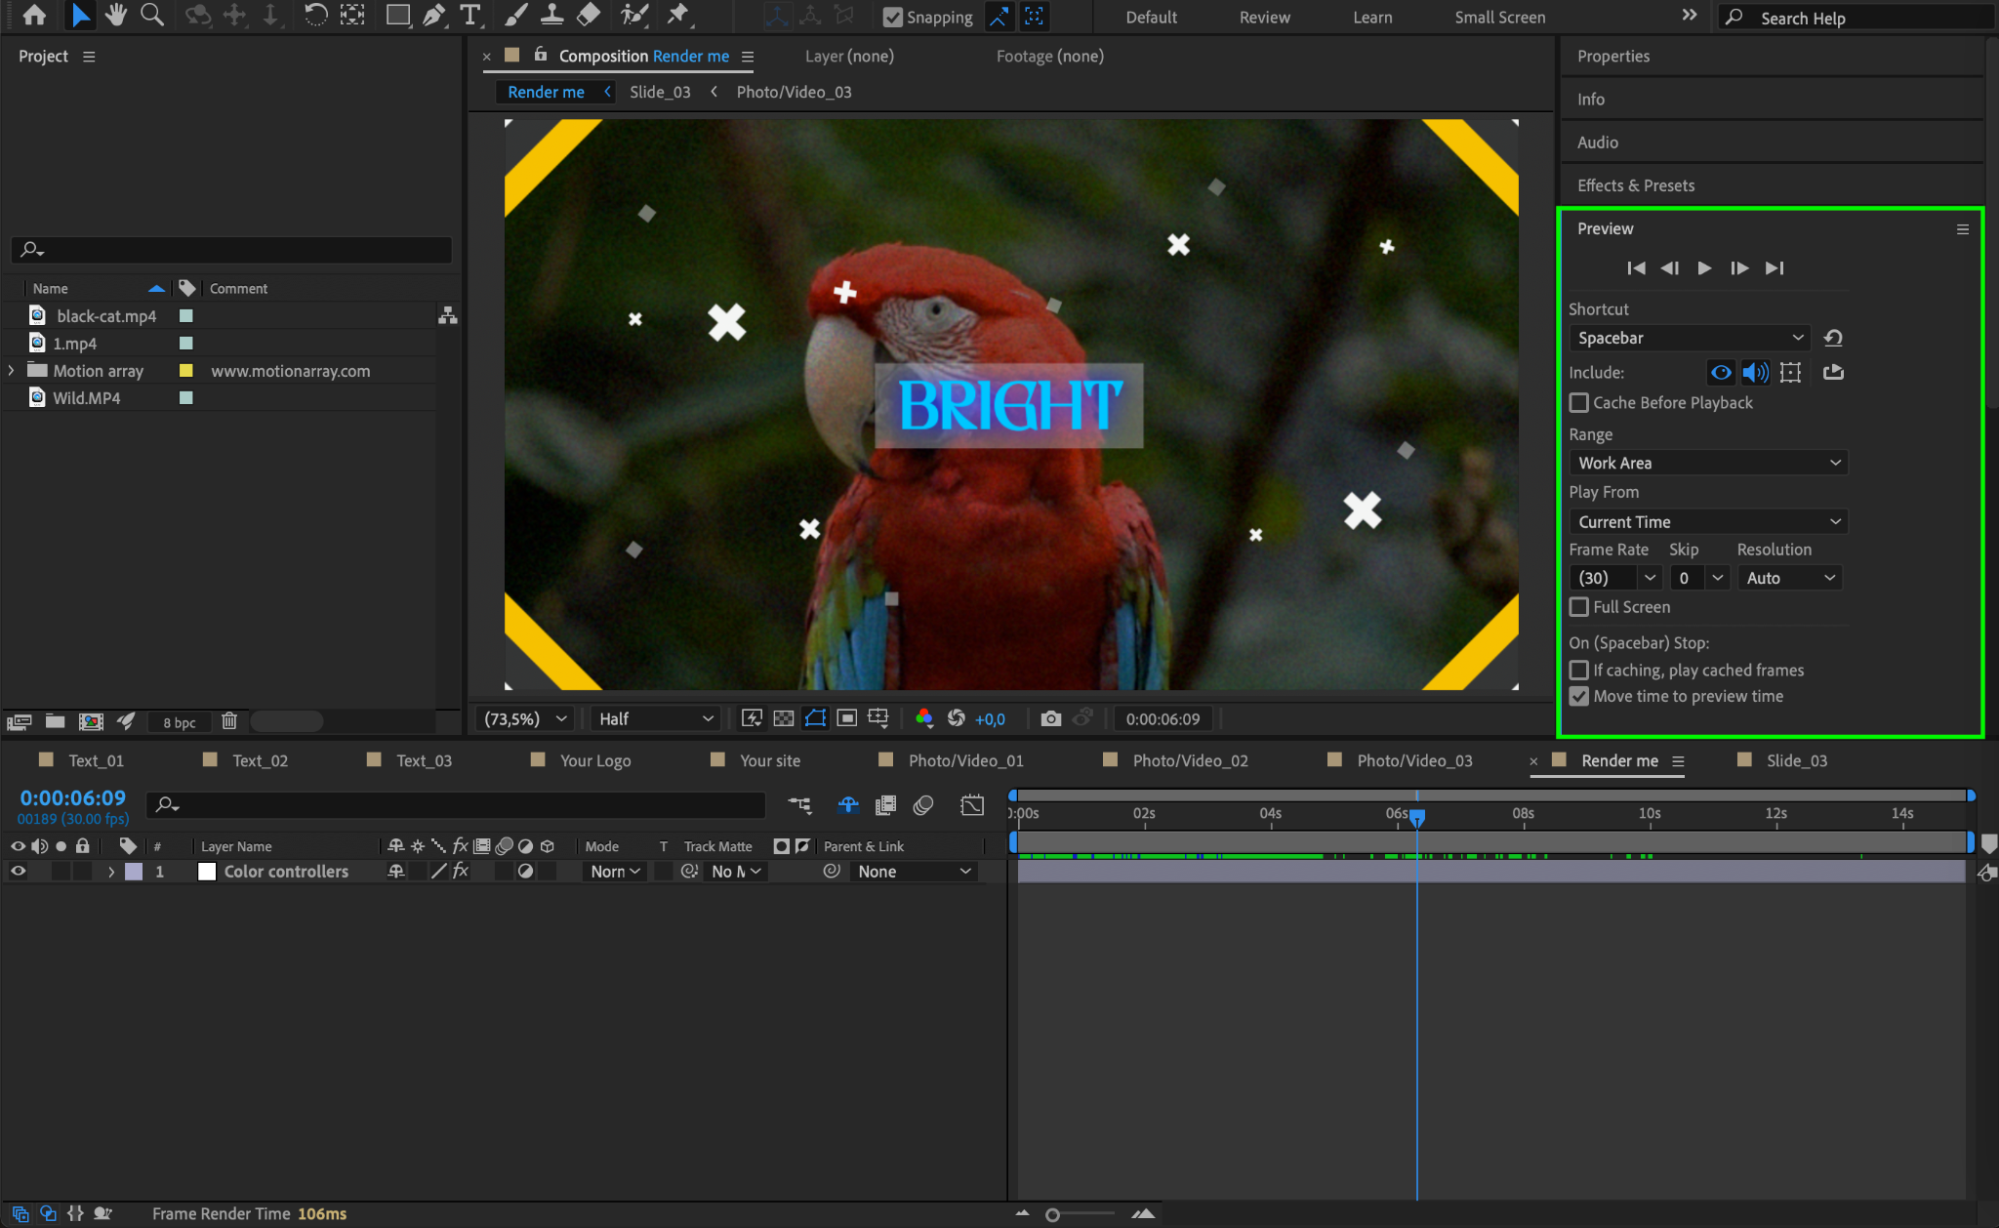
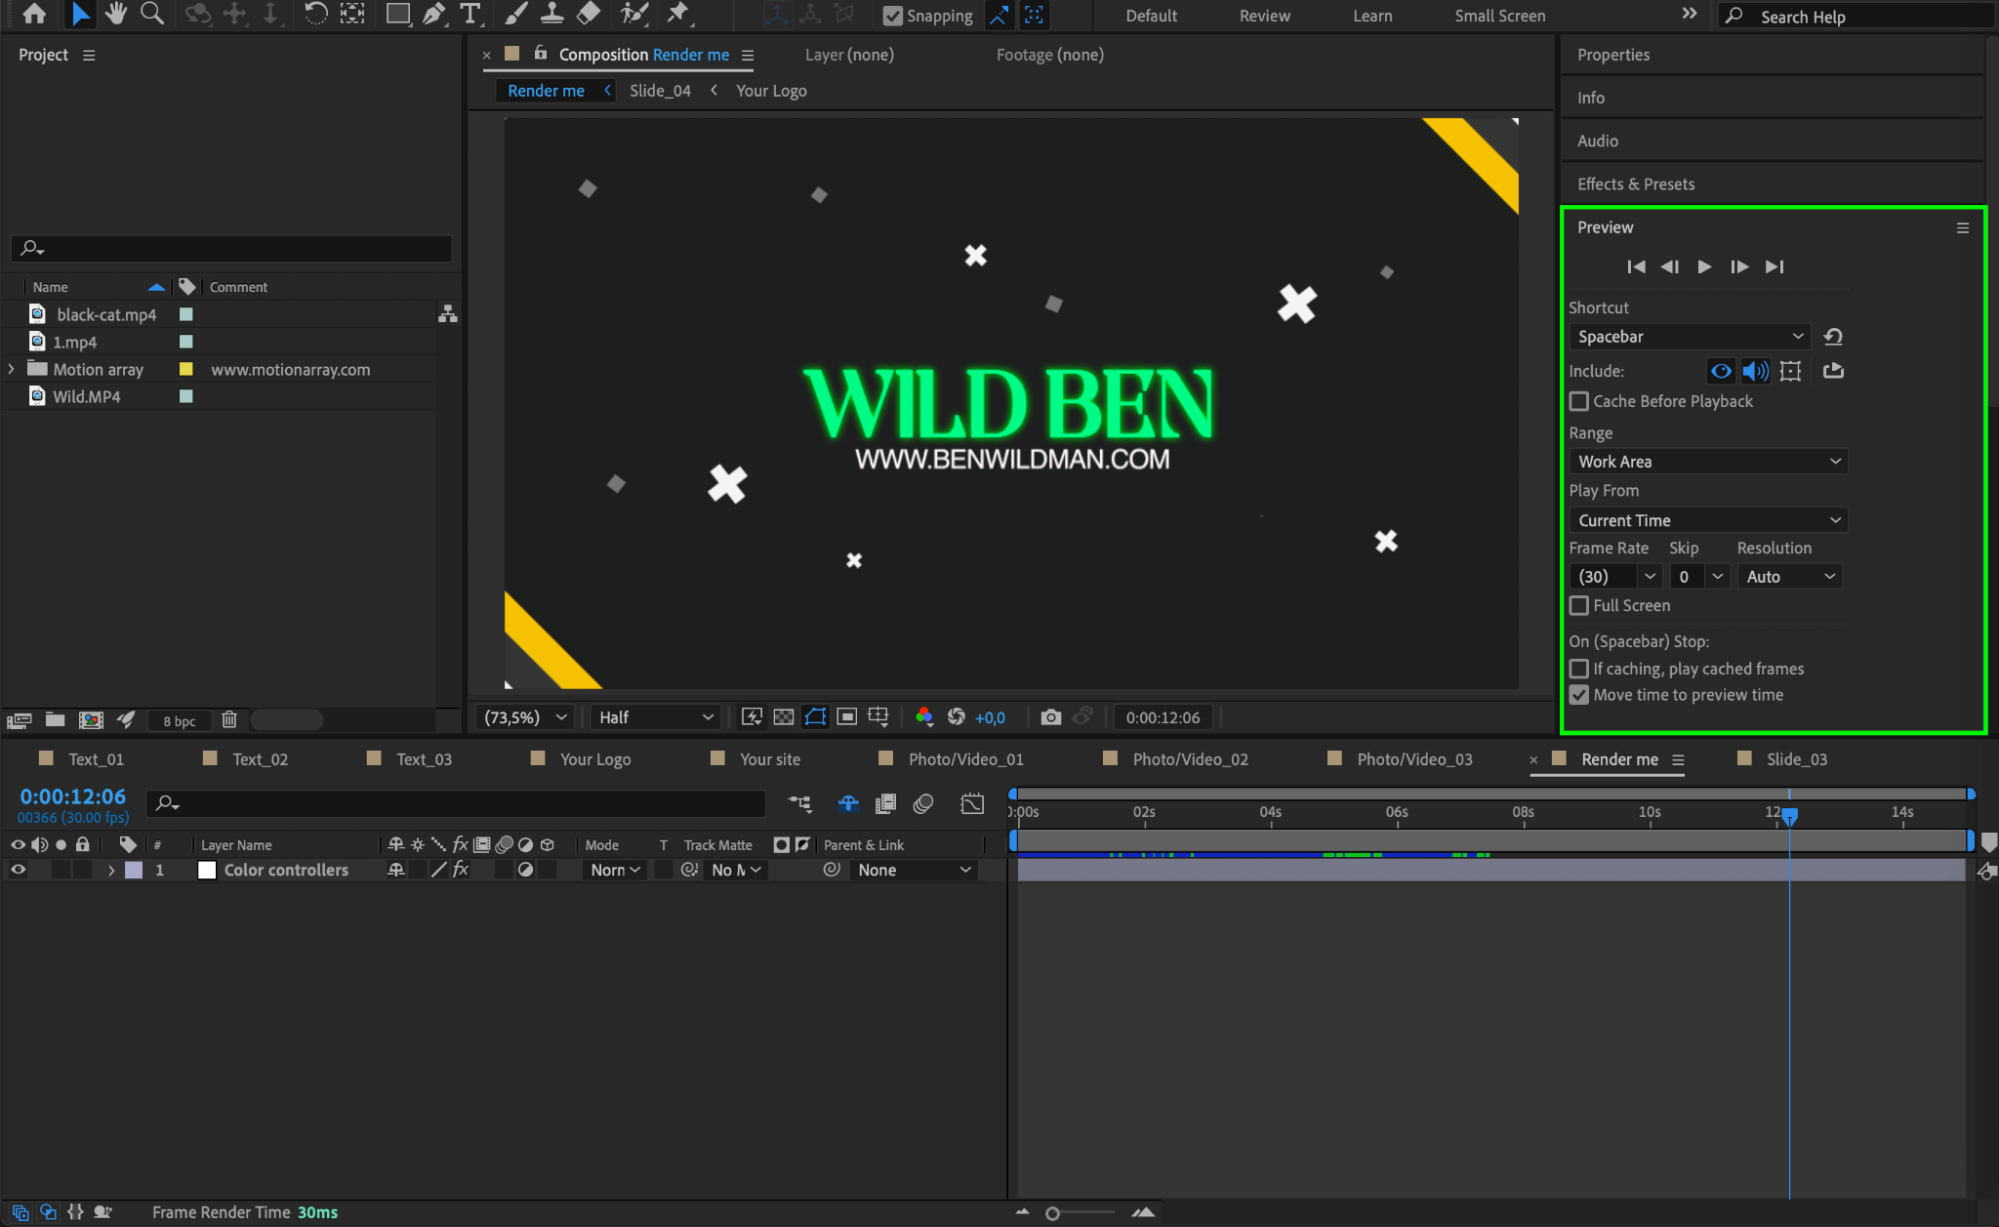
 Step 8: Preview Your Project
Before exporting, preview your animation by pressing Spacebar. If the playback is slow, reduce the resolution in the Preview panel to speed up rendering.

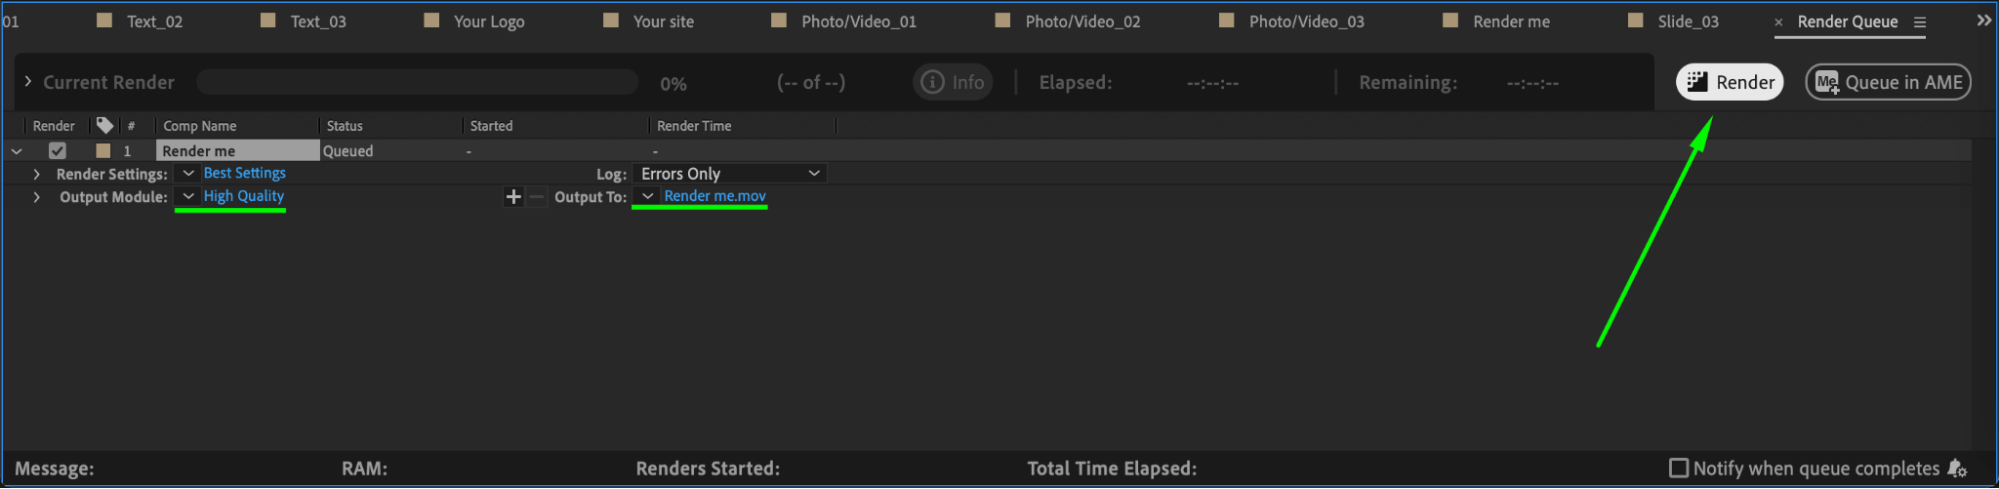
 Step 9: Render the Final Video
Once you’re satisfied with the edits, go to Composition > Add to Render Queue. Choose a high-quality output format such as H.264 (.MP4) or QuickTime (.MOV). Click Render to export your final video.
Conclusion
Motion Array templates make video editing in After Effects fast and efficient. By following these steps, you can easily customize templates to match your project’s needs. Experiment with text, effects, and animations to add a personal touch to your videos.
Our Bestsellers


