Using the Eraser Tool in After Effects for Object Removal
Introduction
The Eraser Tool in After Effects allows you to remove parts of a layer, revealing transparency or another layer beneath it. While it works best with static images or video clips without significant camera movement, it can also be used creatively to blend elements and enhance compositions. In this guide, we’ll go through the steps to effectively use the Eraser Tool in your projects.
Step 1: Import Your Media
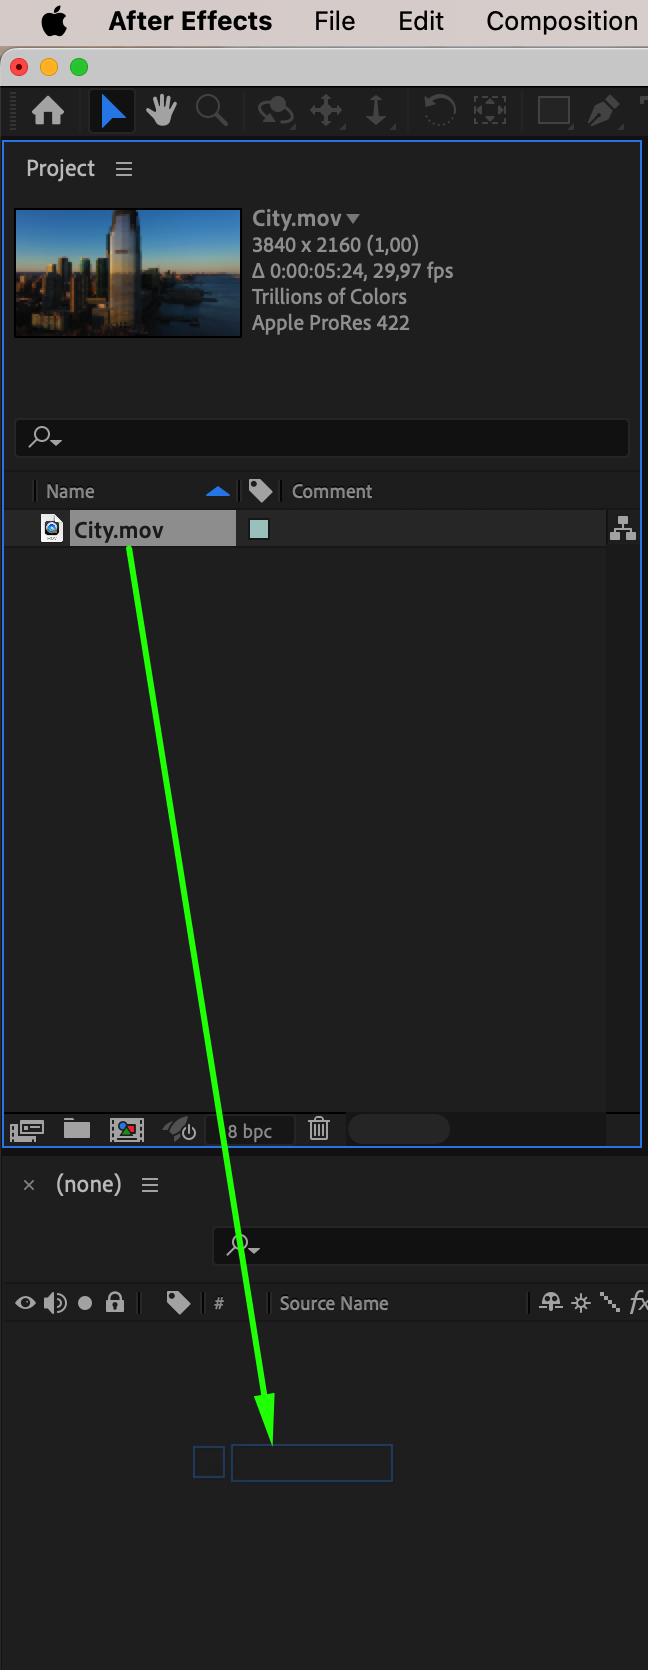
Start by importing your image or video into After Effects. If you’re working with a video, ensure that it has minimal camera movement to get the best results. Drag the file from the Project panel to the Timeline to create a new composition.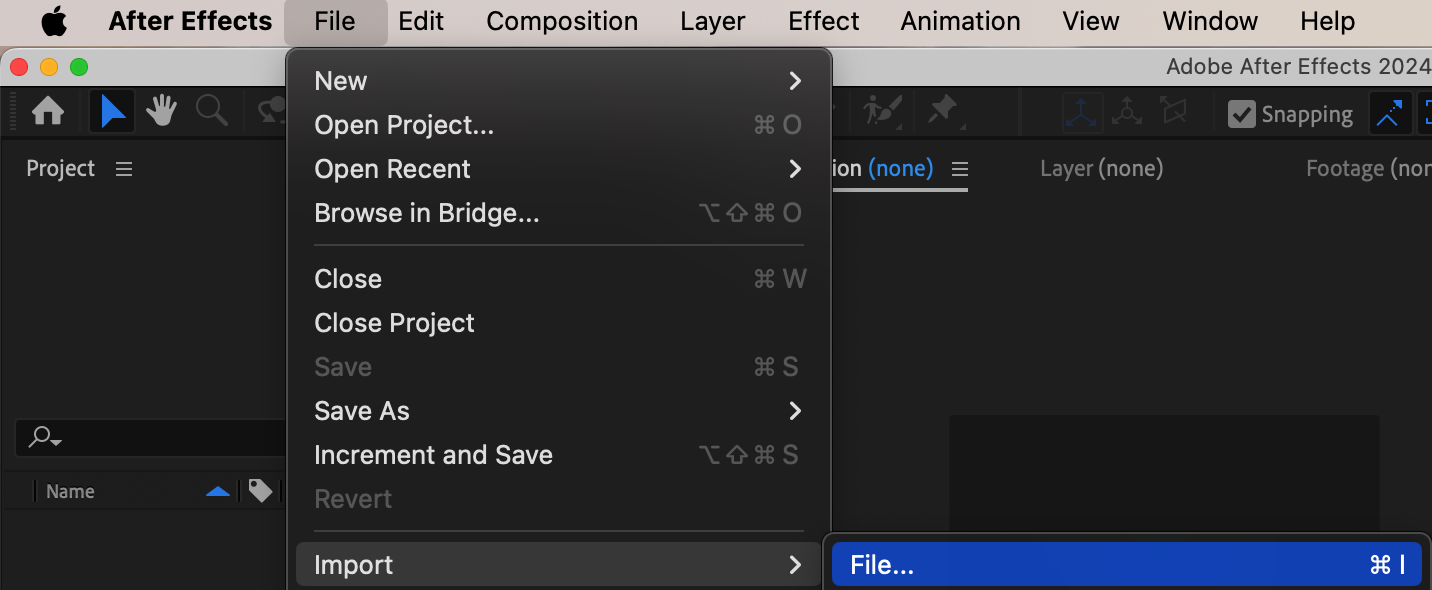
 Step 2: Open the Layer Panel
Get 10% off when you subscribe to our newsletter

Before using the Eraser Tool, you need to work in the Layer panel instead of the Composition panel. To do this, double-click on the video or image layer in the Timeline. This will open it in a new Layer tab where you can edit it with painting tools.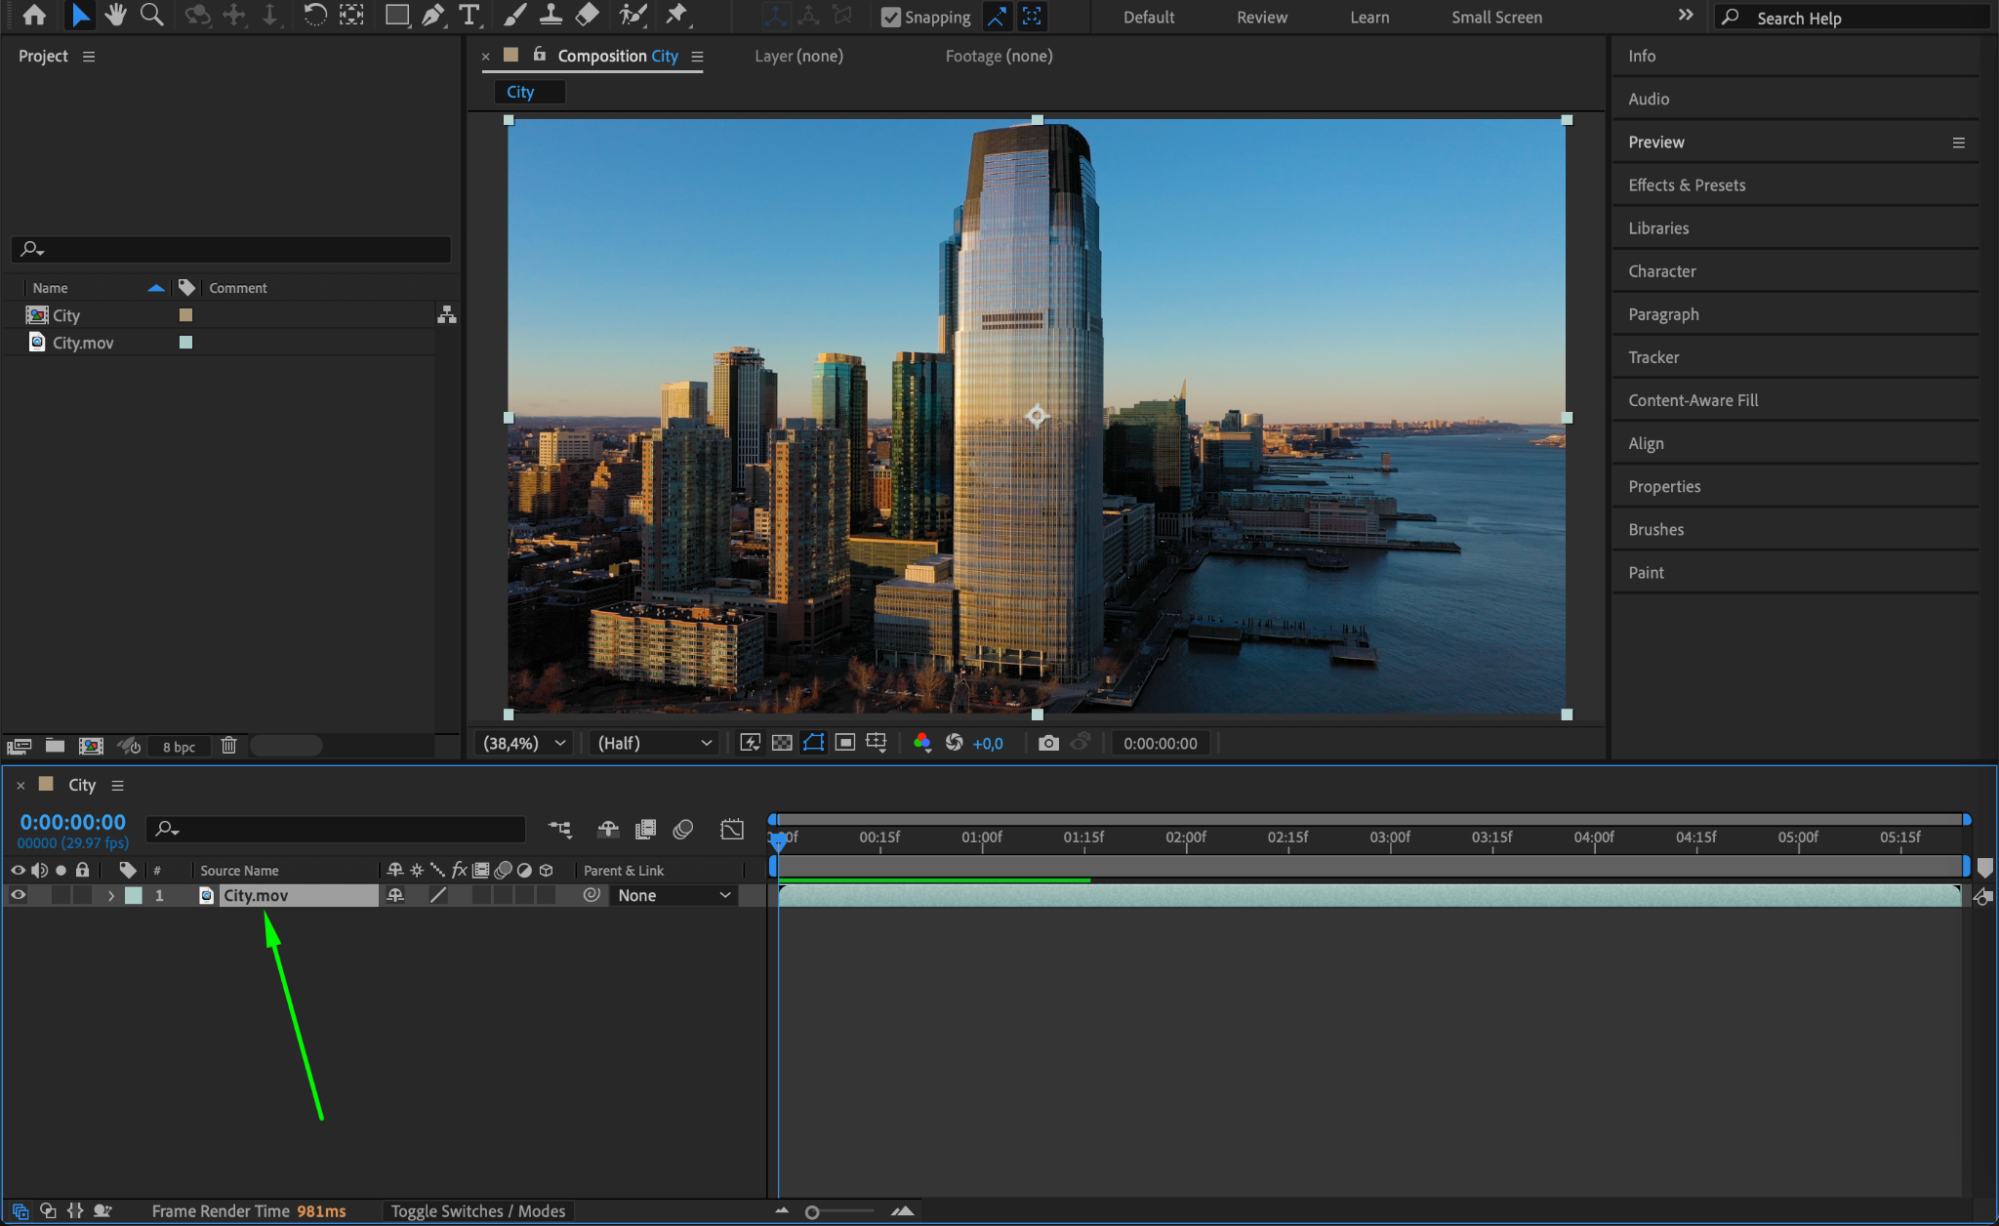 Step 3: Select the Eraser Tool
Go to the Toolbar and select the Eraser Tool (Ctrl/Cmd + B). Once selected, the Paint panel will appear. Here, you can adjust brush settings such as size, opacity, and flow to control how much of the layer you erase. Choose a soft brush for smooth blending or a hard brush for precise removal.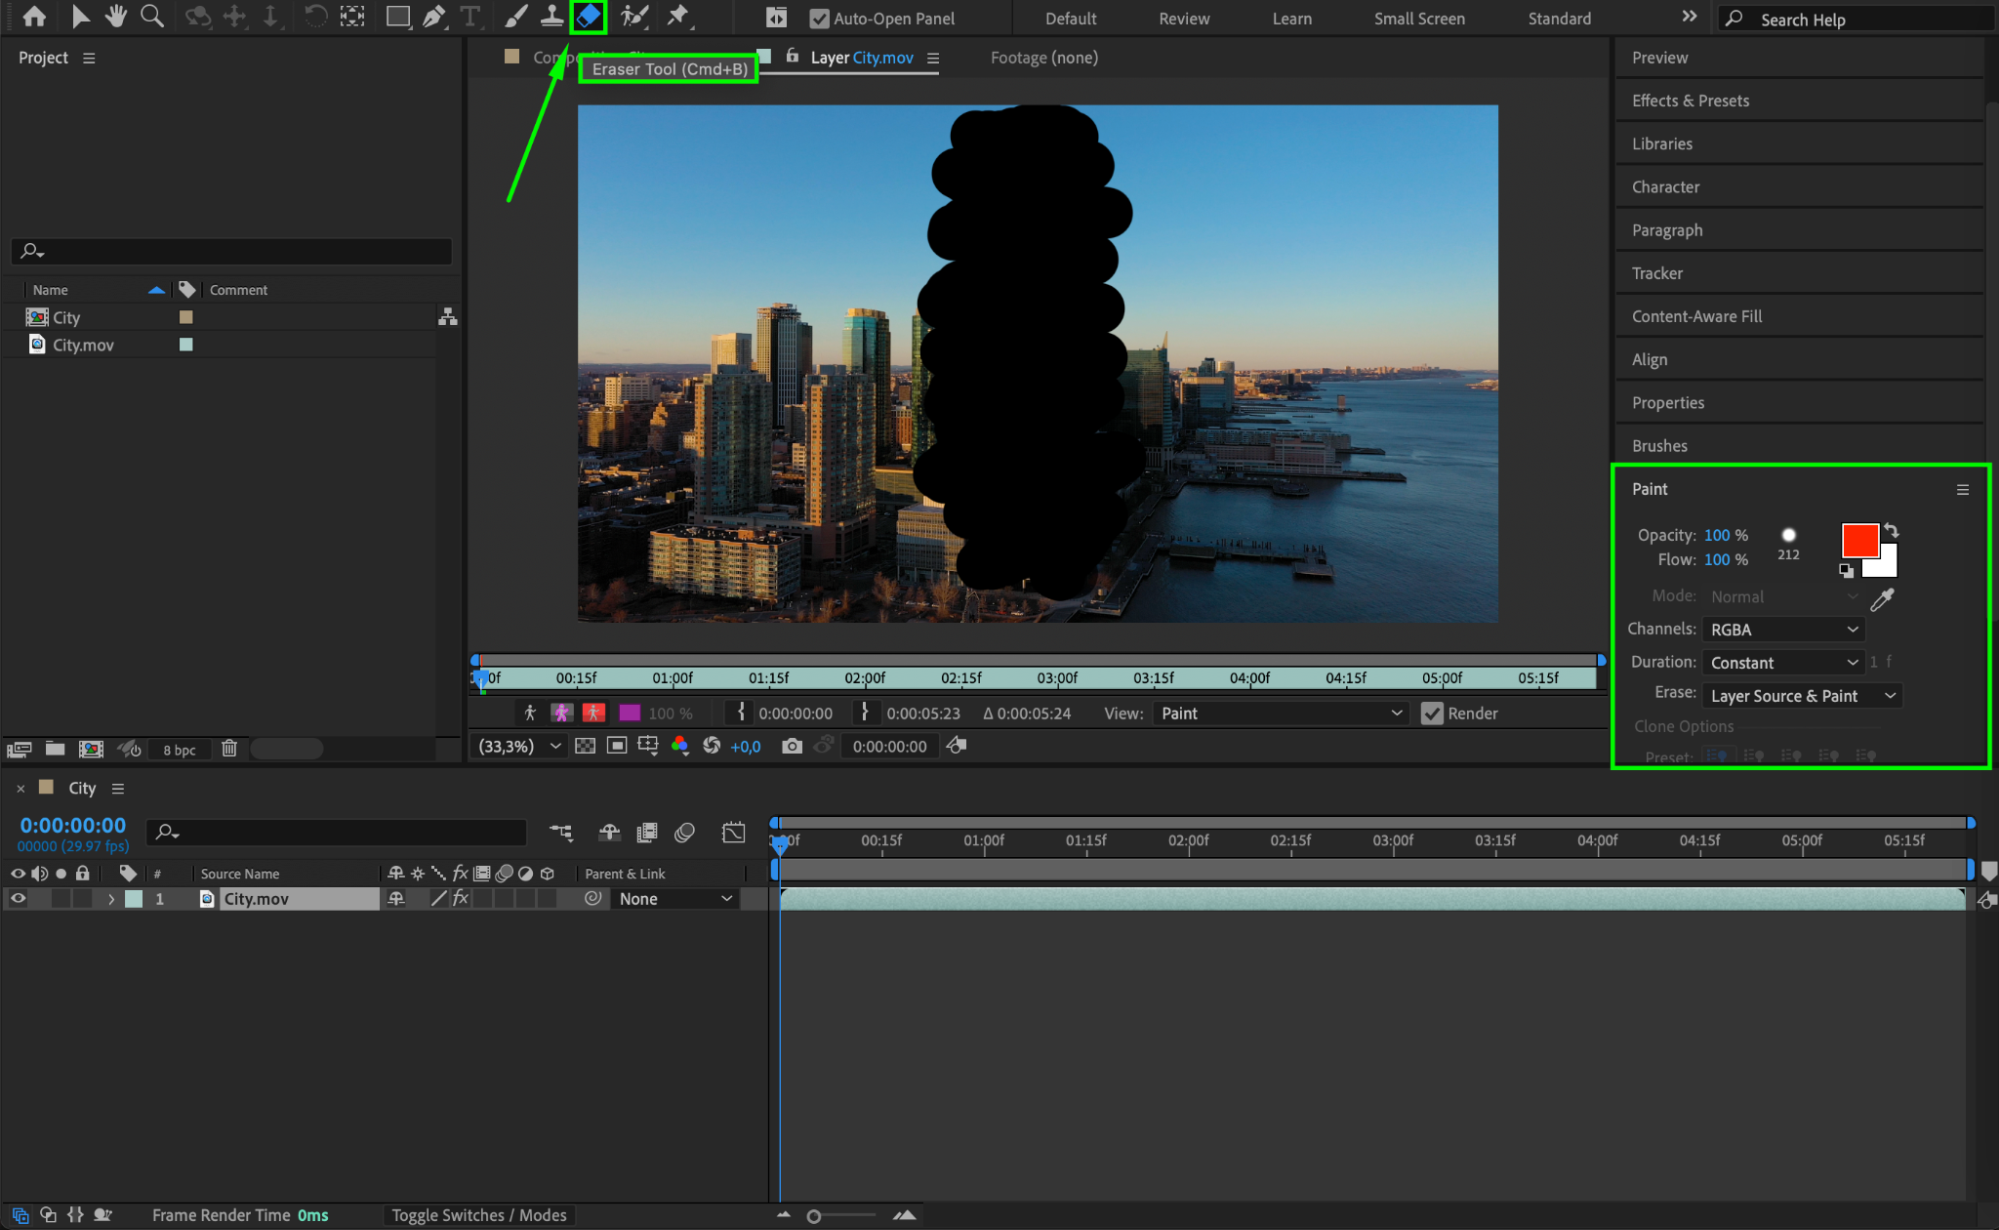 Step 4: Erase Unwanted Parts
Click and drag over the areas you want to remove. As you erase, those parts will become transparent. If you accidentally erase too much, press “Ctrl/Cmd + Z” to undo. The Eraser Tool works in strokes, meaning each stroke can be modified or removed separately in the Timeline’s Paint section.
Step 5: Enable Transparency Grid for Better Visibility
To see the erased areas clearly, switch back to the Composition panel and click the Toggle Transparency Grid button. This will display a checkered background, indicating transparent sections.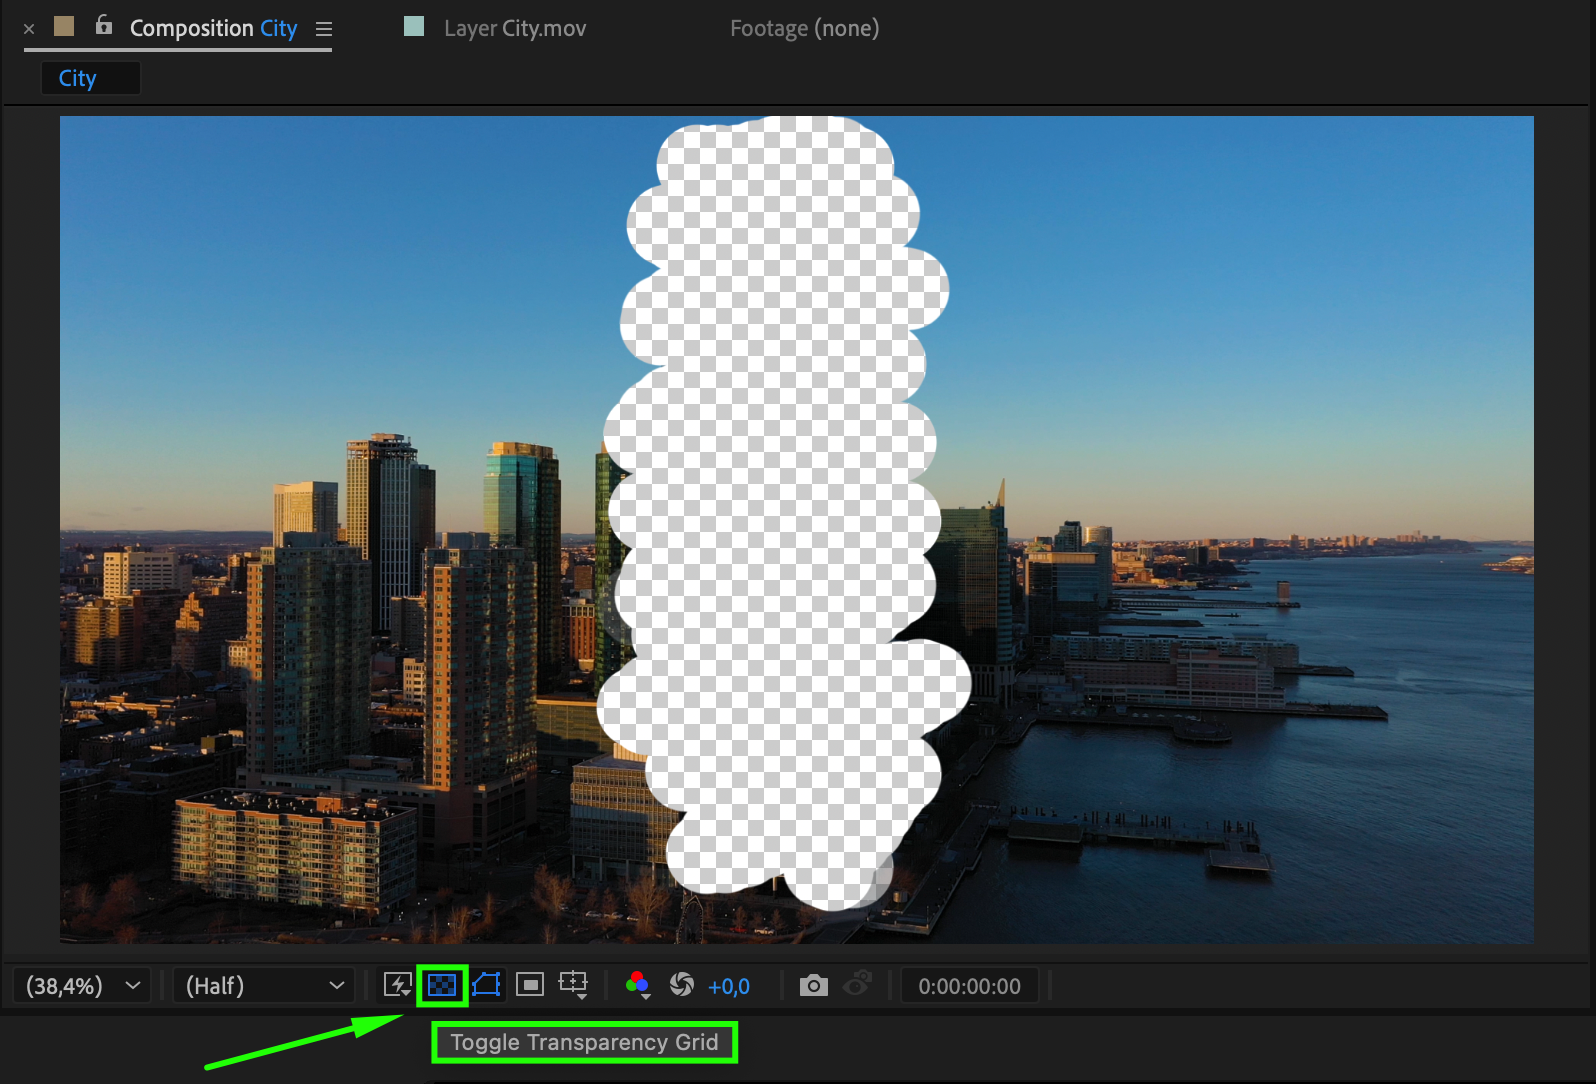 Step 6: Add a New Background or Video
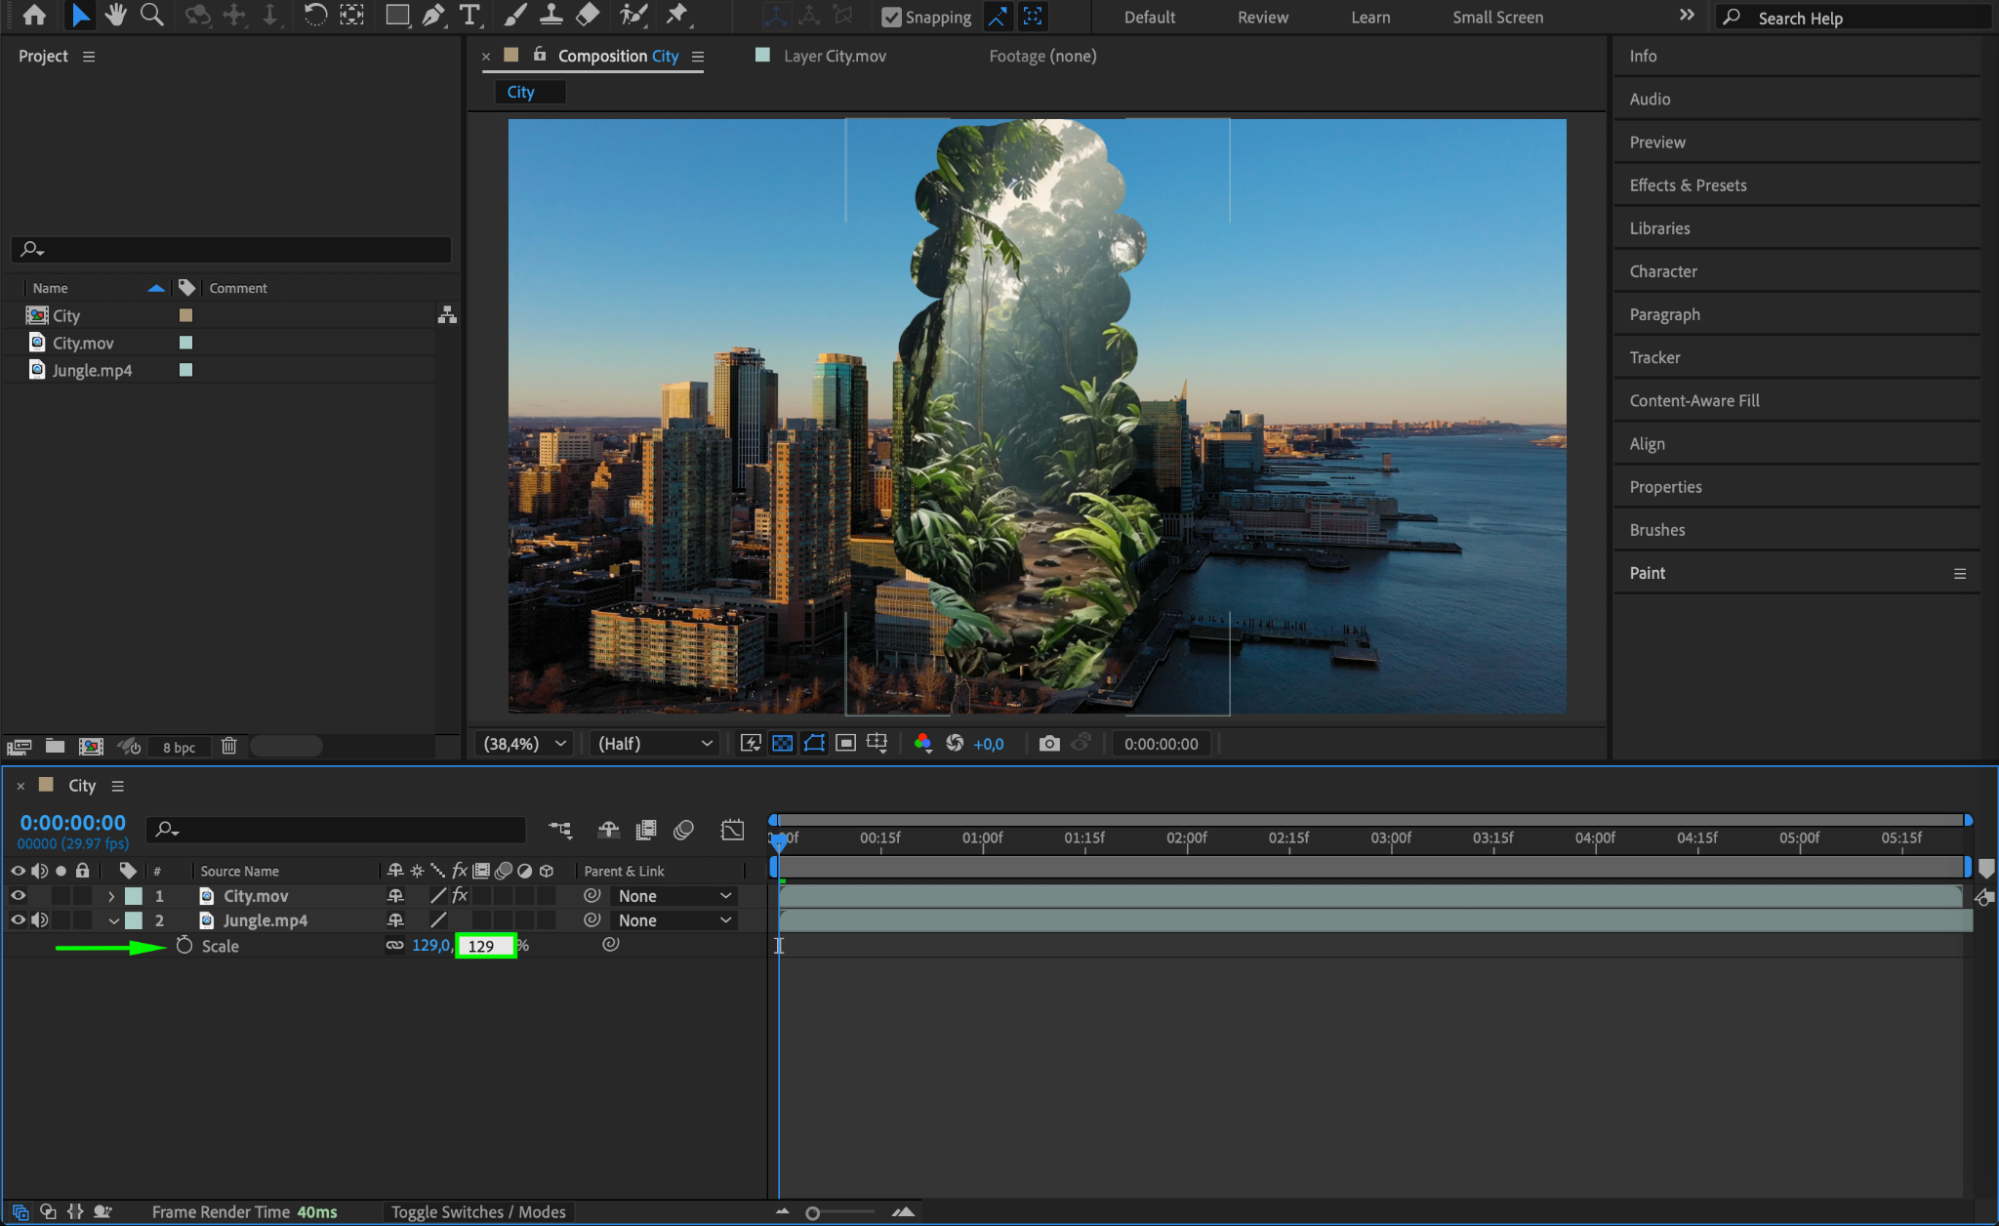
If you want to fill the erased area with another image or video, drag a new file from the Project panel onto the Timeline and position it below the edited layer. Adjust its scale and position to fit naturally within the erased section.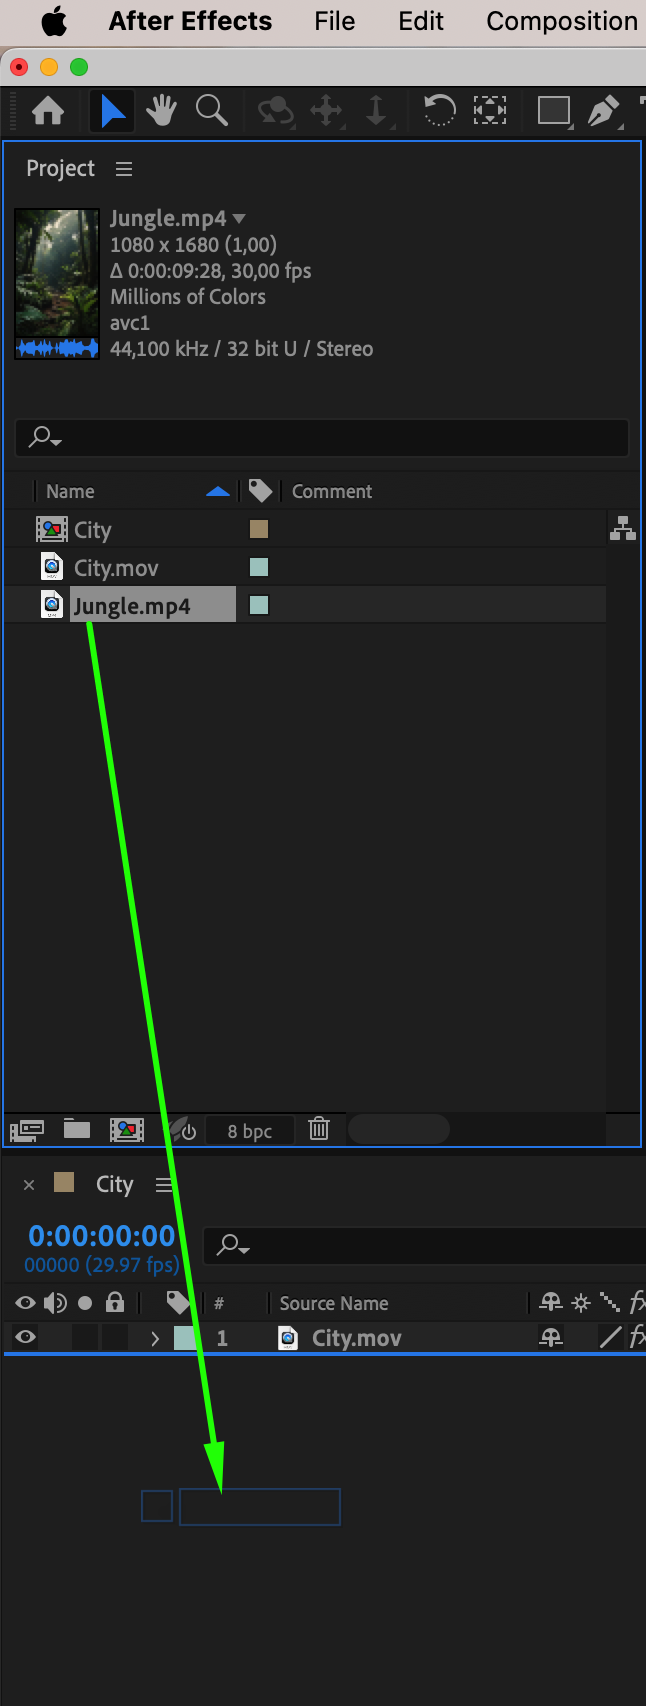
 Step 7: Enhance the Erased Layer with Effects
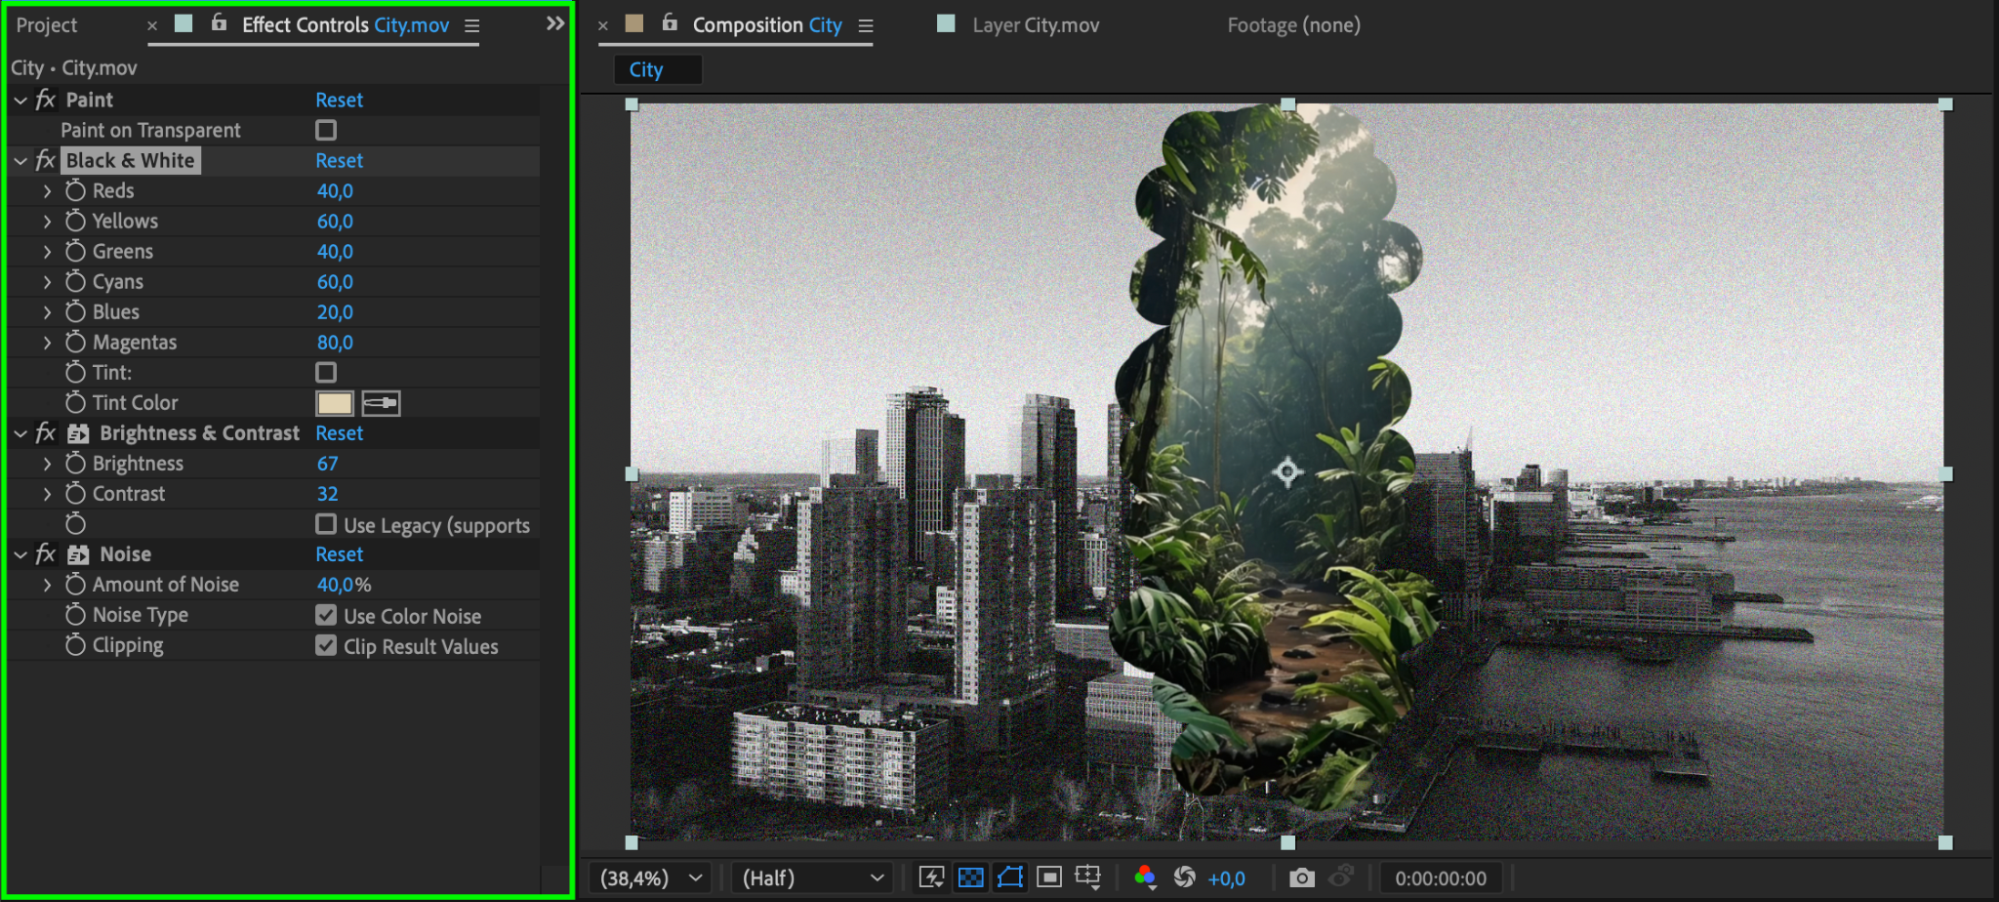
To make the erased layer more visually appealing, add effects from the Effects & Presets panel. For example:
Glow – To highlight the erased areas.
Black & White – To create a stylistic contrast between the erased and non-erased parts.
Blur – To blend the edges smoothly.
Apply effects to the original layer for a creative touch.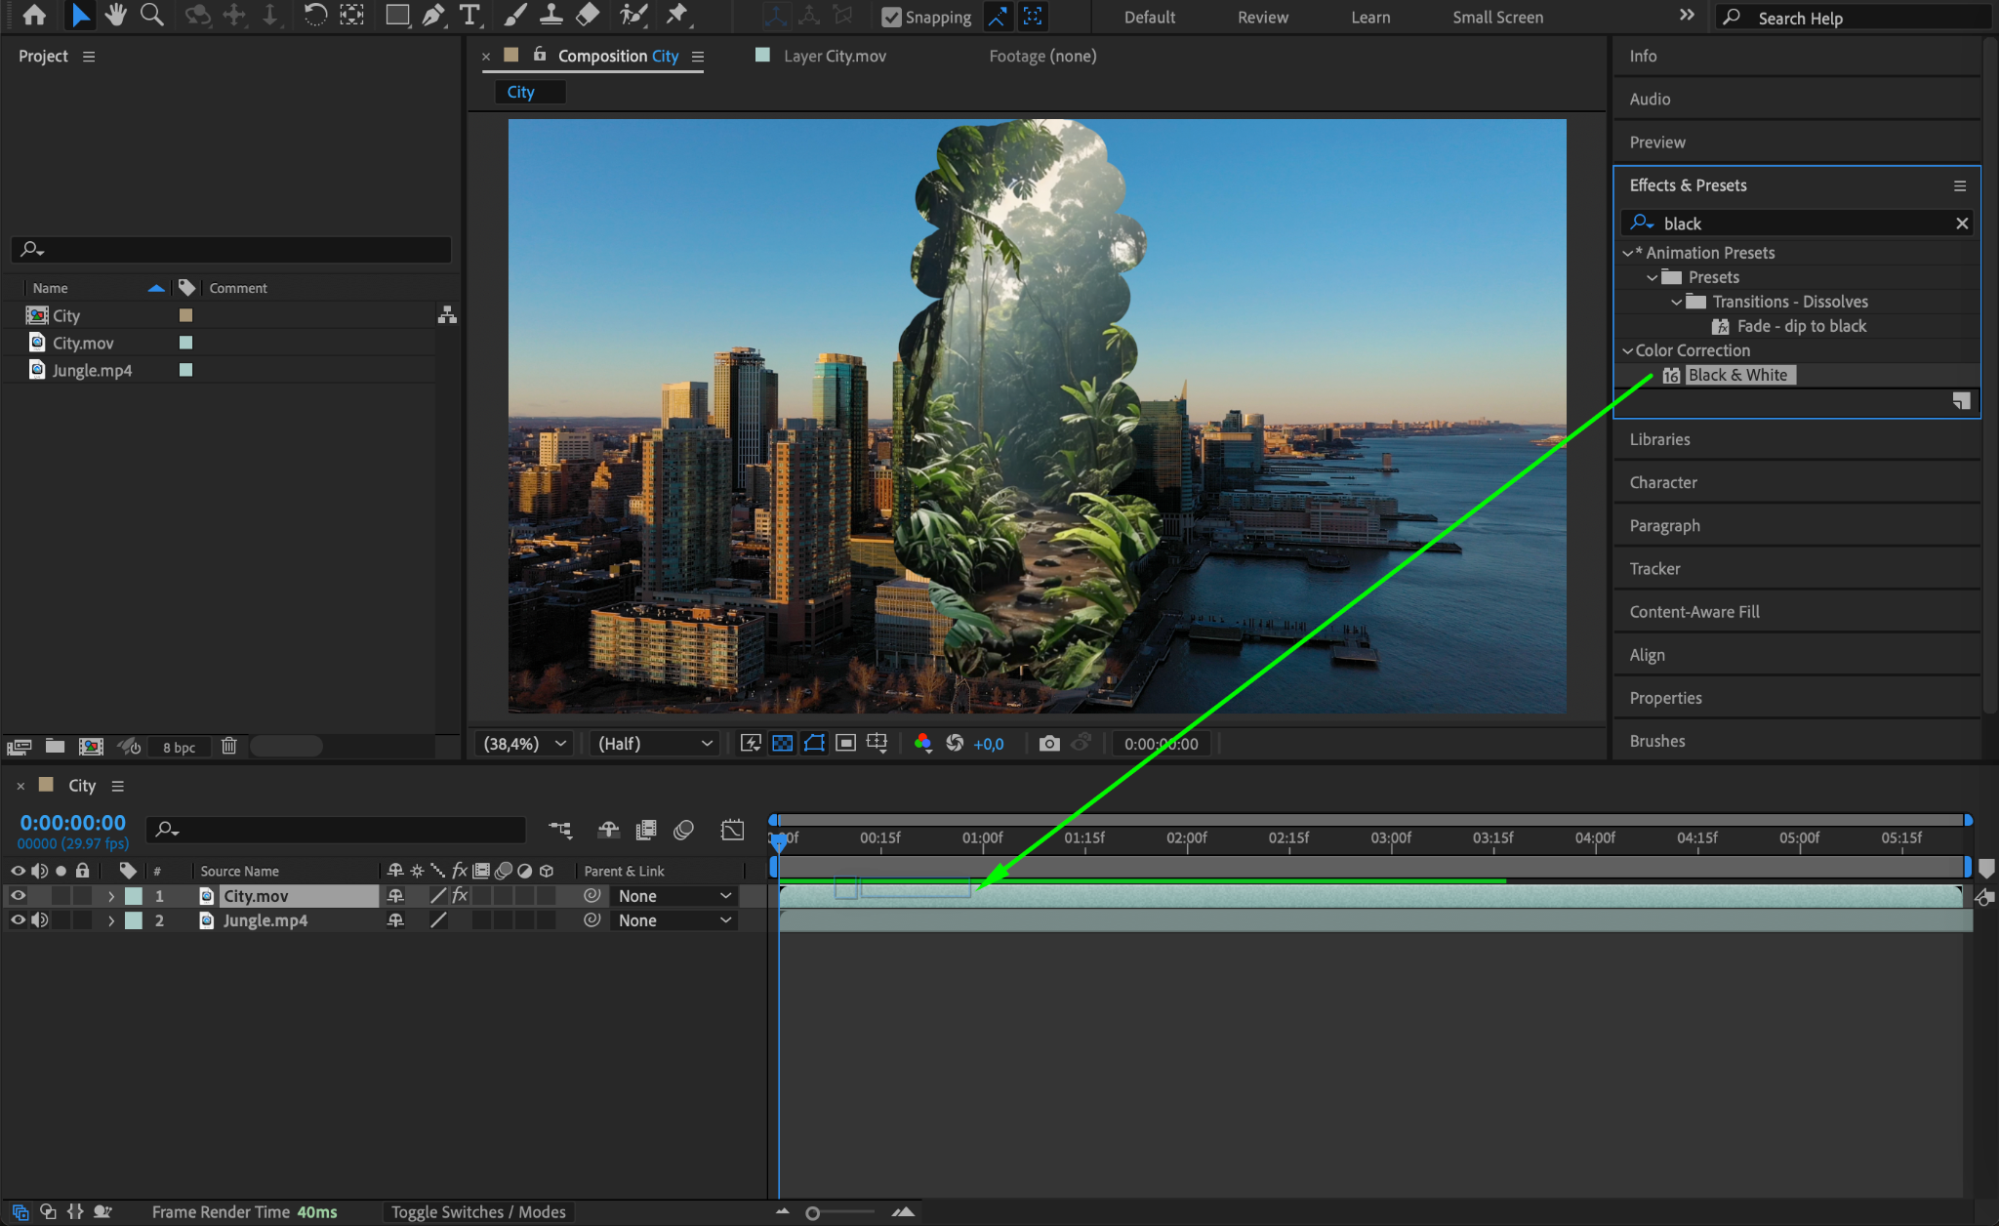
 Step 8: Preview Your Work
Press Spacebar to preview your animation. Check if the erasing effect looks smooth and natural. If necessary, refine the edges by adjusting brush settings and reapplying the Eraser Tool.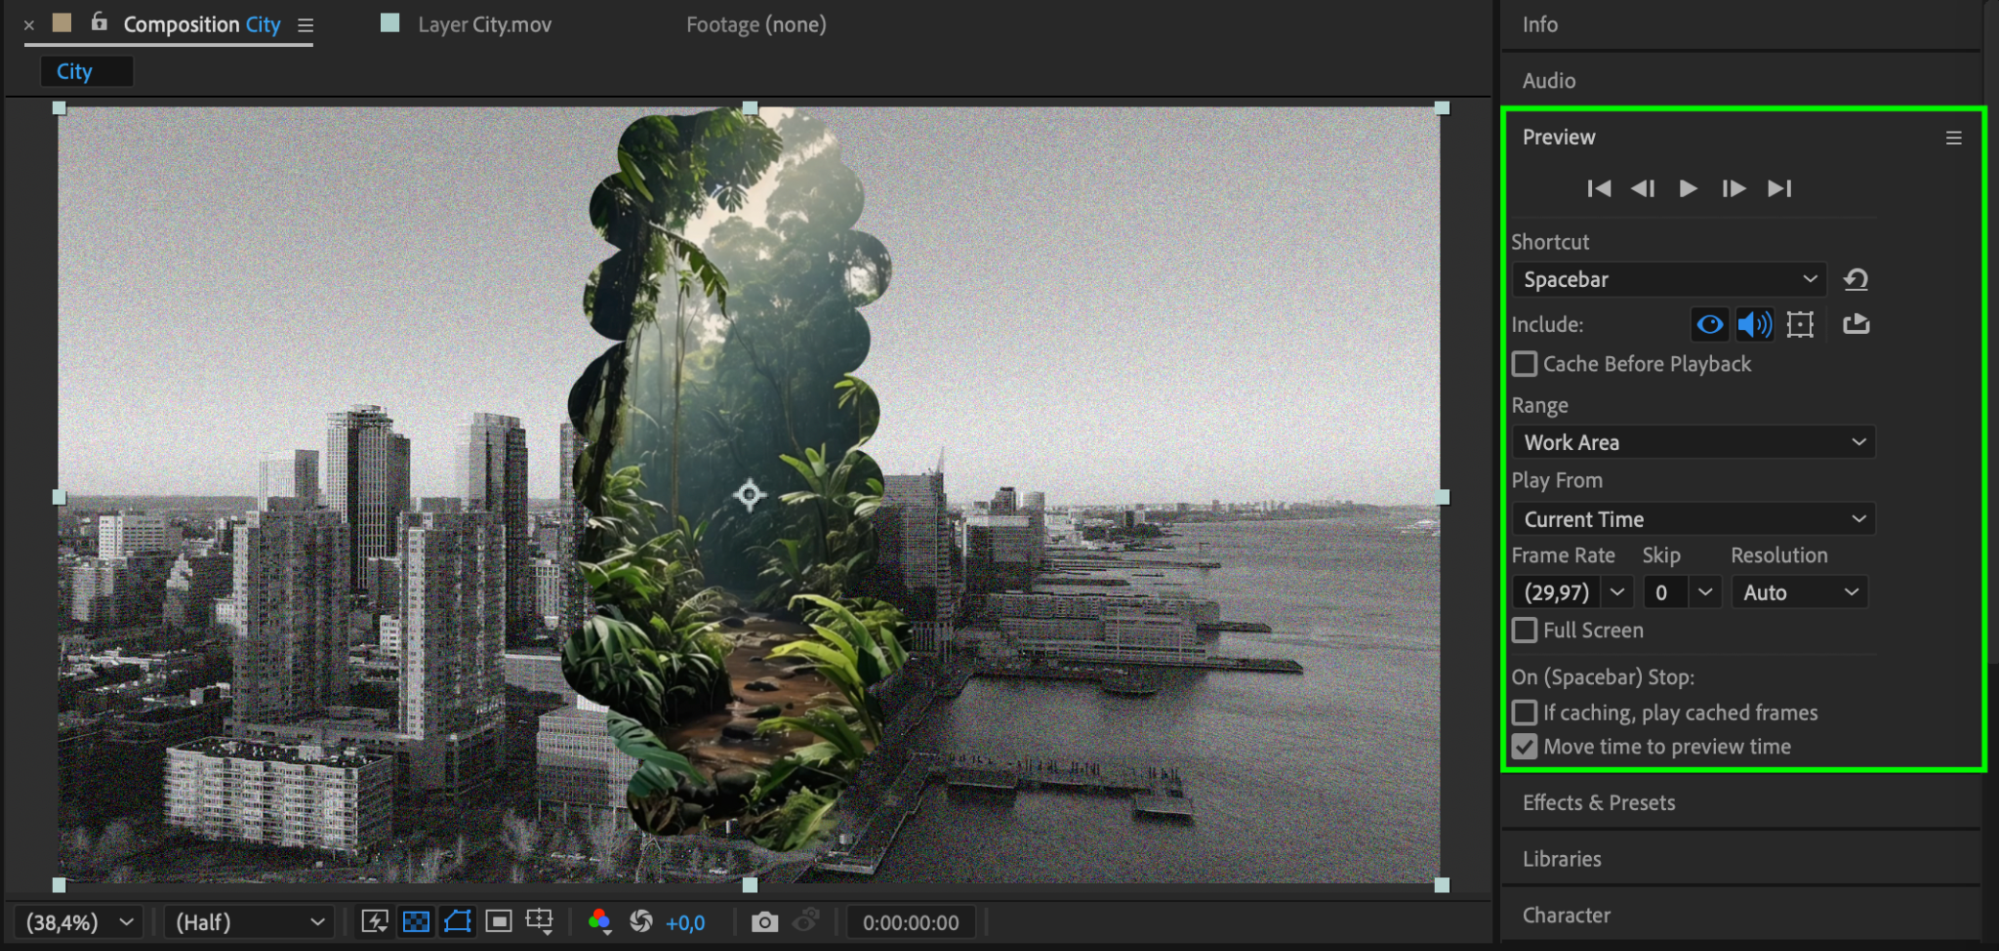 Step 9: Render the Final Composition
Once satisfied, go to Composition > Add to Render Queue, select your preferred output settings, and click Render to export your video.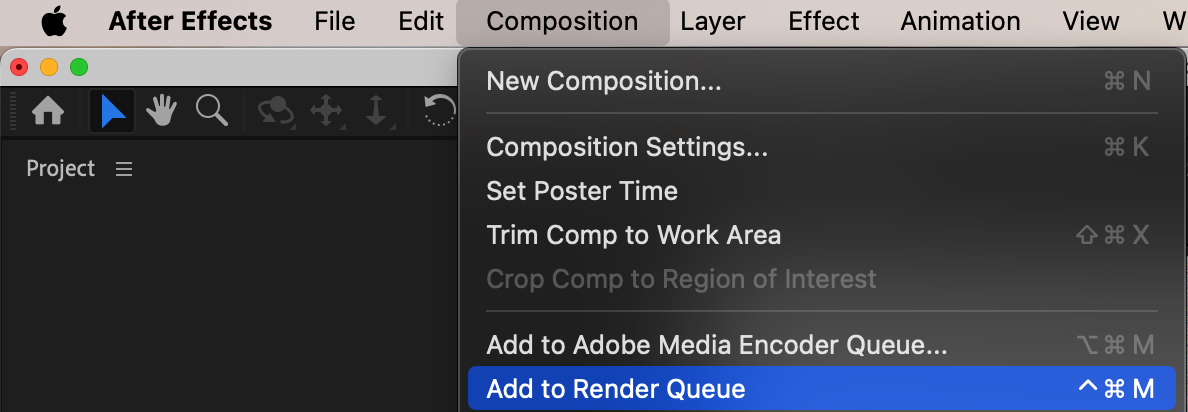
 Conclusion
The Eraser Tool in After Effects is a simple yet effective way to remove parts of an image or video, blend layers, and create unique visual effects. Whether you’re erasing objects for compositing or adding stylistic transparency, mastering this tool can elevate your projects. Experiment with different brush settings and effects to achieve the best results!
Our Bestsellers


