Mastering the Roto Brush Tool in After Effects
Harnessing the Power of the Roto Brush Tool
The Roto Brush Tool in After Effects is a handy feature that can help you isolate and manipulate objects within your video projects. It simplifies the process of separating foreground objects from the background, saving you time and effort. In this guide, we’ll explore how you can effectively use the Roto Brush Tool to enhance your workflow and create professional-looking videos with ease.
1. Select the layer:
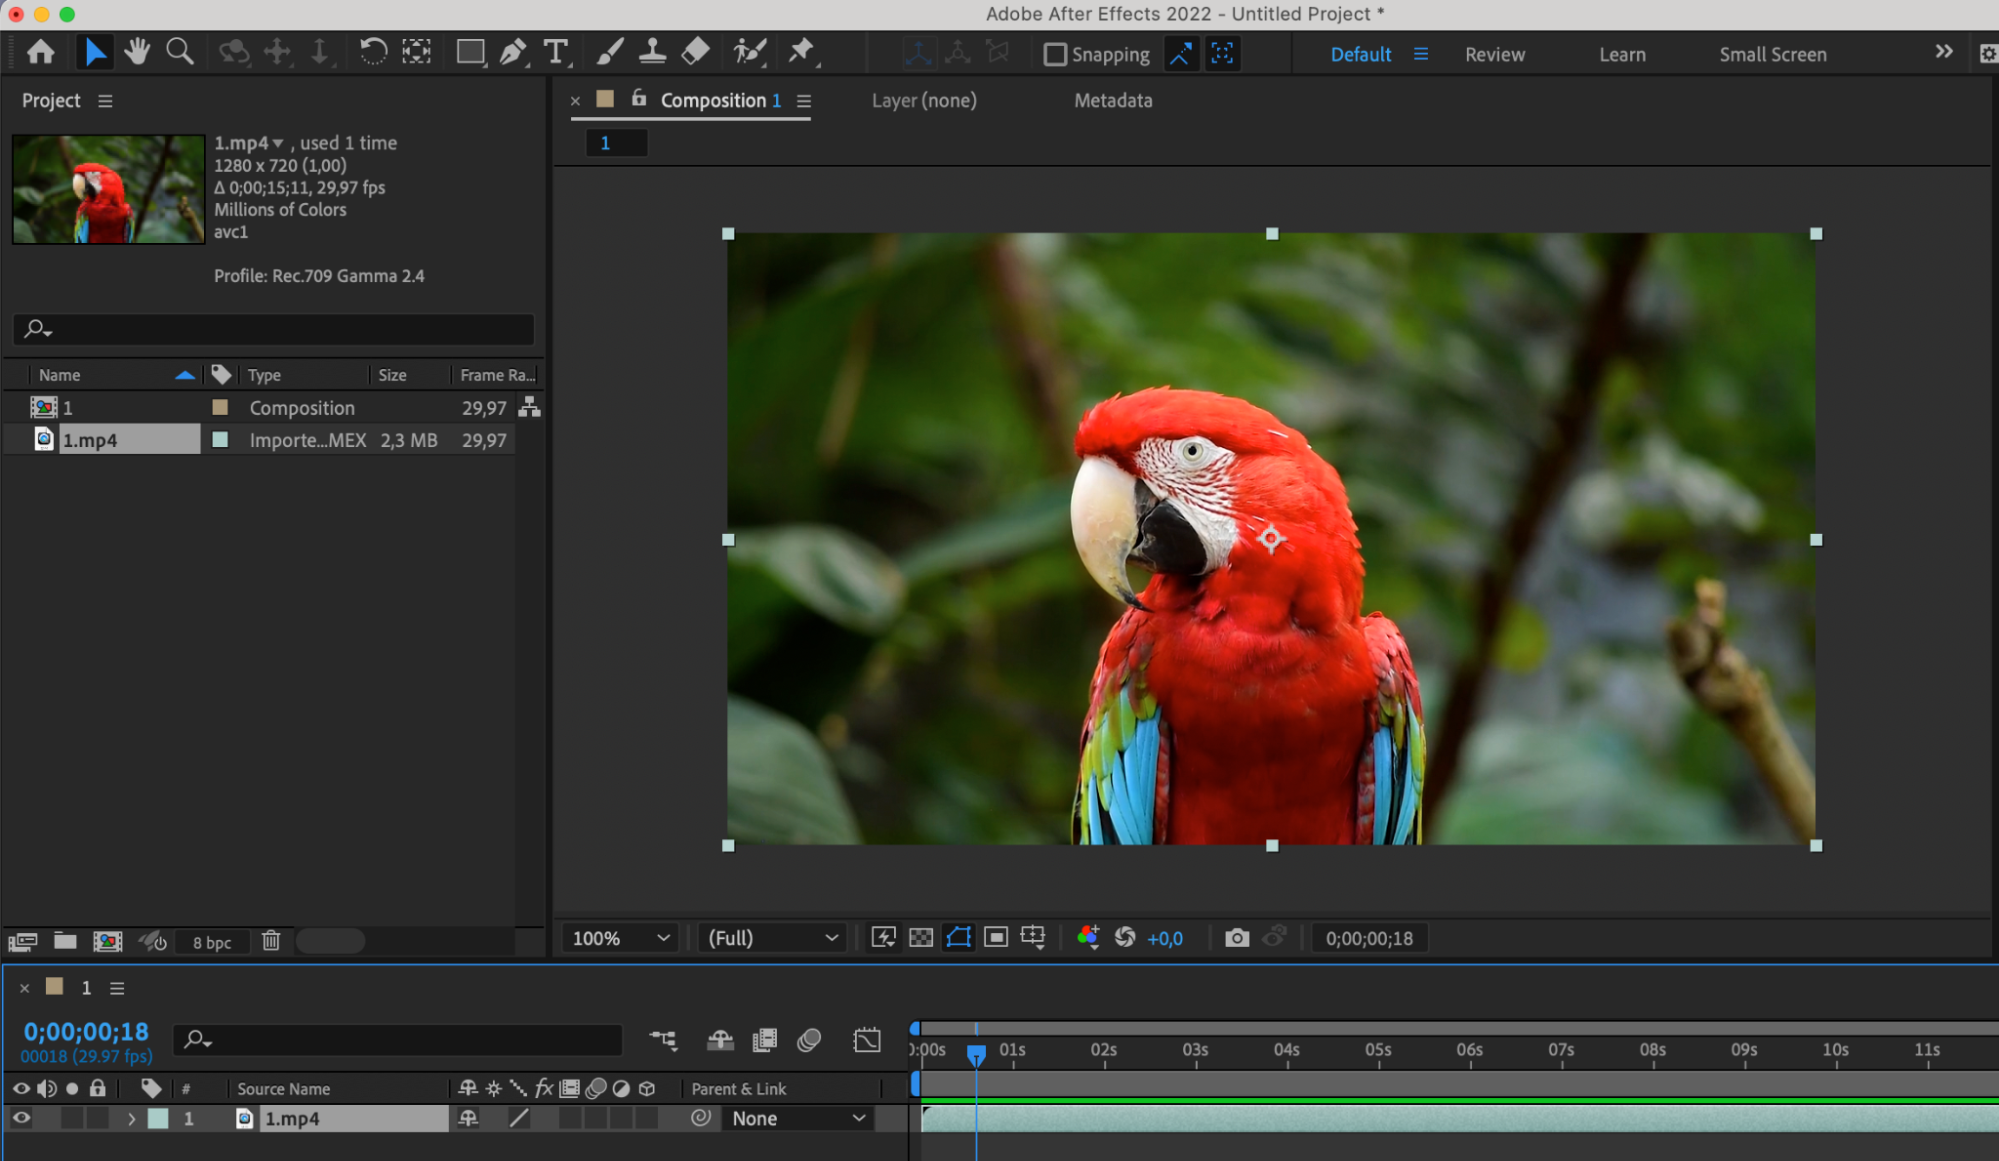
Open the composition in After Effects and select the layer you want to use the Roto Brush tool on.
2. Activate Roto Brush:
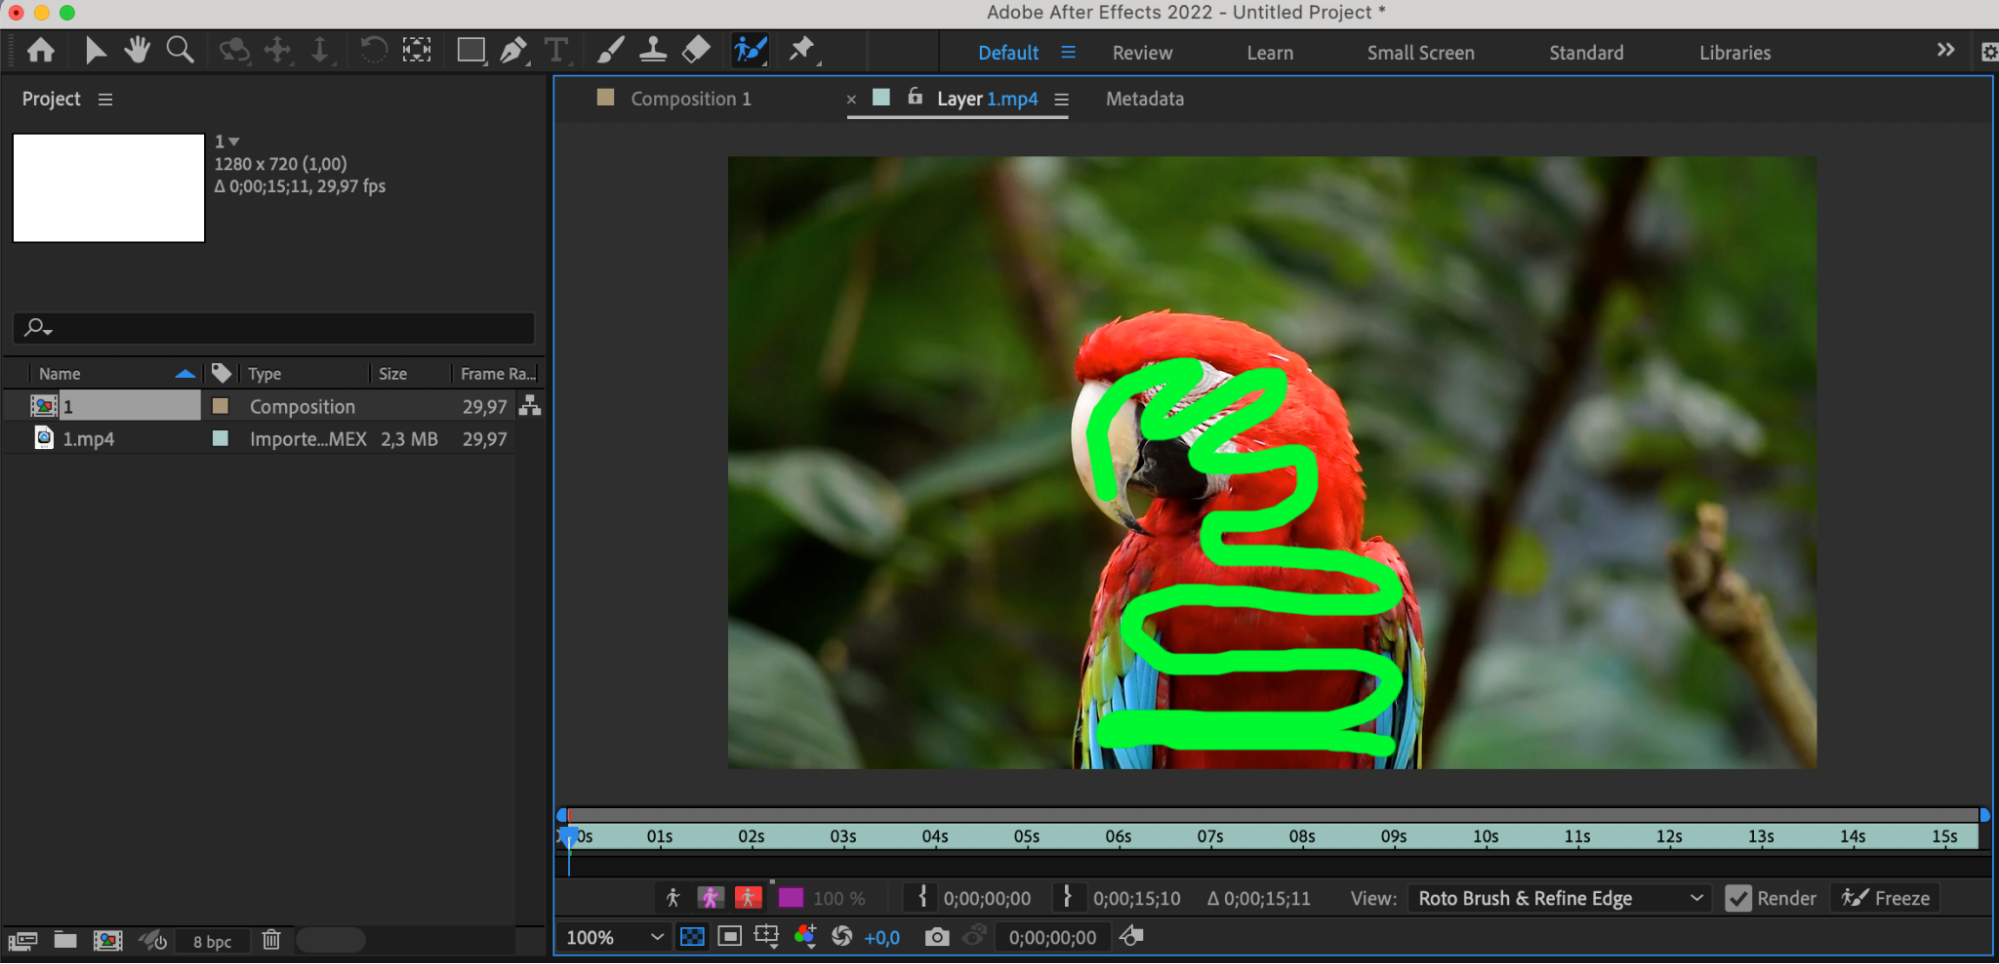
Choose the Roto Brush tool in the toolbar (it looks like a brush drawing on a stick figure).
Get 10% off when you subscribe to our newsletter


3. Select the initial frame:
Move the current frame to the point from which you want to start selecting the object.
4. Select the object:
Use the Roto Brush to begin selecting the object. Start by brushing along the object’s outline. The program automatically tries to determine the object’s boundaries, and if necessary, you can adjust the selection manually. Use Alt/Option to deselect specific areas. Move along the timeline, outlining the object on each frame. The program will automatically adjust the selection for each frame using data from previous frames.
5. Refine the selection:
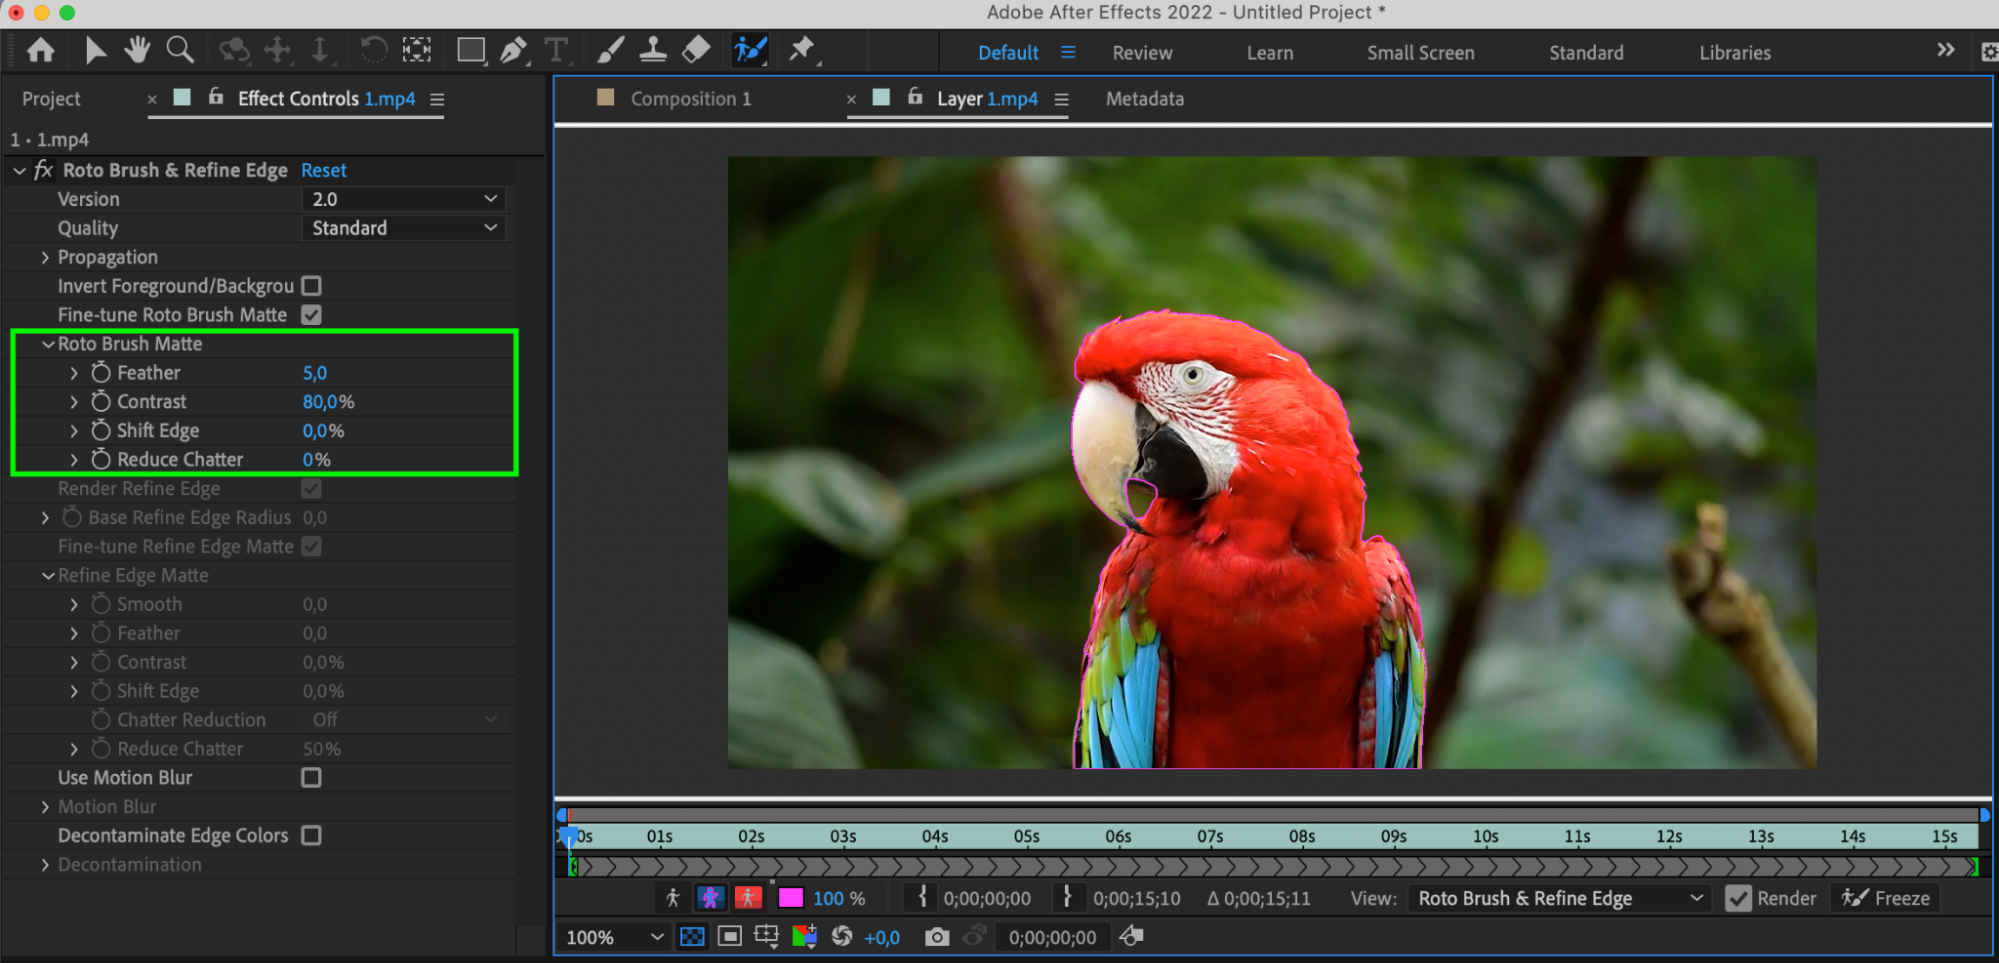
If the program struggles to determine the object’s boundaries accurately, utilize the “Shift Edge” tool to refine the selection quality. Additionally, you can adjust the “Contrast” parameter to enhance the distinction between the object and its background. If there are any unwanted artifacts or noise in the selection, use the “Reduce Chatter” parameter to minimize them. After outlining the object, fine-tune the selection parameters, such as “Feather,” to achieve a more natural and seamless result.
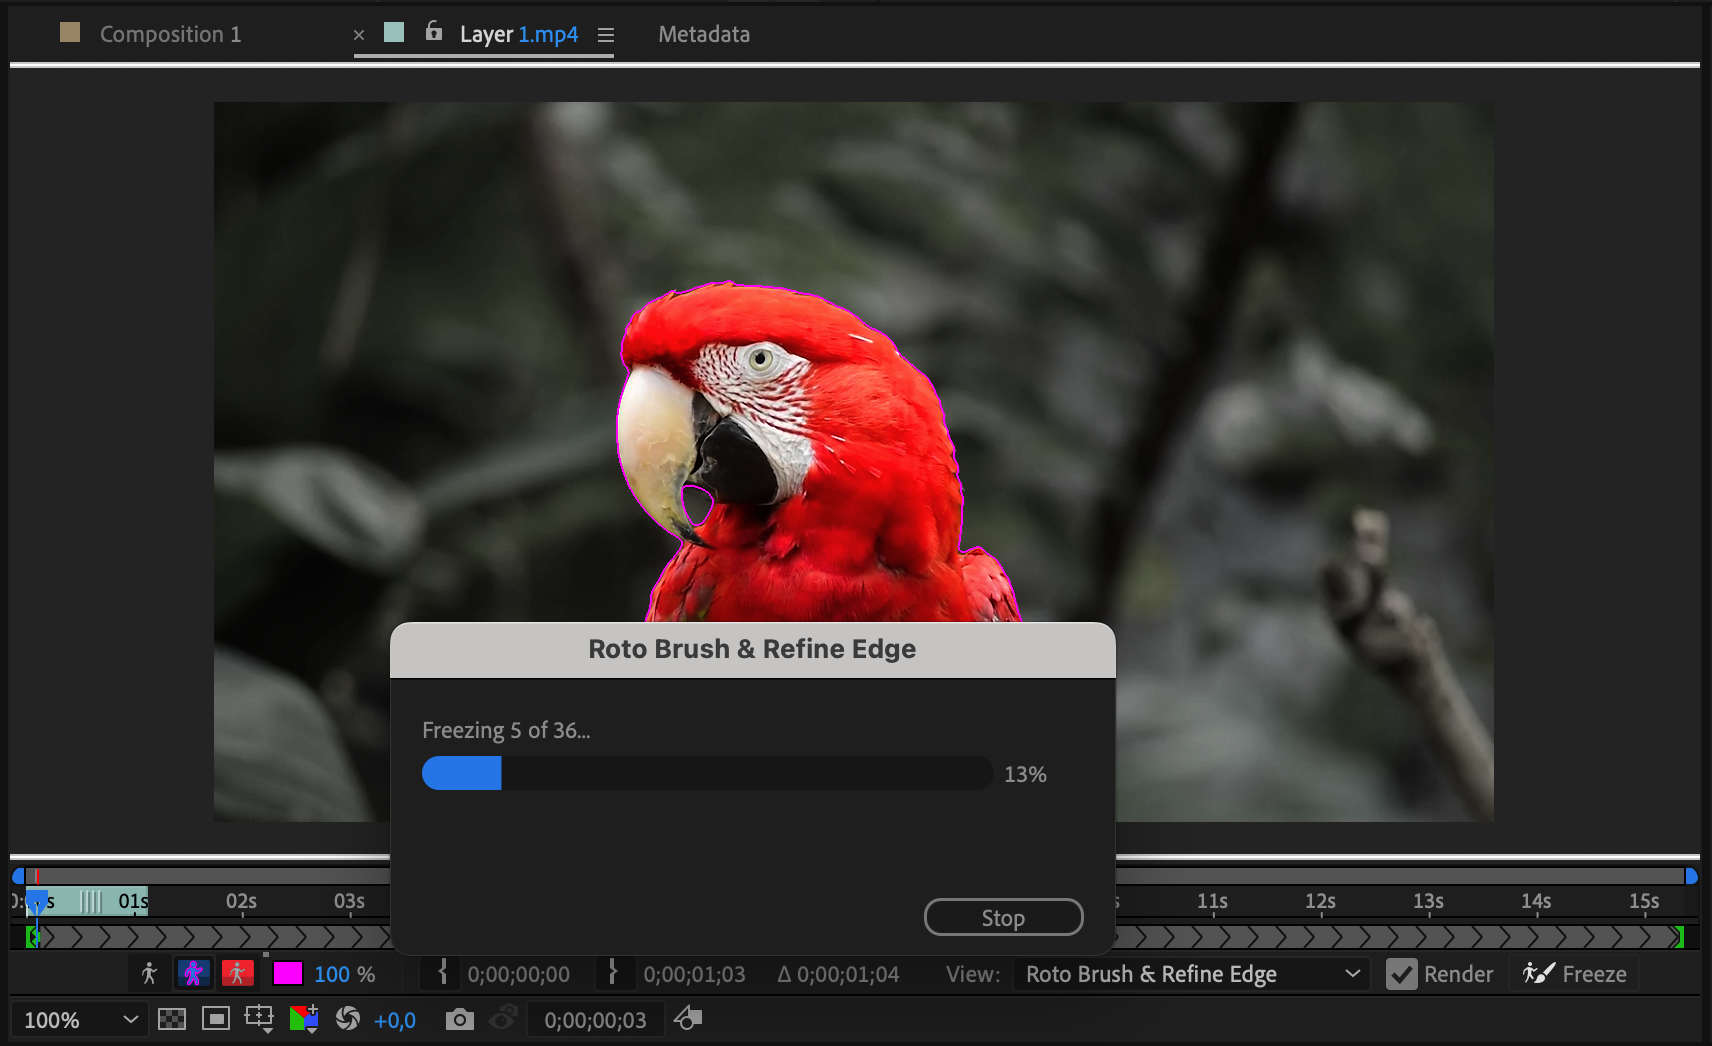
6. Freeze the selection:
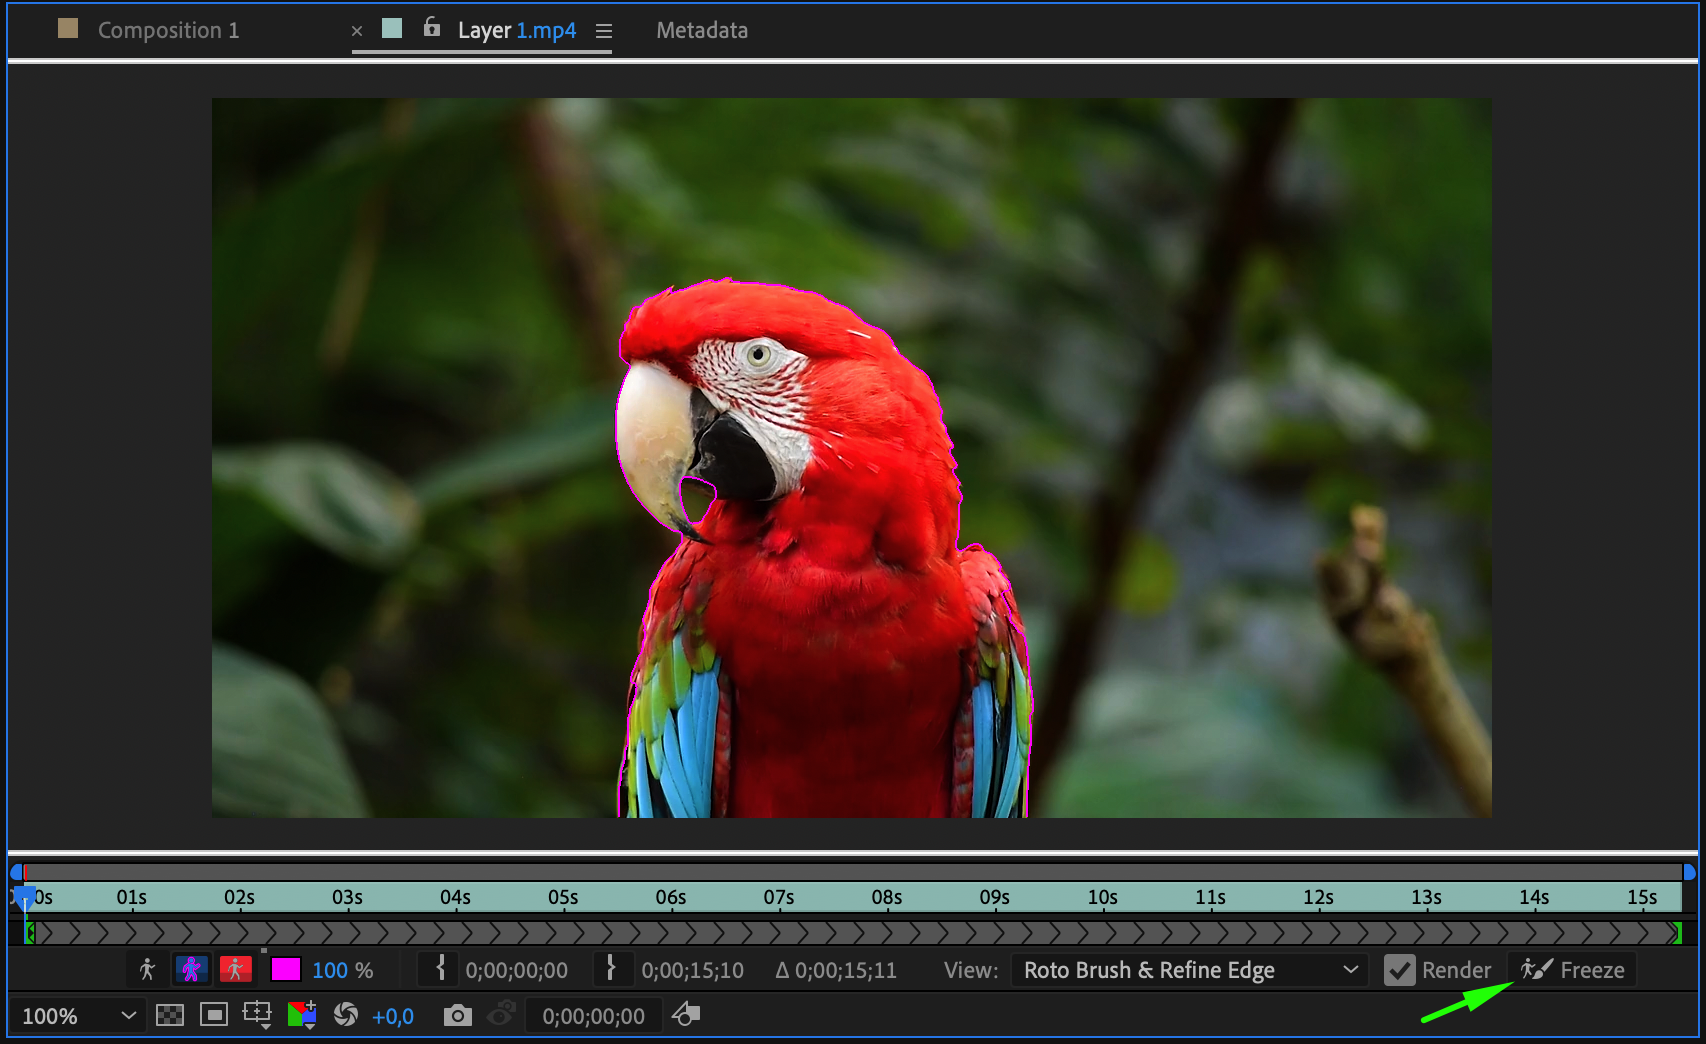
Click the “Freeze” button (located in the Roto Brush control panel) to fix the selection on the current frame and apply it to all subsequent frames.
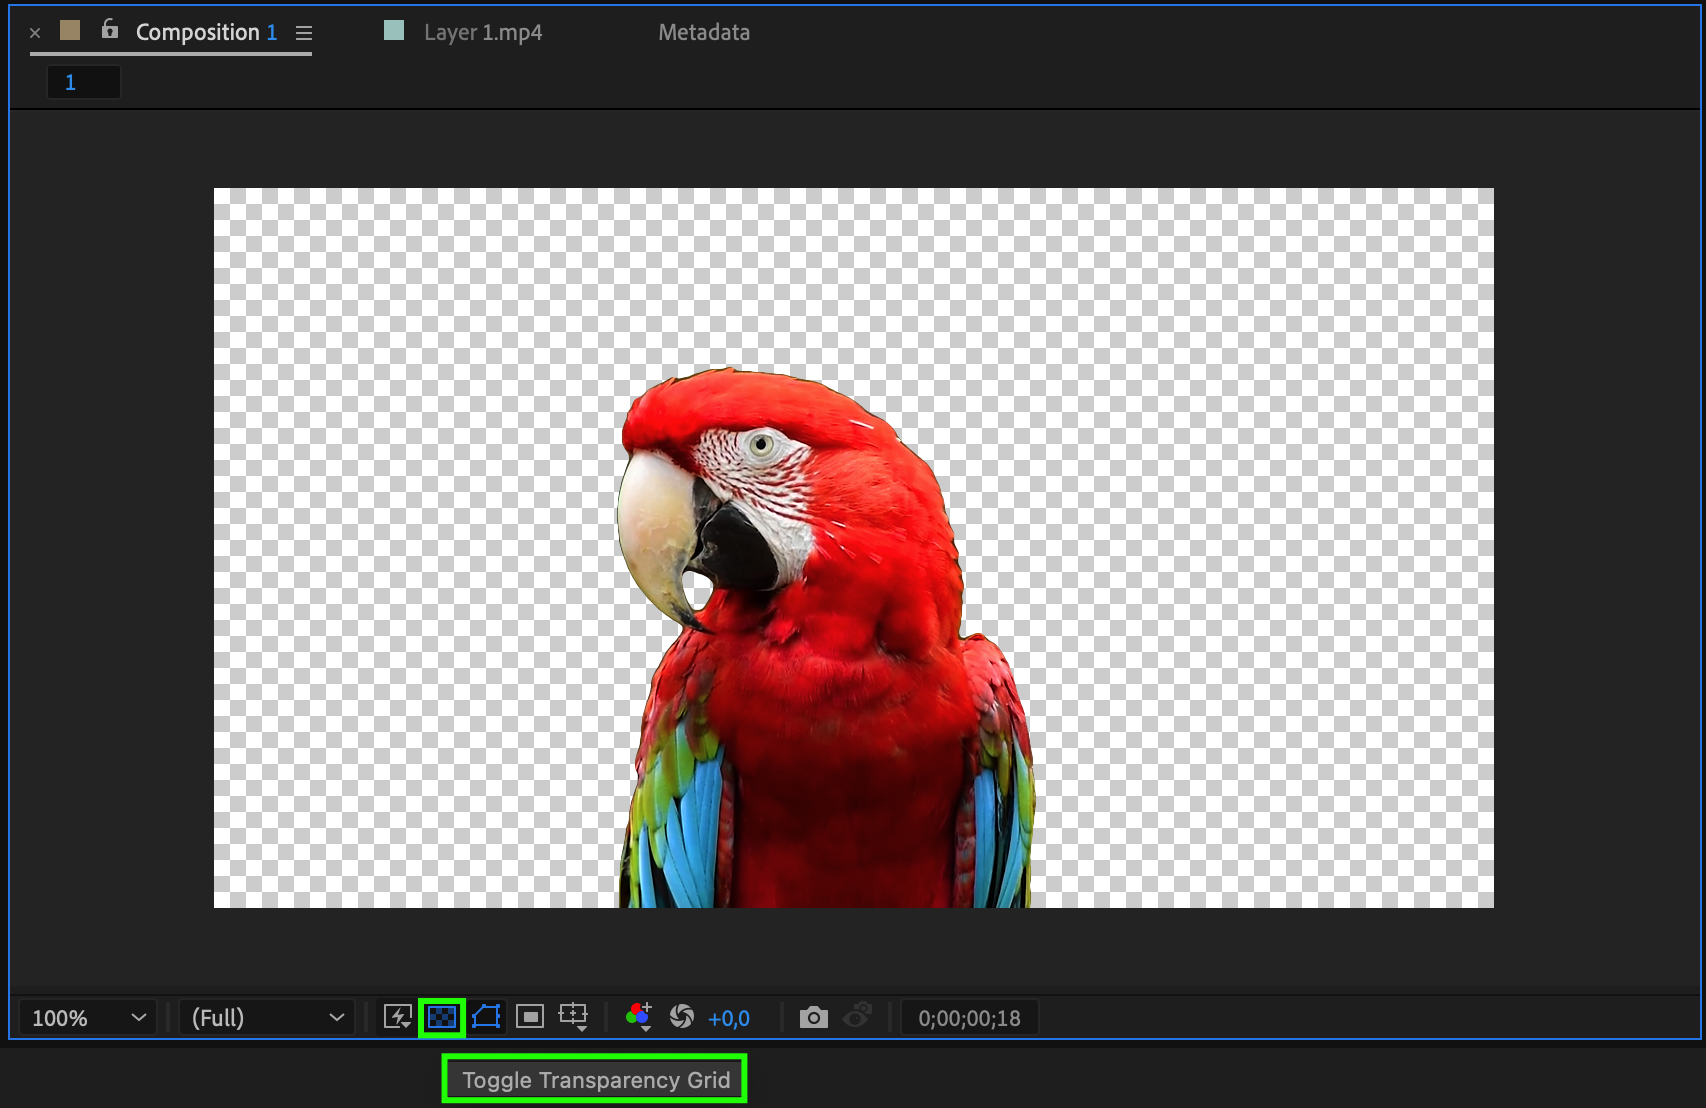
7. Toggle Transparency Grid:
Turn on the “Toggle Transparency Grid” button to make the background transparent after selecting the object, or choose the desired color for the background in the composition settings.
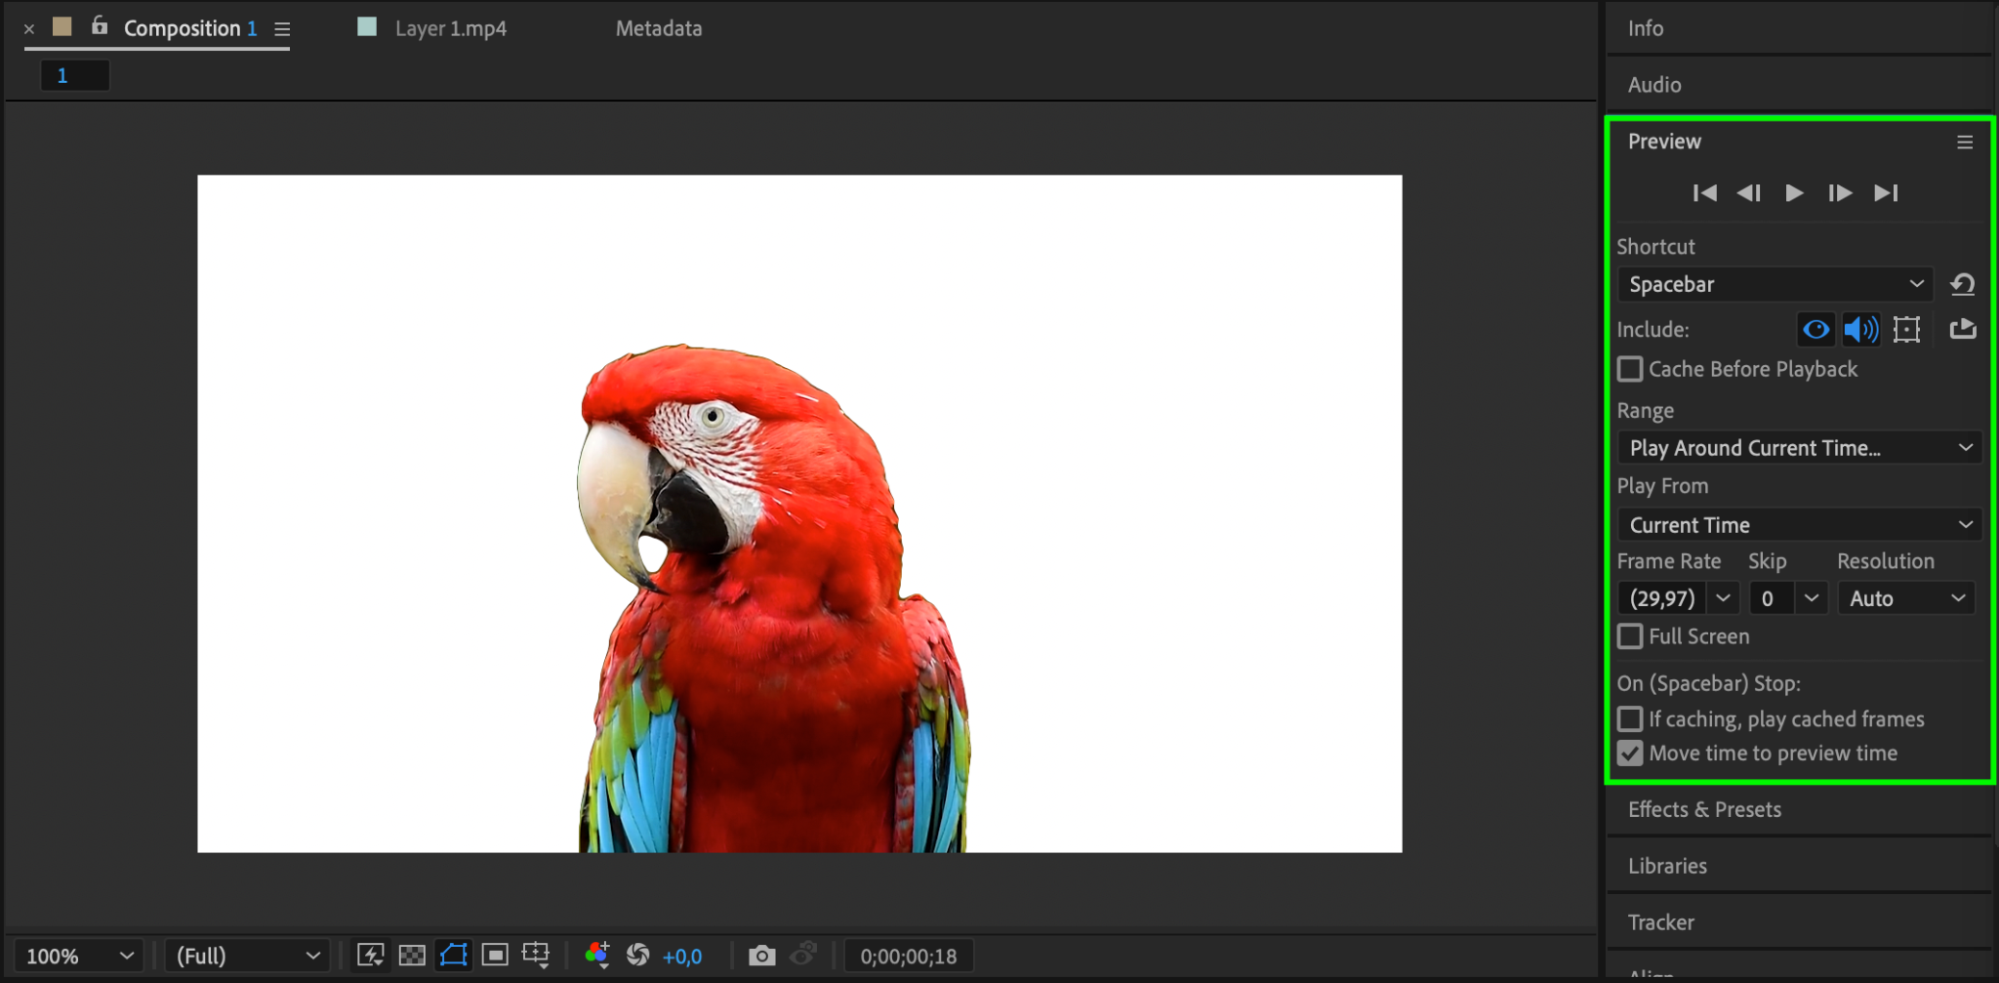
8. Check the result:
Play the composition to ensure that the object selection looks as desired.
9. Final processing:
If necessary, make additional adjustments or apply effects to achieve the desired result.
Conclusion
Mastering the Roto Brush Tool in After Effects opens up a world of possibilities for video editing. By following these steps, you can seamlessly isolate objects, refine selections, and enhance your workflow. With practice, you’ll unlock the full potential of this powerful tool, creating professional-looking videos with ease.
Our Bestsellers


