Learn how to create a realistic wind-blown cape animation in After Effects using Turbulent Displace, simple keyframes, and shadow integration.
Introduction
Animating a cape blowing in the wind adds motion, drama, and realism to a character scene. In this tutorial, you’ll use a simple distortion effect and basic compositing techniques to simulate natural wind movement while keeping the animation lightweight and easy to control.
Step 1: Open Your Project
Open your After Effects project that contains separate layers for:
The character
The background
The cape
Keeping the cape on its own layer is essential for clean animation.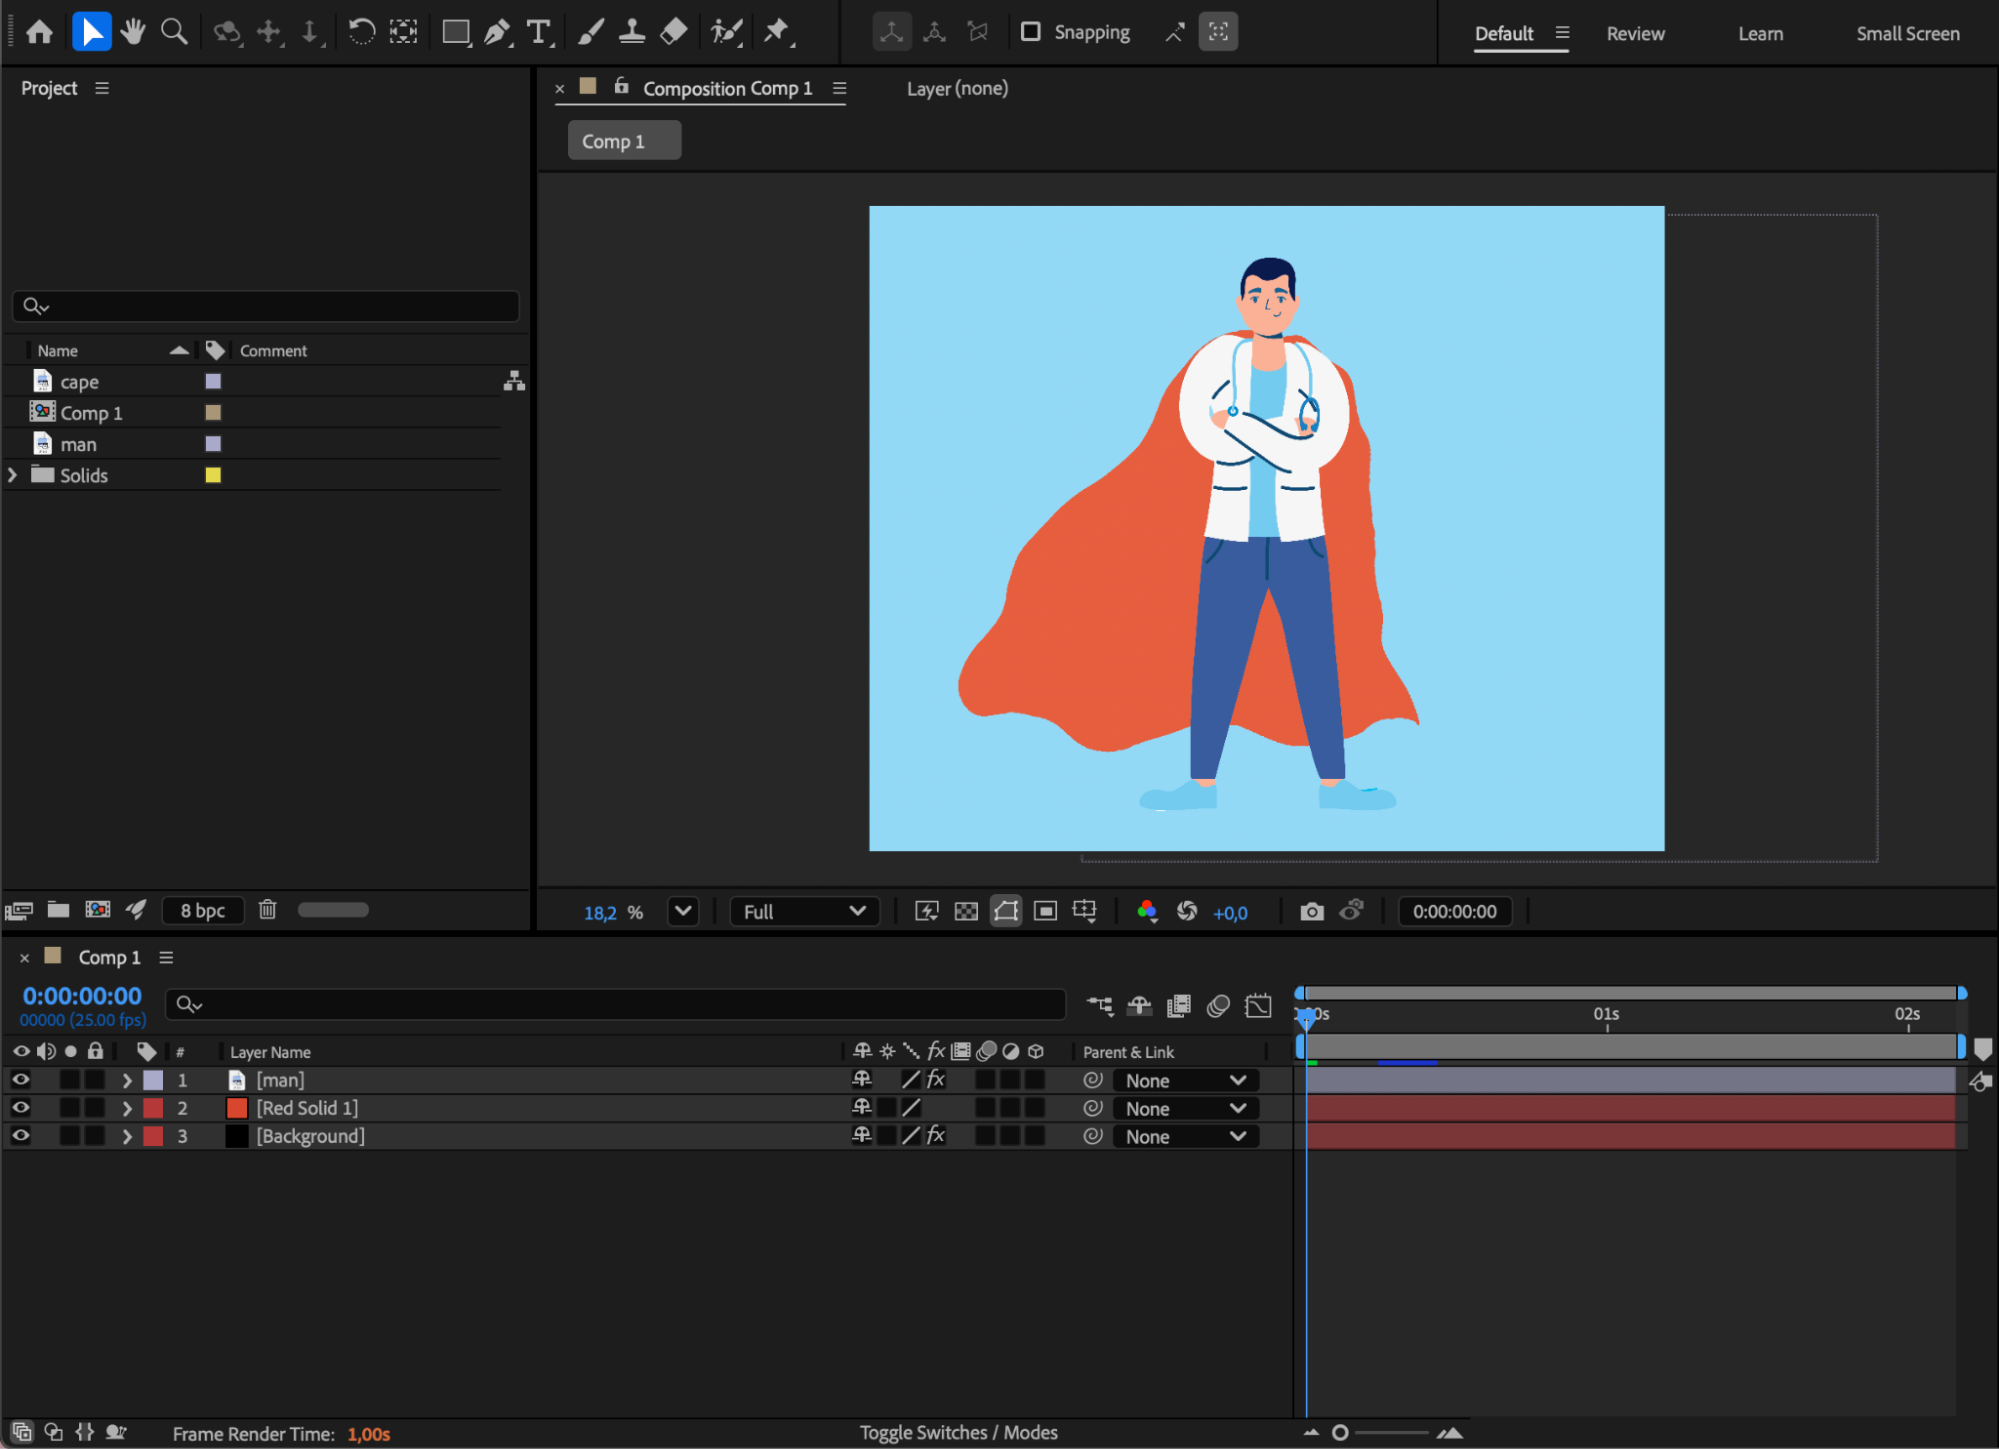
ニュースレター登録で10%オフ

Step 2: Apply Turbulent Displace to the Cape
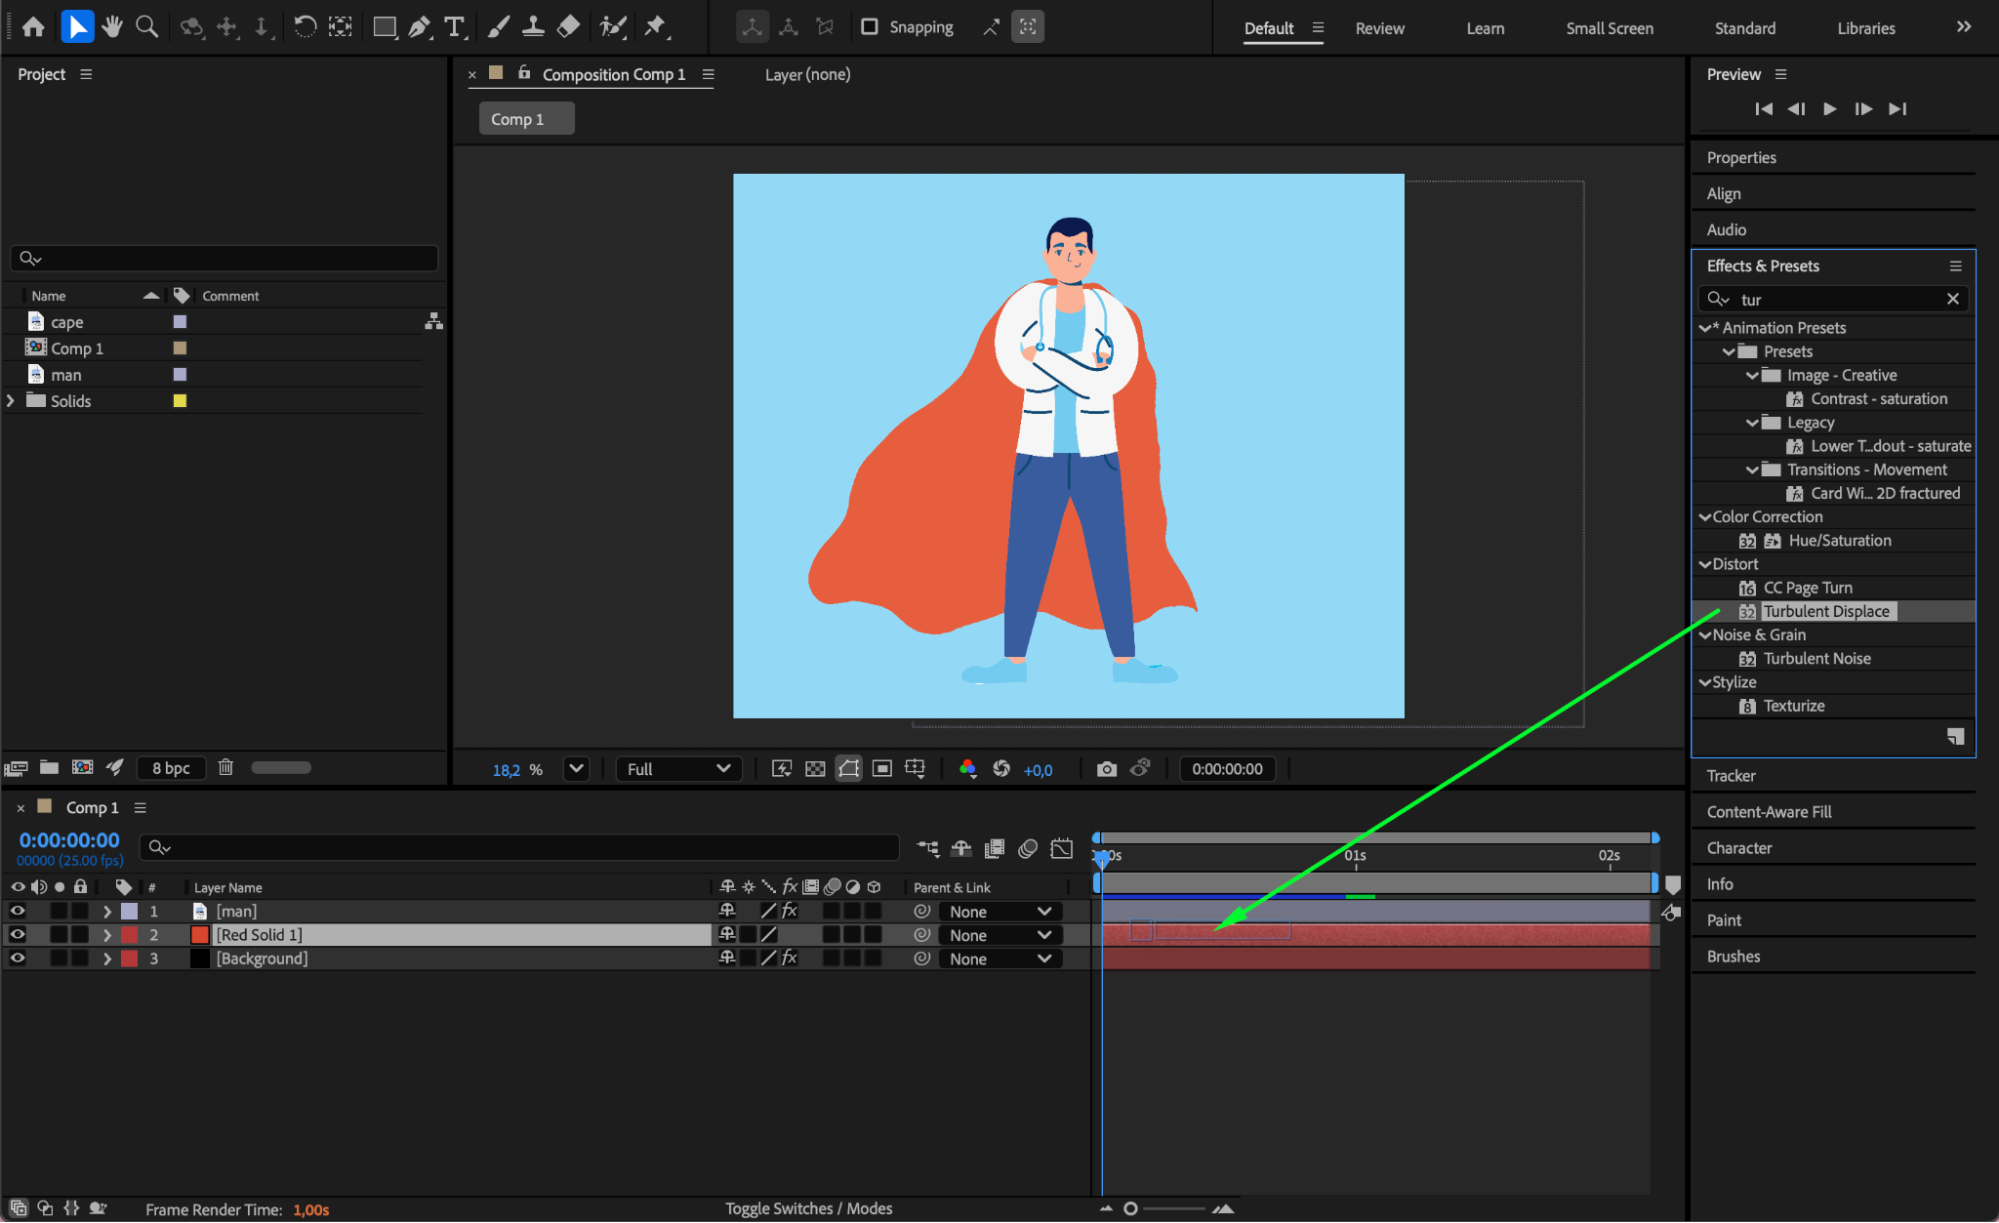
Select the cape layer. From the Effects & Presets panel, apply Turbulent Displace. This effect creates organic distortion that works well for simulating fabric movement.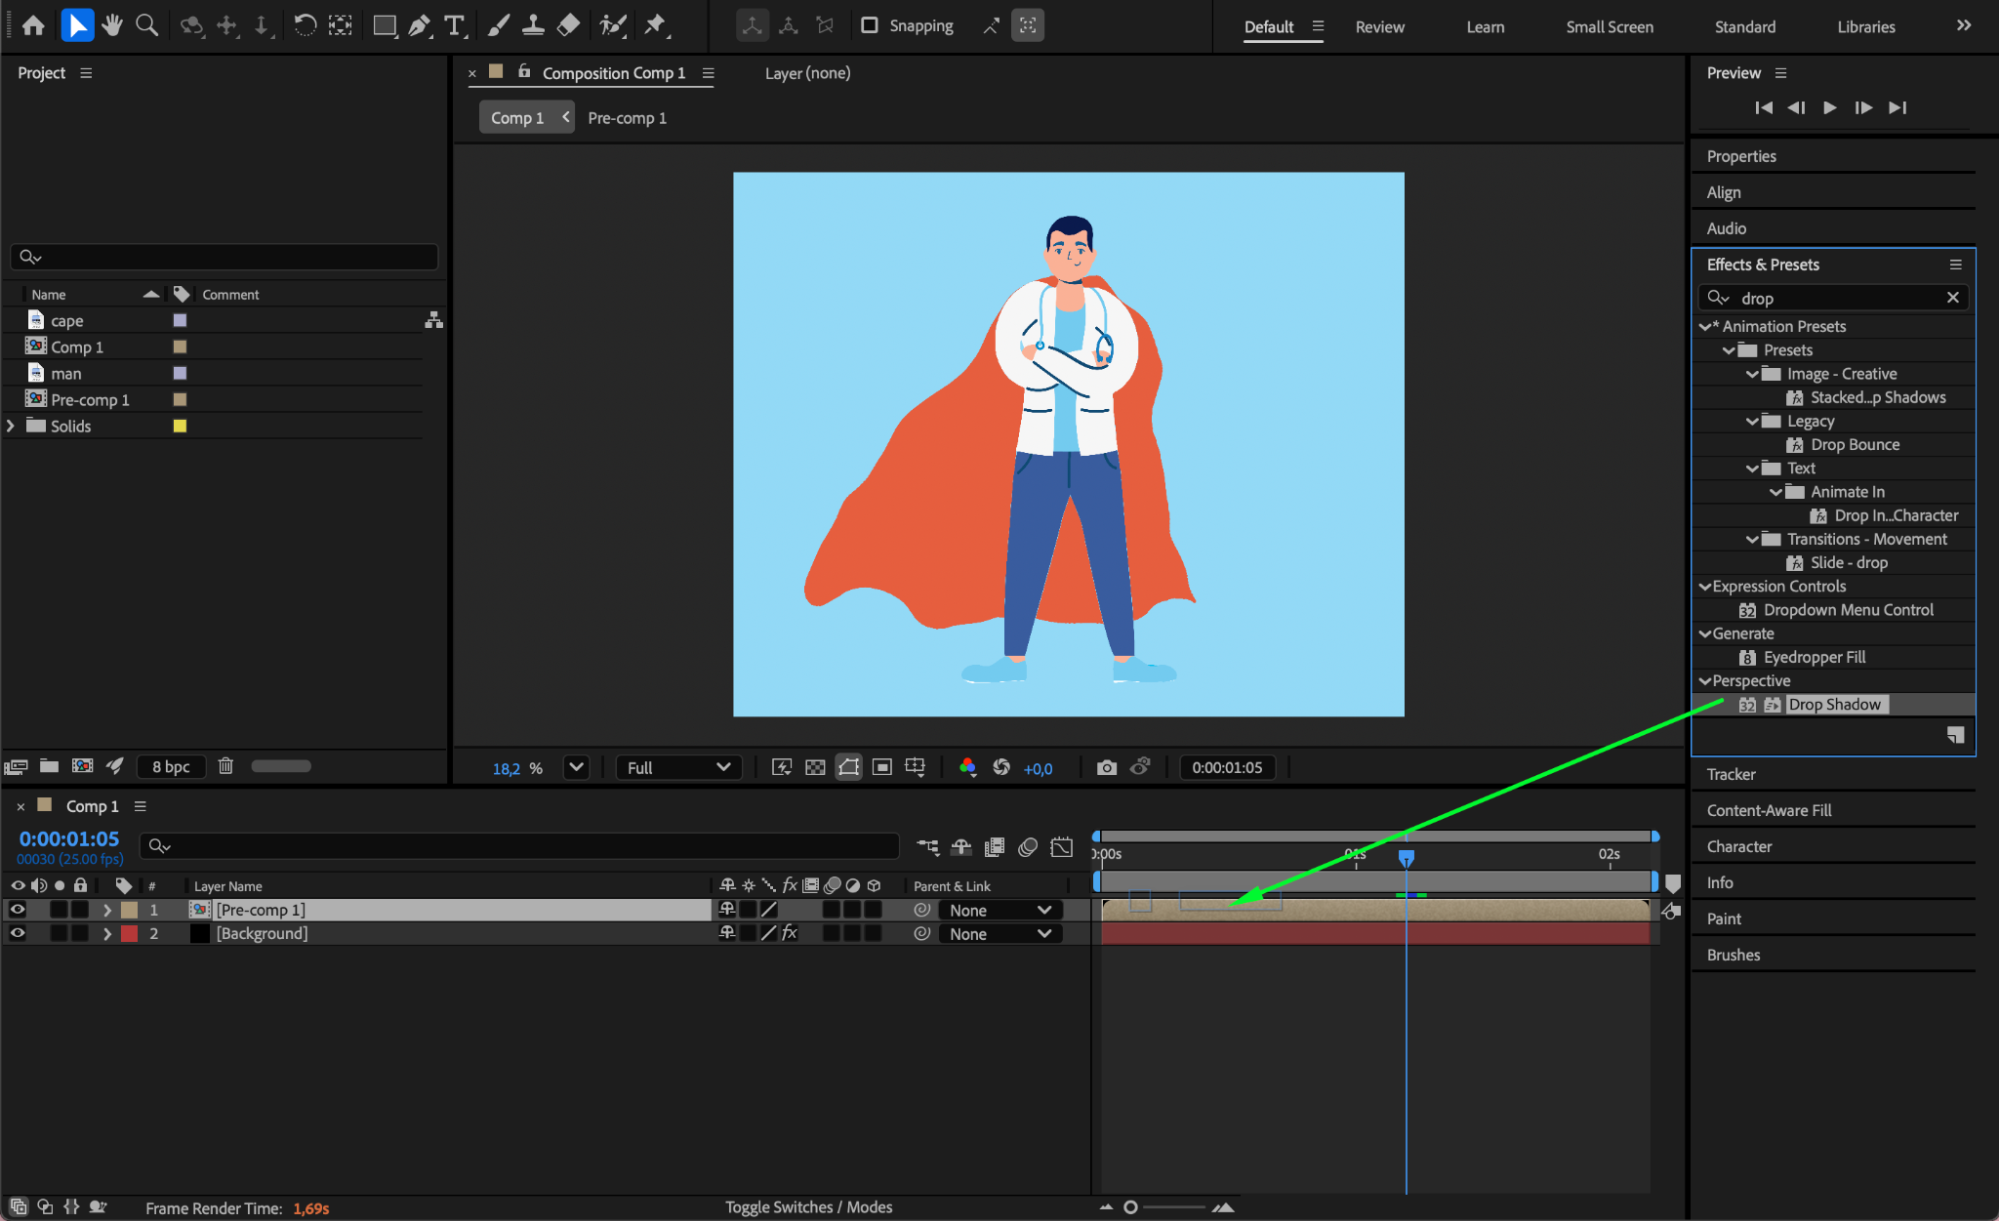 Step 3: Animate the Cape Movement
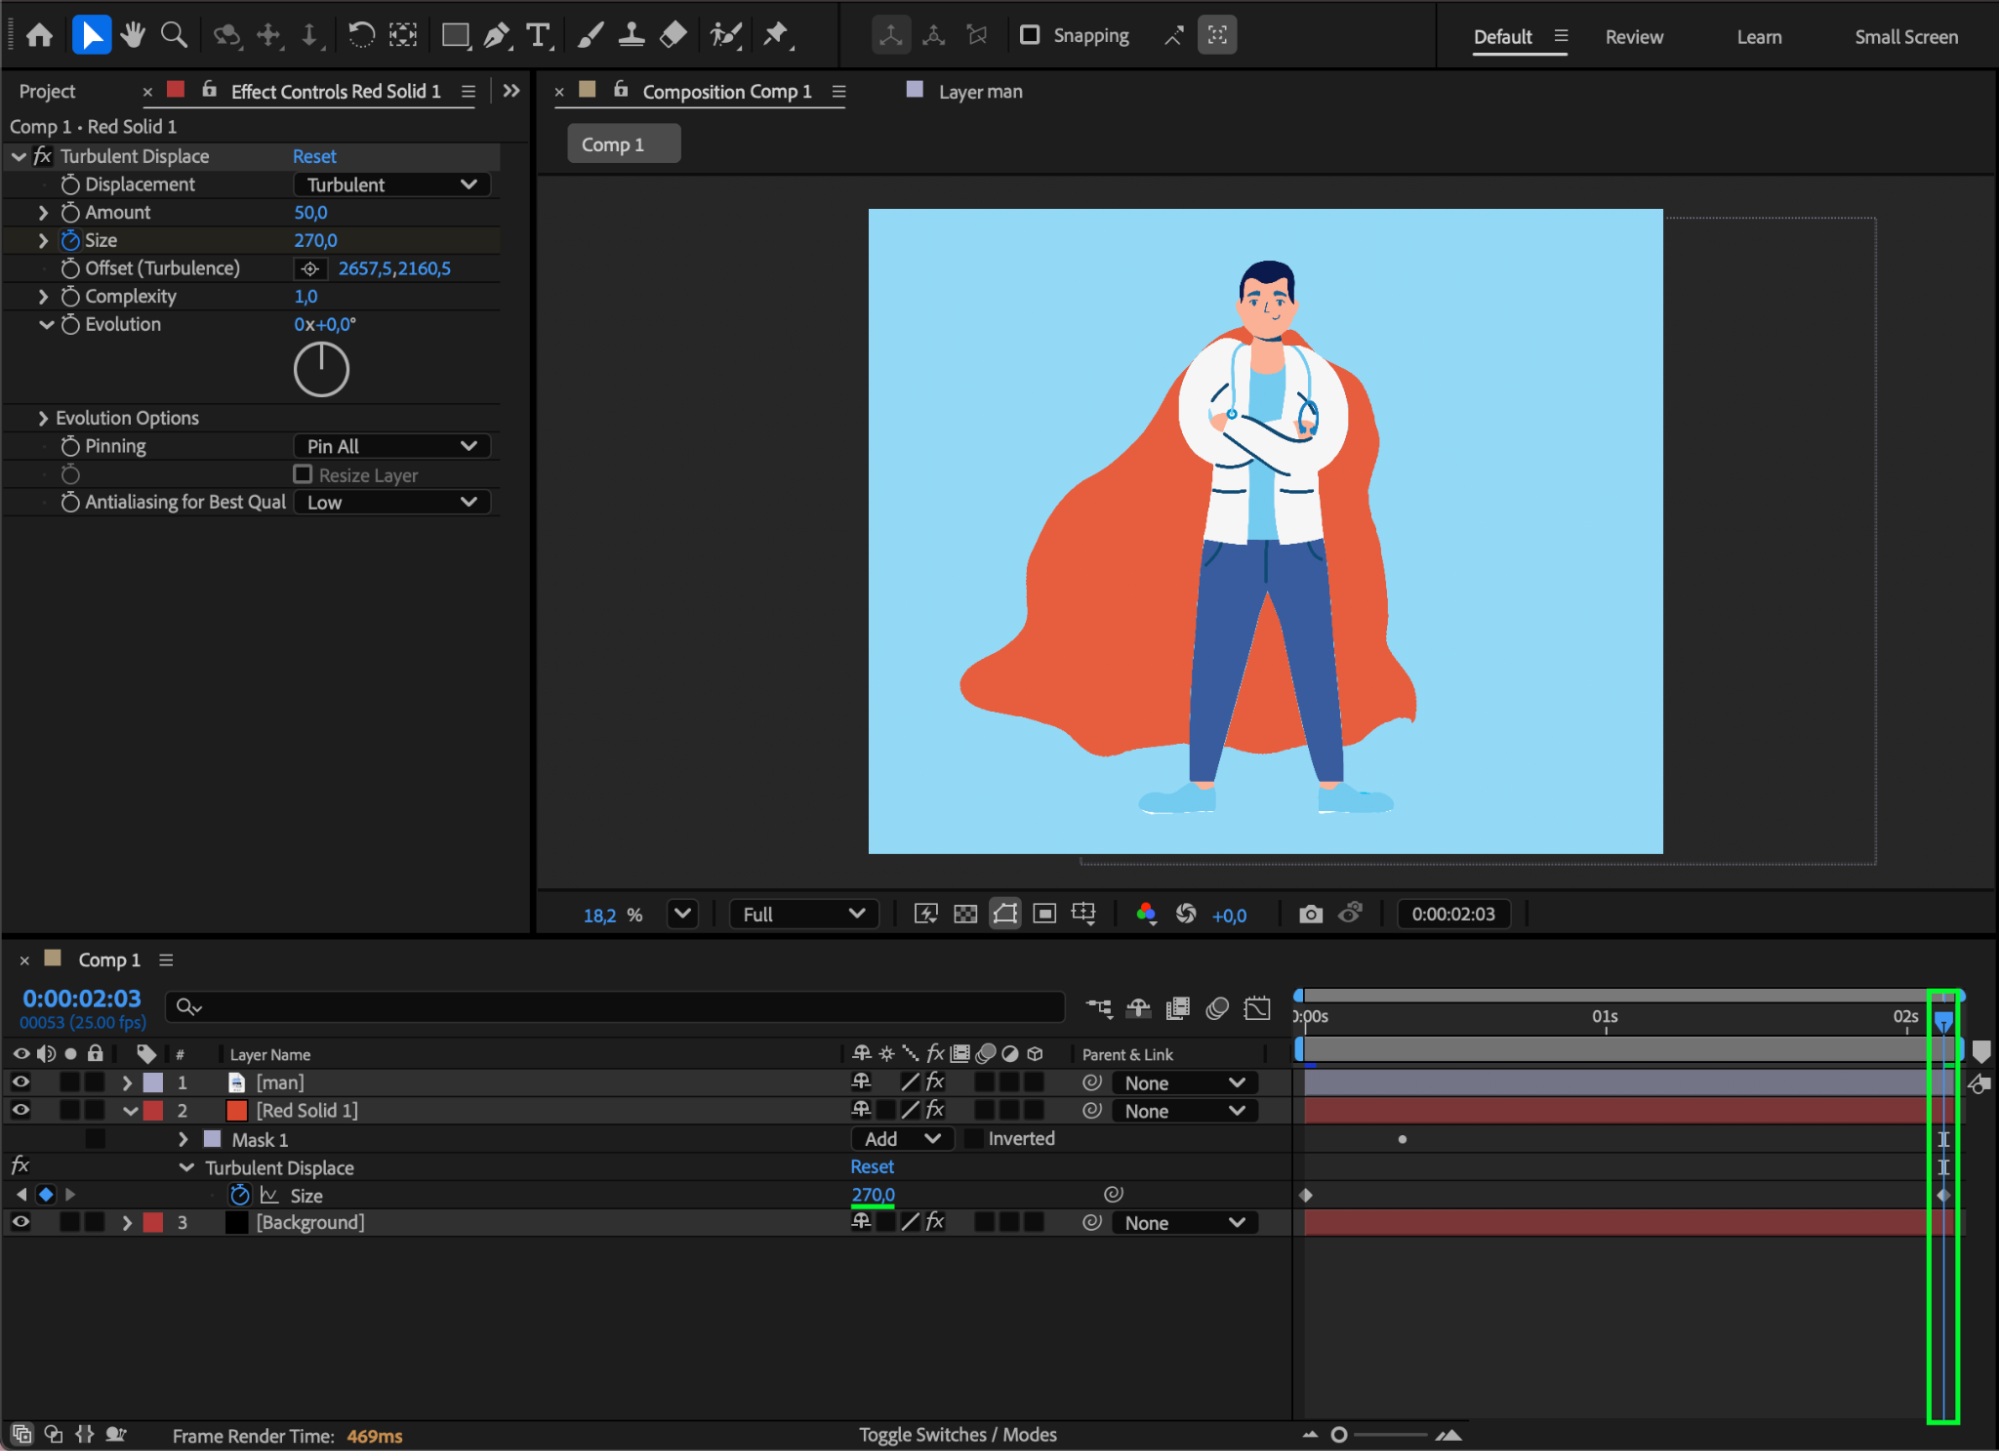
In the Effect Controls panel, animate the Size parameter:
At the start of the composition: set Size = 140
At the end of the composition: set Size = 270
This gradual change creates the feeling of wind increasing across the cape.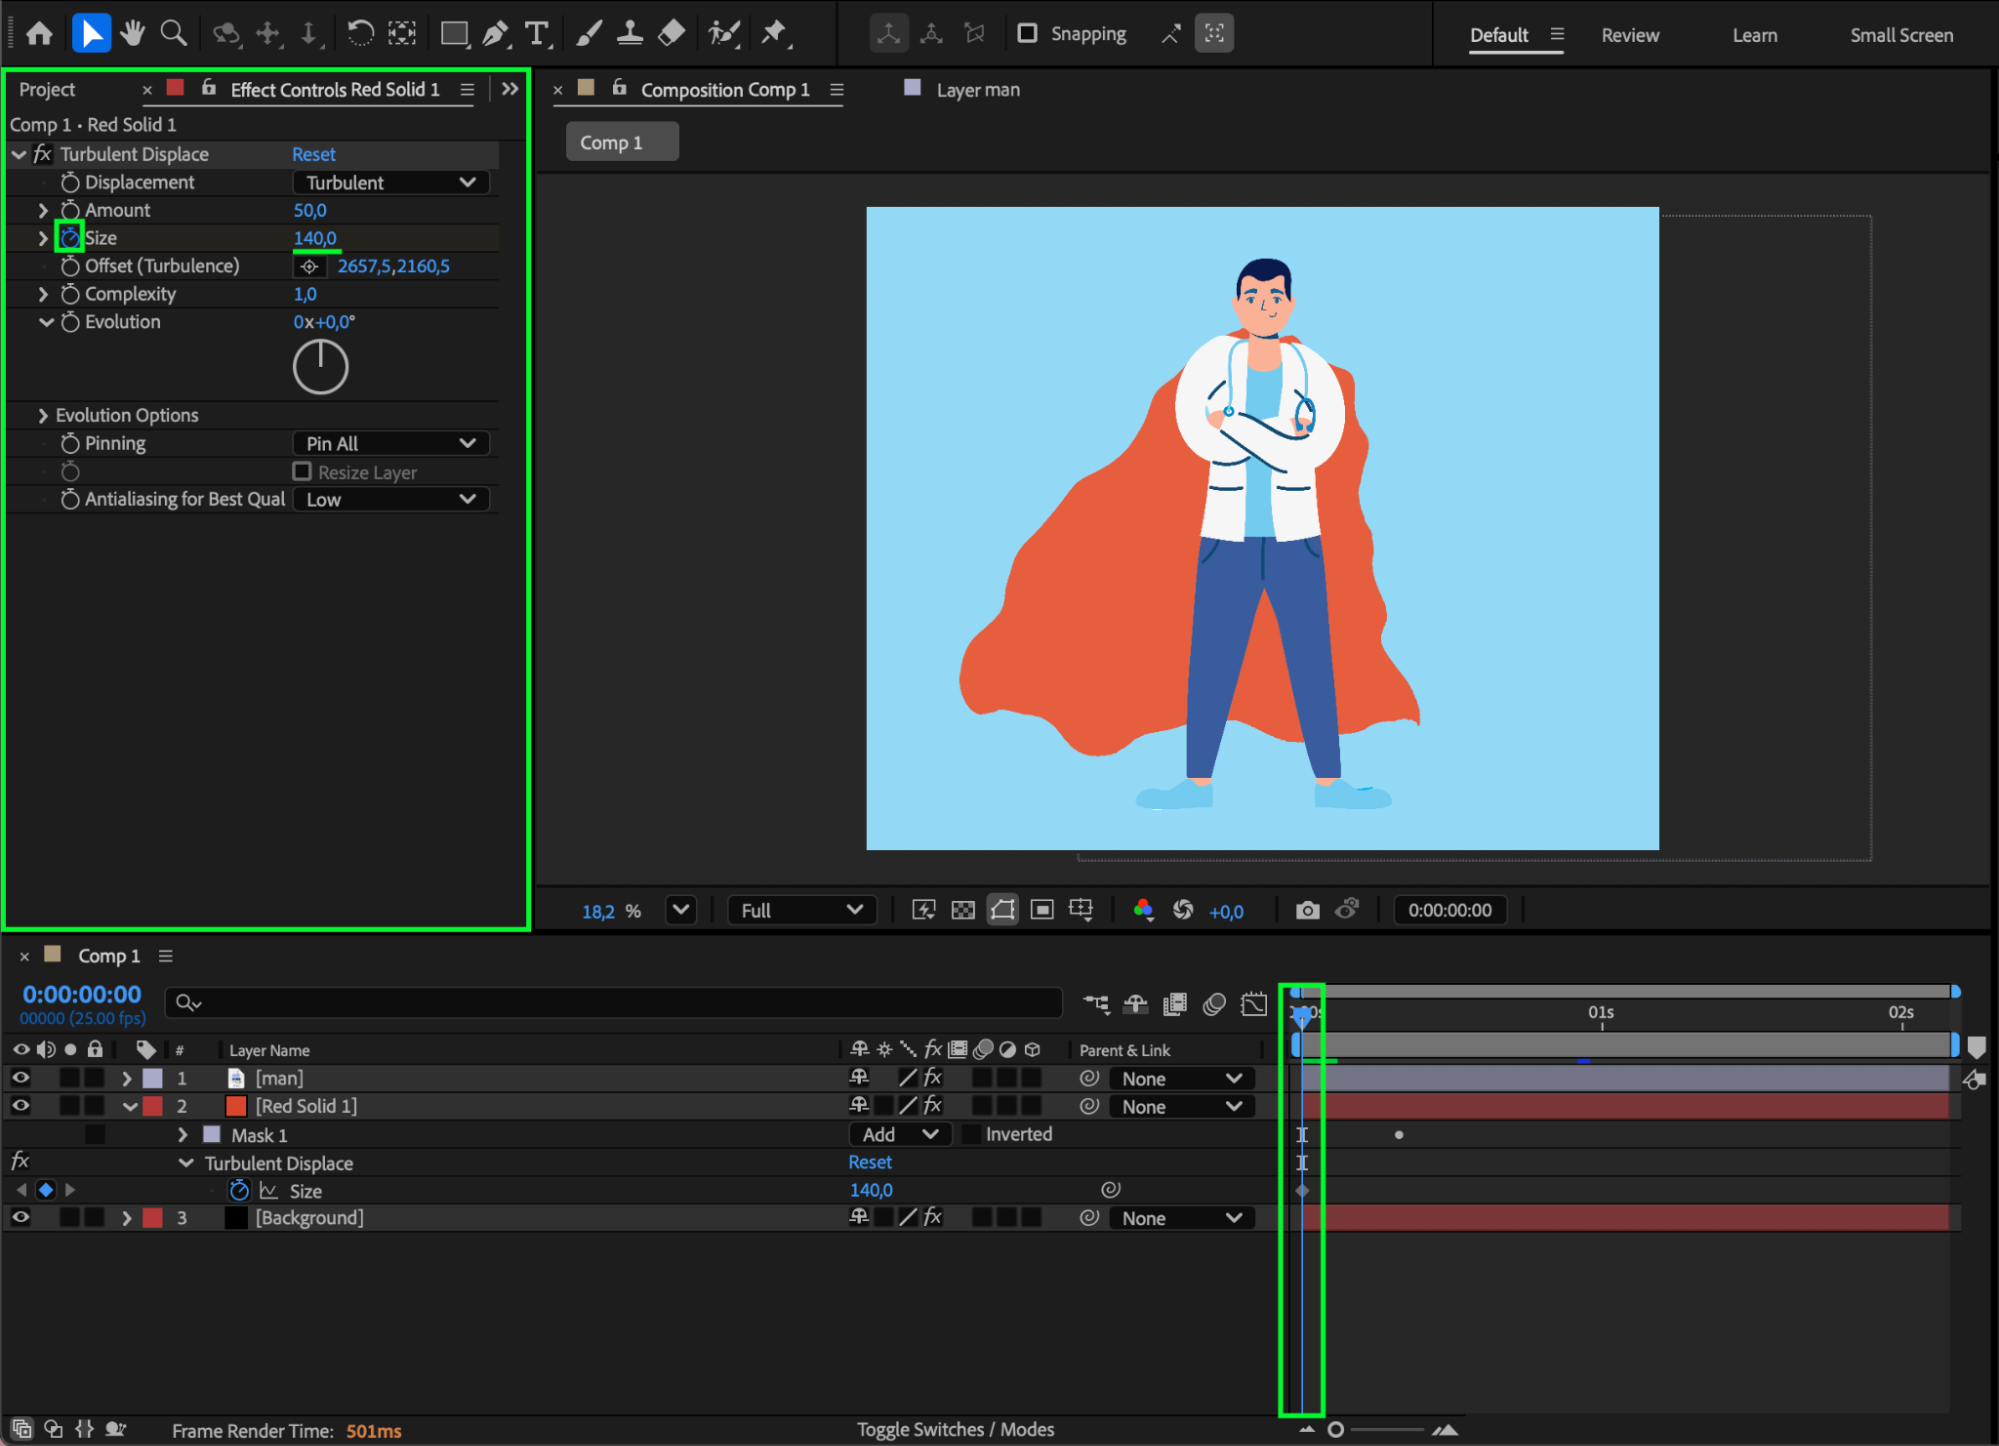
Step 4: Create a Unified Shadow
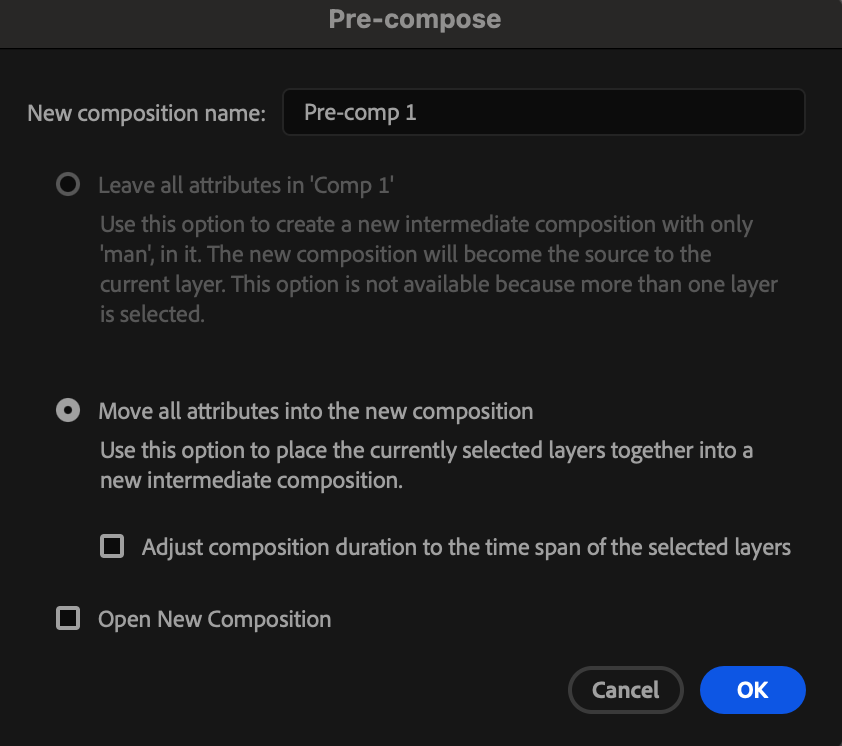
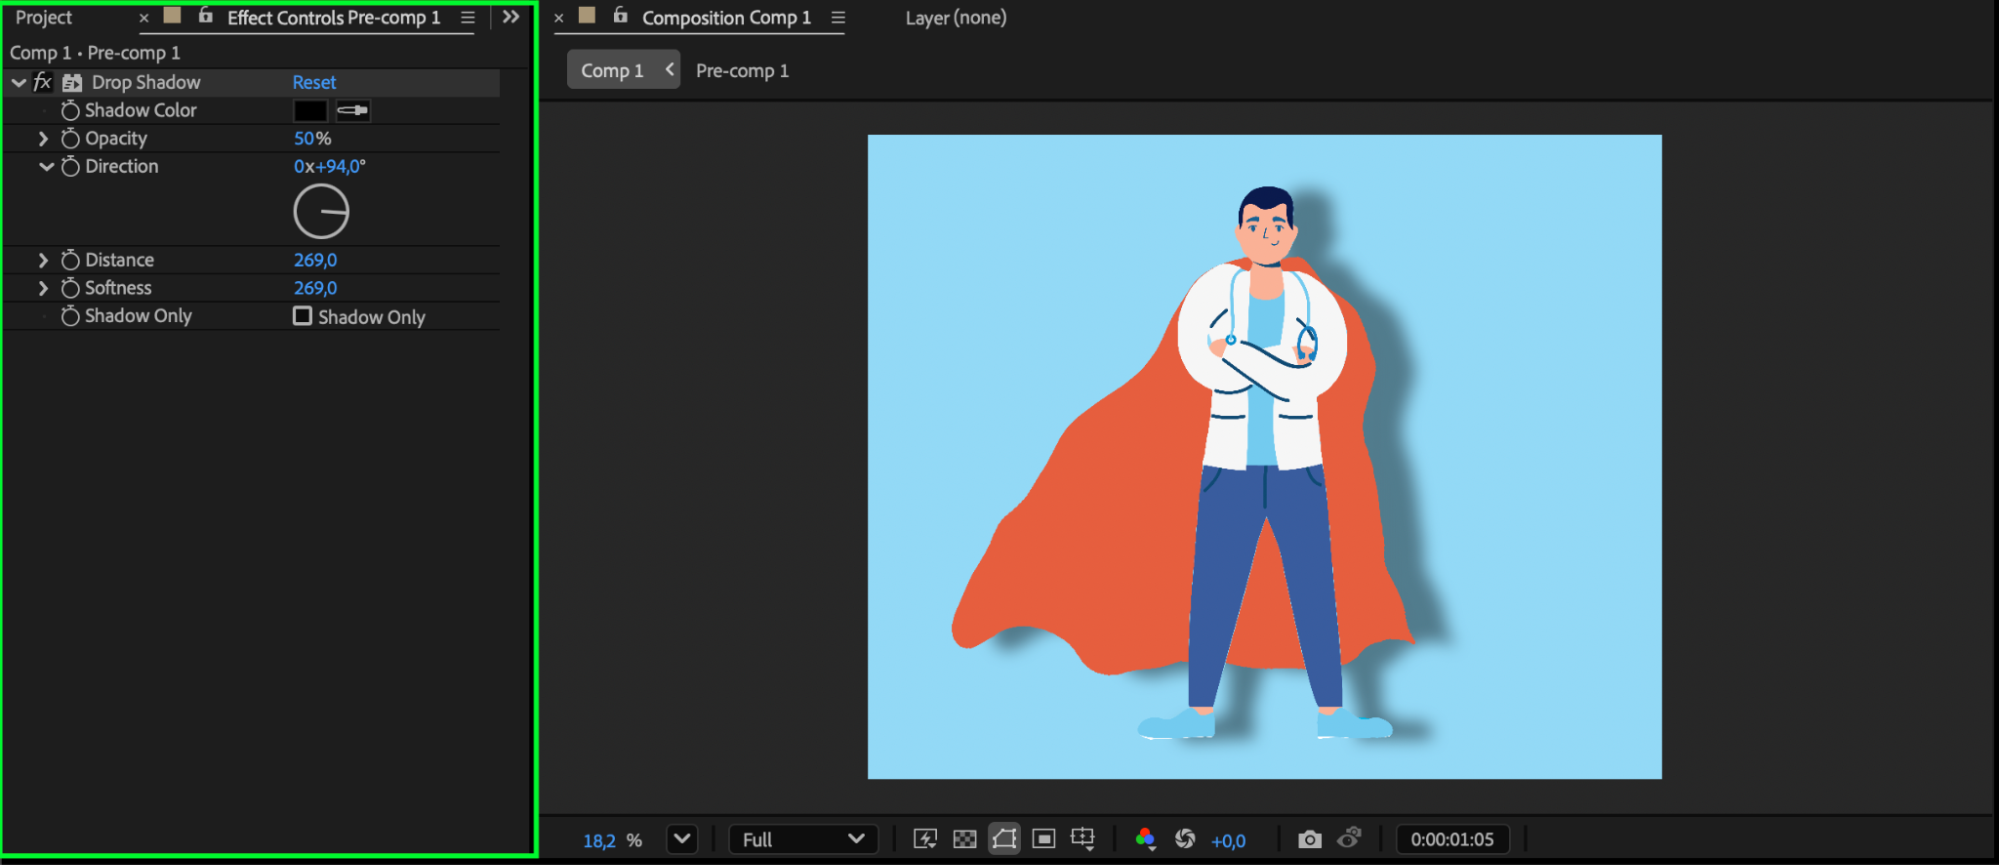
Select both the cape layer and the character layer, then Pre-compose them. Apply the Drop Shadow effect to the pre-comp. This ensures the shadow reacts as one object, making the character and cape feel naturally connected.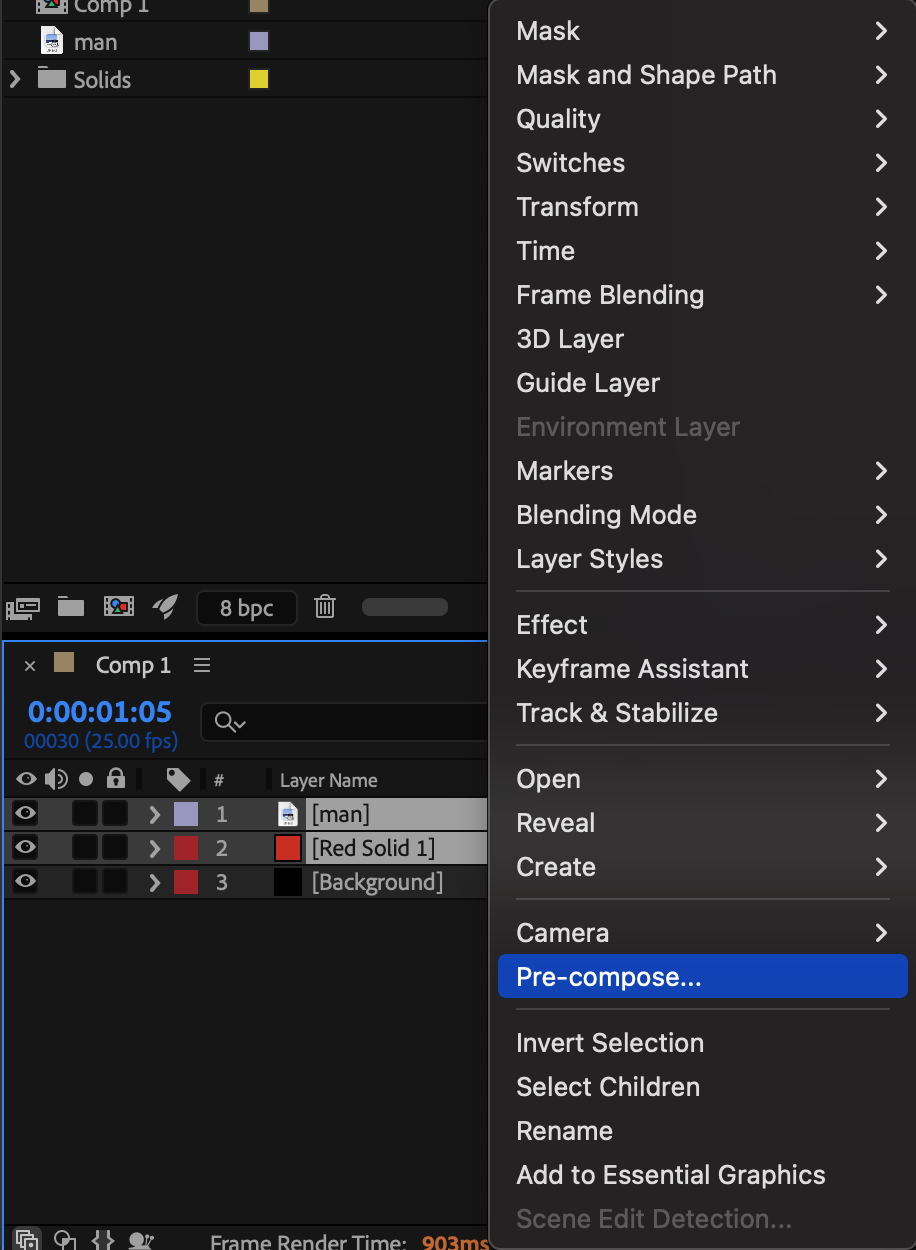
 Step 5: Preview and Refine
Preview the animation and adjust the Turbulent Displace settings if needed to match the wind strength and direction of your scene.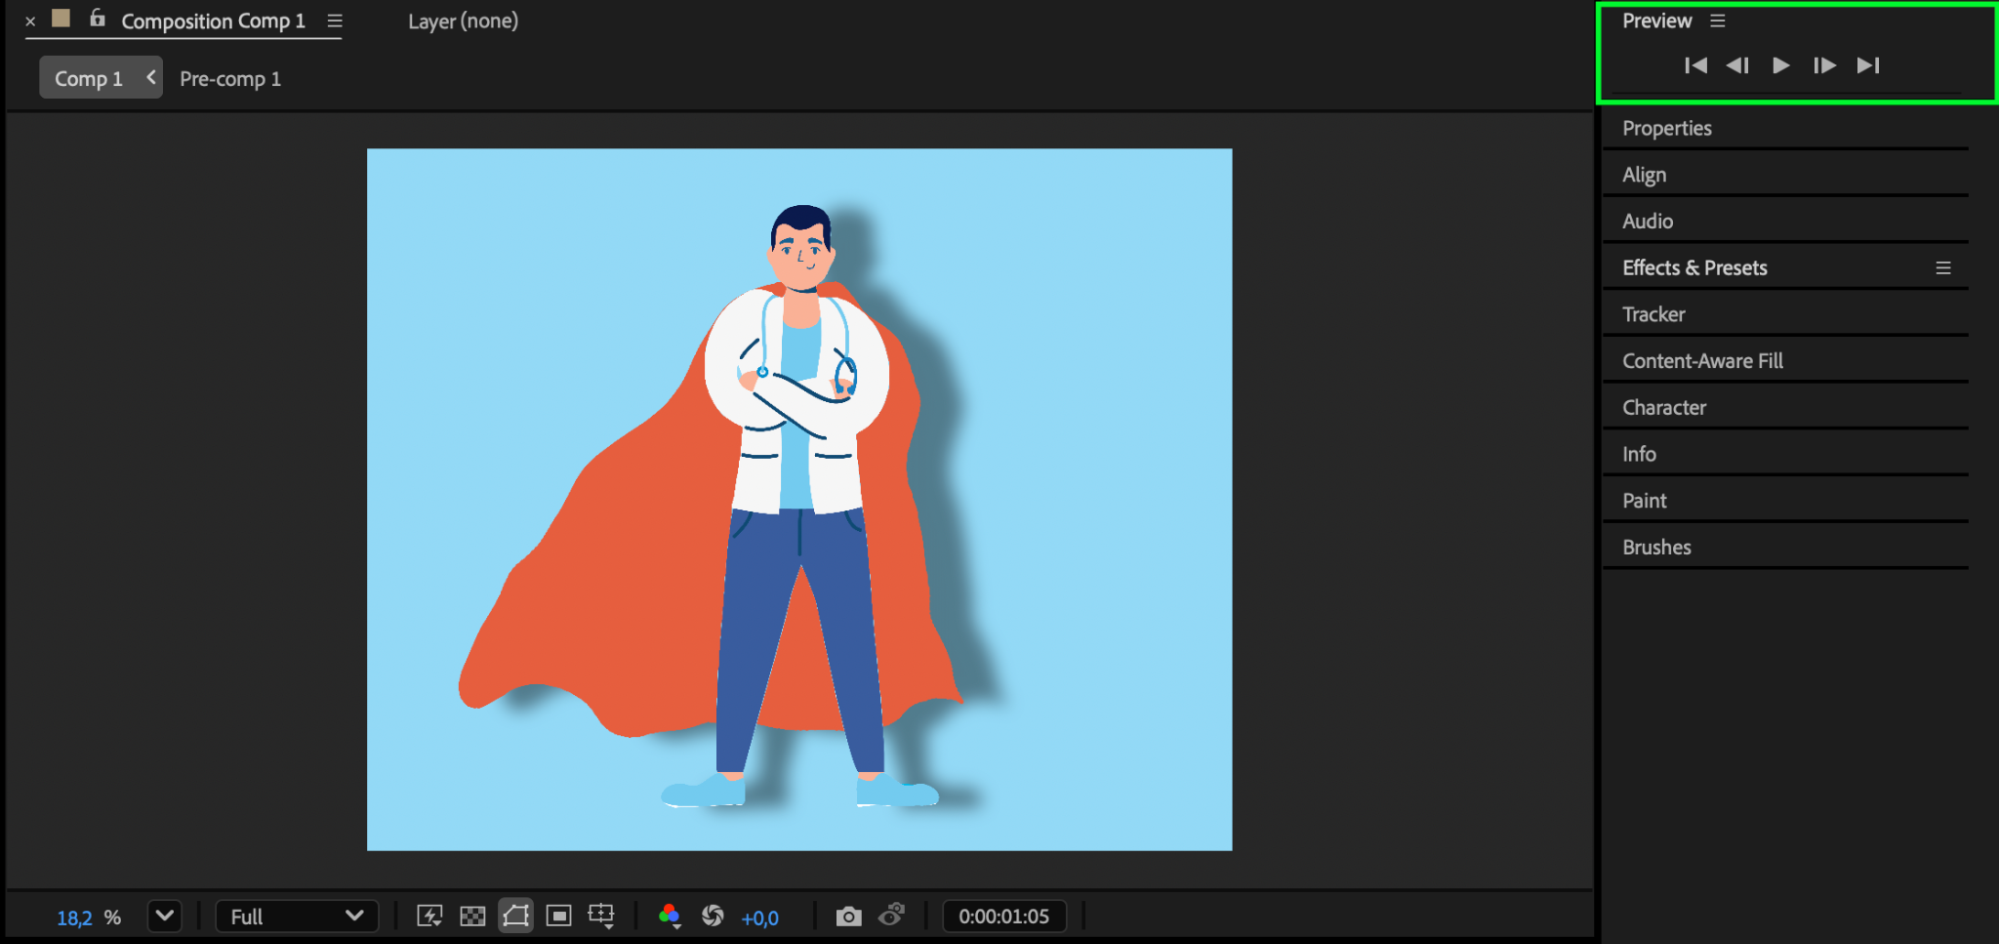 Conclusion
By animating Turbulent Displace and combining the cape with the character for shadow casting, you can quickly create a convincing wind-blown cape effect. This method is lightweight, flexible, and works well for cinematic shots, illustrations, and motion graphics in After Effects.
Our Bestsellers
Our Bestsellers

