Introduction
Adding a shadow figure helps ground a person in a scene and makes composites feel more realistic. In this tutorial, you’ll learn how to create a believable shadow in After Effects using Keylight, Fill, 3D rotation, and blur.
Step 1: Import Your Footage
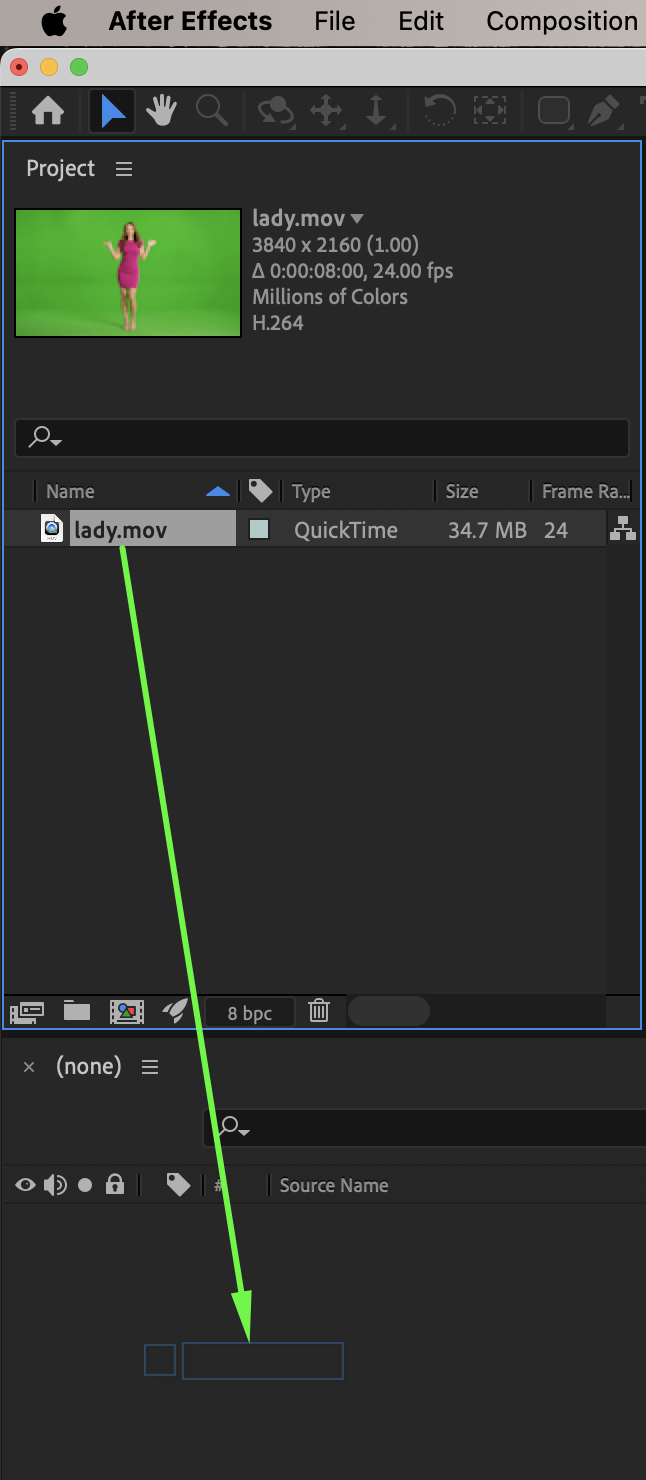
Go to File → Import → File and import your video of the person. Drag it onto the timeline.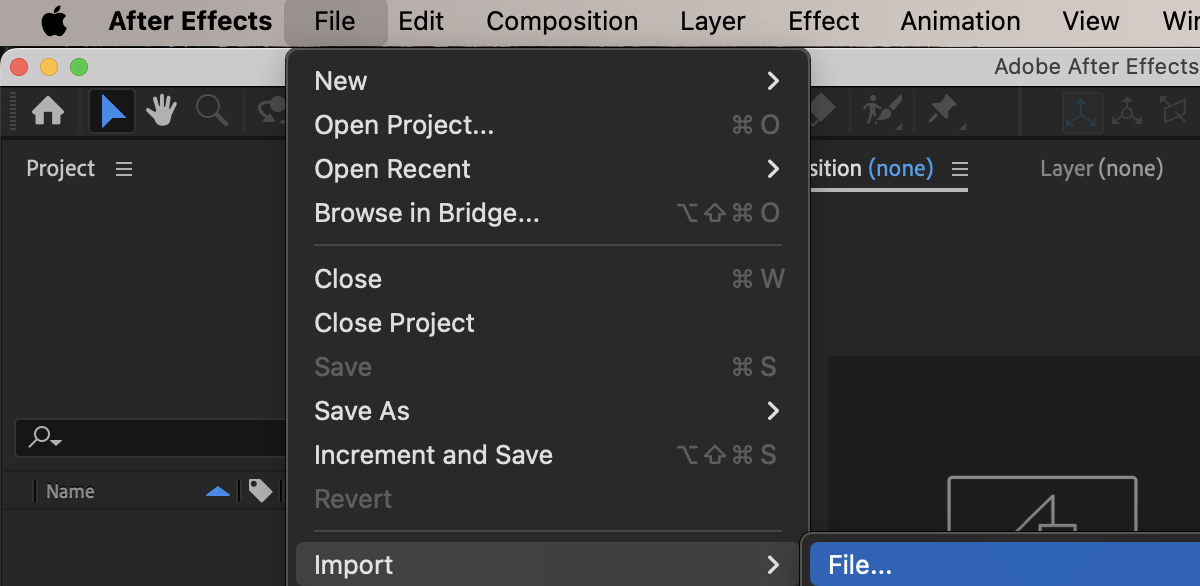
 Step 2: Remove the Background
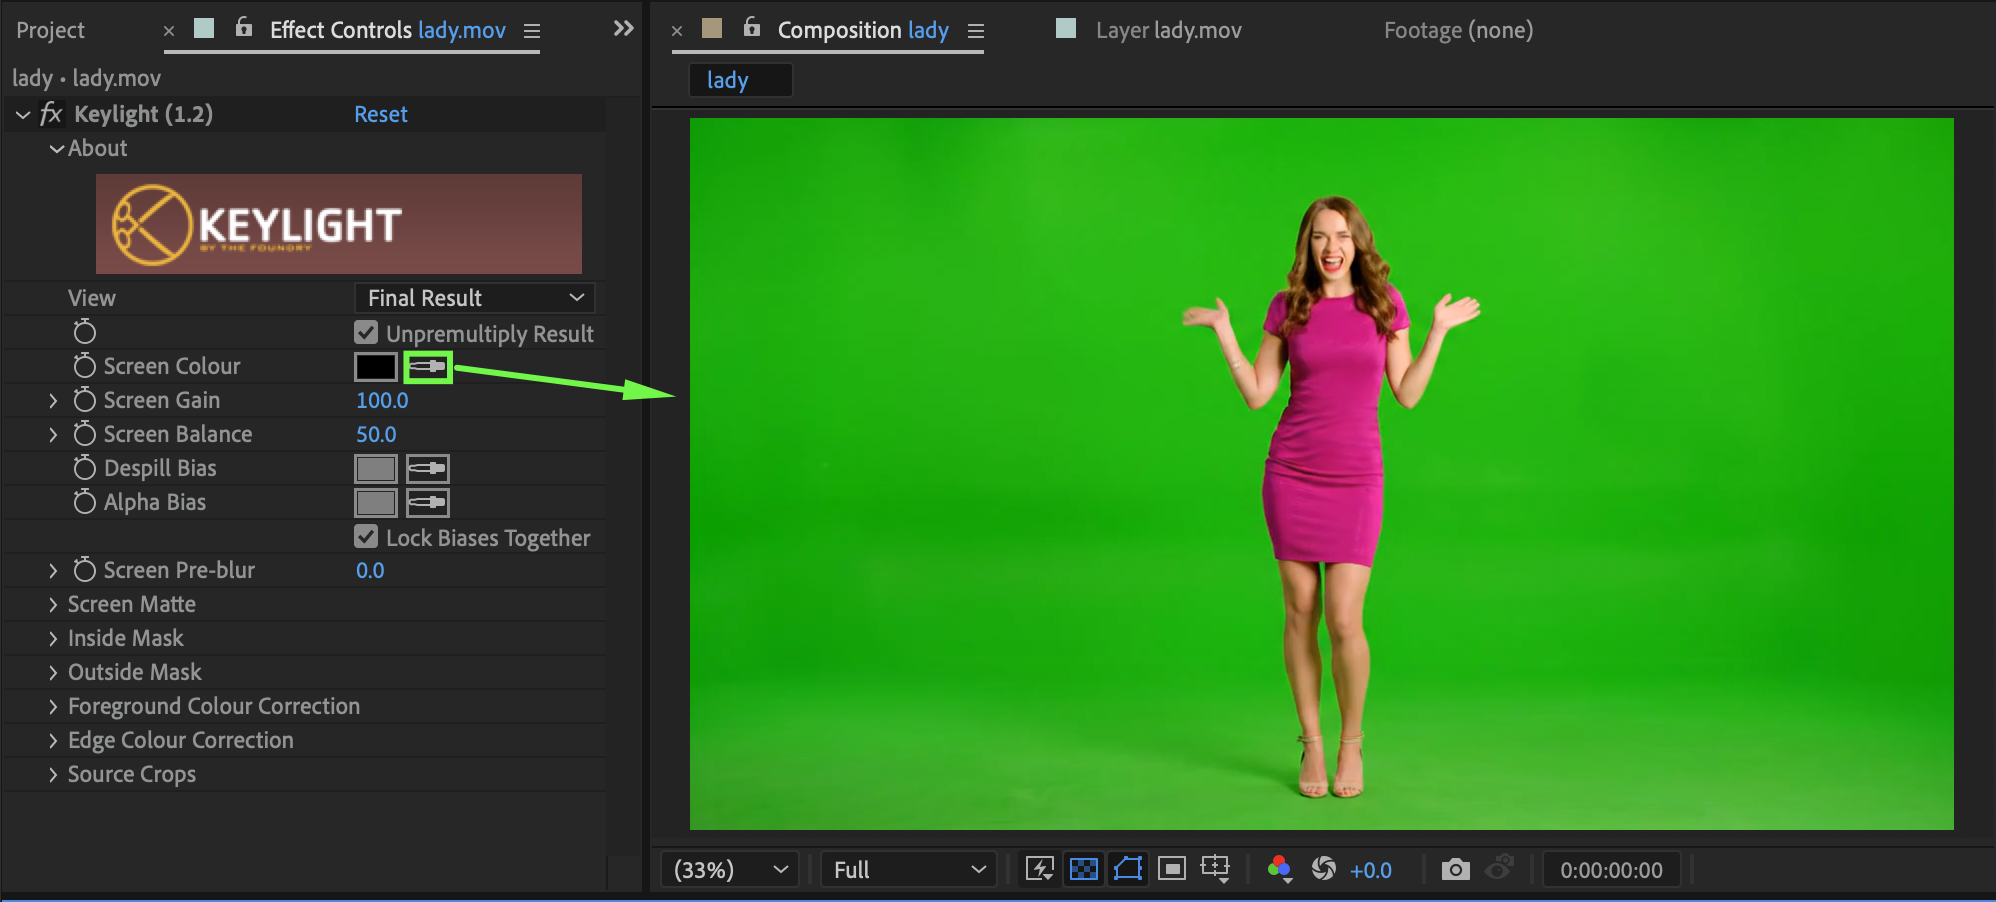
Select the footage layer. From the Effects & Presets panel, apply Keylight (1.2). Use the Screen Colour eyedropper to remove the green background. If needed, enable Colour Correction inside Keylight and adjust the settings so the subject matches the new background (another video or a solid color).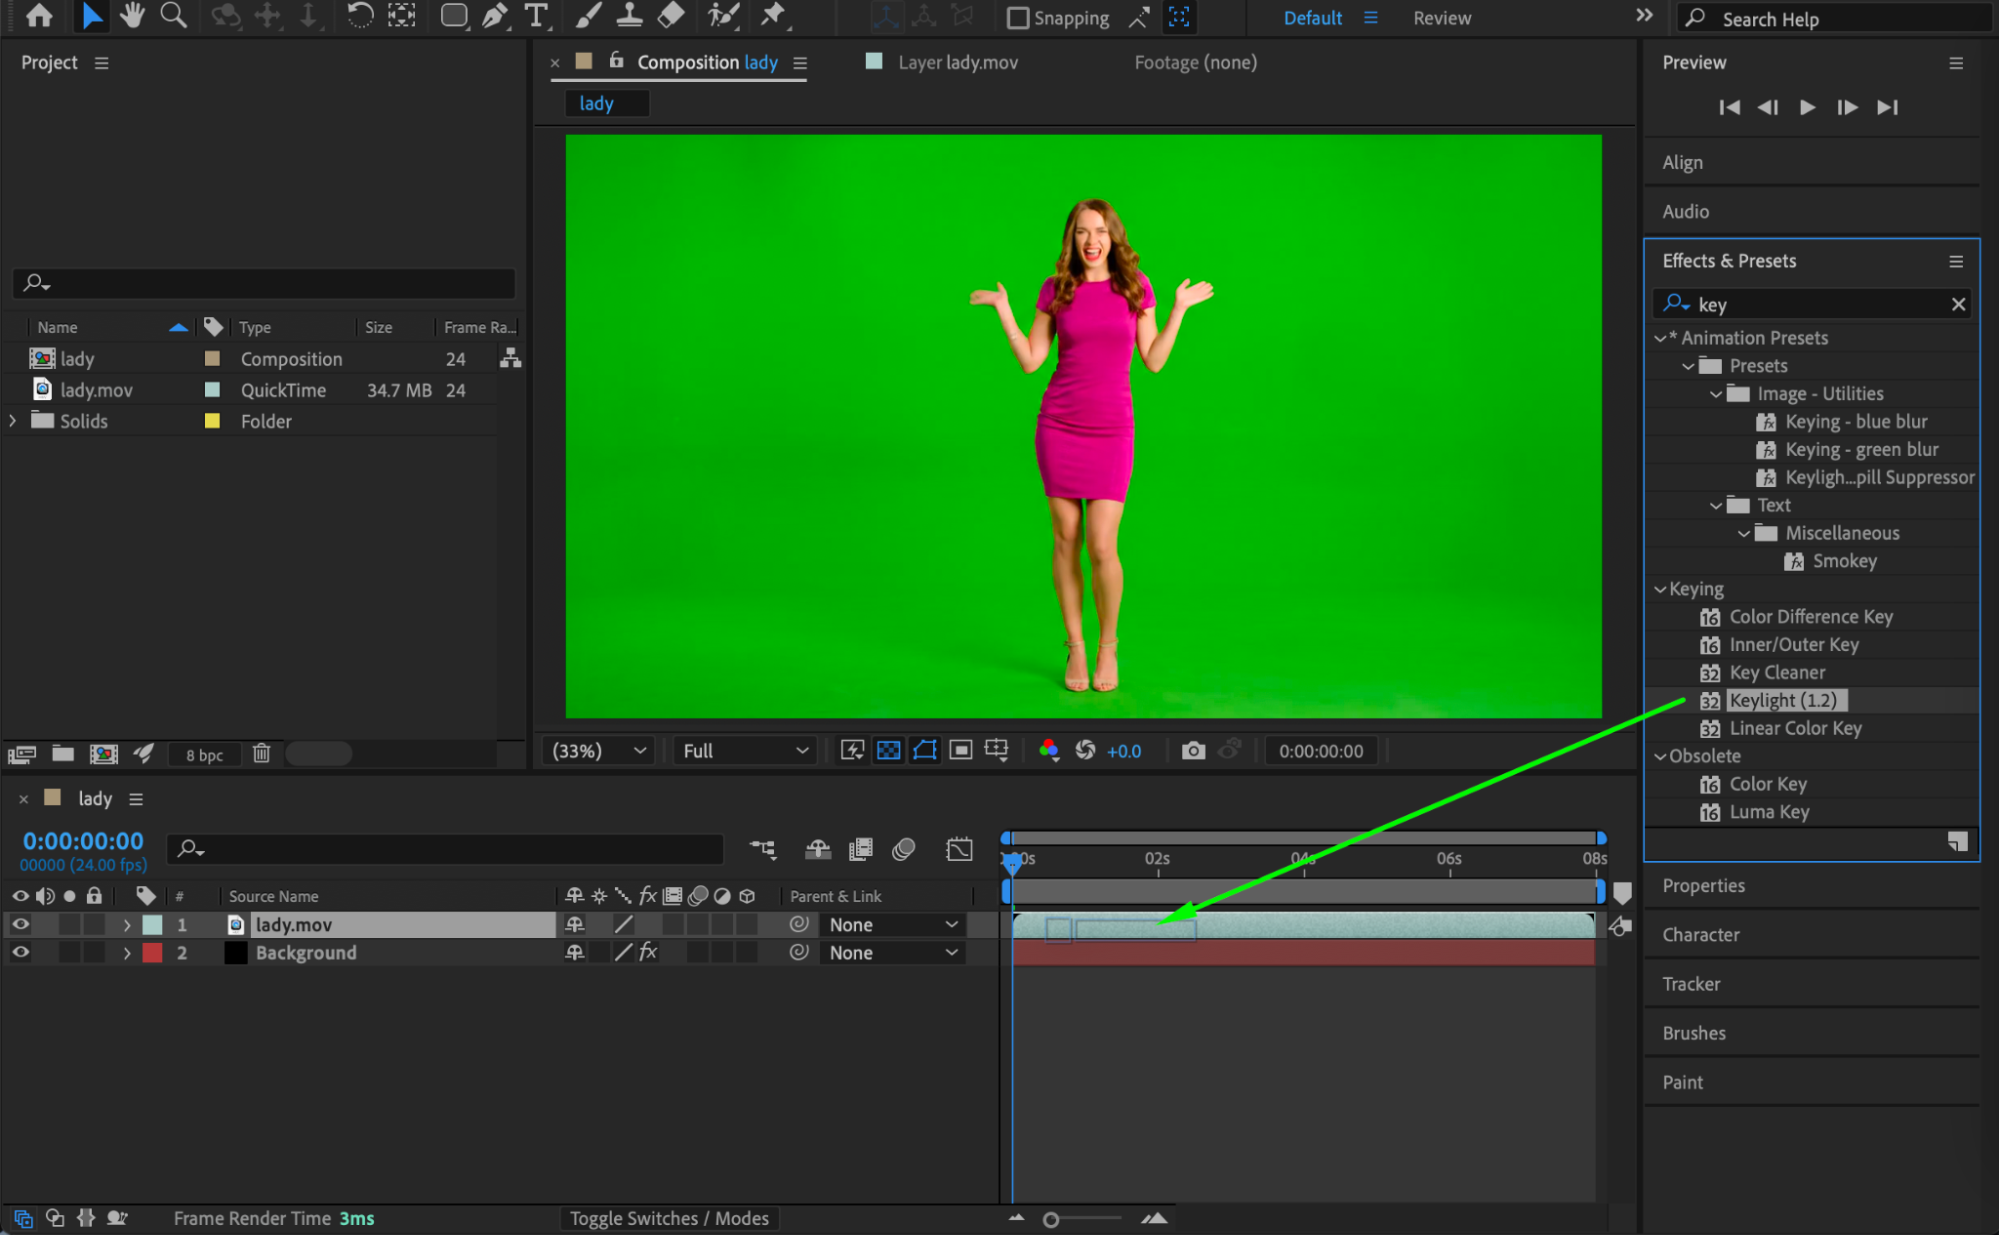

Get 10% off when you subscribe to our newsletter

Step 3: Duplicate the Layer
Duplicate the keyed footage layer. Rename the duplicate layer to Shadow.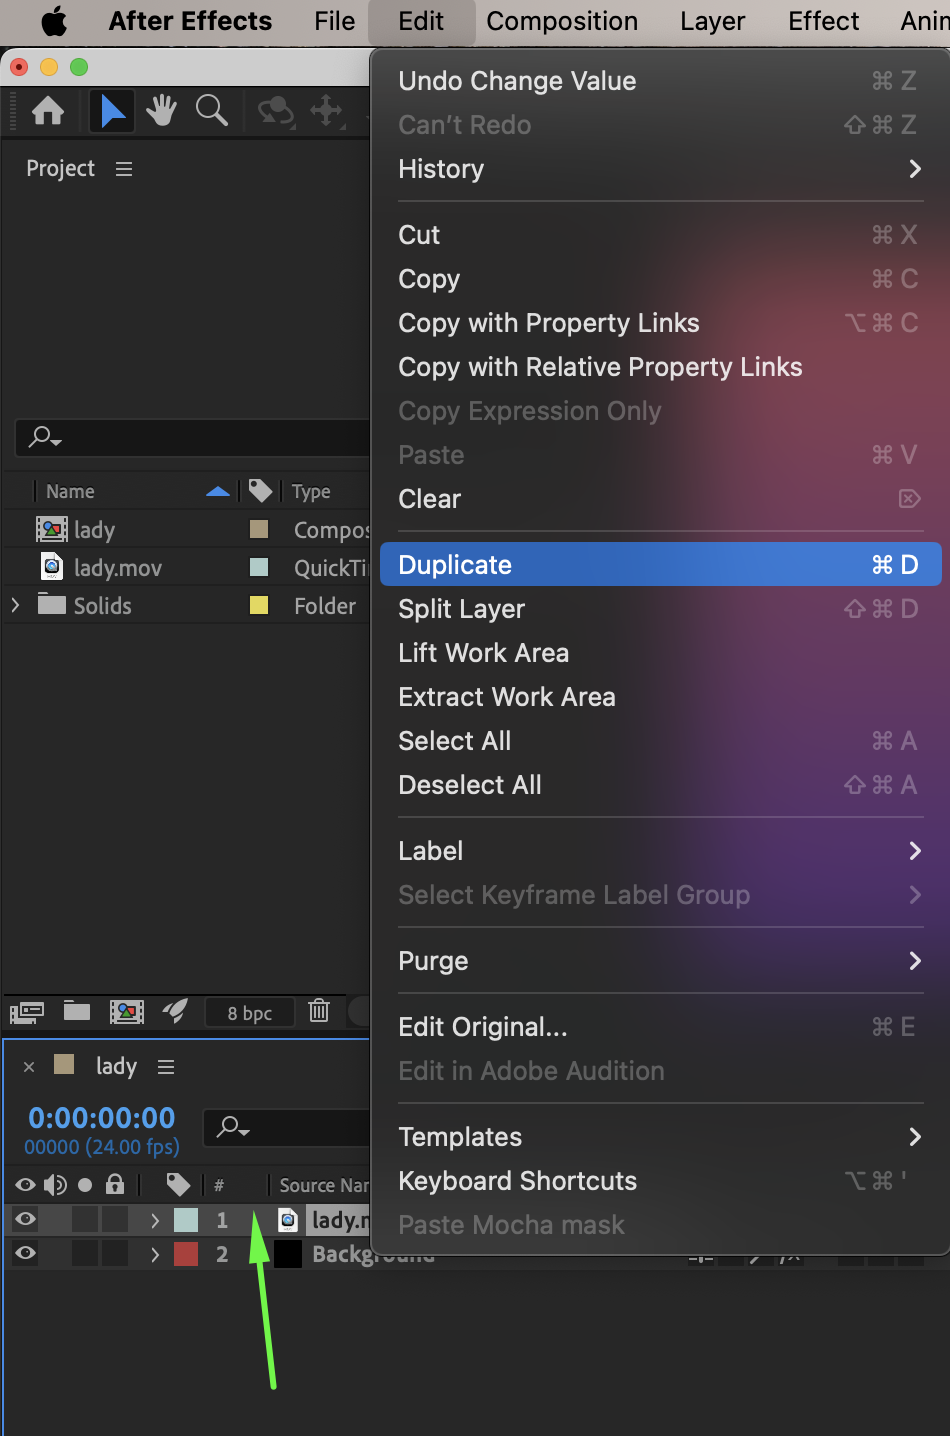 Step 4: Turn the Duplicate into a Shadow
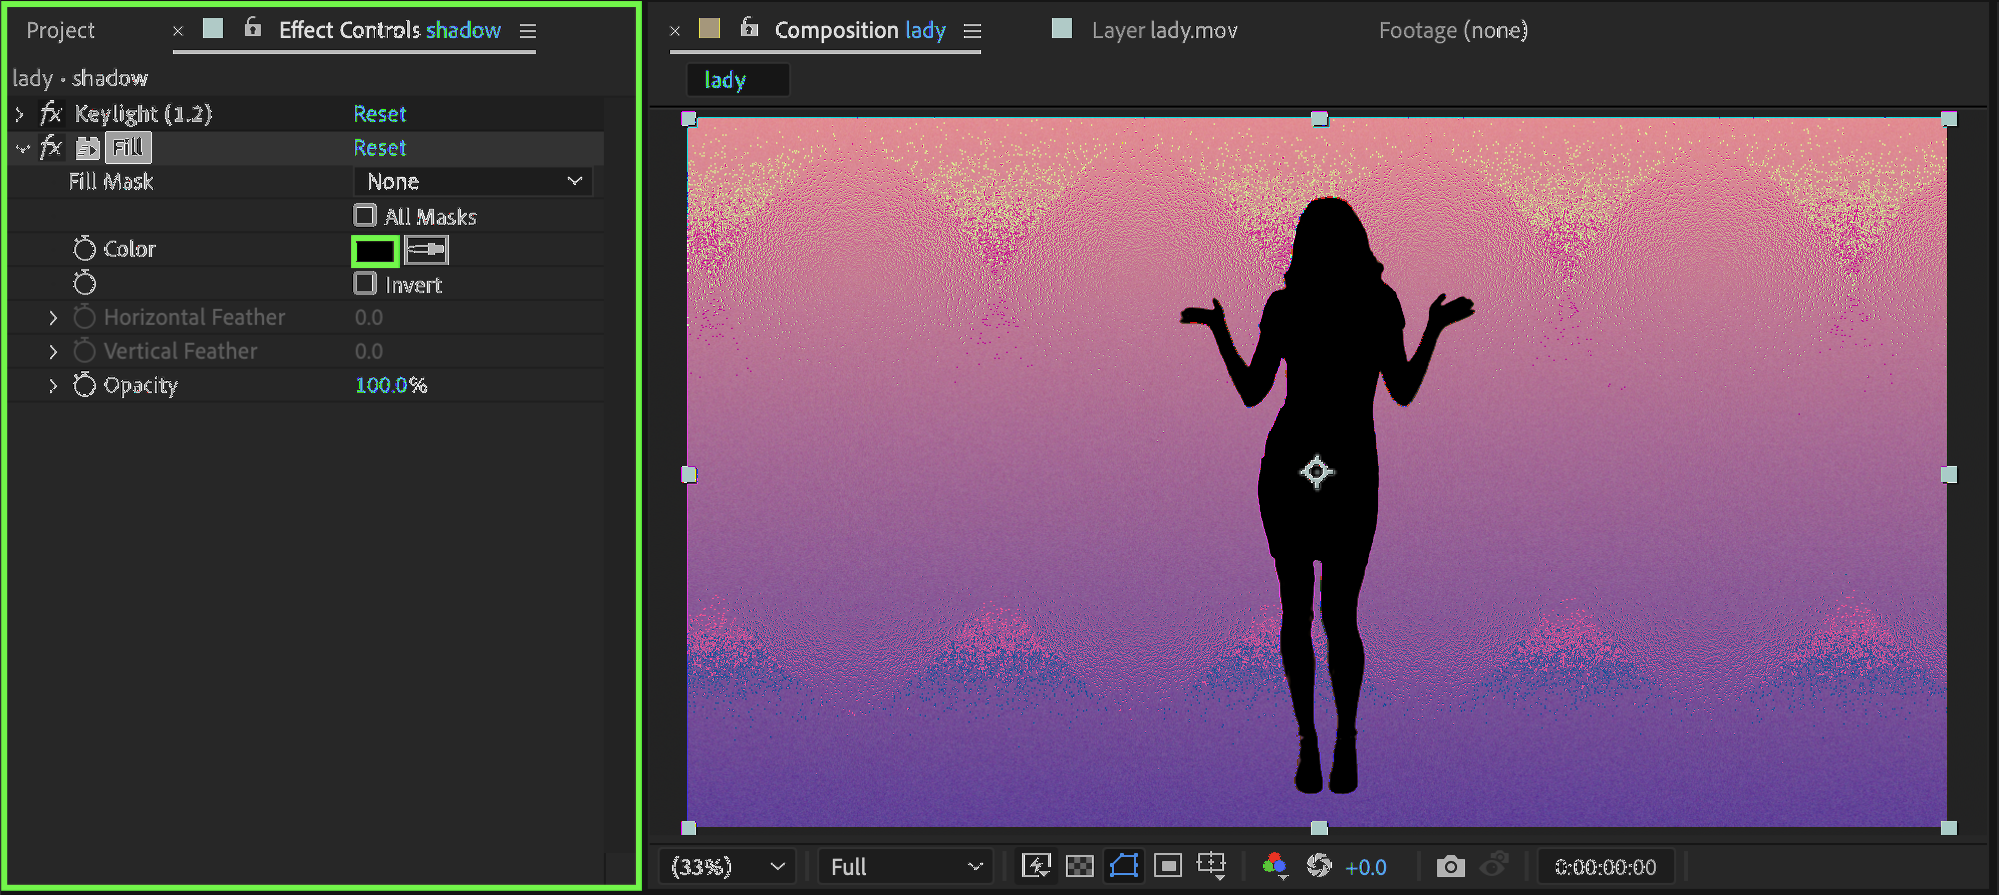
Apply the Fill effect to the Shadow layer. Set the Color to black.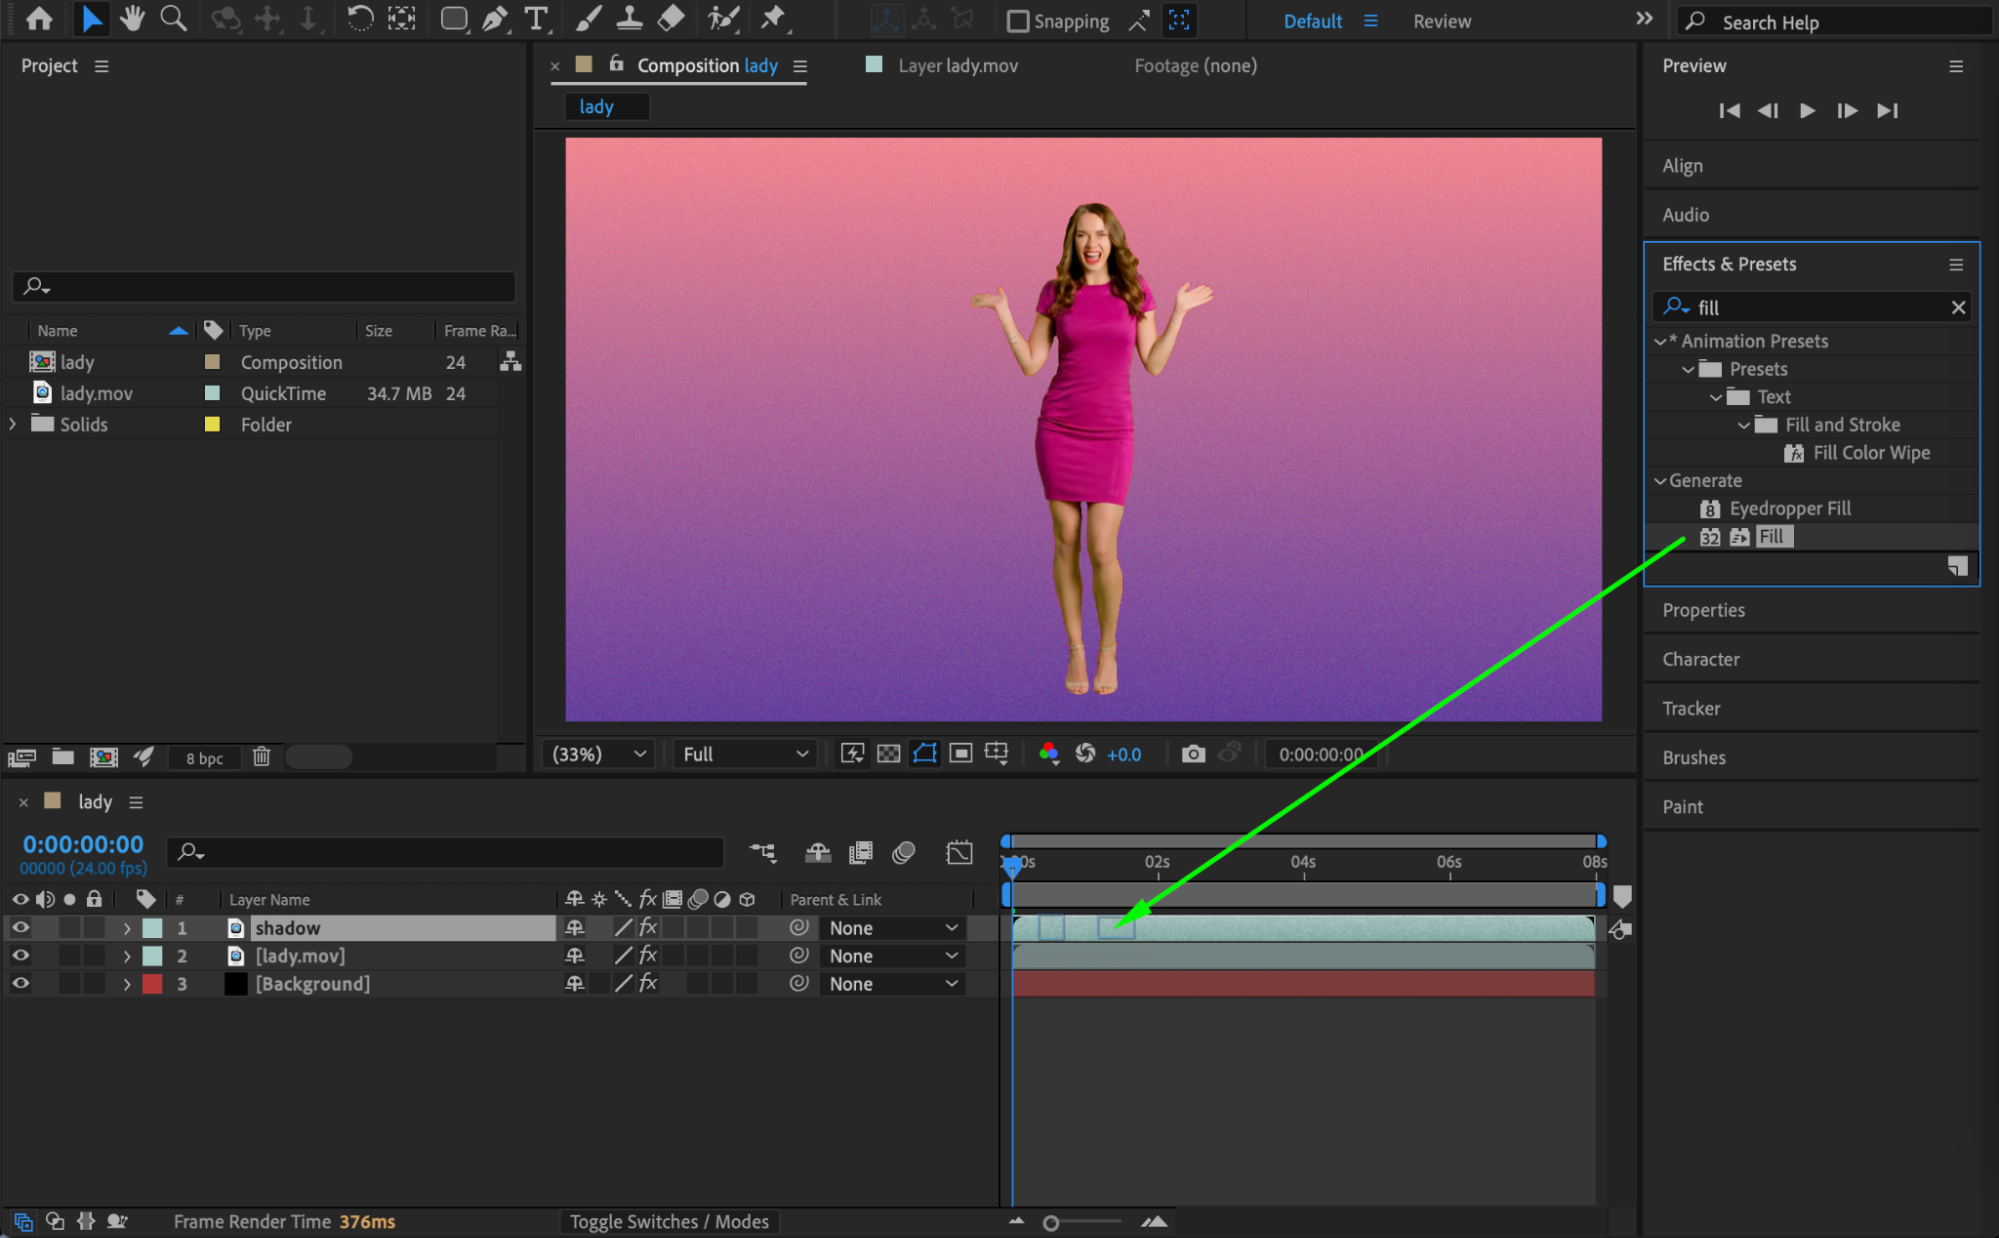
 Step 5: Adjust the Anchor Point
Select the Shadow layer. Use the Pan Behind Tool (Y) to move the Anchor Point to the feet of the person. This allows the shadow to rotate naturally from the ground contact point.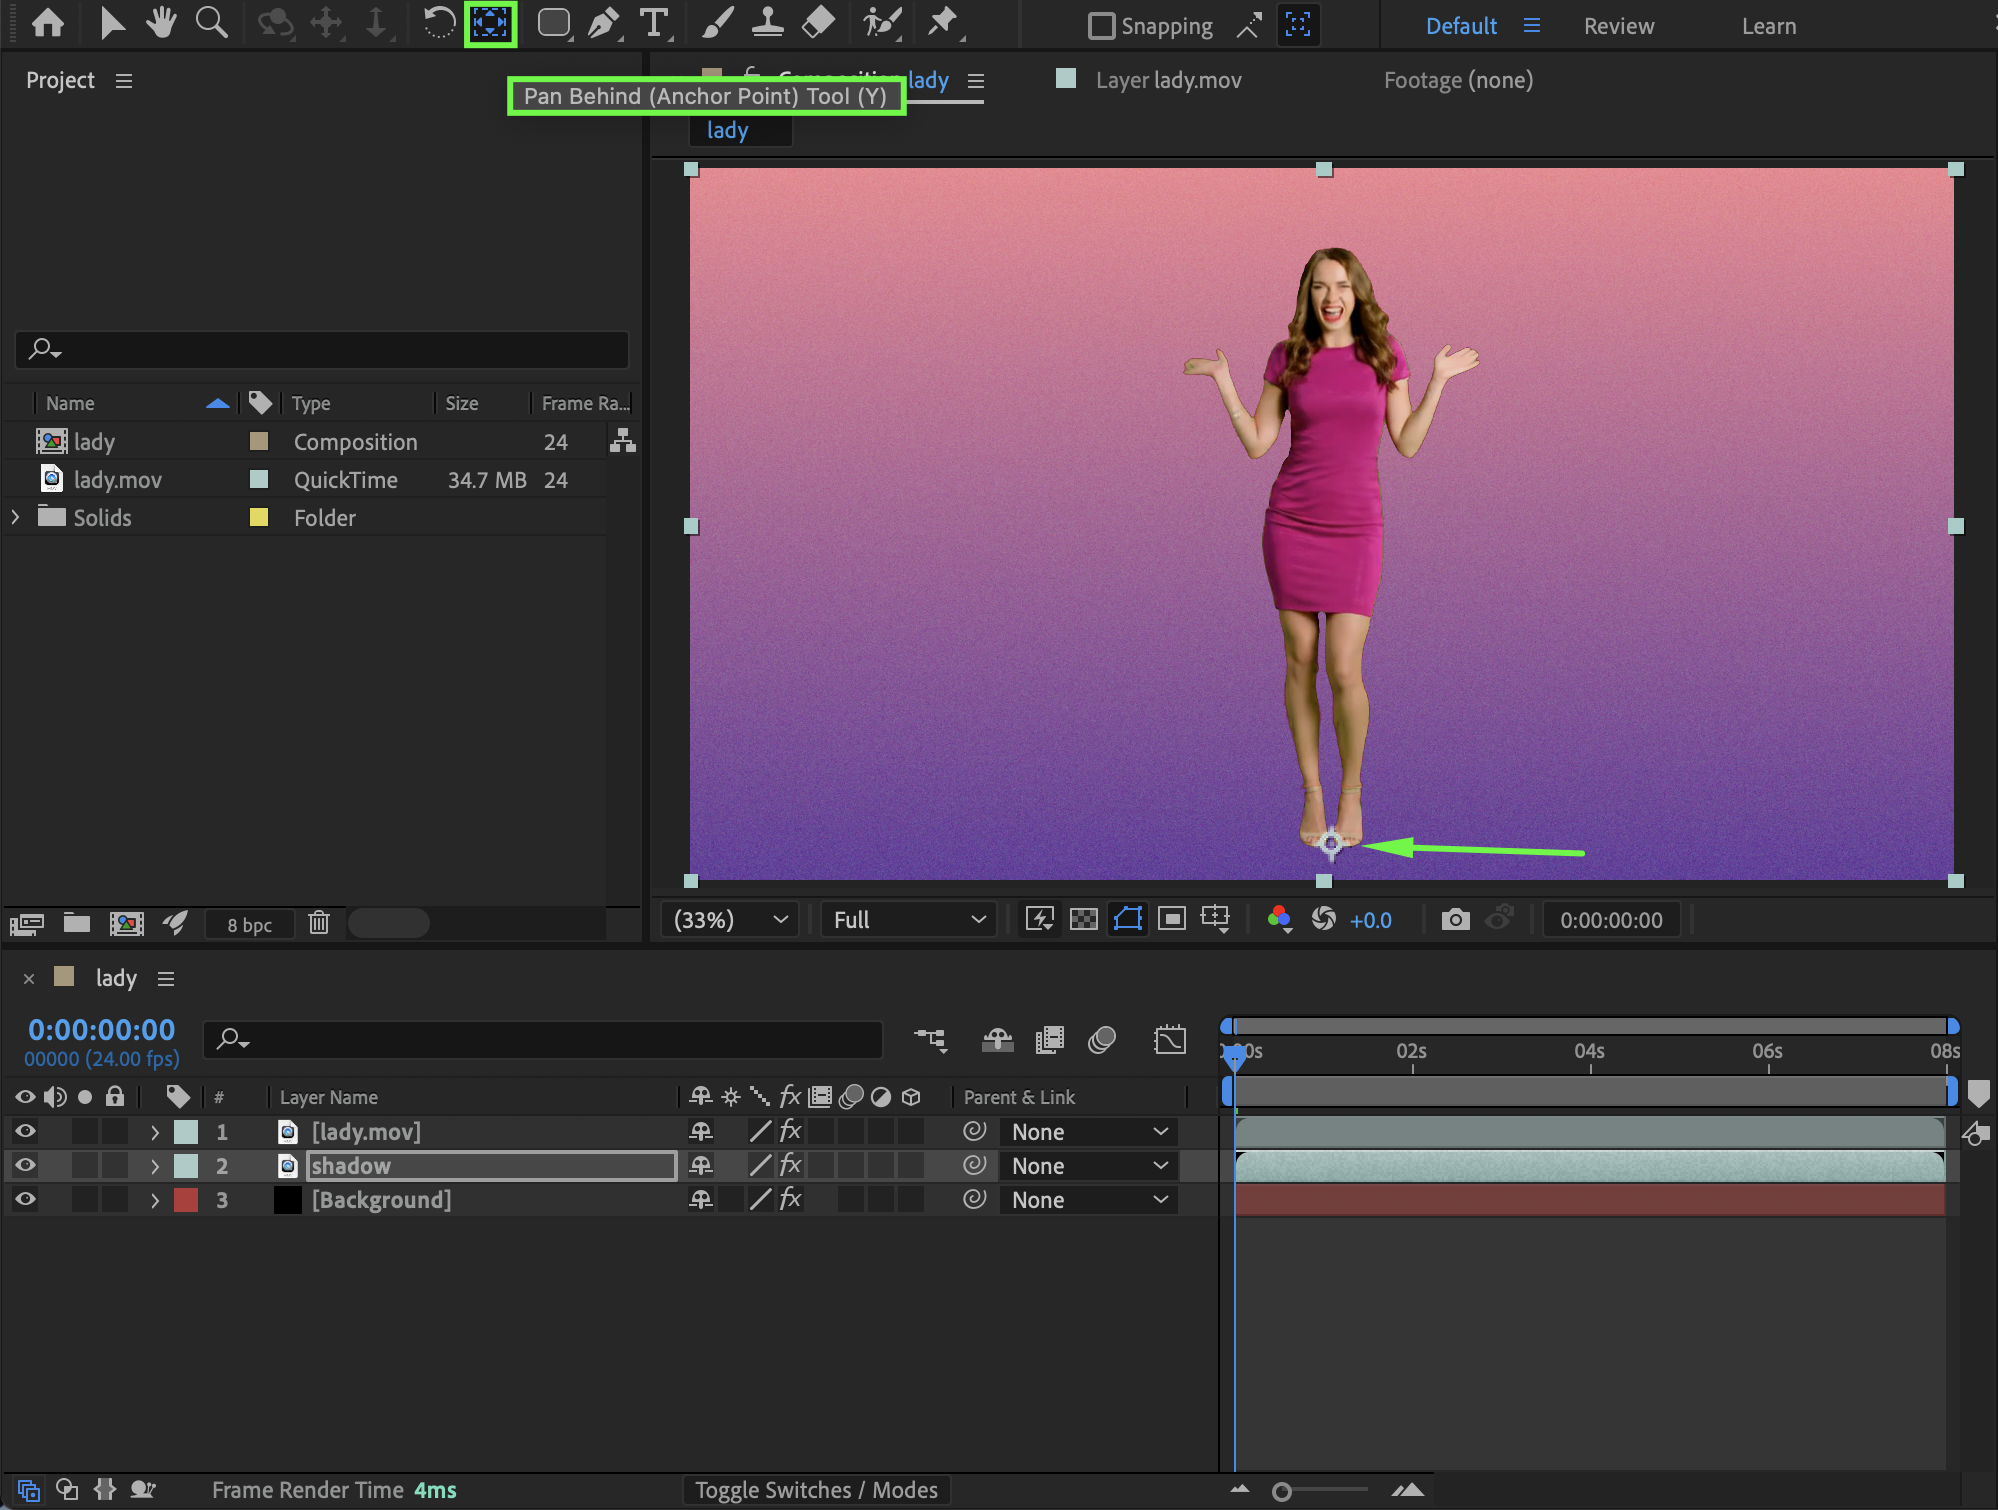
Step 6: Enable 3D and Shape the Shadow
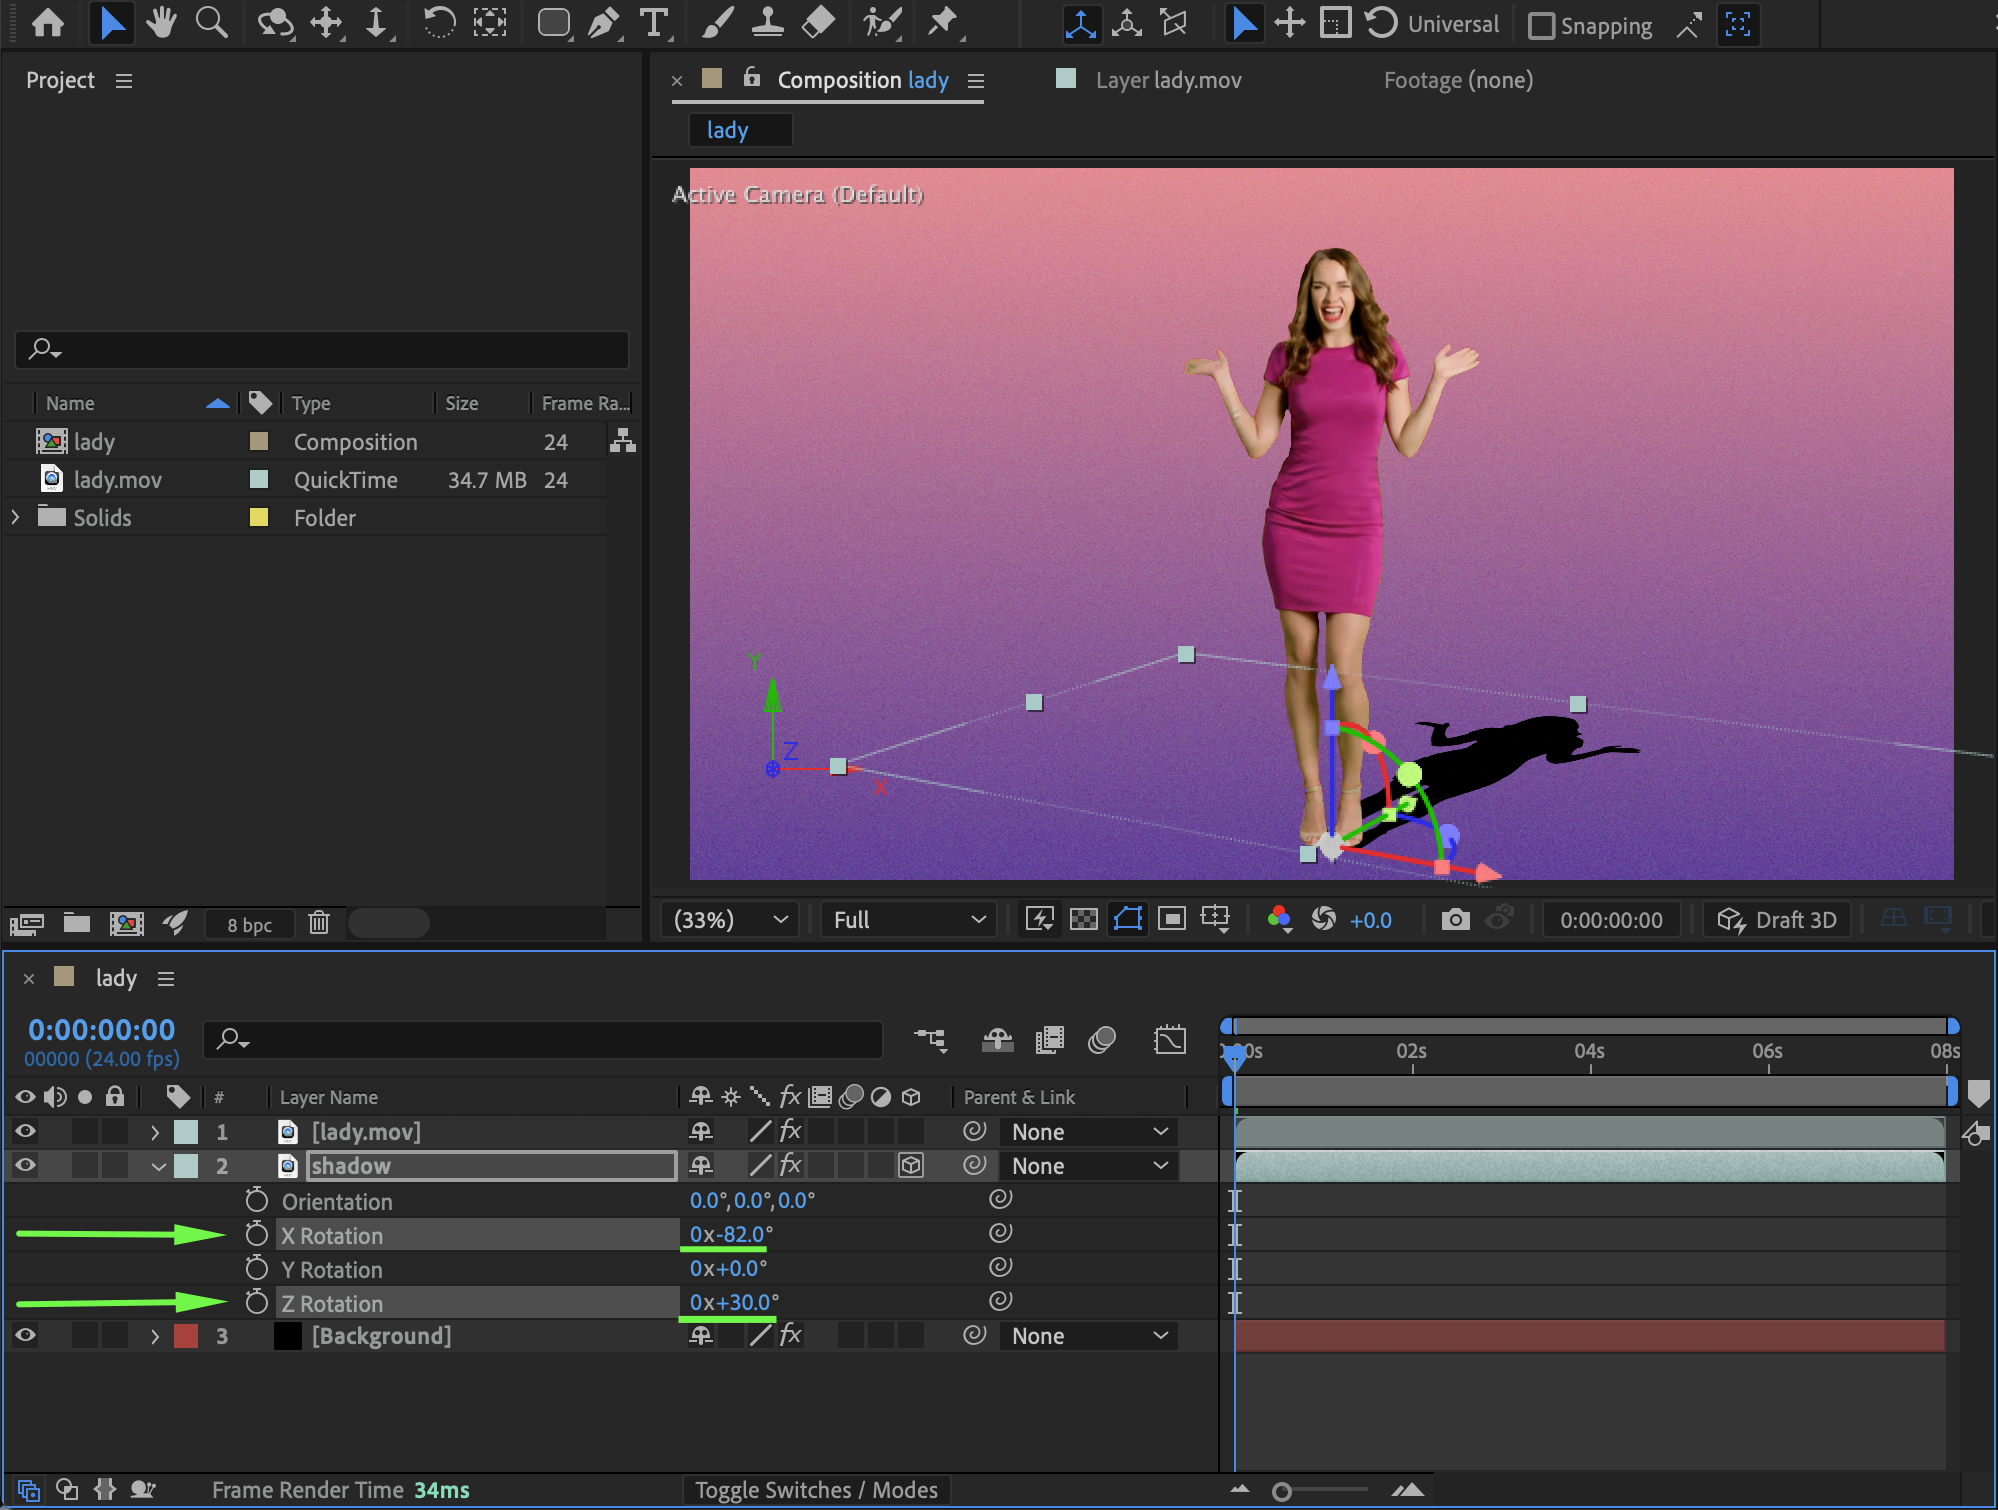
Enable the 3D Layer switch for the shadow layer. Adjust:
X Rotation to lay the shadow onto the ground
Z Rotation to angle the shadow according to the imagined light source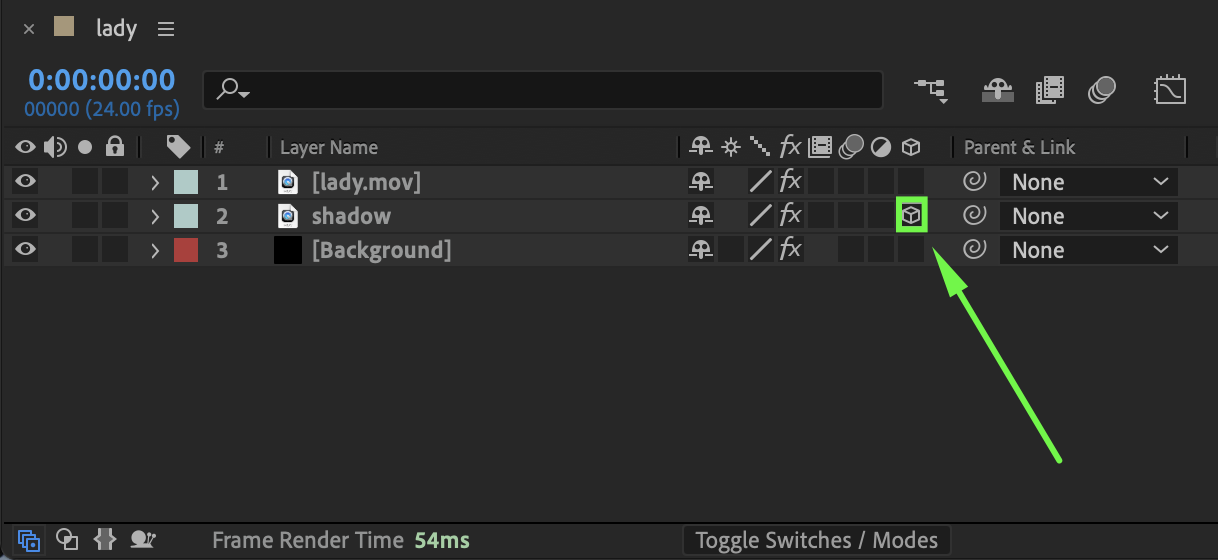
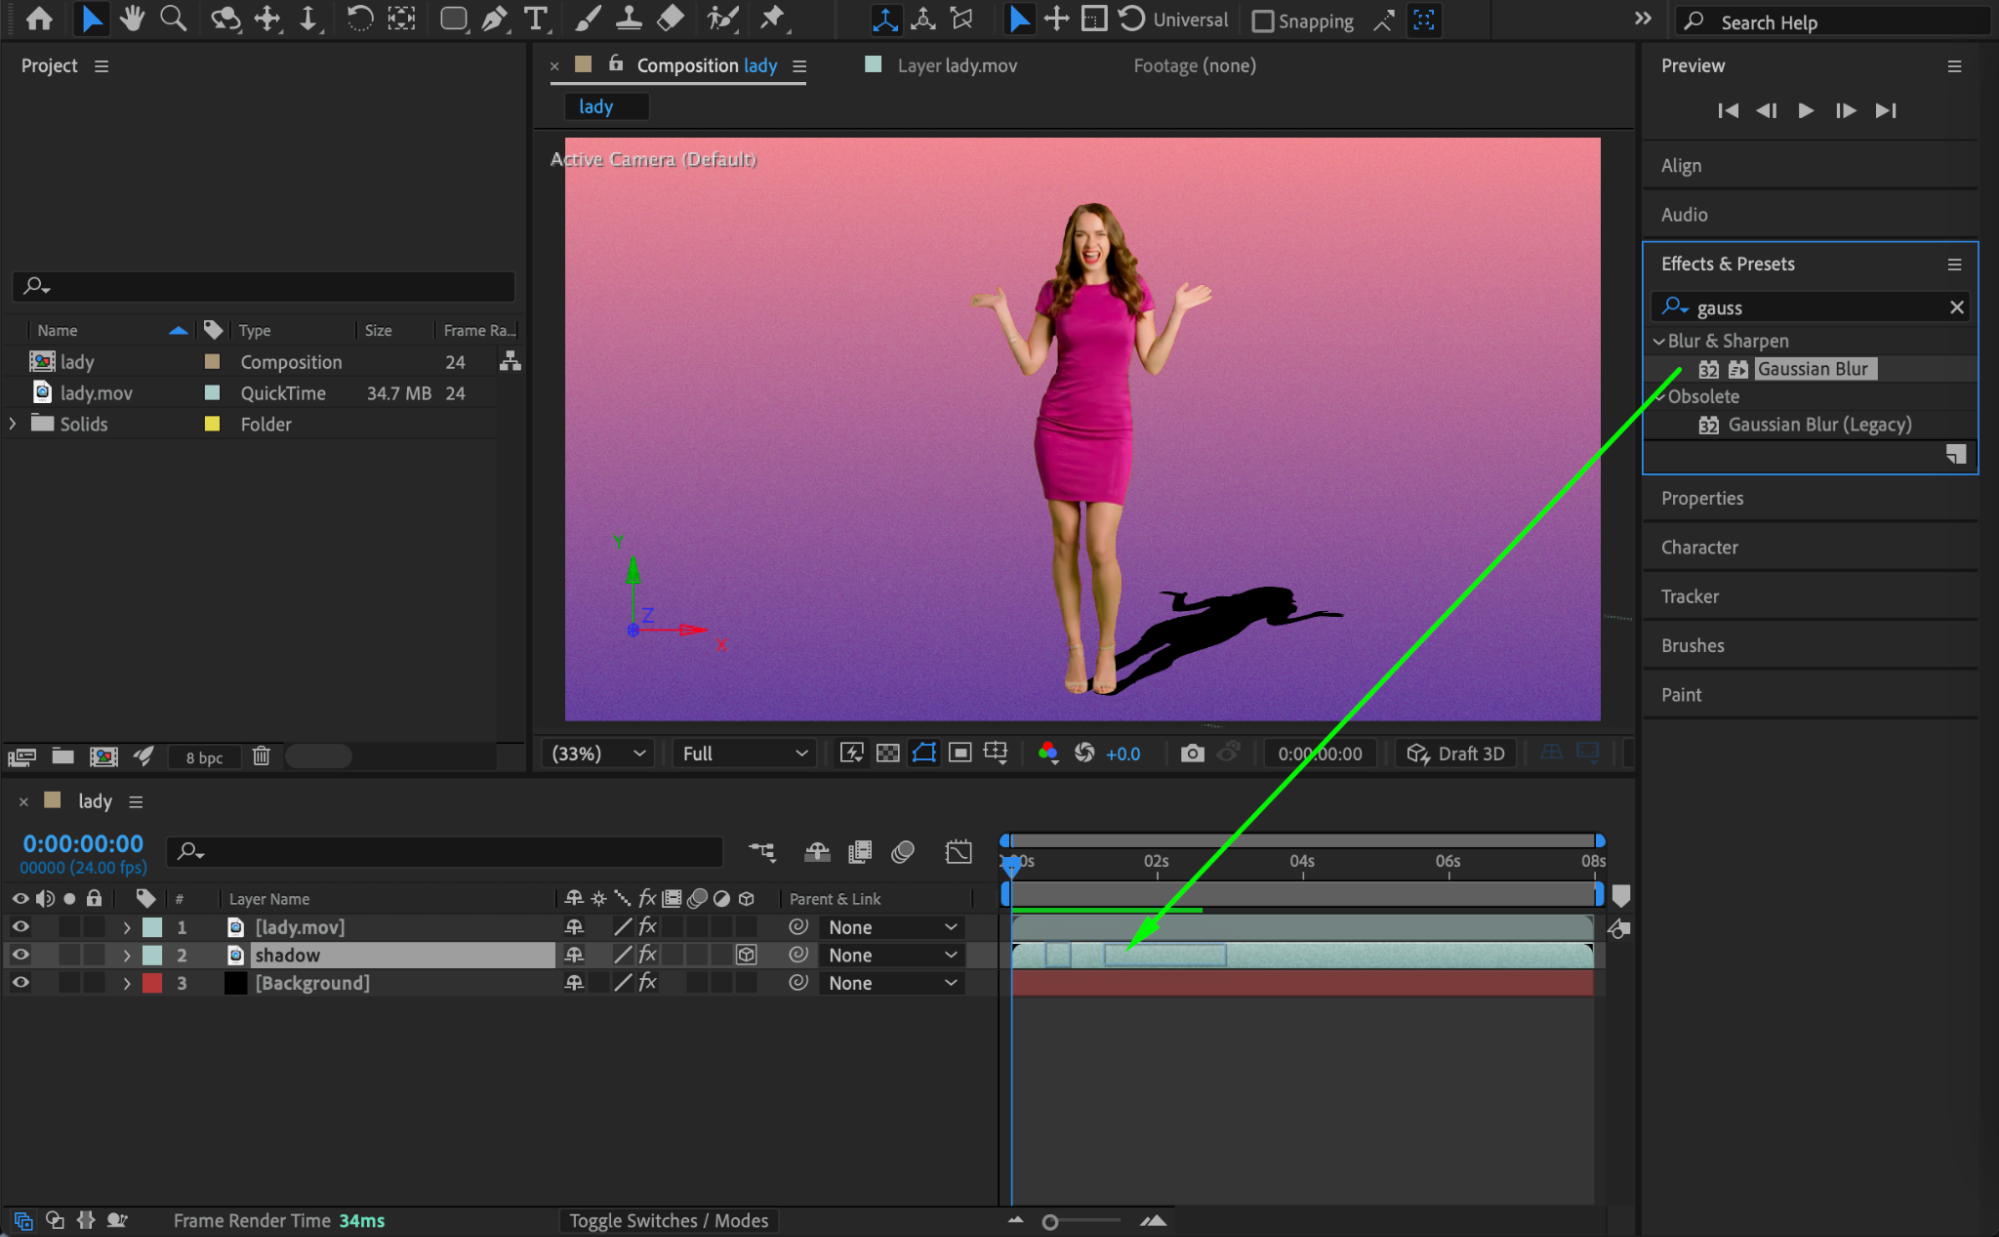
 Step 7: Soften the Shadow
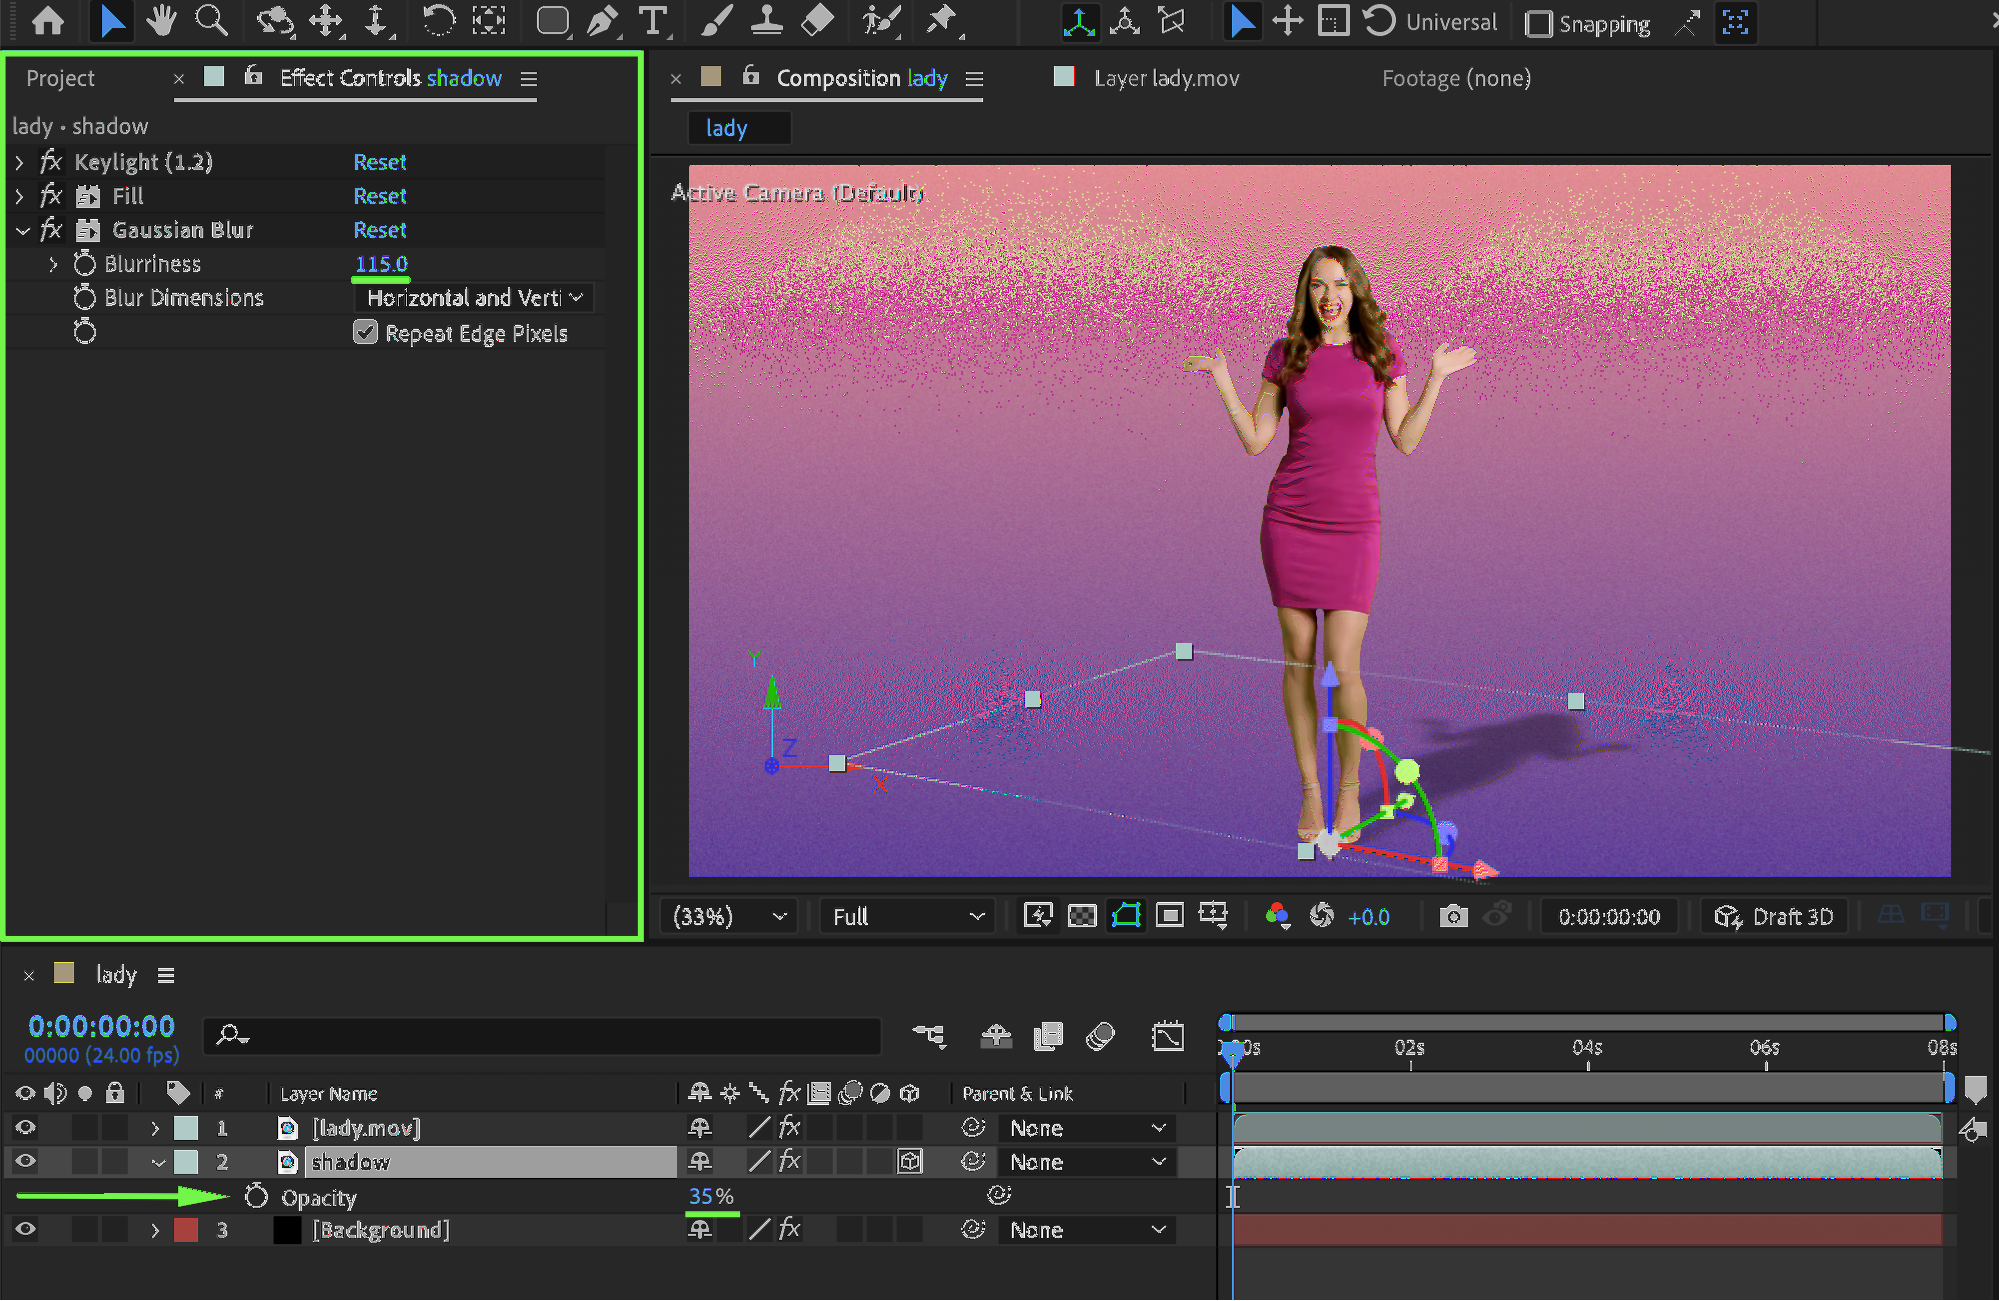
Apply the Gaussian Blur effect to the shadow layer. Set Blurriness to around 115. Lower the Opacity of the shadow layer to about 35% to create a realistic, soft shadow.
 Step 8: Preview the Result
Preview the composition and fine-tune the rotation, blur, and opacity until the shadow feels natural and properly integrated into the scene.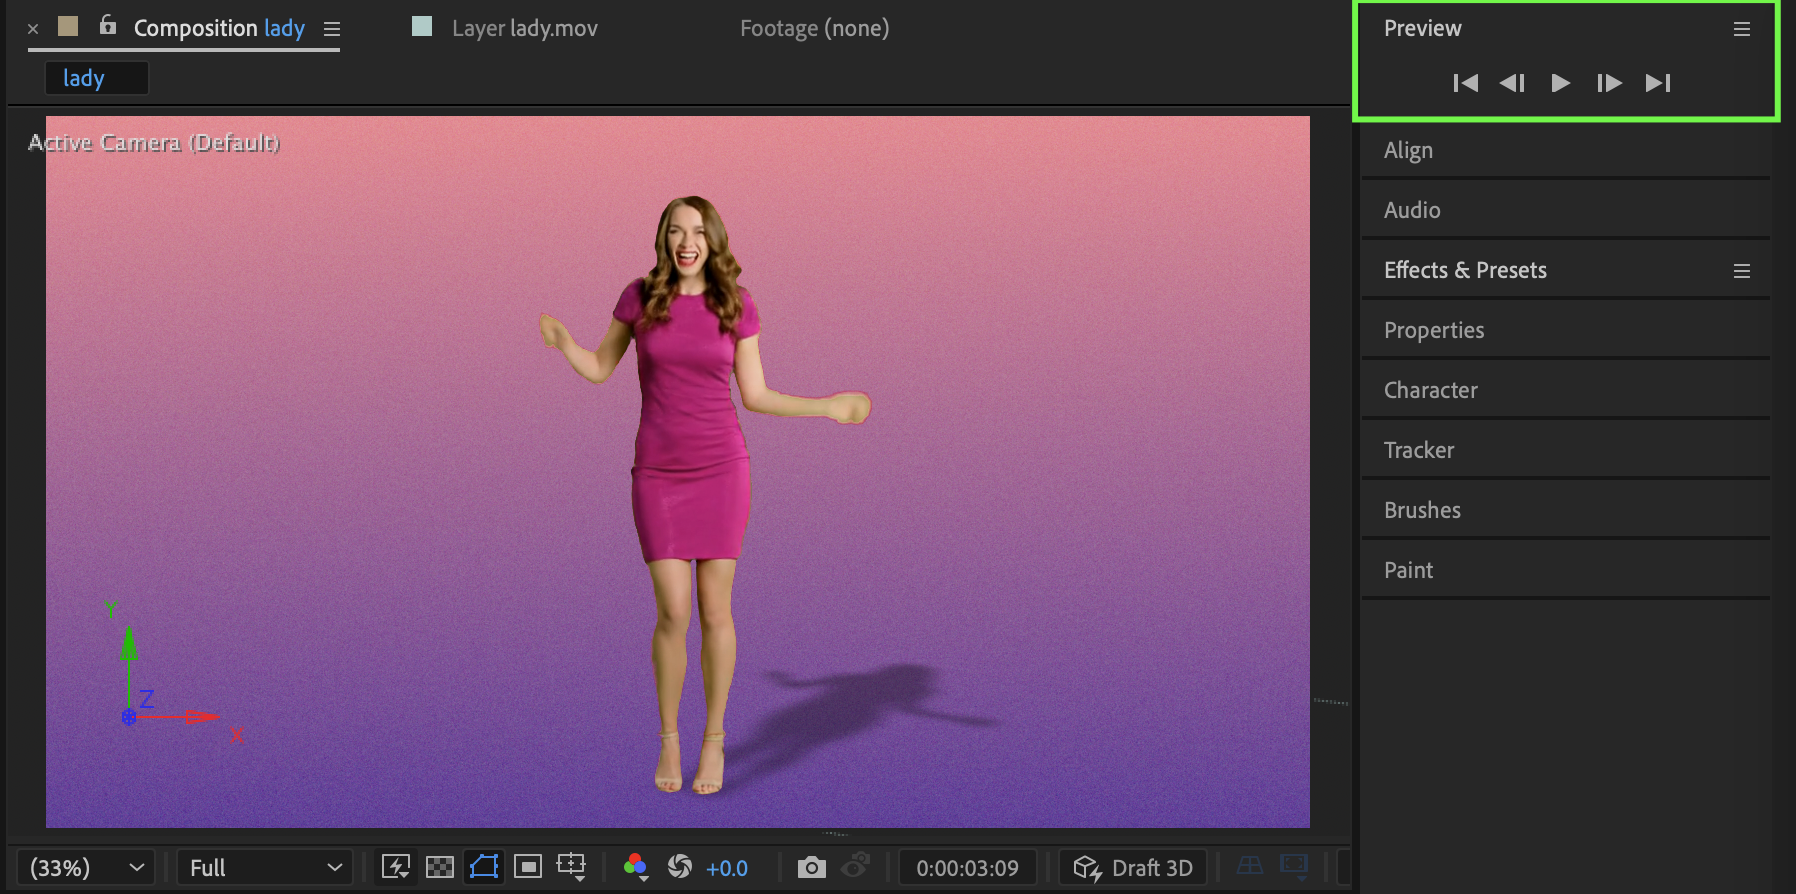
Conclusion
By duplicating your keyed subject and transforming it into a blurred, semi-transparent 3D layer, you can create realistic shadow figures in After Effects that enhance depth and realism in your composites.
Our Bestsellers


