Introduction
A vibration shake effect is perfect for impacts, glitches, explosions, or dramatic moments. In this tutorial, you’ll learn how to create a controlled shake animation using keyframes and motion blur in Adobe After Effects.
Step 1: Import and Place Your Video
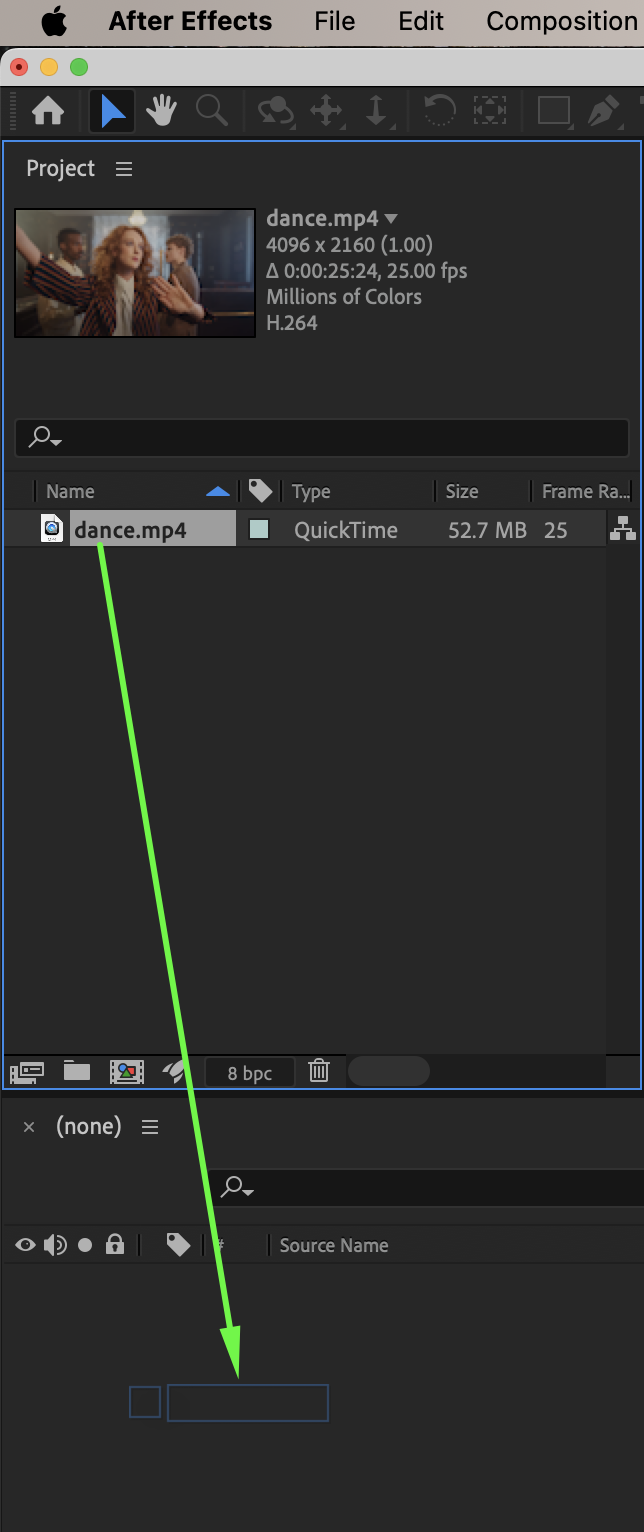
Go to File → Import → File and import the video you want to apply the shake effect to. Drag the video onto the timeline.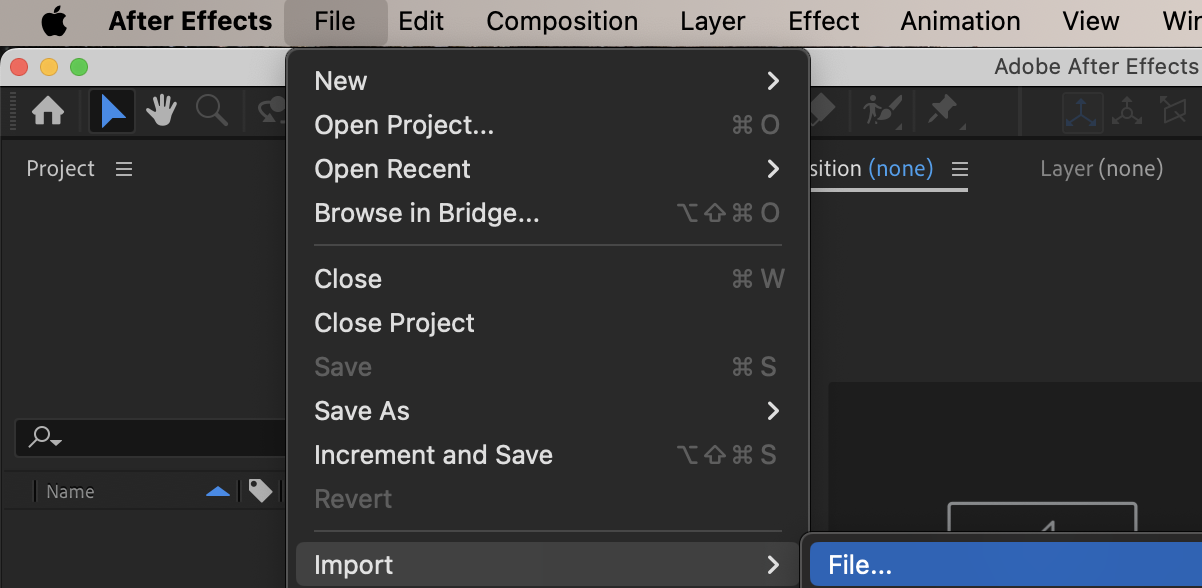
 Step 2: Apply the Wiggle Position Effect
From the Effects & Presets panel, apply Wiggle Position to your video layer.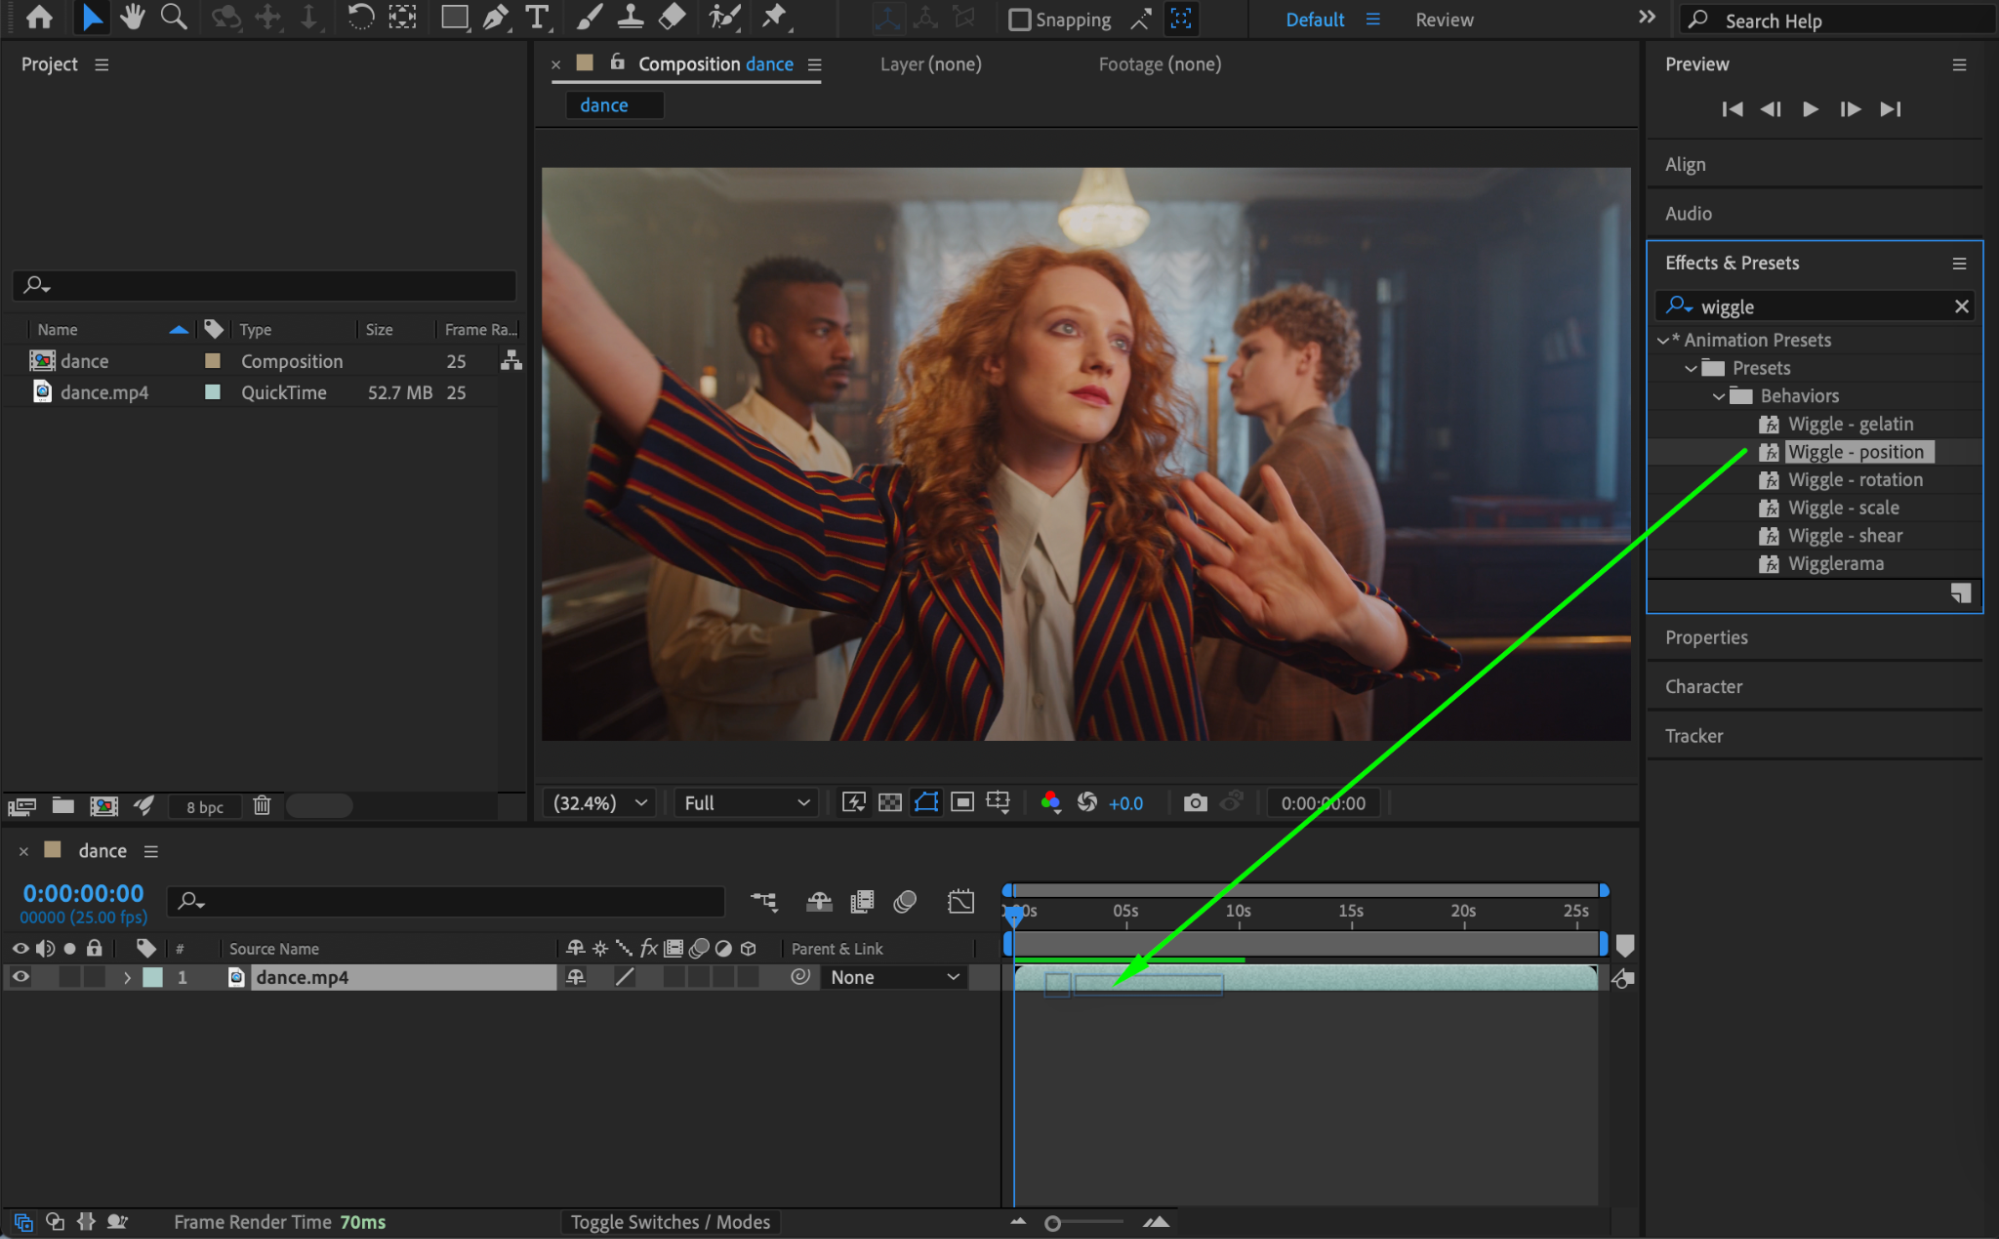
Get 10% off when you subscribe to our newsletter

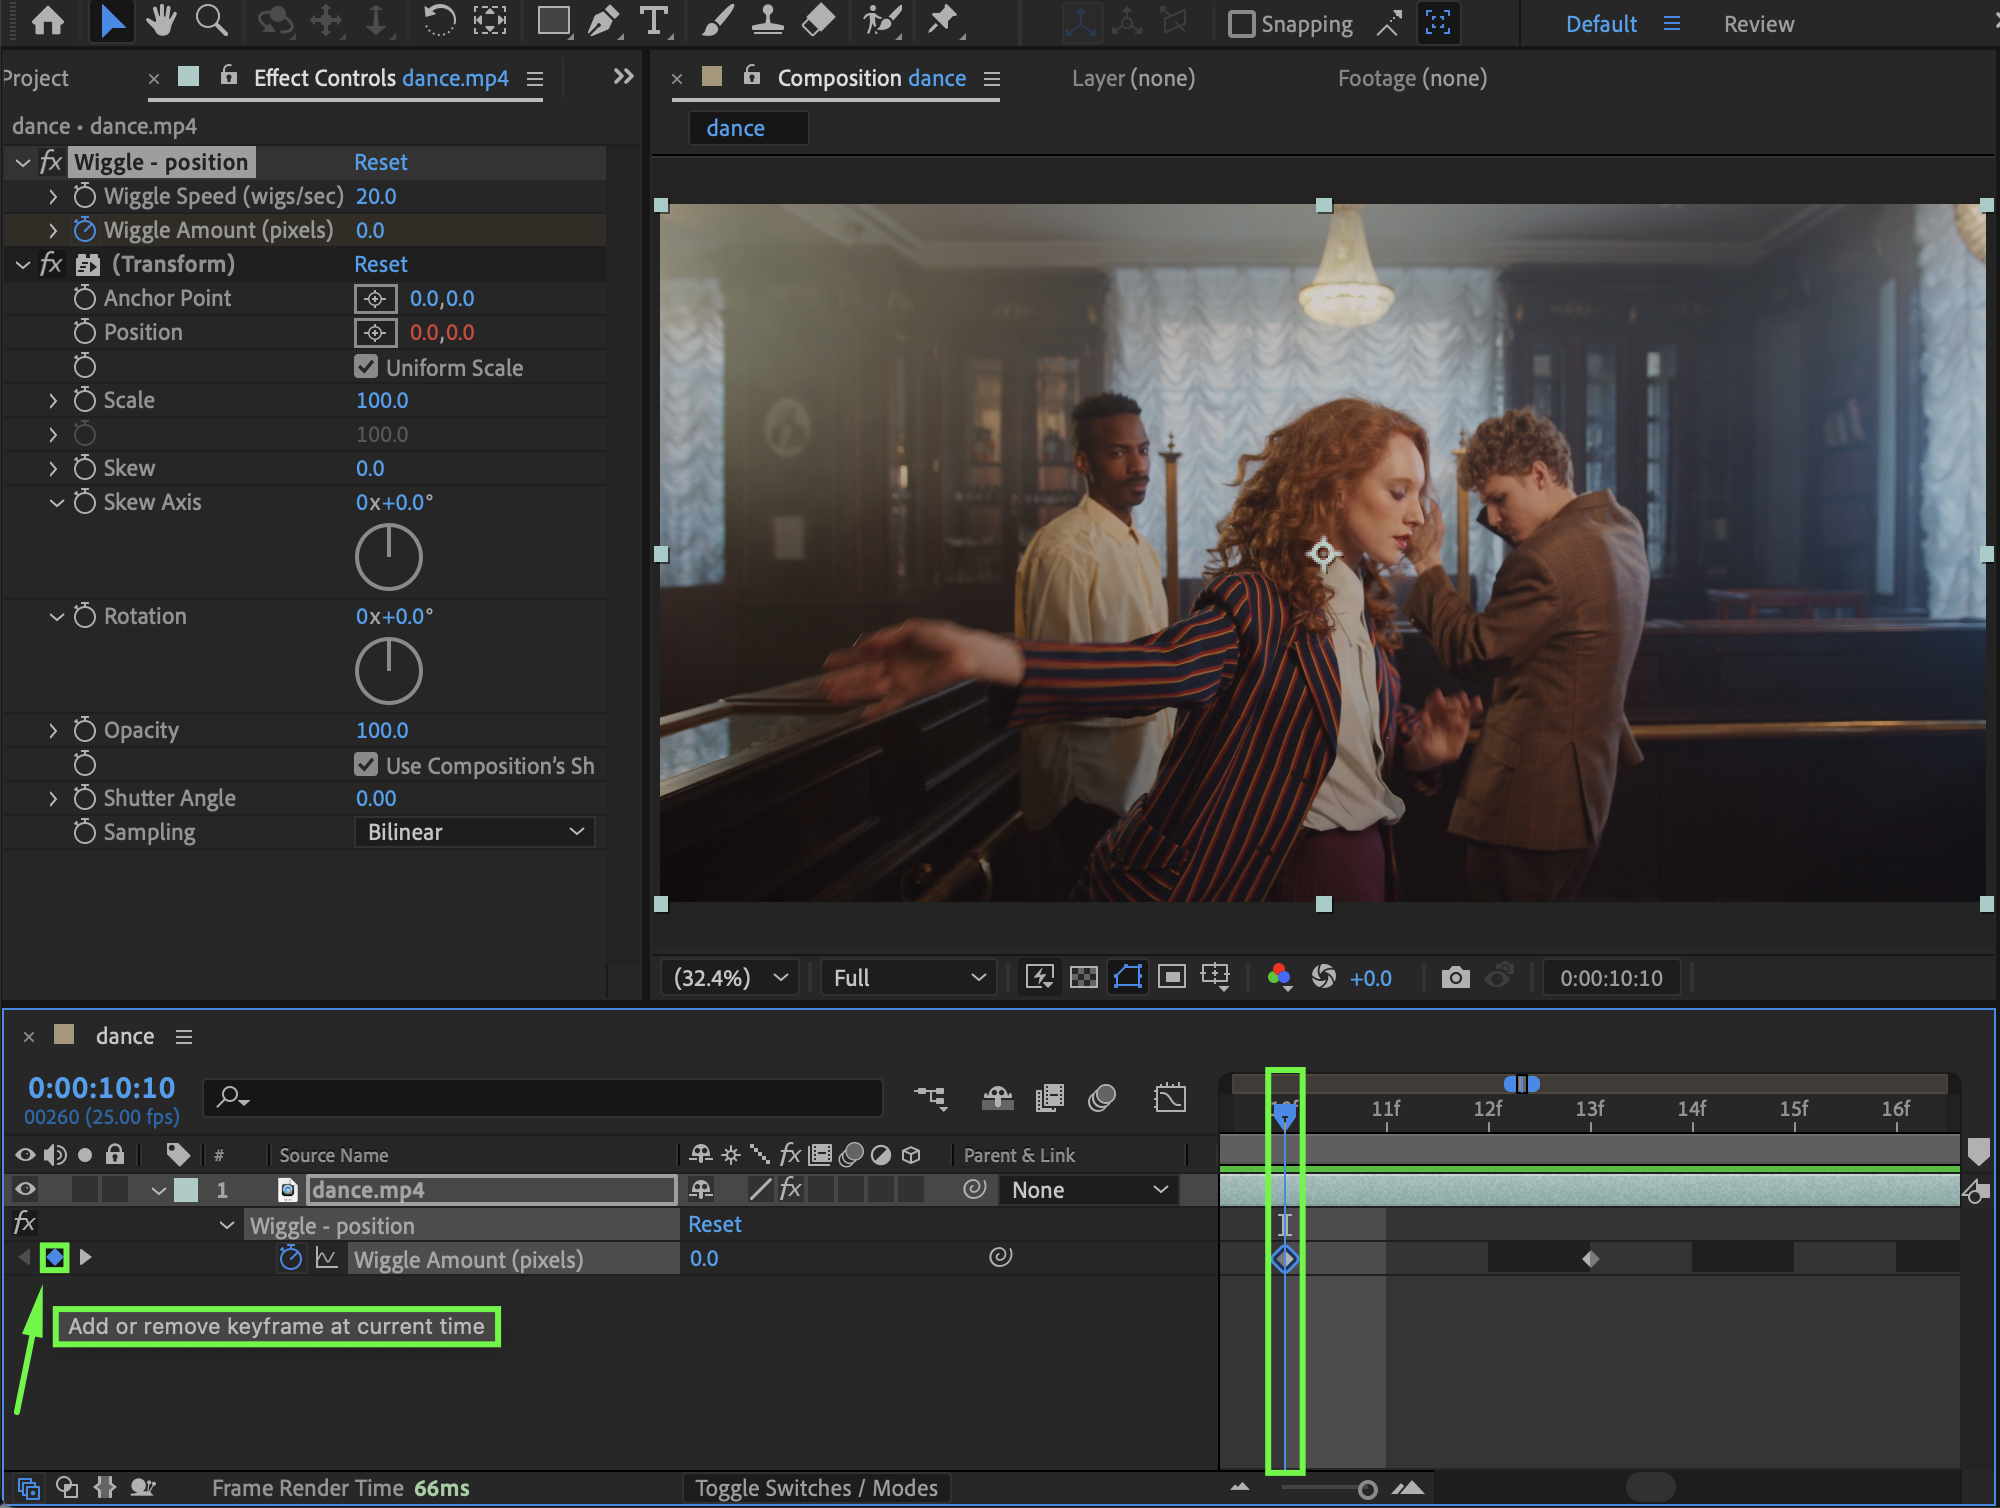
Step 3: Create Shake Keyframes
Set Wiggle Speed to 20.
Set Wiggle Amount to 0.
Move the CTI (Current Time Indicator) to the point where you want the shake to start.
Click the stopwatch next to Wiggle Amount to create a keyframe.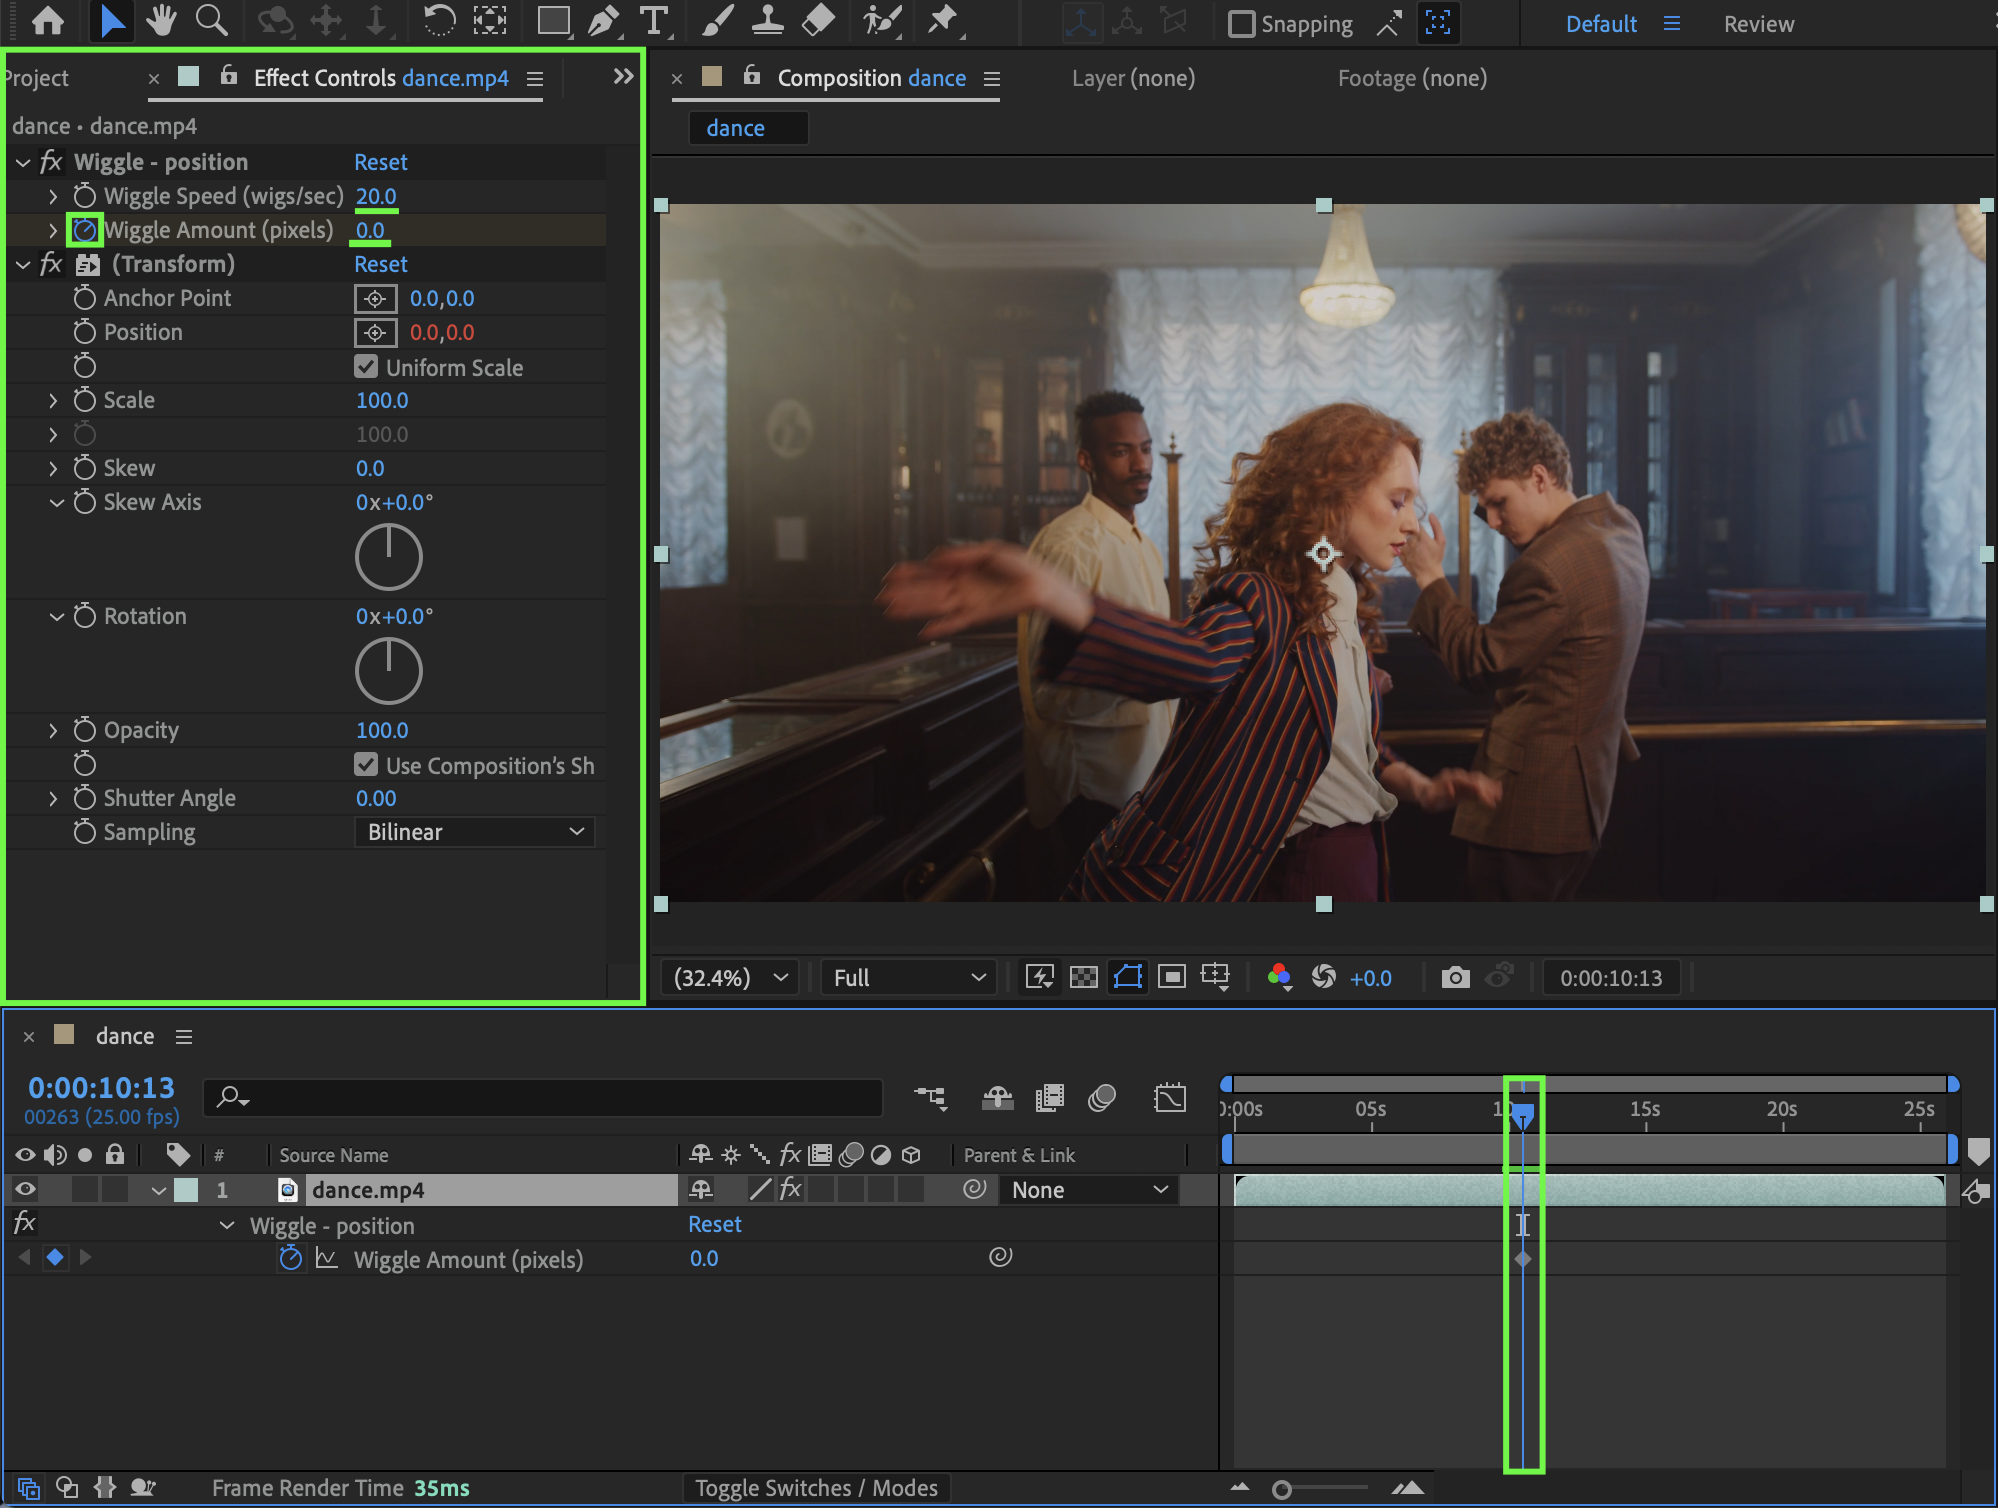
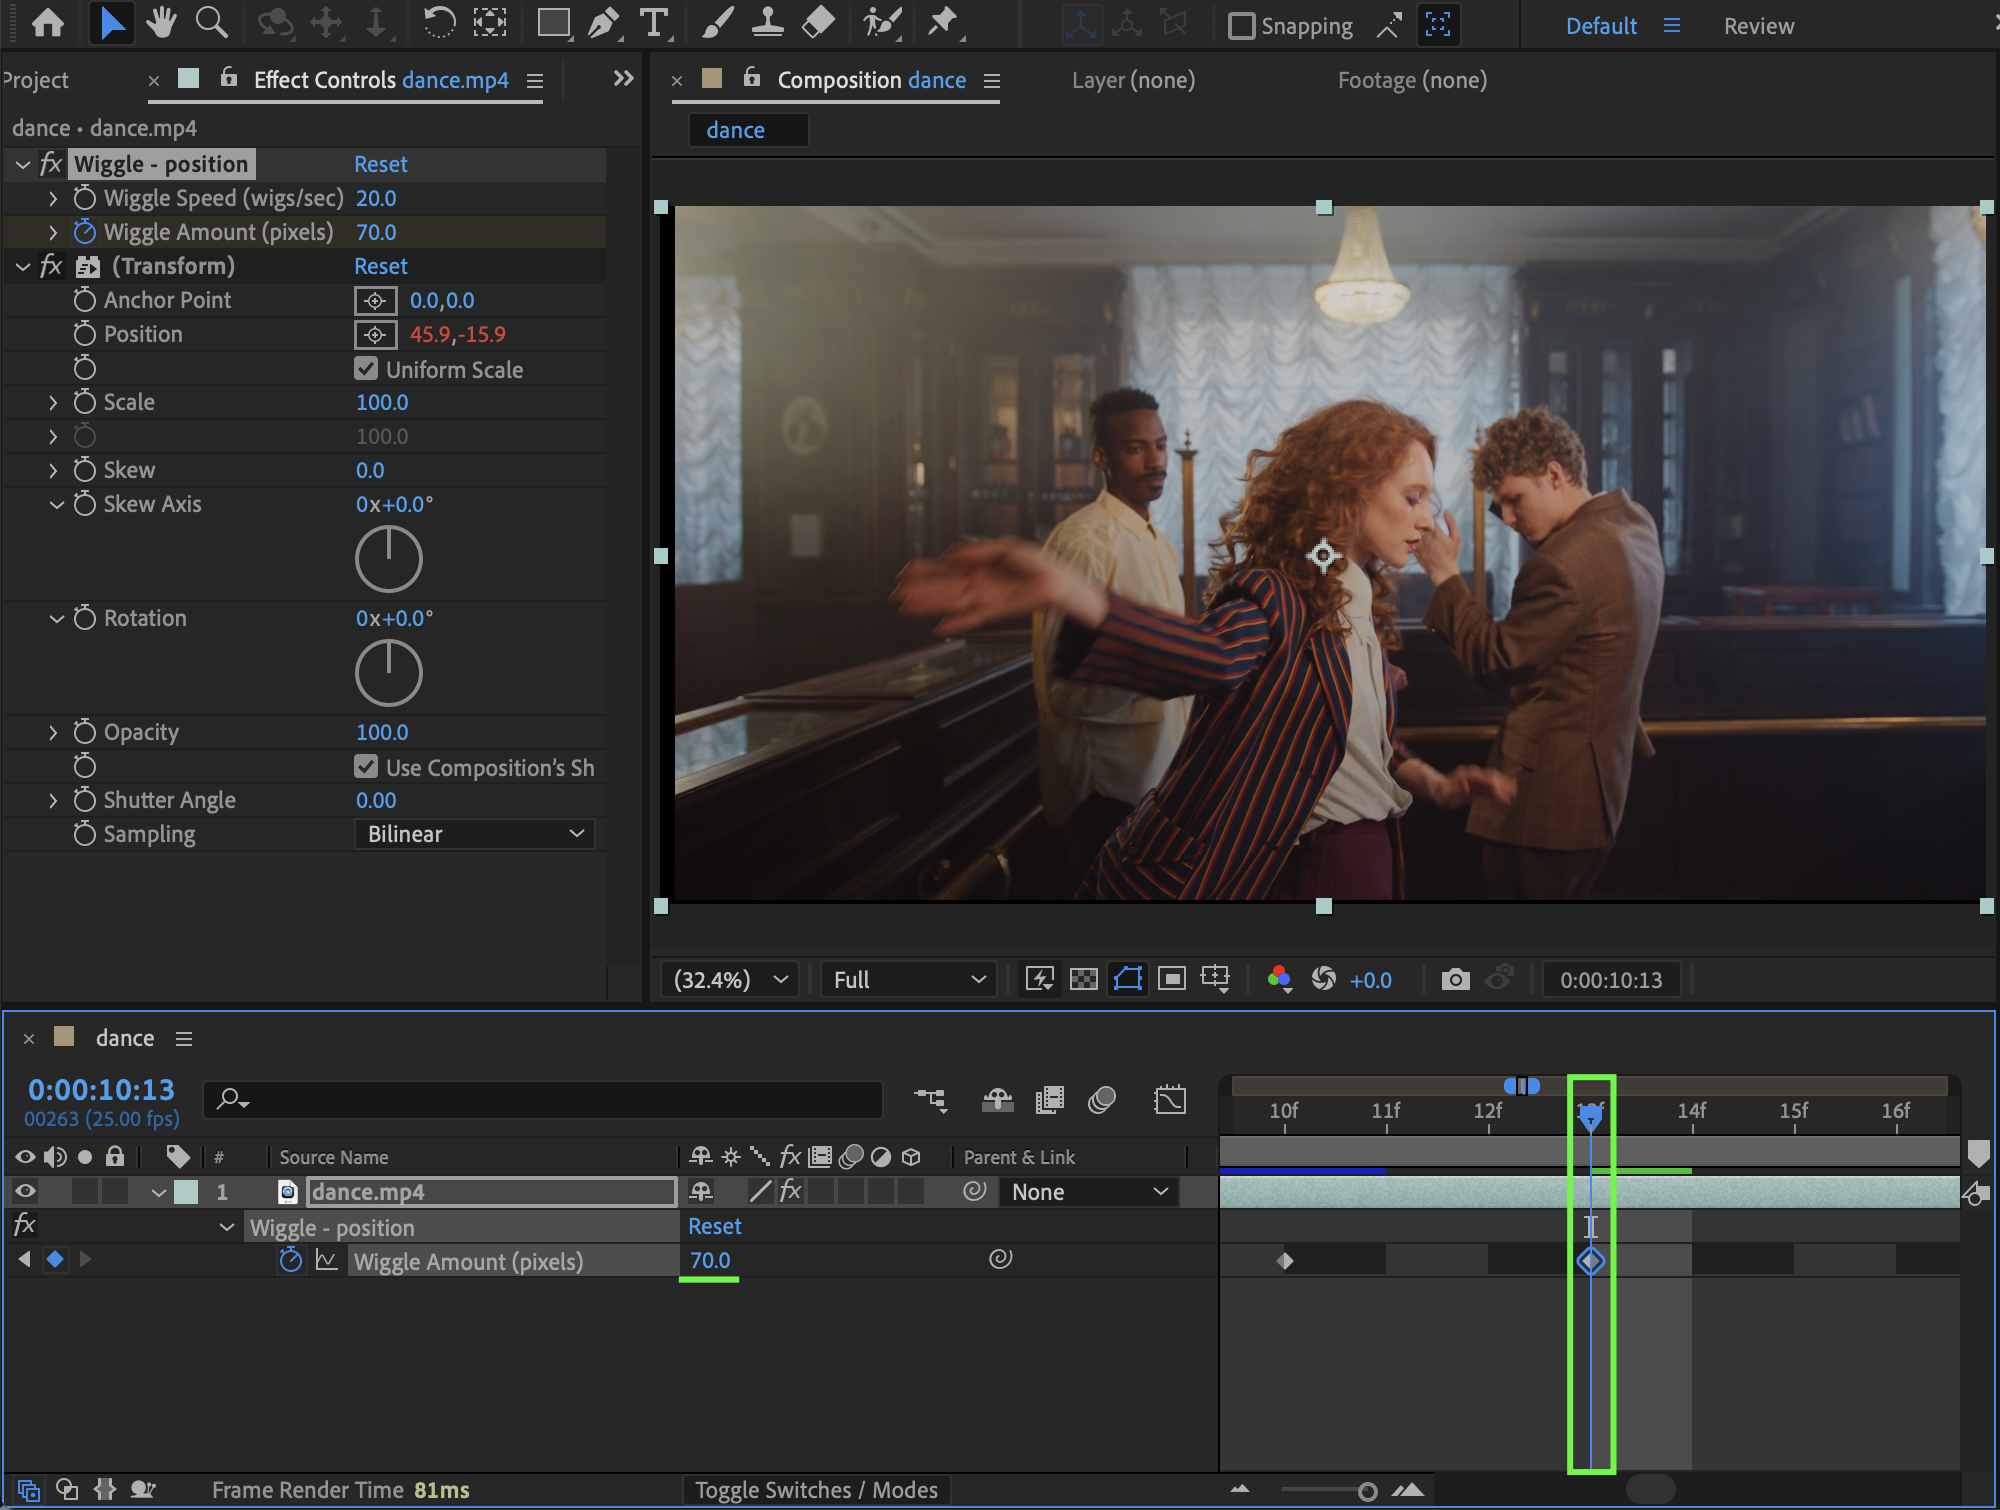
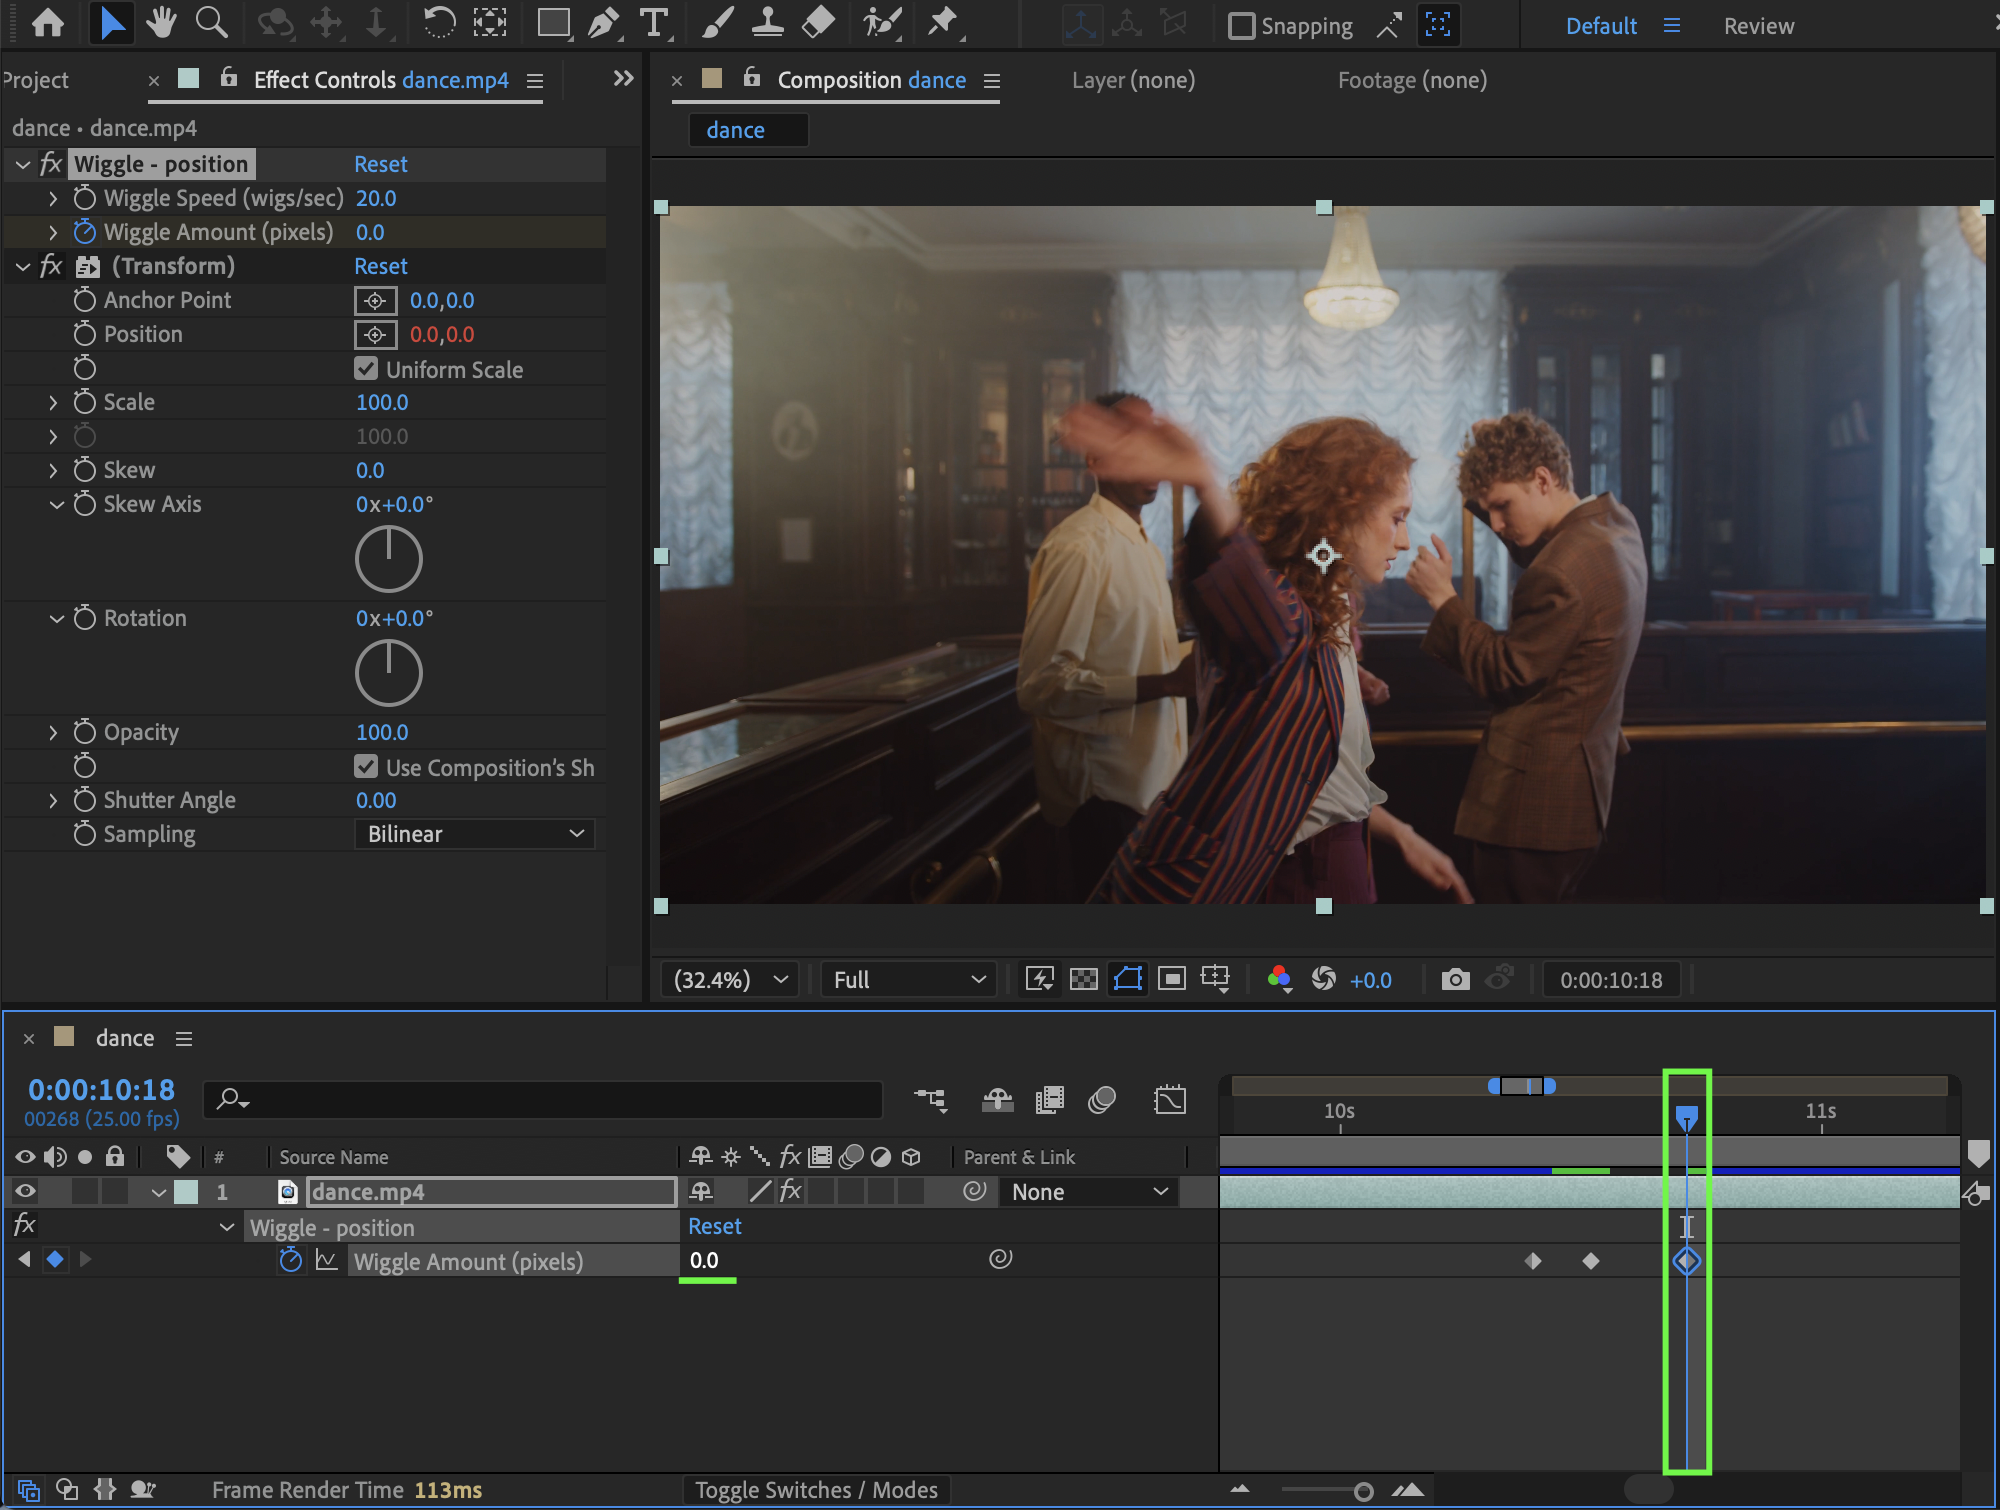
Step 4: Animate the Shake Intensity
Move 3 frames backward and add a keyframe for Wiggle Amount (keep the value at 0).
Return to the original keyframe and change Wiggle Amount to 70.
Move 5 frames forward and set Wiggle Amount back to 0.
Step 5: Add Motion Blur
In the Effect Controls panel:
Disable Use Composition’s Shutter Angle
Set Shutter Angle to 180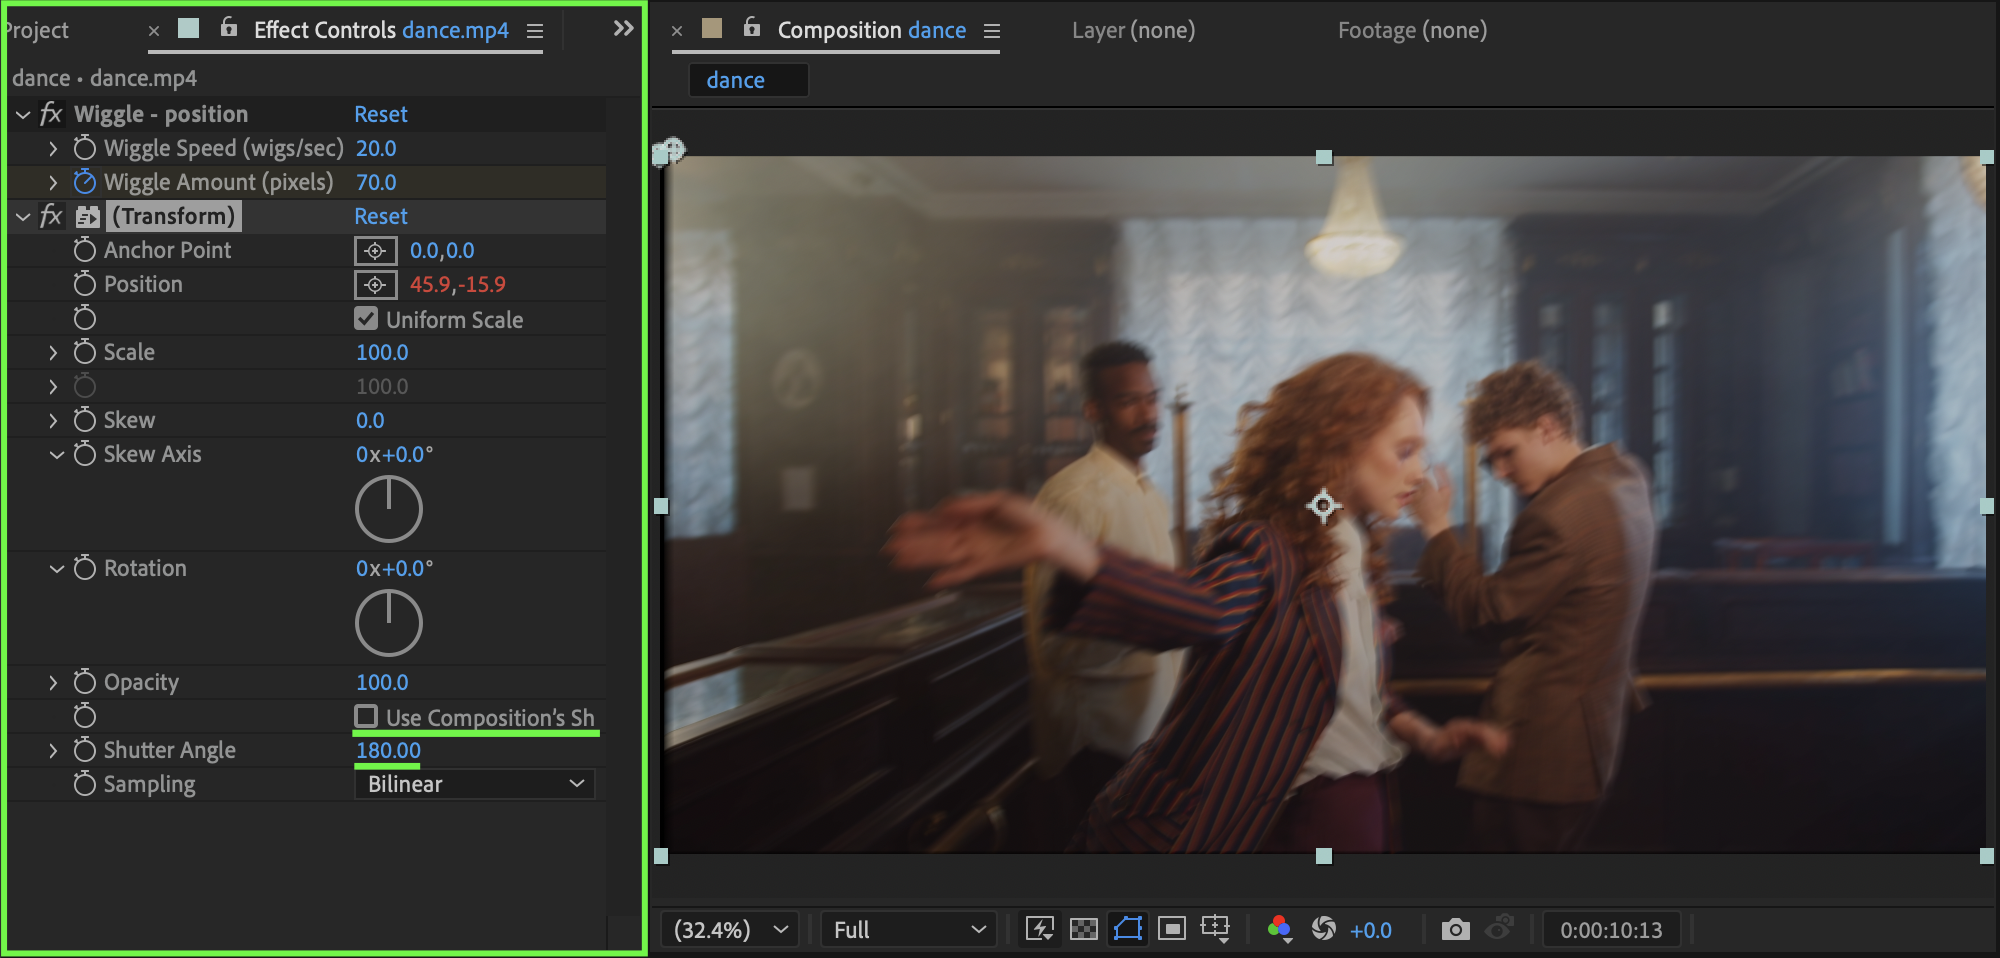
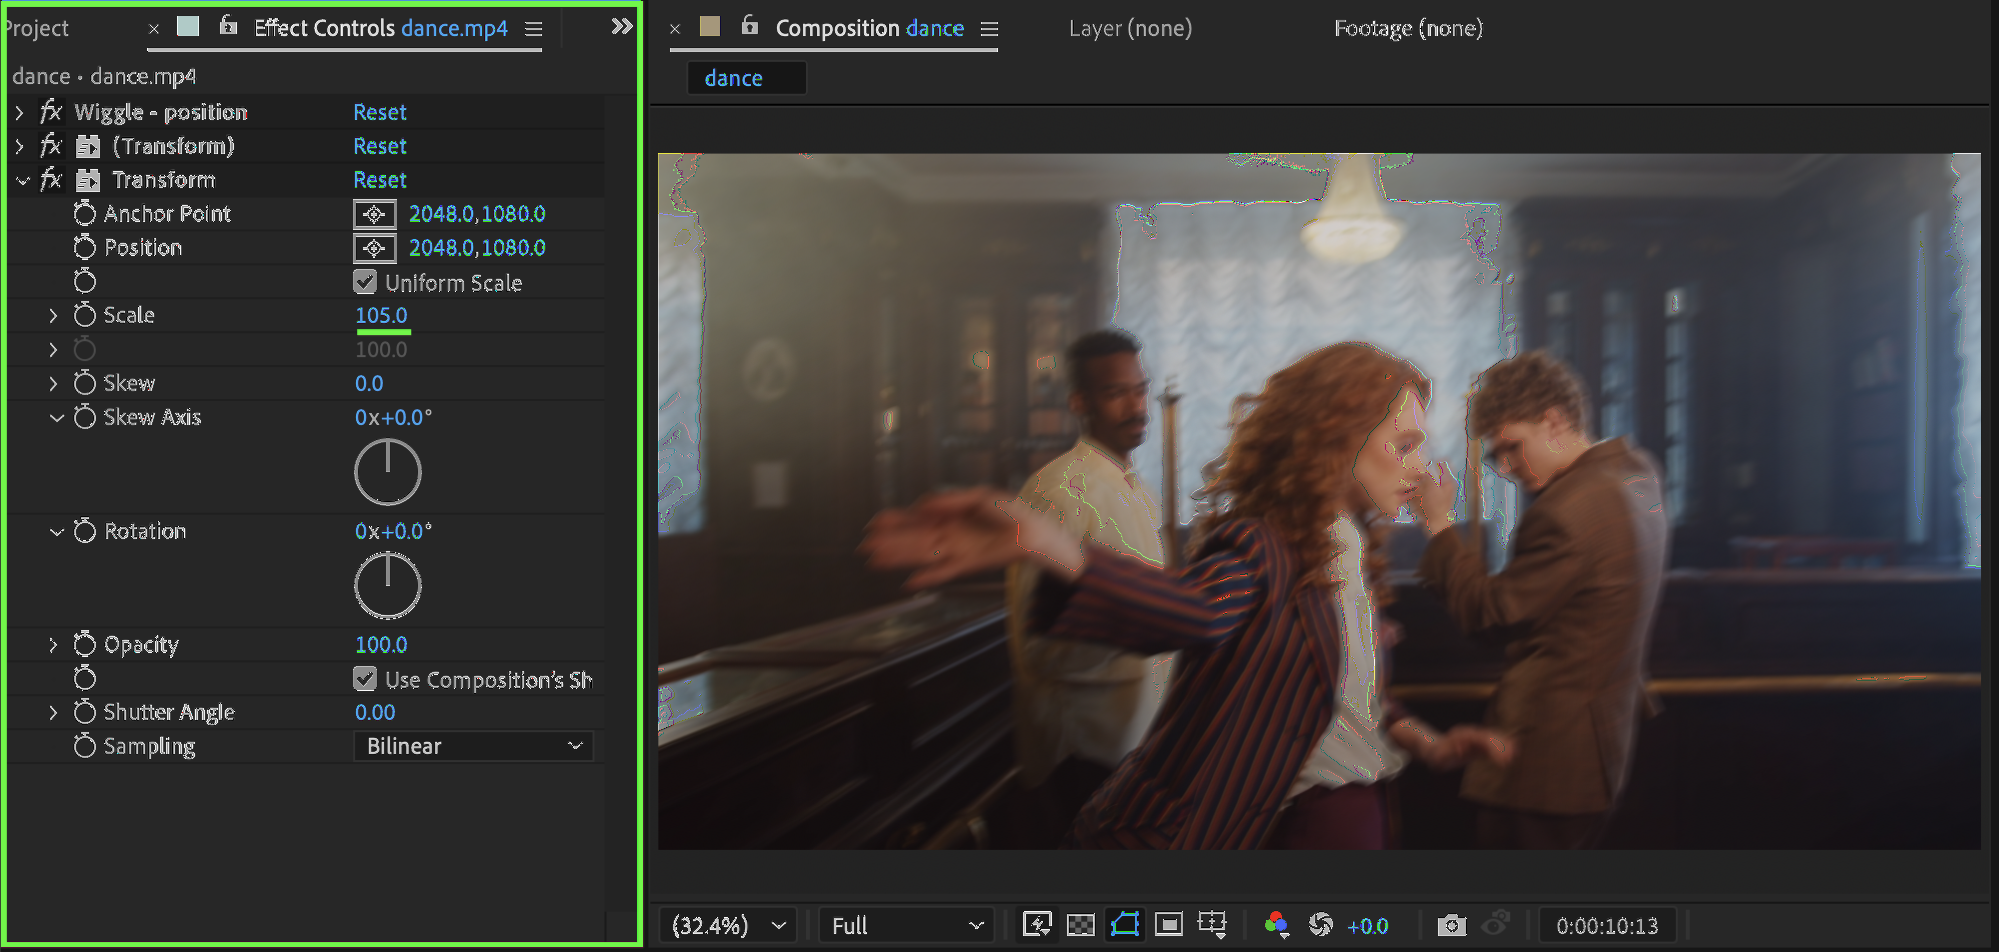
Step 6: Prevent Black Edges
Apply the Transform effect from the Effects & Presets panel. Increase Scale to 105–110 to hide black bars caused by the shake.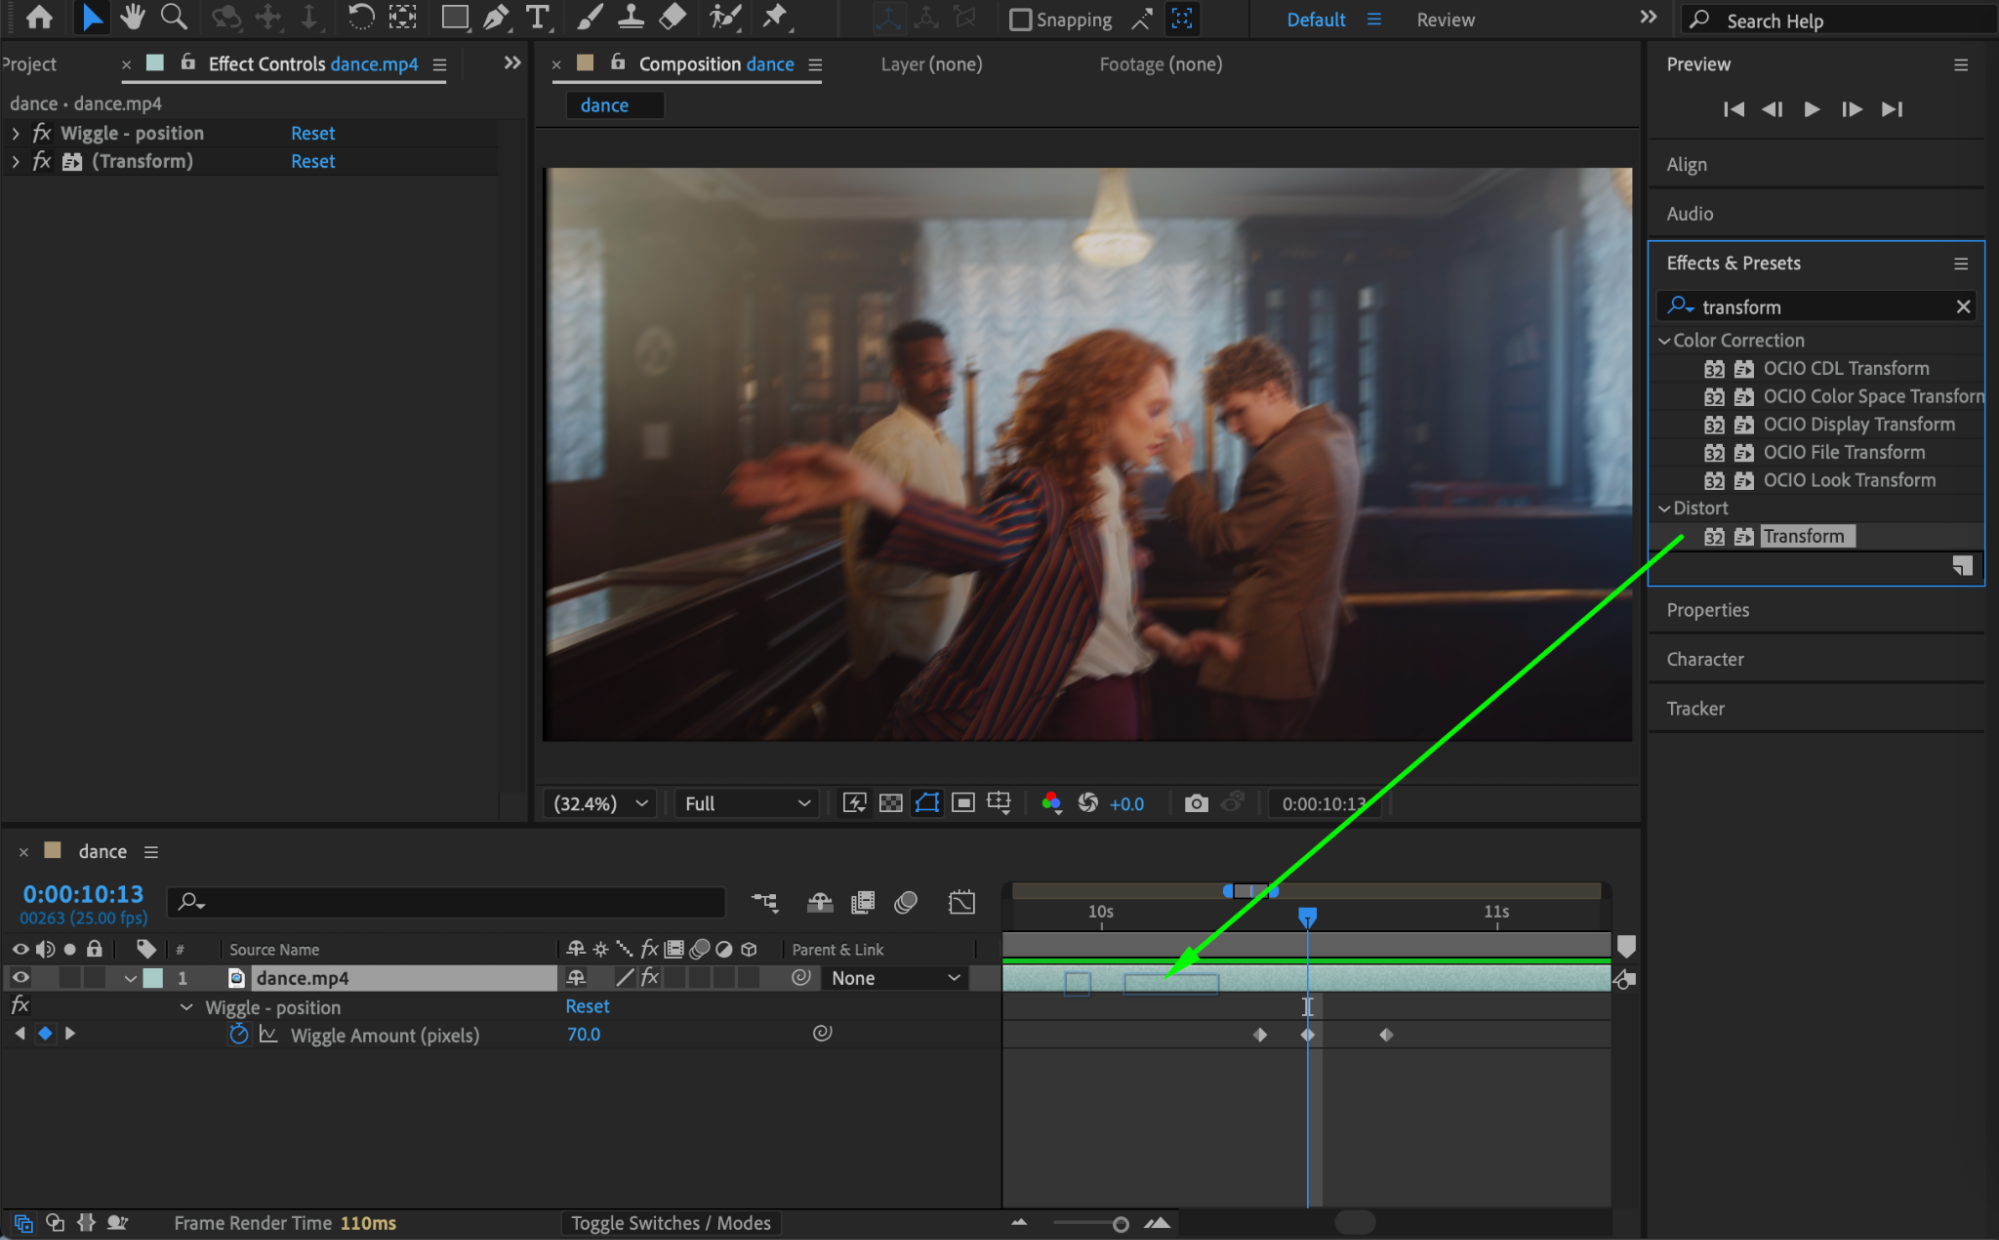
 Step 7: Preview the Result
Preview the animation and adjust the Wiggle values if you need a stronger or softer vibration.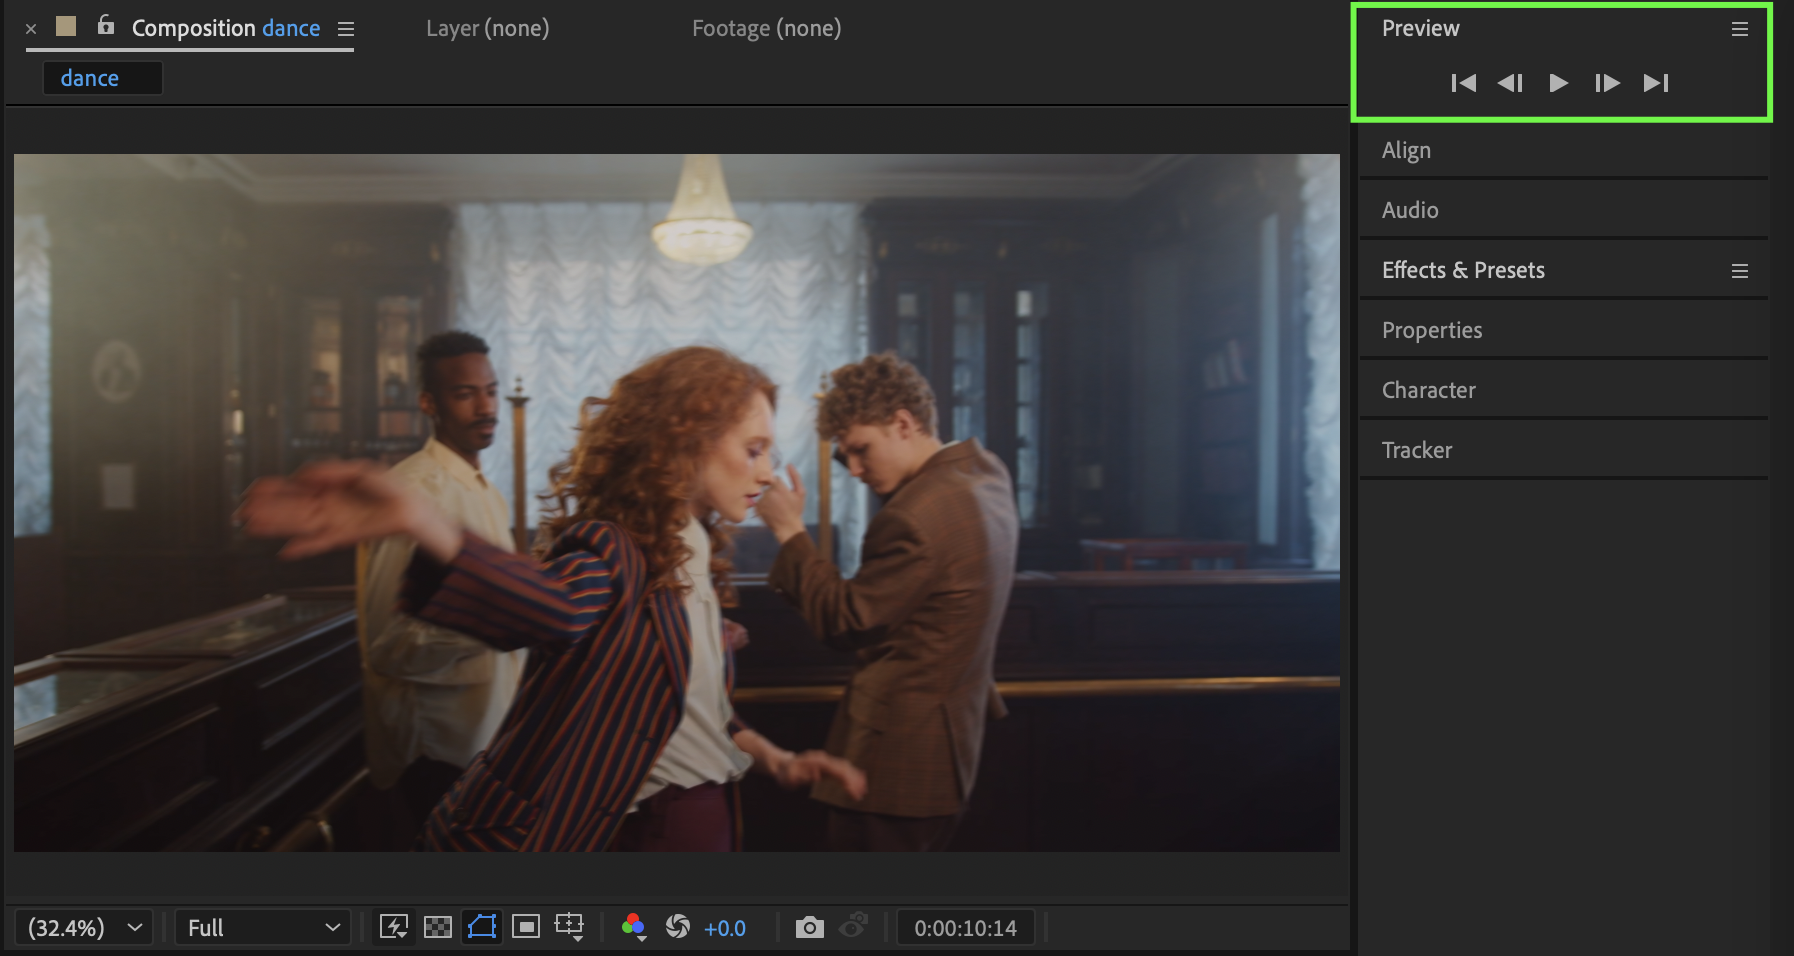 Conclusion
This vibration shake technique gives you precise control over timing and intensity, making it ideal for quick impacts, glitch transitions, and cinematic emphasis. With keyframes and motion blur, the shake feels sharp and professional.
Our Bestsellers


