Introduction
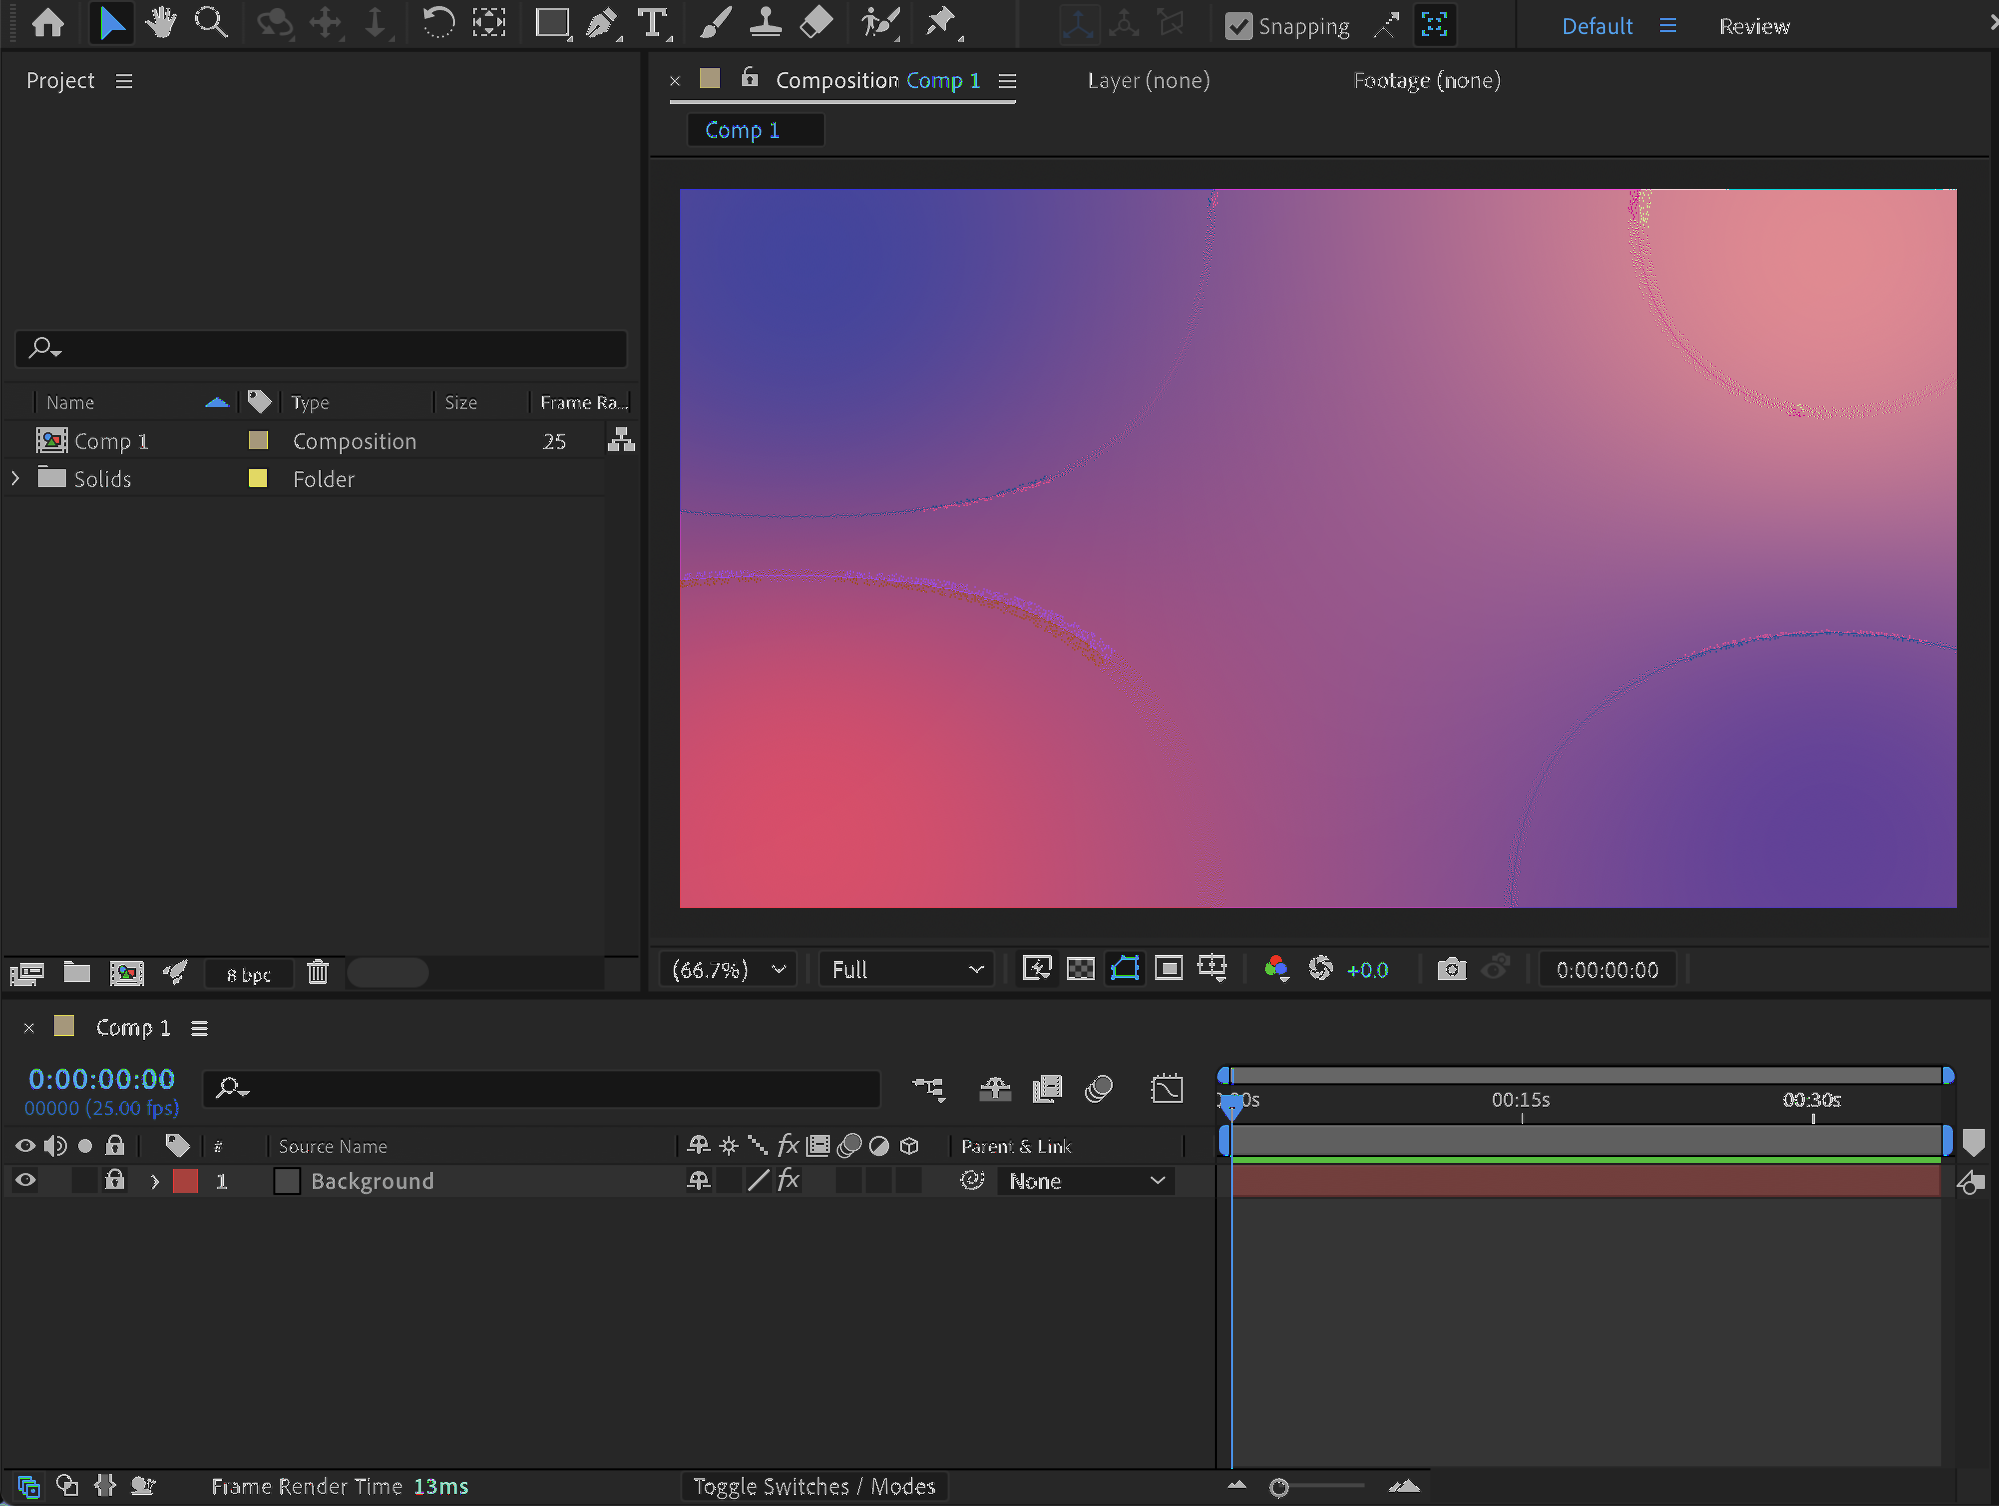
Water reflections add realism and visual depth to text, logos, and shapes. In this tutorial, you’ll learn how to create a dynamic water reflection effect using procedural noise and displacement techniques in Adobe After Effects.
Step 1: Open Your Project
Open the After Effects project where you want to add the water reflection effect.
Step 2: Add Text, Shape, or Logo
Create your content:
Use the Type Tool (Ctrl/Cmd + T) to add text
Use the Shape Tool (Q) to create a shape
Or import and place a logo in your composition
Get 10% off when you subscribe to our newsletter

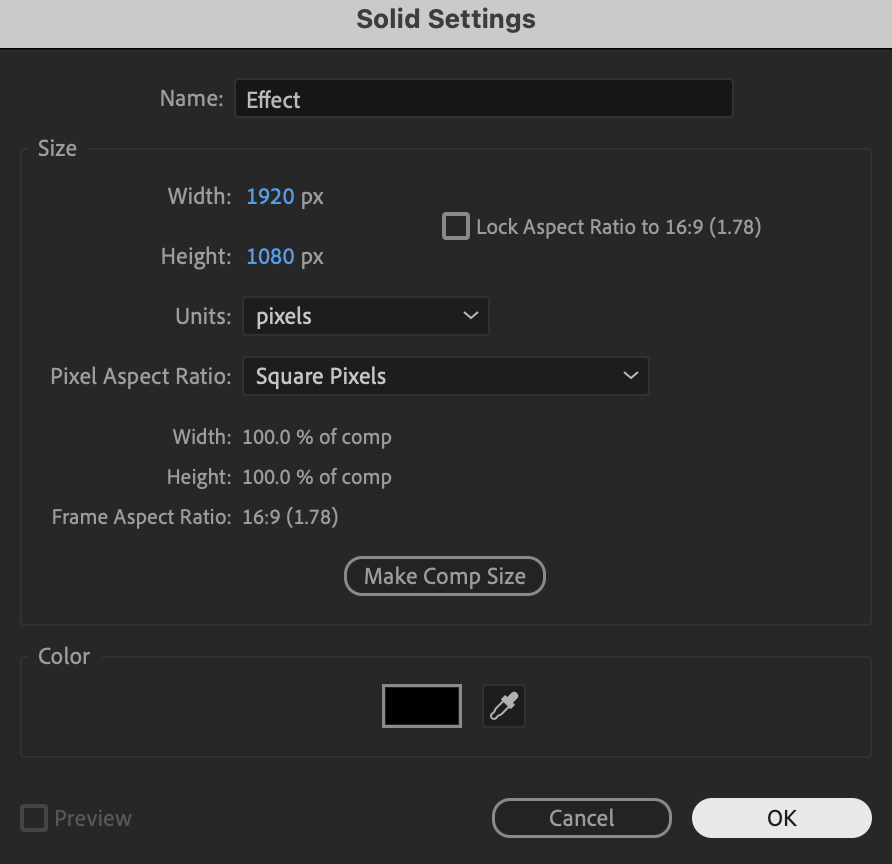
Step 3: Create an Effect Solid
Go to Layer → New → Solid and name it Effect.
 Step 4: Add Fractal Noise
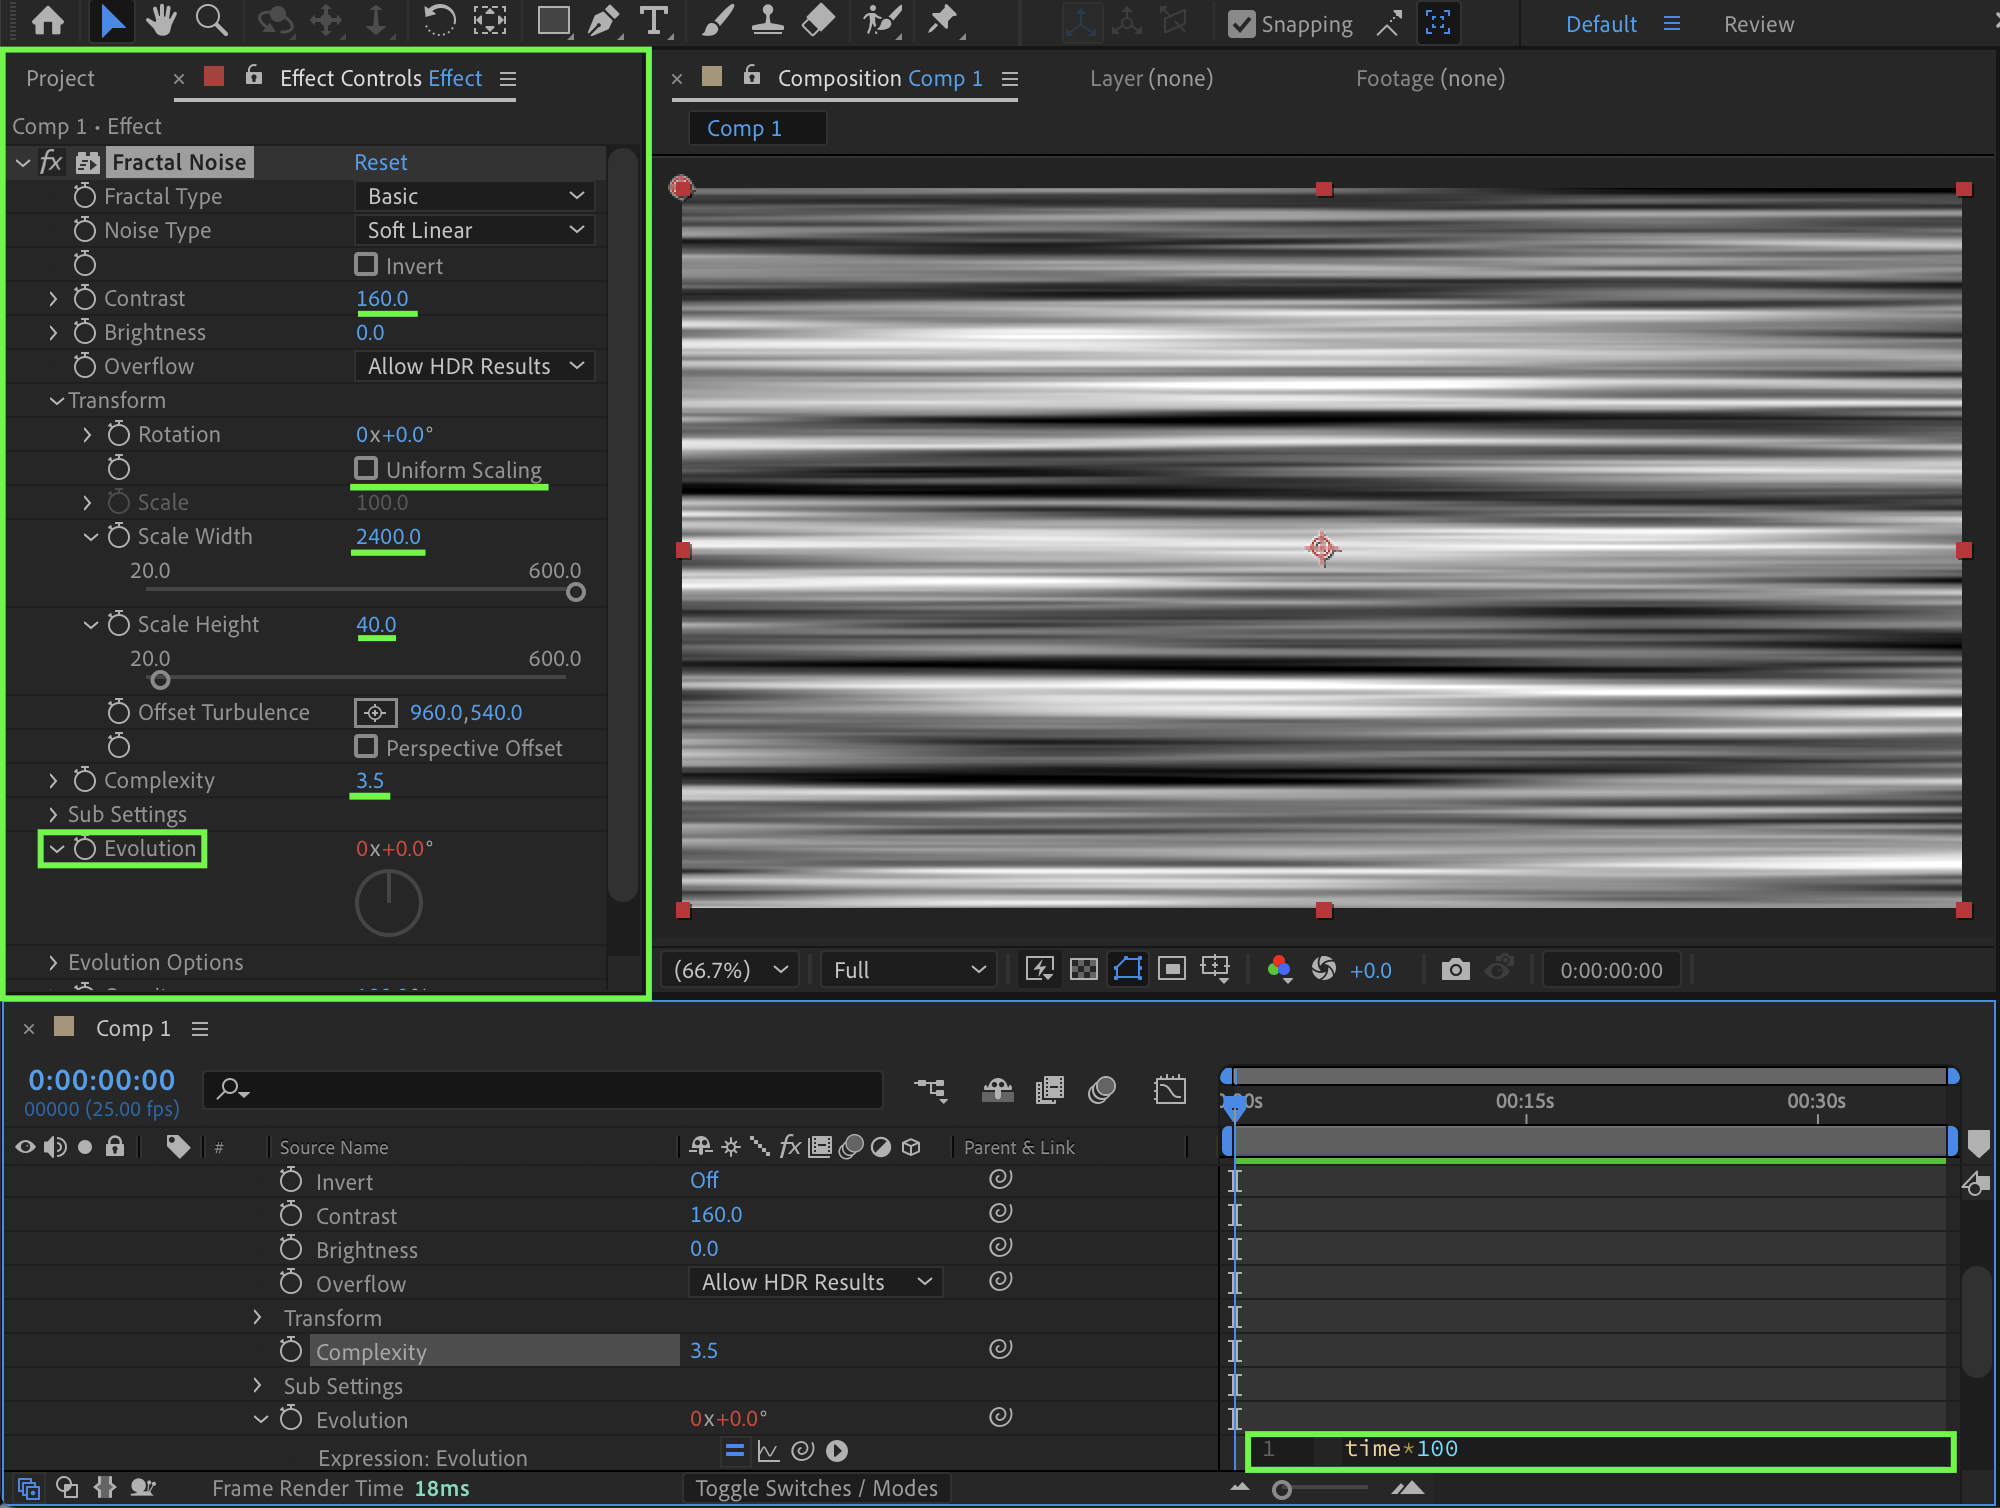
Apply the Fractal Noise effect from the Effects & Presets panel and adjust the following settings:
Contrast: 160
Disable Uniform Scaling
Scale Width: 2400
Scale Height: 40
Complexity: 3.5
Evolution: add an expression
time * 100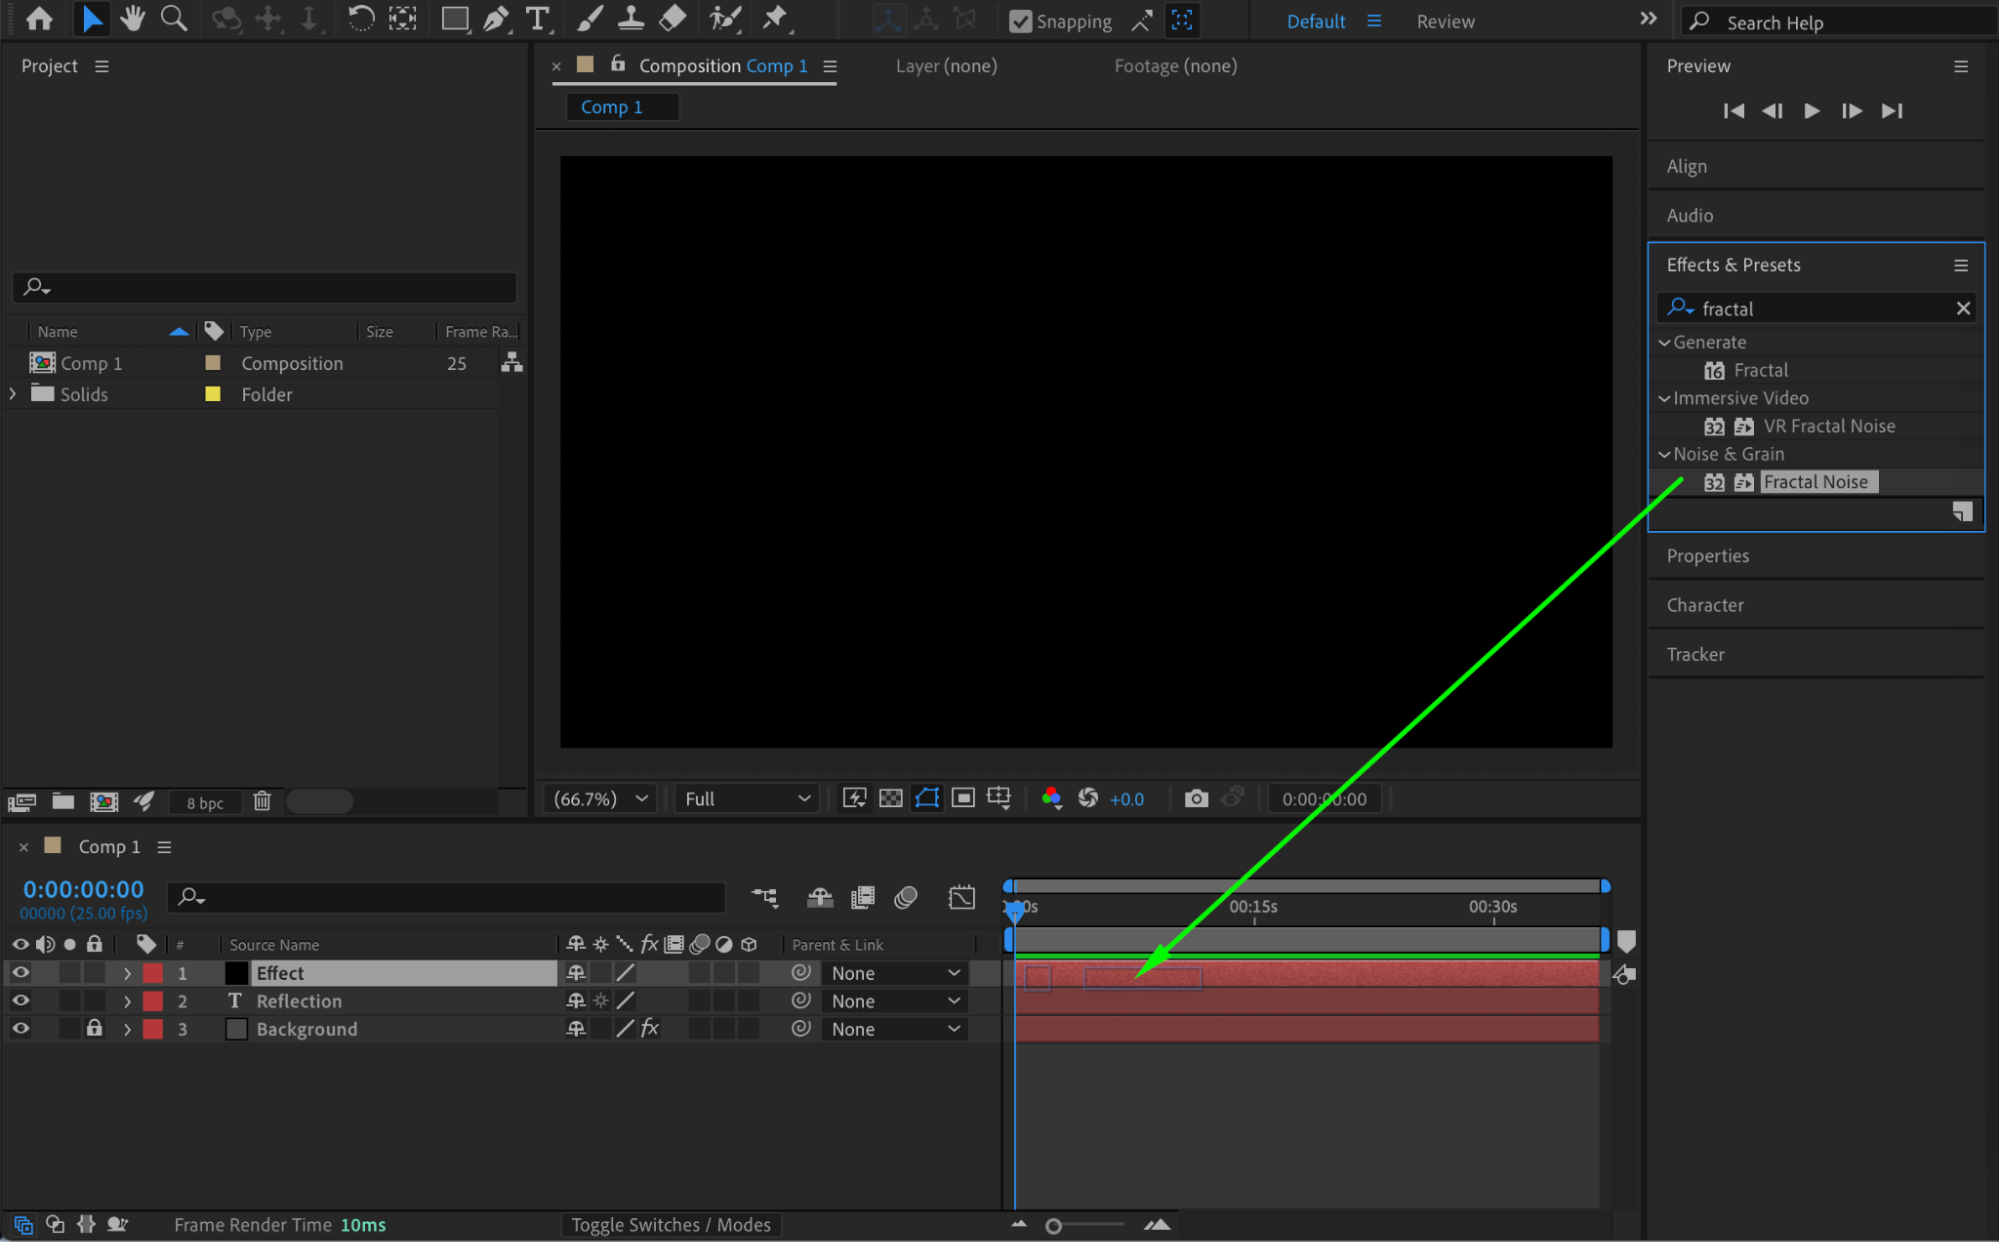
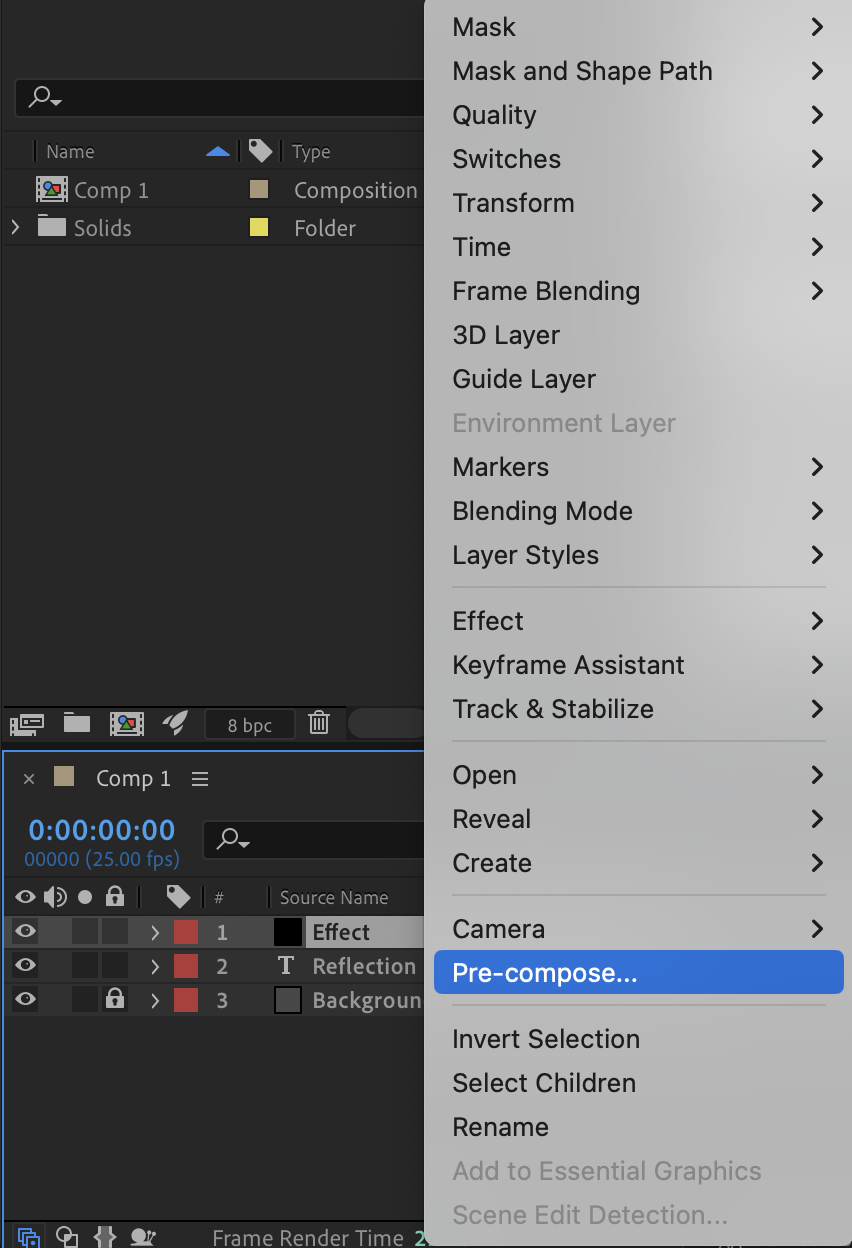
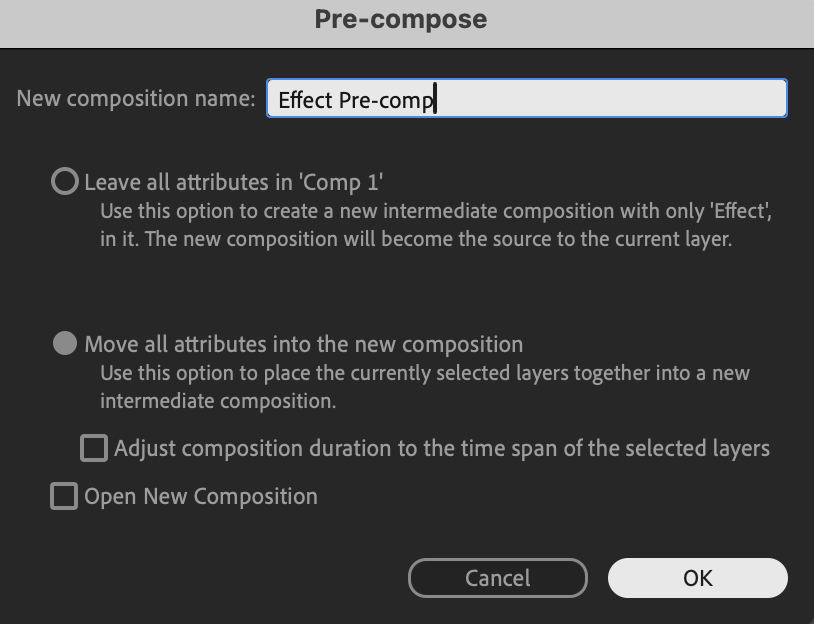
Step 5: Pre-compose the Effect
Pre-compose the solid layer (Layer → Pre-compose) and name it something like Effect Pre-Comp.
 Step 6: Add an Adjustment Layer
Go to Layer → New → Adjustment Layer.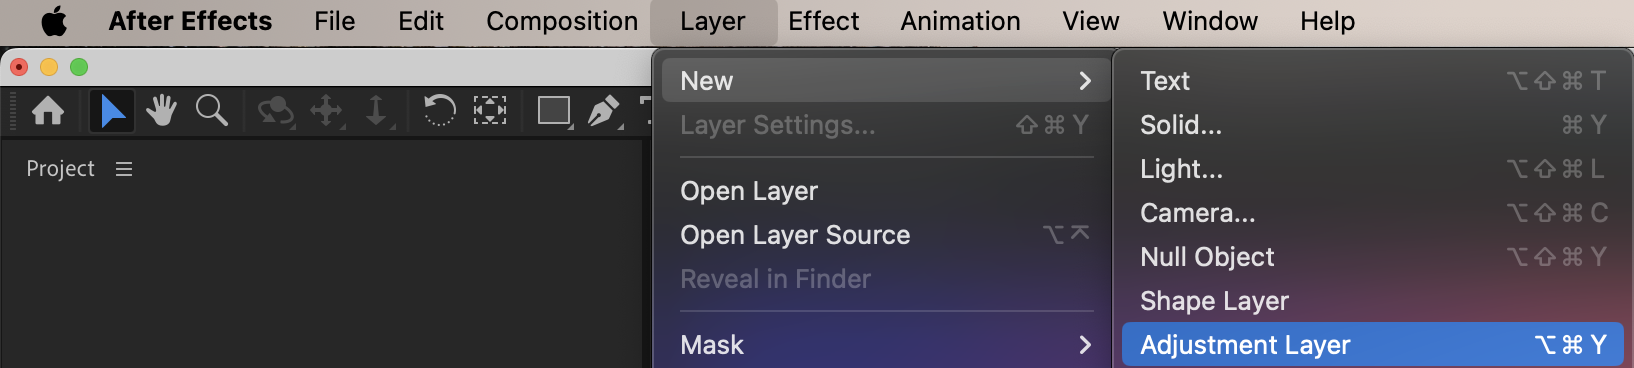
Step 7: Limit the Reflection Area
Turn off the visibility (eye icon) of the pre-comp. Position the Adjustment Layer so it covers only the lower half of the composition where the reflection should appear.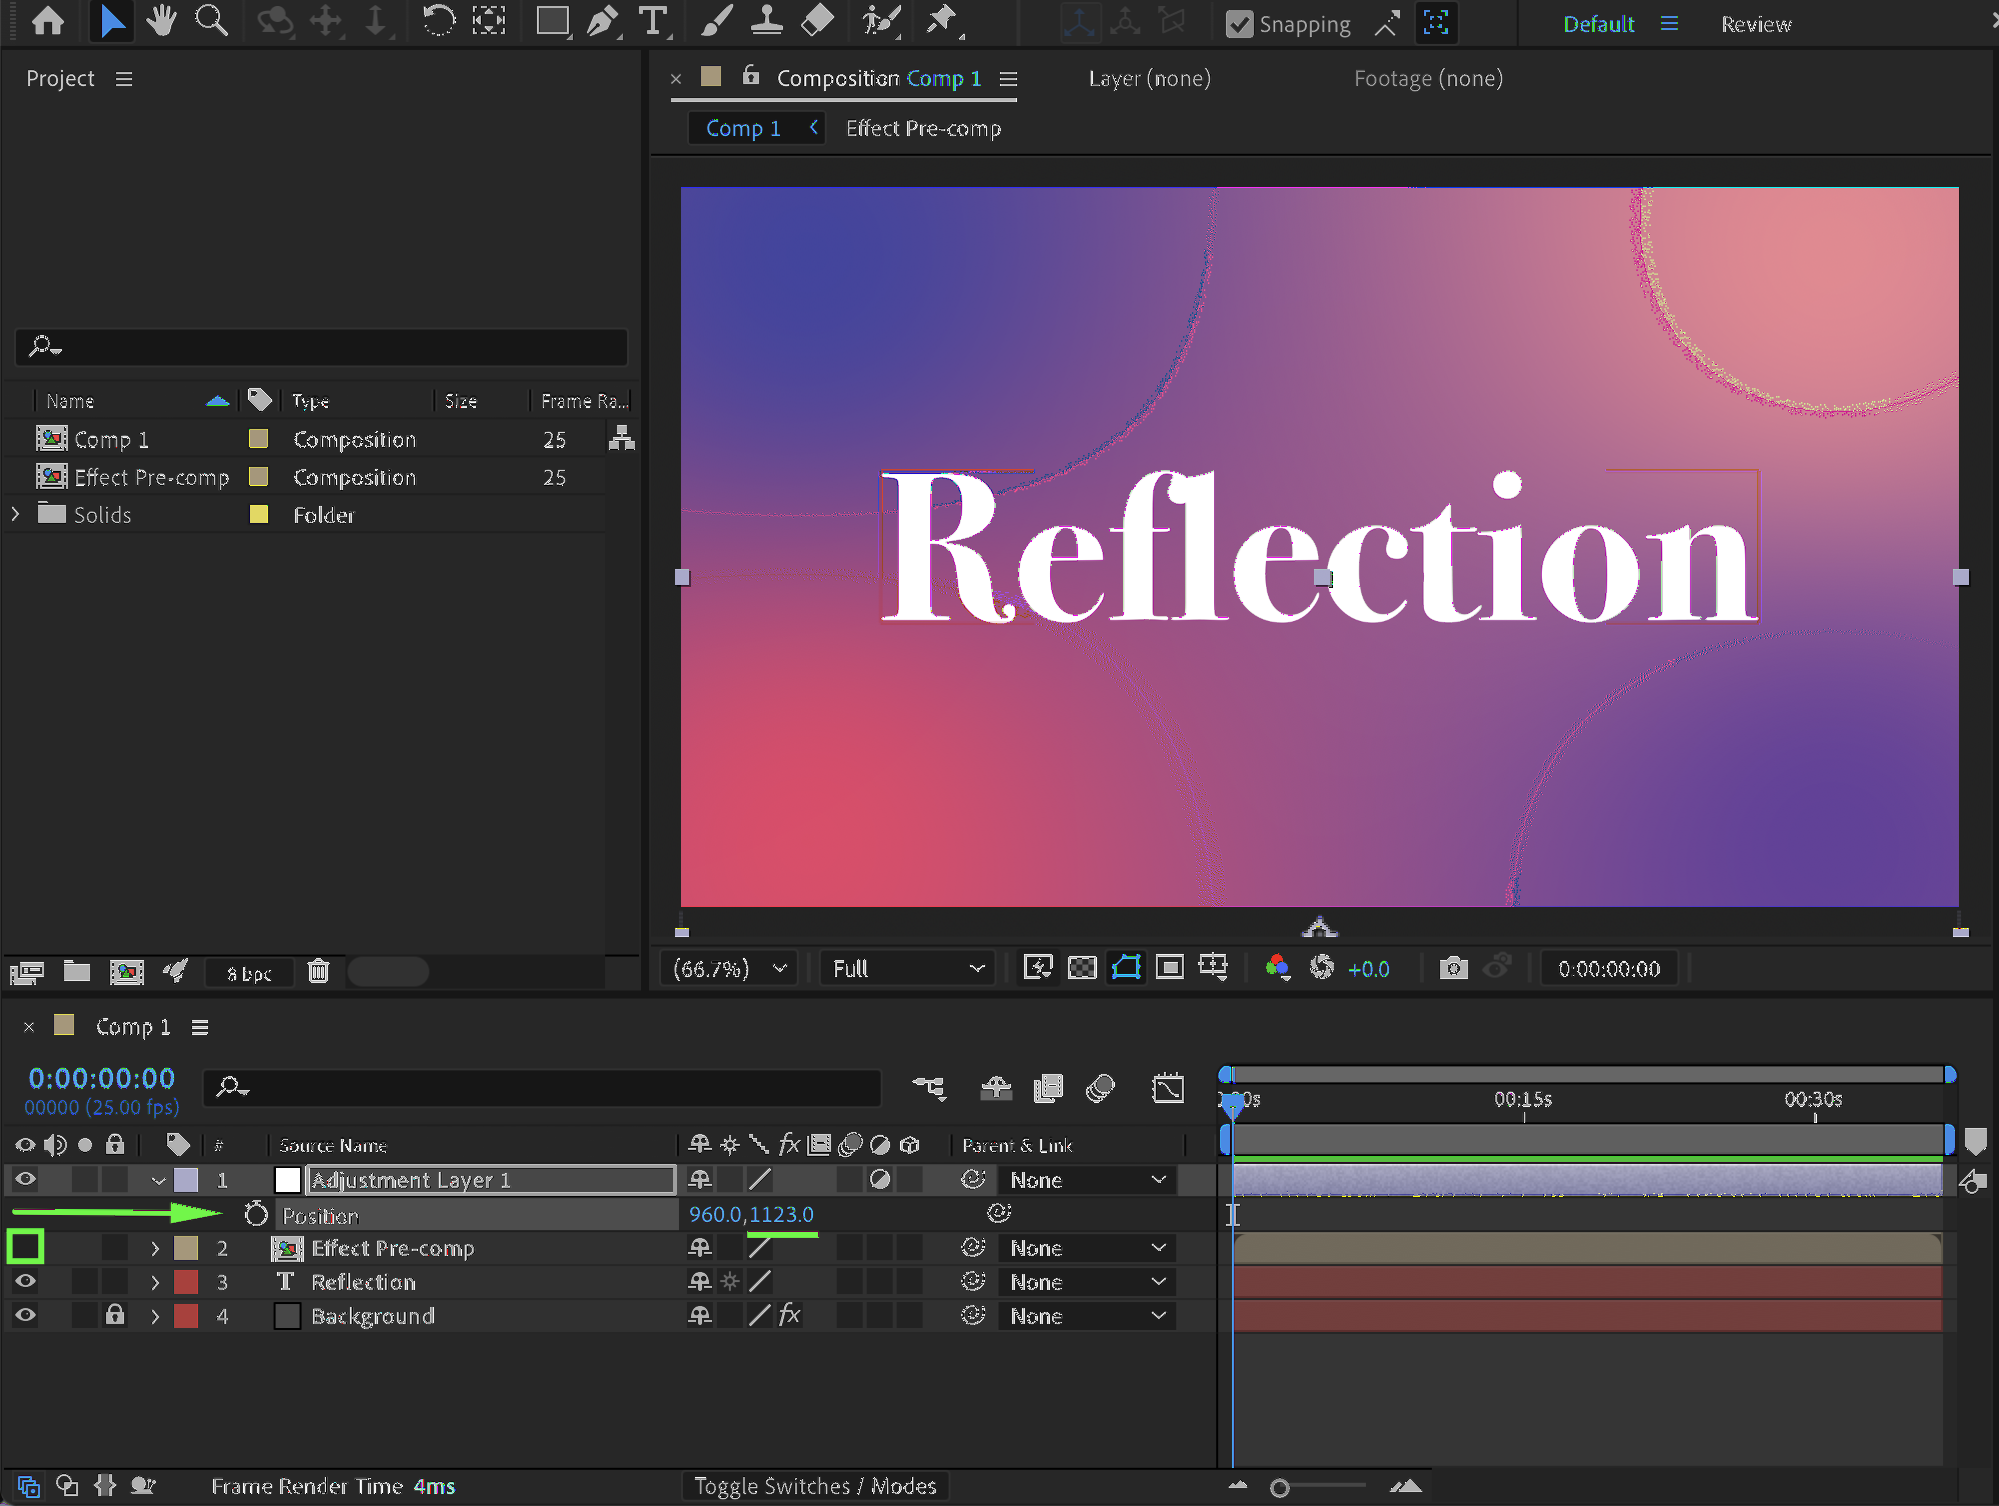
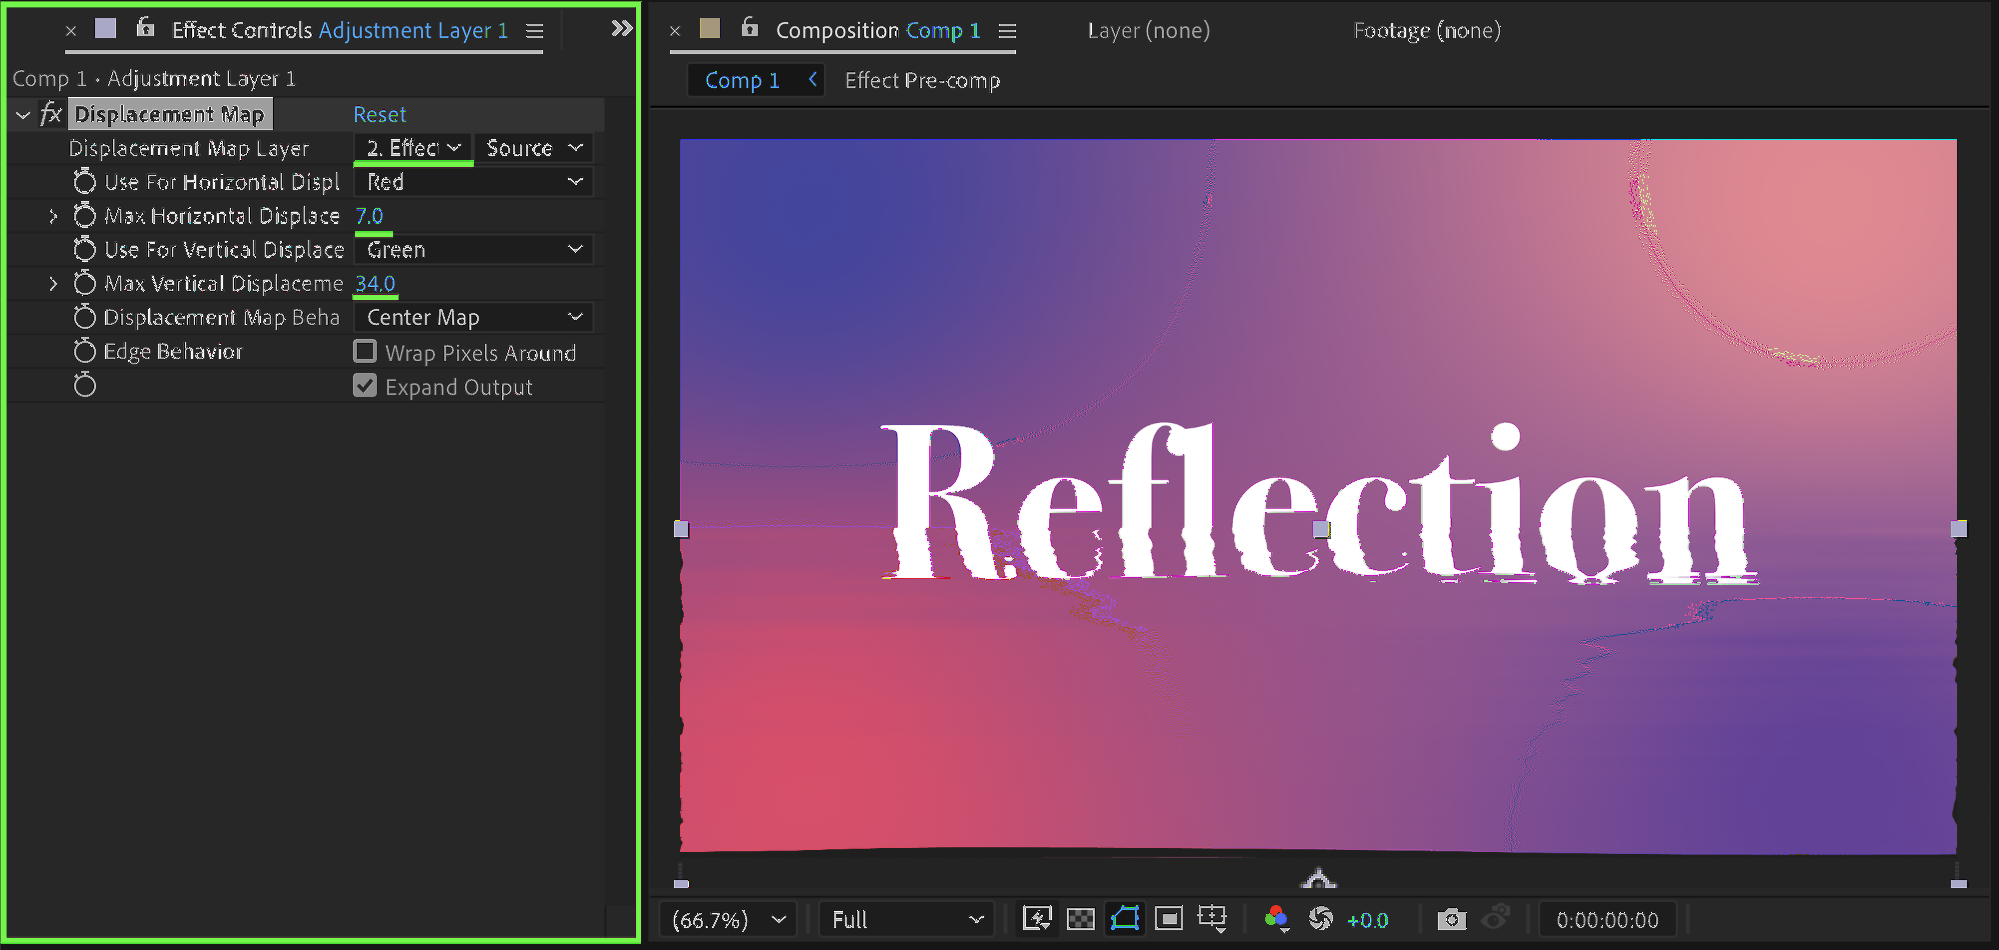
Step 8: Apply Displacement Map
Apply the Displacement Map effect to the Adjustment Layer:
Displacement Map Layer: your pre-comp effect
Max Horizontal Displacement: 7
Max Vertical Displacement: 34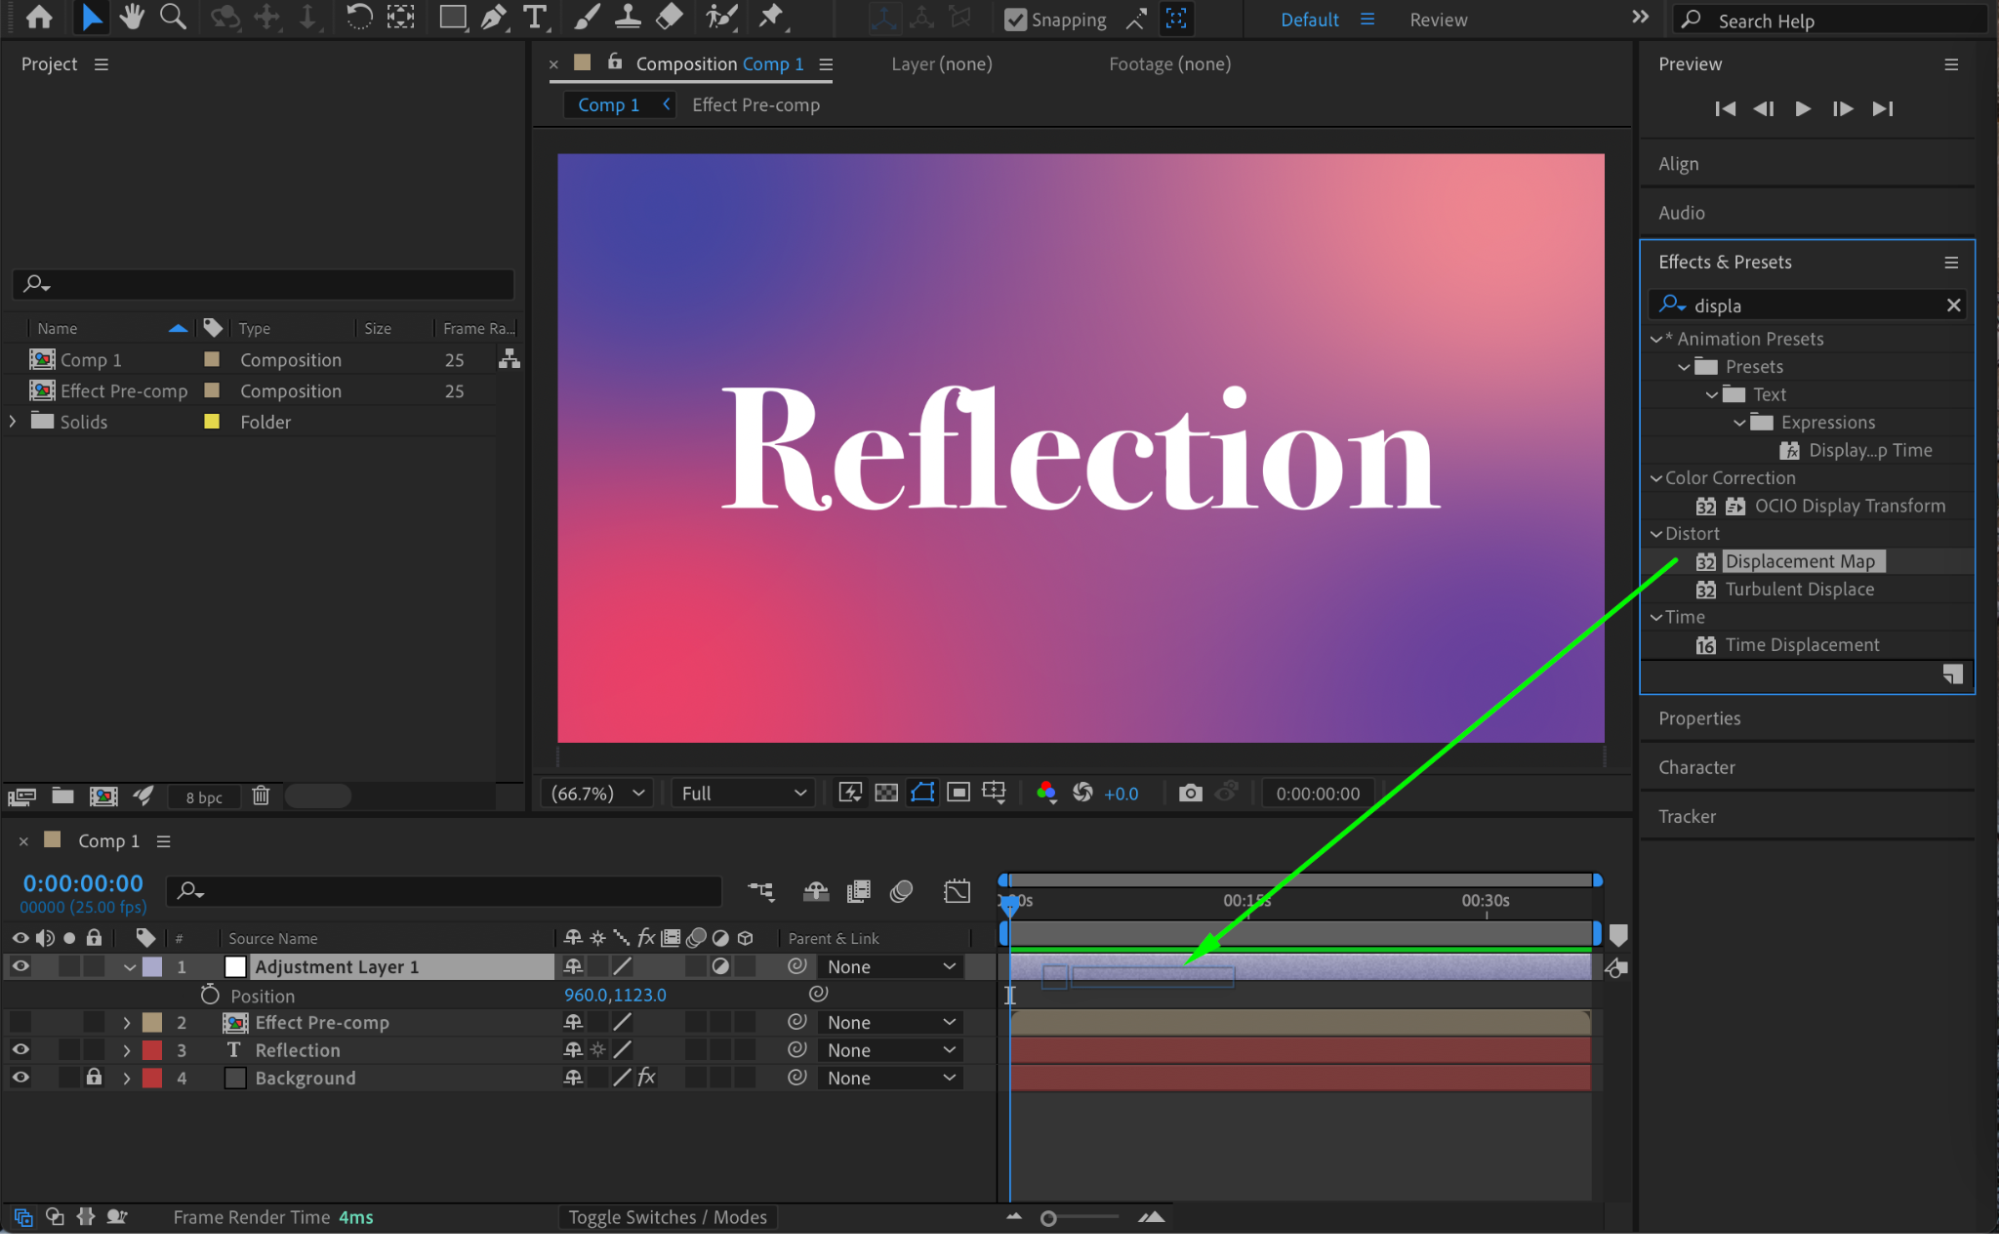
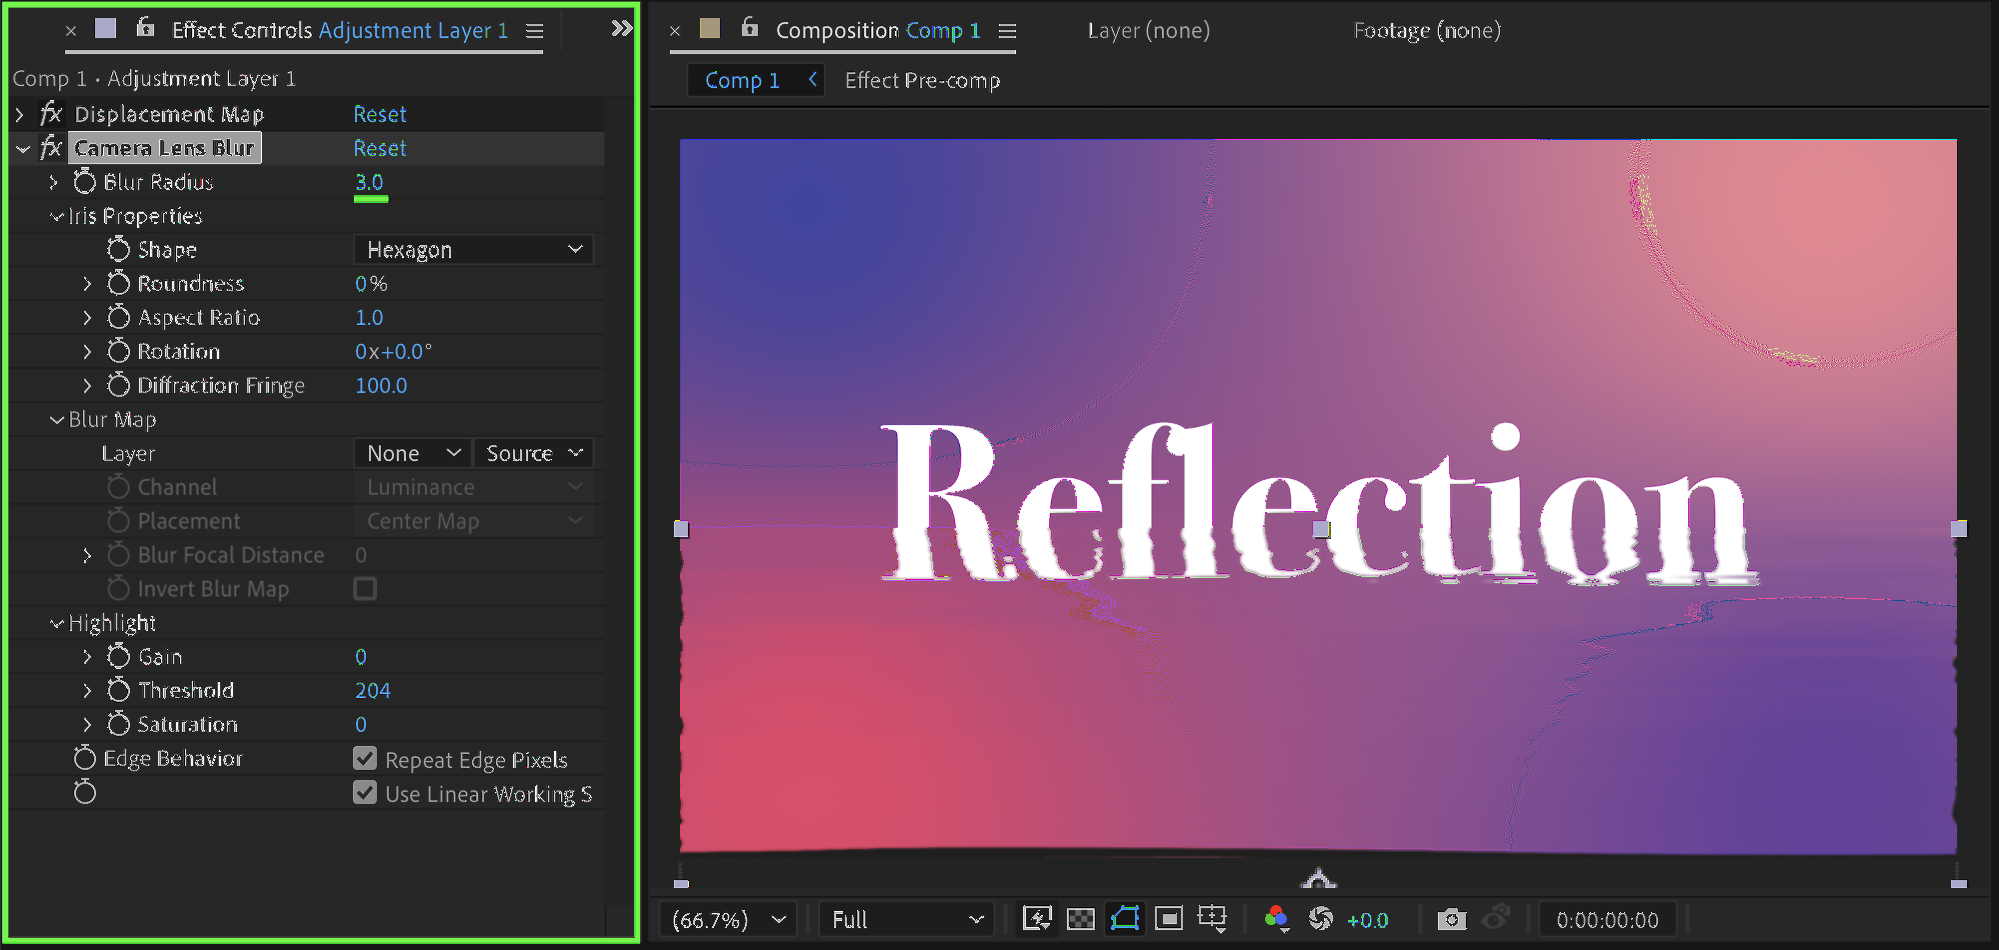
 Step 9: Add Blur for Realism
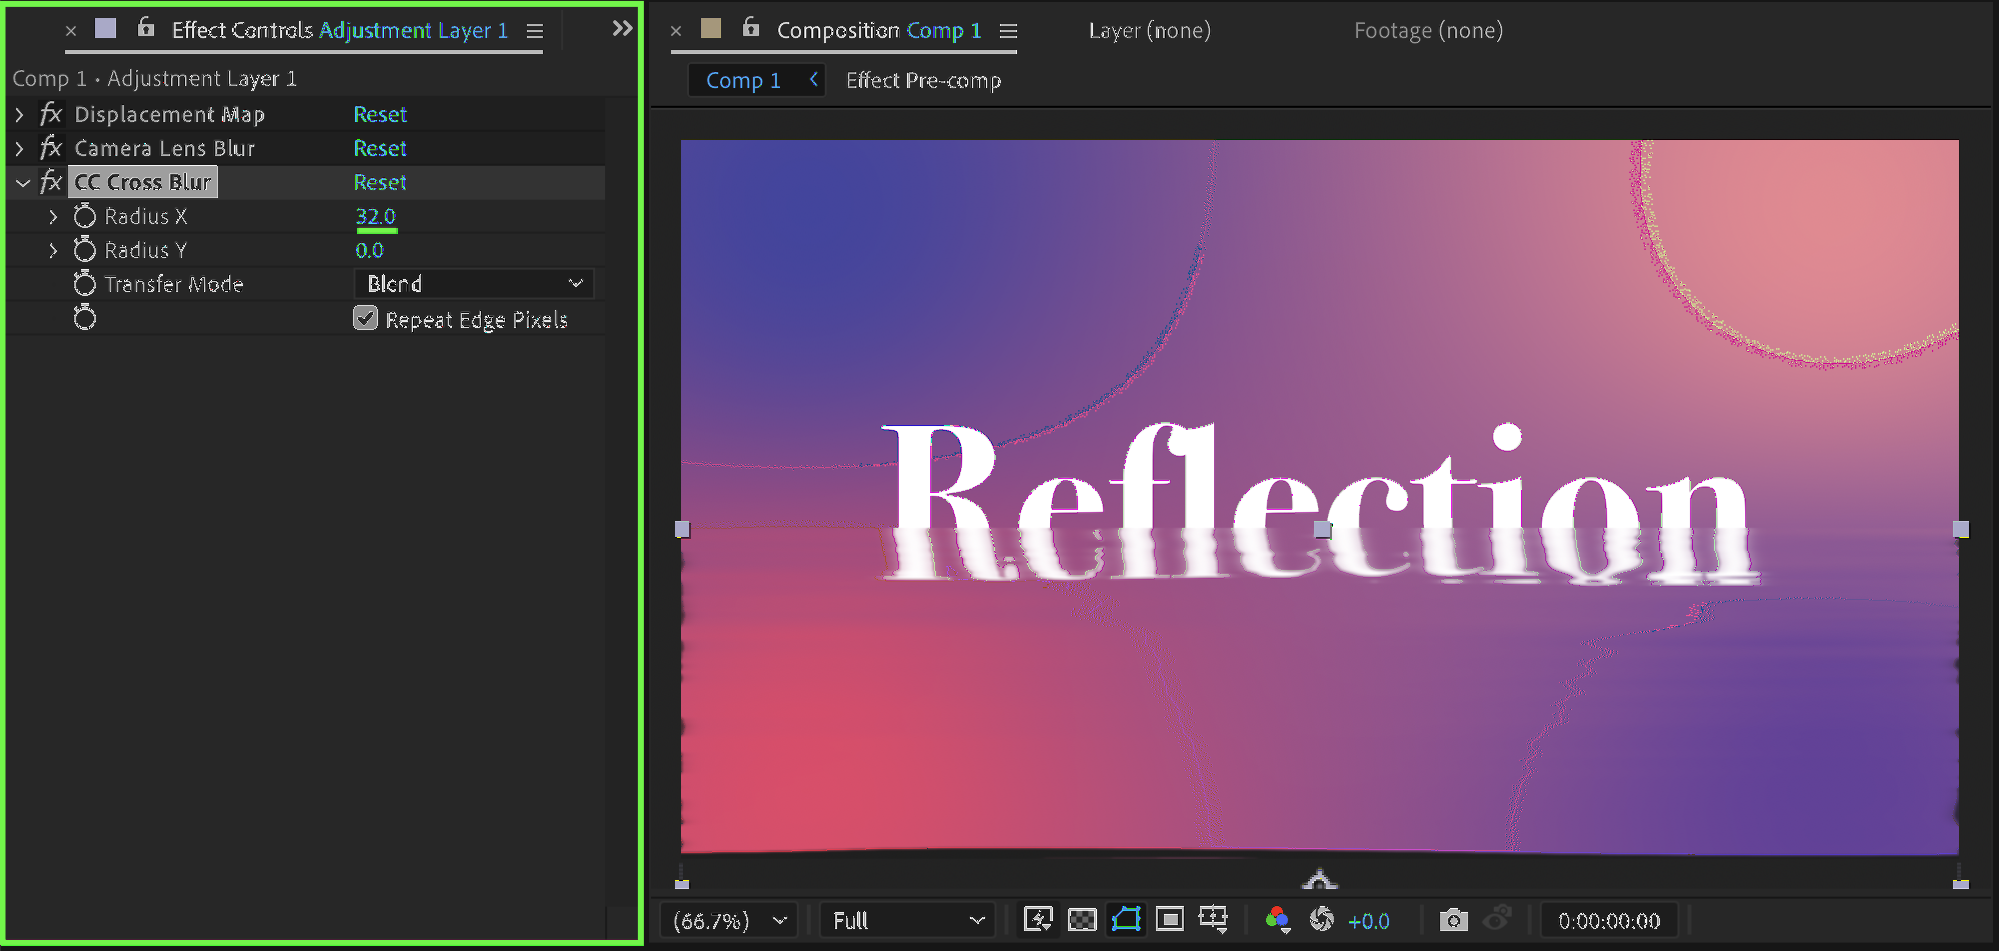
Add Camera Lens Blur and set:
Blur Radius: 3
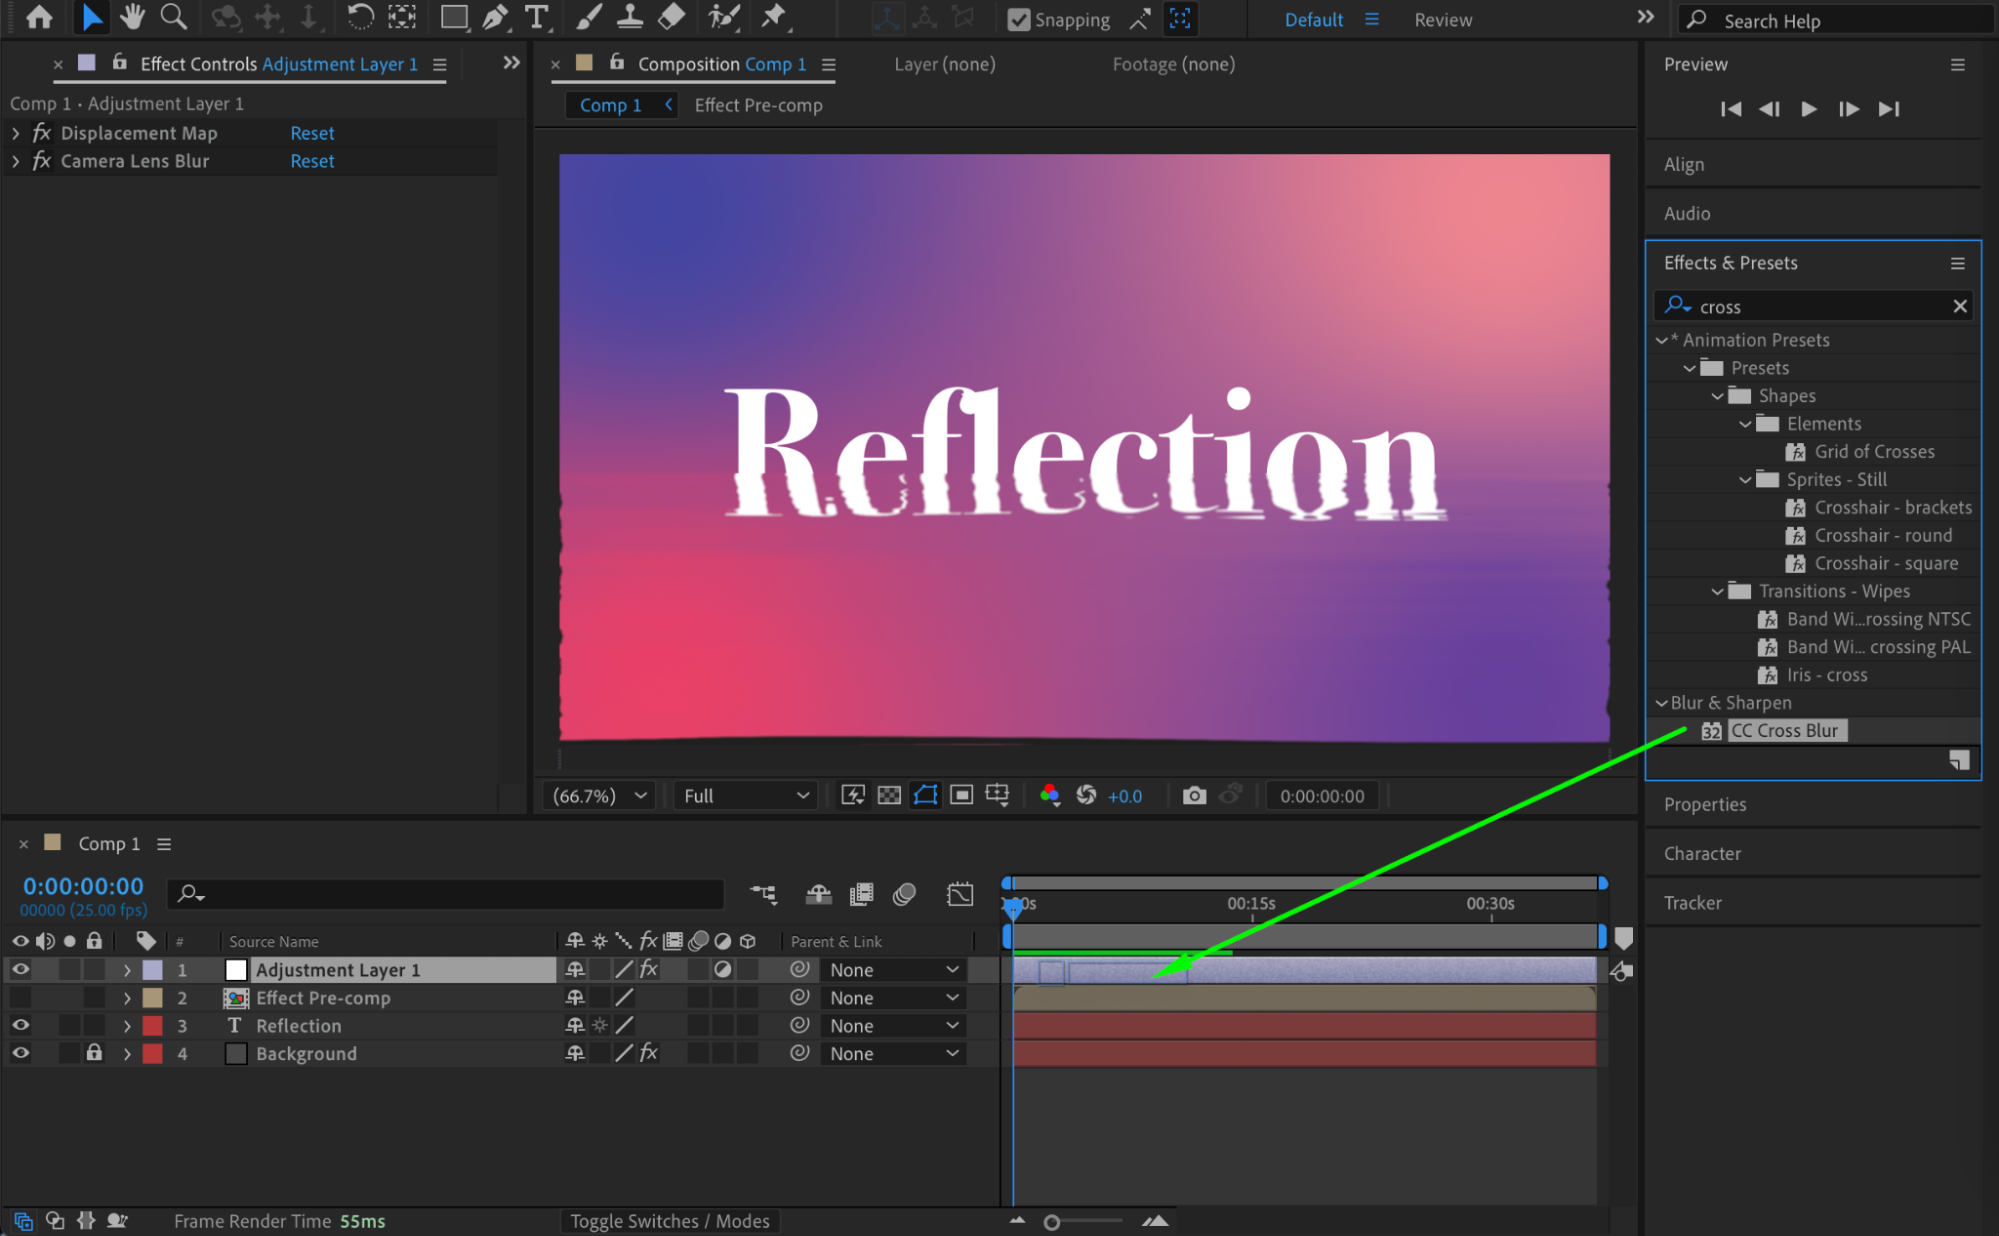
Add CC Cross Blur and set:
Radius X: 32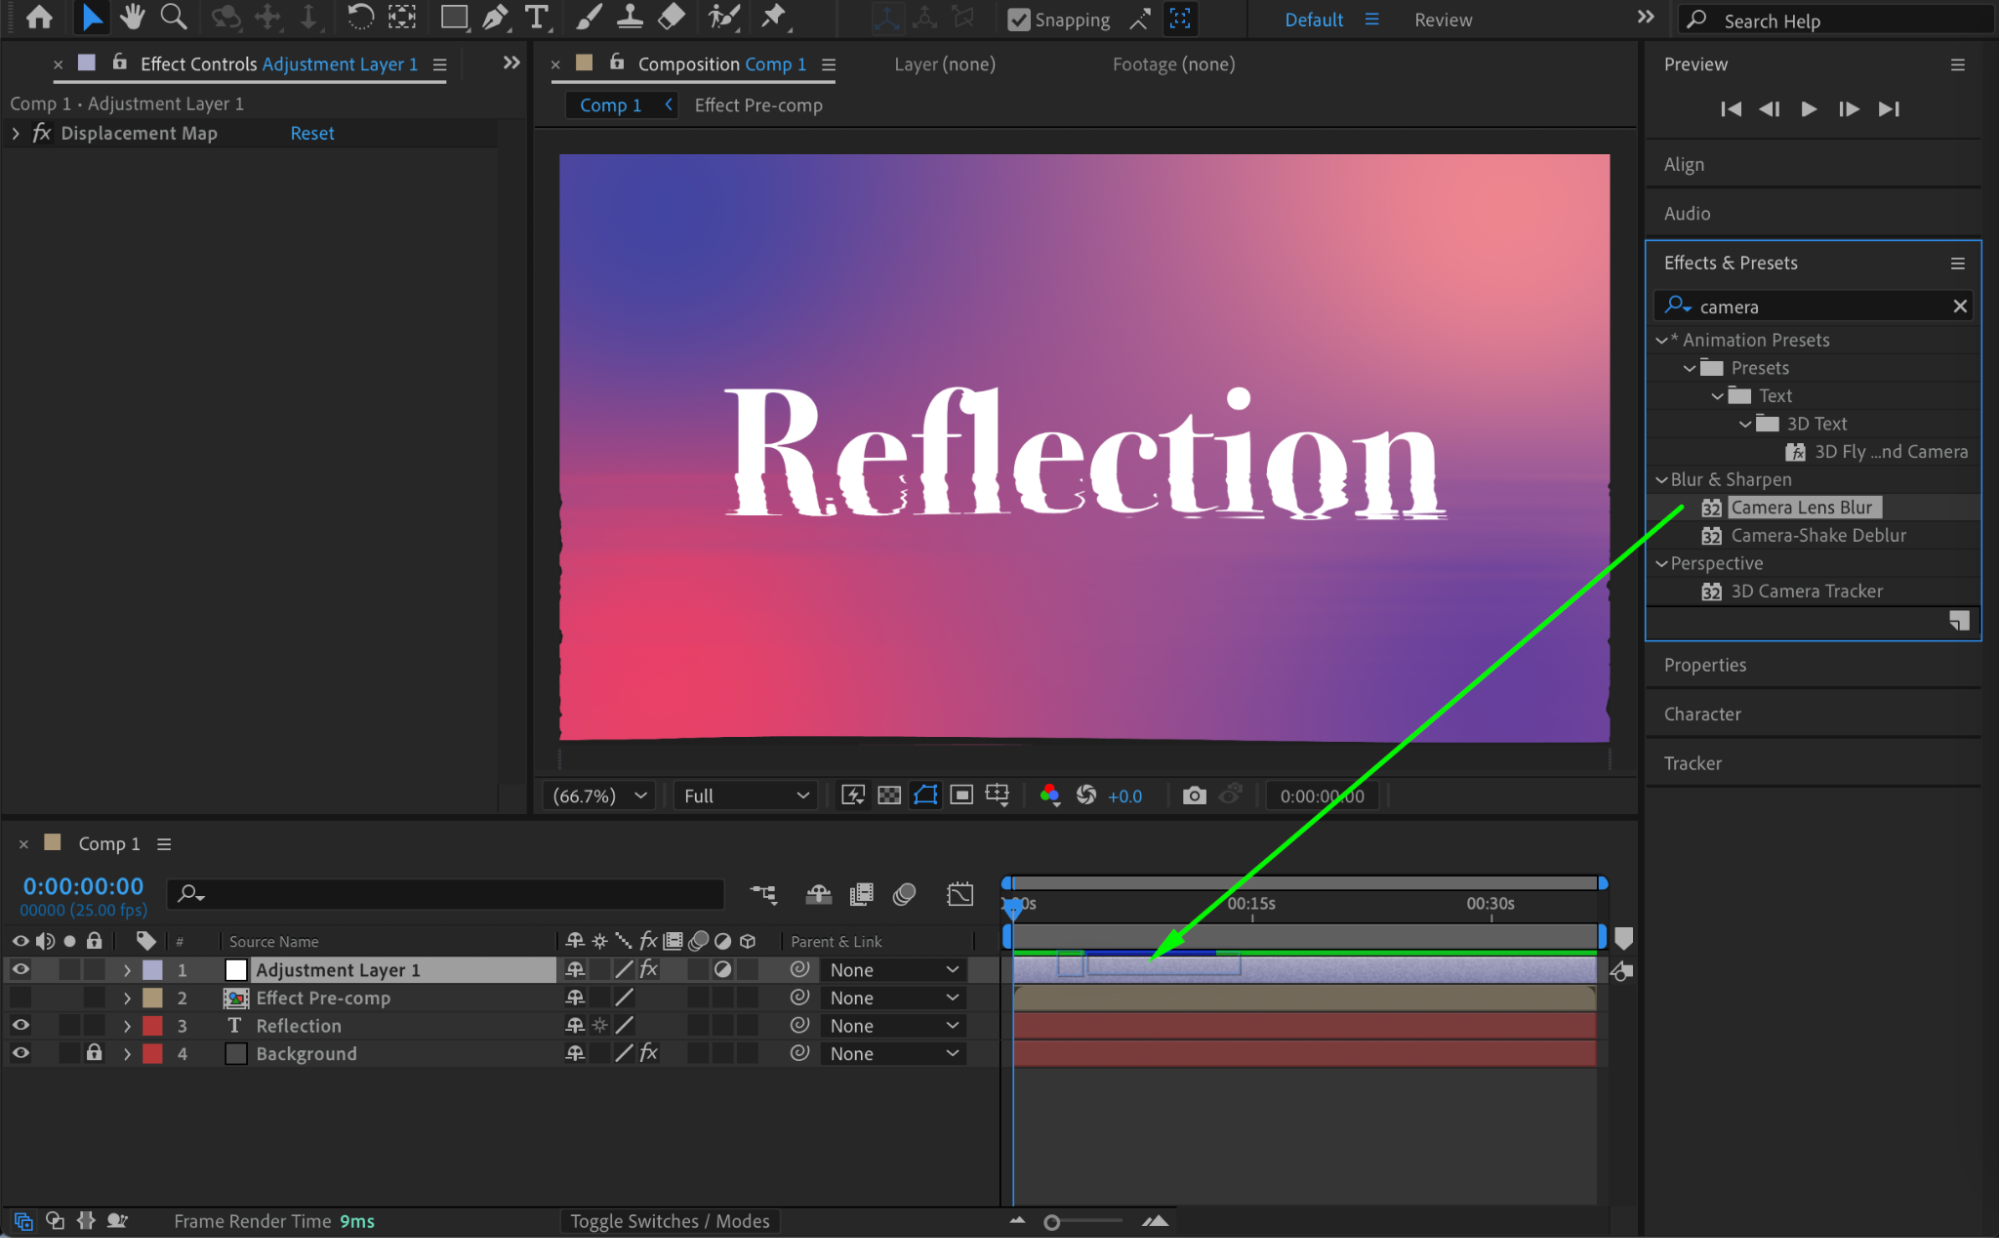
 Step 10: Preview the Result
Preview the animation and fine-tune the displacement or blur values for the desired water reflection look. Conclusion
This technique creates a subtle, animated water reflection that works well for text, logos, and graphic elements. By combining Fractal Noise, Displacement Map, and blur effects, you can achieve a realistic ripple effect with full creative control.
Our Bestsellers


