Introduction
Accent graphics are small animated elements that enhance motion, emphasize actions, and add visual energy to a scene. They are often used in explainer videos, motion typography, and social media animations. In this tutorial, you’ll learn how to create a clean accent graphic using shape layers and Trim Paths in After Effects.
Step 1: Open Your Project
Open the After Effects project where you want to add the accent graphic. Step 2: Create the Accent Line
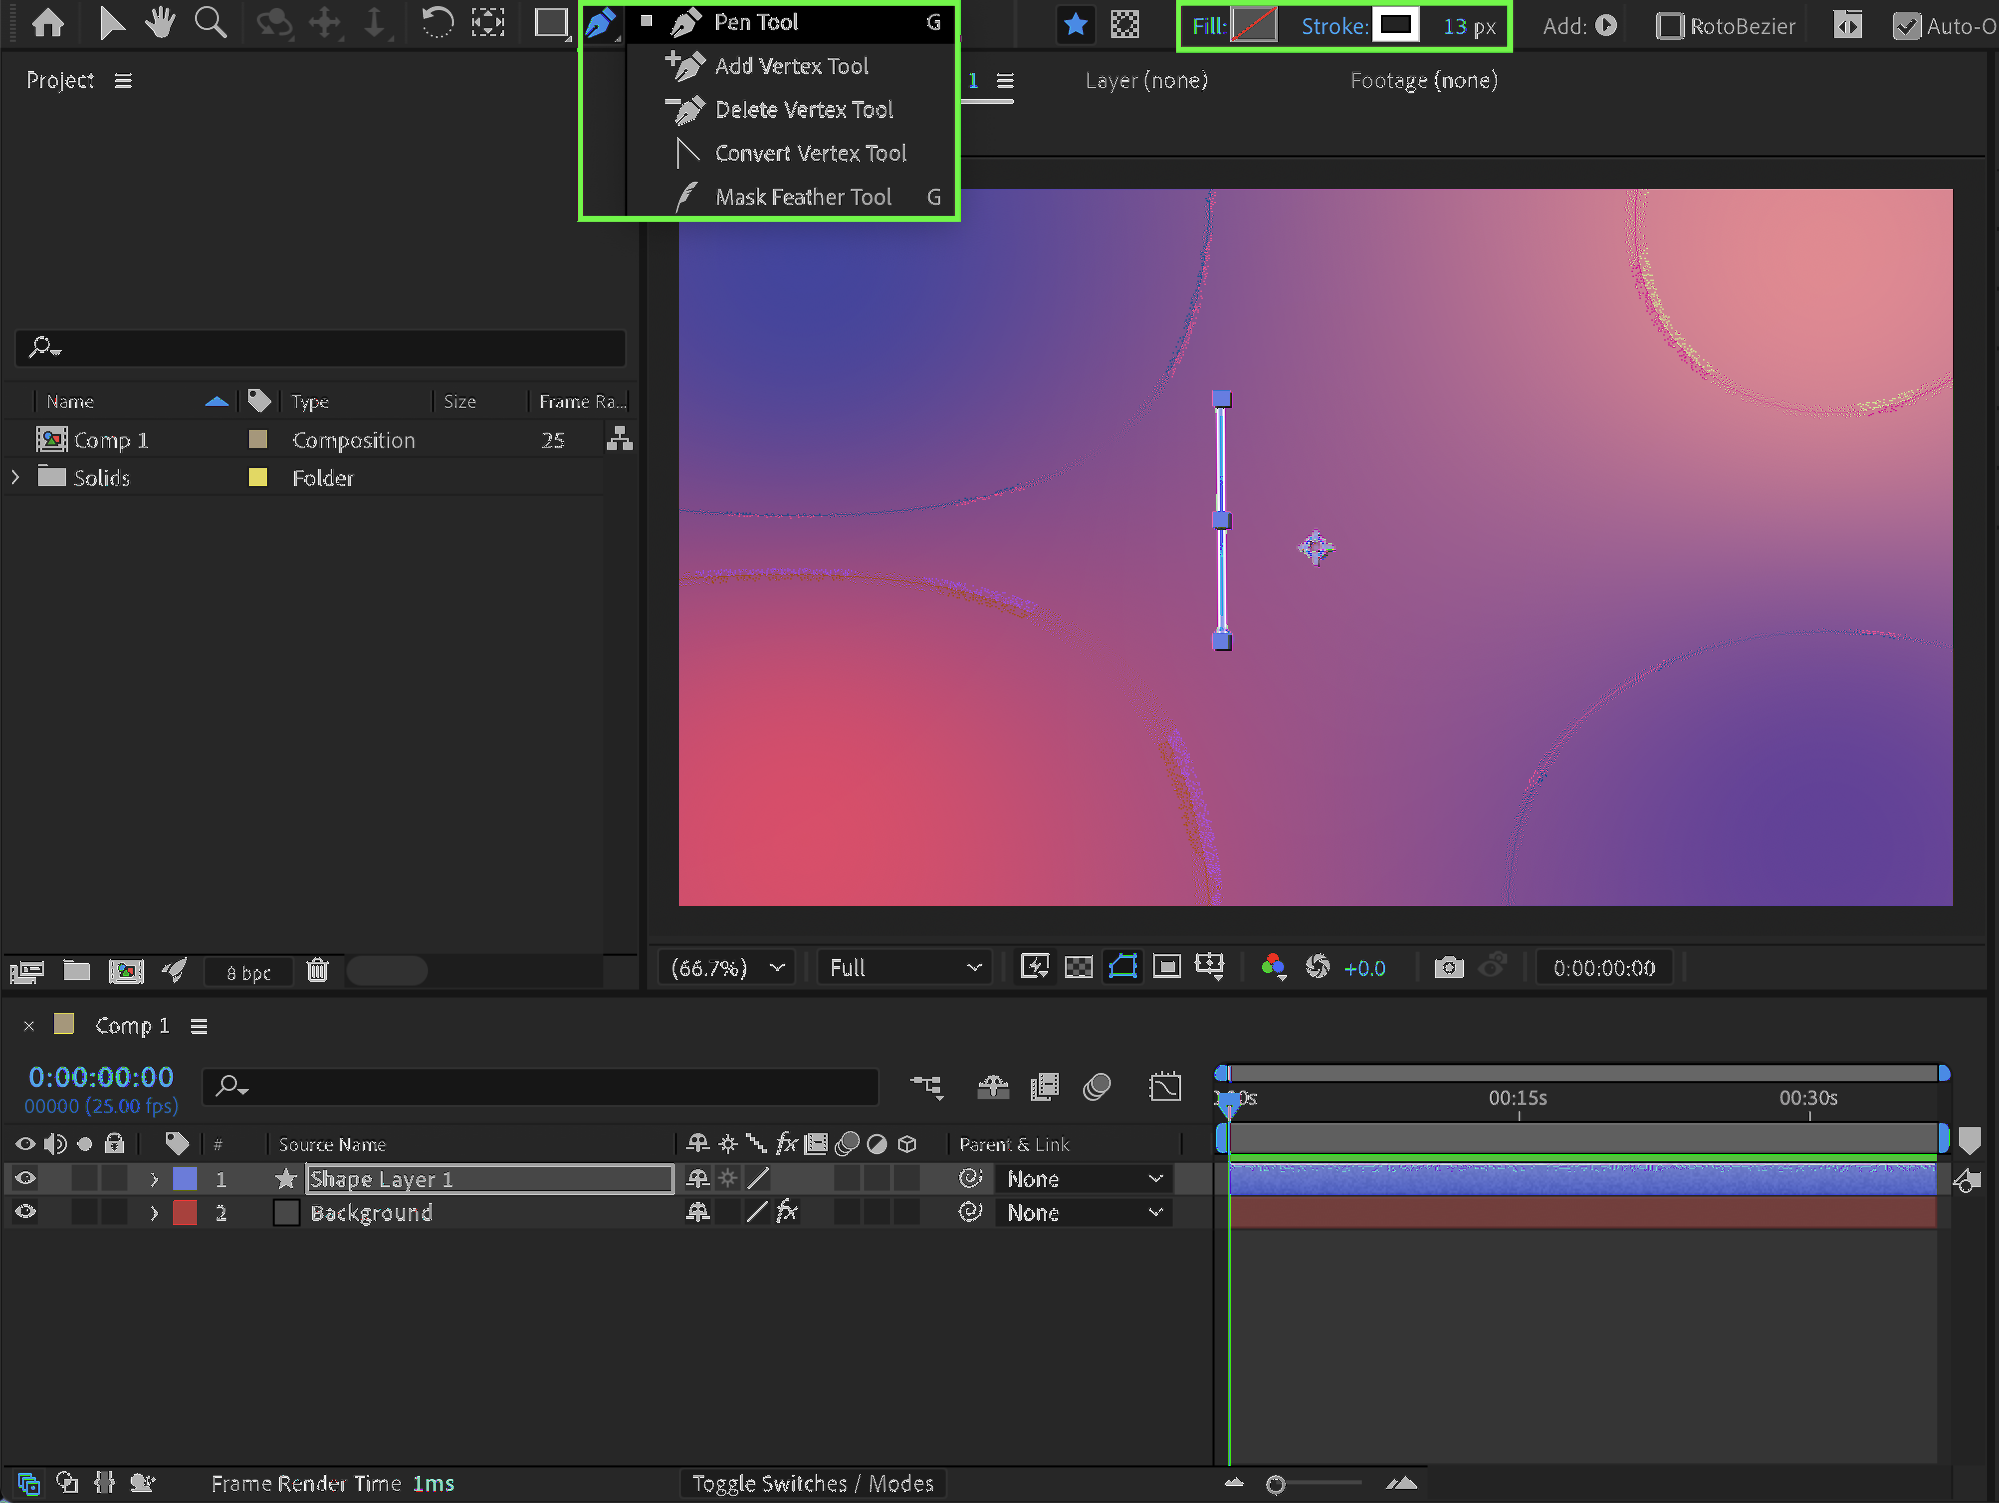
Select the Pen Tool (G) and draw a straight line.
Set Fill to None
Set Stroke to 13 px
Choose White as the stroke color
Get 10% off when you subscribe to our newsletter

Step 3: Add Trim Paths
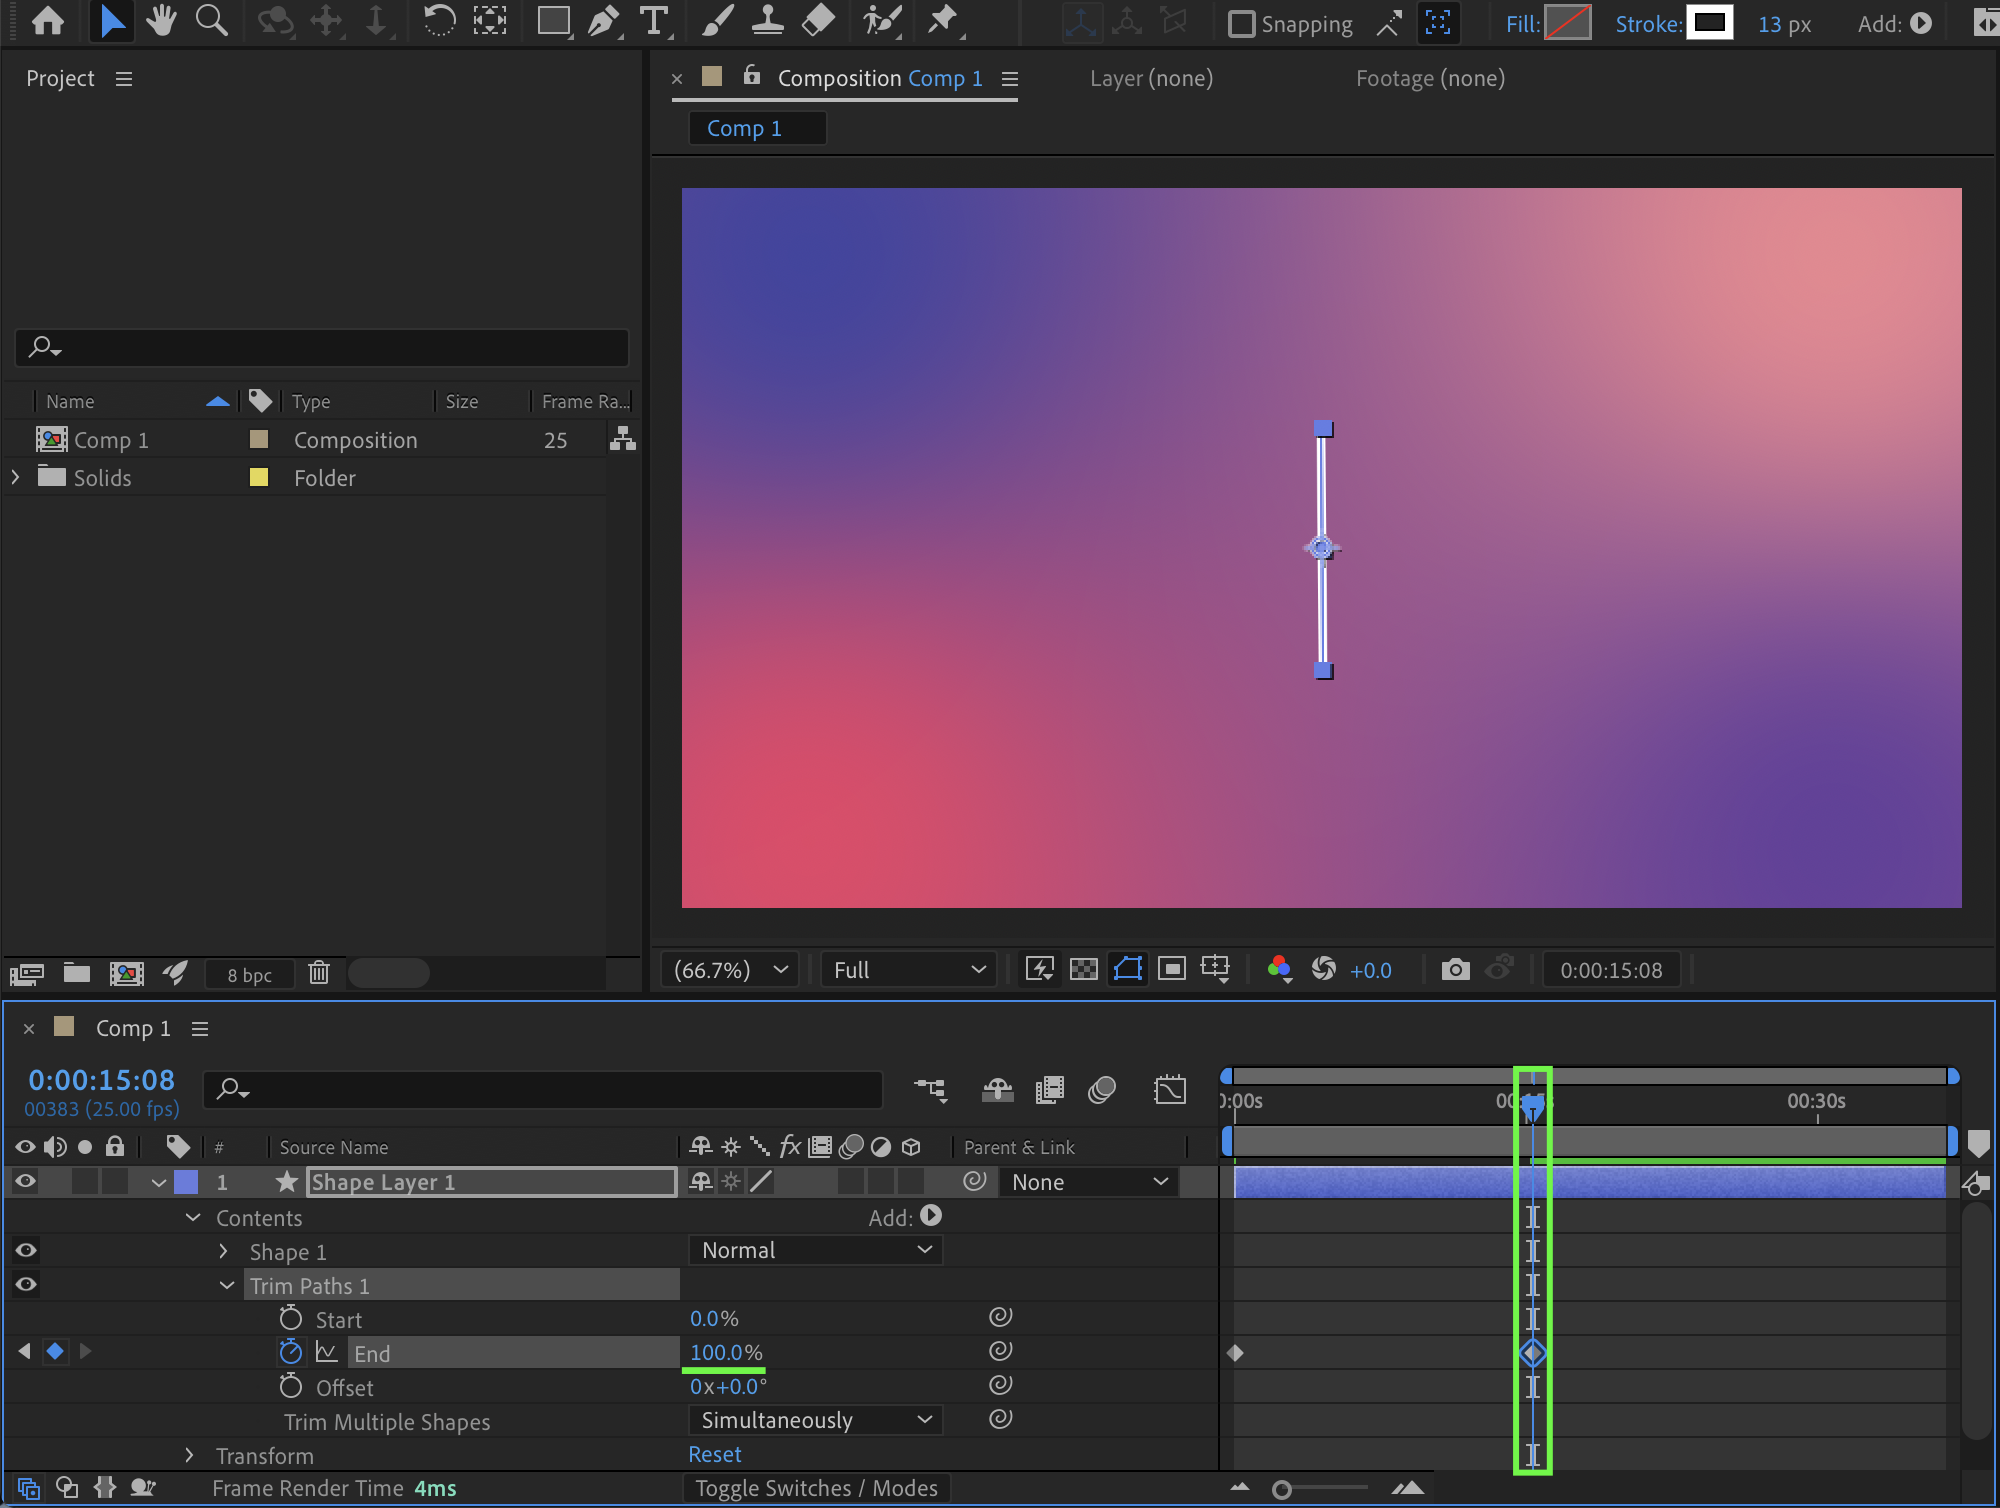
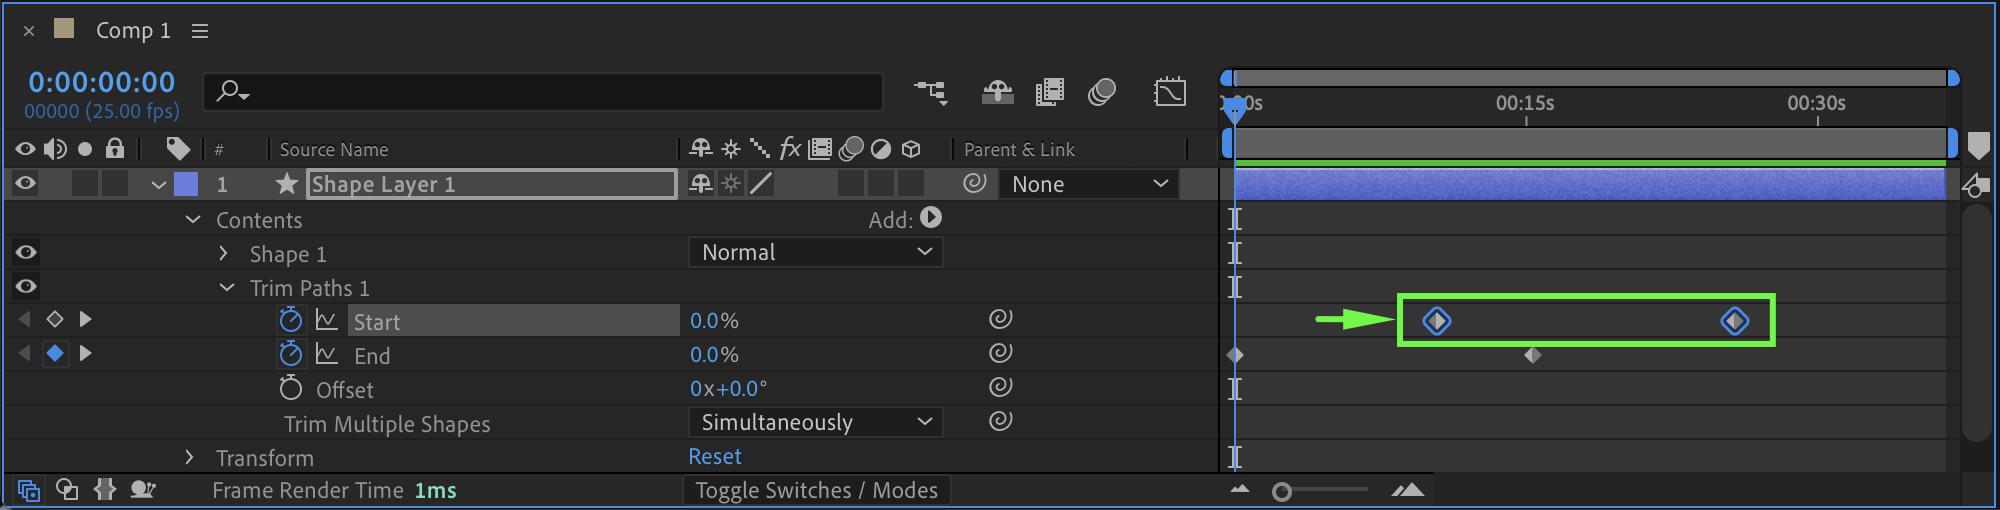
Expand the layer properties. Click Add → Trim Paths next to the Contents section. Step 4: Animate the Line
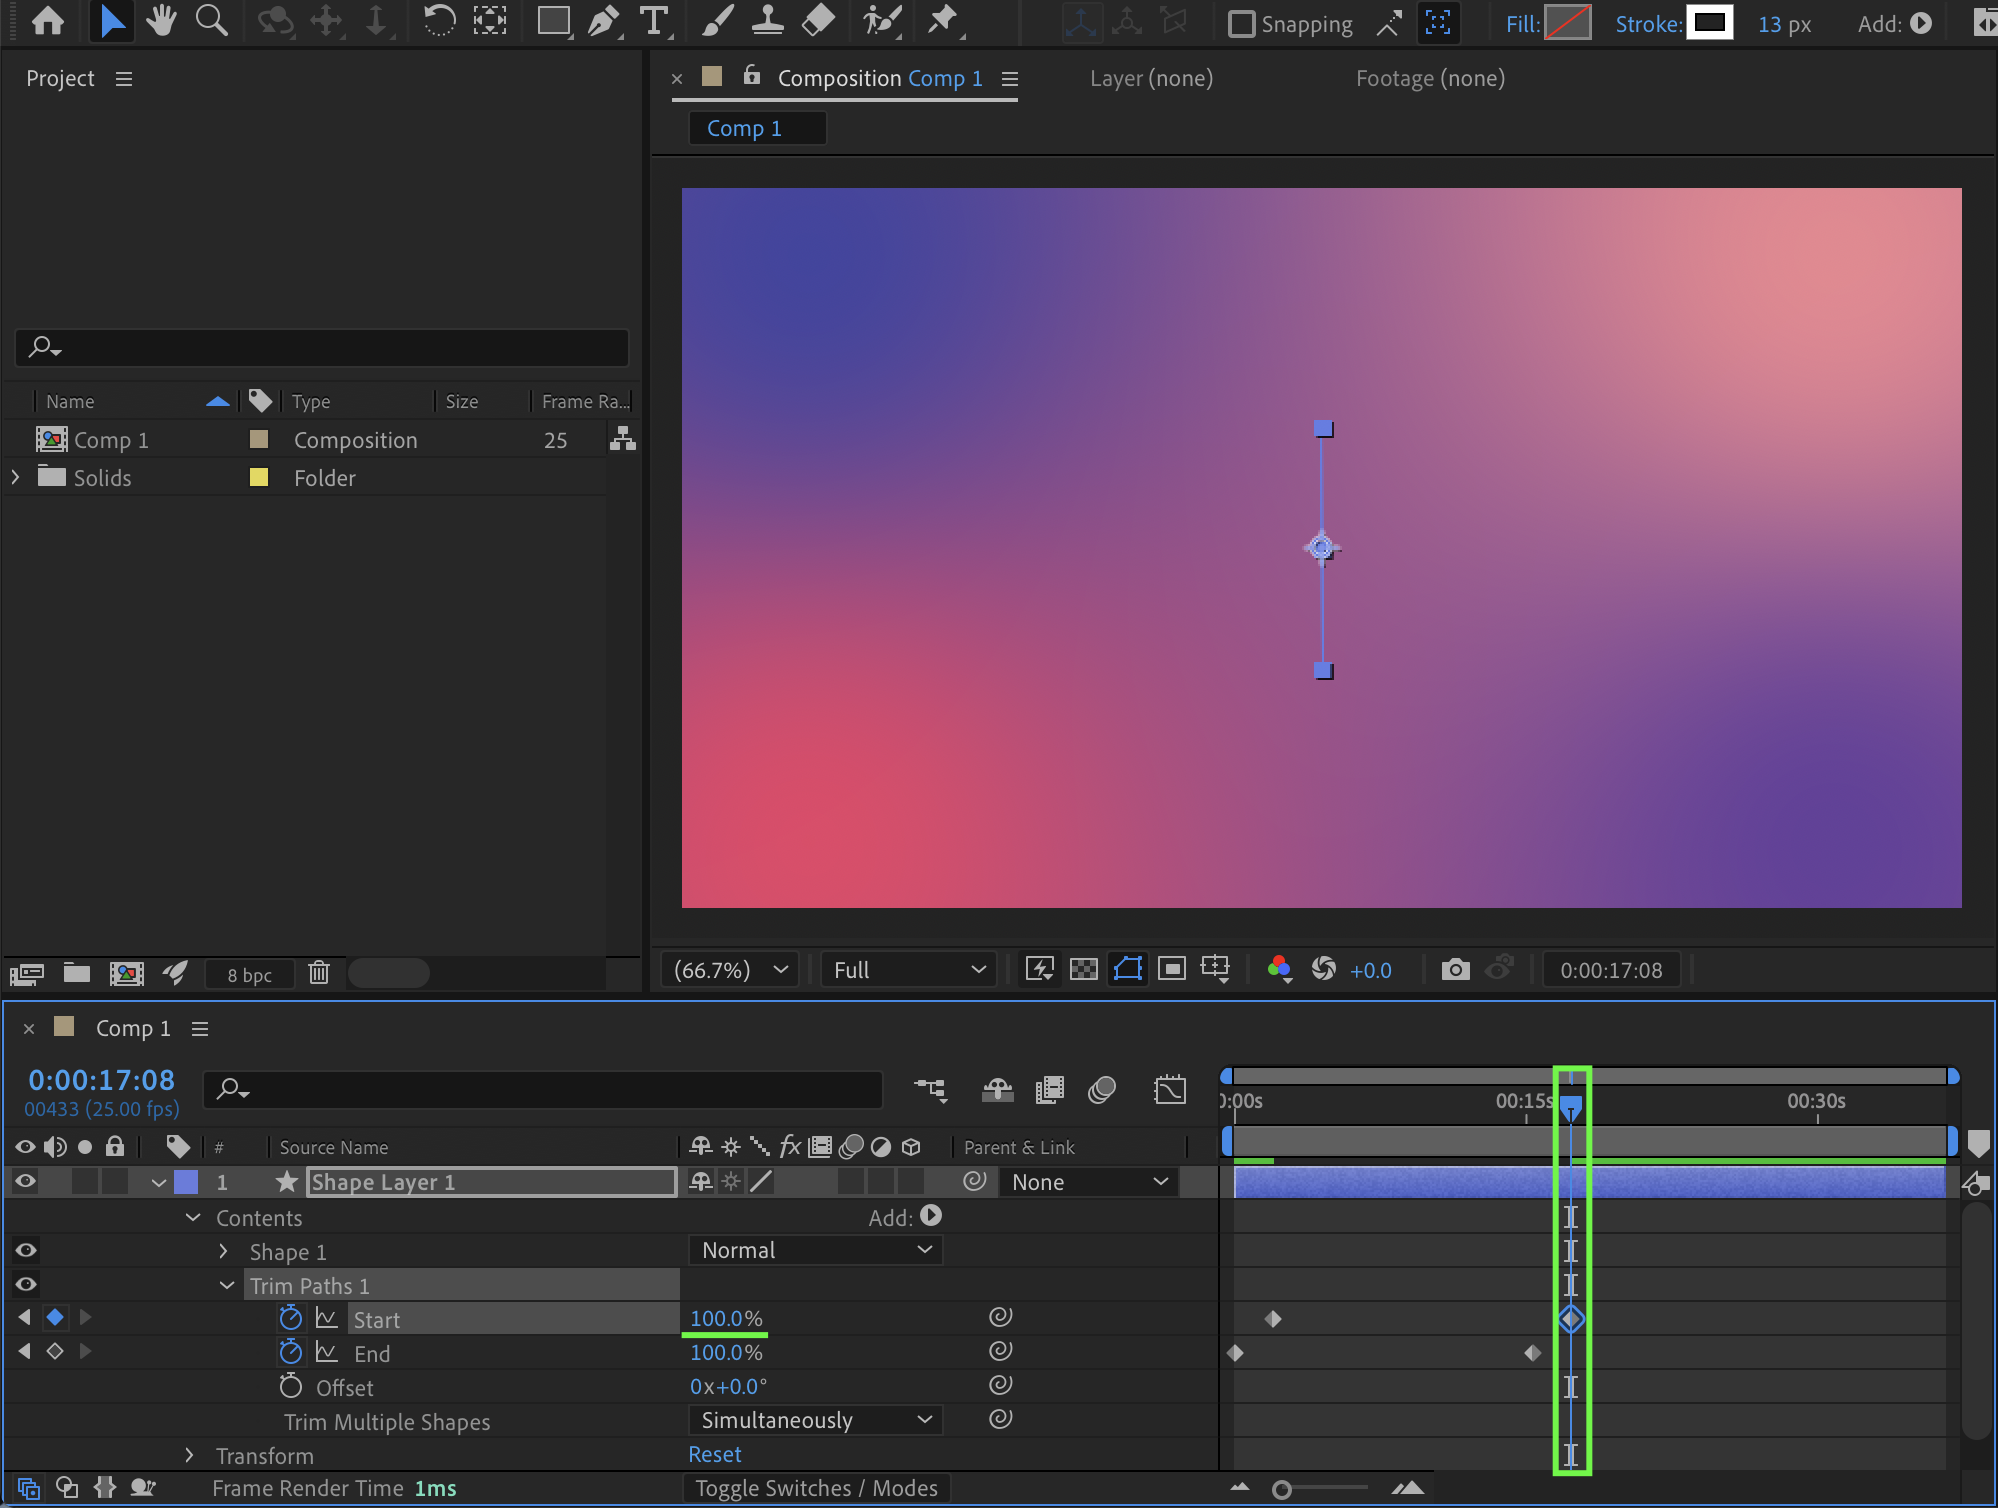
Animate the End parameter from 0% at the beginning of the timeline to 100% around the middle of the composition. Then animate the Start parameter by shifting its keyframes slightly to the right to create a dynamic trailing effect.


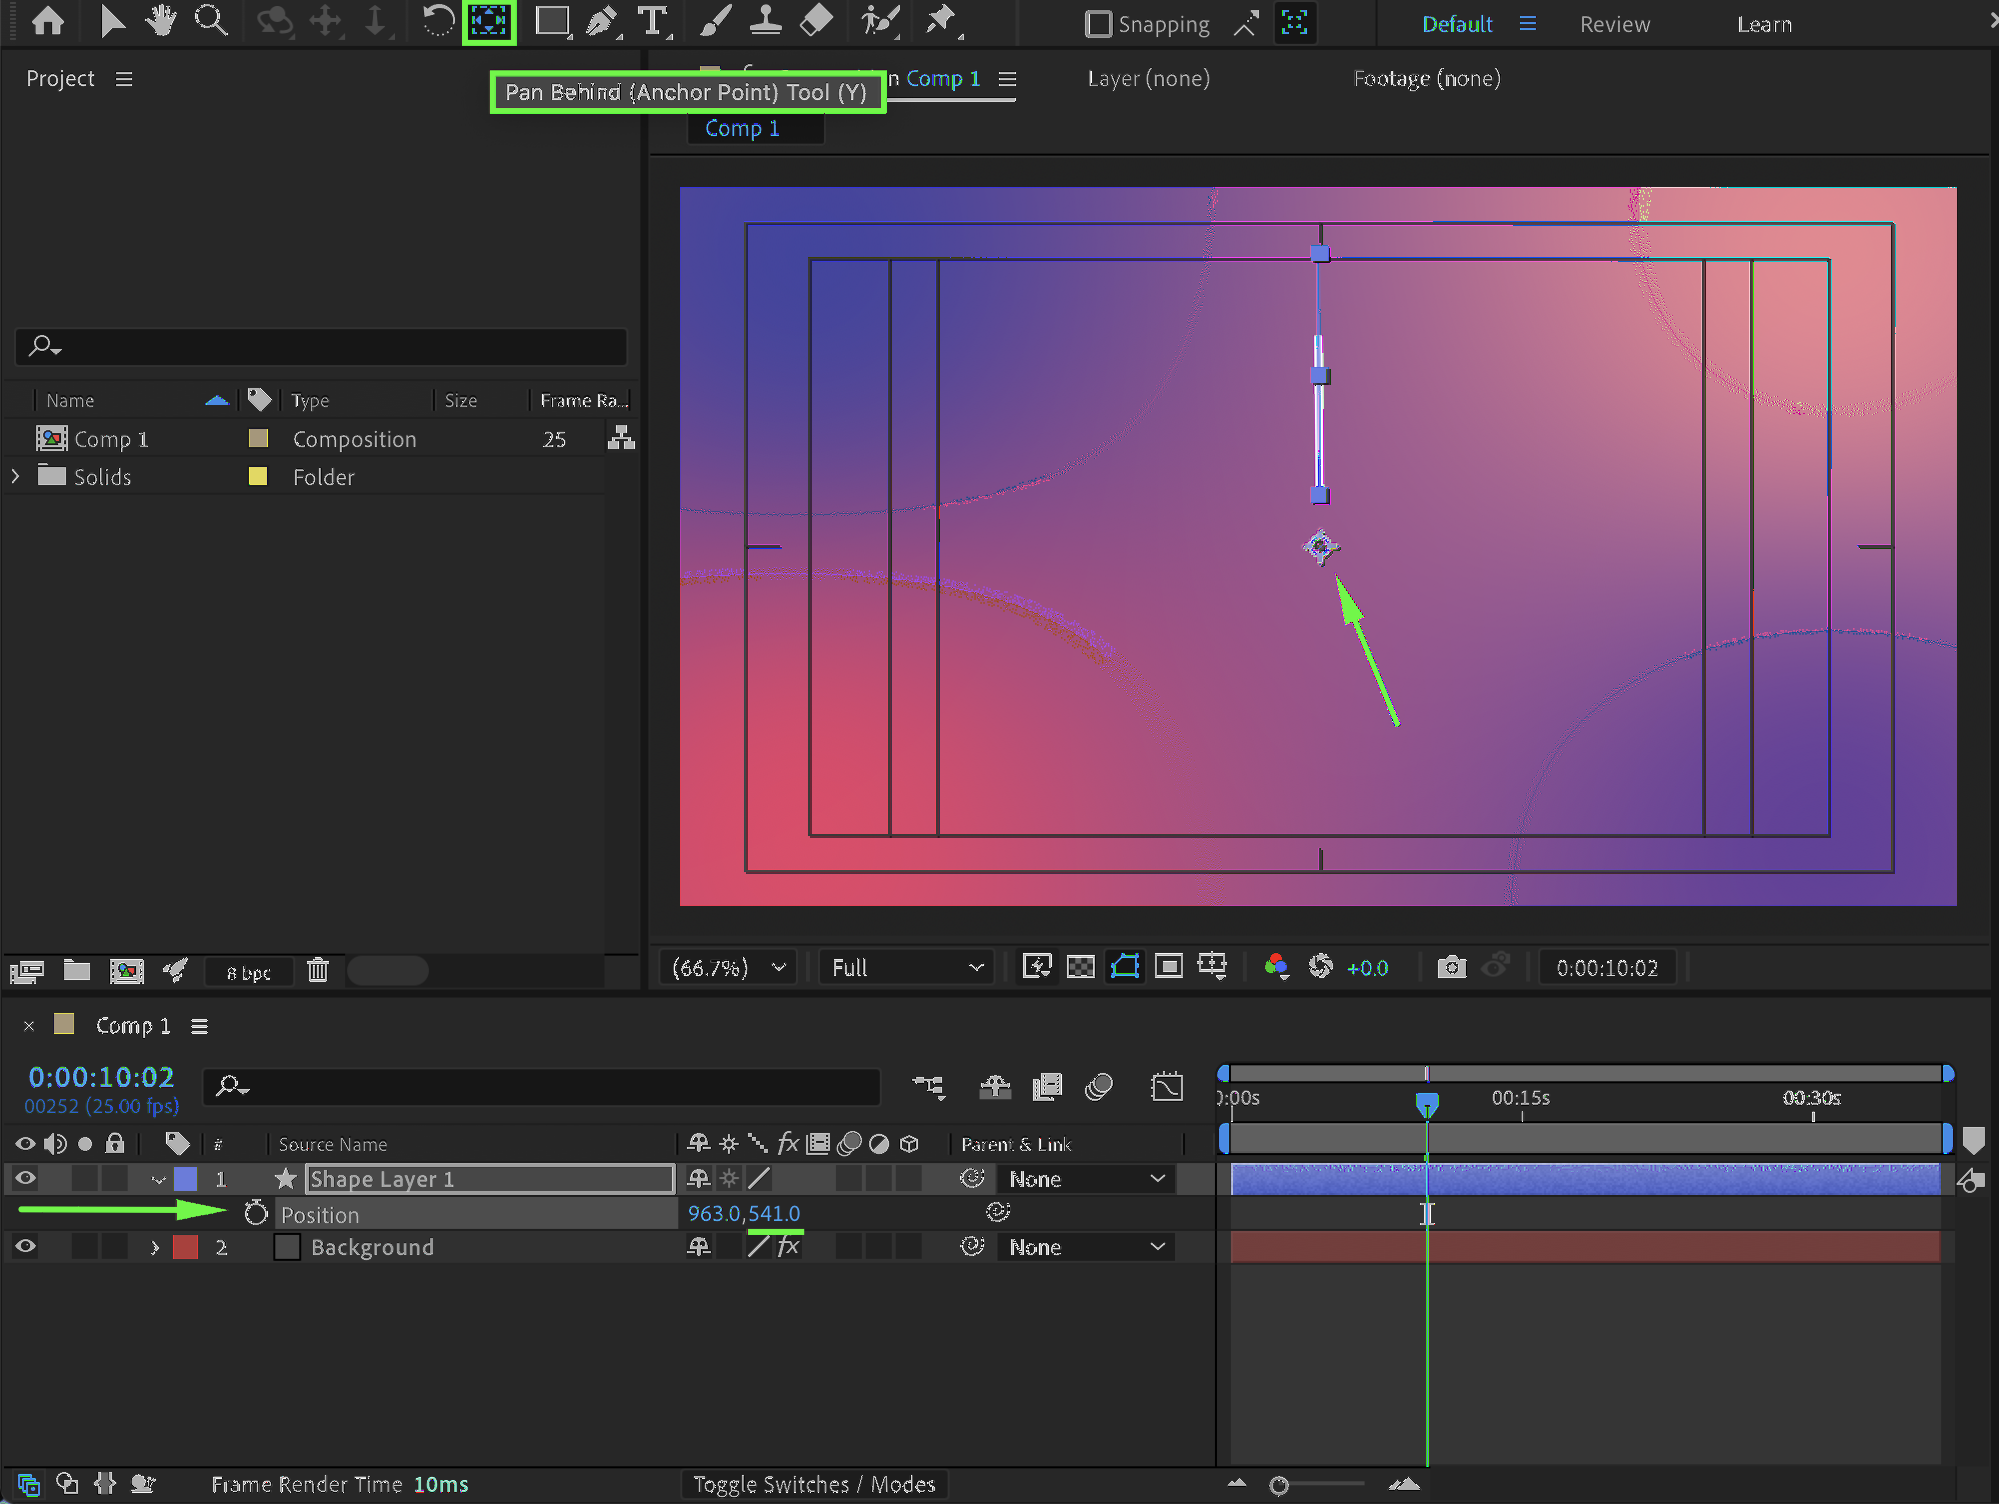
Step 5: Position and Anchor the Line
At the bottom of the Composition panel, enable Title/Action Safe. Place the line exactly in the center, slightly above the central crosshair. Use the Pan Behind Tool (Y) to move the Anchor Point of the line to the crosshair position.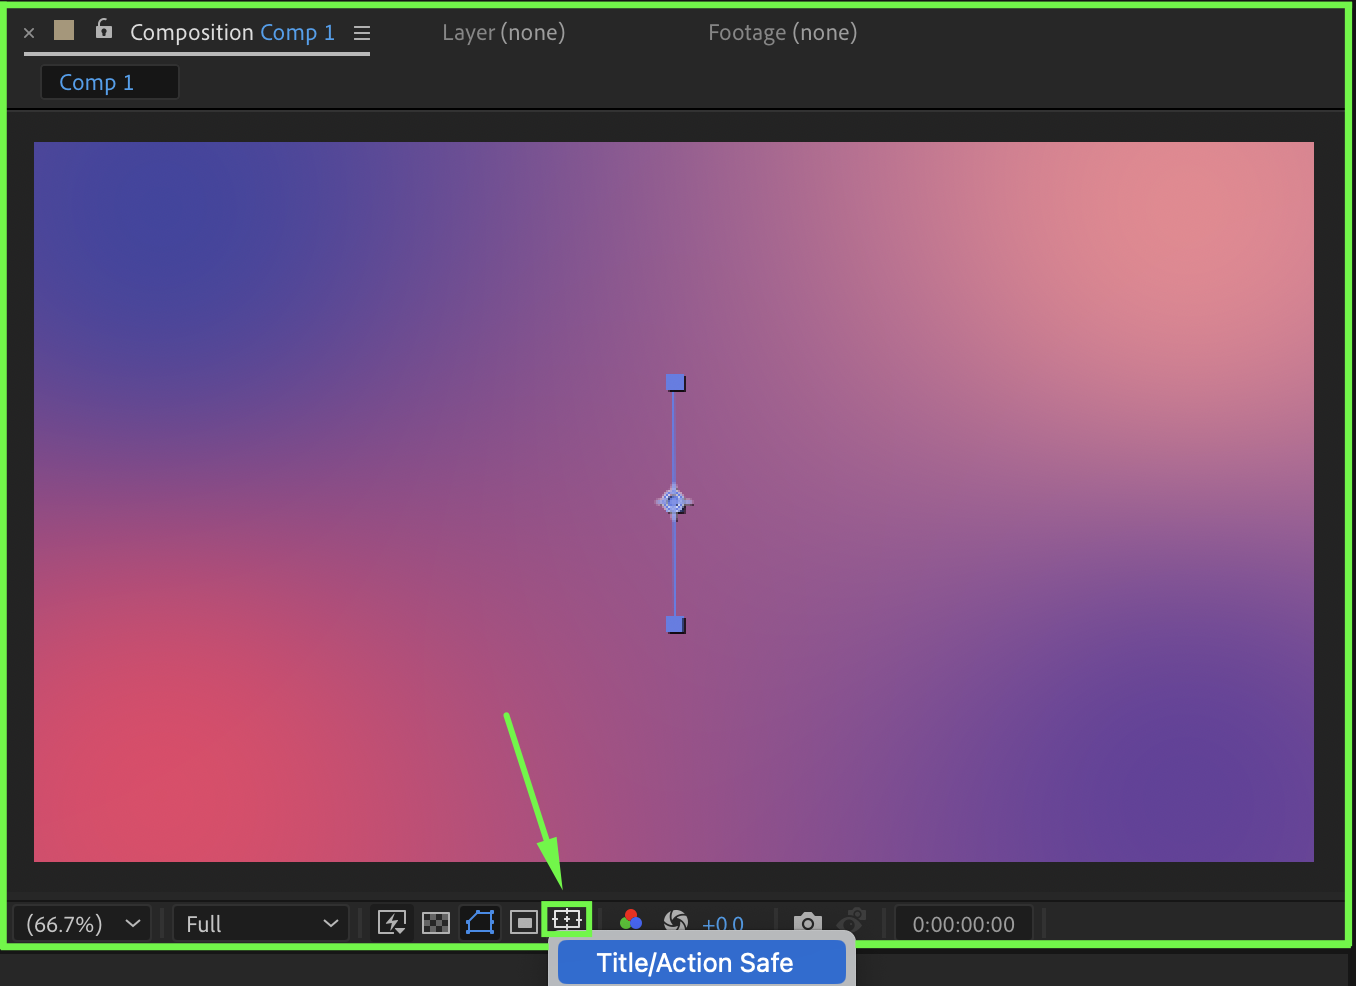
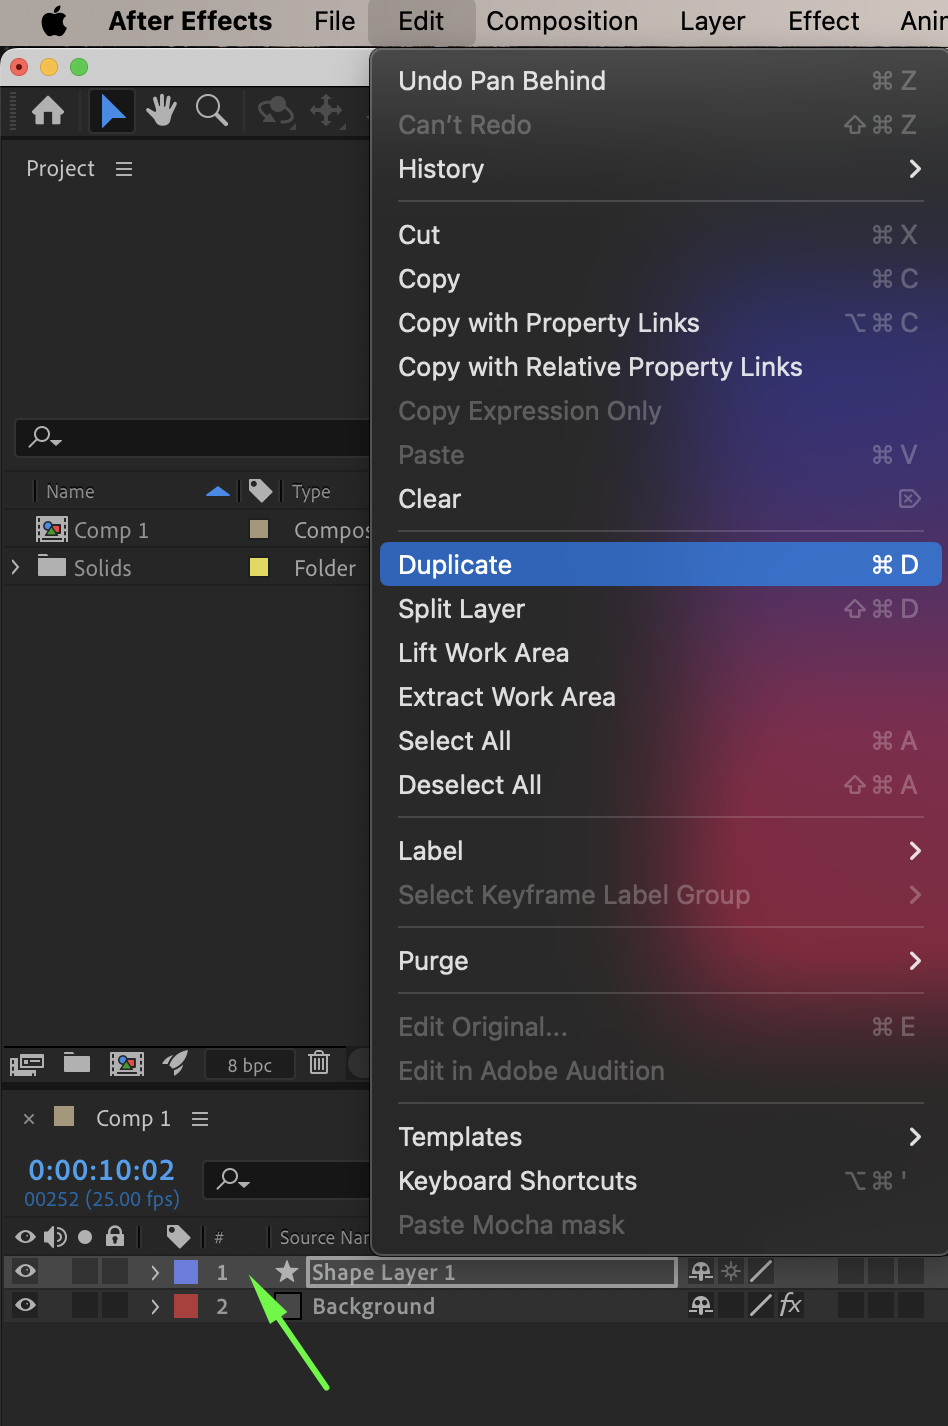
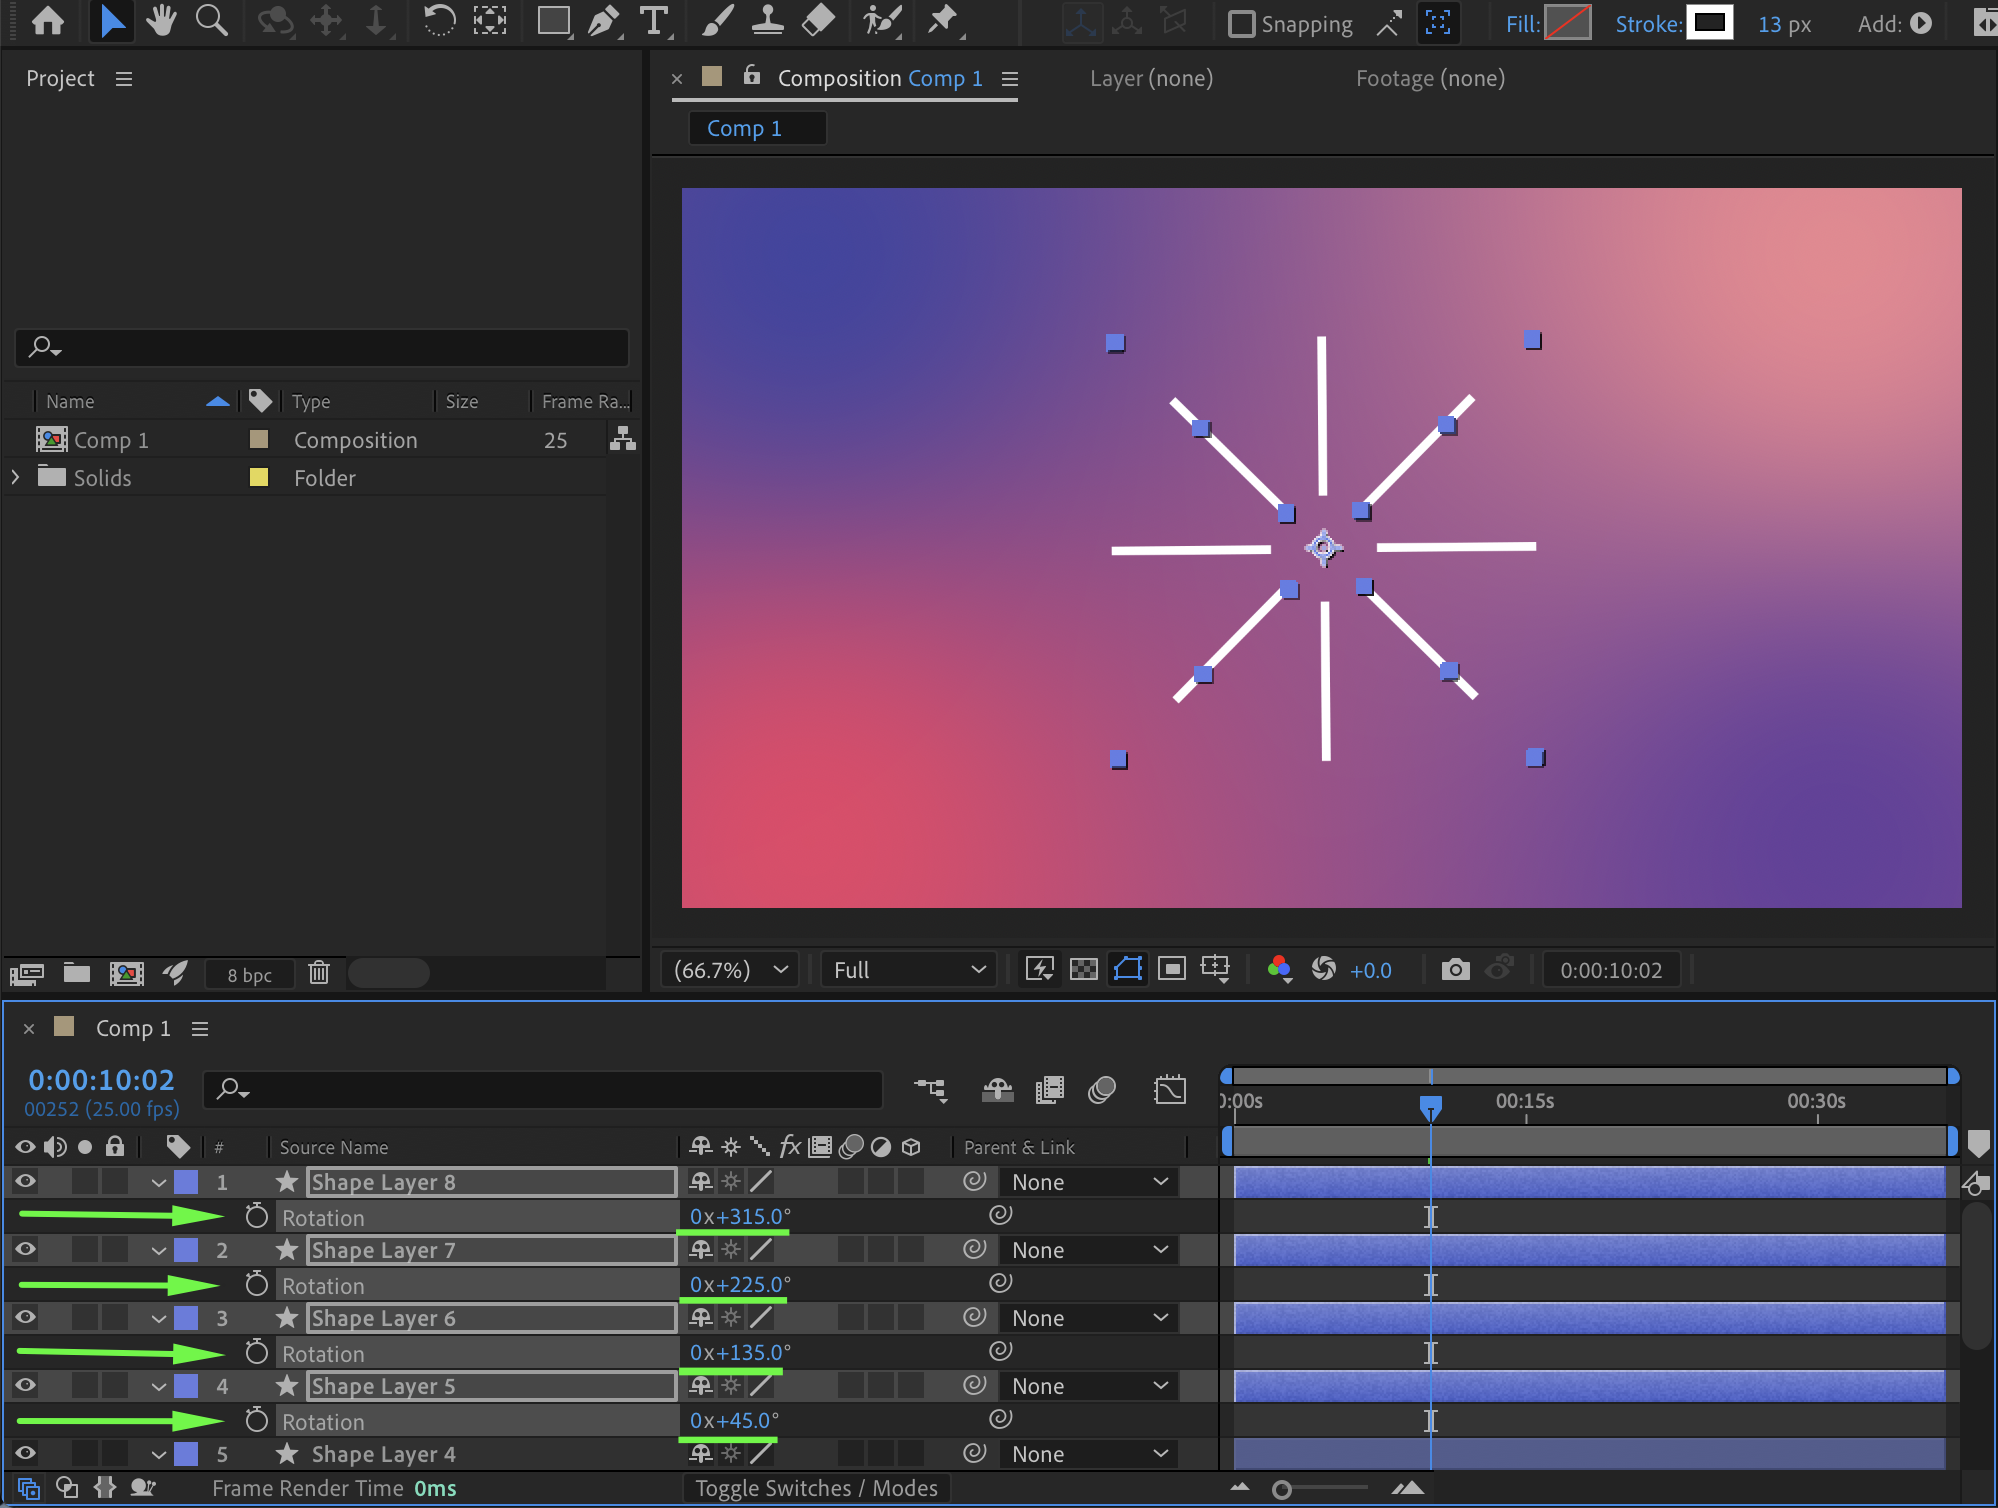
Step 6: Create an Accent Burst
Duplicate the line as many times as needed and rotate each copy to form a burst or “magic splash” effect.

Step 7: Final Placement and Preview
Position your accent bursts wherever needed in the Composition panel. Preview the animation and adjust timing or rotation for the best visual result.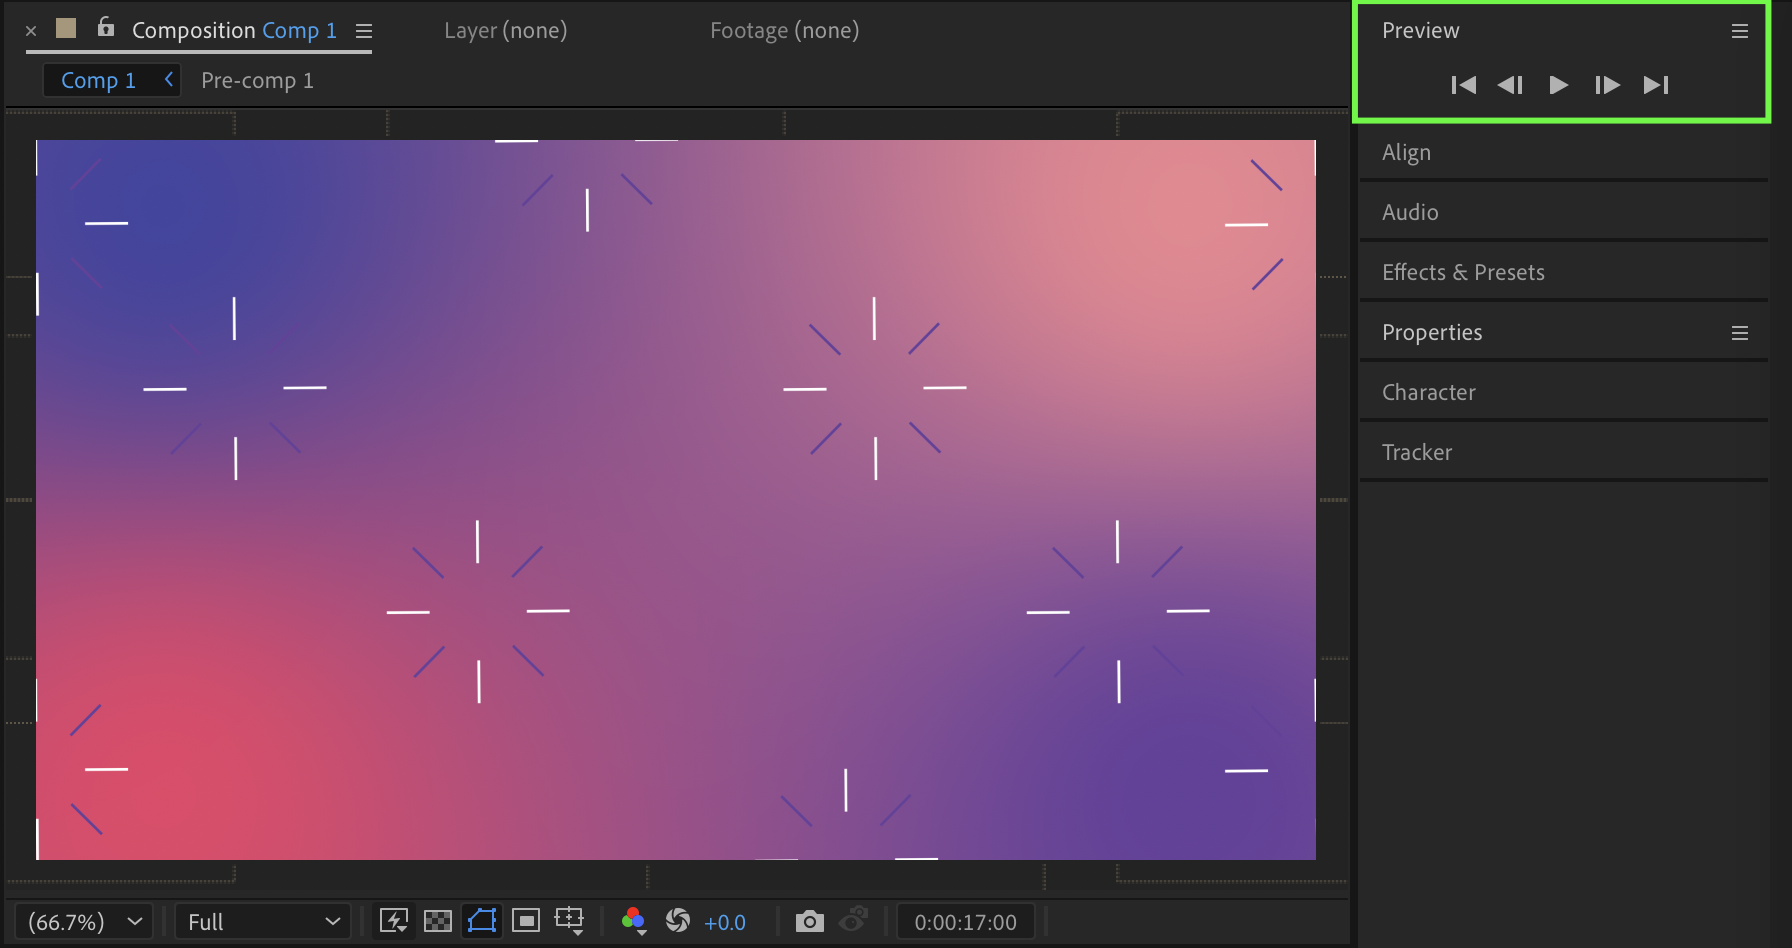
Conclusion
Accent graphics are a simple yet powerful way to add energy and focus to your animations. By combining shape layers, Trim Paths, and rotation, you can quickly create dynamic accents that work in a wide range of motion design projects.
Our Bestsellers


