Unlock the Potential of Keyframe Animation in After Effects: Simplify Your Workflow with Shortcut Techniques
Introduction – Dive into the World of Keyframe Animation with Time-Saving Shortcuts
Are you looking to make your animations more dynamic and captivating in After Effects? Adding keyframes is an essential skill that allows you to create smooth transitions, control motion, and bring life to your designs. However, constantly navigating through menus and layers to add keyframes can be time-consuming and frustrating.
Get 10% off when you subscribe to our newsletter

Fortunately, After Effects offers a range of powerful shortcuts that can help streamline your workflow and make the process of adding keyframes a breeze. By mastering these shortcut techniques, you can significantly speed up your animation creation process and focus more on bringing your creative visions to life.
In this article, we will guide you through the process of adding keyframes in After Effects using shortcuts. Whether you are a seasoned motion designer or a beginner just starting your animation journey, these techniques will empower you to unlock the full potential of keyframe animation and enhance your animations with ease.
Get 10% off when you subscribe to our newsletter
So, let’s dive in and explore the exciting world of shortcut techniques for adding keyframes in After Effects!
Mastering Keyframe Animation with Shortcut Techniques
Adding keyframes in After Effects doesn’t have to be a tedious process. By leveraging the power of shortcuts, you can save time and take complete control of your animations with ease. Here are some essential tips and tricks to help you streamline your workflow and become a master of keyframe animation:
Get 10% off when you subscribe to our newsletter
1. Timeline Navigation Made Easy:
Navigating through the timeline is a common task when adding keyframes. Instead of relying solely on clicking and scrolling, utilize the following shortcuts to expedite your navigation:
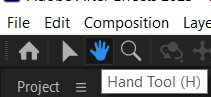
– Hold the “Spacebar” to temporarily switch to the Hand tool and move the timeline around.
Get 10% off when you subscribe to our newsletter
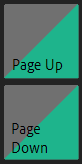
– Use the “Page Up” and “Page Down” keys to jump between keyframes or markers in your timeline.
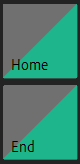
– Press the “Home” or “End” key to quickly jump to the beginning or end of your composition.
Get 10% off when you subscribe to our newsletter
These navigation shortcuts will not only save you time but also improve your overall efficiency.
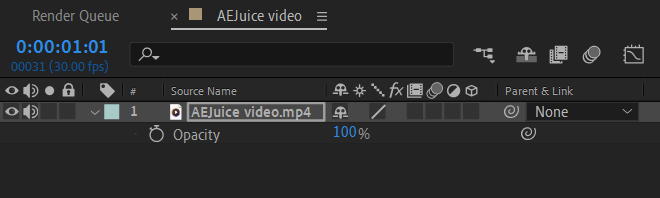
2. Quick Access to Keyframe Functions:
Instead of manually clicking through menus to add keyframes, make use of these handy shortcuts to speed up the process:
– “T” activates the “Opacity” property of a layer, and “P” enables the “Position” property. These shortcuts allow you to quickly access the most commonly used keyframing functions.
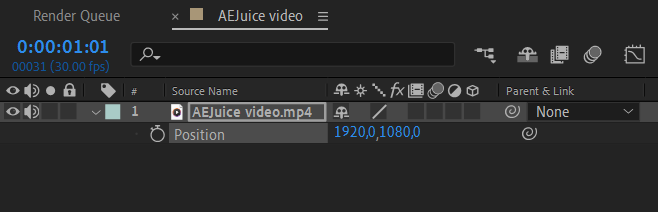
– To add a keyframe at the current time marker, simply press “Shift + Alt/Option + P.” This shortcut eliminates the need to click on the stopwatch icon manually.

With these shortcuts at your fingertips, you can add keyframes effortlessly and focus more on refining your animations.
3. Copying Keyframes for Efficiency:
To maintain consistency or duplicate complex animation patterns, copying and pasting keyframes is essential. These shortcuts can save you the hassle:
Get 10% off when you subscribe to our newsletter
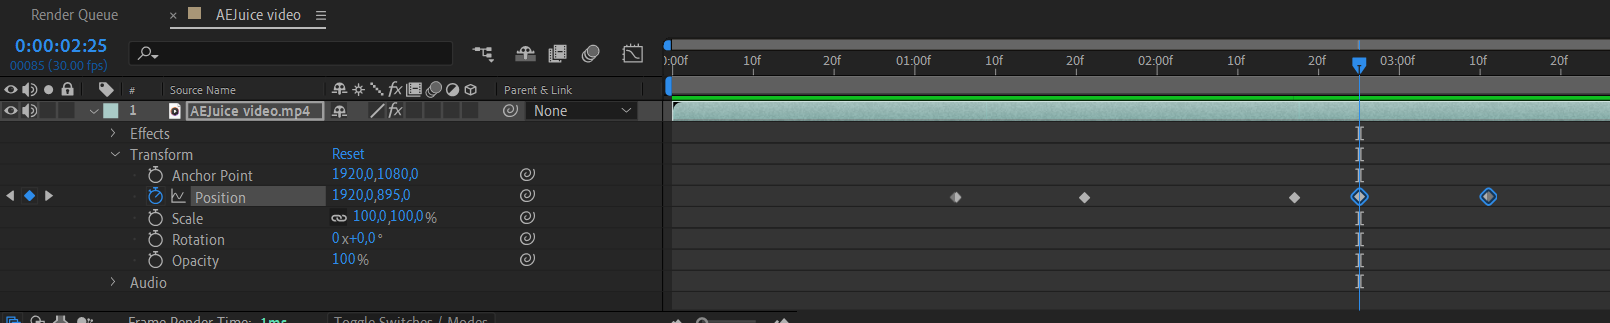
– Select the keyframes you want to copy using the cursor, then press “Ctrl/Cmd + C” to copy them. Move the playhead to the desired position and paste the keyframes using “Ctrl/Cmd + V.” This simple shortcut helps you replicate animations quickly and efficiently.
4. Speed Ramping with Time Remapping:
Creating speed ramps, where the animation gradually speeds up or slows down, can enhance the visual impact of your motion graphics. Utilize the following shortcuts to achieve seamless speed ramping effects:
Get 10% off when you subscribe to our newsletter
– Apply Time Remapping to a layer with “Ctrl/Cmd + Alt/Option + T” Add keyframes to the time remapping property.
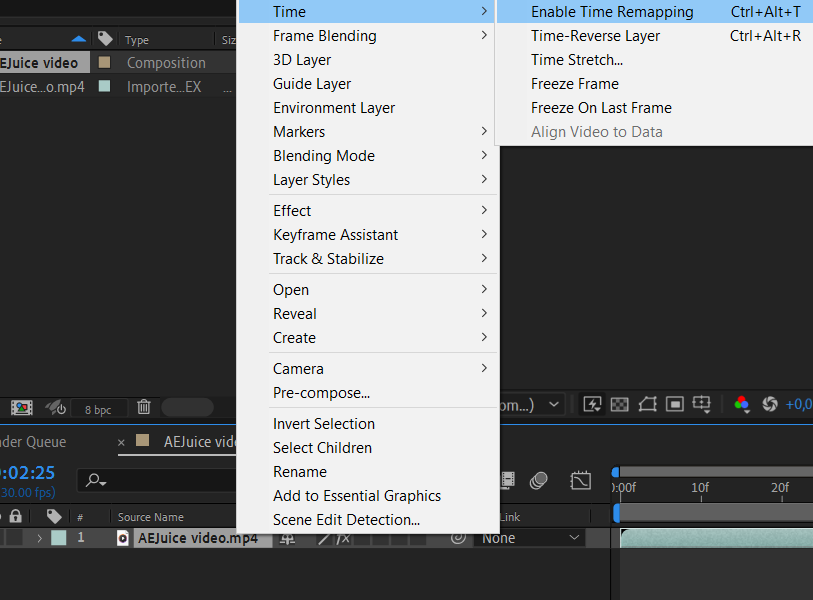
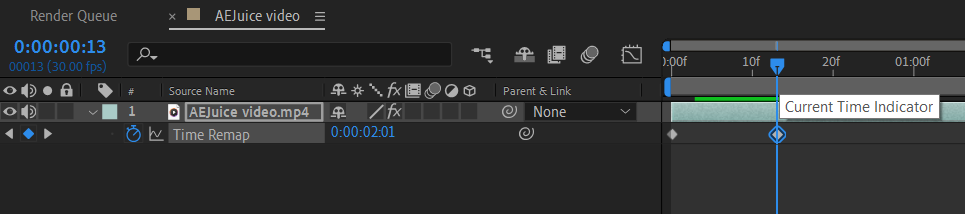
Experiment with these shortcuts to create impressive speed ramps and add dynamism to your animations.
Conclusion.
Mastering shortcut techniques for adding keyframes in After Effects opens up a world of possibilities in animation creation. These time-saving methods streamline your workflow, providing more time for creativity and experimentation. By incorporating these tips into your animation process, you’ll find yourself working more efficiently and producing engaging motion graphics with ease. Embrace the power of shortcuts and take your keyframe animation skills to the next level!
In summary, leveraging shortcuts for adding keyframes in After Effects is a game-changer for motion designers. By implementing these time-saving techniques, you can elevate your animations and take complete control over your creative vision. From navigating the timeline with ease to accessing keyframe functions quickly, these shortcuts simplify your workflow and allow you to focus on refining your animations.
Remember to take advantage of shortcuts such as copying and pasting keyframes, fine-tuning animations, and creating speed ramps with time remapping. These techniques will not only save you valuable time but also enable you to experiment and iterate more freely.
Get 10% off when you subscribe to our newsletter
By incorporating these shortcut techniques into your After Effects workflow, you’ll become a faster and more efficient animator. So, embrace the power of shortcuts, unleash your creativity, and bring your designs to life with stunning keyframe animations in After Effects.
Our Bestsellers


