A Comprehensive Guide on Adding More Frames in After Effects to Enhance Your Animations
Introduction: Elevate Your Animation Game with Additional Frames in After Effects
Have you ever wondered how professional animations achieve that smooth, fluid motion that captivates audiences? The secret lies in the number of frames used in the animation. While the default frame rate in After Effects is 30 frames per second (fps), adding more frames can significantly enhance the visual appeal and realism of your creations.
Get 10% off when you subscribe to our newsletter

In this article, we will delve into the process of adding more frames in After Effects, allowing you to take your animations to the next level. Whether you are a beginner or an experienced motion graphics artist, this comprehensive guide will equip you with the tools and knowledge to create visually stunning videos that leave a lasting impact on your viewers.
By increasing the number of frames, you can achieve smoother transitions, precise movements, and more detailed animations. Whether you are working on a short film, advertisement, or motion graphics project, understanding how to add more frames will give you greater control over the aesthetic quality and overall impact of your work.
So, let’s dive in and explore the step-by-step process of adding more frames in After Effects. Prepare to unleash your creativity and elevate your animation game to new heights!
Understanding Frame Rates: Set the Foundation for a Smooth Animation Experience
Before we dive into the process of adding more frames in After Effects, let’s take a moment to understand the concept of frame rates. Frame rate refers to the number of individual frames displayed per second in an animation. The default frame rate in After Effects is 30 frames per second (fps), which is usually sufficient for most projects. However, by increasing the number of frames, you can achieve smoother and more detailed animations.
When it comes to deciding the ideal frame rate for your animation, it largely depends on the specific requirements of your project. For instance, a standard frame rate for broadcast television is 24 fps. On the other hand, online videos often use a frame rate of 30 fps or 60 fps for a smoother viewing experience.
To change the frame rate in After Effects, you can simply go to the Composition Settings by right-clicking on your composition in the Project panel and selecting “Composition Settings.” From there, you can adjust the frame rate according to your desired specifications.
Increasing the Frame Rate: Step-by-Step Guide for More Frames in After Effects
Now that we have a clearer understanding of frame rates, let’s explore the process of adding more frames in After Effects. Follow these steps to enhance the smoothness and detail of your animations:
1. Select the composition you want to modify: Go to the Project panel and choose the composition you wish to work on. Right-click on it and select “Composition Settings” to open the Composition Settings dialog box.

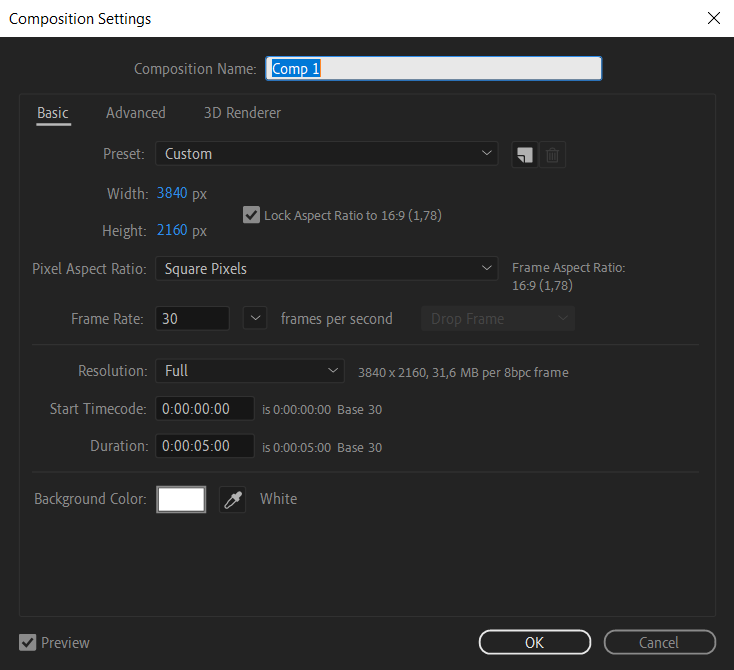
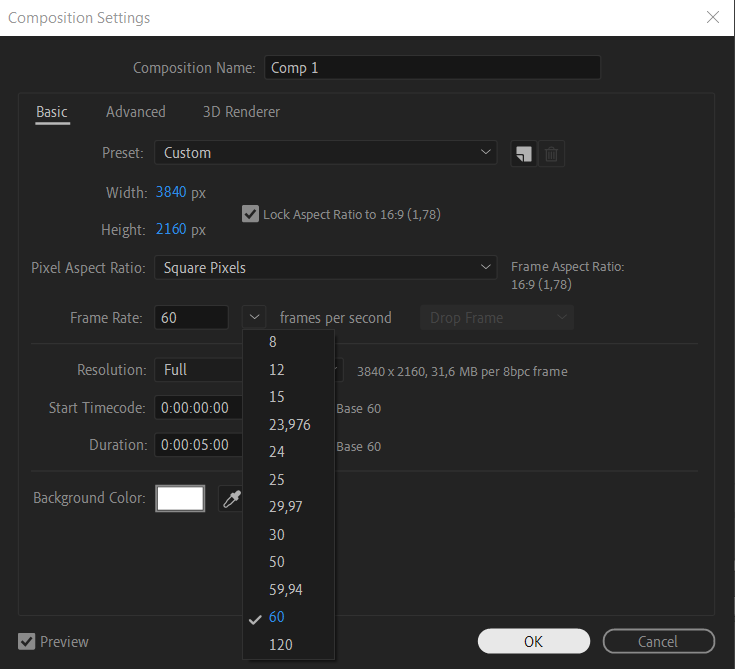
2. Adjust the frame rate: In the Composition Settings dialog box, locate the “Frame Rate” option. Increase the value to your desired frame rate (e.g., 60 fps) to add more frames to your animation. Click “OK” to save the changes.
3. Adjust settings for existing layers: If you have already added layers to your composition, the frame rate change will affect their duration. You may need to adjust the keyframes and animation timings accordingly to maintain synchronization.
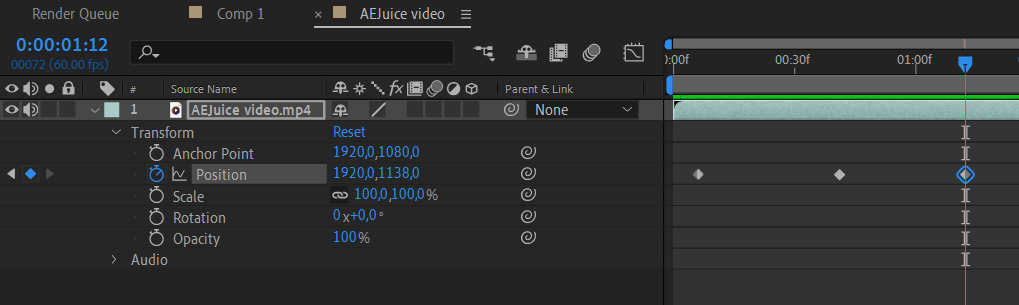
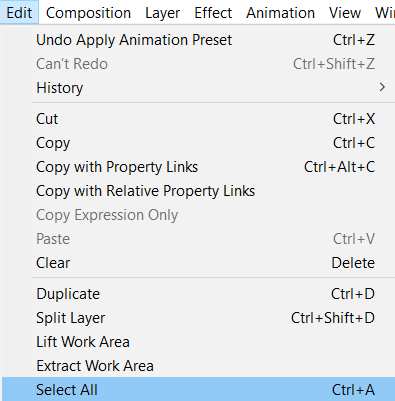
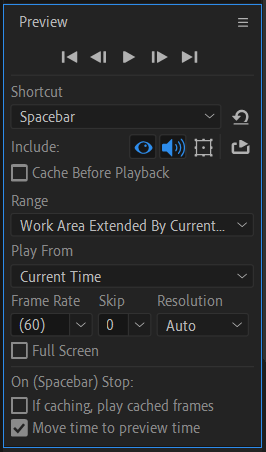
4. Extend the duration of existing layers: Extend the duration of existing layers: If you wish to prolong the display of existing layers, select all the layers in your composition by pressing “Ctrl/Cmd + A.” Adjust the frame rate according to your needs in the Composition setting. You can preview the results in the Preview panel
5. Create additional animation and transitions: With the increased number of frames, you have more control over the smoothness of your animations. Utilize this advantage by adding precise keyframes, creating intricate transitions, and refining the details of your motion graphics.
Remember, adding more frames in After Effects may increase the file size and rendering time of your project. So, it’s essential to optimize your settings and hardware resources accordingly for a seamless workflow. Consider using Adobe Media Encoder to render your final output, as it provides various options to balance quality and file size.
Conclusion: Master the Art of Adding More Frames for Spectacular Animations
By now, you’ve gained a solid understanding of how to add more frames in After Effects, a crucial skill for enhancing the quality of your animations. Whether you’re a beginner or an experienced motion graphics artist, incorporating additional frames into your projects can significantly improve the smoothness and detail of your visual storytelling.
As you delve into the world of adjusting frame rates, extending layer durations, and optimizing animations, remember to explore different frame rates and experiment with various techniques. Striking the right balance between fluid motion and performance optimization is key to creating compelling visuals that captivate your audience.
In conclusion, mastering the art of adding more frames allows you to unlock the full potential of After Effects. Unleash your creativity, experiment with different frame rates, and create animations that leave a lasting impact. With practice, you’ll develop the skills to craft awe-inspiring visuals that showcase your unique style and storytelling prowess.
So, take this newfound knowledge, dive into your animation projects, and elevate your skills to new heights. Happy animating!
Our Bestsellers


