Animate a Flag in After Effects: Step-by-Step Tutorial for Realistic and Dynamic Flag Animation
Introduction – “Elevate Your Designs with Dynamic Flag Animation in After Effects”
Are you looking to add an eye-catching and dynamic element to your videos or graphic designs? Animating a flag in After Effects can be the perfect solution! Creating a realistic flag animation can bring life and movement to your projects, making them visually appealing and engaging.
Whether you want to simulate a flag fluttering in the wind, showcase a patriotic theme, or add movement to a brand logo, After Effects offers a powerful set of tools to achieve stunning flag animations. In this step-by-step guide, we’ll explore the process of animating a flag in After Effects, from creating the initial design to adding dynamic movement effects that replicate the natural look of a flag in motion.
So, roll up your sleeves, open up After Effects, and get ready to master the art of flag animation. By the end of this tutorial, you’ll have the skills and knowledge necessary to create captivating and realistic flag animations that will impress your audience. Let’s dive in!
Get 10% off when you subscribe to our newsletter

Designing the Flag
Before we dive into the animation process, let’s start by creating a realistic flag design. To do this, you can either use a pre-made flag image or design one from scratch using After Effects’ vector tools. Here are a few tips to keep in mind:
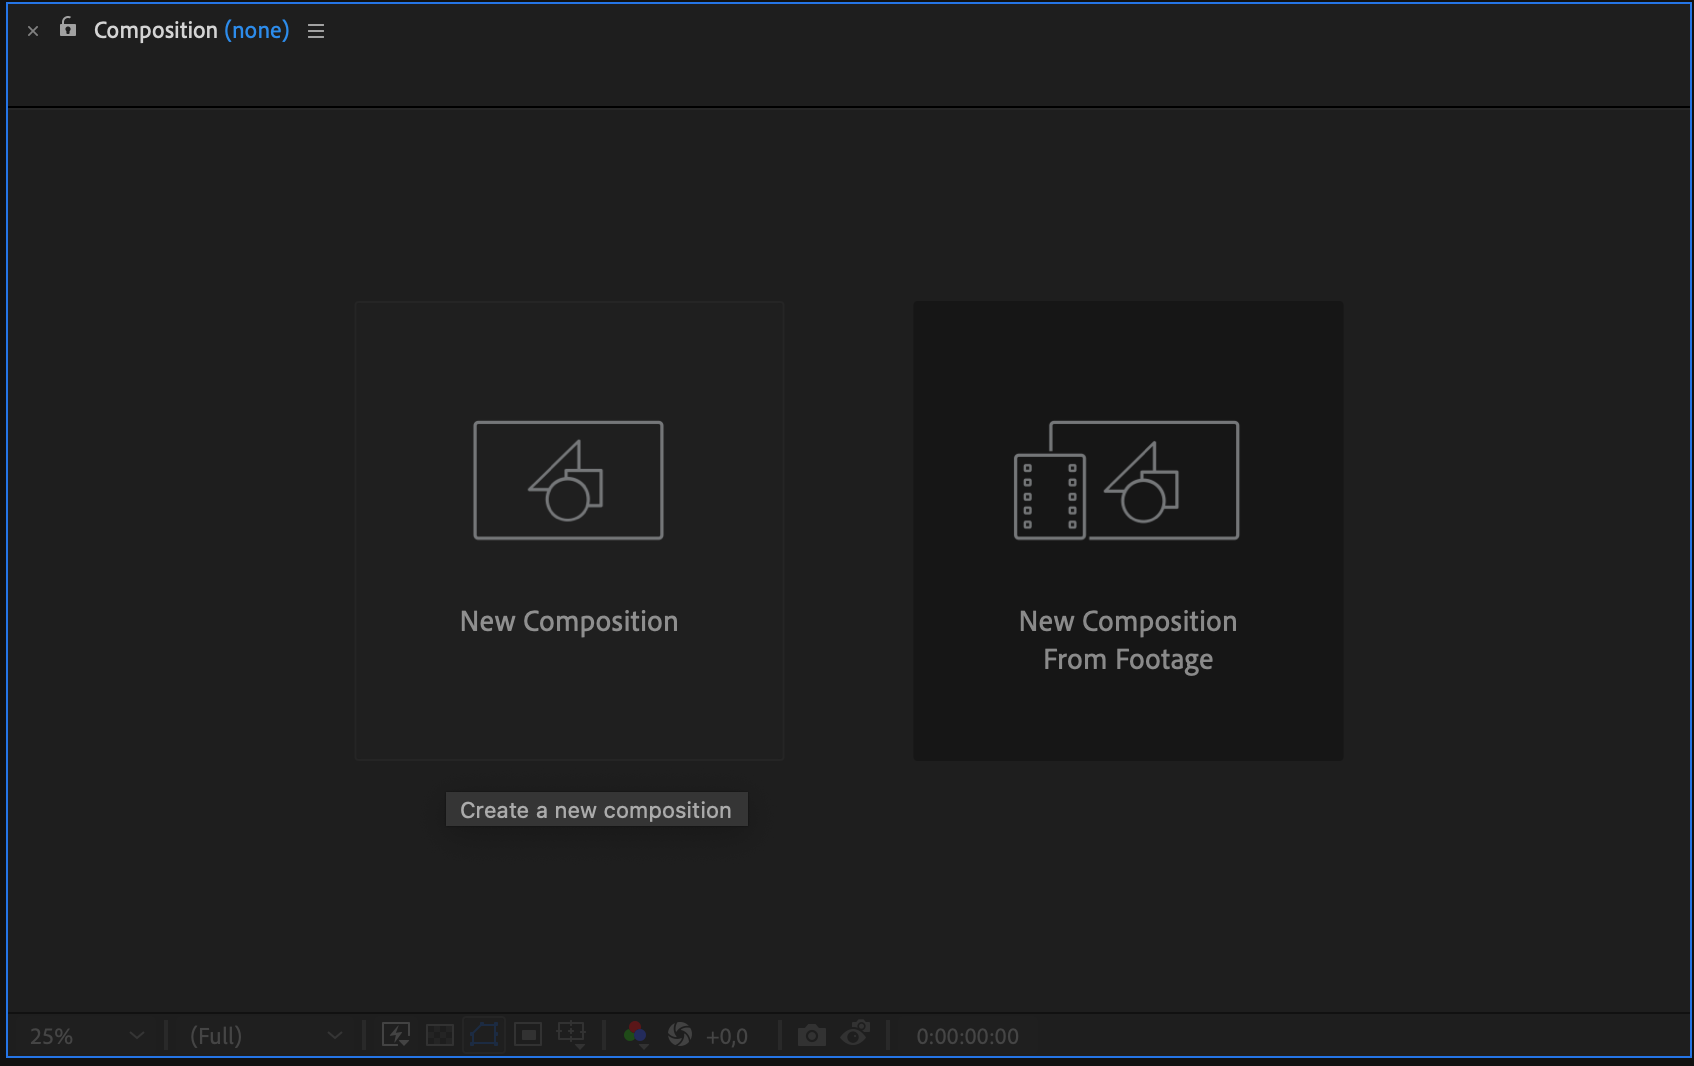
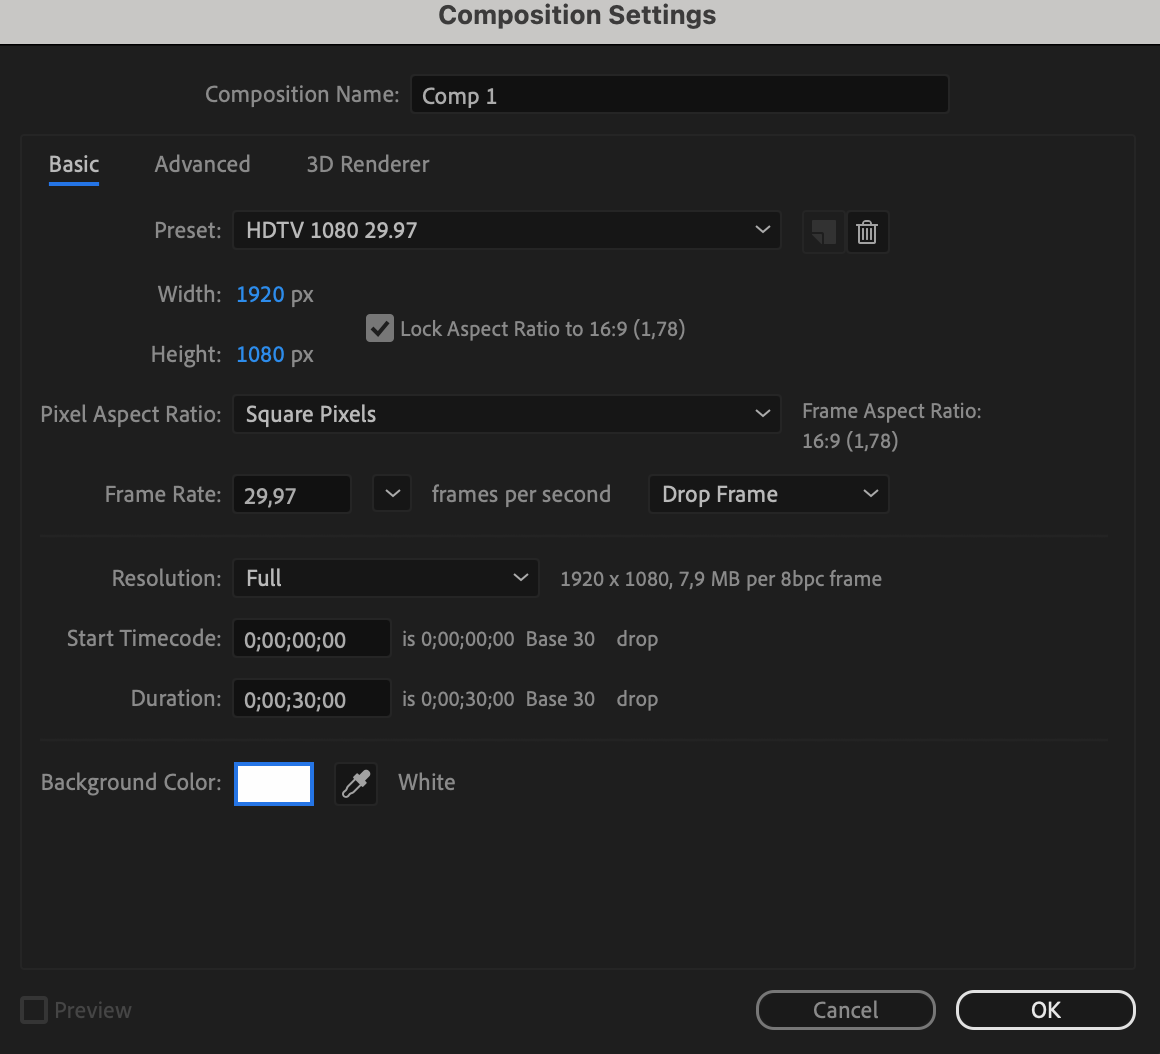
1. Composition Setup: Create a new composition with the desired dimensions for your flag animation. Consider the aspect ratio and size you want for your final output.
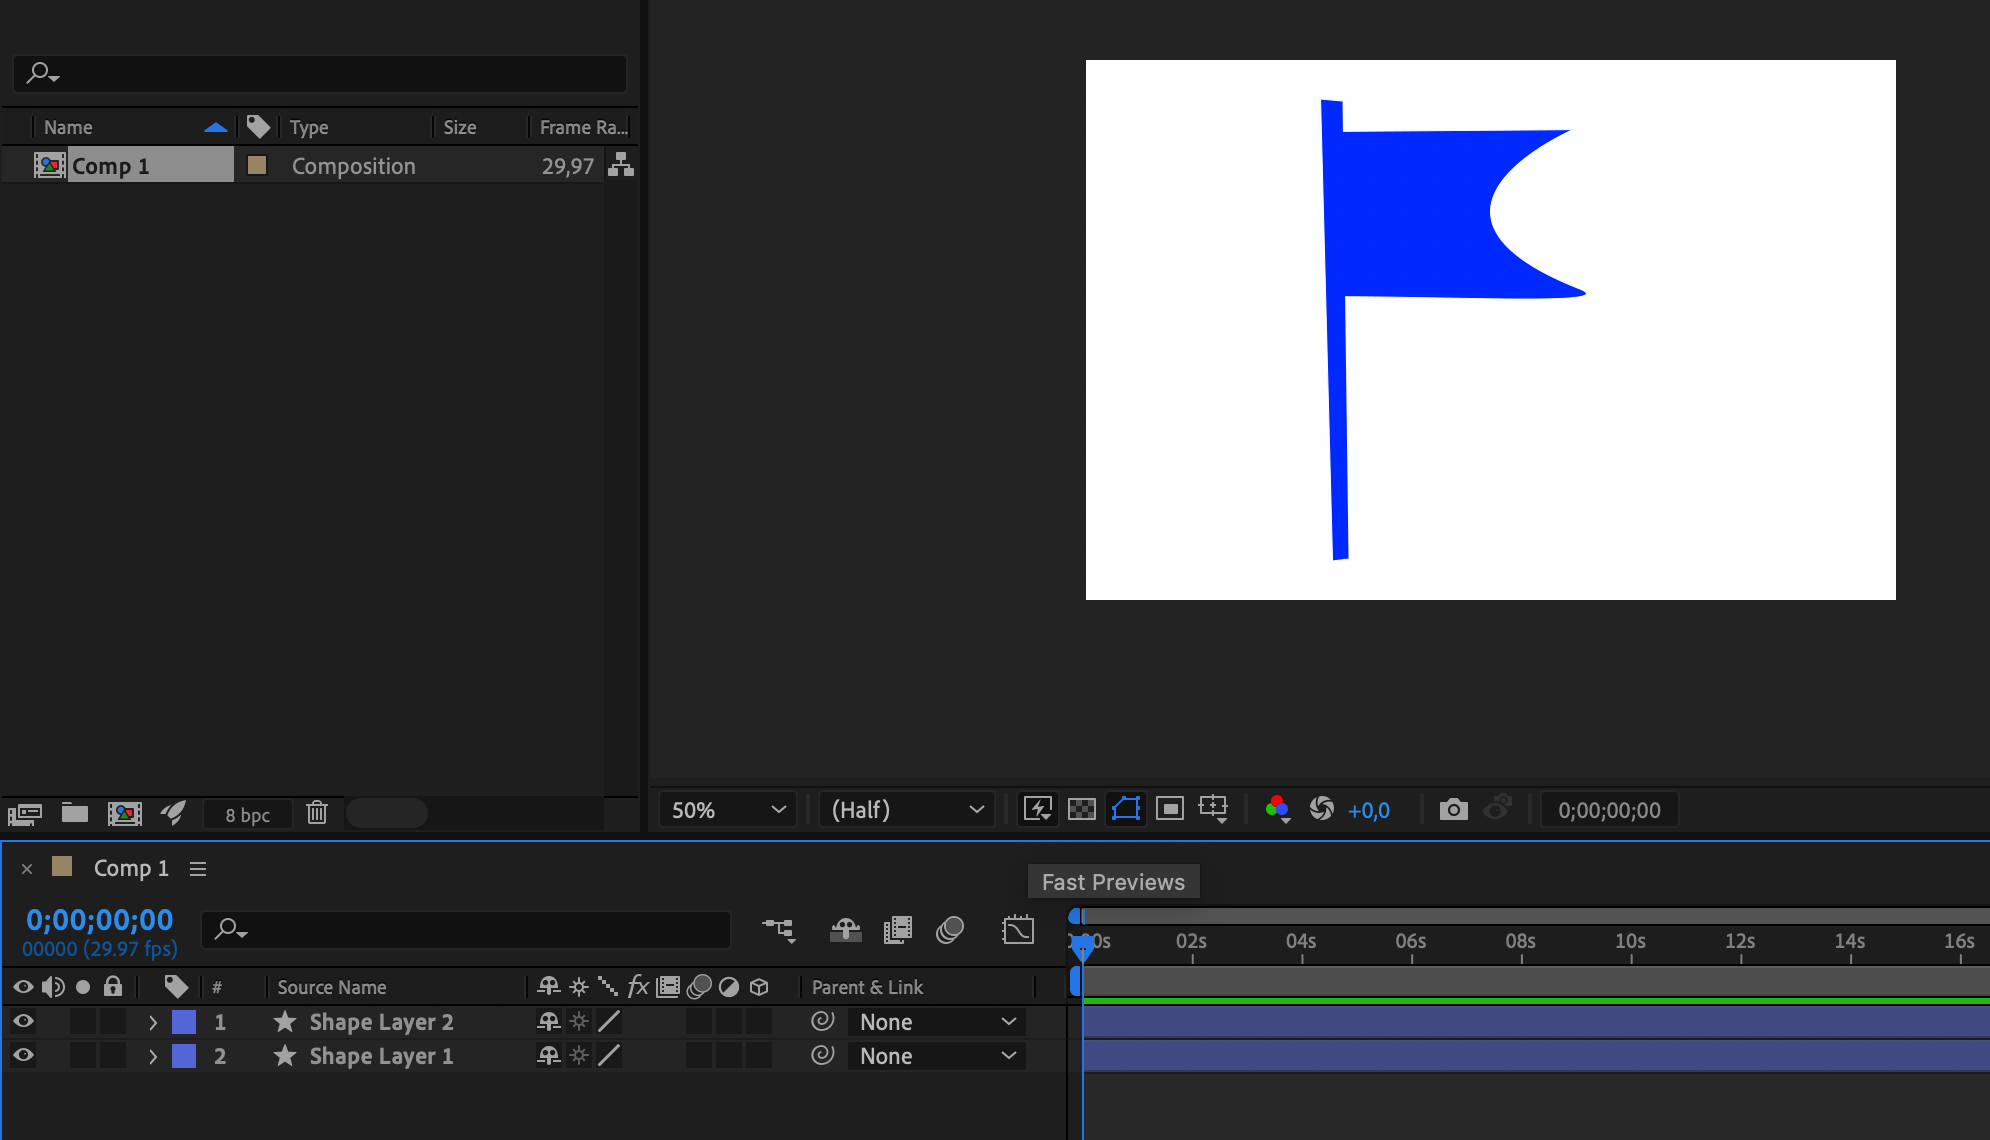
2. Flag Design: Use either shape layers or create a custom image of your flag design. Ensure that the design is in the correct proportions and that it represents the flag you wish to animate.

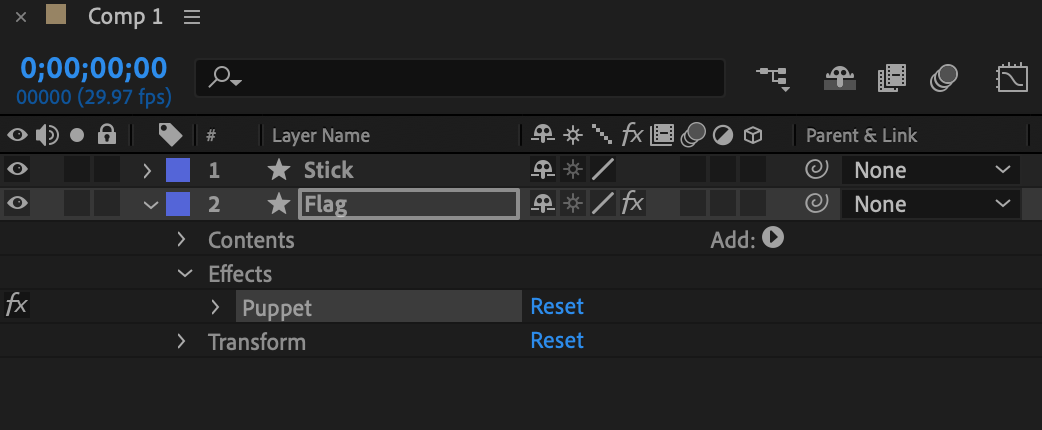
3. Layer Organization: Separate your flag elements into individual layers. This will make it easier to add animation and effects later on.
Animating the Flag
Now that you have your flag design ready, it’s time to bring it to life with some movement. Follow these steps to animate your design:
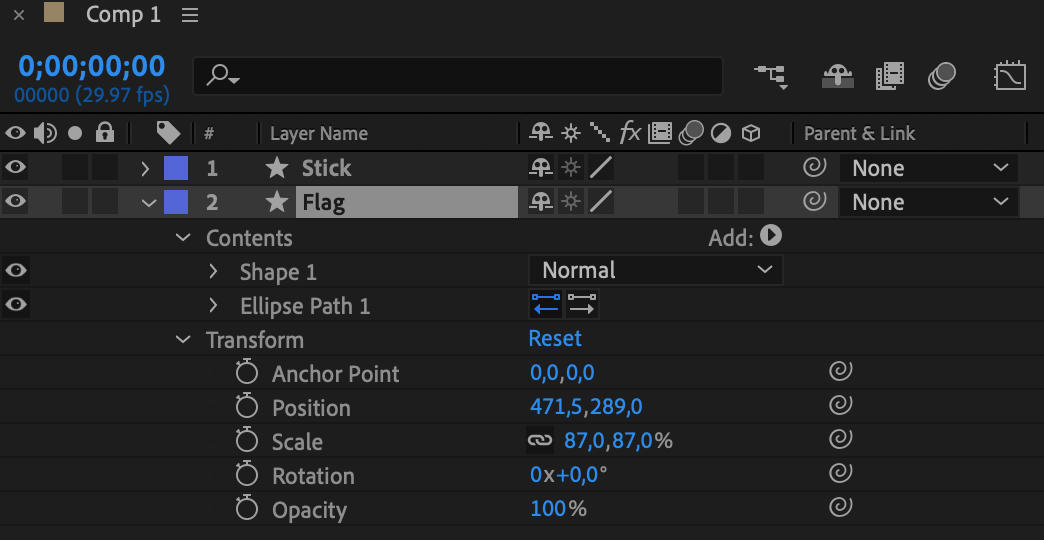
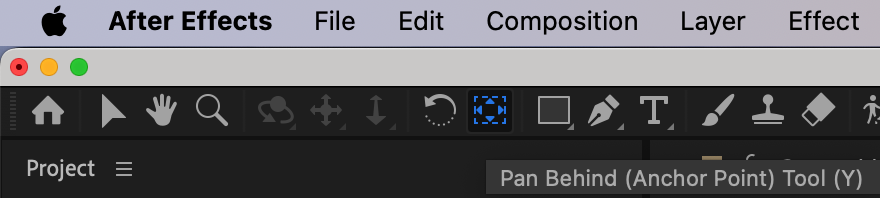
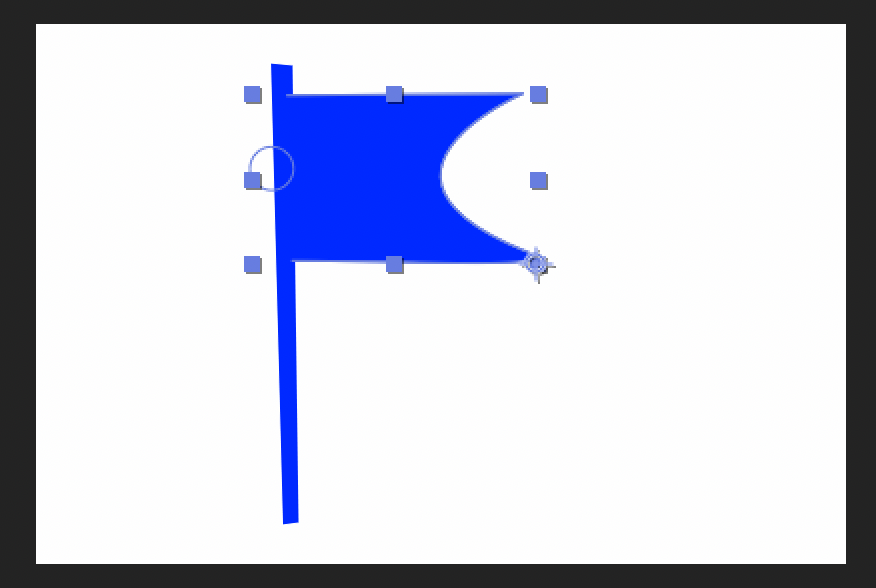
1. Scale and Anchor Point: Select your flag layer and press “S” to reveal the Scale property. Adjust the scale to fit your composition size perfectly. Next, click on the flag layer and press “Y” to reveal the Anchor Point property. Set the anchor point to the bottom of the flag.
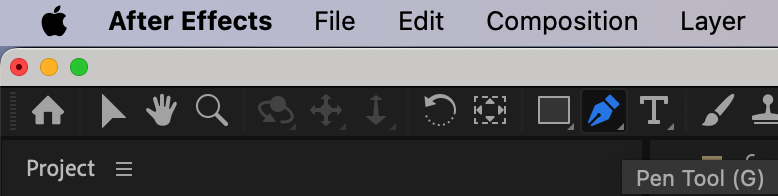
2. Puppet Pin Tool: With the flag layer selected, go to the toolbar and select the Puppet Pin tool. Click on the flag to place pins where you want the animation to occur. Typically, you’ll want to place pins along the top and bottom edges of the flag, as well as near any critical folds or creases.

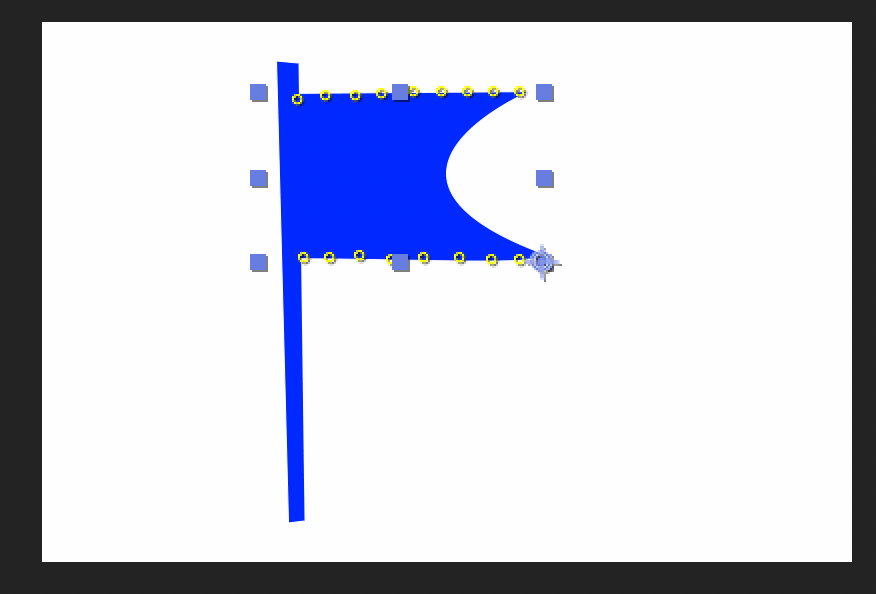
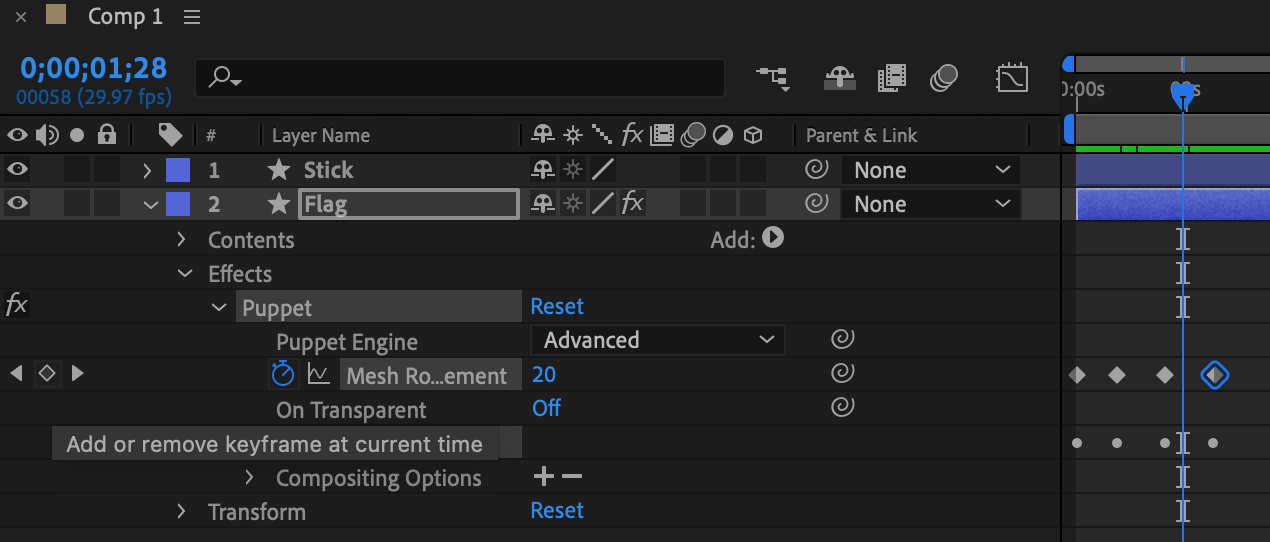
3. Puppet Pin Motion: Activate the layer’s Puppet Pin Position property by clicking on the small stopwatch icon next to it. Move the playhead to the beginning of your composition and then start adjusting the position of the puppet pins to create movement. Experiment with different keyframes to achieve a natural and realistic flag animation.

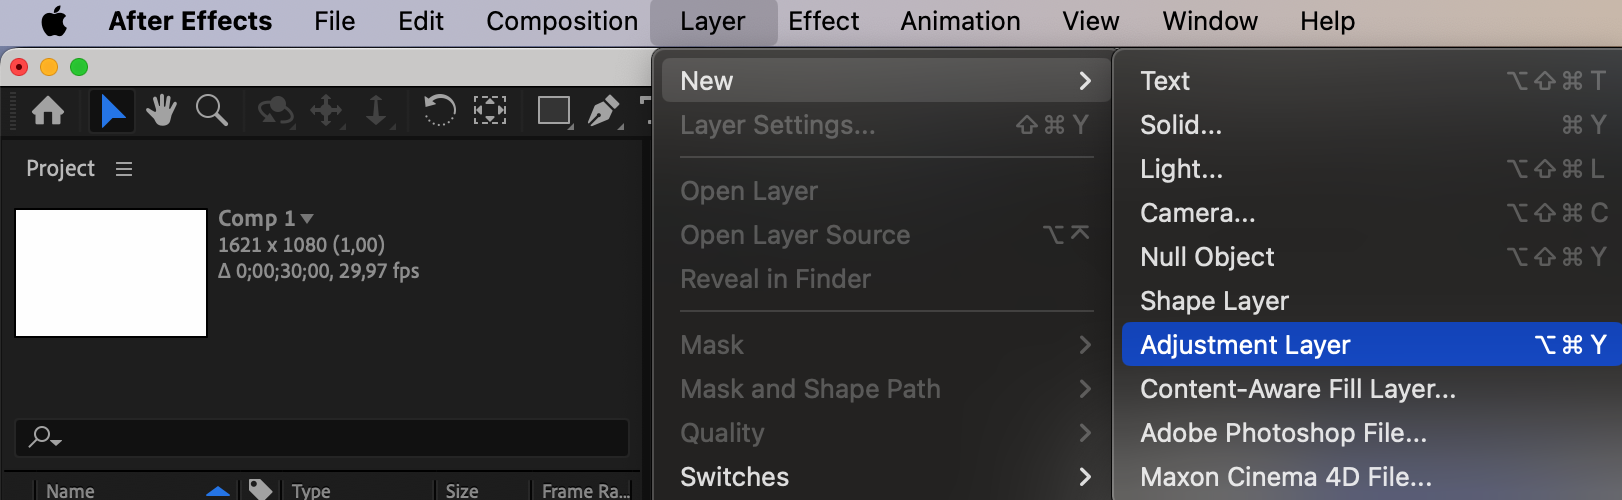
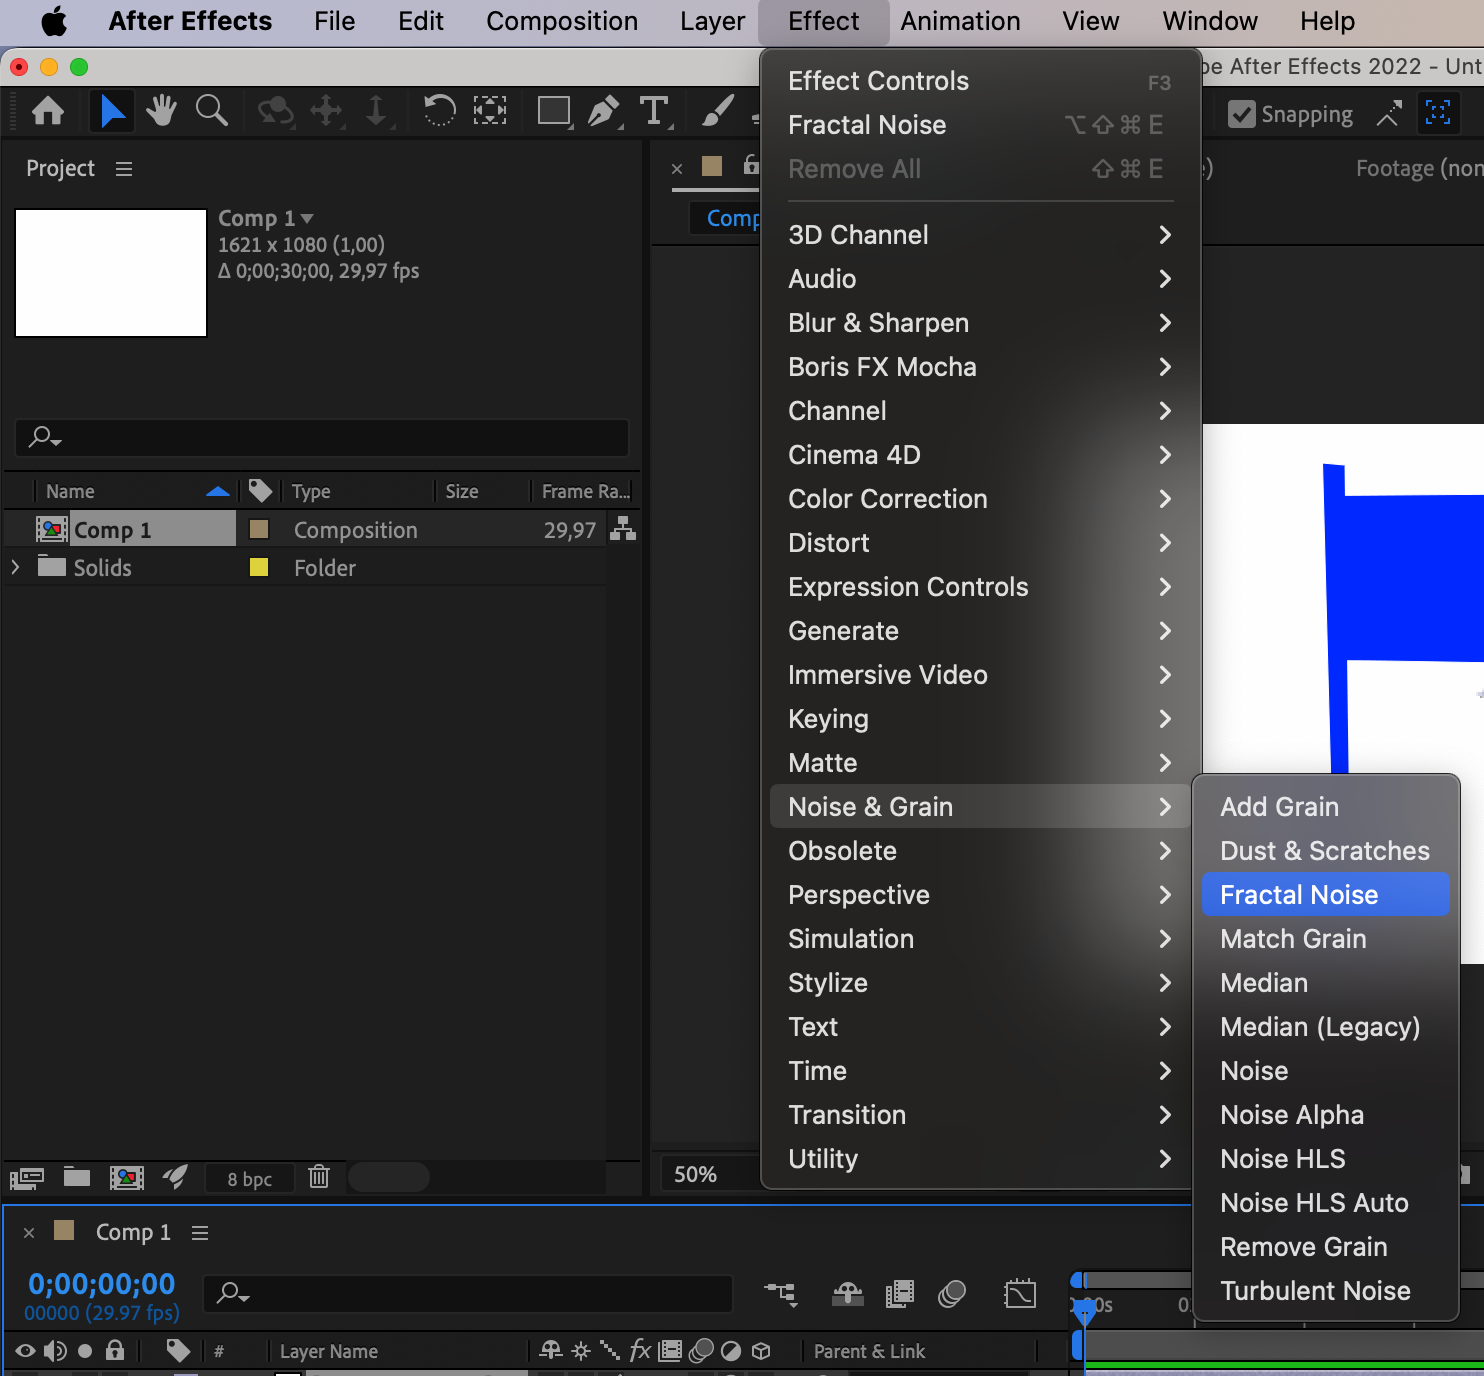
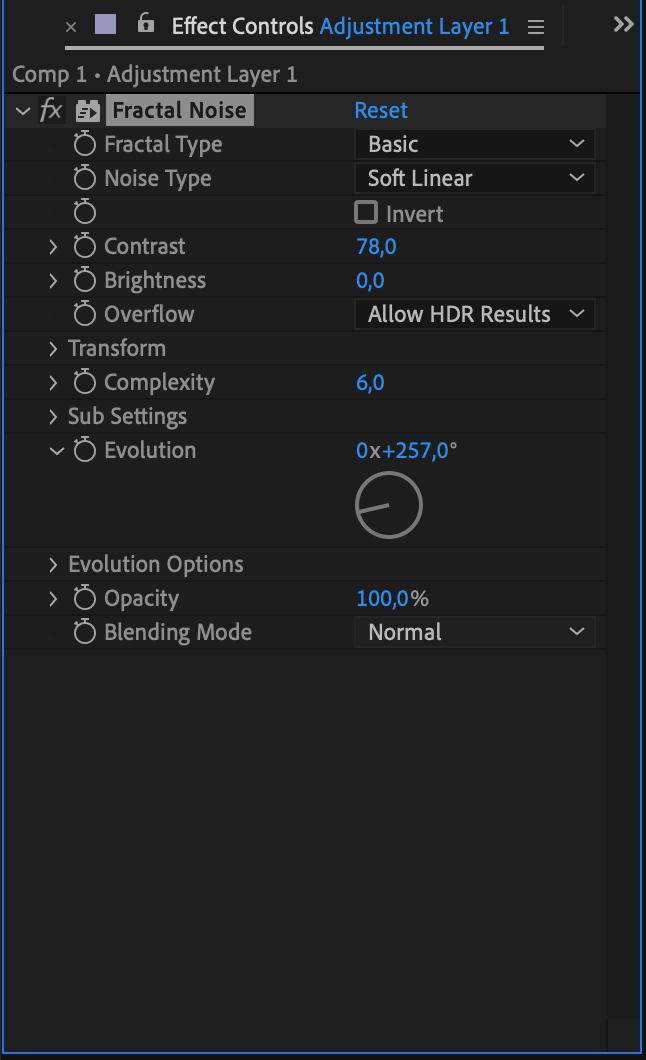
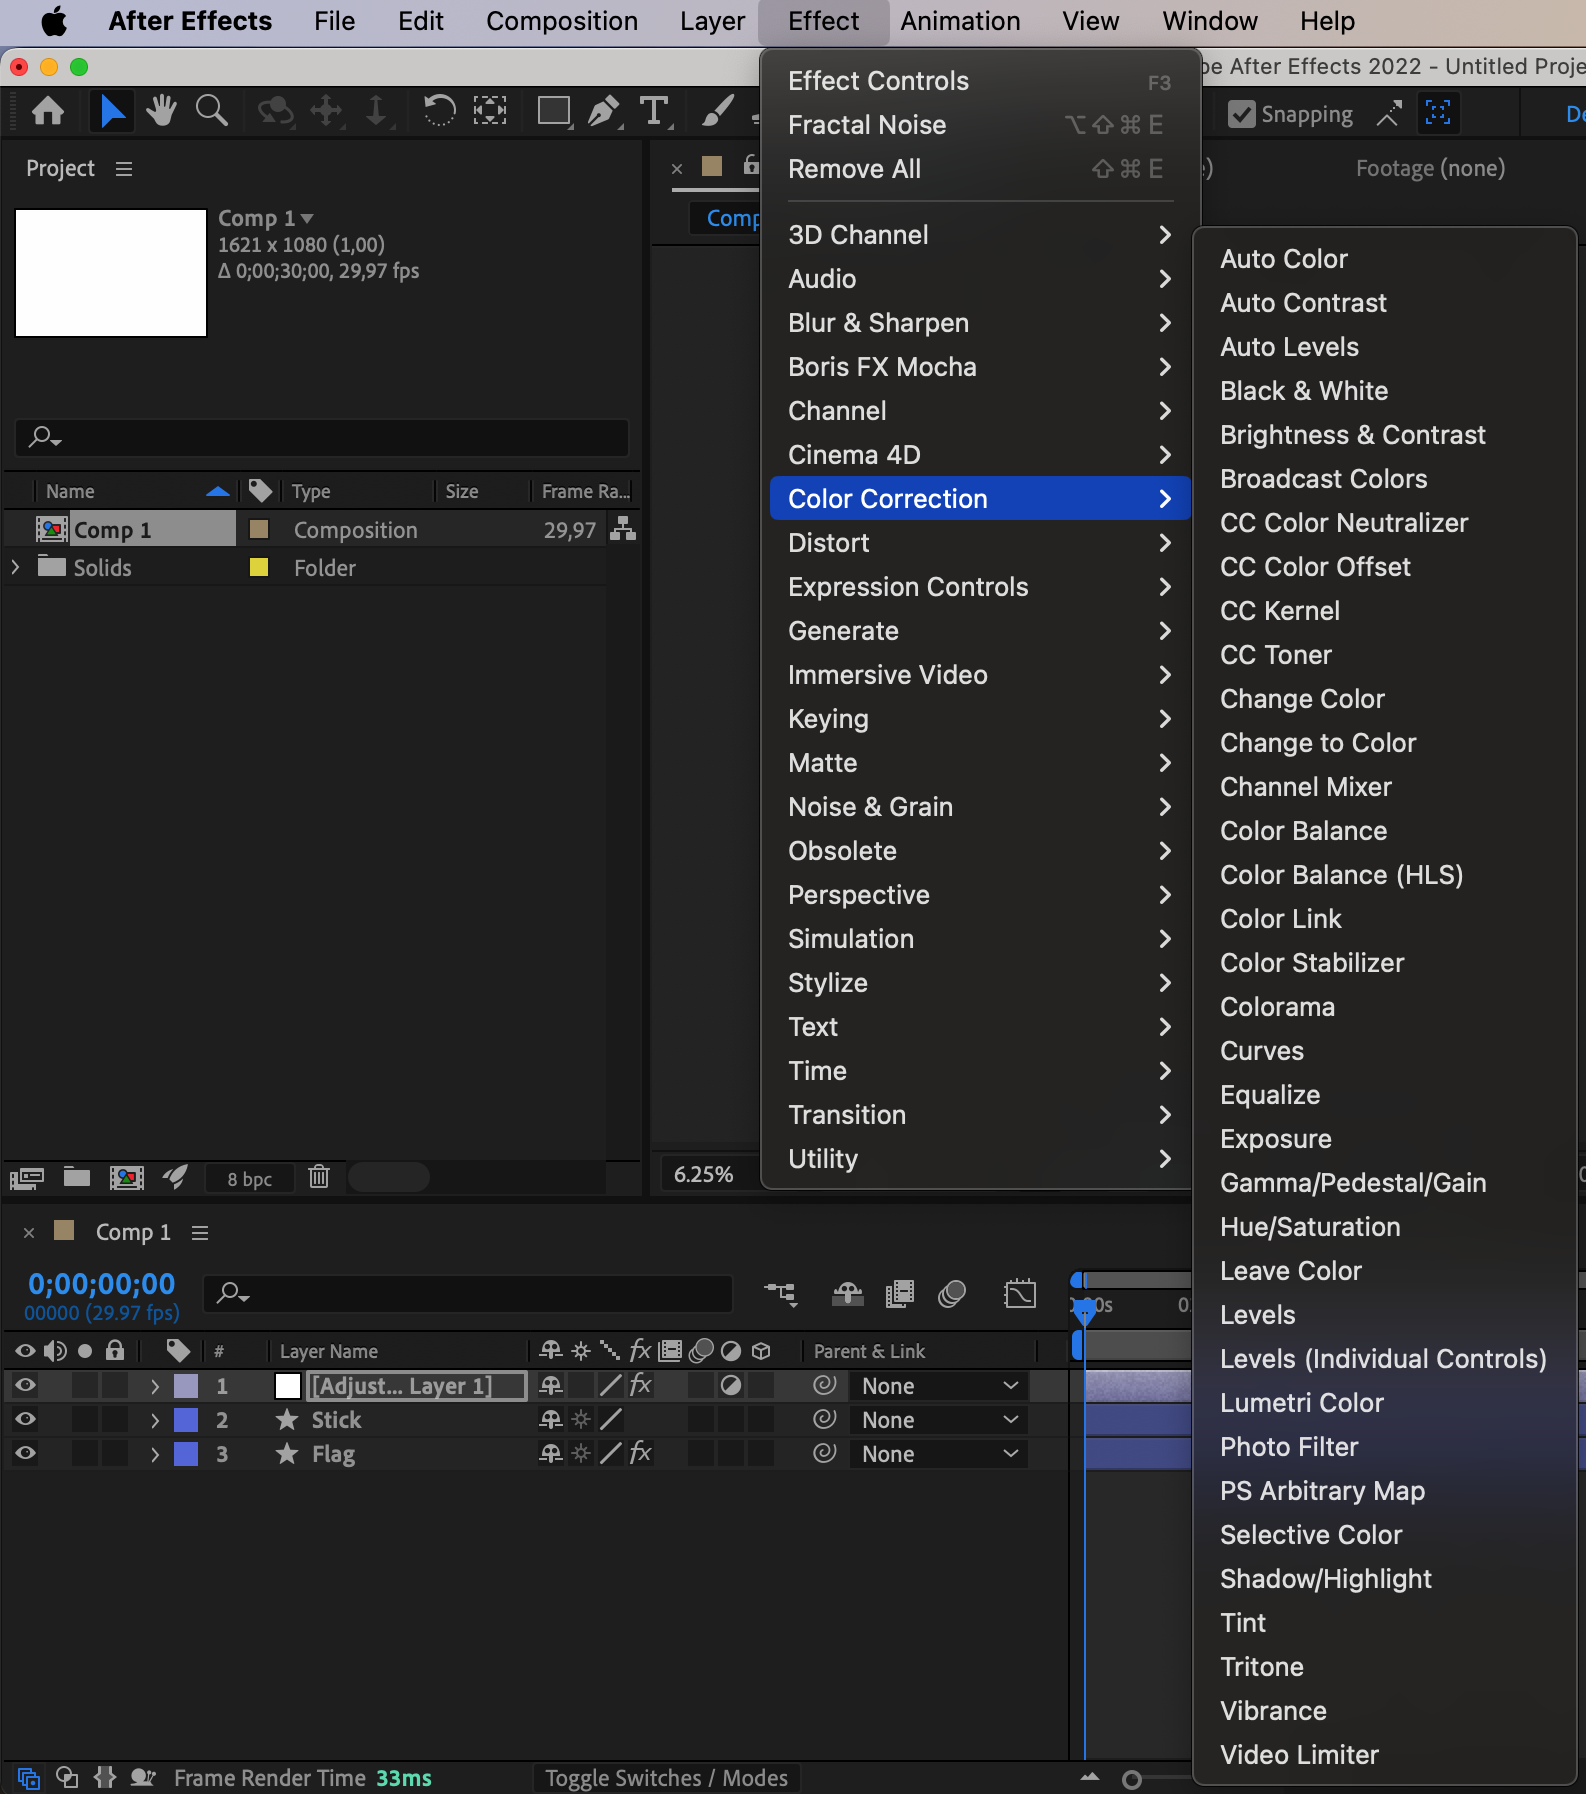
4. Fractal Noise: To make your flag animation even more dynamic, let’s add fractal noise. Create a new adjustment layer and apply the Fractal Noise effect. Set the parameters to create a subtle texture that adds depth to your flag animation. Experiment with different settings until you achieve the desired effect.
Final Touches and Export
Once you are satisfied with your flag animation, it’s time to add some final touches and export your project:
1. Effects and Color Corrections: Apply any additional effects or color corrections to enhance the overall look and feel of your animation. Experiment with options such as blurs, glows, or color grading to give your flag animation a professional touch.
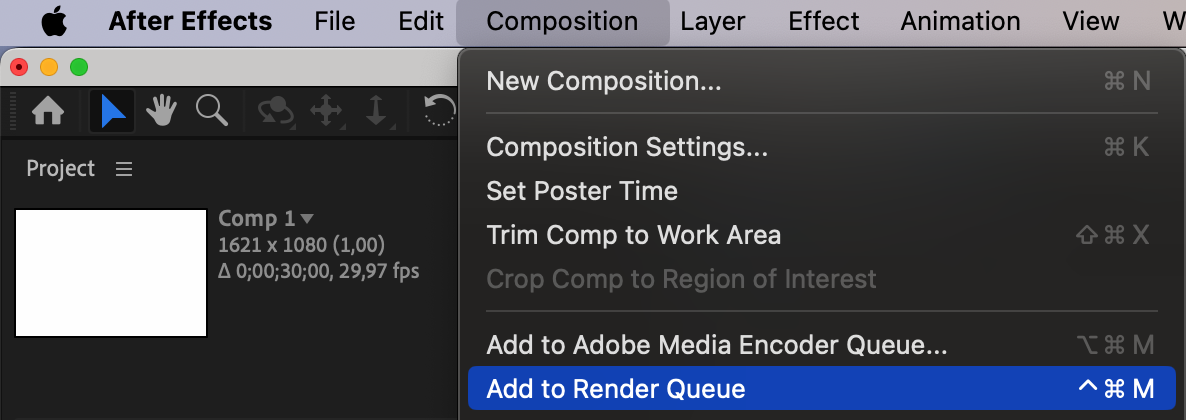
2. Exporting: To export your animation, go to Composition > Add to Render Queue. Adjust the settings such as output module, format, and quality. Click “Render” to export your flag animation as a video file.

Congratulations! You have successfully animated a flag in After Effects. With this newfound knowledge, you can now incorporate flag animations into your projects, adding a visually captivating element that will surely impress your audience. Happy animating!
Conclusion
Animating a flag in After Effects is a fantastic way to add movement, depth, and realism to your videos and graphic designs. By following the step-by-step guide in this tutorial, you have learned how to create a realistic flag design, animate it using the Puppet Pin tool, and enhance it with movement effects such as wind and texture.
Remember to experiment with different settings, keyframes, and effects to achieve the desired look and feel for your flag animation. Pay attention to details like the anchor point placement and the position of the puppet pins to create a natural and lifelike movement.
Now that you have mastered the art of flag animation in After Effects, you can take your projects to the next level. Whether you want to simulate a waving flag, showcase a patriotic theme, or add a dynamic visual element to your videos, the possibilities are endless.
So, go ahead and unleash your creativity. Start animating flags and make your designs come alive. With practice and exploration, you can create eye-catching and engaging flag animations that will surely leave a lasting impression on your audience.
Happy flag animating!
Our Bestsellers


