Unlock the Magic: Step-by-Step Guide to Animating Wings in After Effects
Embark on a journey of creativity as we delve into the captivating world of animation with our comprehensive guide. Unleash the magic of realistic and seamless wing movements in your projects, learning step-by-step techniques that will elevate your animation skills to new heights. Whether you’re a seasoned motion graphics artist or a novice explorer of After Effects, this guide promises to unlock the secrets behind animating wings with finesse and precision.
Step-by-Step Guide:
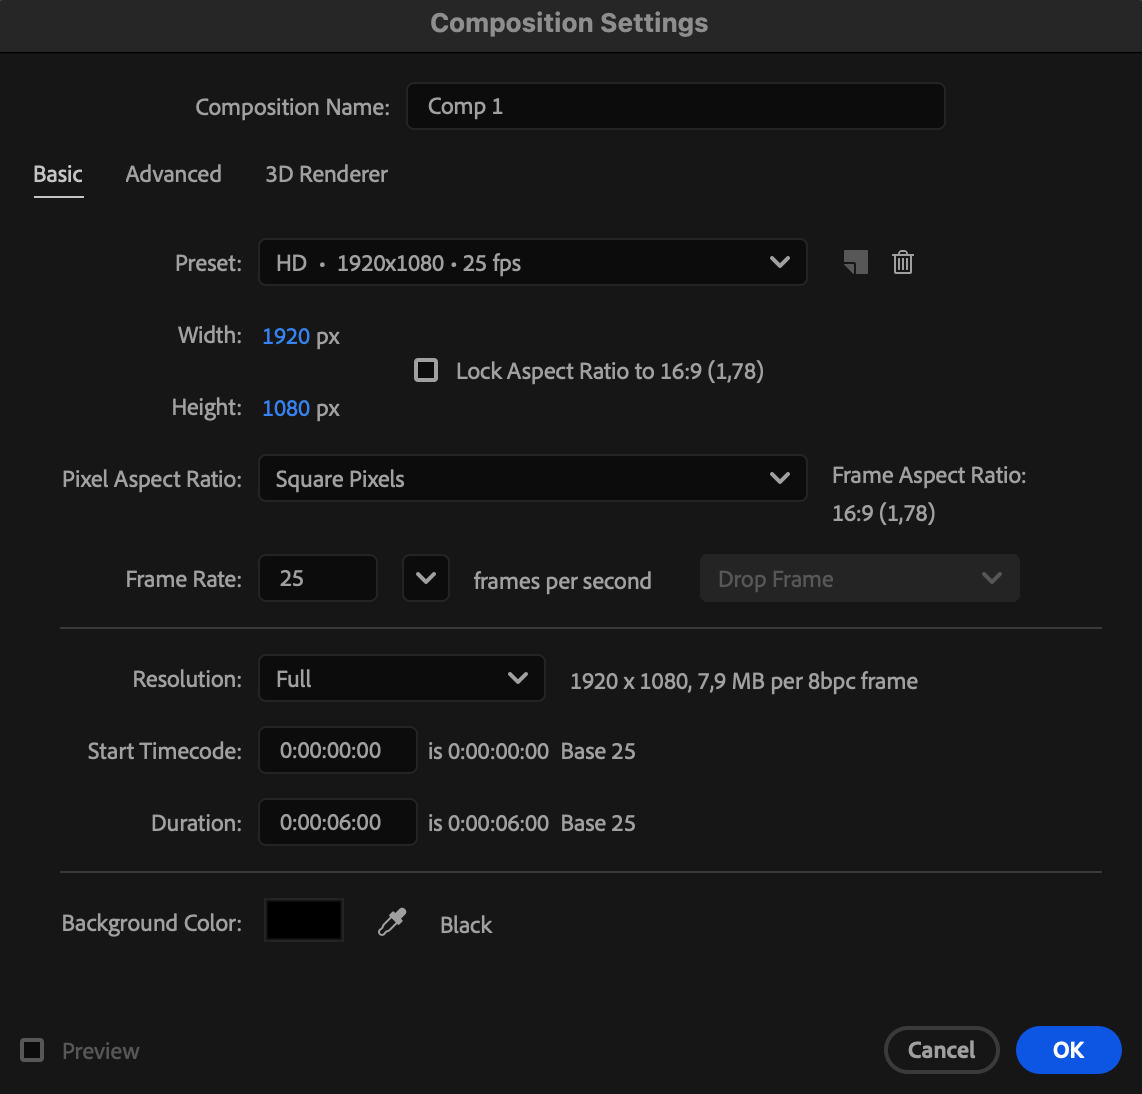
1.Create a New Composition:
Start by creating a new composition and adjusting its settings.
 2.Import Your Wing Image File:
Import the wing image file into your project.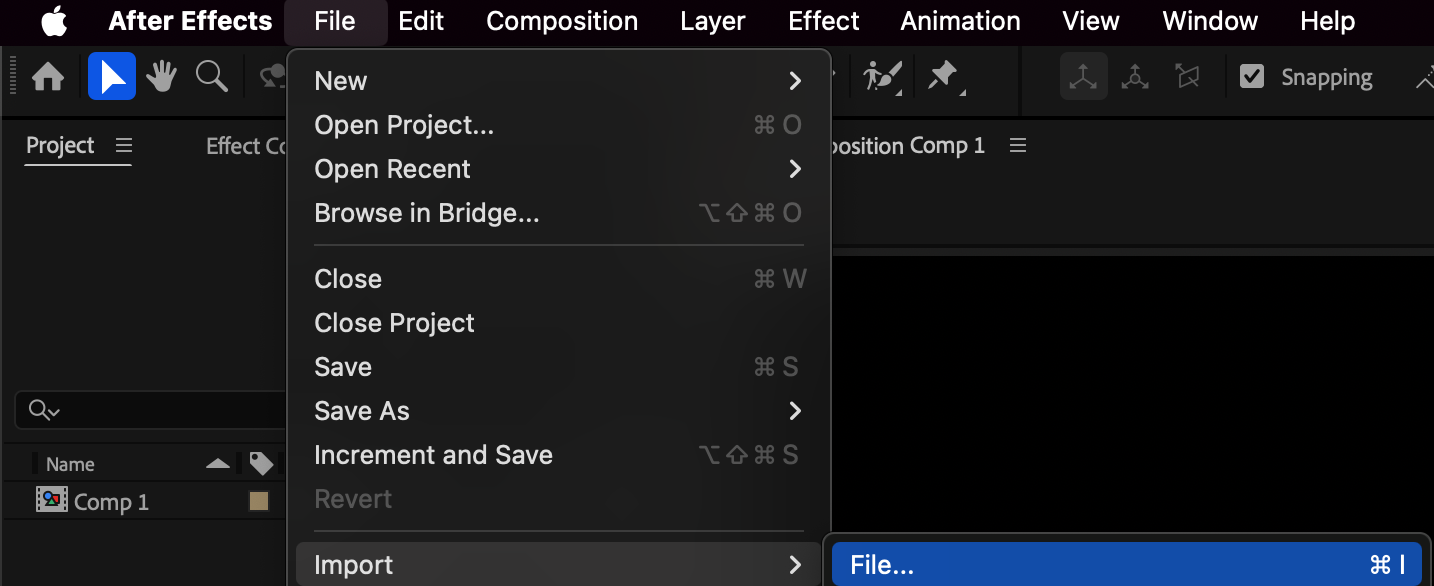
3.Drag the Imported File onto the Composition Panel:
Drag the imported file onto the composition panel.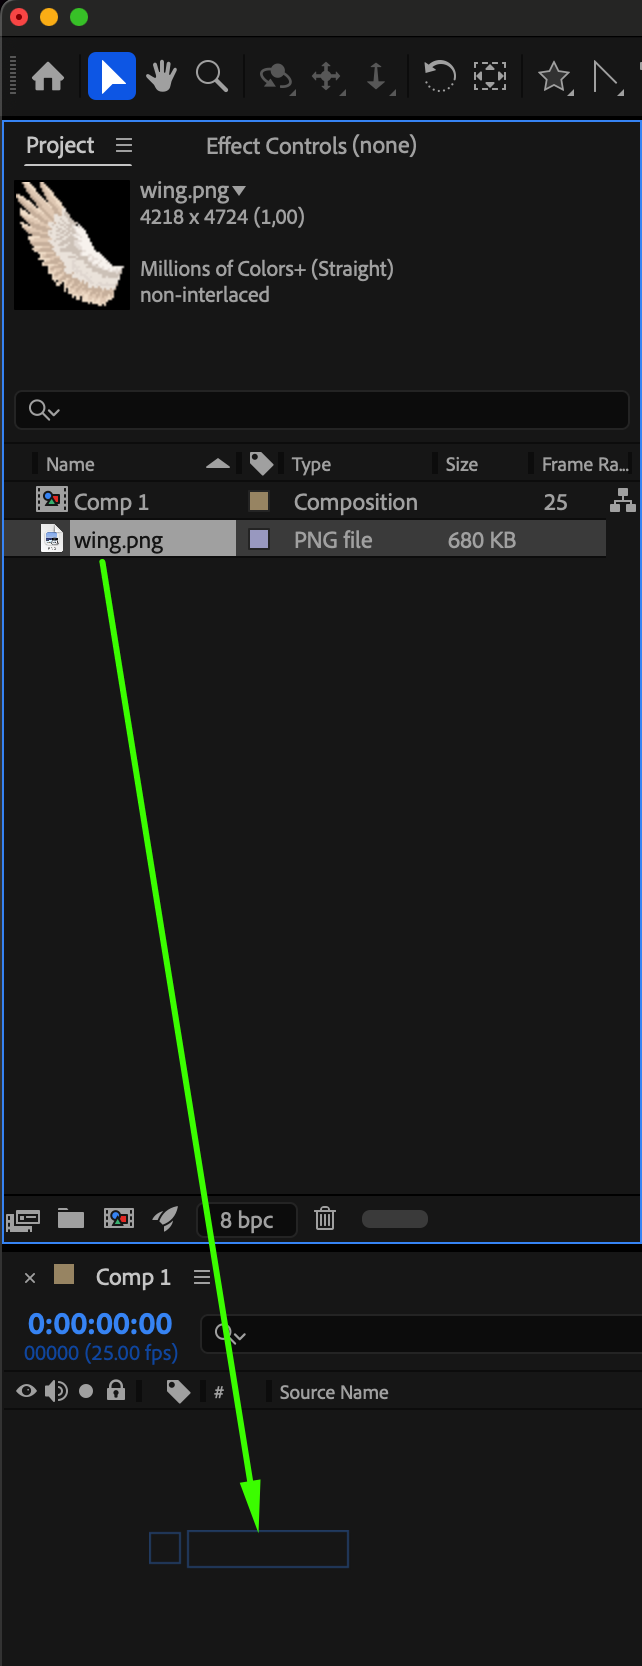 4.Duplicate the Wing Layer:
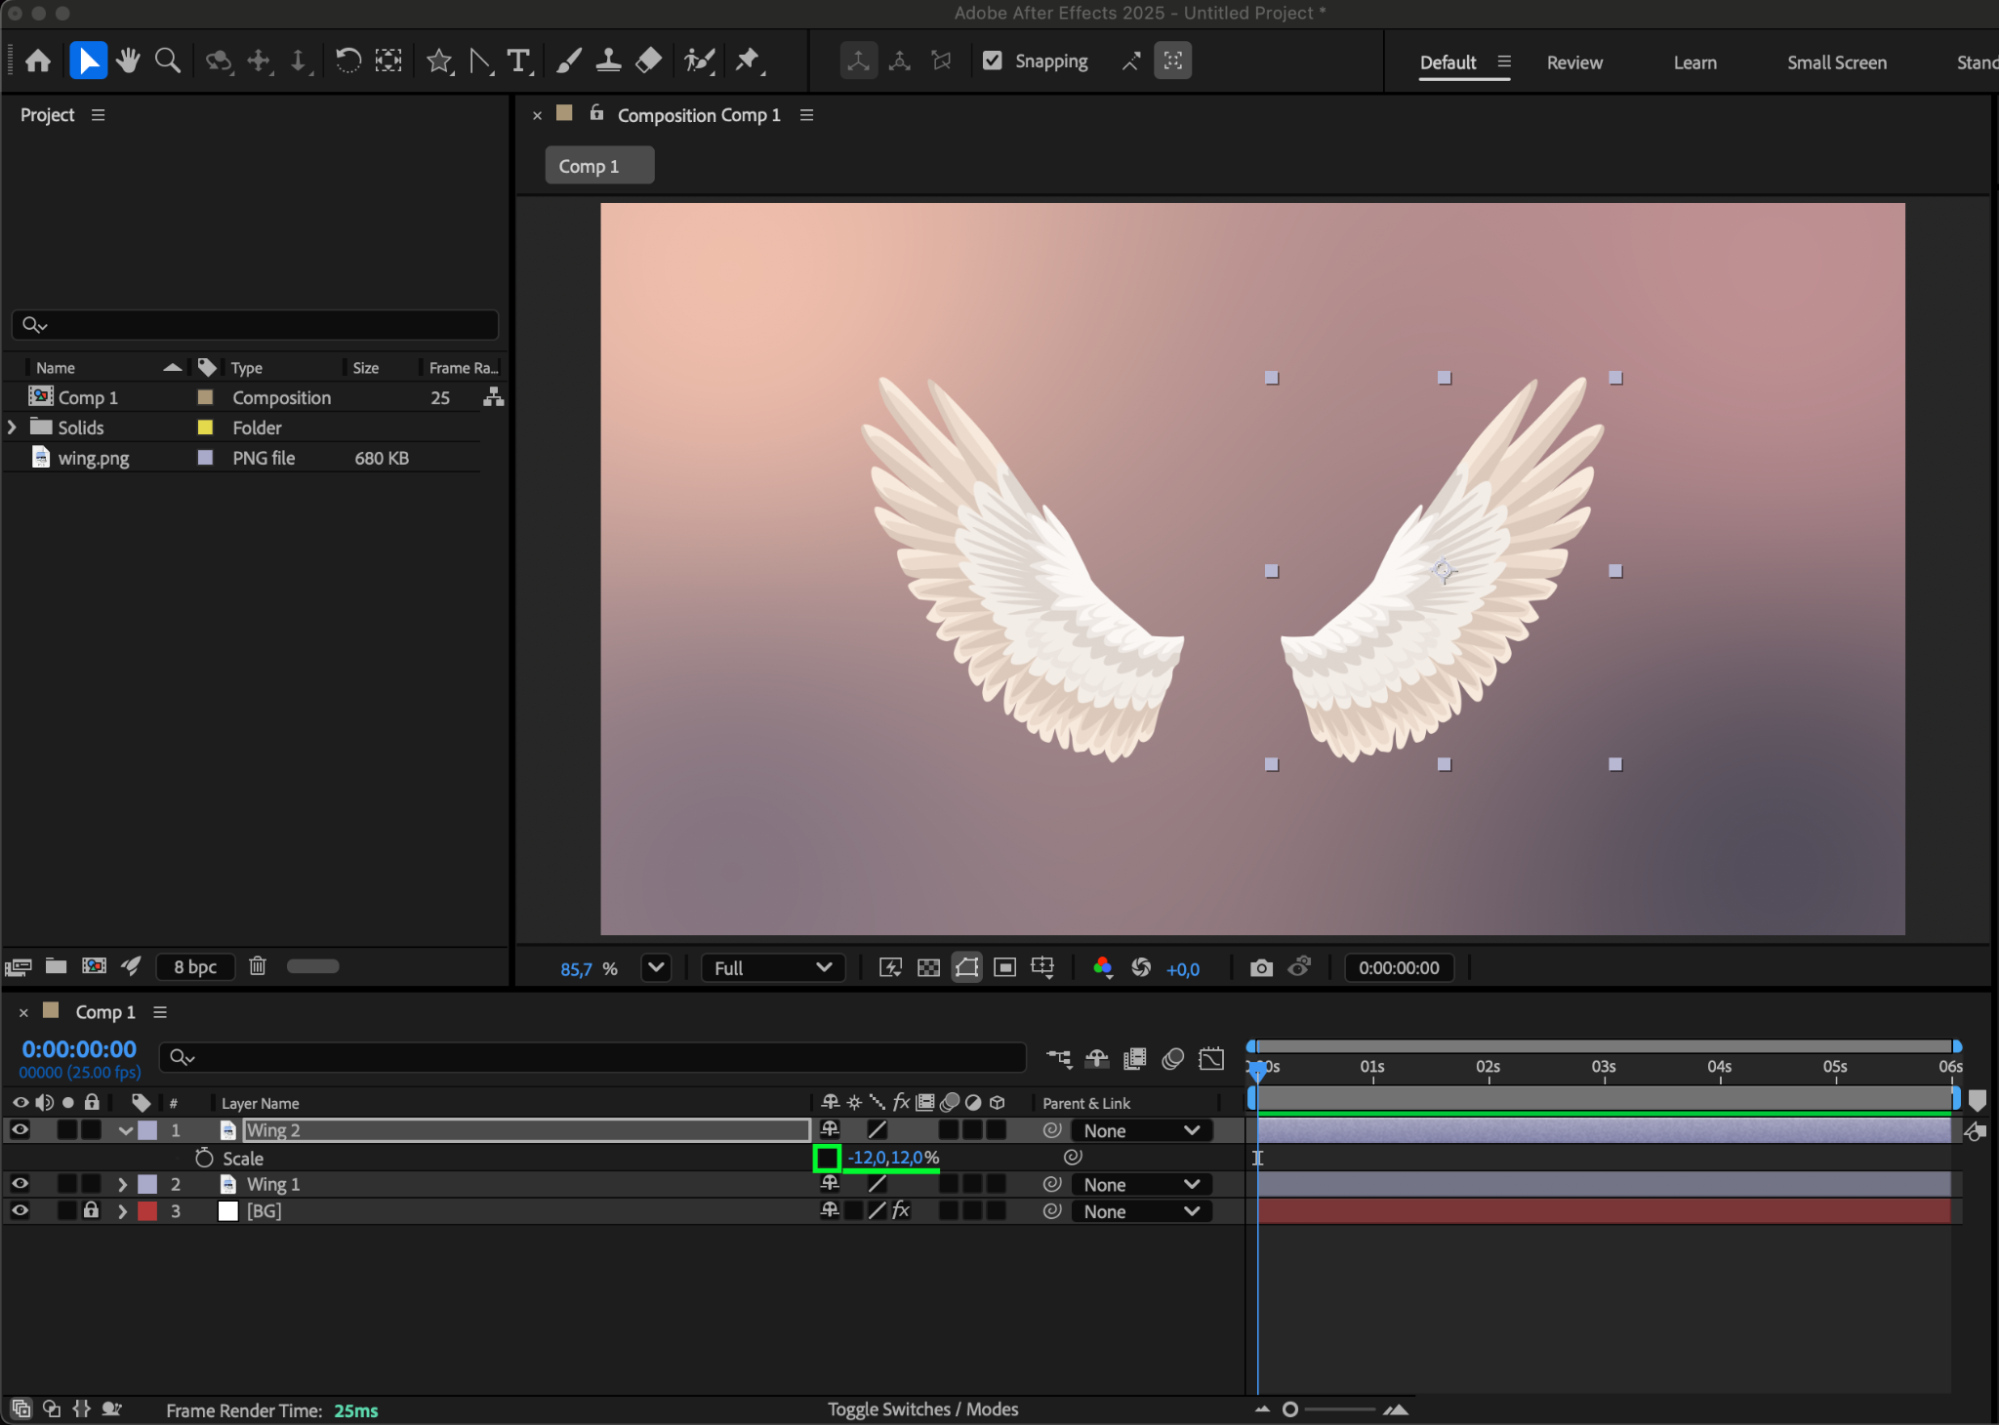
Create a copy of your wing layer. Rename the original as “Wing 1” and the duplicate as “Wing 2.”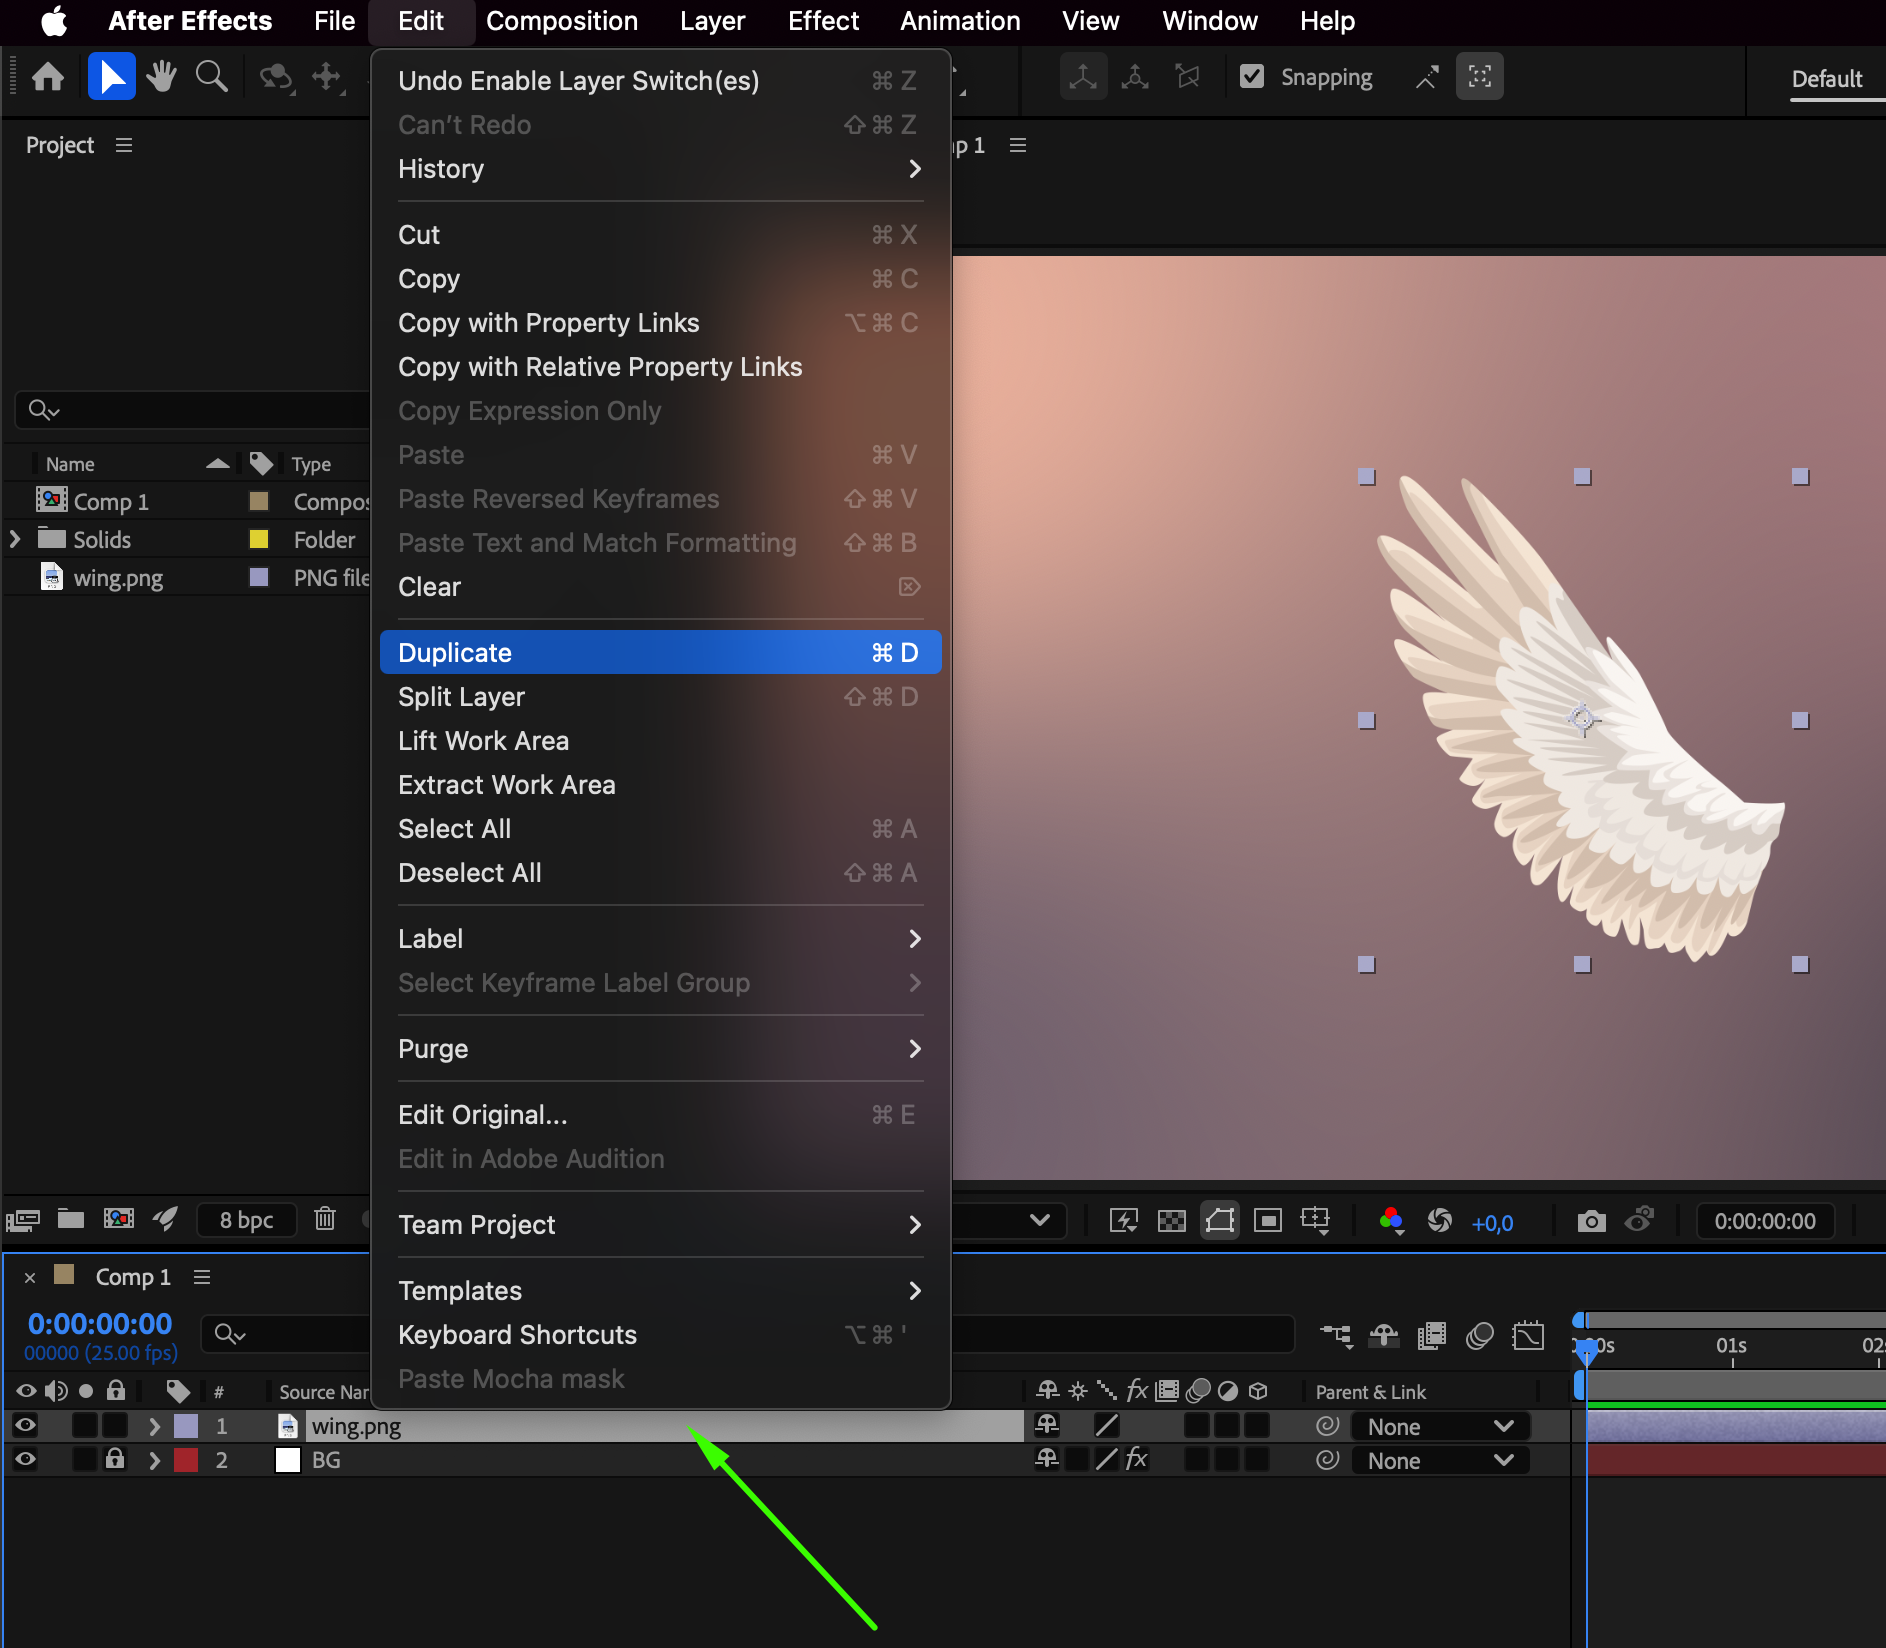 5.Mirror the Image using Scale:
Mirror the image by adjusting the Scale property of the duplicate layer. Use the hotkey ‘s’, uncheck ‘constrain proportions,’ and add a minus sign before the first numeric value.