A Step-by-Step Guide to Applying Text Presets in After Effects
Introduction: Why Use Text Presets in After Effects
Text presets in After Effects are pre-designed animations that can save you time and enhance your project’s visual appeal. From basic typewriter effects to complex motion typography, these presets allow users to achieve professional results quickly. This guide will walk you through the steps to apply, customize, and refine text presets to match your creative vision.
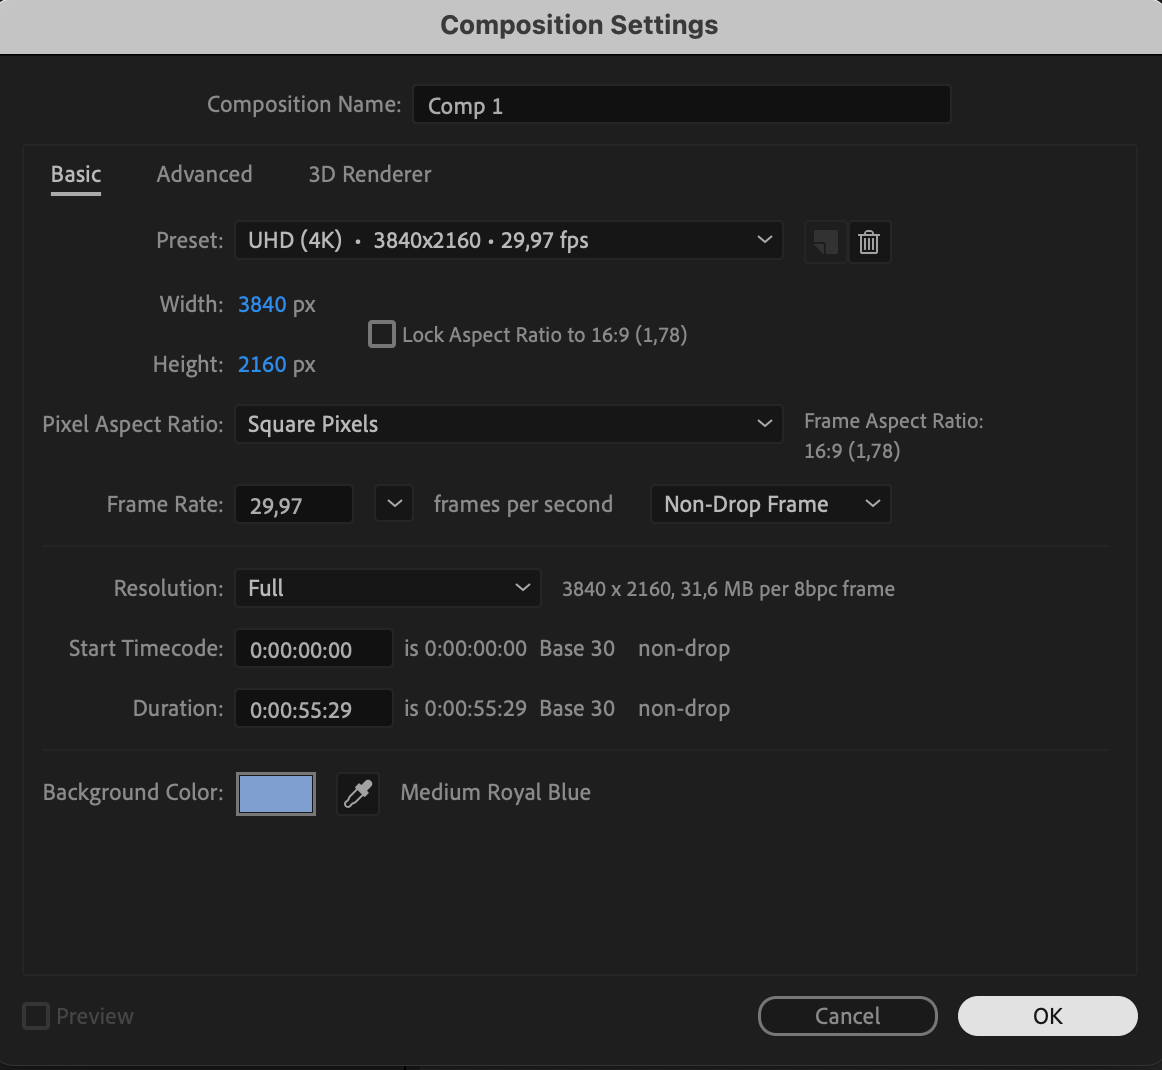
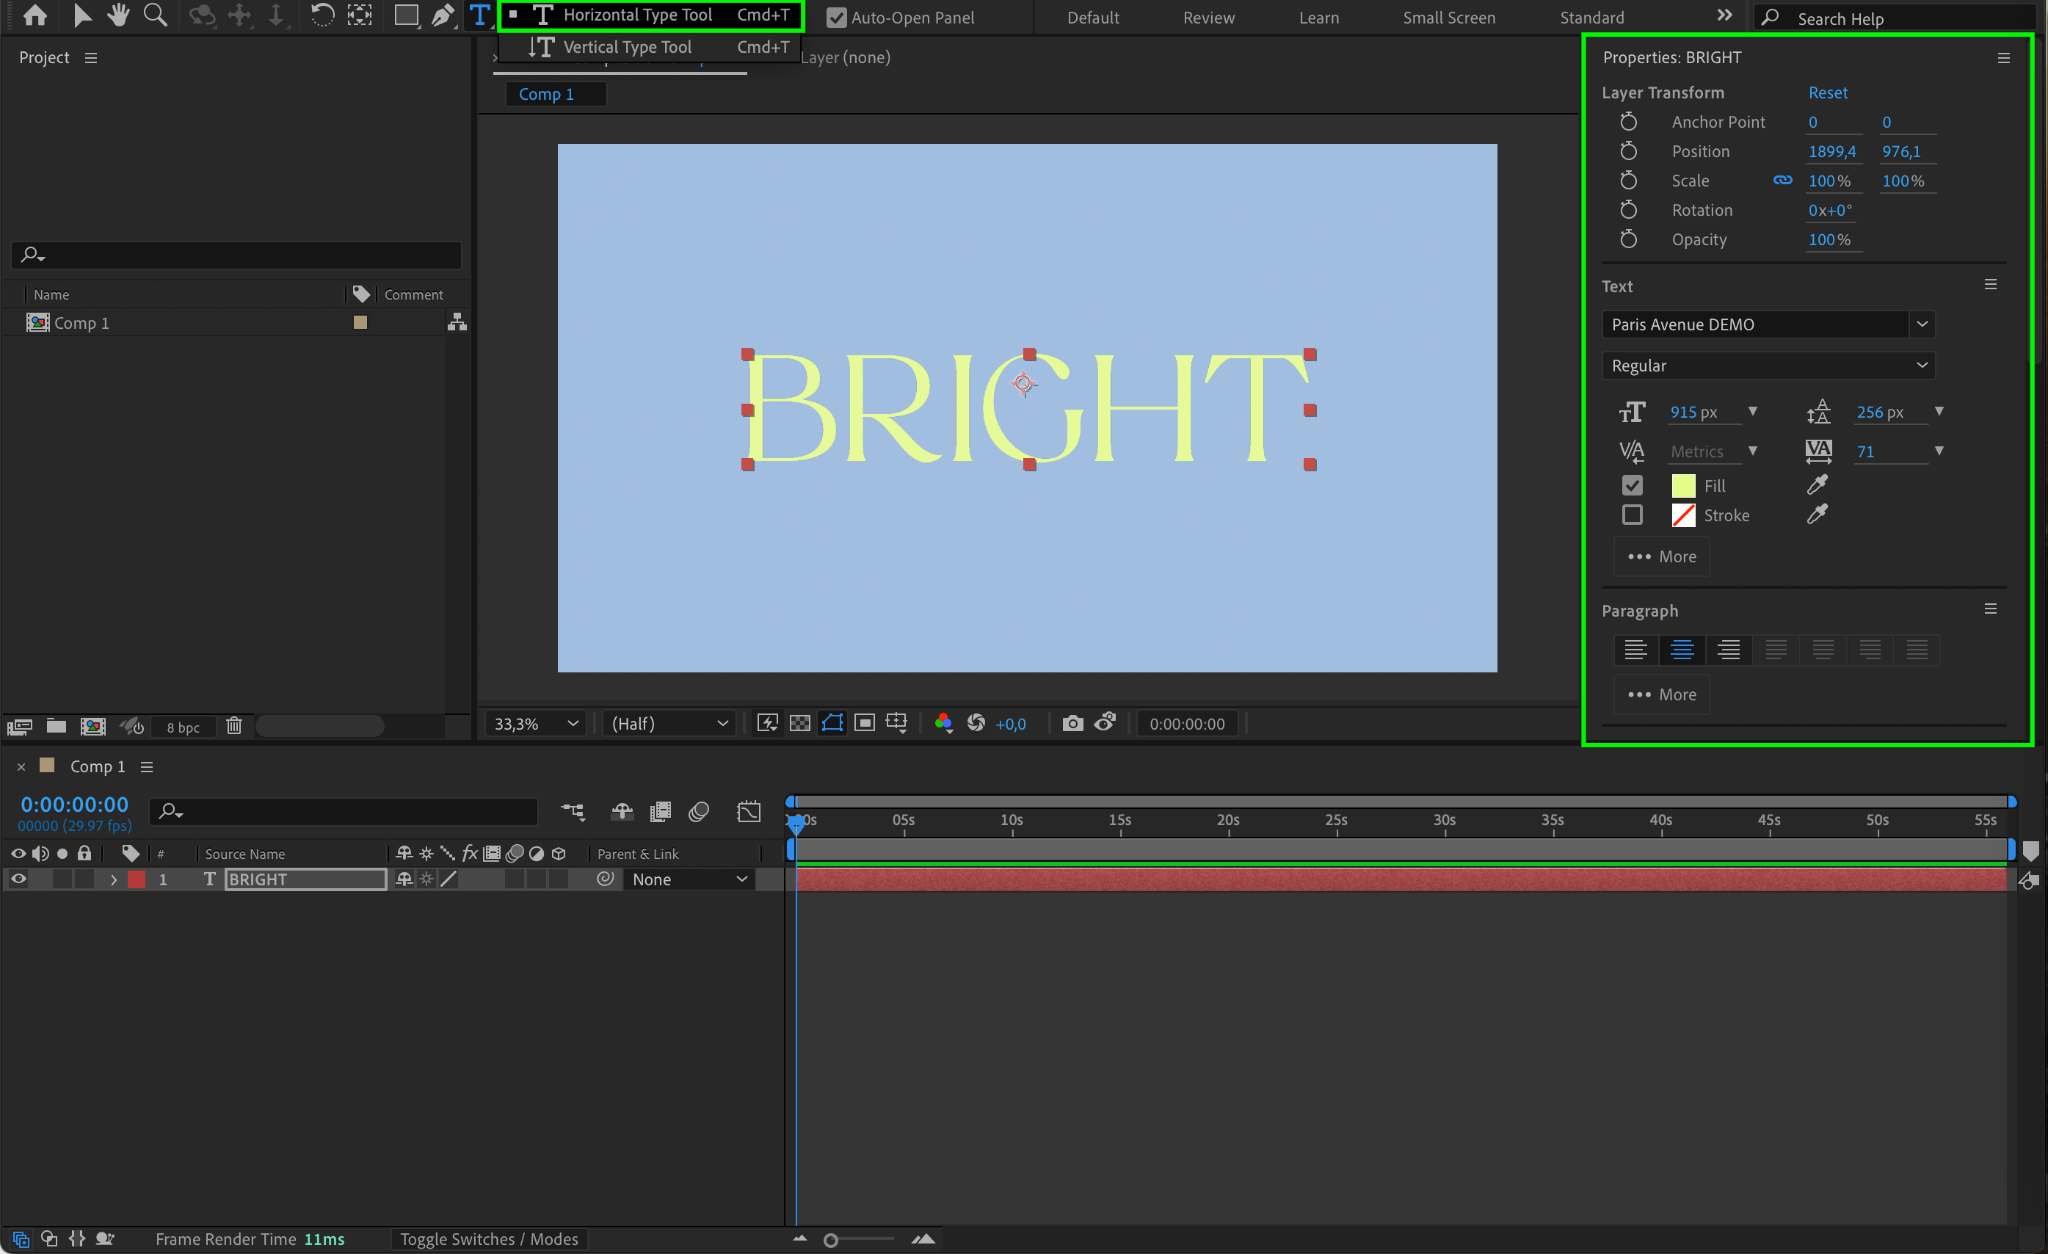
Step 1: Open Your Project and Add a Text Layer
Begin by opening your project in After Effects or creating a new composition. Use the Text Tool (Ctrl/Cmd + T) to add a text layer to your composition. Type the desired text and position the layer where you want the animation to appear. Make sure the text layer is selected before applying any presets.

Get 10% off when you subscribe to our newsletter

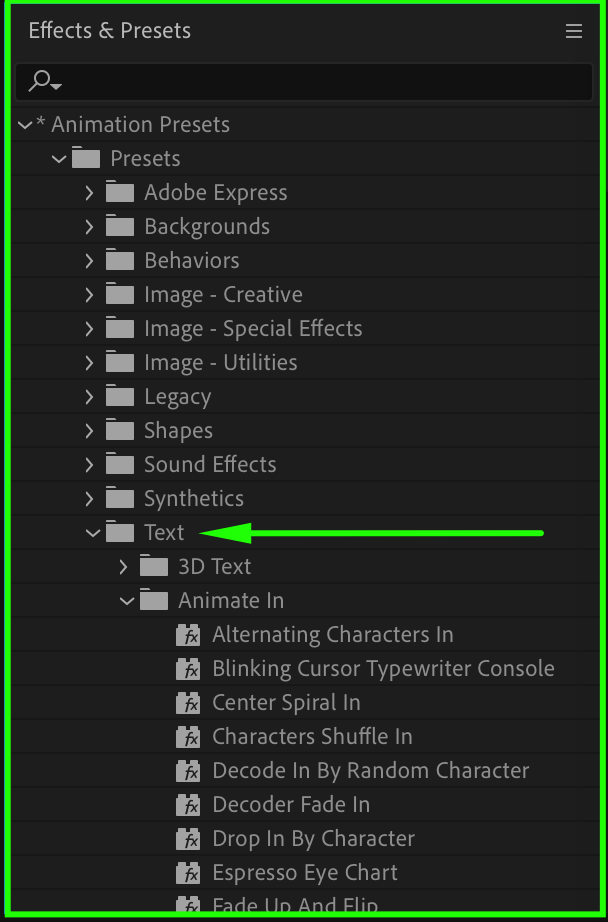
Step 2: Access the Effects & Presets Panel
In the Effects & Presets panel (located on the right side of the interface), navigate to Animation Presets > Presets > Text to browse text-specific presets. This folder offers a wide variety of animations, categorized for easy access, including effects like fades, blurs, and kinetic typography.
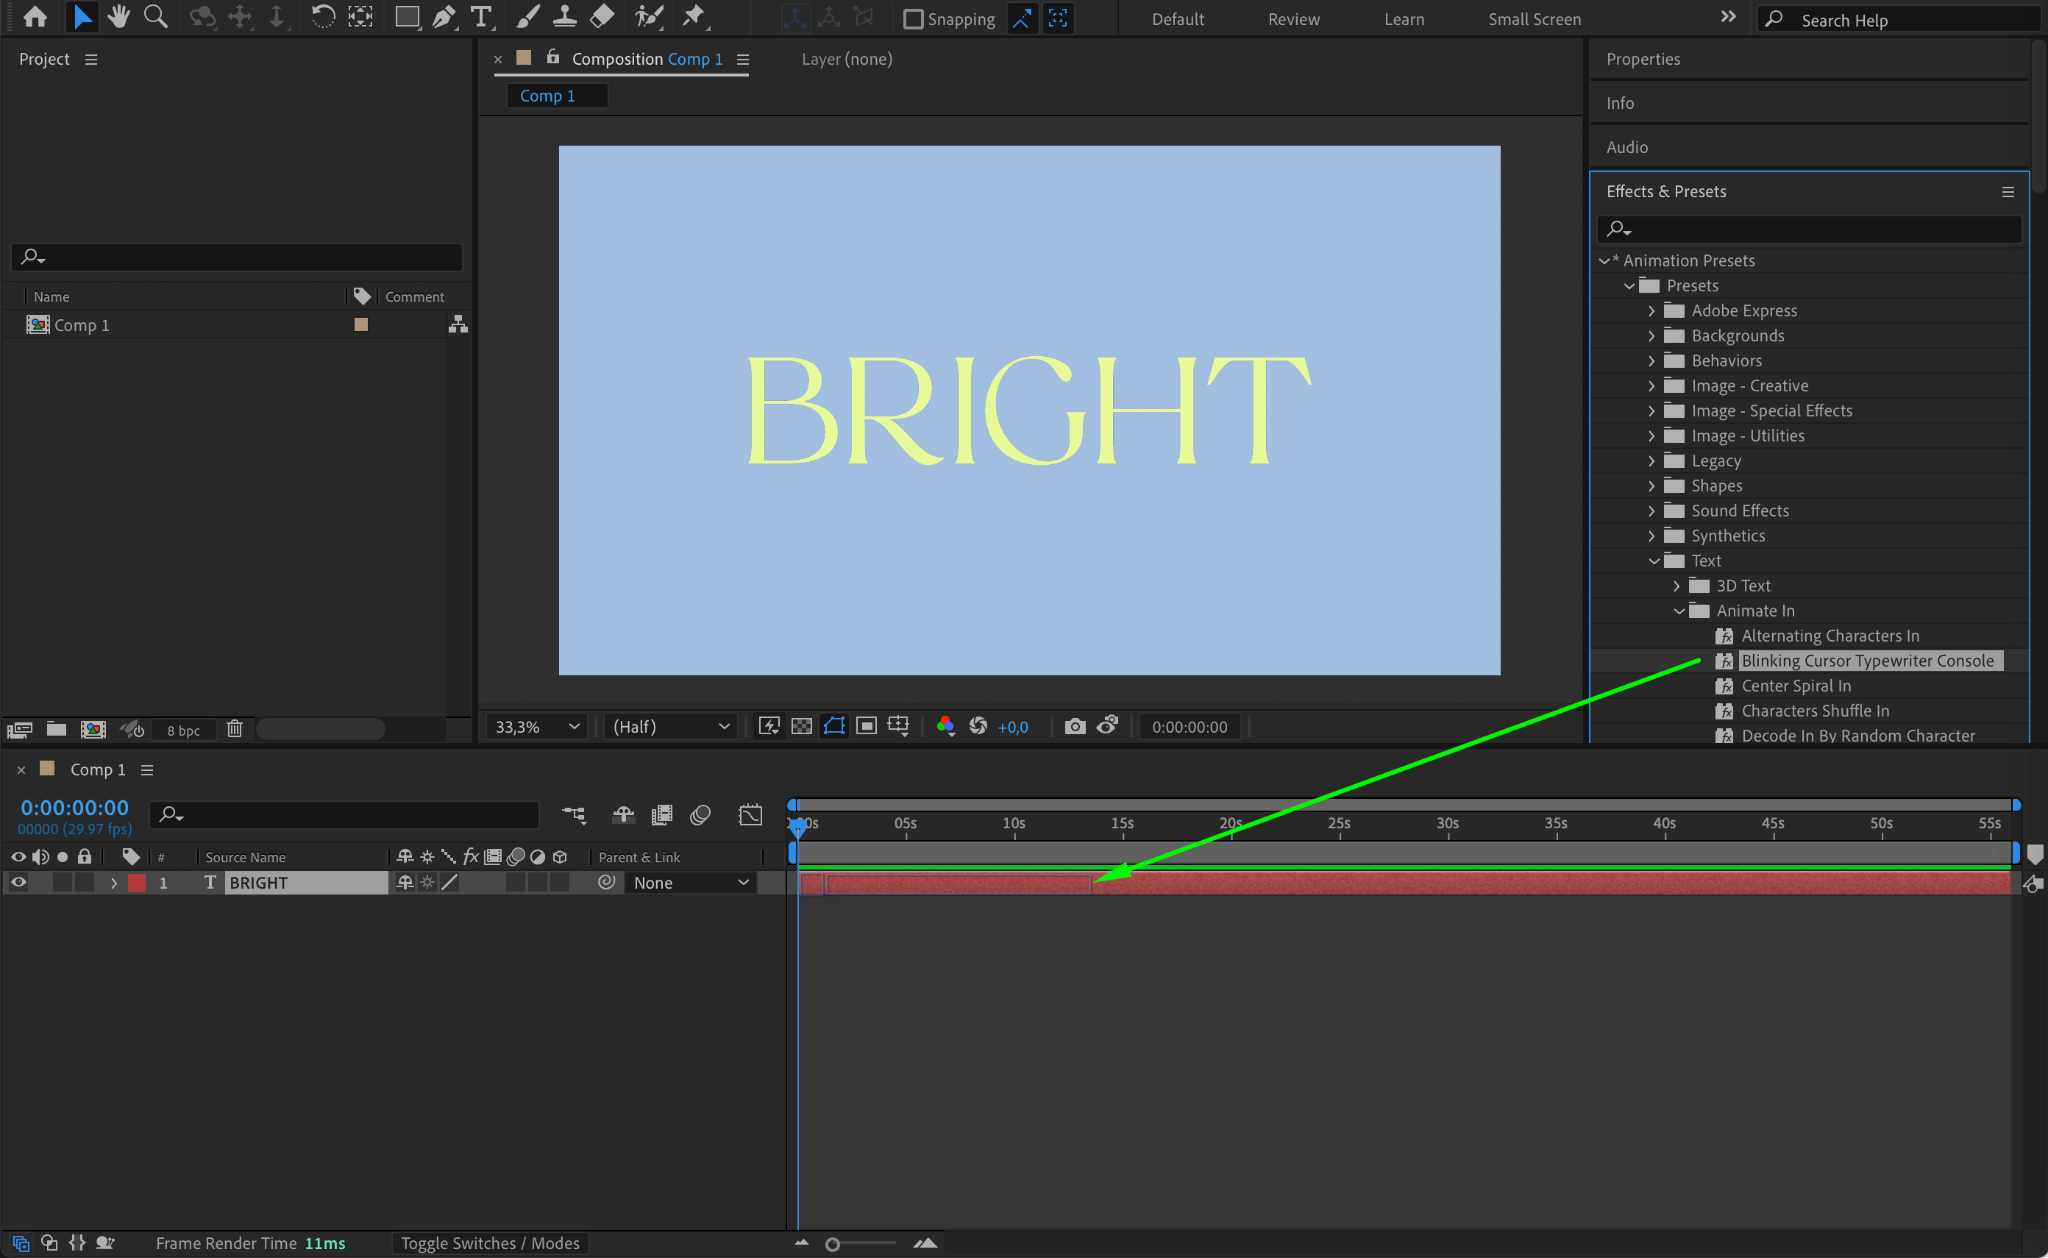
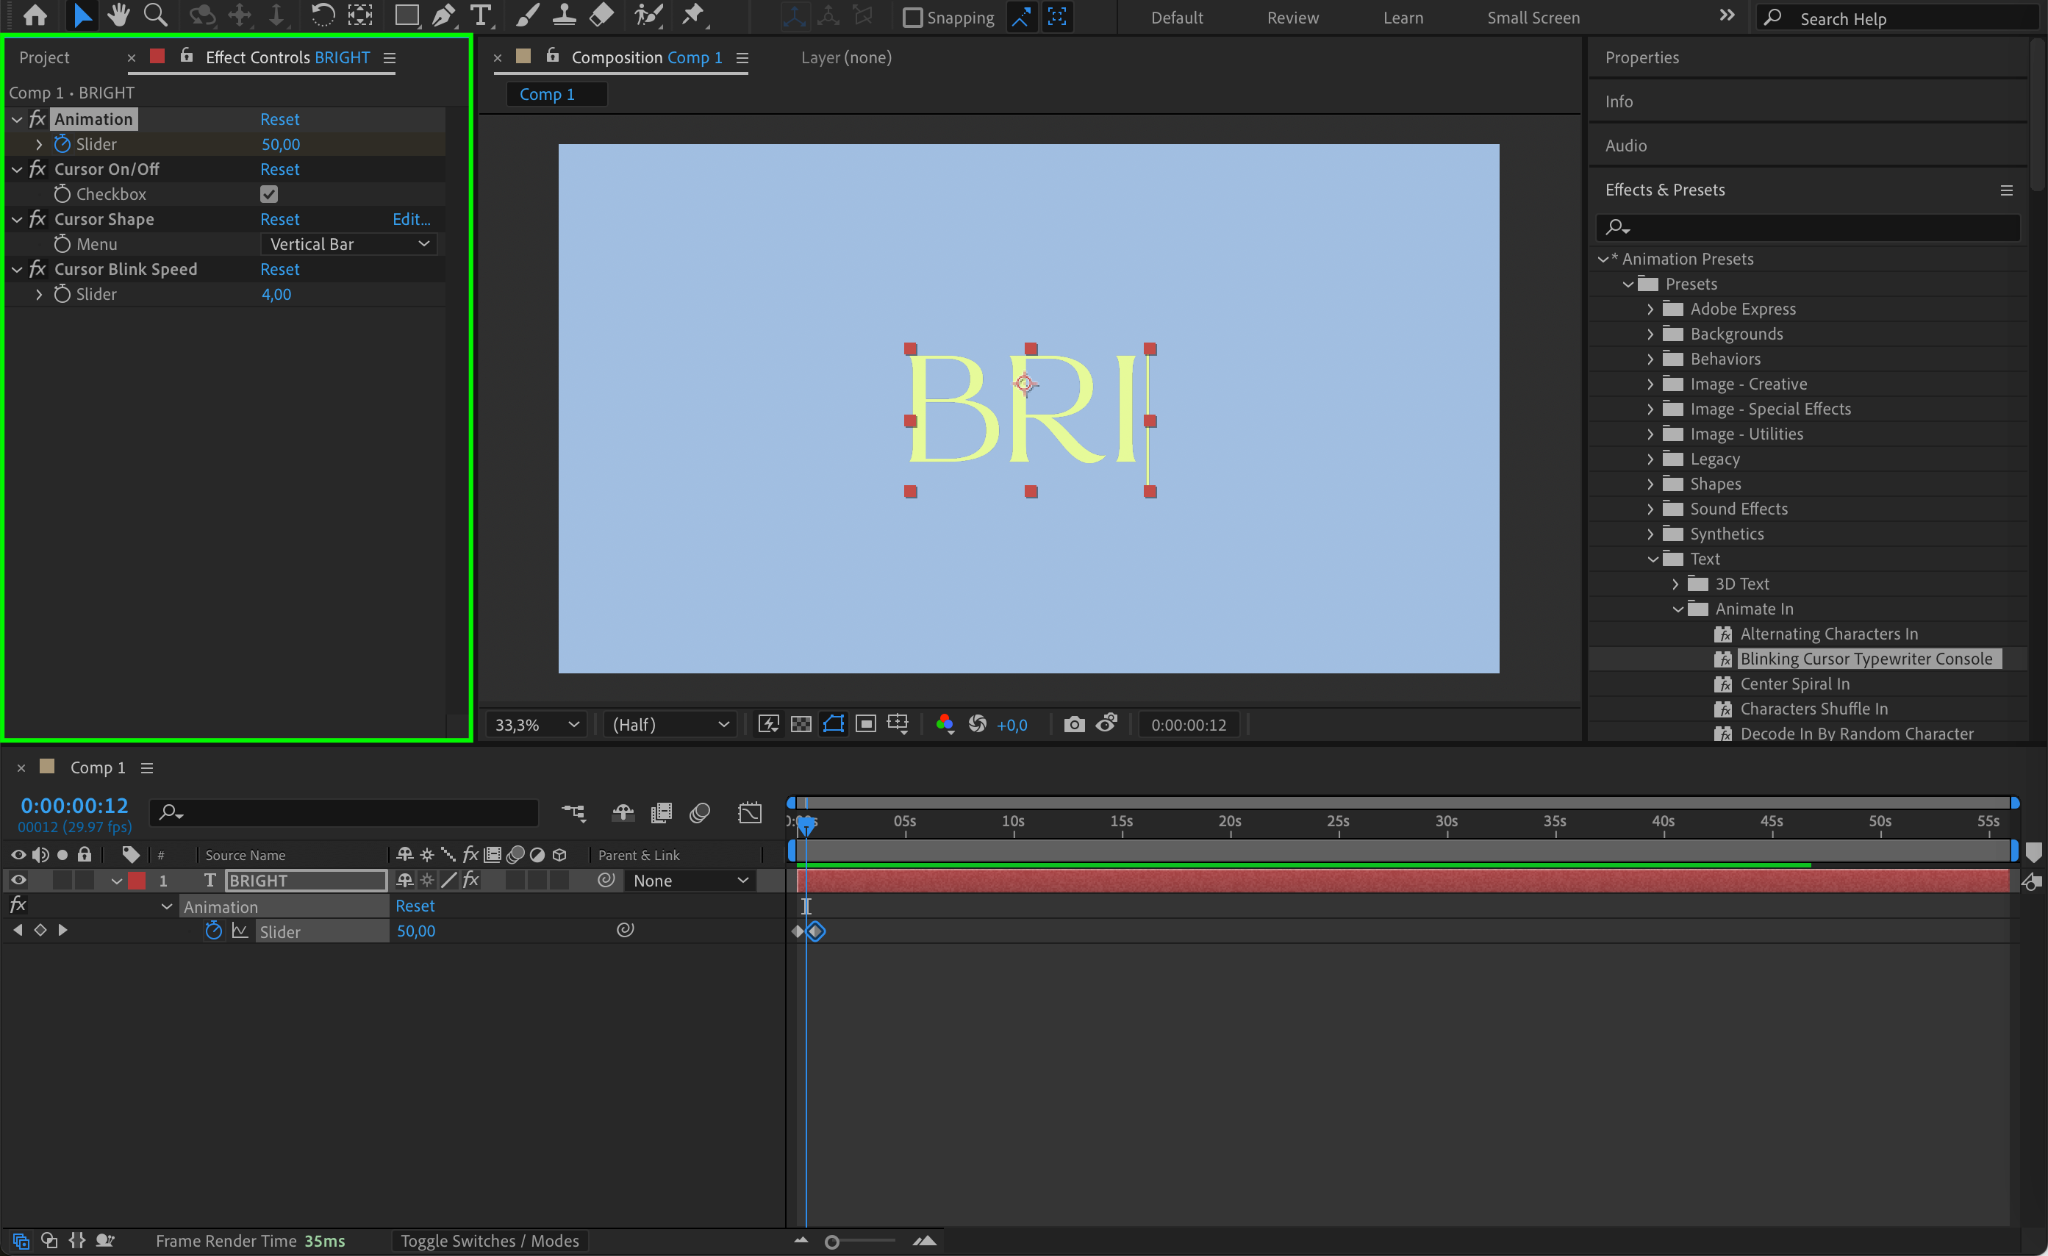
Step 3: Apply a Text Preset
To apply a preset, drag it from the Effects & Presets panel onto your text layer in the Timeline or directly onto the layer in the Composition window. Once applied, the preset’s keyframes will automatically appear in the timeline, defining the animation behavior. Play the animation by pressing the Spacebar to preview the effect.
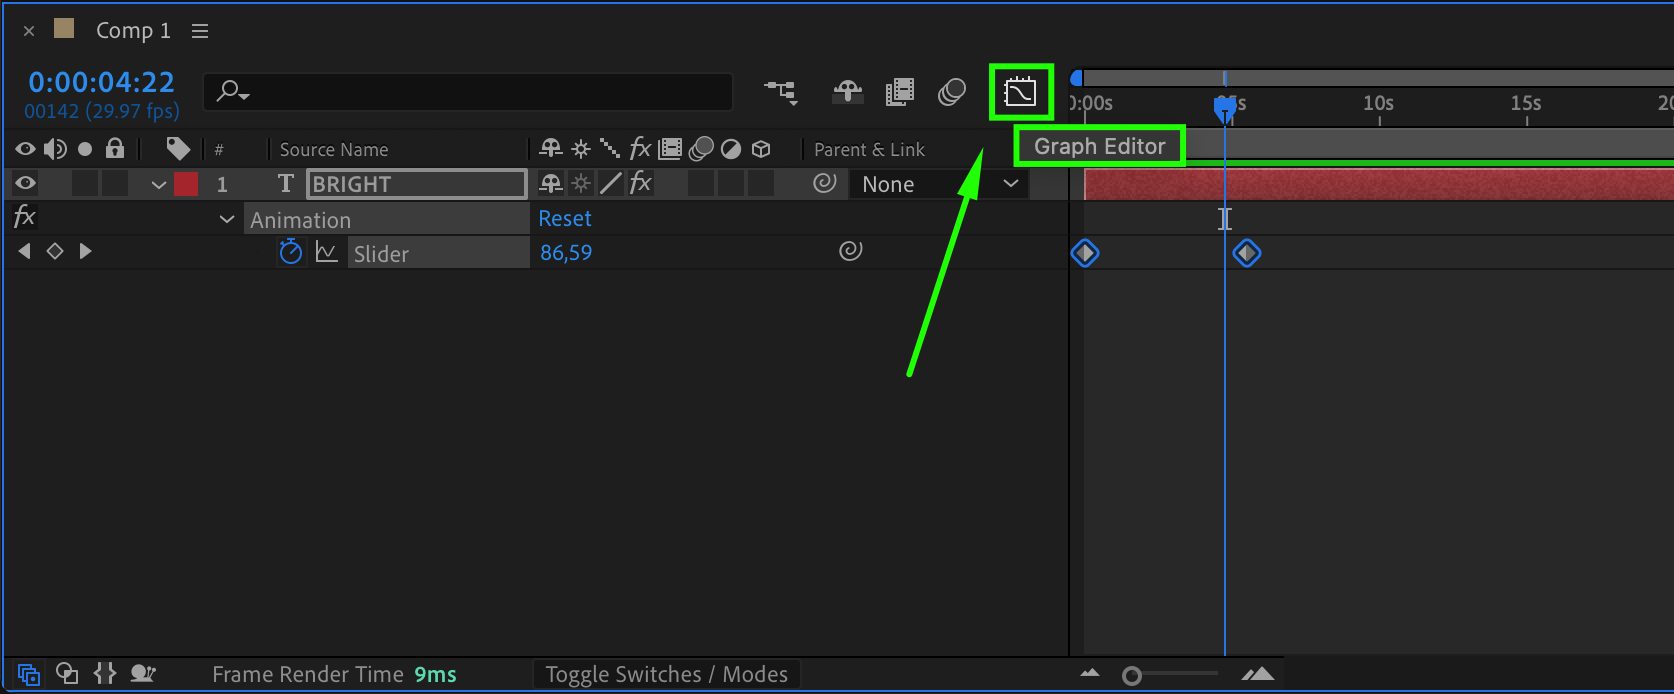
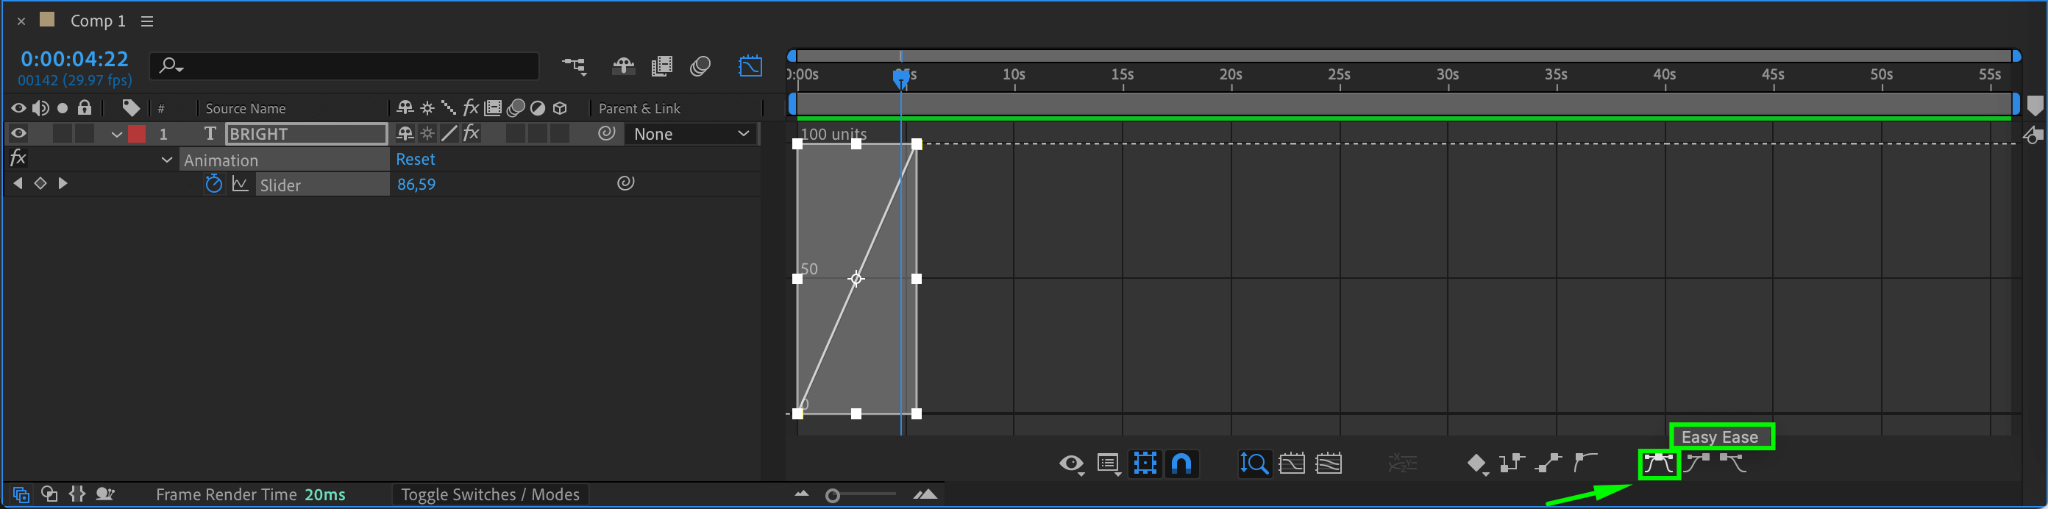
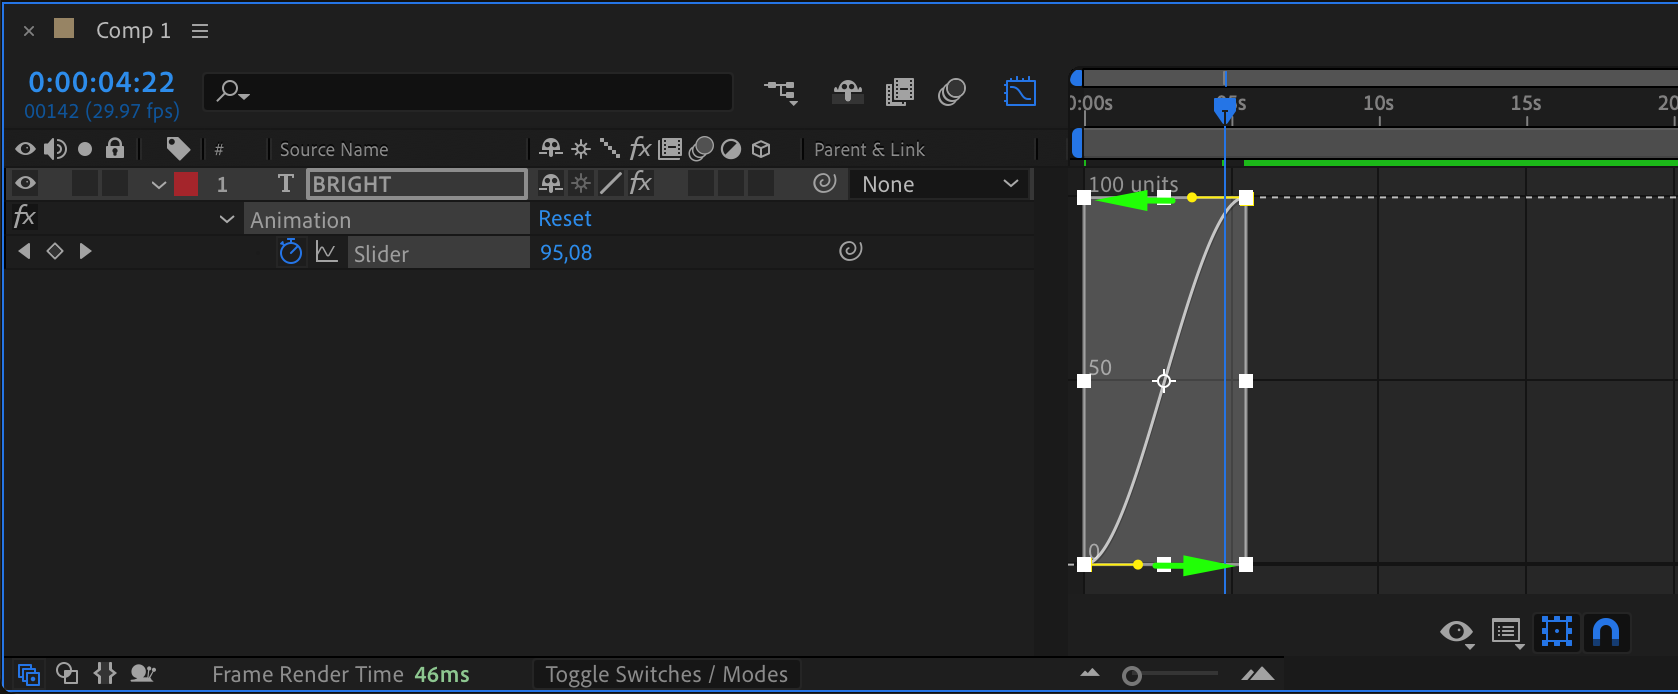
Step 4: Adjust Timing with Keyframes
For more precise control, edit the keyframes in the timeline. Select the keyframes of the applied animation and move them closer together to speed up the animation or farther apart to slow it down. Use the Graph Editor for smoother transitions or adjust easing to refine motion dynamics.
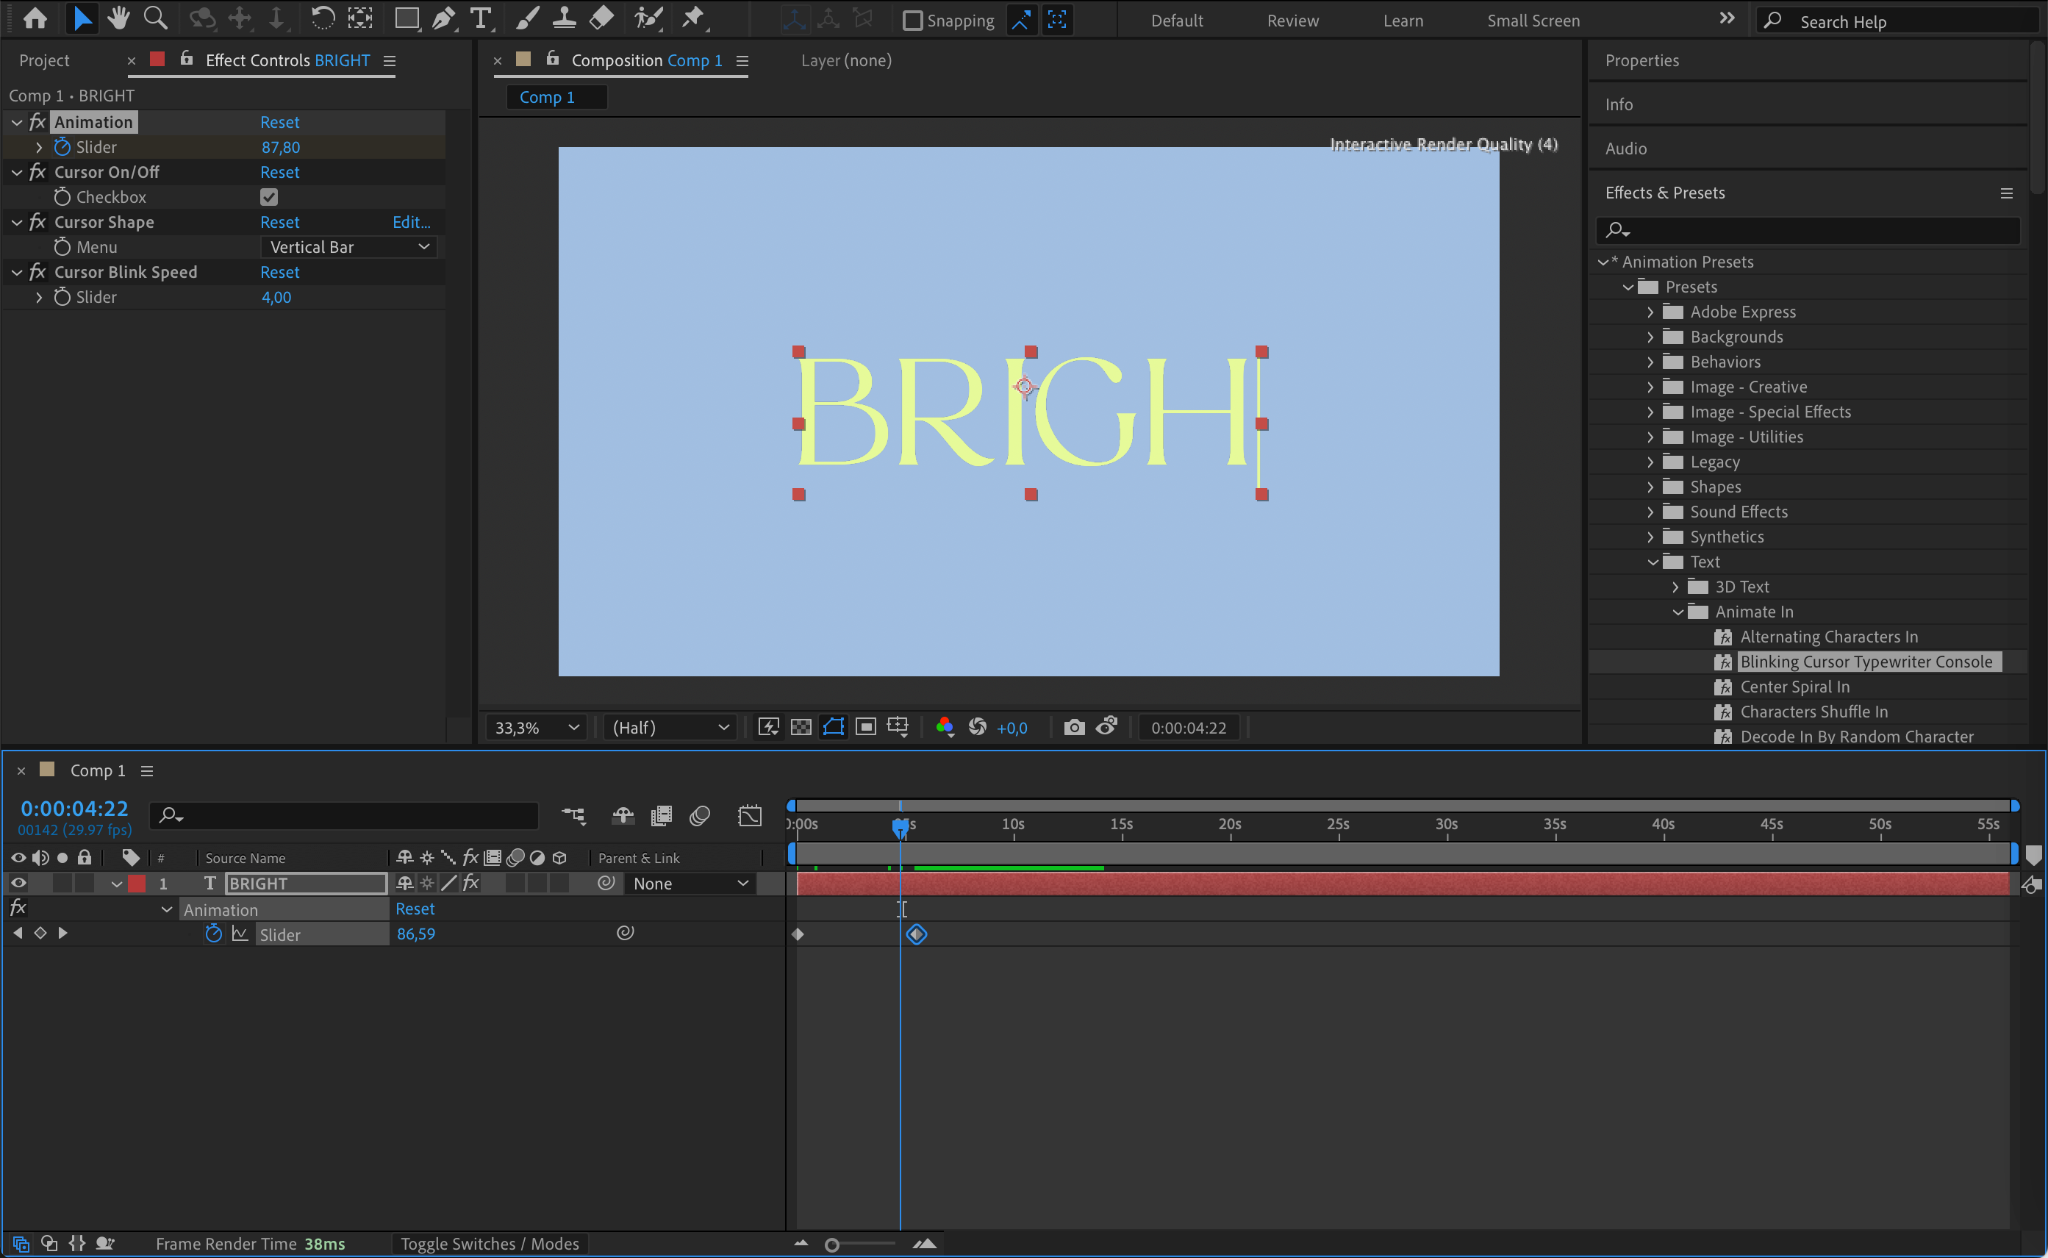

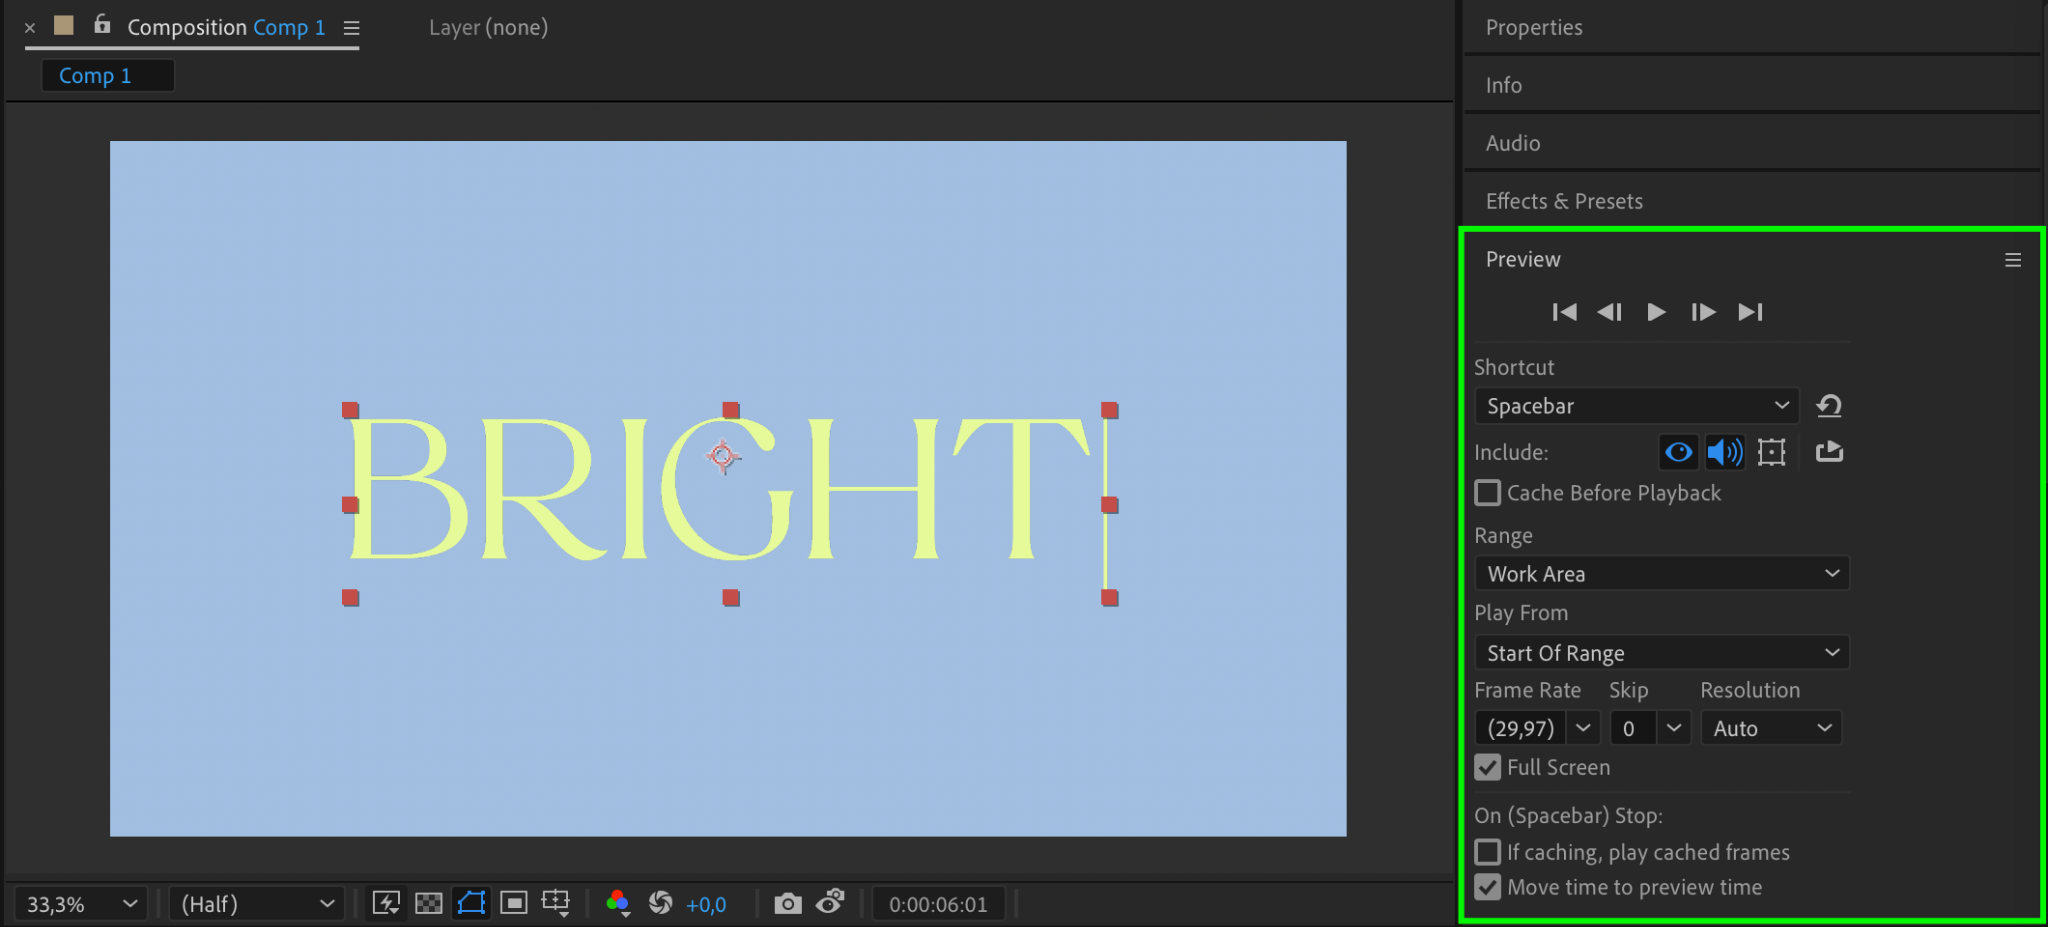
Step 5: Preview Your Animation
Preview your composition by pressing the Spacebar or using the Preview Panel. Ensure the text preset aligns with your creative vision and adjust any parameters as needed. This step is essential for fine-tuning the flow and overall impact of your animation.
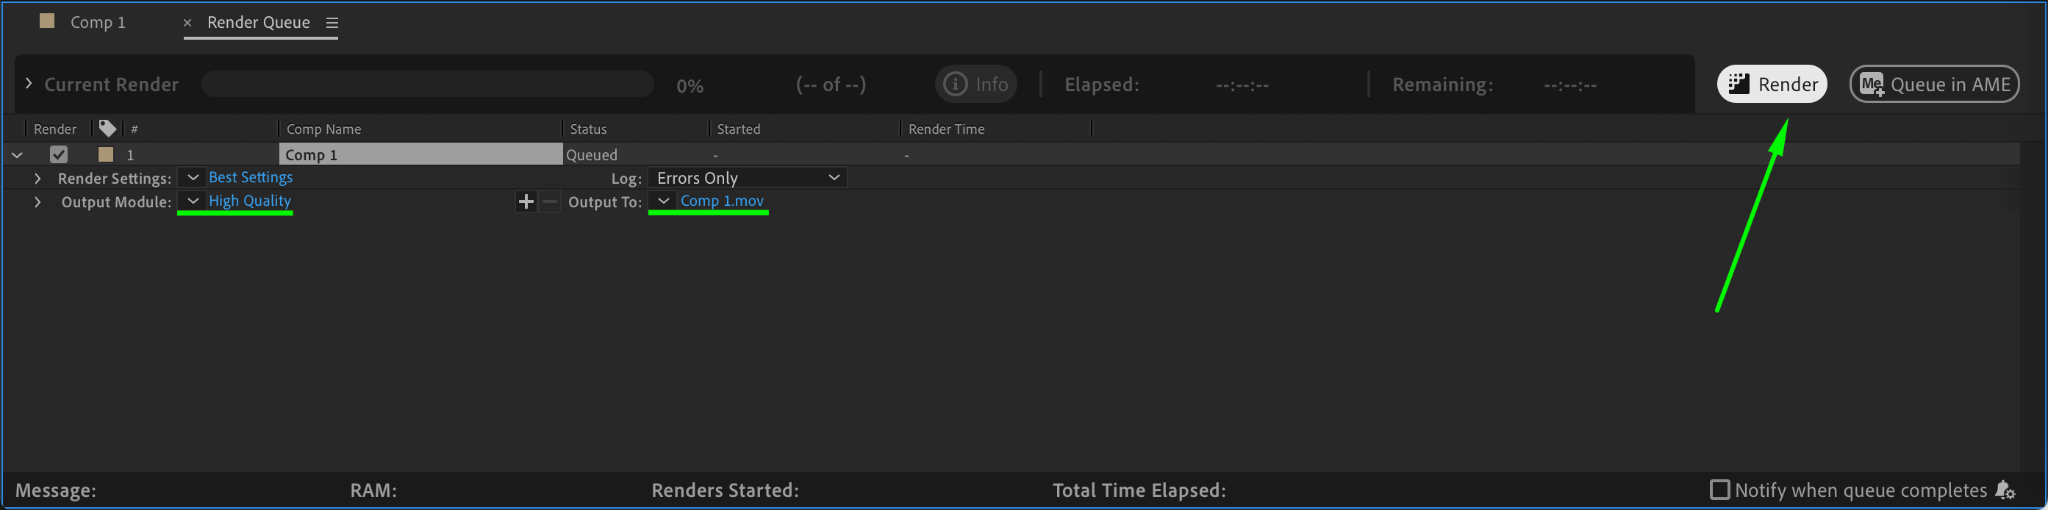
Step 6: Save and Render
Once satisfied with the animation, save your project and render the composition. Go to Composition > Add to Render Queue, choose your desired output settings, and click Render. Exporting ensures your text animations are ready for integration into other projects or for final delivery.

Conclusion
Text presets in After Effects are a powerful tool for animating text efficiently and effectively. By mastering their application and customization, you can elevate the quality of your motion graphics projects. Experiment with different presets and refine their parameters to craft unique and engaging text animations tailored to your creative needs.
Our Bestsellers
Our Bestsellers


