How to Adjust the Height of an Object or Image in Adobe After Effects
Introduction to Vertical Scaling in After Effects
Changing the height of an object in Adobe After Effects can be useful when you want to stretch an image, shape, or layer vertically without affecting the width. This process is simple and allows for precise control using the Scale property, the Anchor Point, and other tools. Follow these steps to learn how to stretch or elongate an object while maintaining a natural look.
Step 1: Create a New Composition
Go to Composition > New Composition, set your desired resolution and duration, and click OK. This composition will be your working area where you’ll adjust the height of your layer.
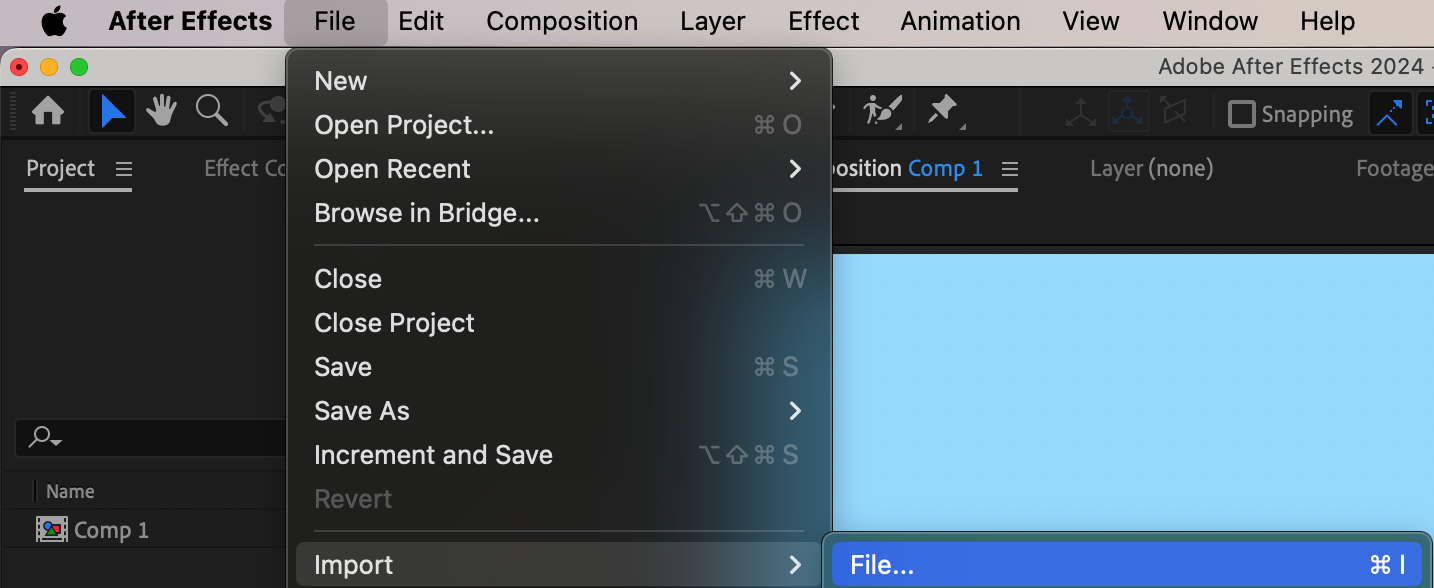
 Step 2: Import and Add Your PNG Image
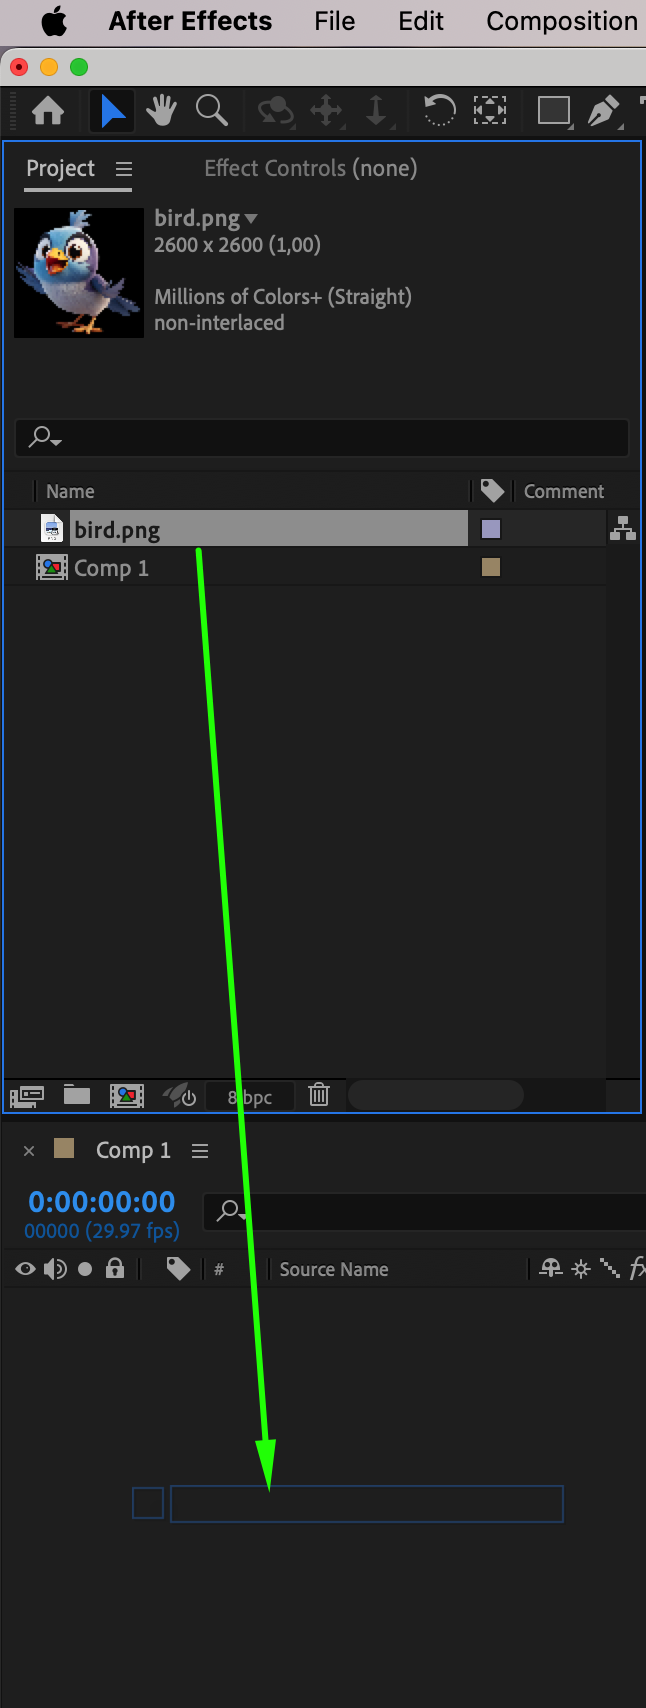
Go to File > Import > File, select the PNG image you want to stretch, and drag it into the timeline. This adds the image as a layer inside your composition.
Get 10% off when you subscribe to our newsletter

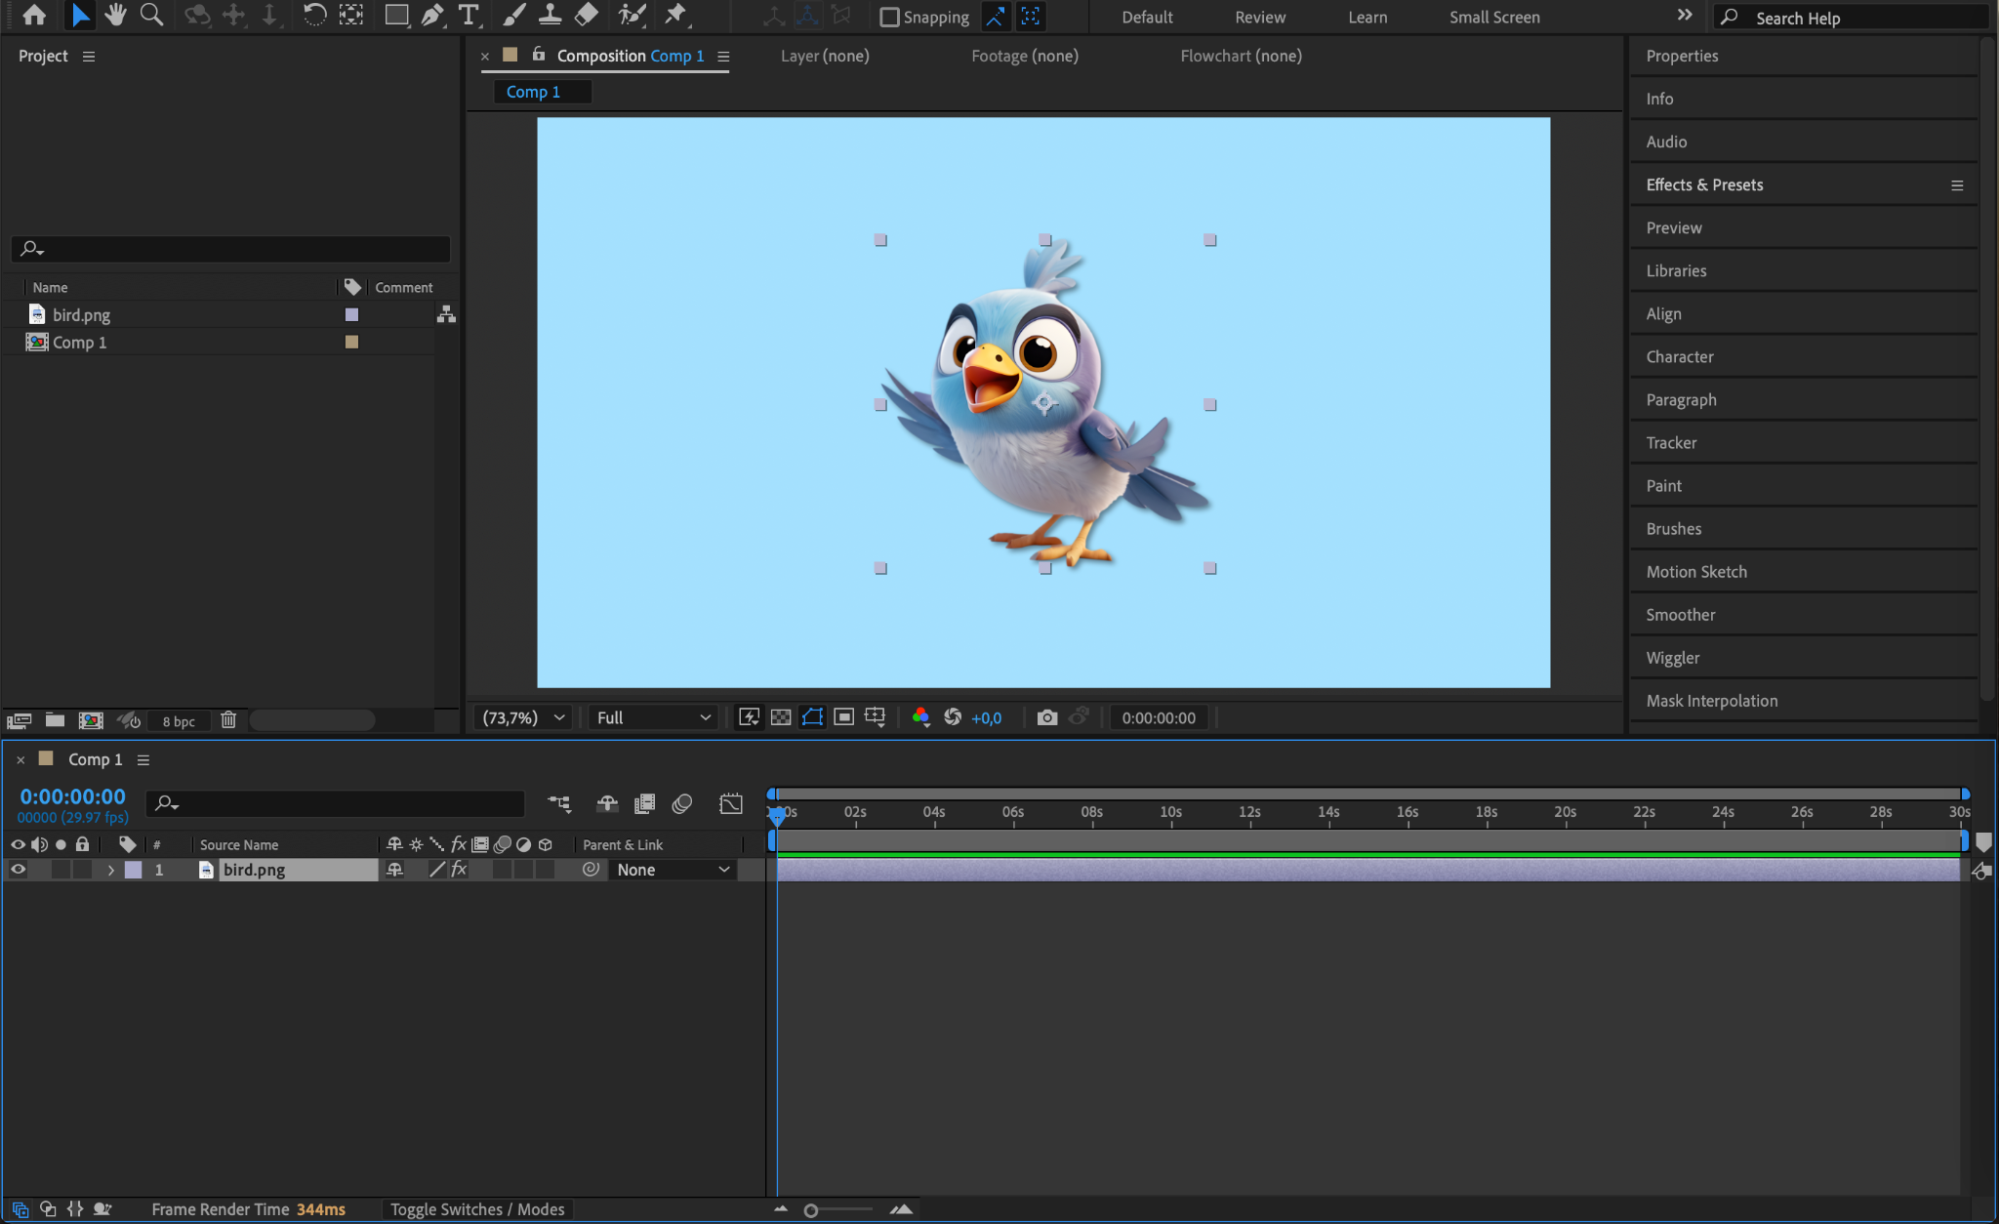
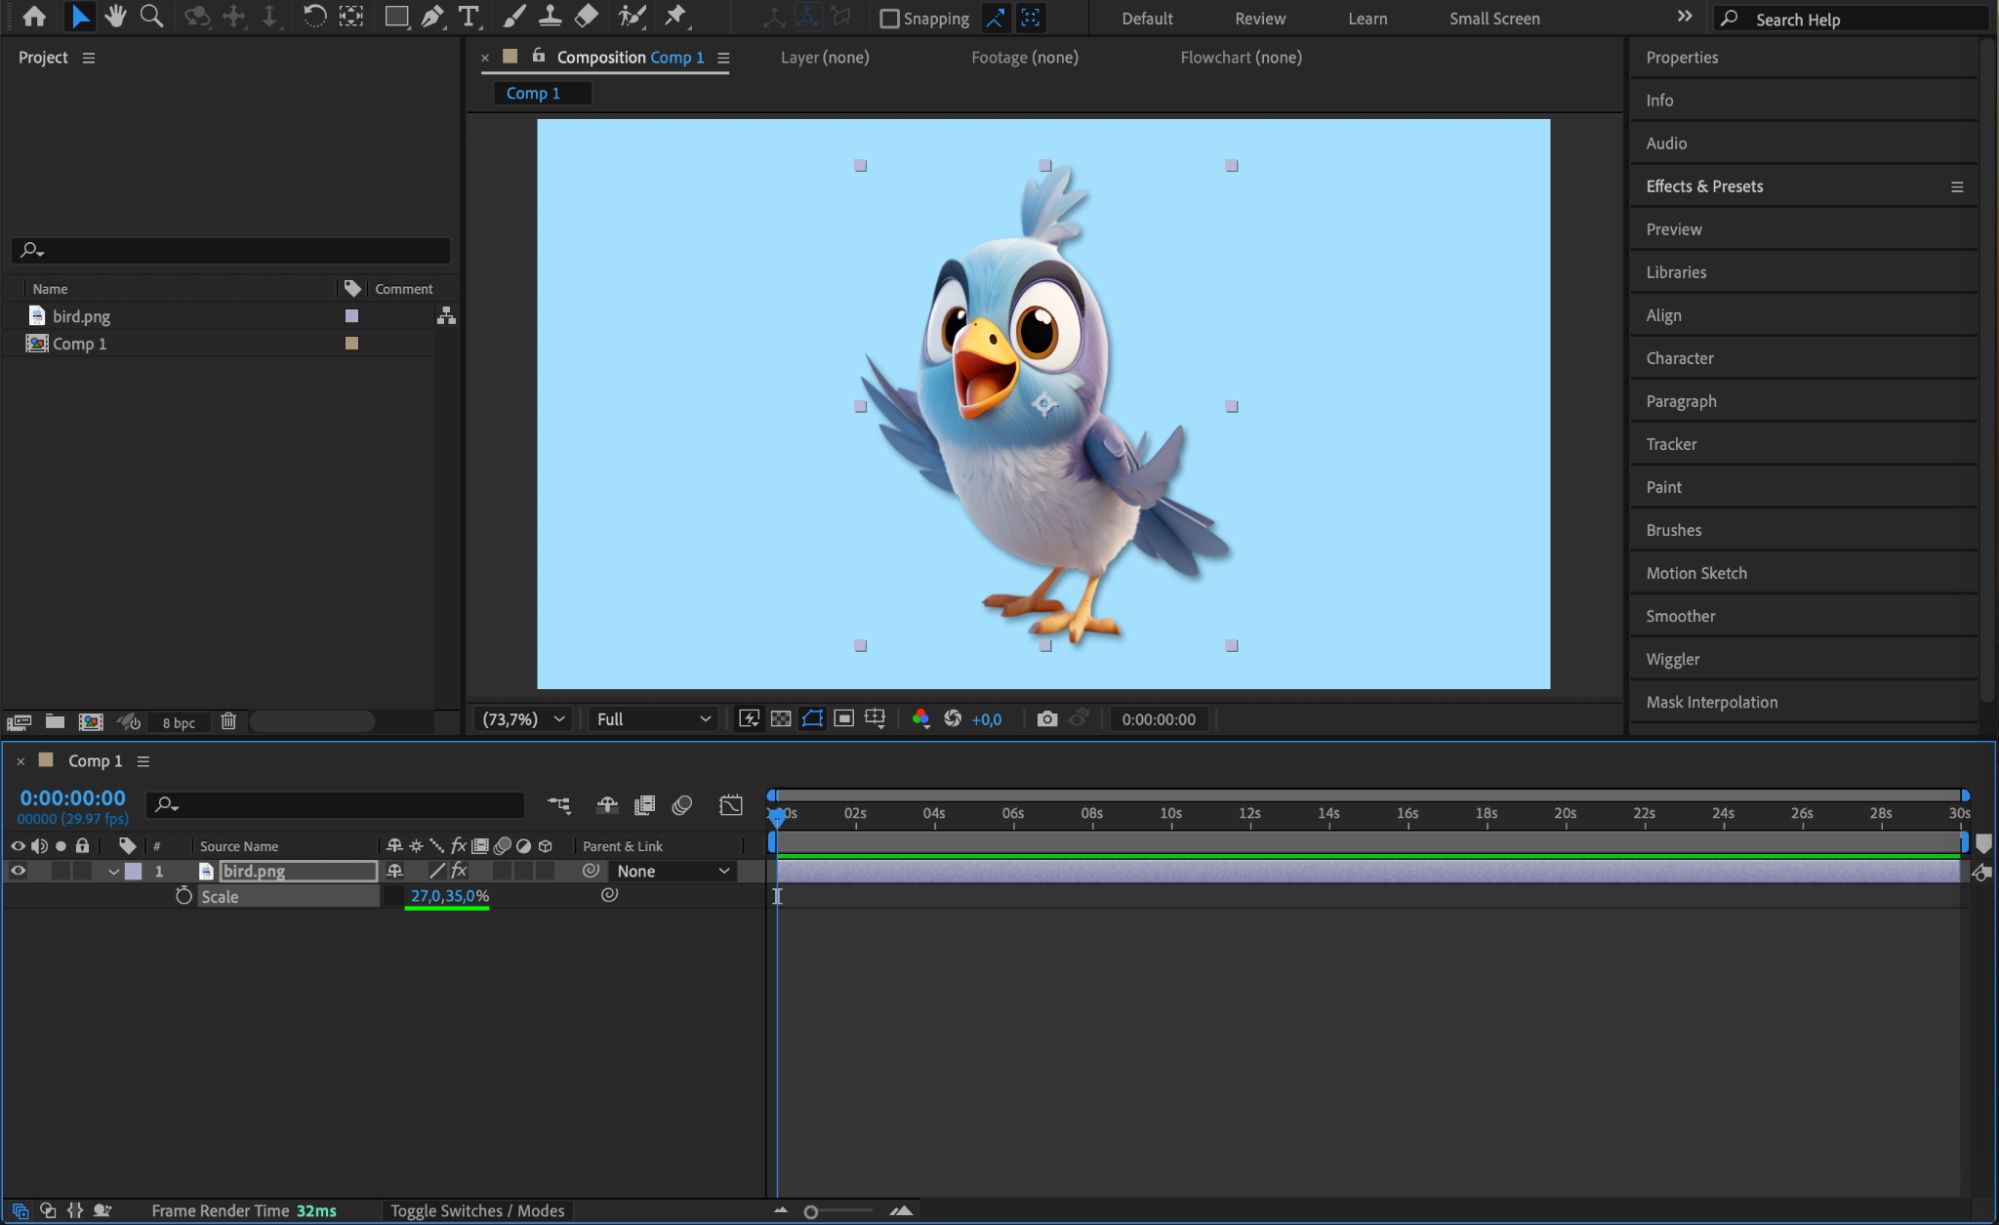
Step 3: Reveal the Scale Property
With the image layer selected, press “S” on your keyboard to reveal the Scale property. By default, scale values are linked together, meaning height and width scale uniformly. Step 4: Unlink the Scale Dimensions
Click the chain icon next to the scale values to unlink the X and Y dimensions. Now, you can adjust the vertical size (Y) without affecting the horizontal size (X). Step 5: Adjust Height and Maintain Proportion
Change the Y value to make the image taller. You can also slightly increase the X value to keep the image looking proportional. Experiment until the height looks natural while still keeping the intended shape.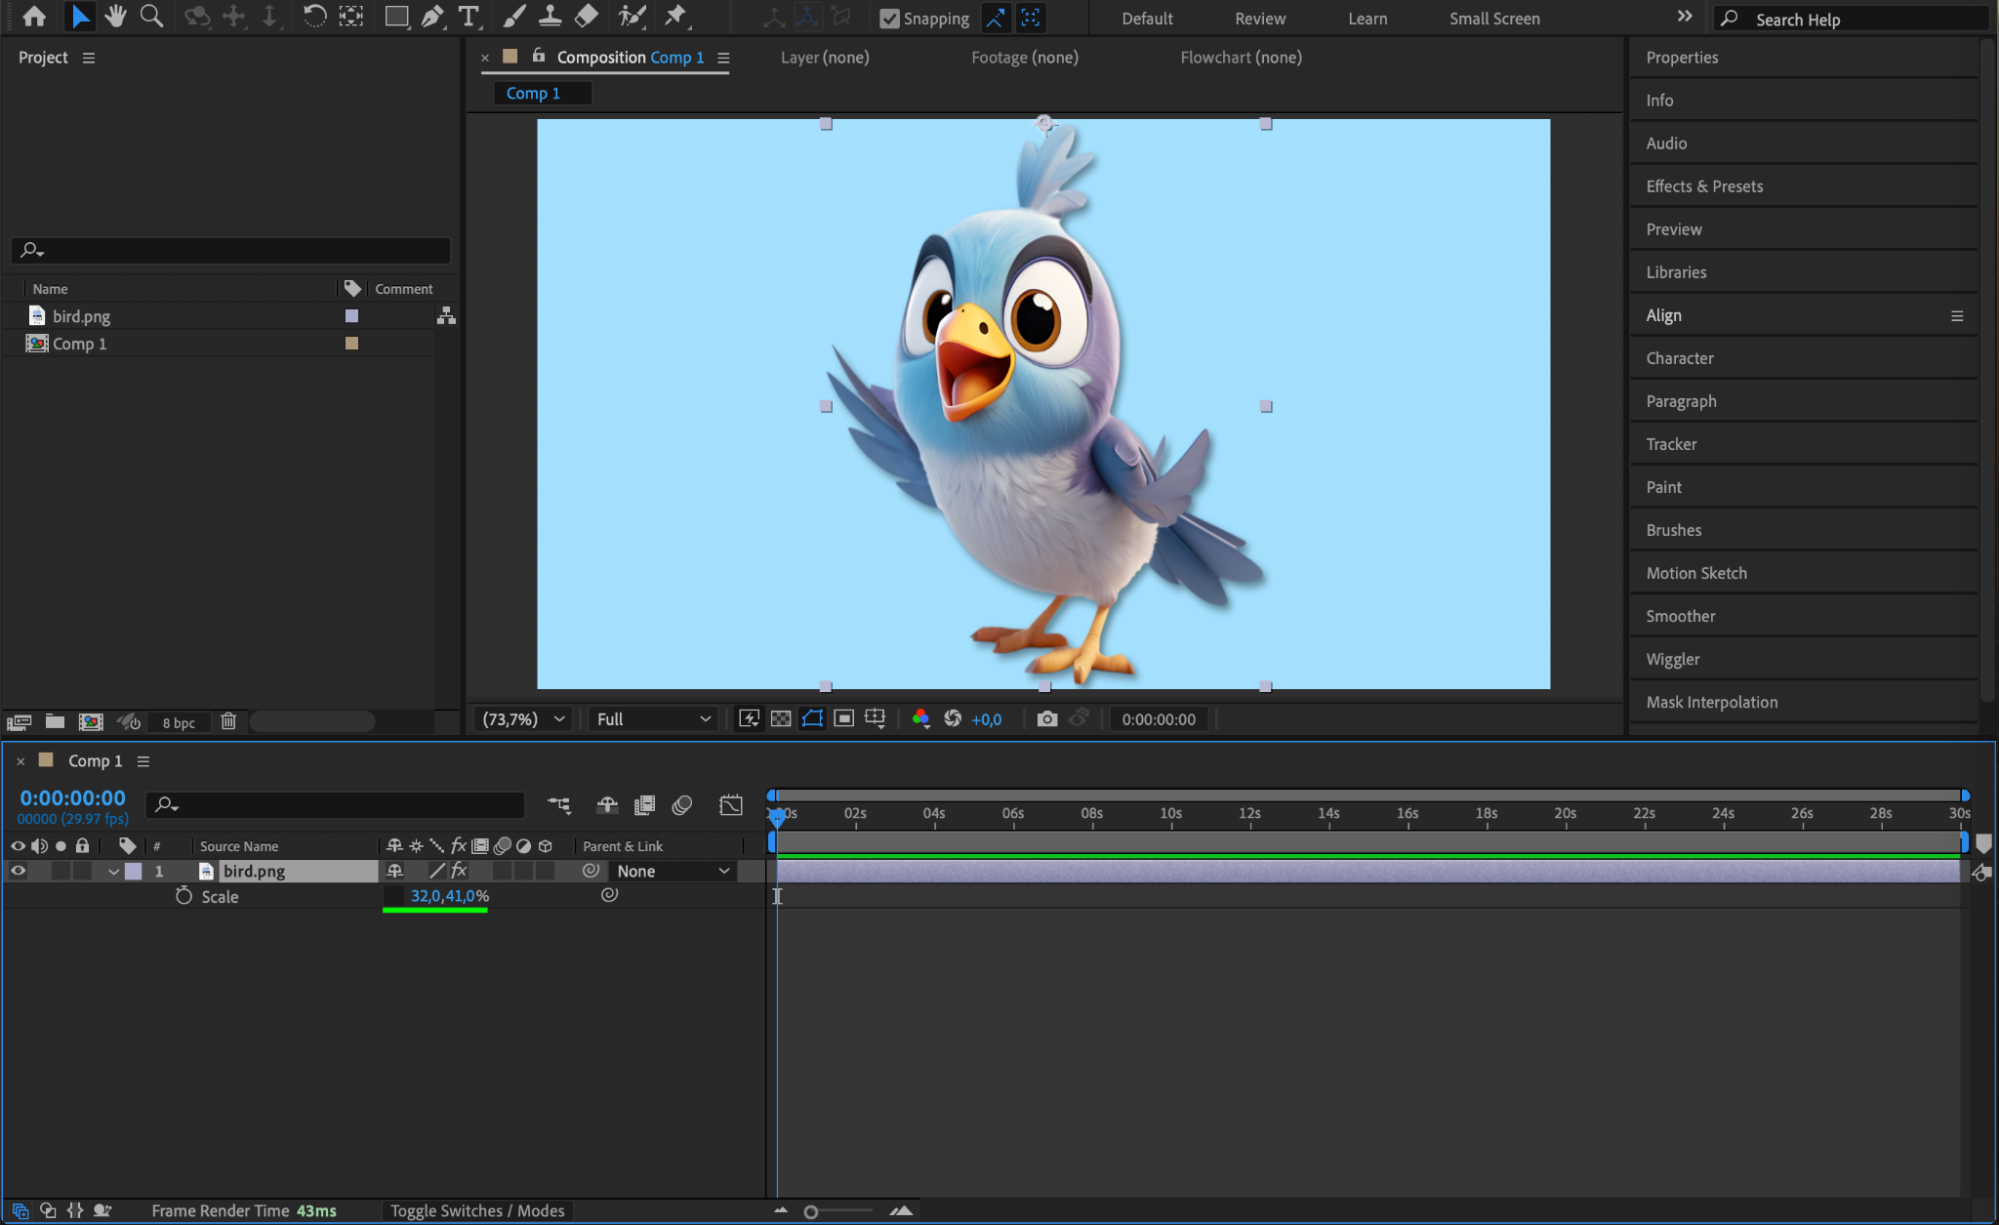
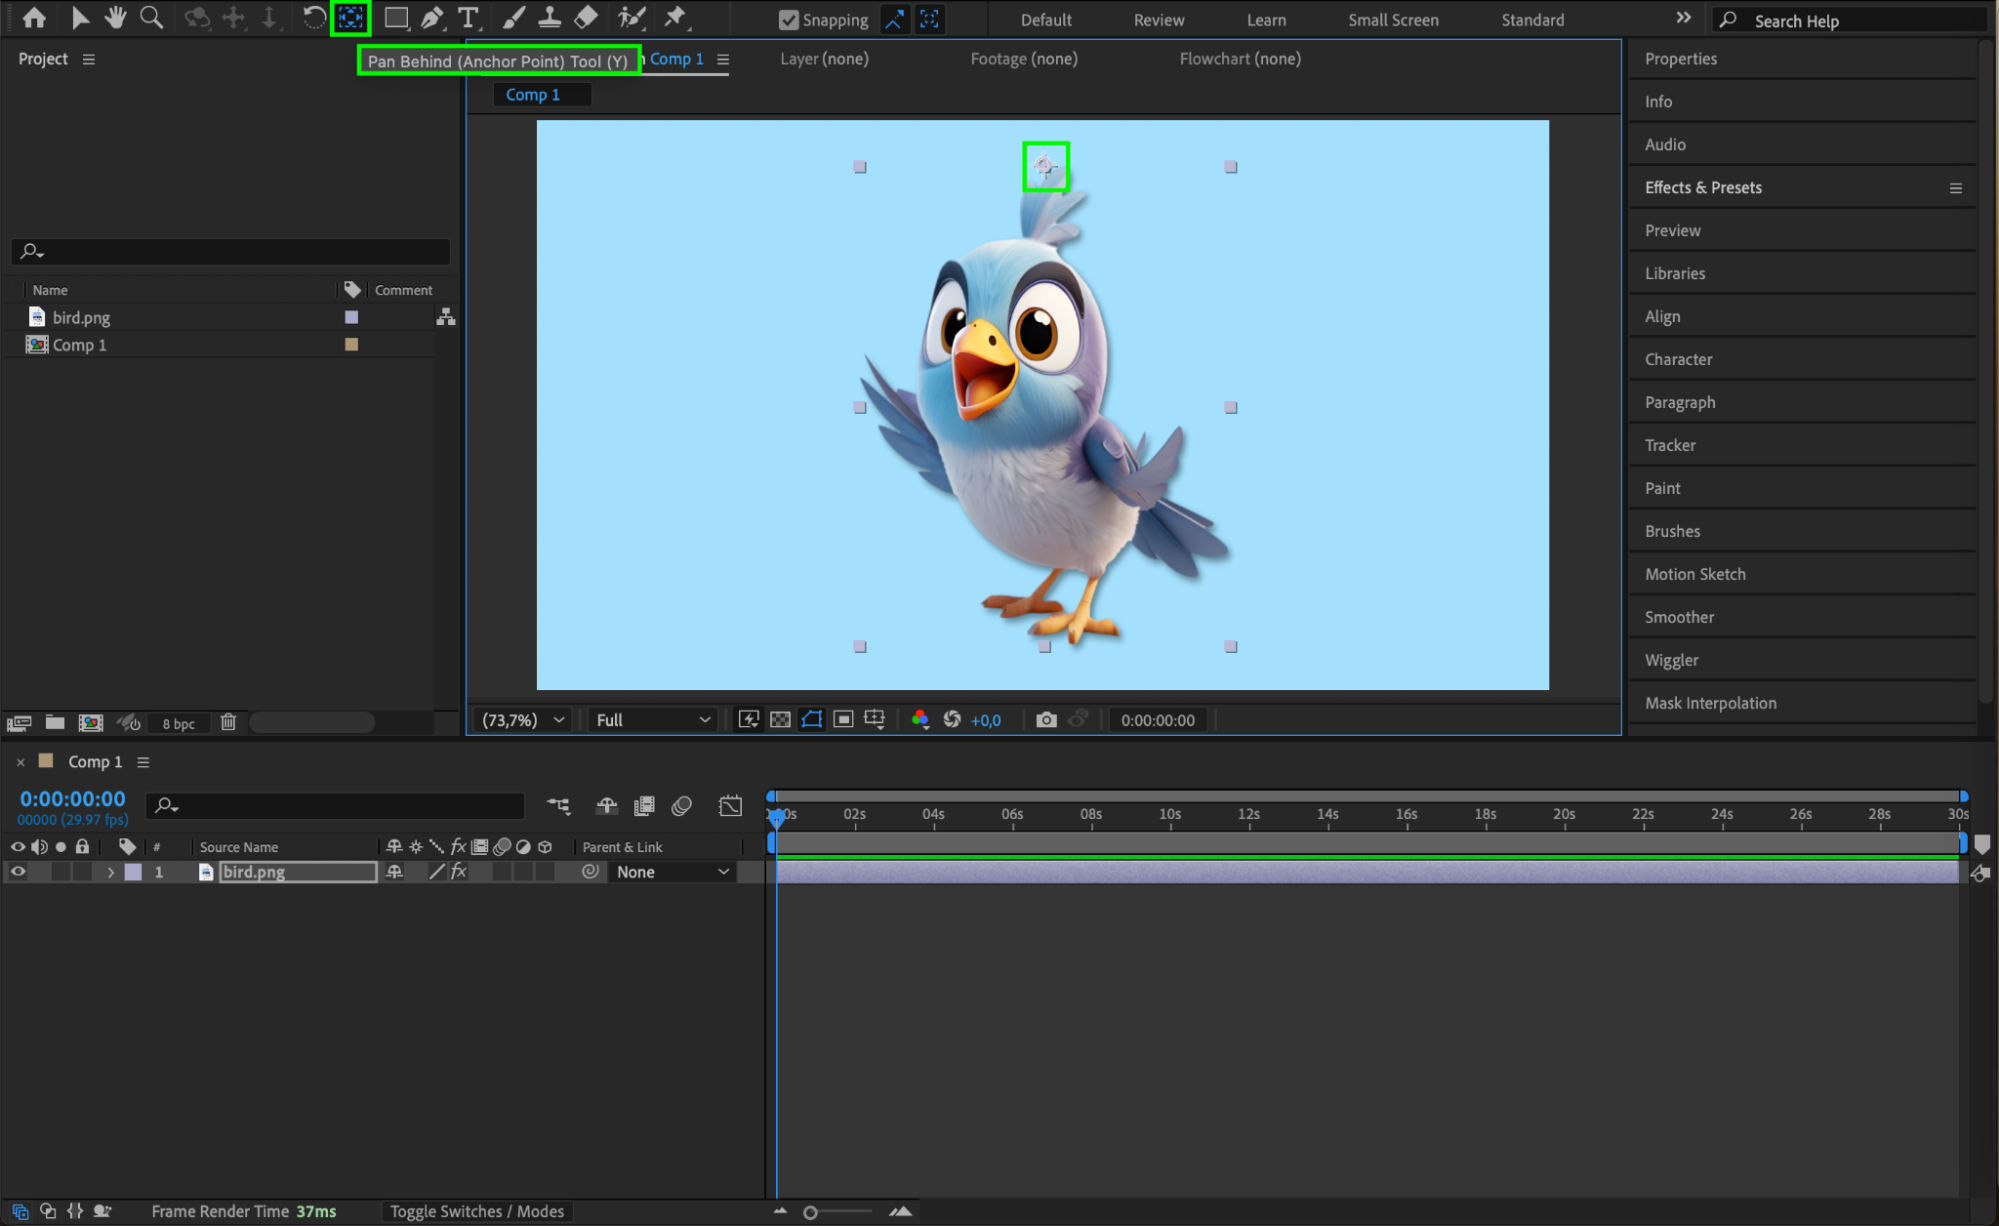
Step 6: Use the Pan Behind Tool to Adjust Anchor Point
Select the Pan Behind Tool (Y) and move the anchor point of the image. For example, if you want the image to stretch upward, drag the anchor point to the bottom of the object. This controls the direction in which it scales.
 Step 7: Preview and Fine-Tune
Press the spacebar to preview your animation or layout. If the object doesn’t look right, go back and tweak the scale and anchor point. Continue until the height and proportions match your design needs.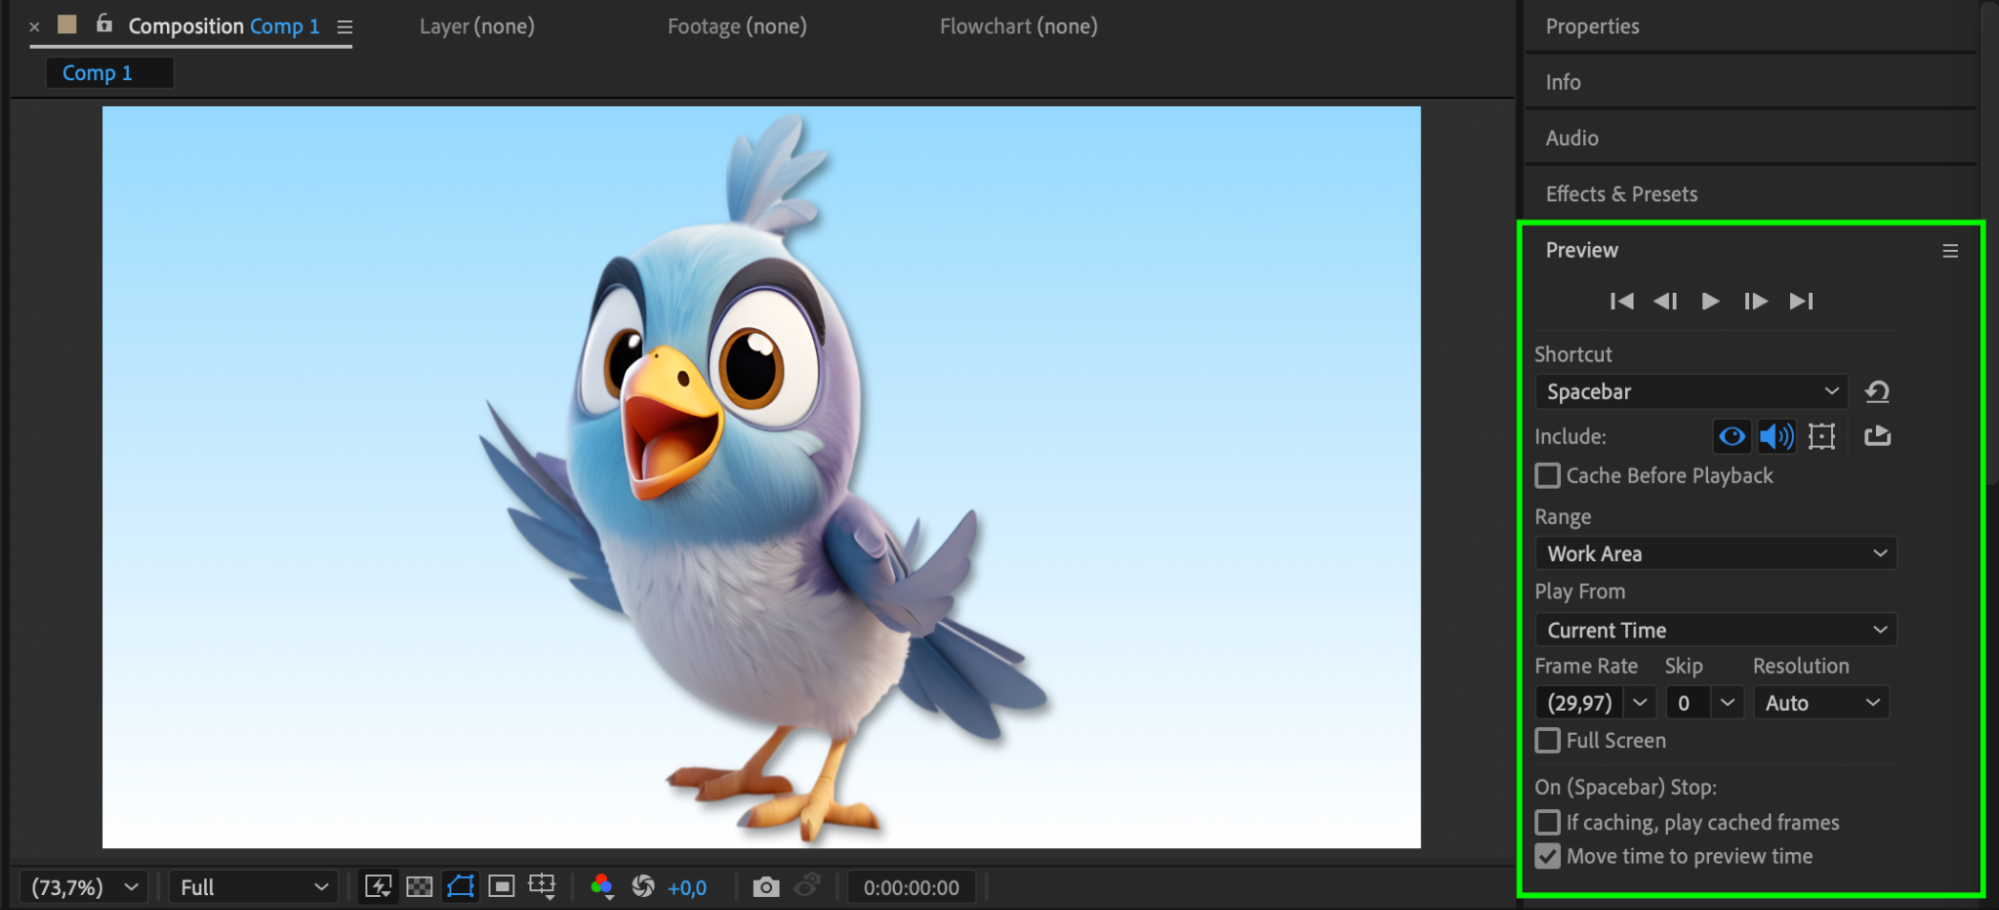
Conclusion
Adjusting the height of an object in Adobe After Effects is easy with the Scale property and Anchor Point tools. Whether you want to stretch an image or animate vertical growth, unlinking scale dimensions and fine-tuning with the Pan Behind Tool allows for full creative control without distorting your visuals.
Our Bestsellers


