How to Easily Convert After Effects Videos to MP4
Converting After Effects Videos to MP4
When considering sharing your creative After Effects videos, it’s crucial to convert them to the widely compatible MP4 format for seamless distribution. After Effects, known for its visually captivating effects and graphics, uses a proprietary file format (.aep) that isn’t ideal for sharing purposes. The conversion to MP4 enhances accessibility and ensures your content reaches a broader audience effortlessly.
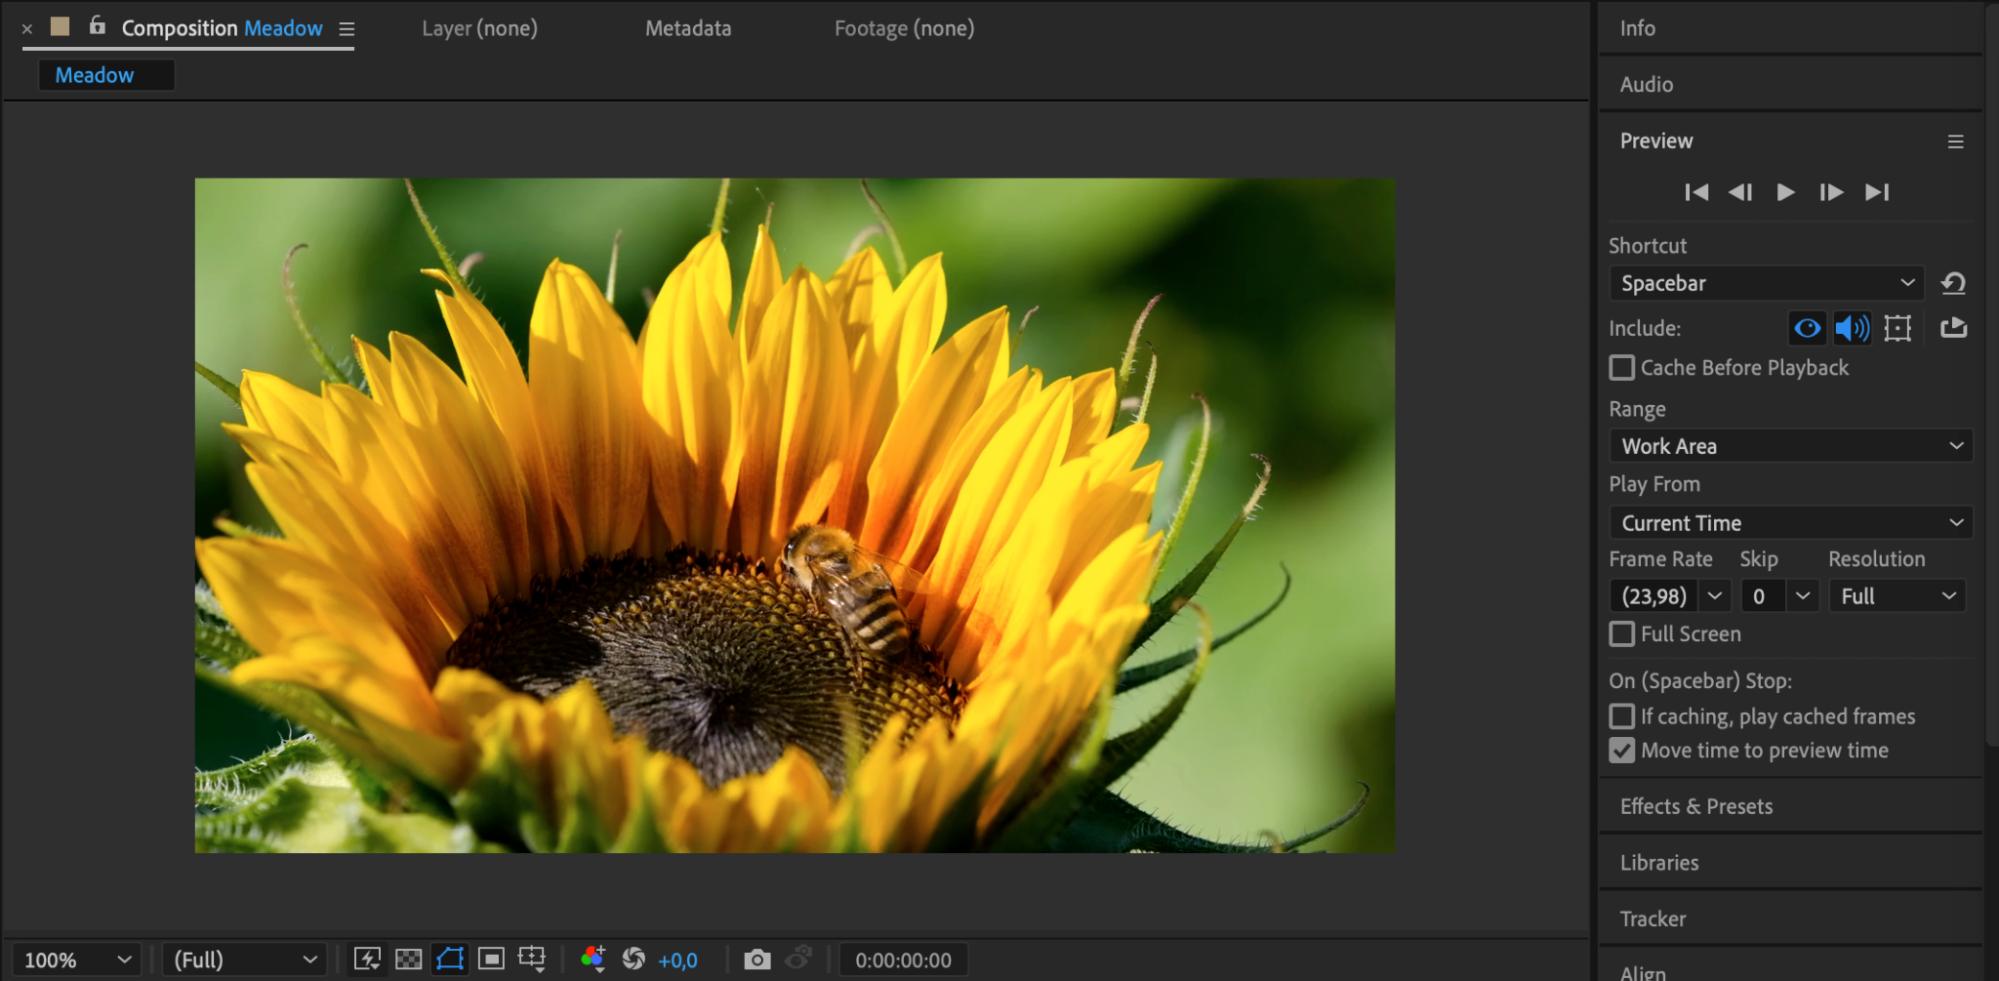
Step 1: Previewing and Verifying Project Quality
Before converting your video from After Effects to MP4, it’s crucial to preview your project and ensure its quality. Play through your project in After Effects to verify that everything looks as intended and that there are no errors or issues.
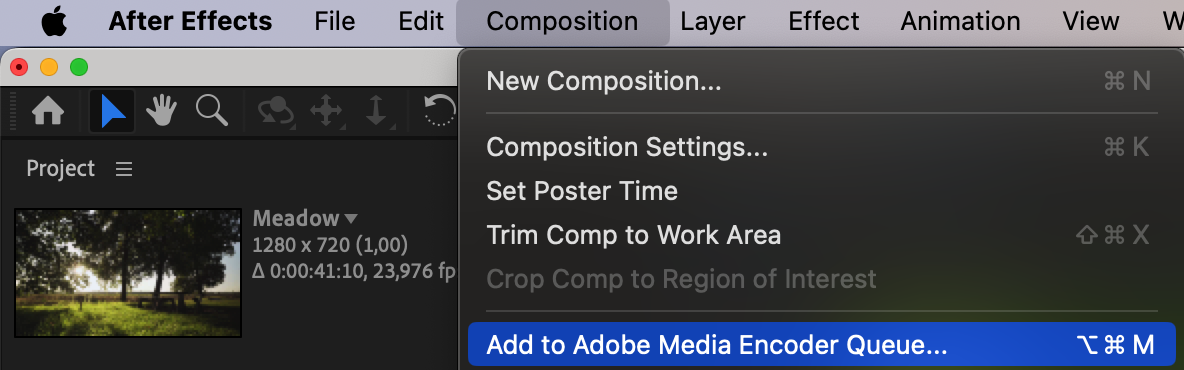
Step 2: Exporting Project from After Effects to Adobe Media Encoder Queue
Once you’ve verified the quality of your project, export it from After Effects to the Adobe Media Encoder queue. Select your project in After Effects and go to “Composition” > “Add to Adobe Media Encoder Queue”. This action will open Adobe Media Encoder with your project in the queue.
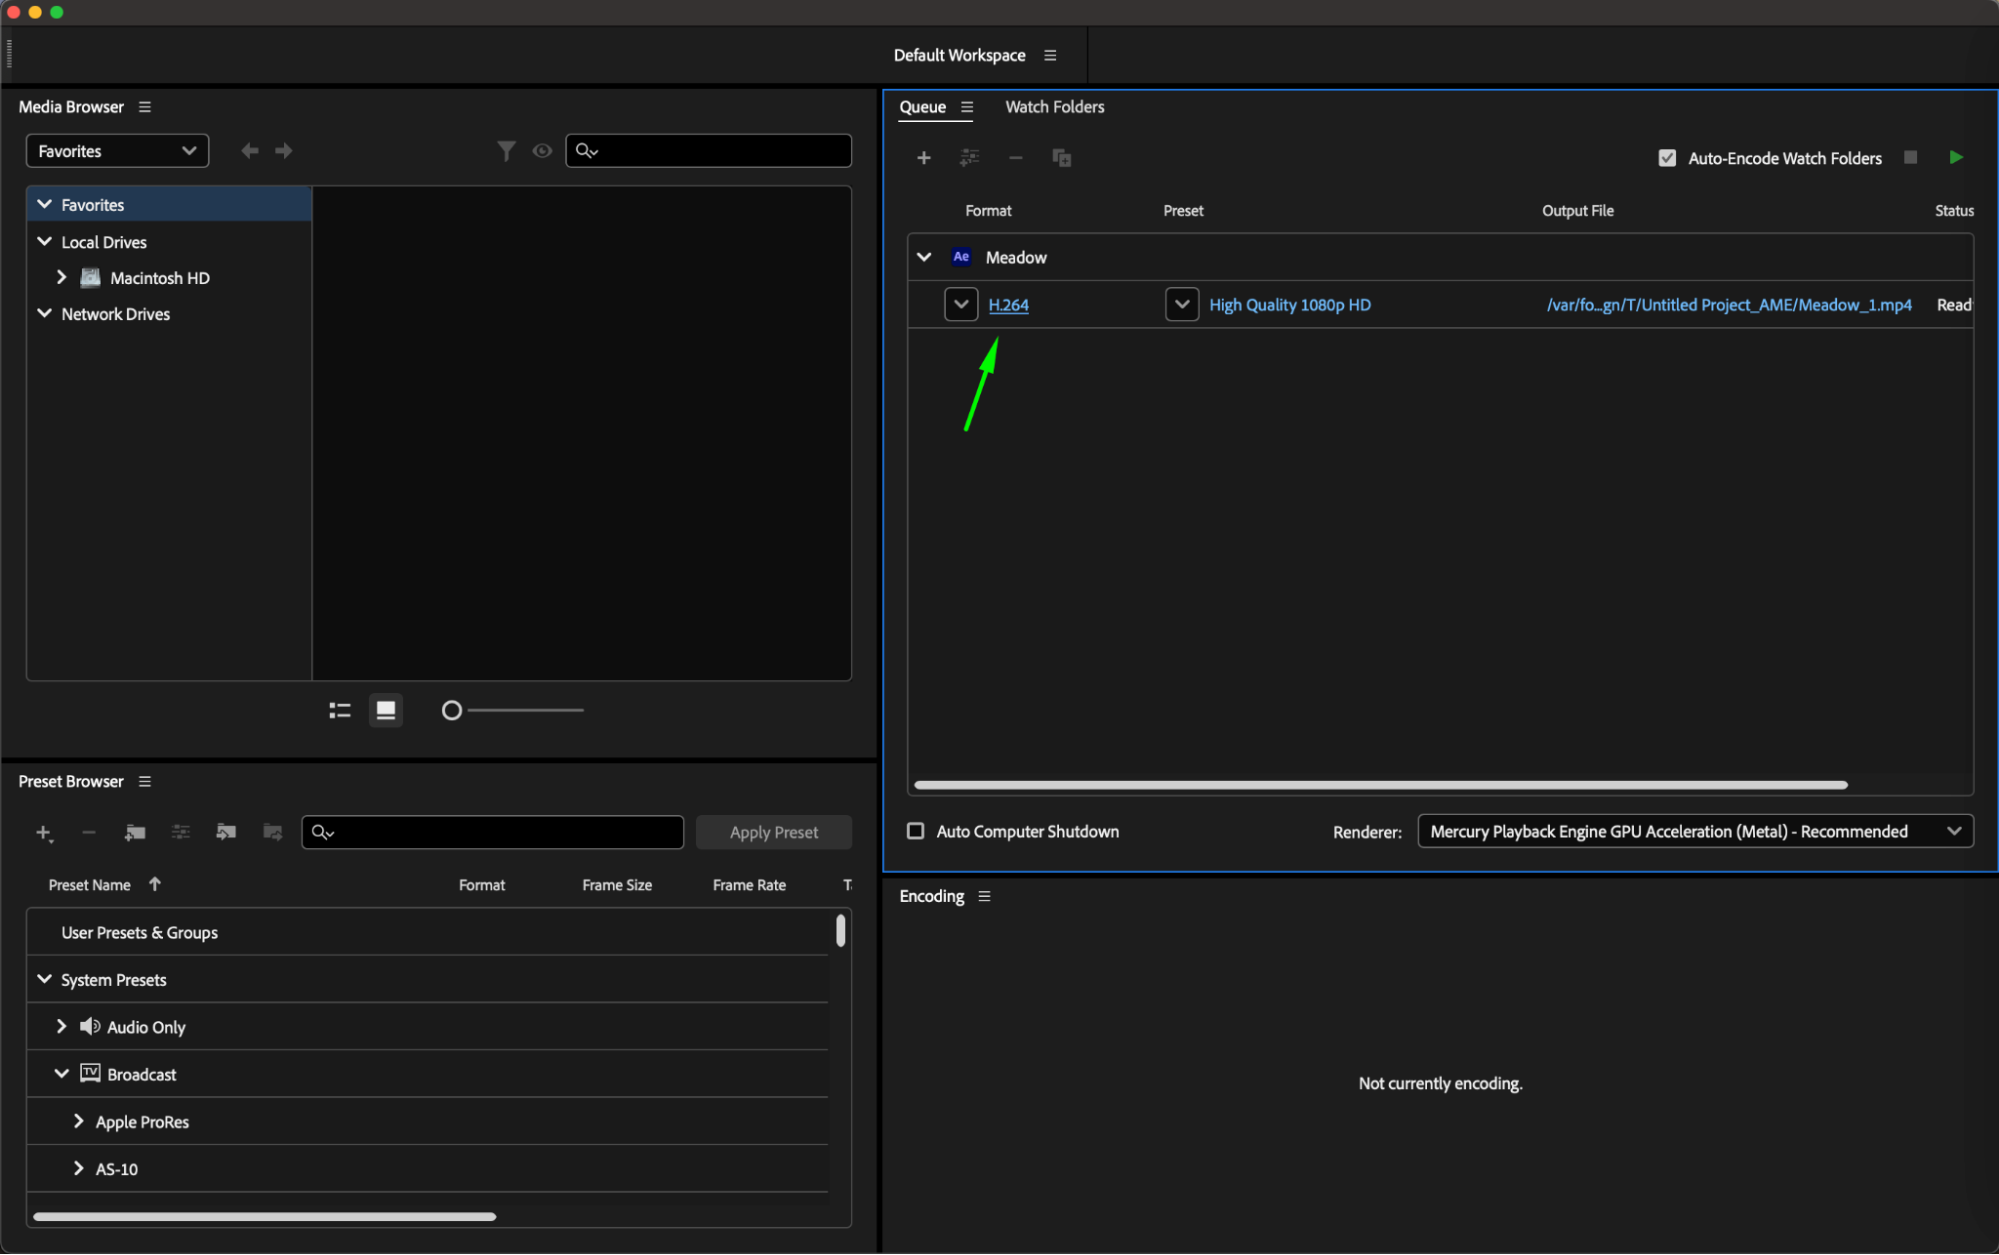
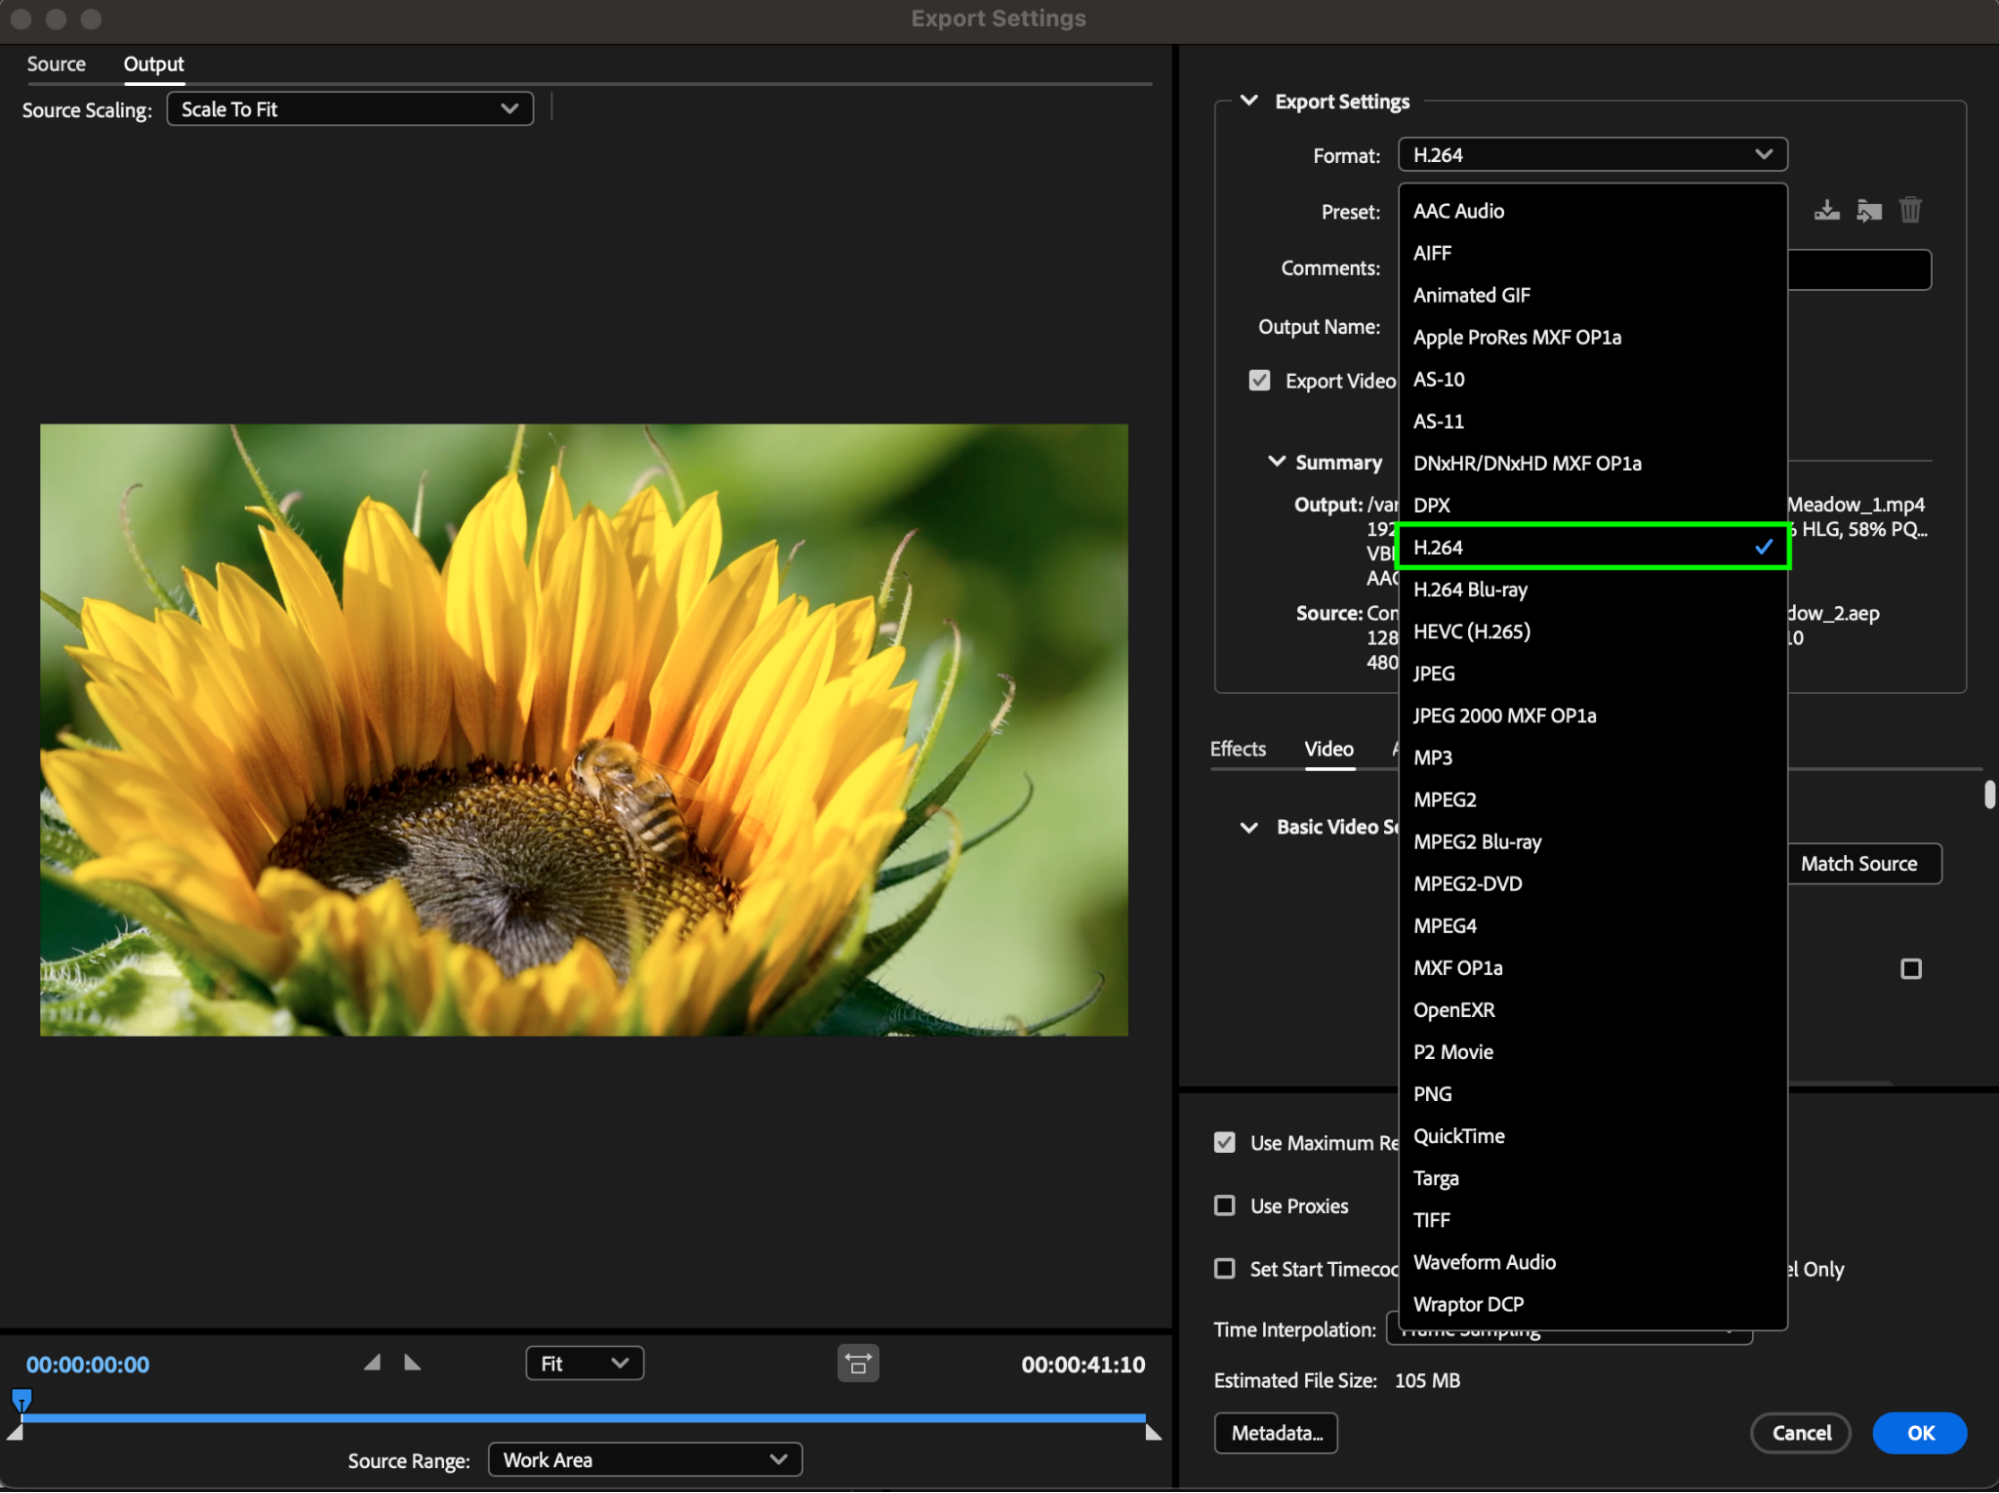
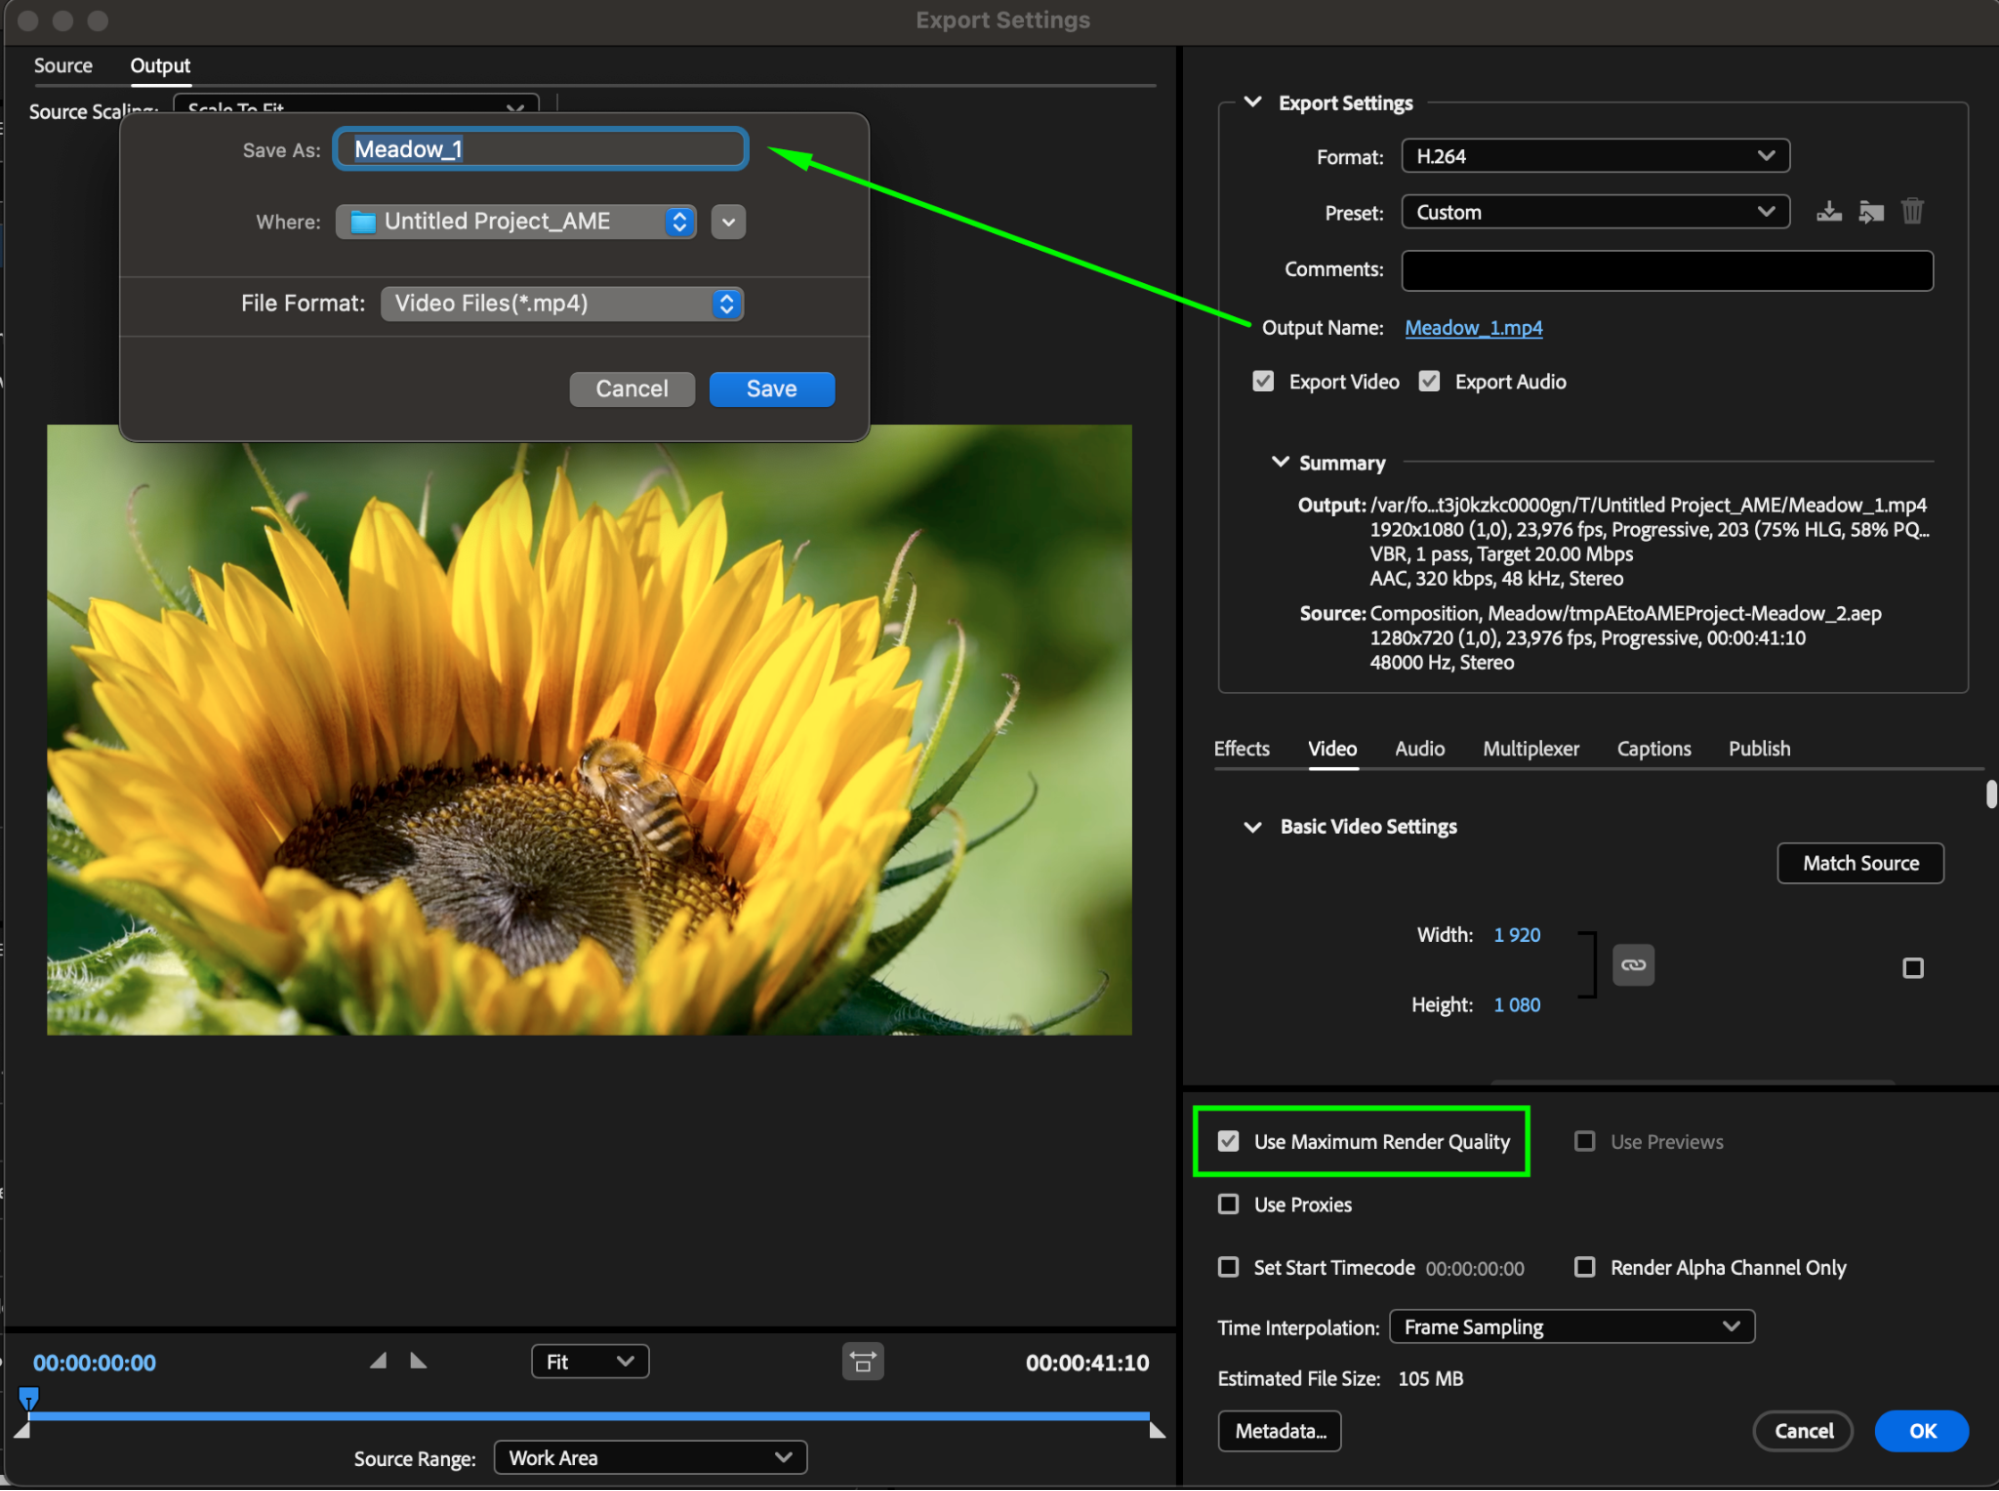
Step 3: Choosing Format and Adjusting Output Settings in Adobe Media Encoder
In Adobe Media Encoder, choose the output format by clicking on the “Format” button and selecting “H.264”, which is ideal for creating MP4 files. Then adjust the output settings such as bitrate, frame rate, and resolution to match your project requirements.
Get 10% off when you subscribe to our newsletter

Step 4: Selecting Output Destination
After adjusting the output settings, specify the location to save the converted MP4 file. Click on the “Output Name” button and choose a folder on your computer to save the file.
Get 10% off when you subscribe to our newsletter
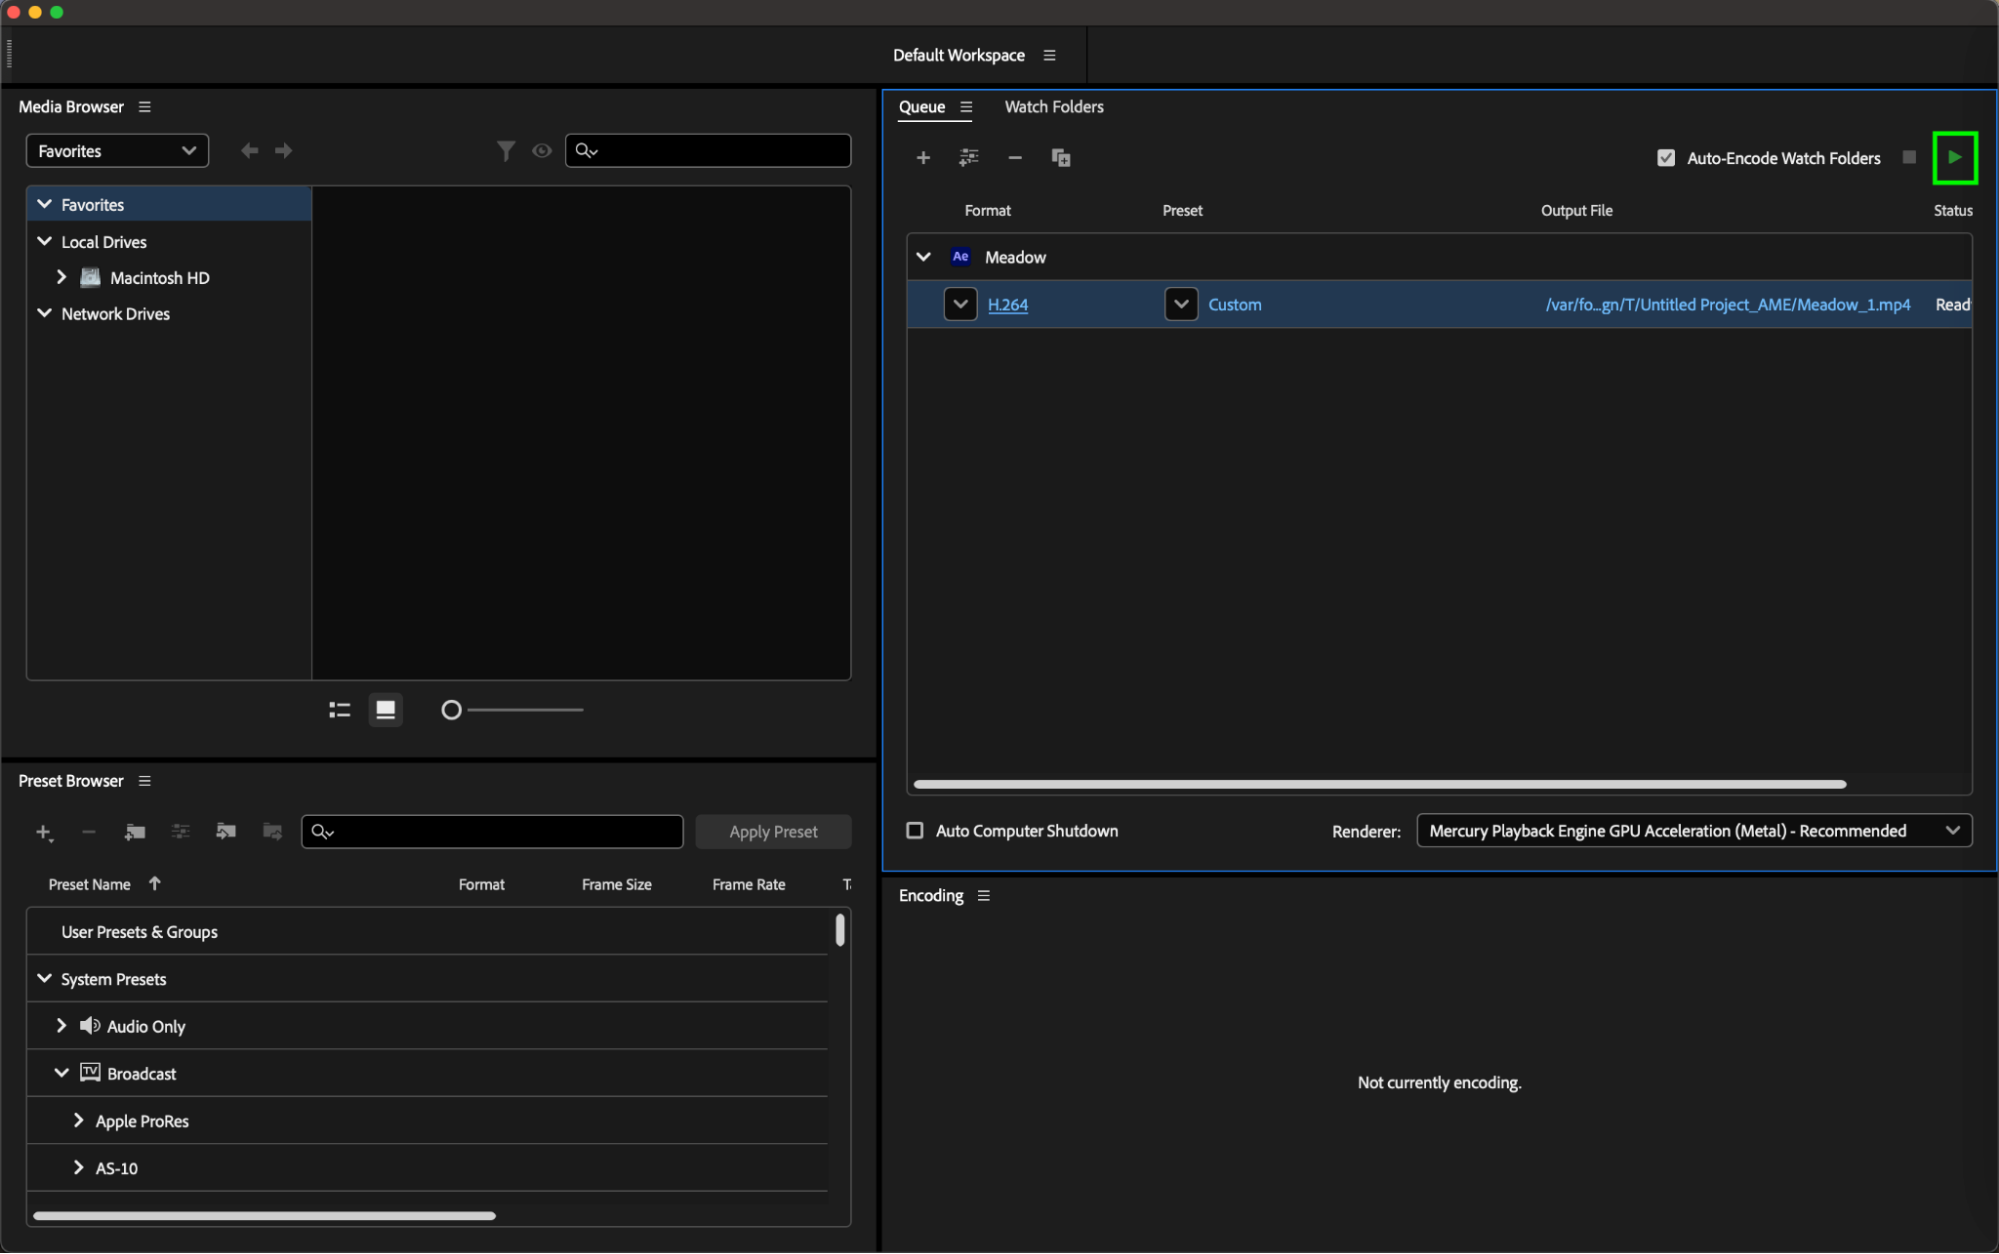
Step 5: Initiating Encoding Process in Adobe Media Encoder
Initiate the encoding process by clicking on the “Start Queue” button in Adobe Media Encoder. The program will begin converting your project from After Effects to MP4, and the duration may vary depending on the project’s complexity and selected settings.
Step 6: Verifying Conversion and Quality
After the encoding is complete, navigate to the destination folder to find your new MP4 file. Play the video to ensure successful conversion and verify that the quality meets your expectations. By following these simple steps, you can easily distribute your creative works from After Effects in MP4 format, whether on social media, to clients, or for storage purposes.
Conclusion
Converting After Effects videos to MP4 ensures wider accessibility and seamless distribution. By previewing and verifying project quality before conversion, exporting to Adobe Media Encoder, adjusting output settings, and initiating the encoding process, you can ensure high-quality MP4 output. Verify the conversion and quality post-encoding. With these steps, sharing your creative content becomes effortless, expanding your reach across various platforms.
Our Bestsellers


