Simulating a Video Buffering Effect in After Effects
Introduction to Creating a Buffering Effect
Creating a buffering effect in Adobe After Effects is useful for simulating paused or lagging video, especially for UI designs, mockups, or storytelling purposes. By combining freeze frames and loading animations, you can mimic real streaming behavior. This guide walks you through how to recreate this effect step by step.
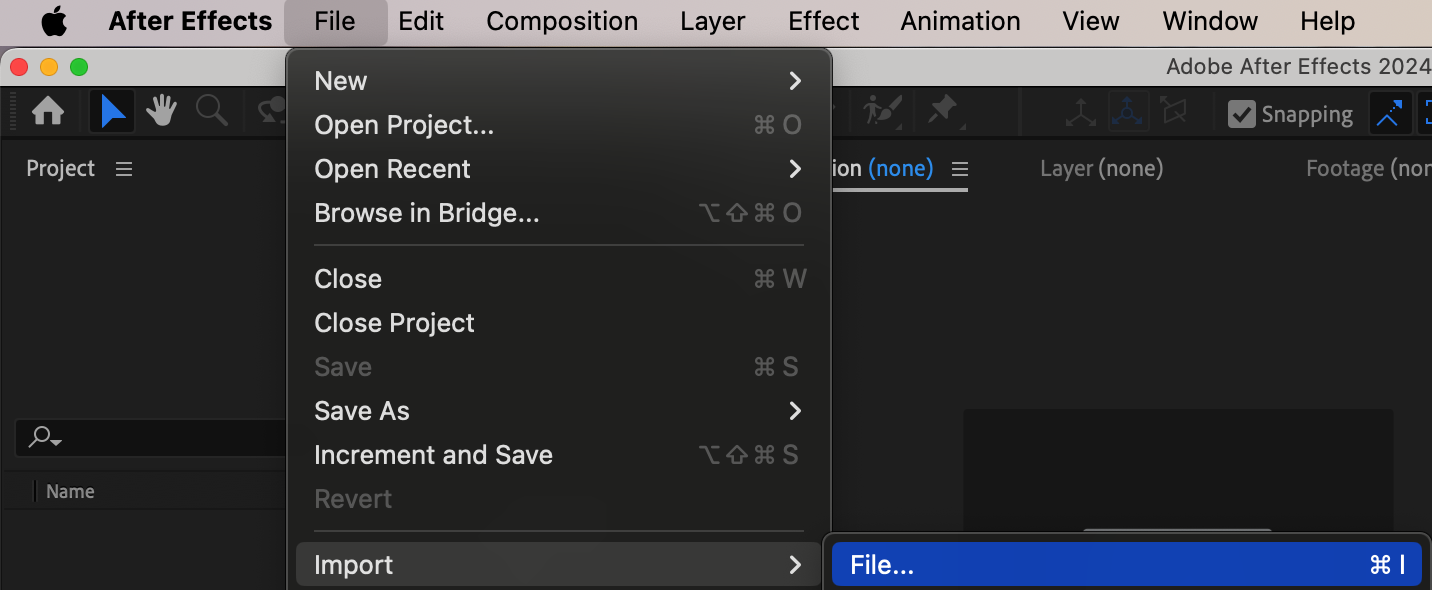
Step 1: Import Your Footage
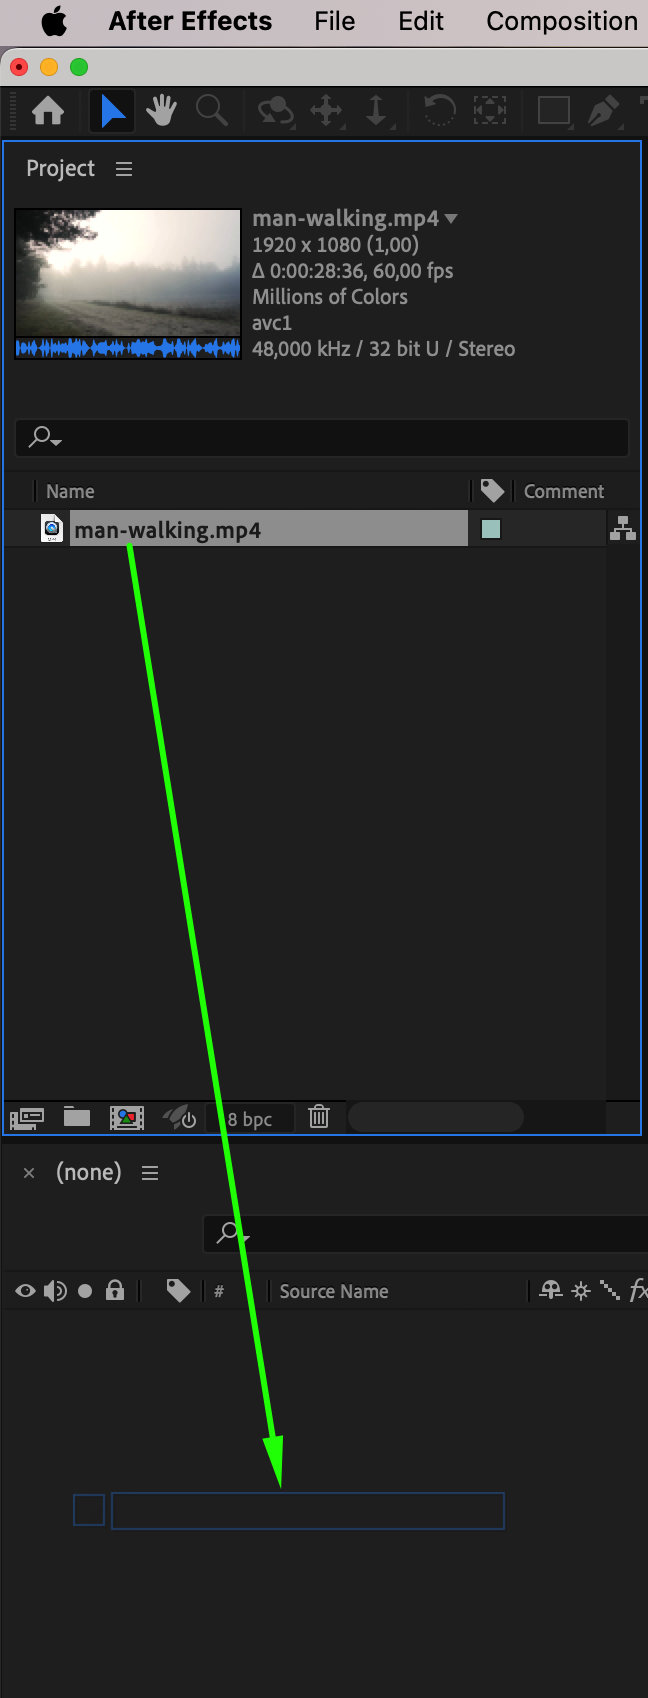
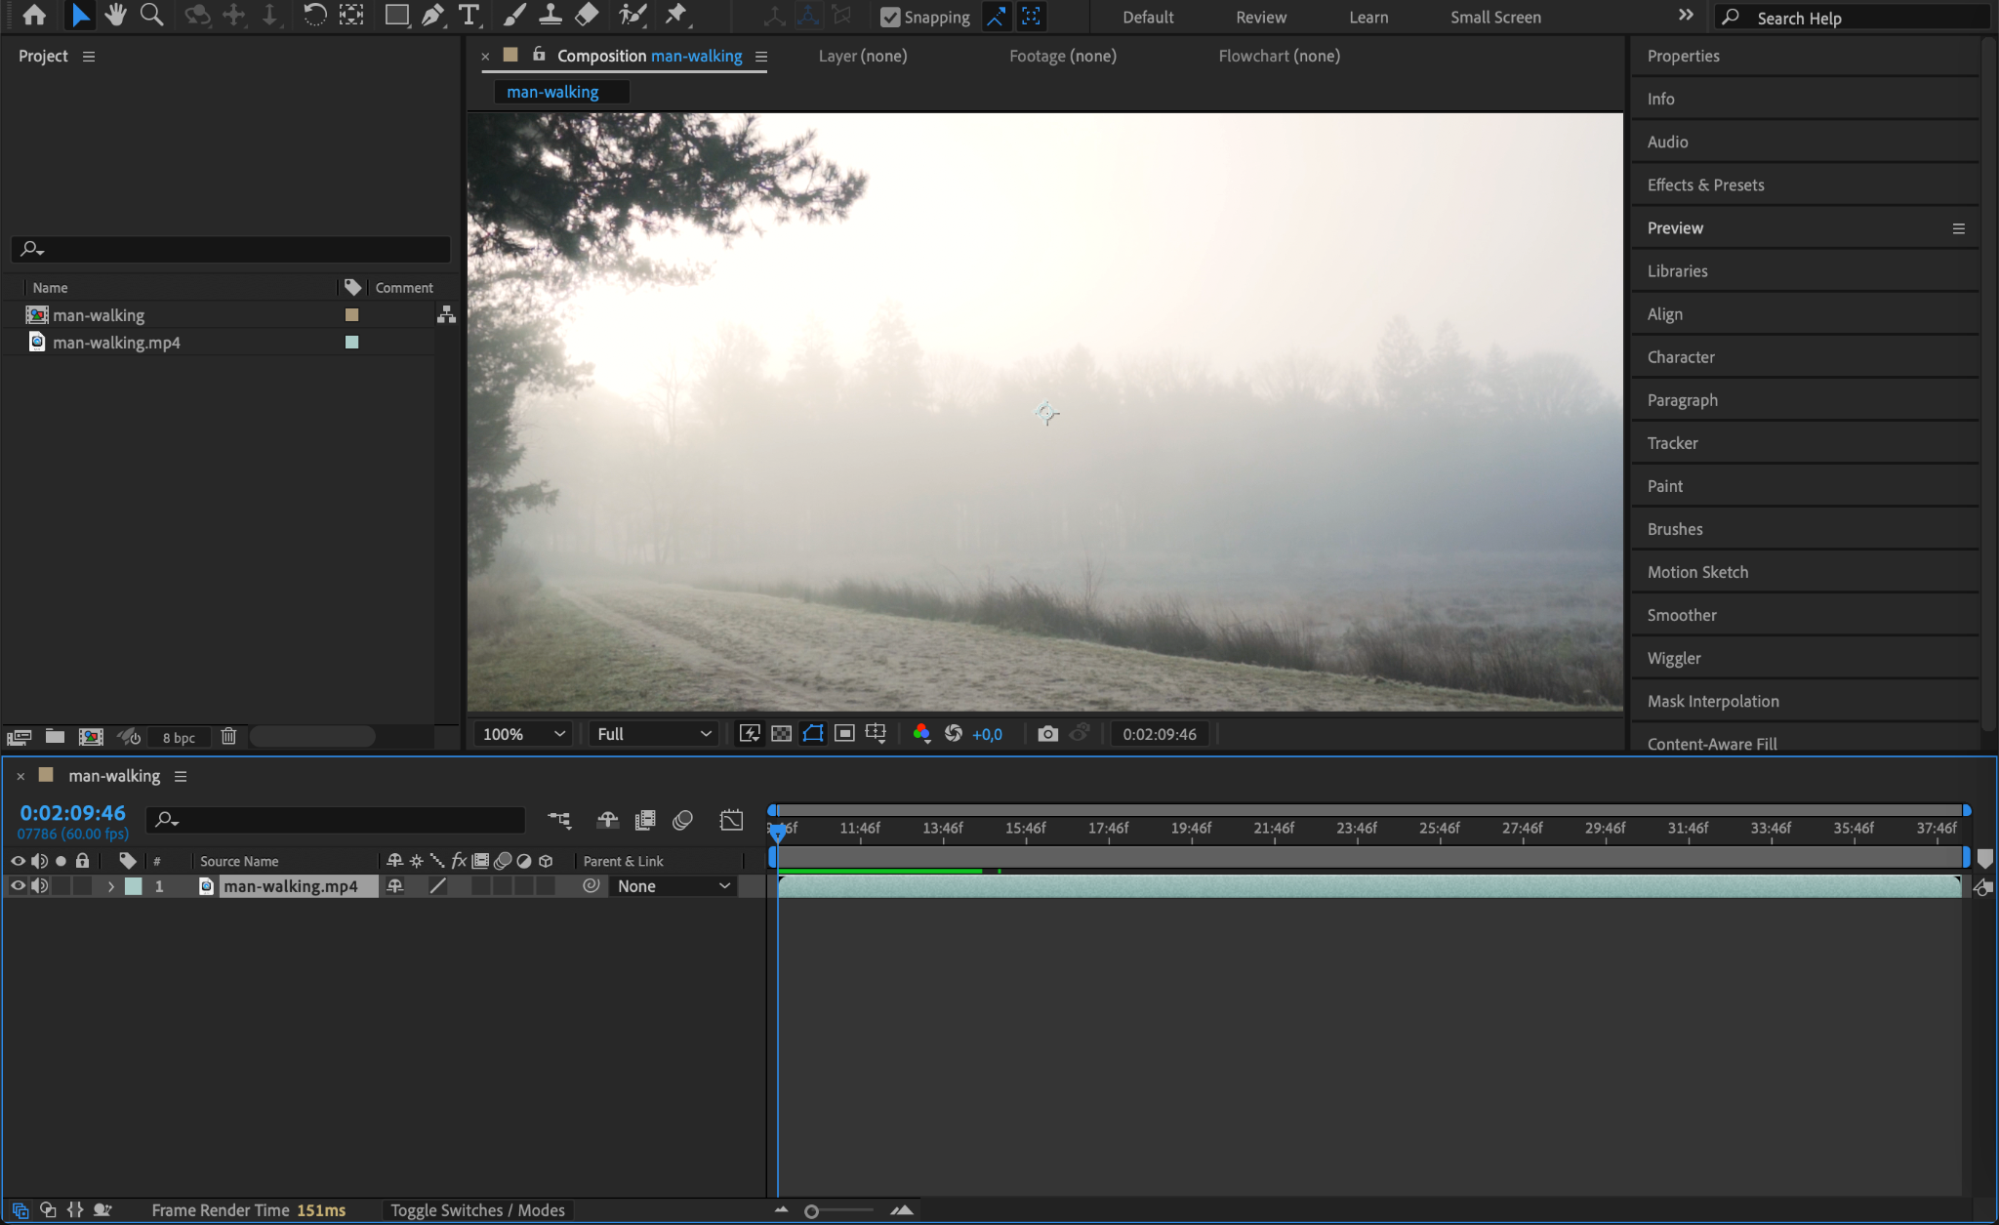
Go to File > Import > File and choose your video footage. Drag it into your timeline to start building your buffering scene. This will be the main video that appears to “pause” during buffering.
 Step 2: Choose the Buffering Point and Split the Layer
Move the CTI (Current Time Indicator) to the frame where you want the buffering to begin. Select the video layer, then press “Ctrl+Shift+D” (or Cmd+Shift+D on Mac) to split the layer at that point. This creates a cut in the layer without deleting any content.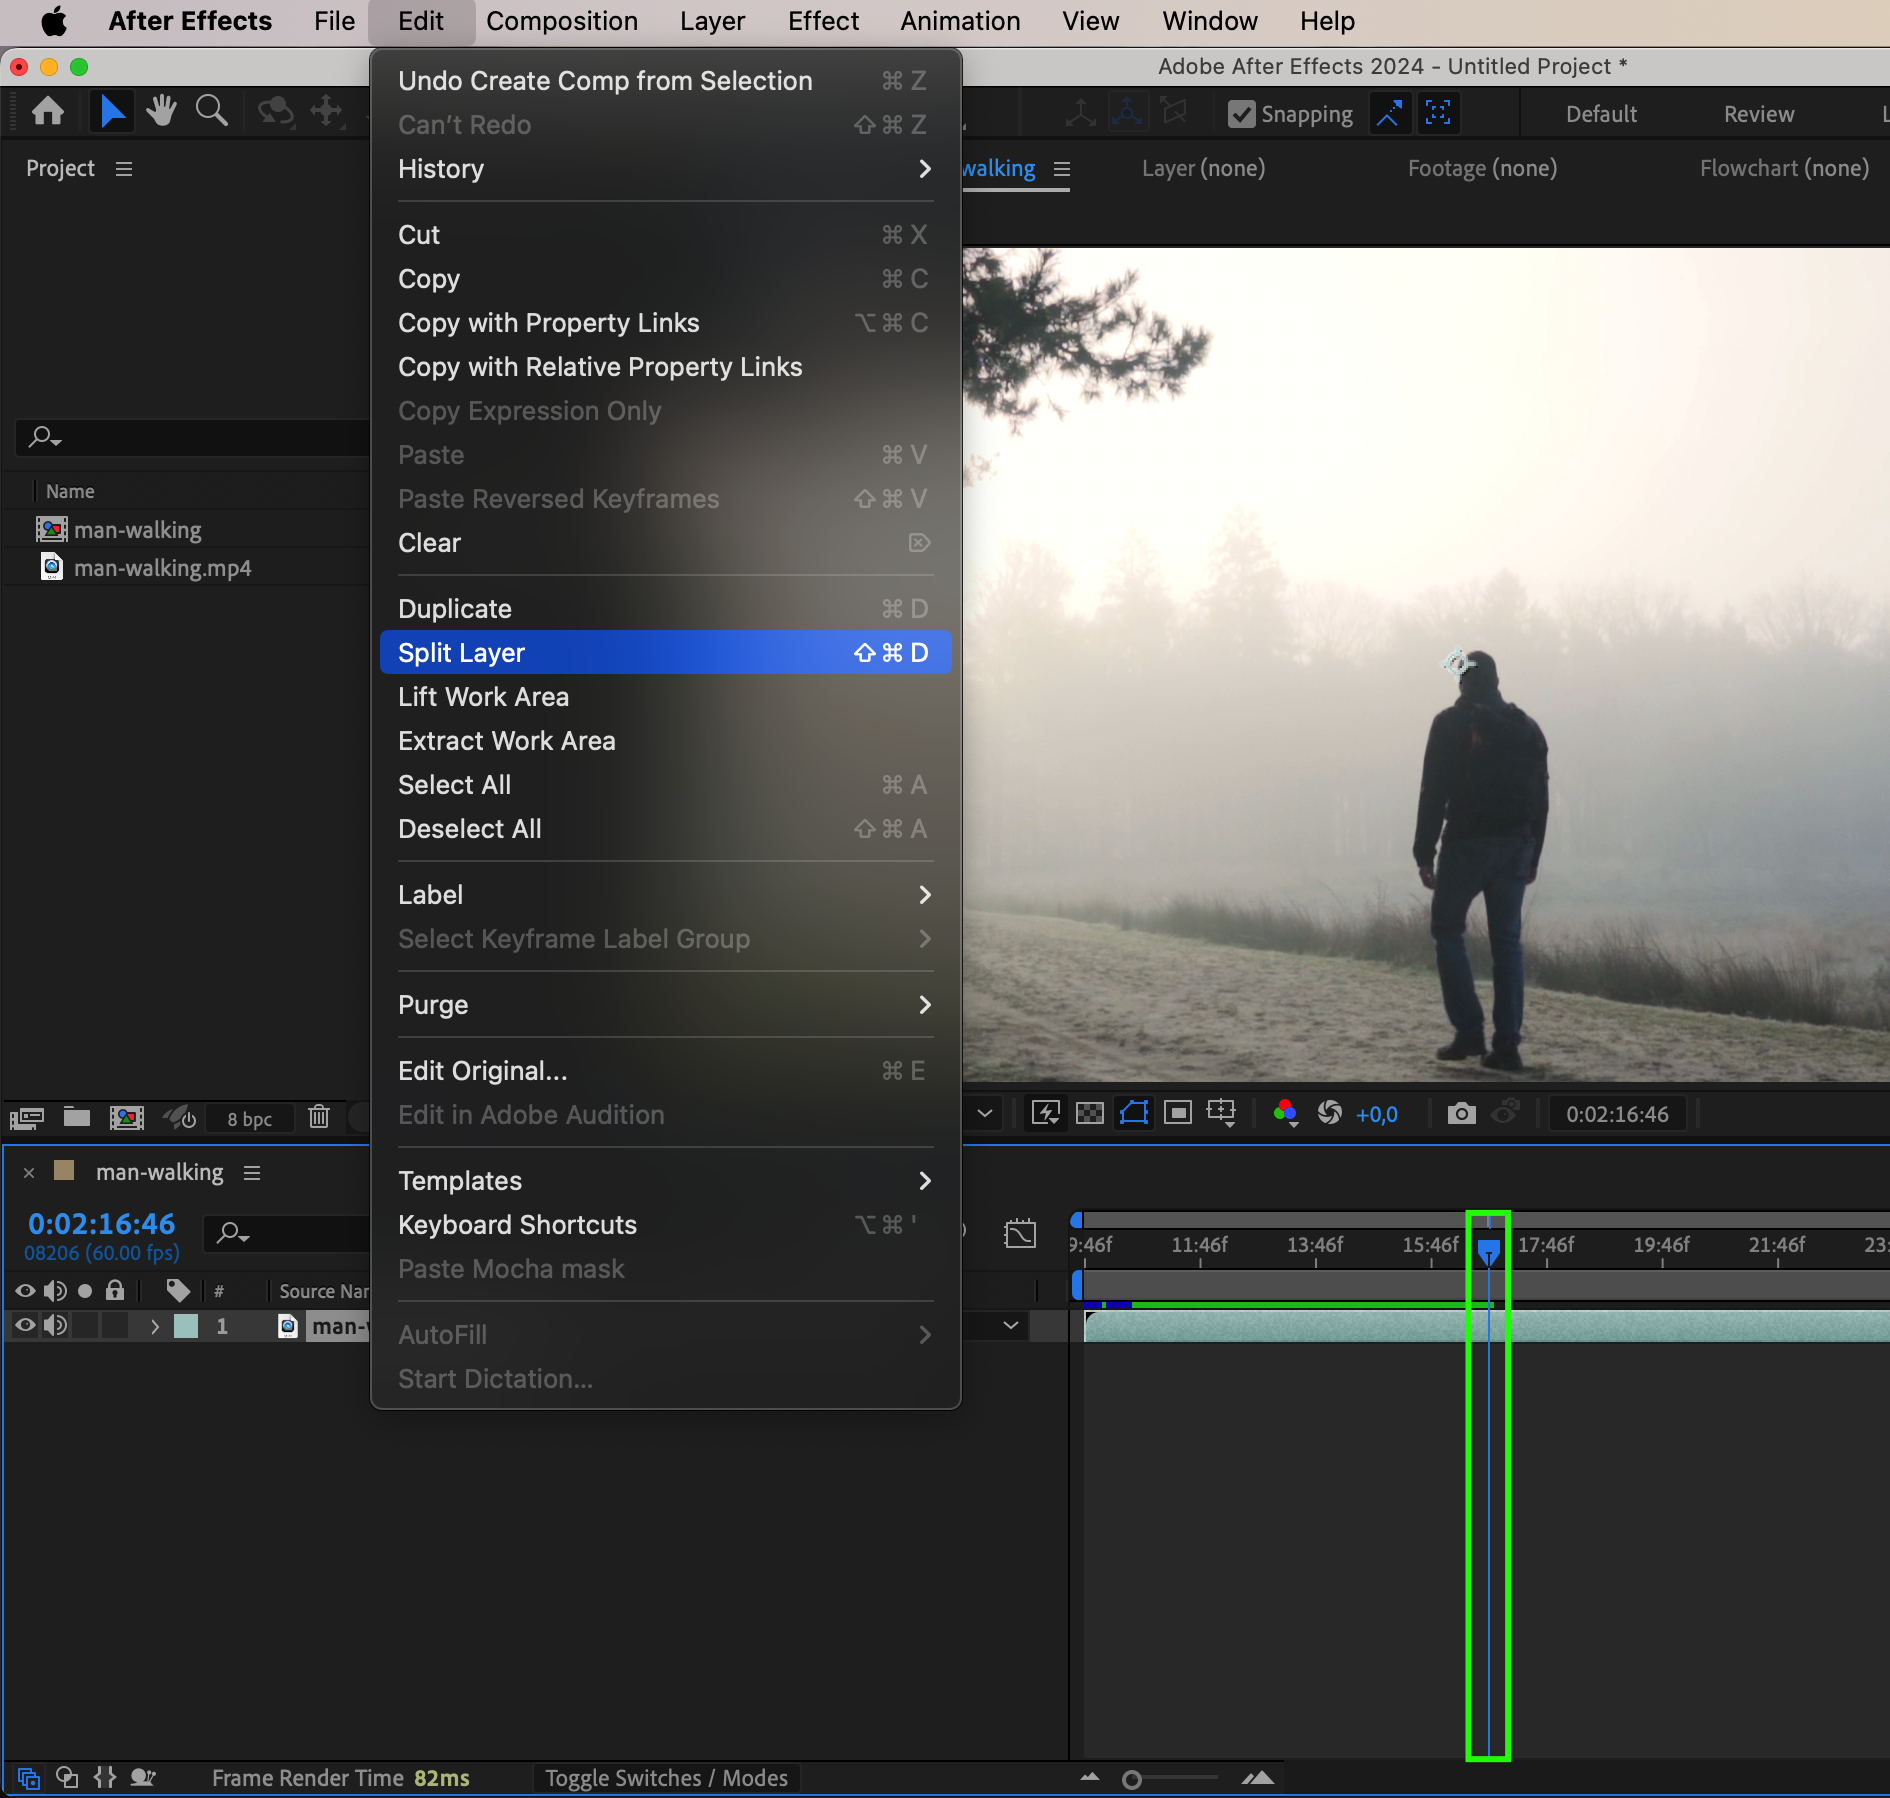
Get 10% off when you subscribe to our newsletter

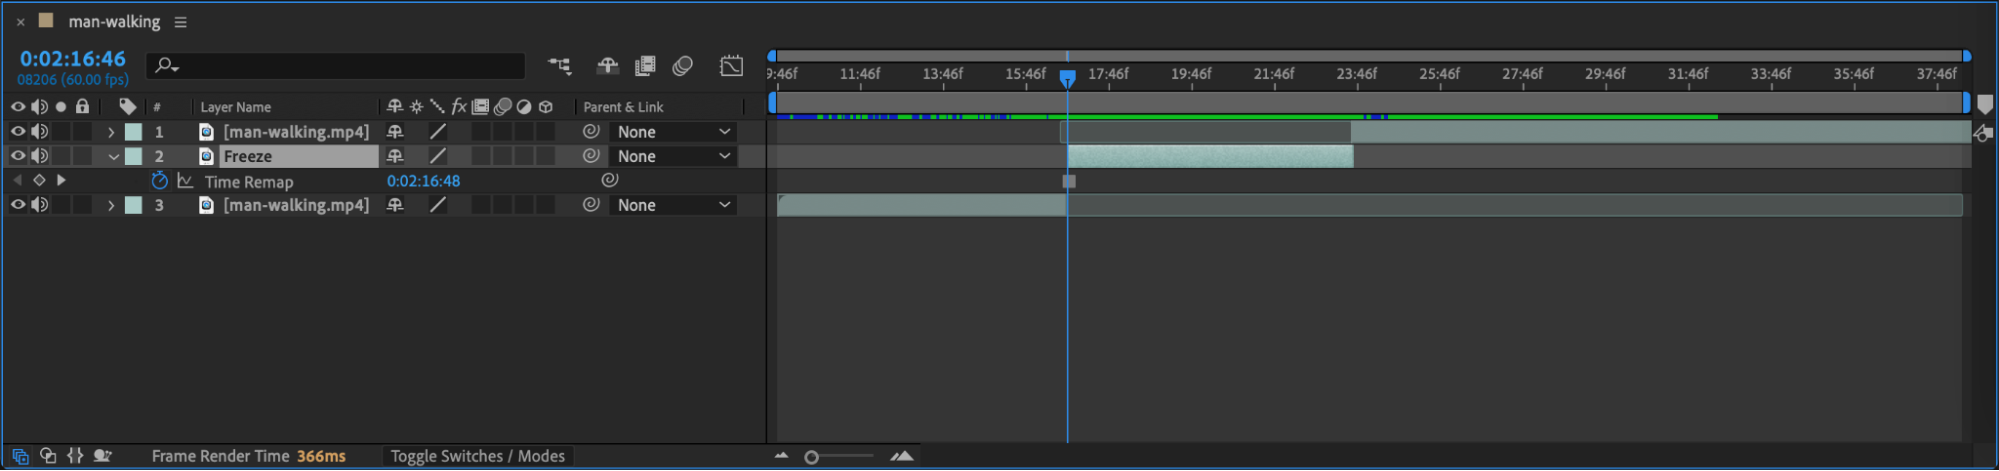
Step 3: Advance One Frame and Split Again
Move the CTI one frame forward using Page Down or by dragging it. Split the layer again at this new frame. Now you’ll have a 1-frame section in the middle between two longer video segments.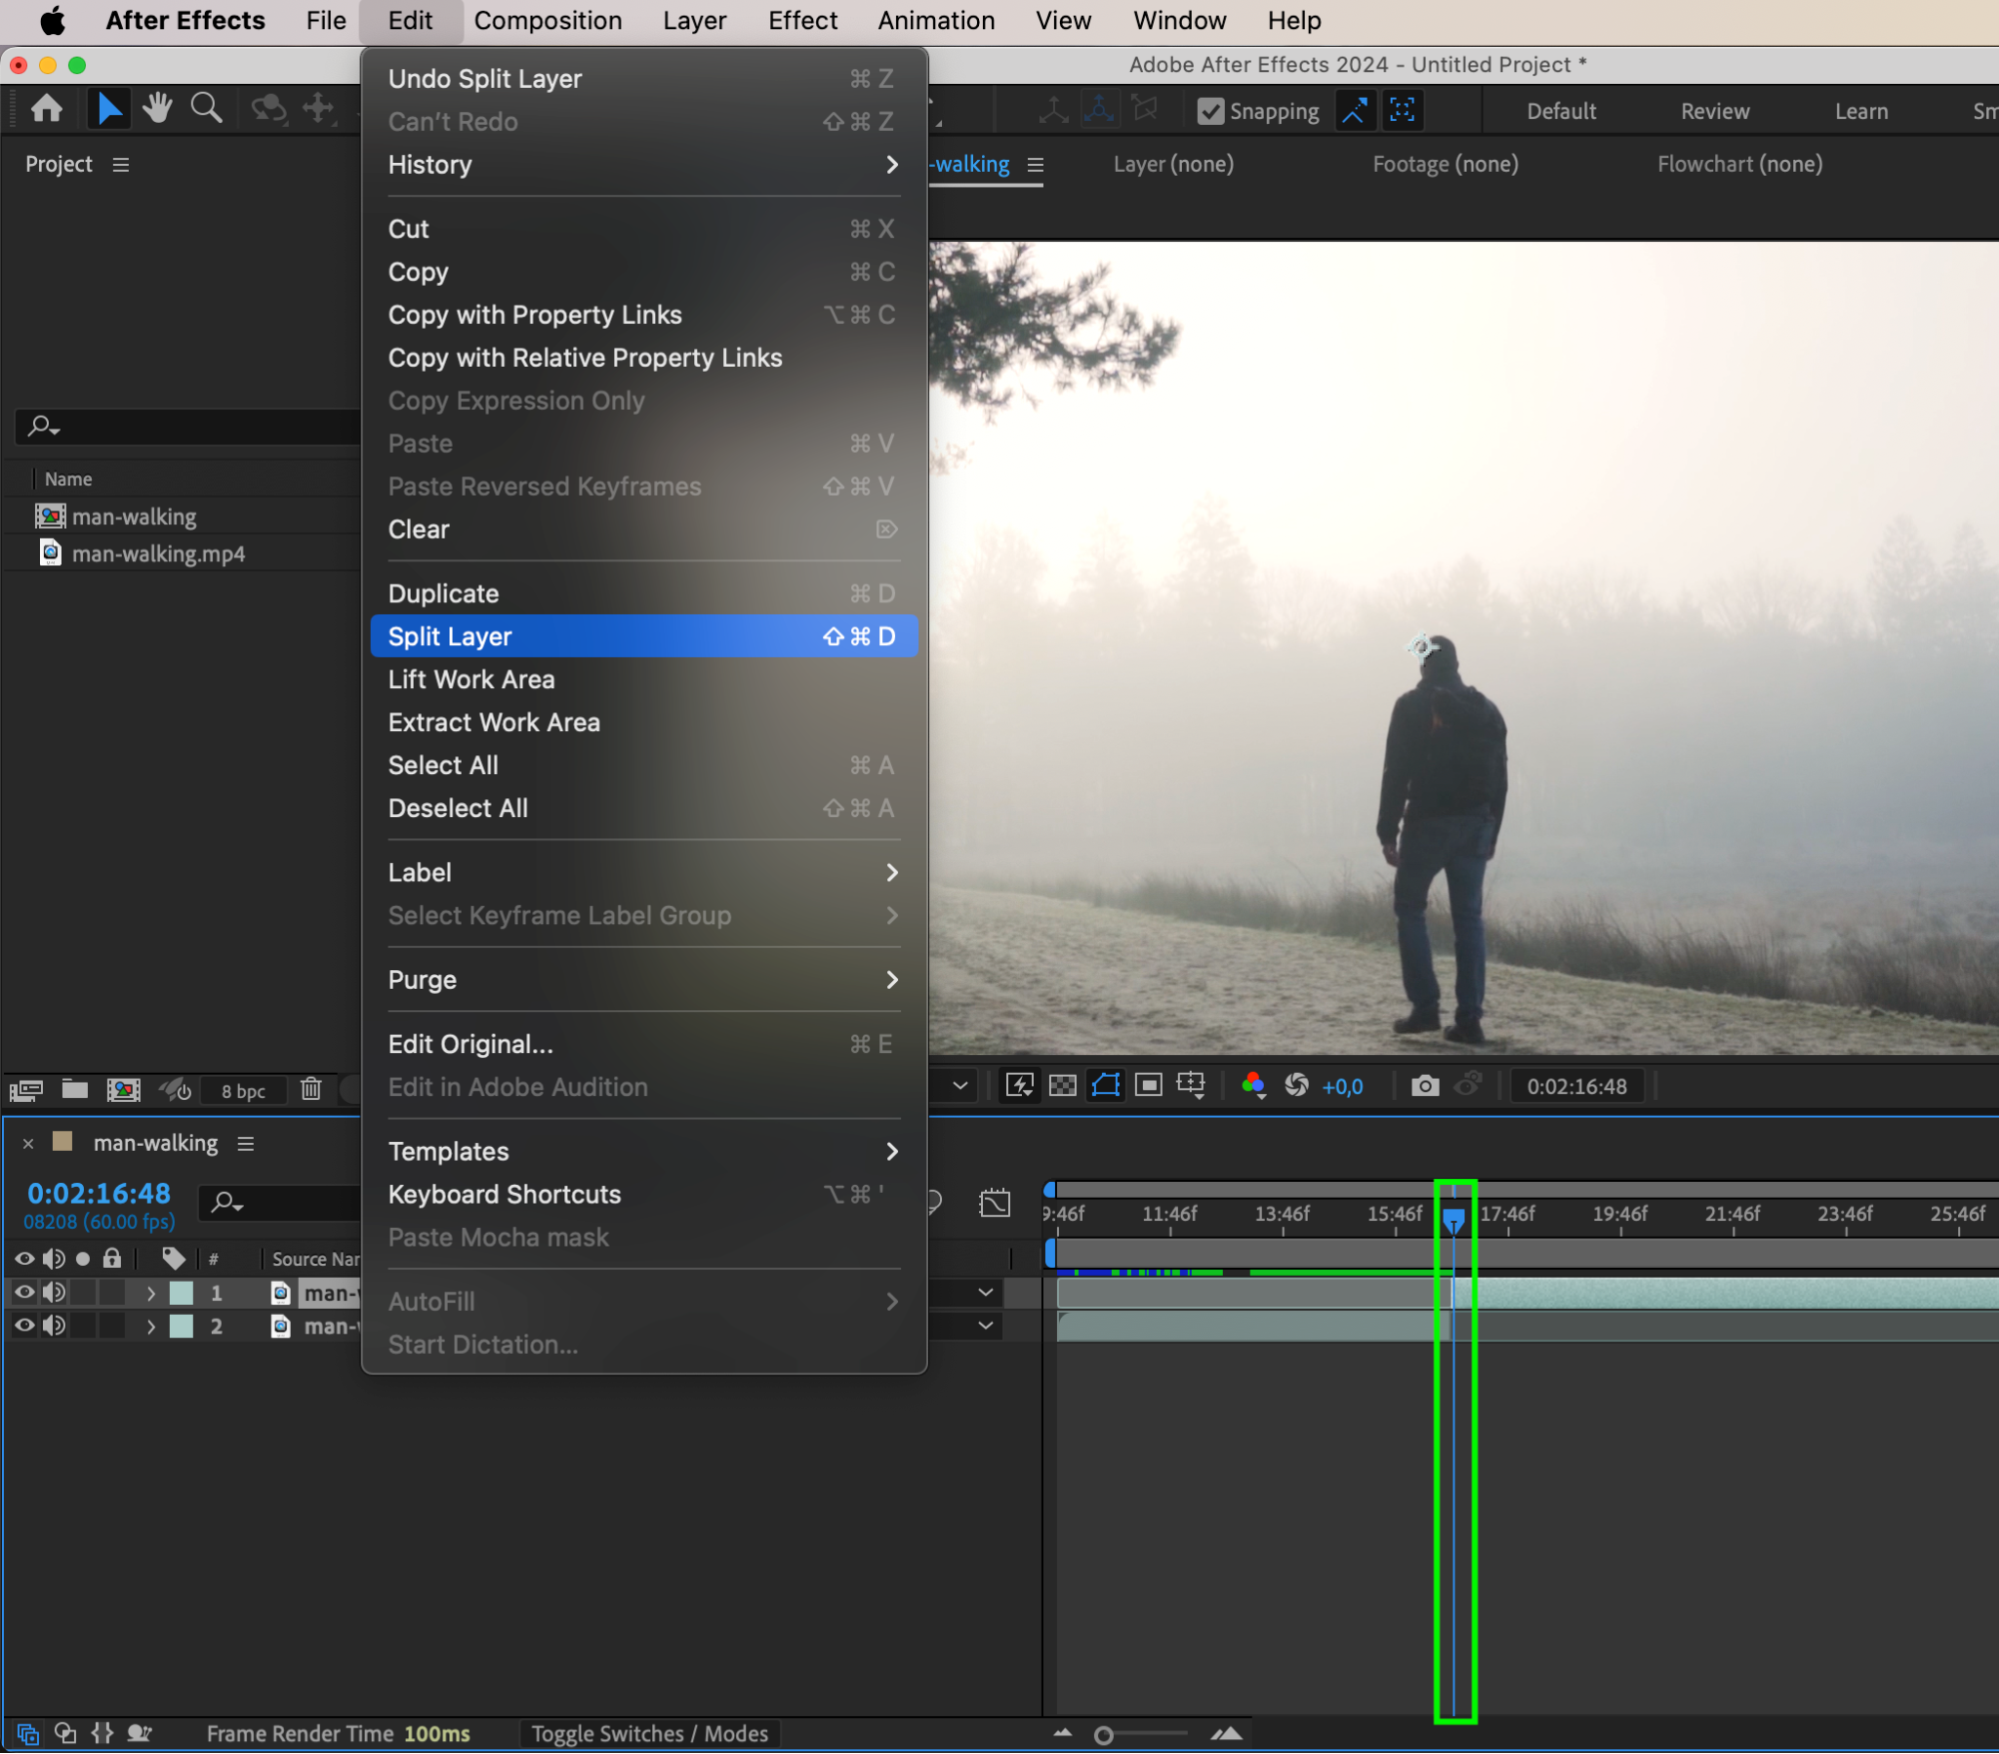 Step 4: Freeze the One-Frame Section
Right-click the 1-frame video layer and go to Time > Freeze Frame. This locks the frame so it stays static instead of playing forward. This is the frame your video will appear “stuck” on during buffering. Step 5: Extend the Freeze Layer and Realign the Video
Drag the end of the freeze frame layer to the right to make it last as long as needed (for example, 2–3 seconds). Then, move the following video layer to begin exactly where the freeze frame ends, so the video continues smoothly after the pause.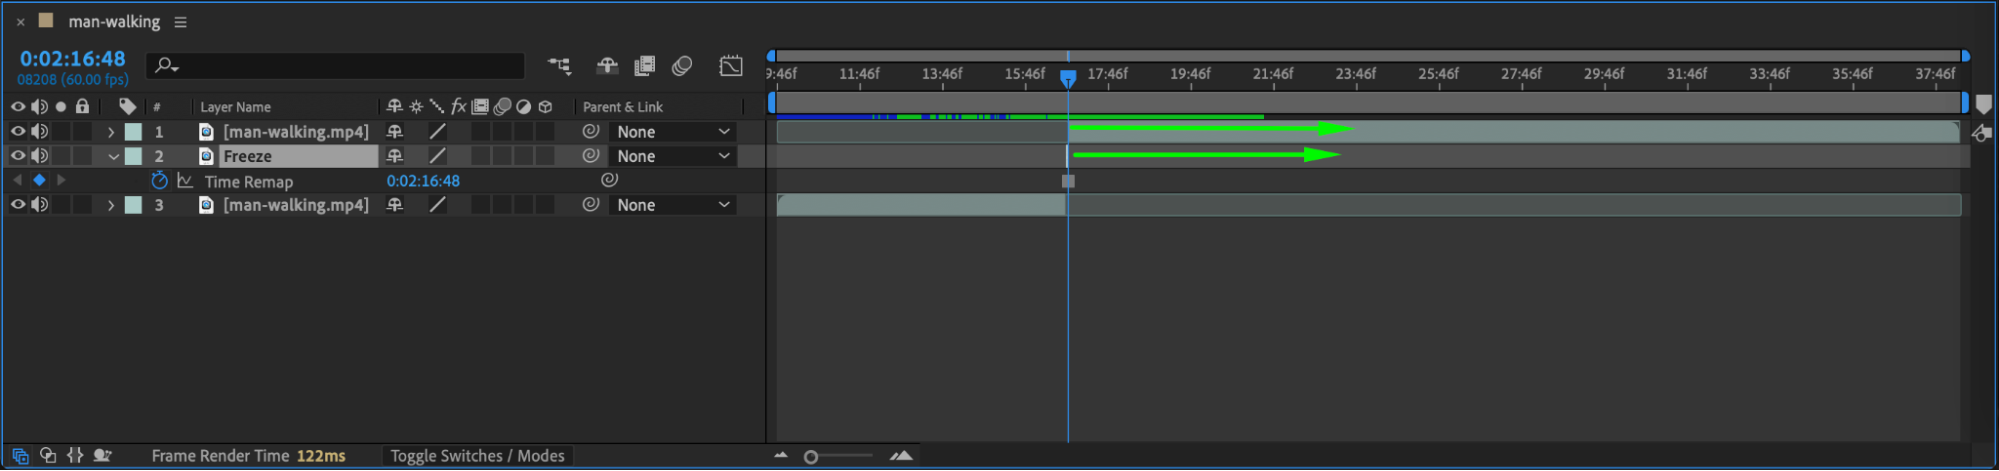
 Step 6: Add a Buffering Symbol Overlay
Drag your green screen buffering animation (such as a rotating loader) onto the timeline. Position it directly above the freeze frame layer. Adjust its duration to match the length of the freeze so they appear and disappear together.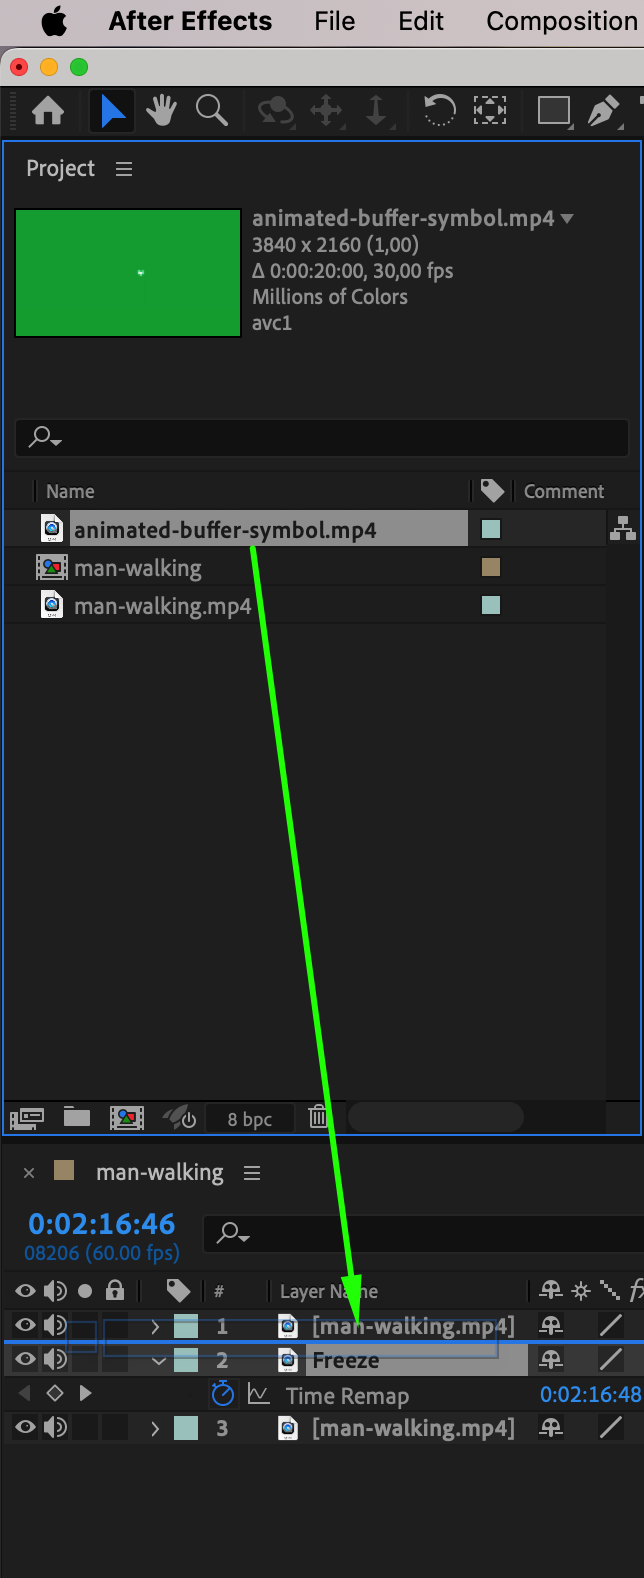
Step 7: Remove Green Screen Using Keylight
With the buffering symbol layer selected, go to the Effects & Presets panel and search for Keylight (1.2). Apply it, then use the eyedropper to select the green background. The green will be removed, and only the loading symbol will be visible.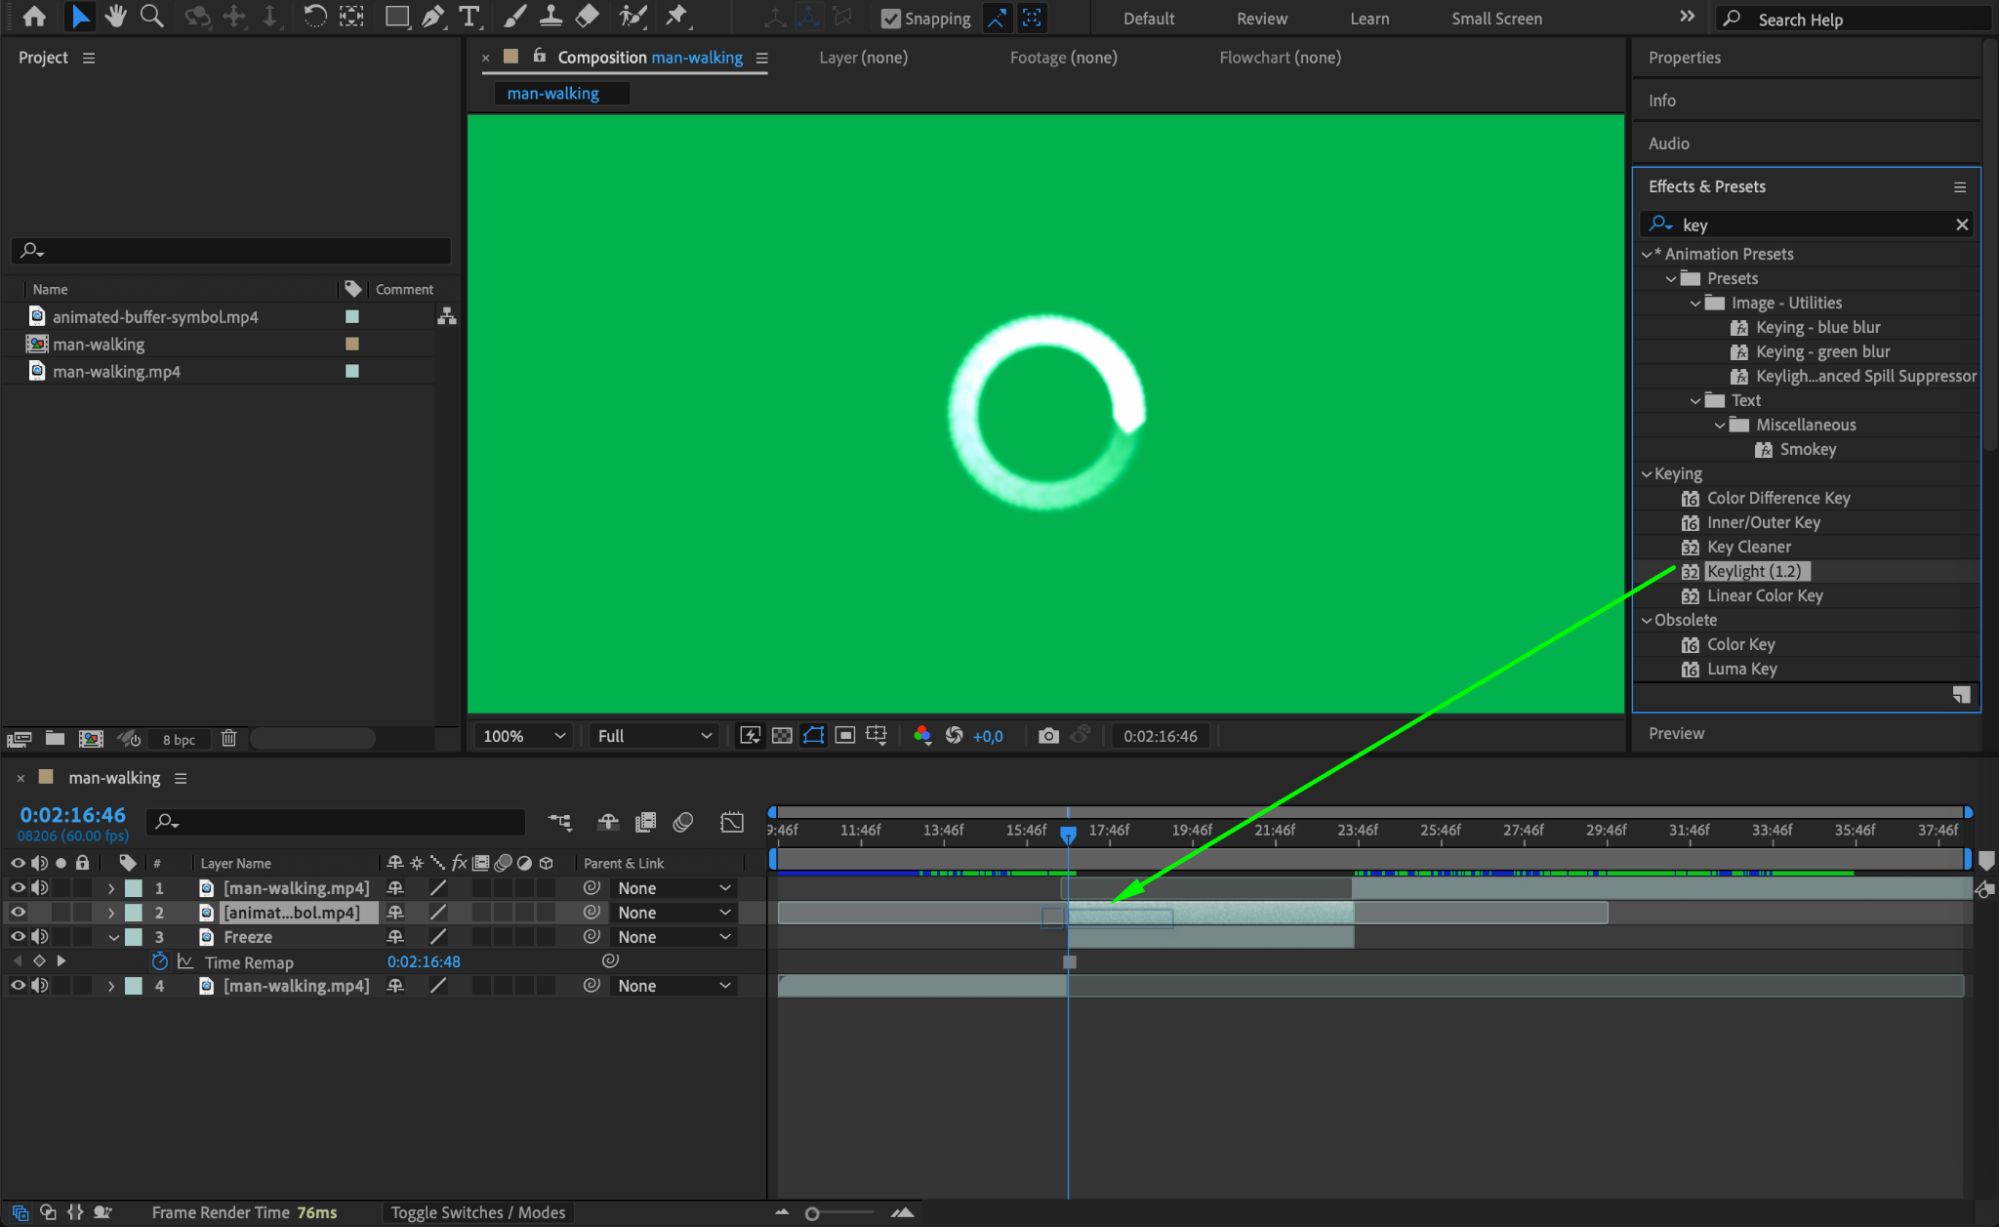
 Step 8: Preview and Finalize
Press the spacebar to preview your animation. Check that the buffering symbol appears at the right time and that the freeze and resume work smoothly. Adjust timing if needed, then render your project. Conclusion
Using freeze frames and a green screen loading animation, you can create a convincing buffering effect in After Effects. This trick is useful for UI design, storytelling, or stylizing footage to mimic real-world video delays. With just a few steps, your project can look more dynamic and realistic.
Our Bestsellers


