Creating a Stunning Outer Space Scene in After Effects
Introduction to Outer Space Scene Creation
Creating an outer space scene in After Effects is a simple and engaging project. By leveraging built-in effects like CC Star Burst and importing external assets, you can achieve a visually compelling result suitable for various creative projects. Follow these detailed steps to bring your cosmic vision to life.
Step 1: Create a New Composition
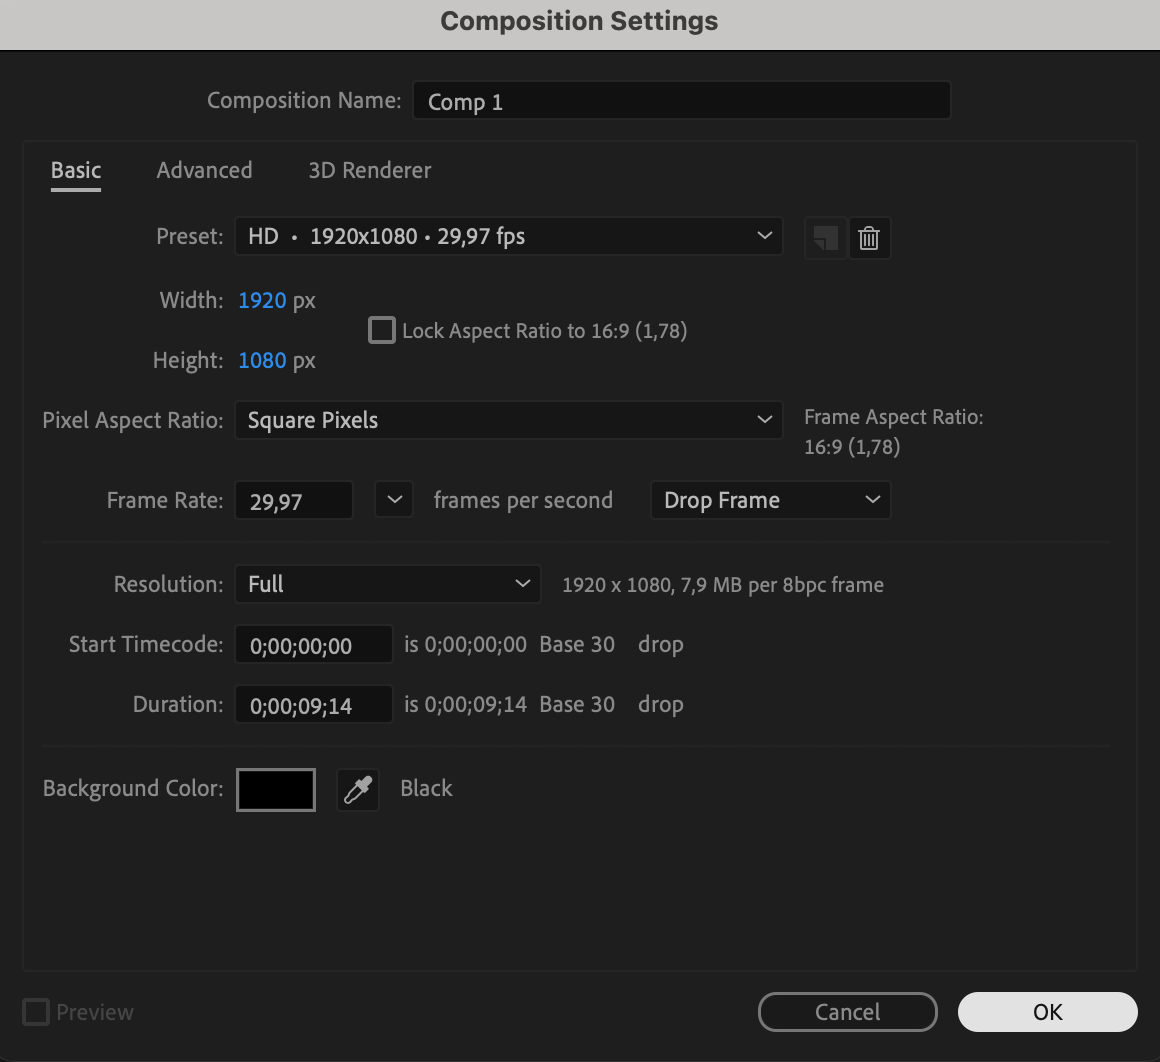
Begin by setting up a new composition. Go to Composition > New Composition in the menu bar. Configure the resolution (e.g., 1920×1080), duration, and frame rate. This composition will serve as the foundation of your space scene.
 Step 2: Add a Solid Layer
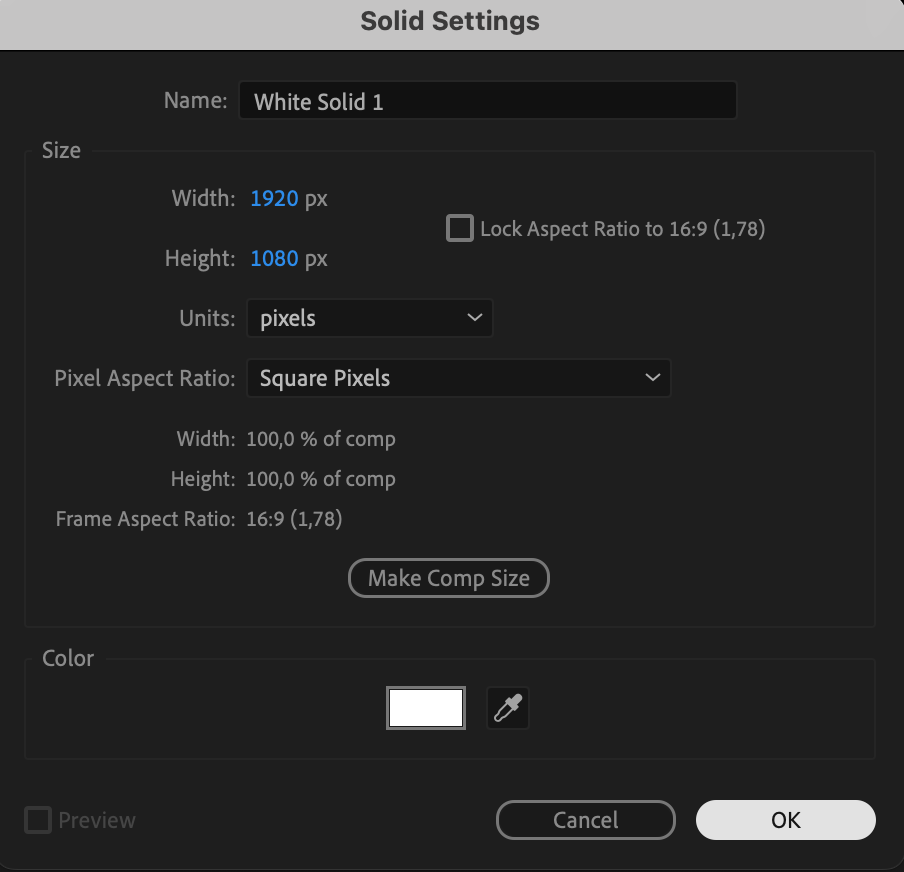
To create the starry background, add a solid layer. Navigate to Layer > New > Solid. This solid will act as the base for your star effects.
 Step 3: Apply the CC Star Burst Effect
With the solid layer selected, go to the Effects & Presets panel, search for the CC Star Burst effect, and drag it onto your solid layer. This effect creates a dynamic starfield.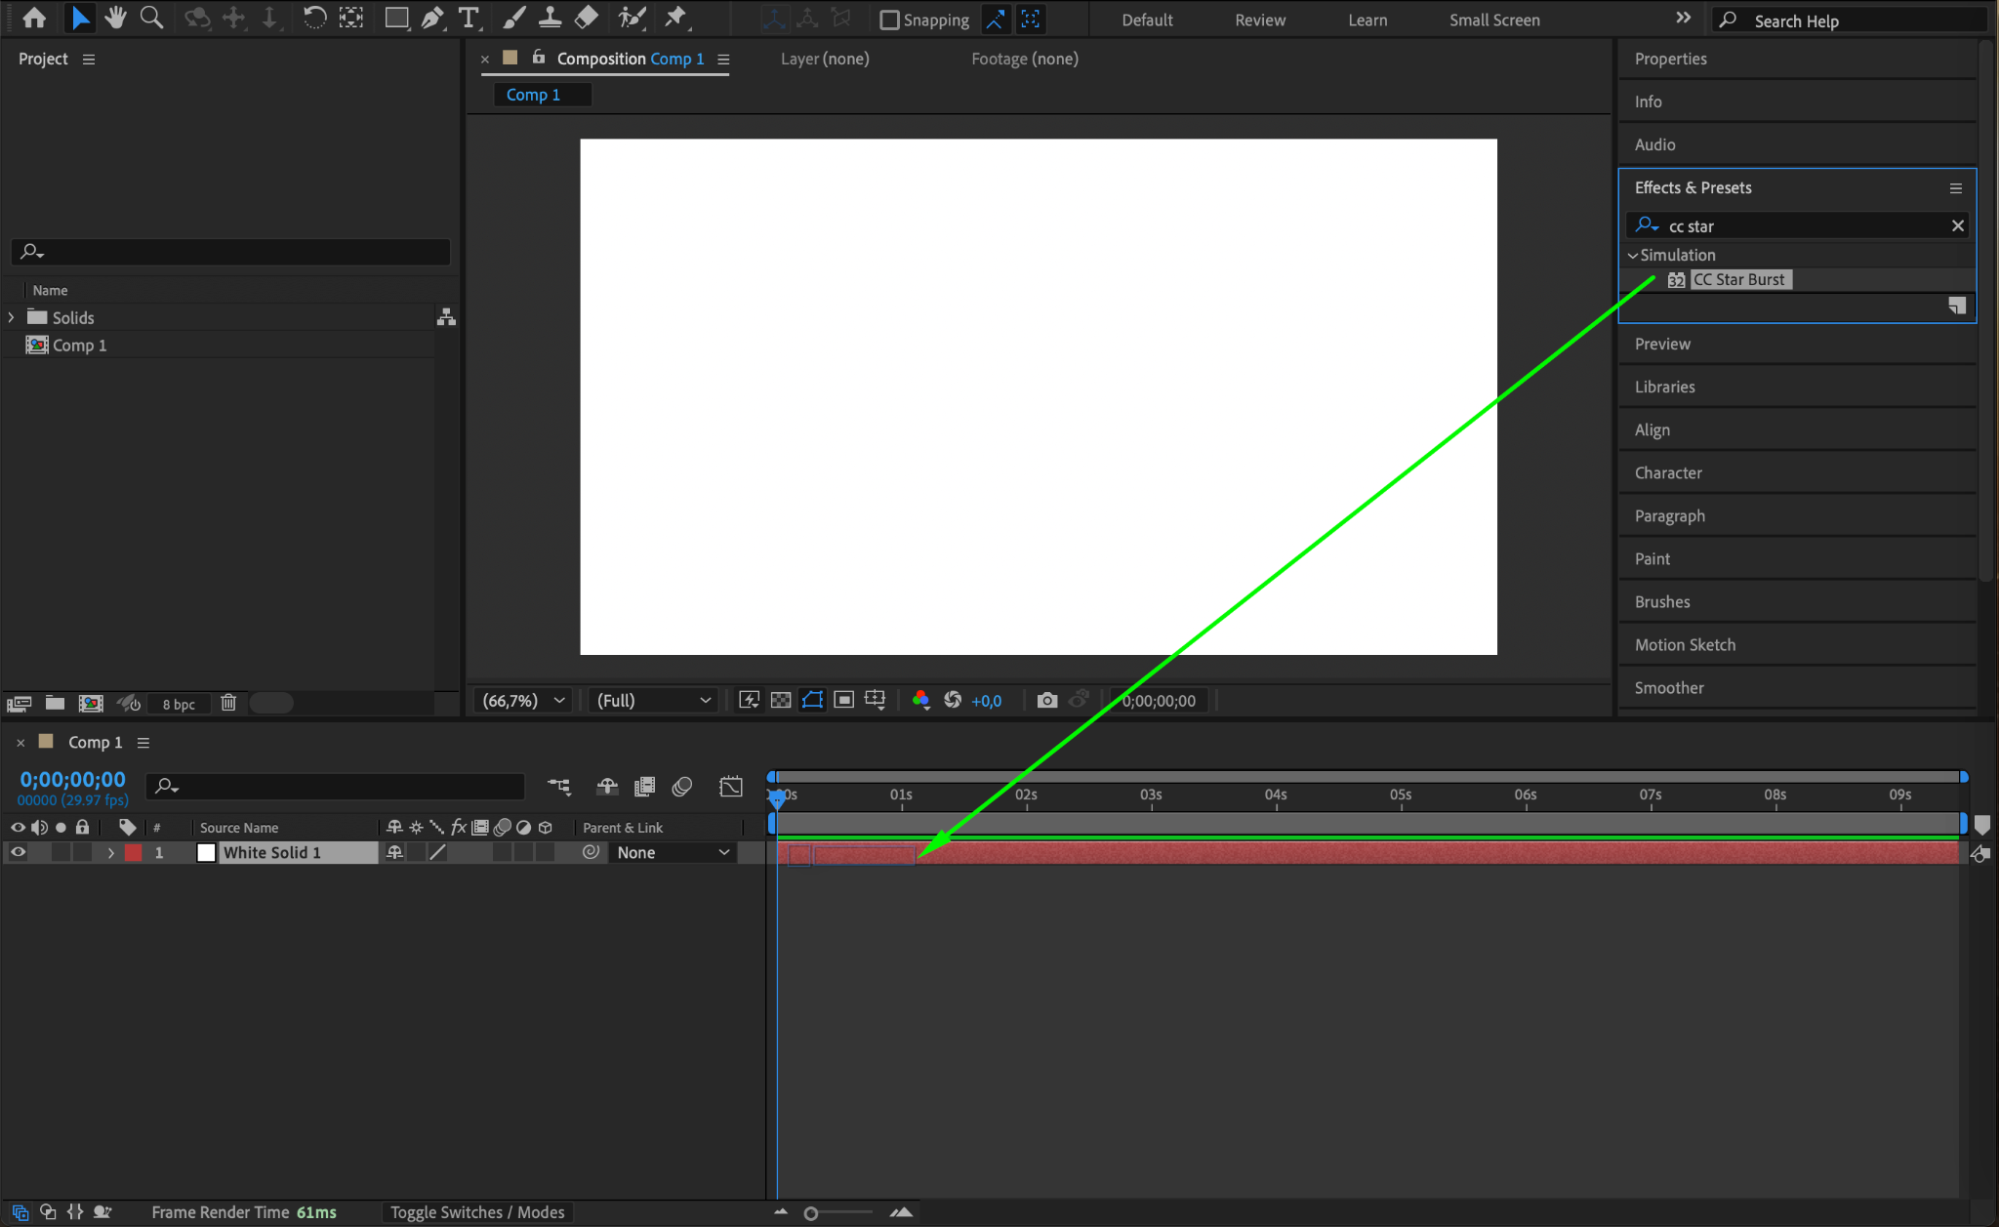 Step 4: Adjust Starfield Settings
Open the Effect Controls panel for the CC Star Burst effect. Adjust the parameters to refine your starfield:
Get 10% off when you subscribe to our newsletter

Grid Spacing: Set to 2 for dense stars.
Size: Set to 80 to control the size of individual stars.
Scatter: Set to 300 to create a scattered star pattern.
Speed: Adjust to 0.1 for a slow, drifting motion.
Phase: Set to 2° to maintain alignment; animate if you want a rotational effect.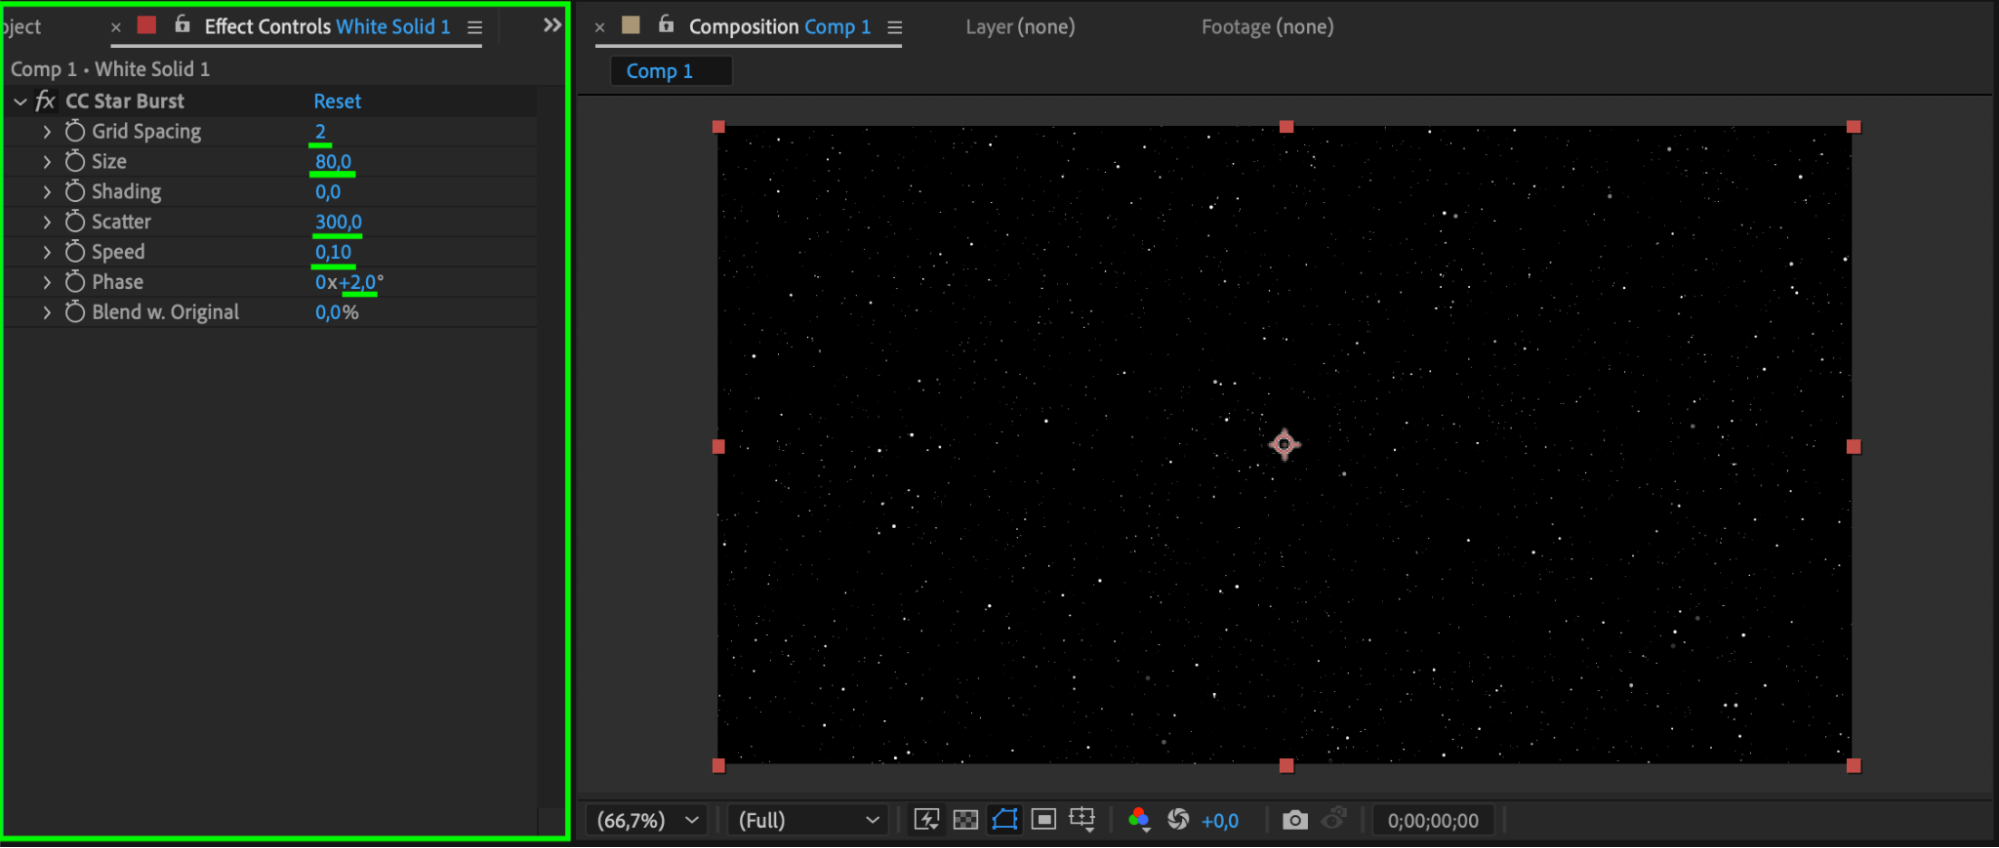 Step 5: Optional – Import a Planet
To add depth to your scene, import a planet asset. You can use an image or a pre-rendered 3D object. Place it in the timeline and adjust its position in the composition.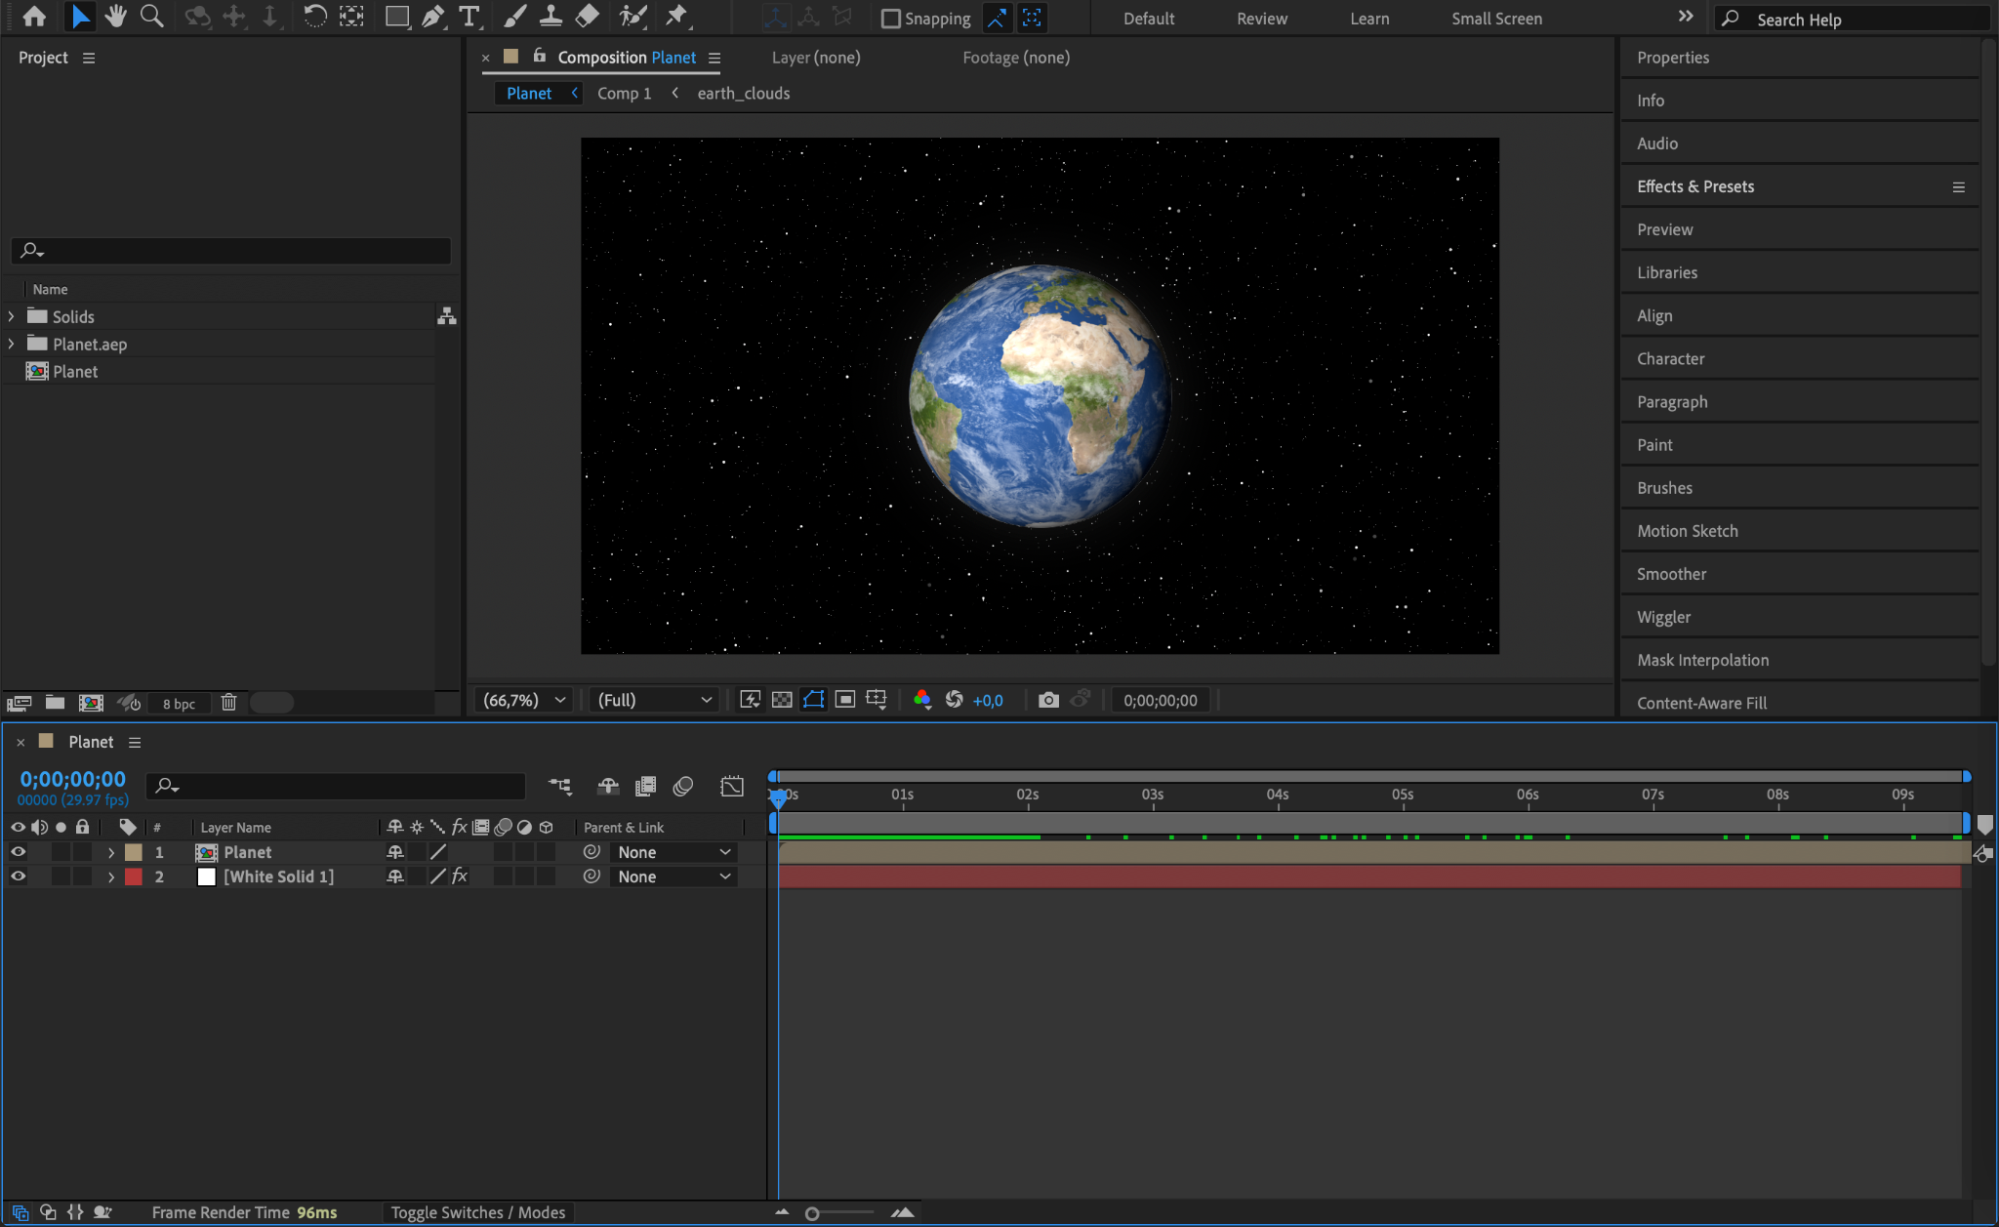 Step 6: Animate the Planet’s Movement
For a dynamic scene, animate the planet. Use keyframes to modify the Scale property over time, simulating a zoom effect or orbit. This adds realism and interest to your space environment.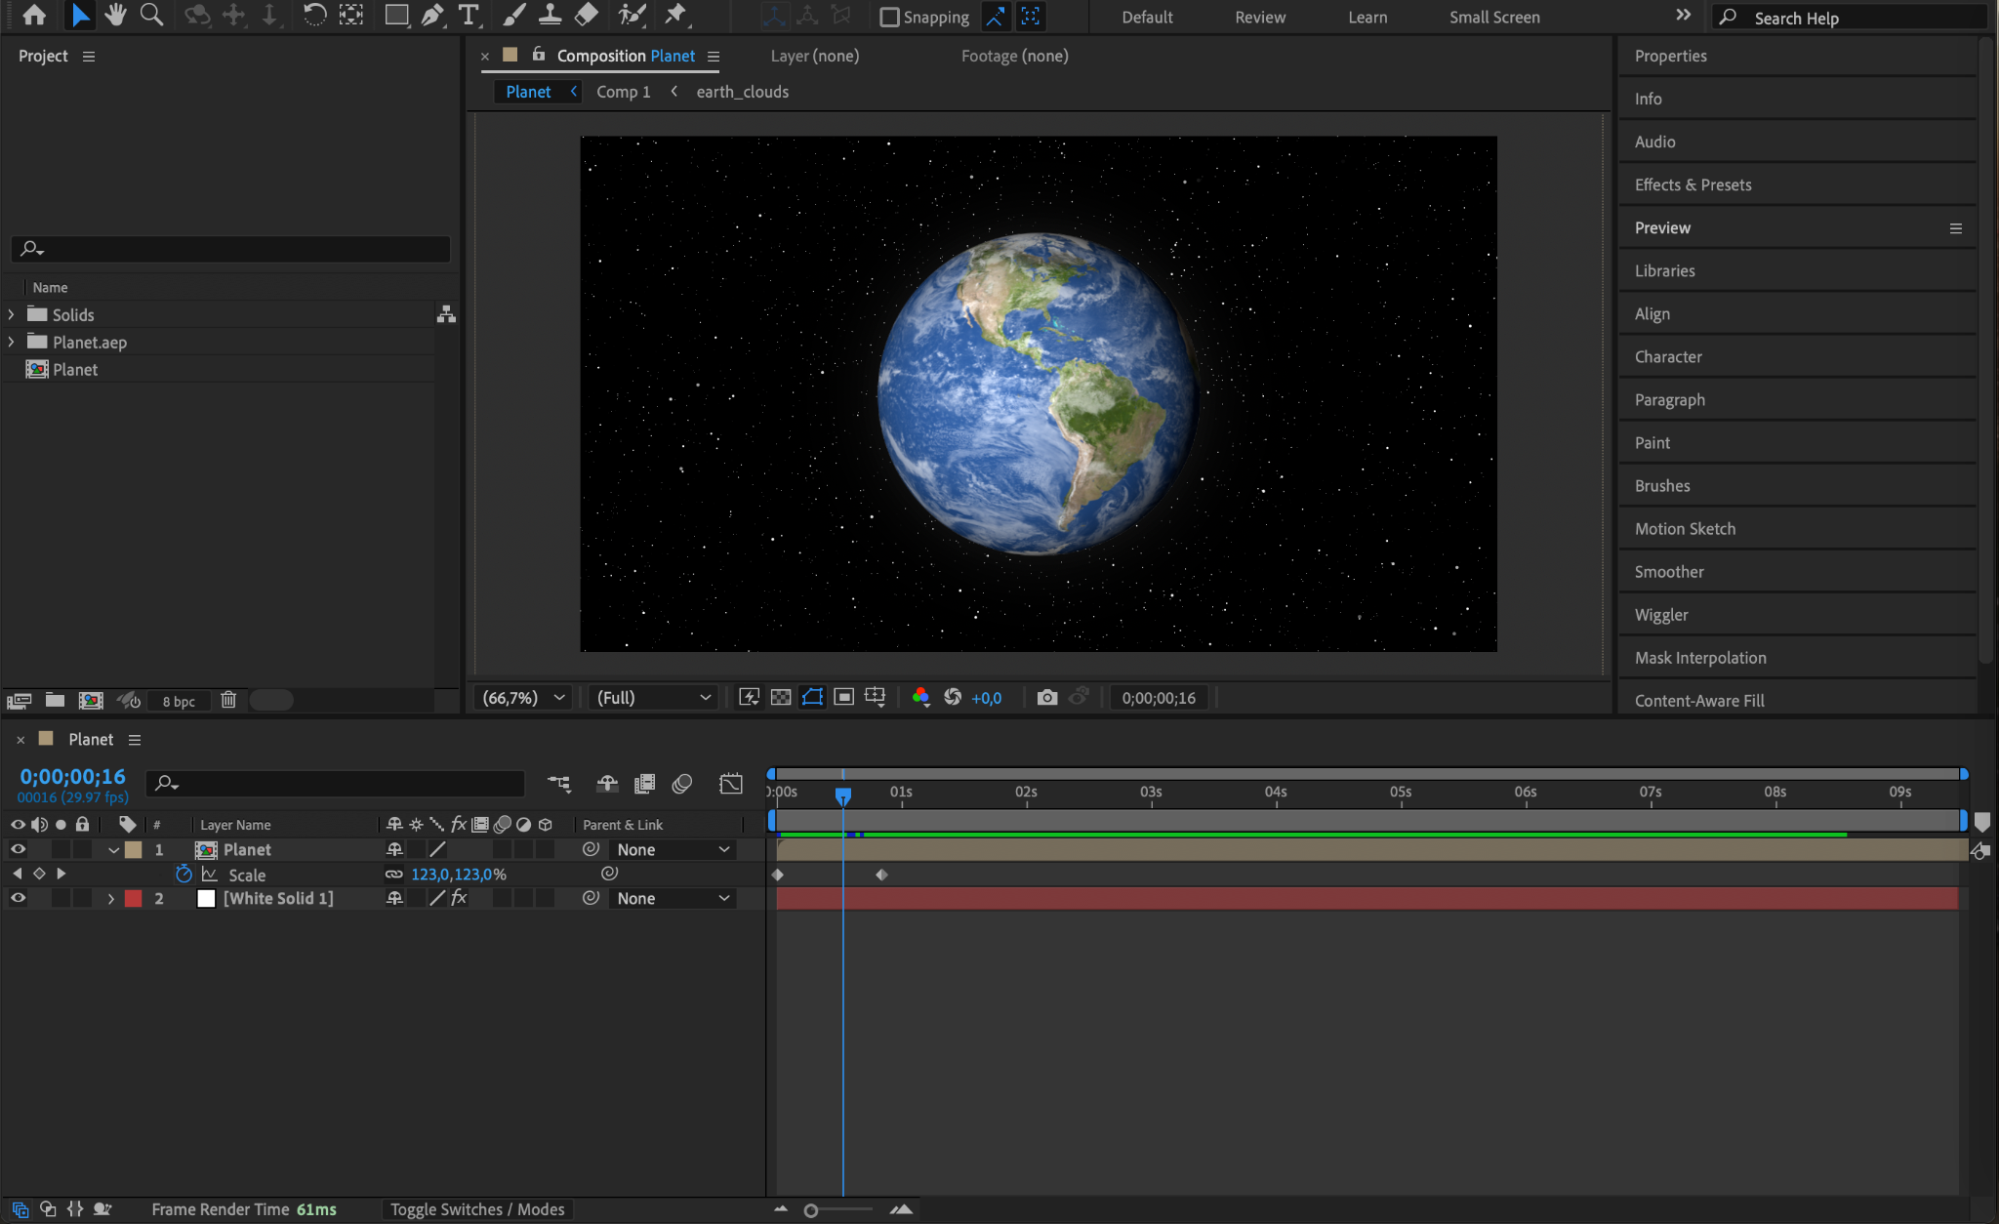 Step 7: Preview Your Work
Get 10% off when you subscribe to our newsletter

Preview your animation to check the motion and effects. Use the Spacebar to ensure smooth playback and make any necessary adjustments.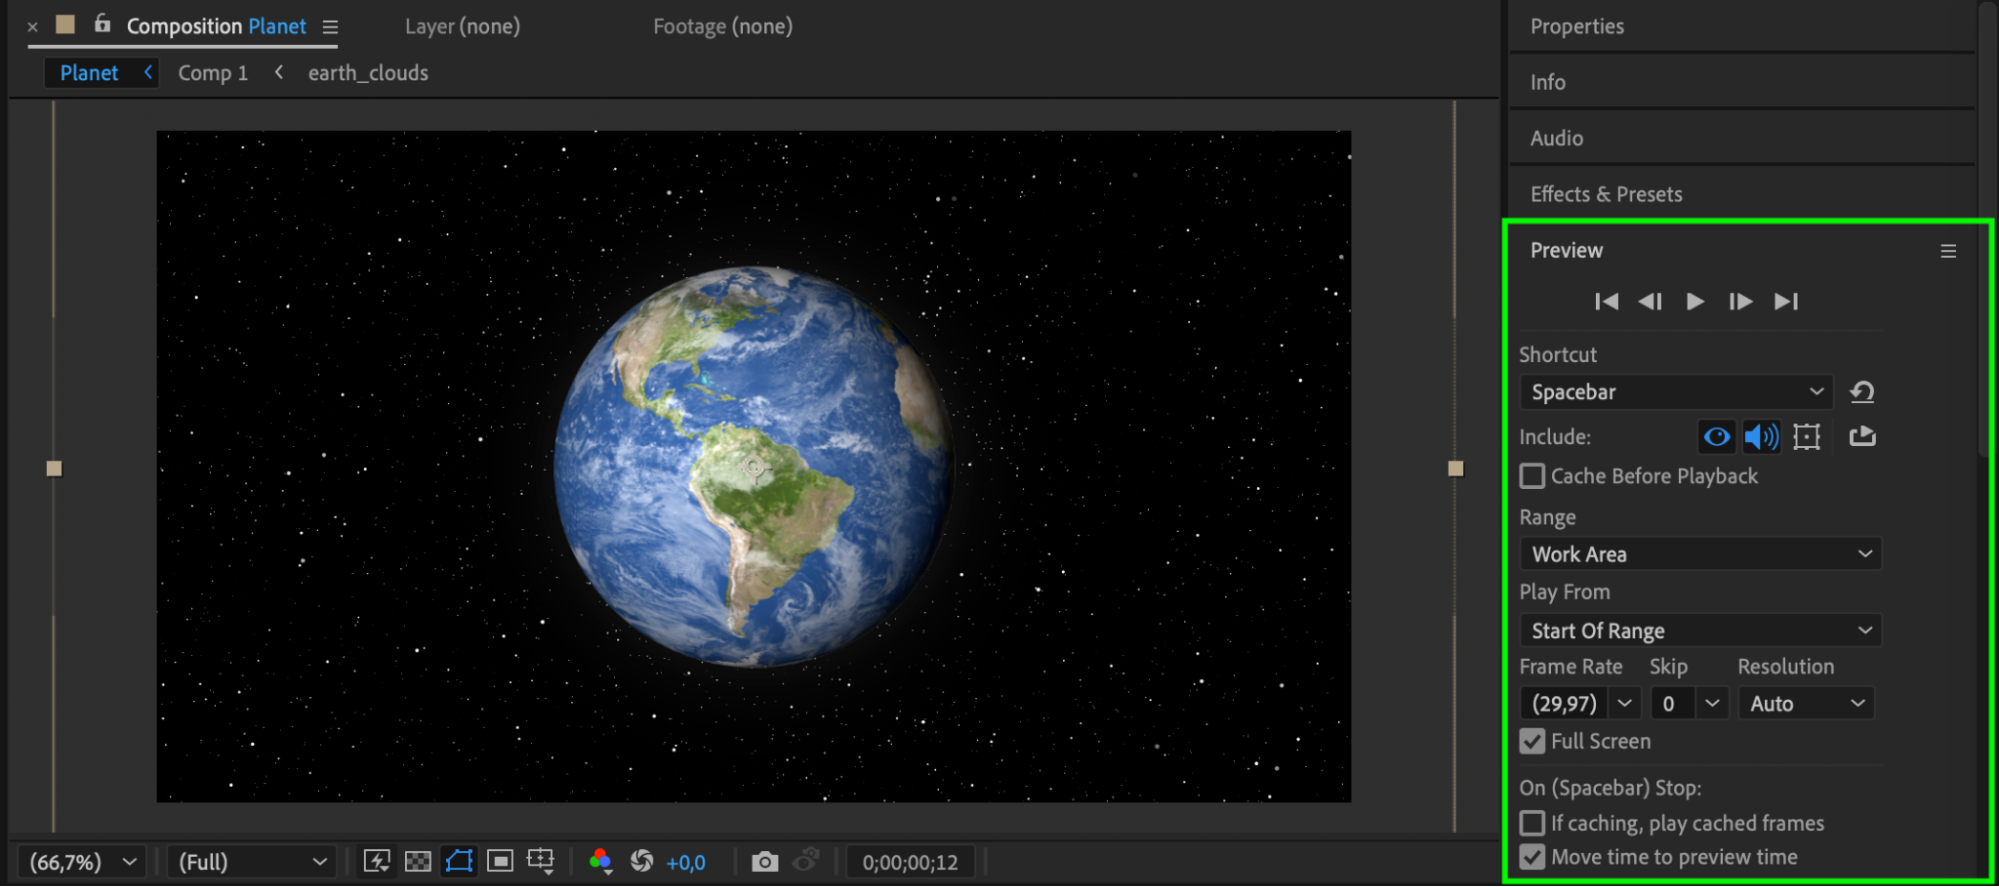
Step 8: Render Your Composition
Once satisfied with your scene, render the final output. Go to Composition > Add to Render Queue. Adjust the render settings (e.g., format and quality) and click Render to export your outer space animation.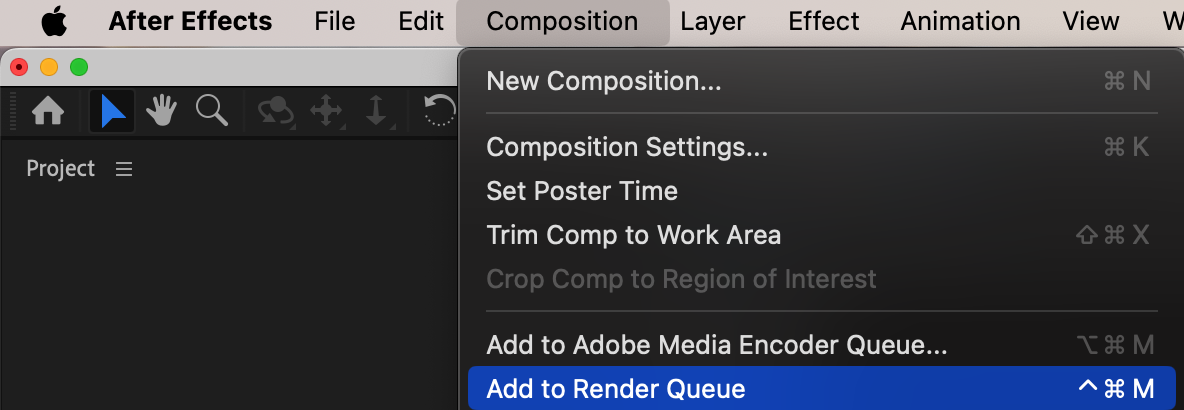

Get 10% off when you subscribe to our newsletter

Conclusion
By following these steps, you can create a visually stunning outer space scene in After Effects. This technique is versatile and can be customized with additional assets like asteroids, nebulae, or spaceships to match your creative vision. Experiment with different settings and animations to achieve unique results.


