How to Create Stunning Backgrounds in After Effects
Introduction
Welcome to this step-by-step guide on how to create an amazing background in After Effects. Are you ready to take your video projects to the next level and impress your audience with visually stunning backgrounds? Great! Let’s dive right in and learn how to make a jaw-dropping background in After Effects that will make your videos stand out.
Get 10% off when you subscribe to our newsletter

Step 1: Plan Your Background
Before you start working in After Effects, take some time to define your vision for the background. Think about the purpose of your video, the mood you want to convey, and the overall theme. It’s helpful to sketch or create a mood board to gather inspiration and guide your design process. Planning is key to ensure your background aligns with your video’s goals and aesthetics.
Step 2: Set Up Your Project
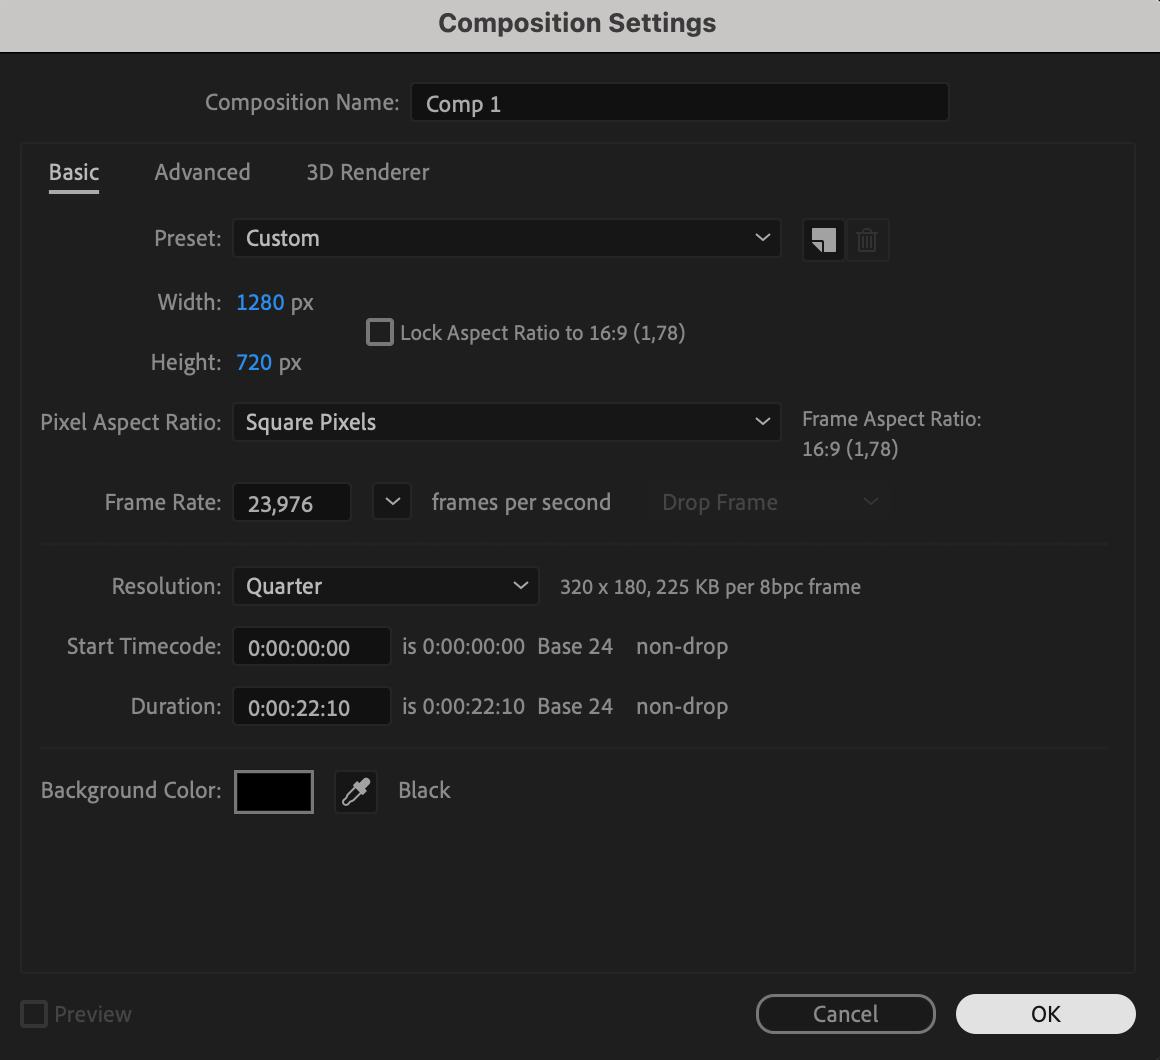
Once you have a clear plan, it’s time to set up your project in After Effects. Launch the software and start a new composition by selecting “New Composition” from the “Composition” menu. Adjust the composition settings, including resolution, frame rate, and duration, based on your project specifications. This ensures your background will be created in the correct format for your final output.

 Step 3: Create or Import Background Assets
Get 10% off when you subscribe to our newsletter

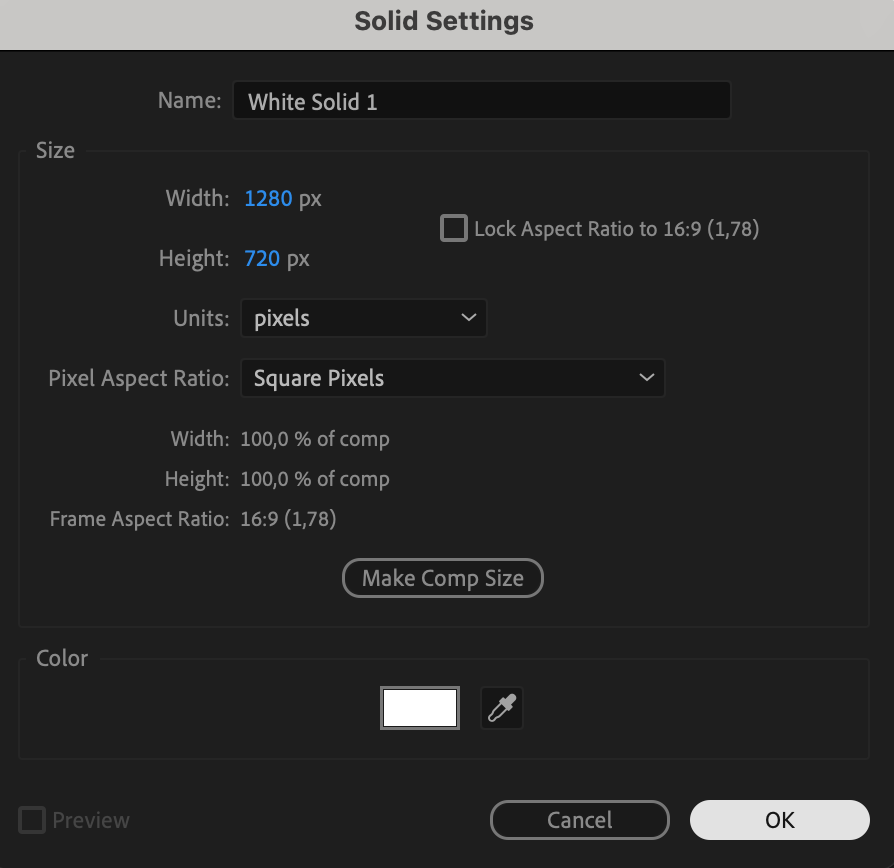
You can create a solid layer to serve as the canvas for your background by selecting Layer > New > Solid. Alternatively, you can import assets you need for your background, such as images, videos, or graphics, by selecting File > Import from the menu. Arrange these assets on the timeline in the desired order or position. This step sets the foundation for your background design.
 Step 4: Apply Effects and Animations
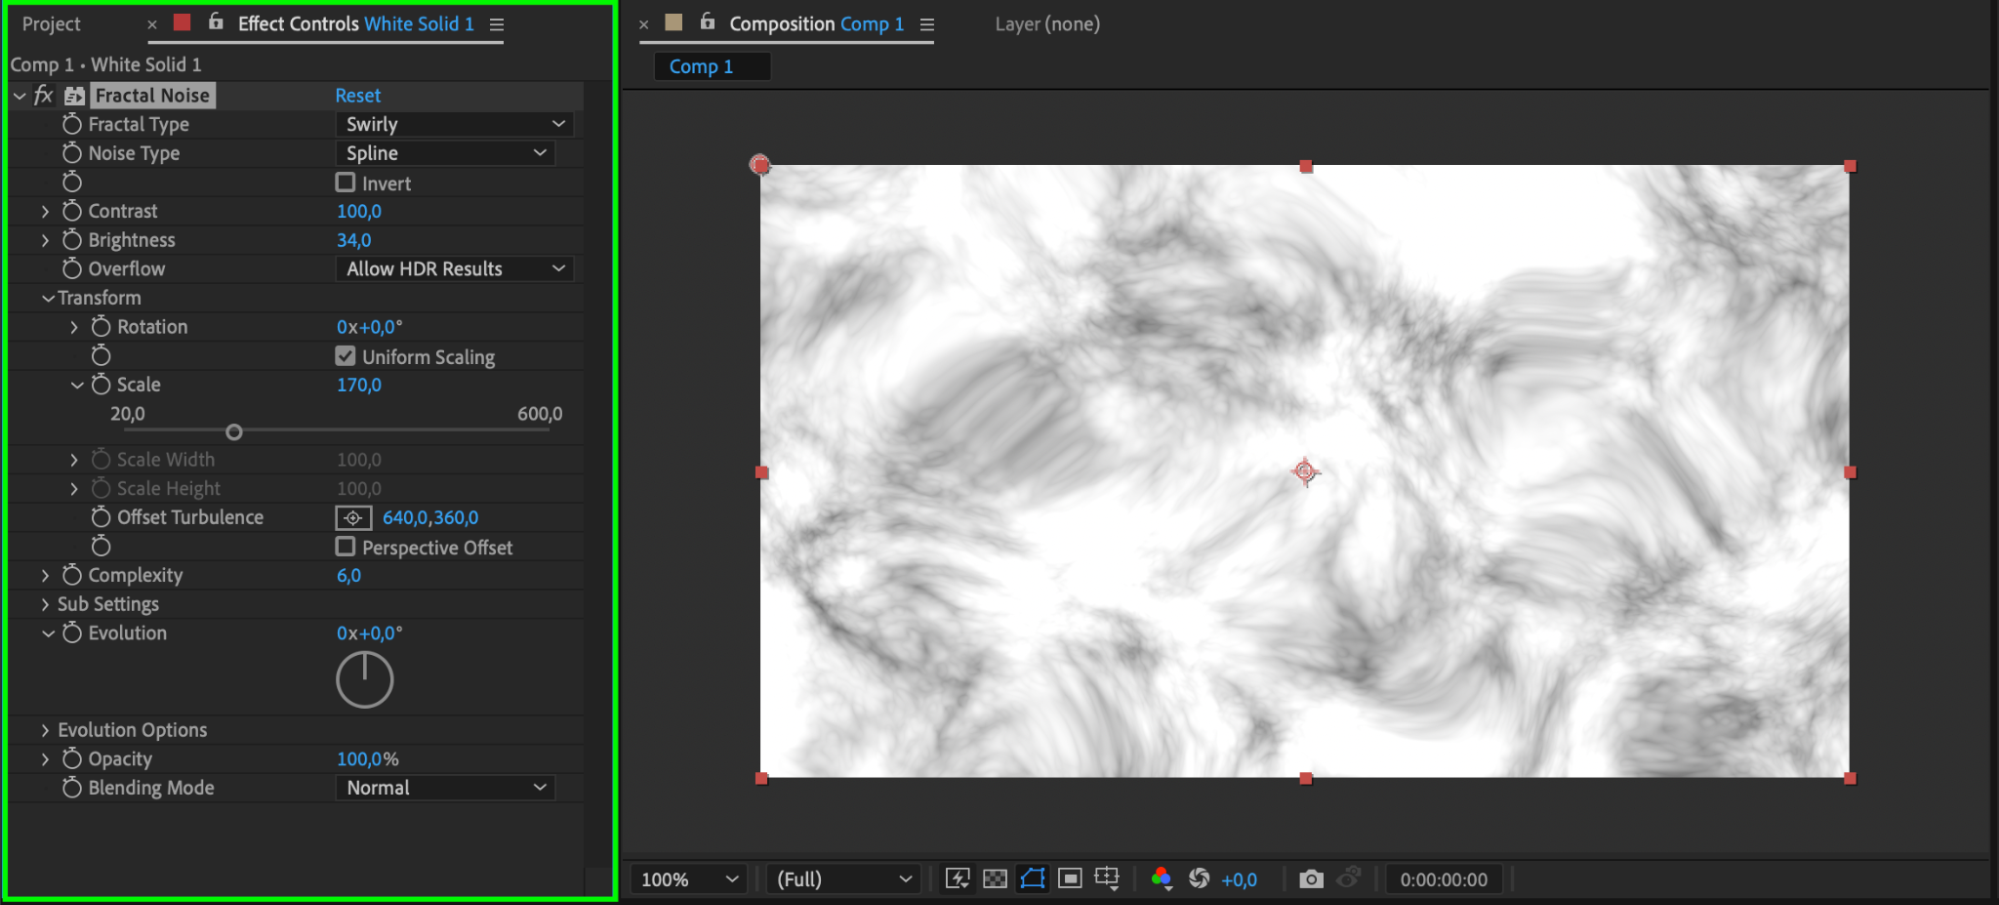
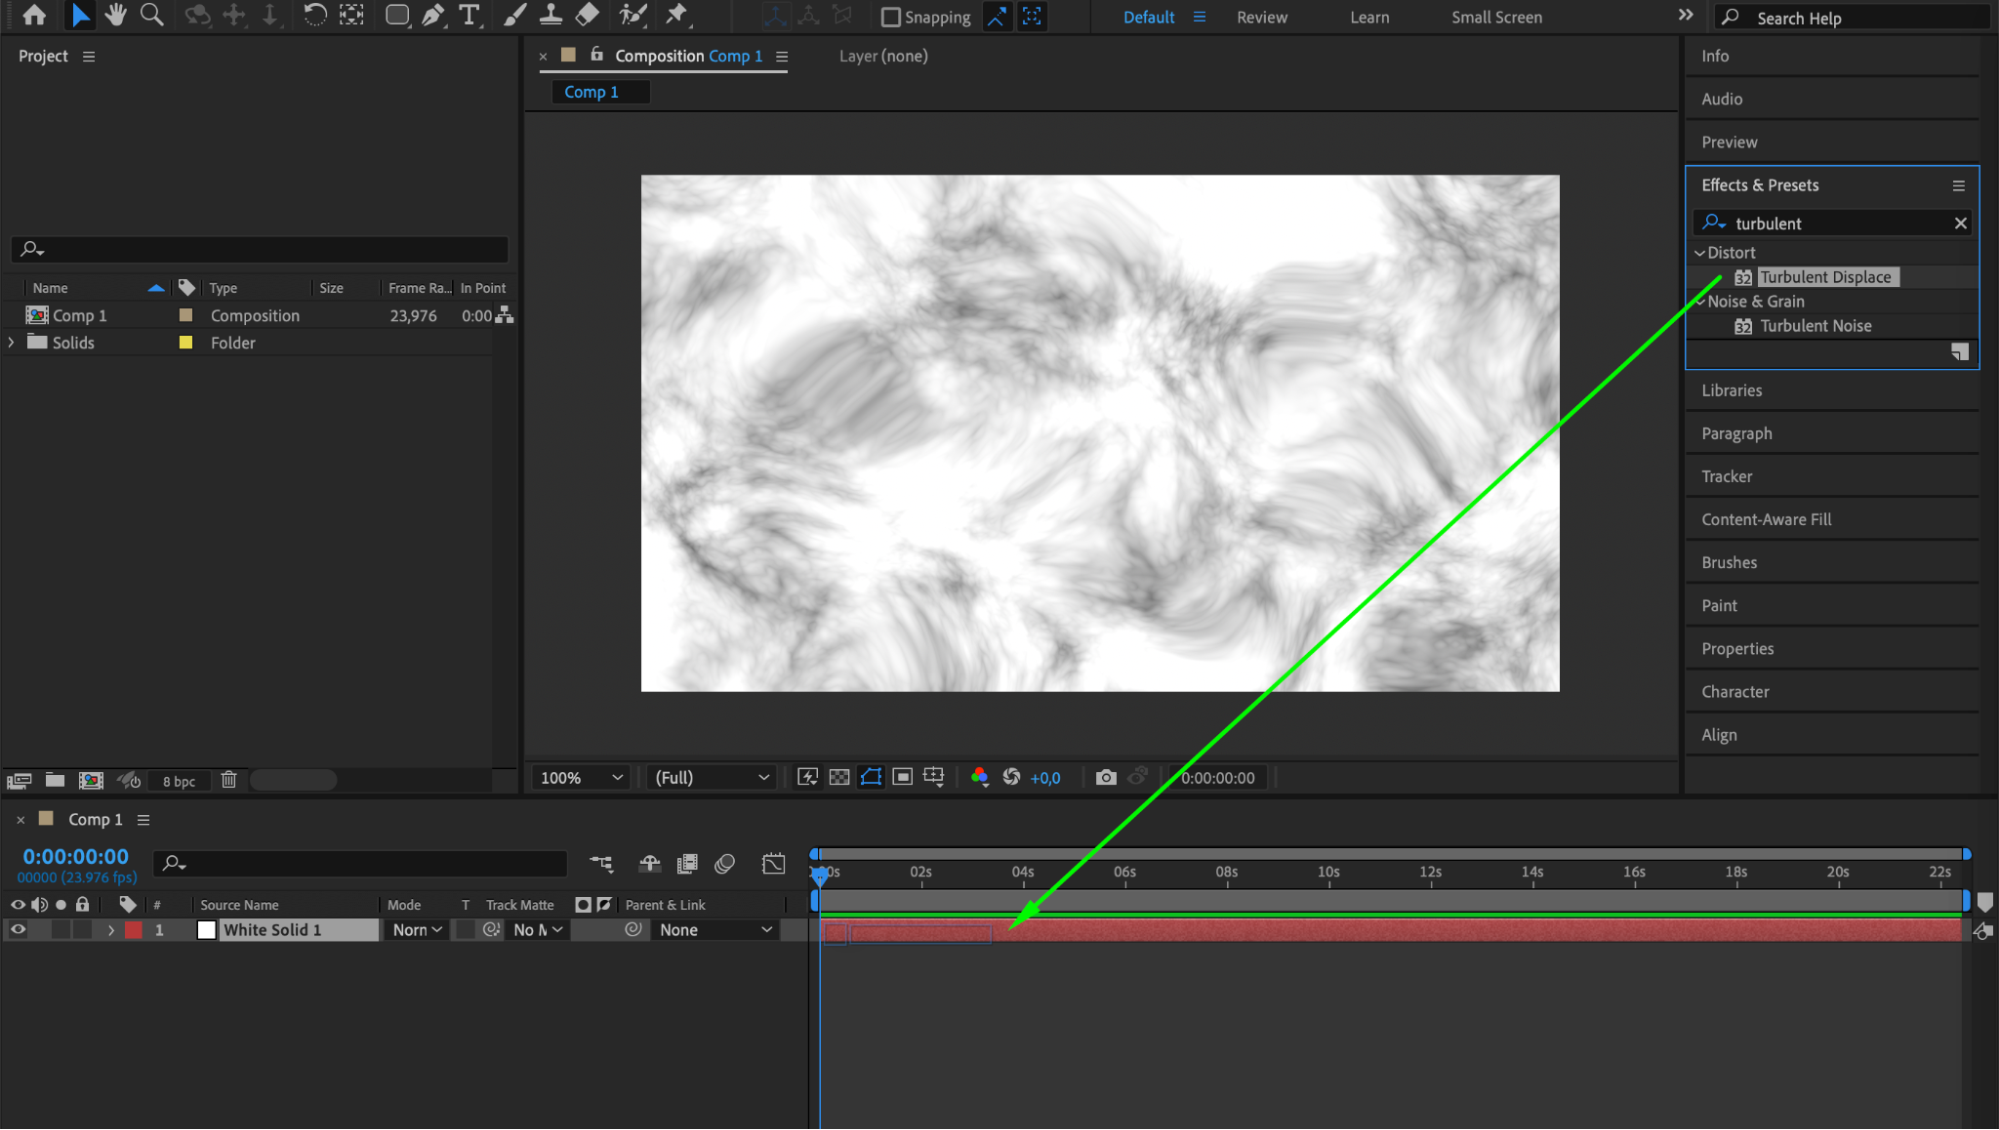
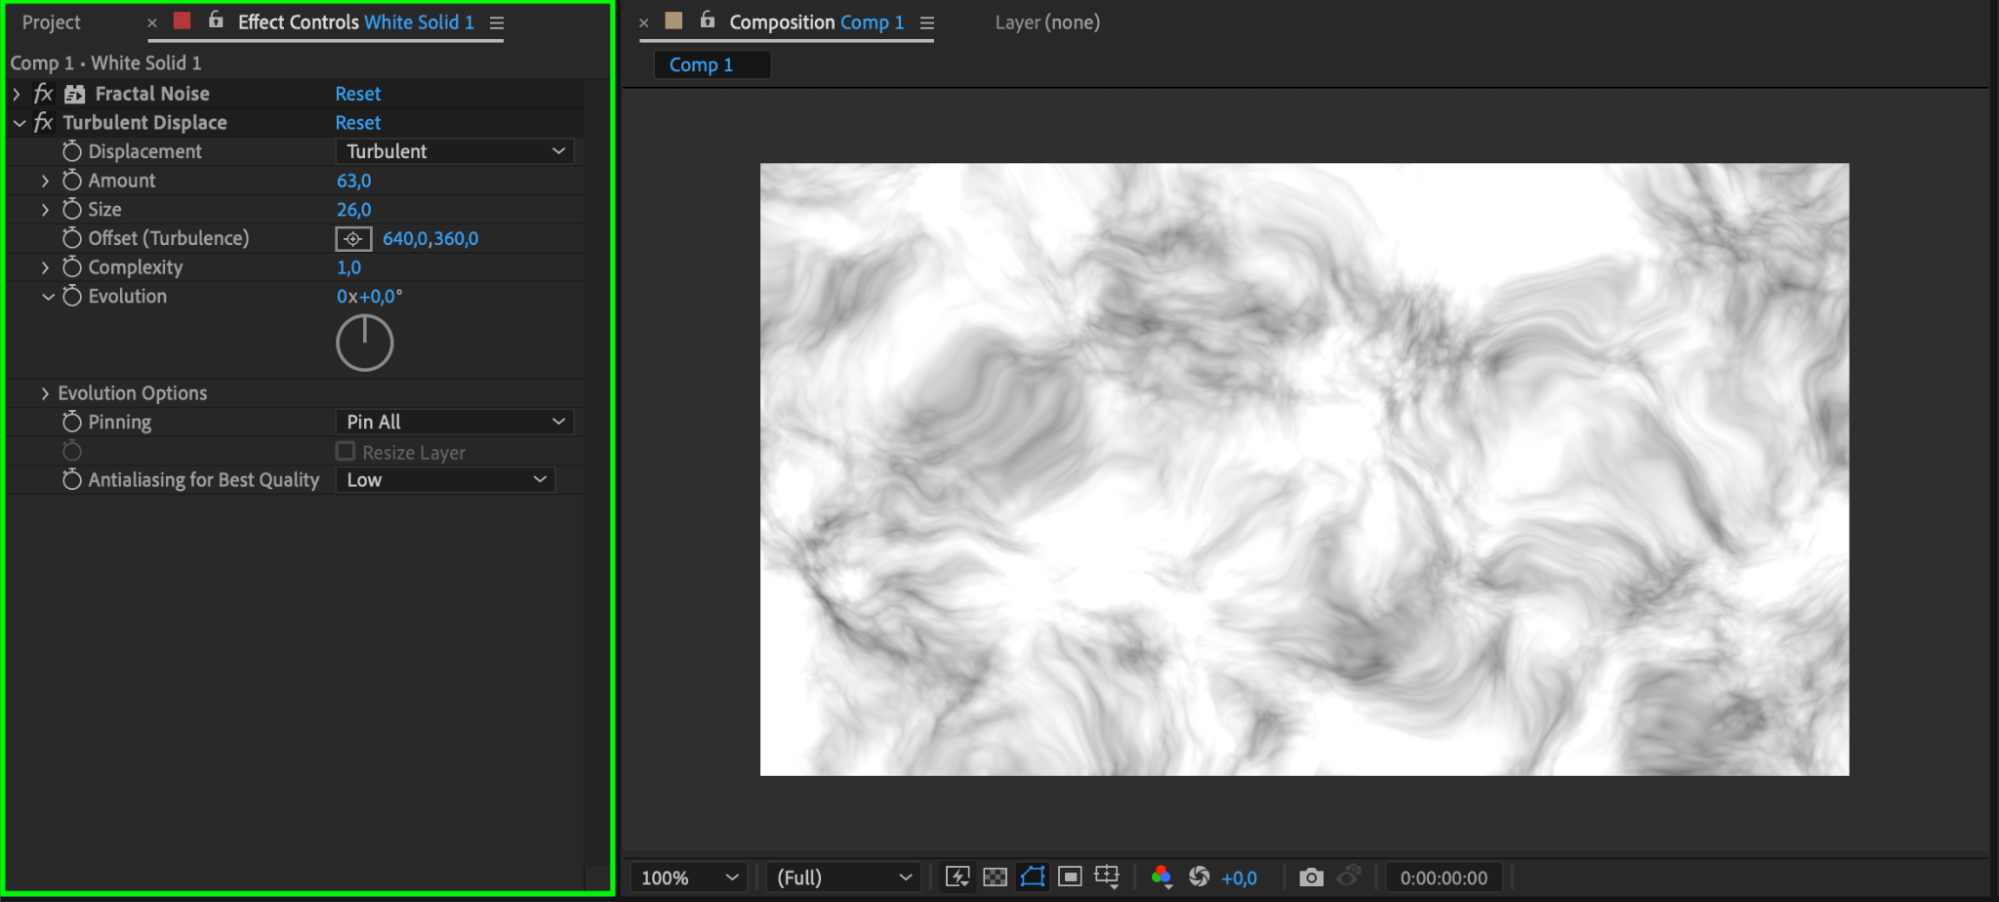
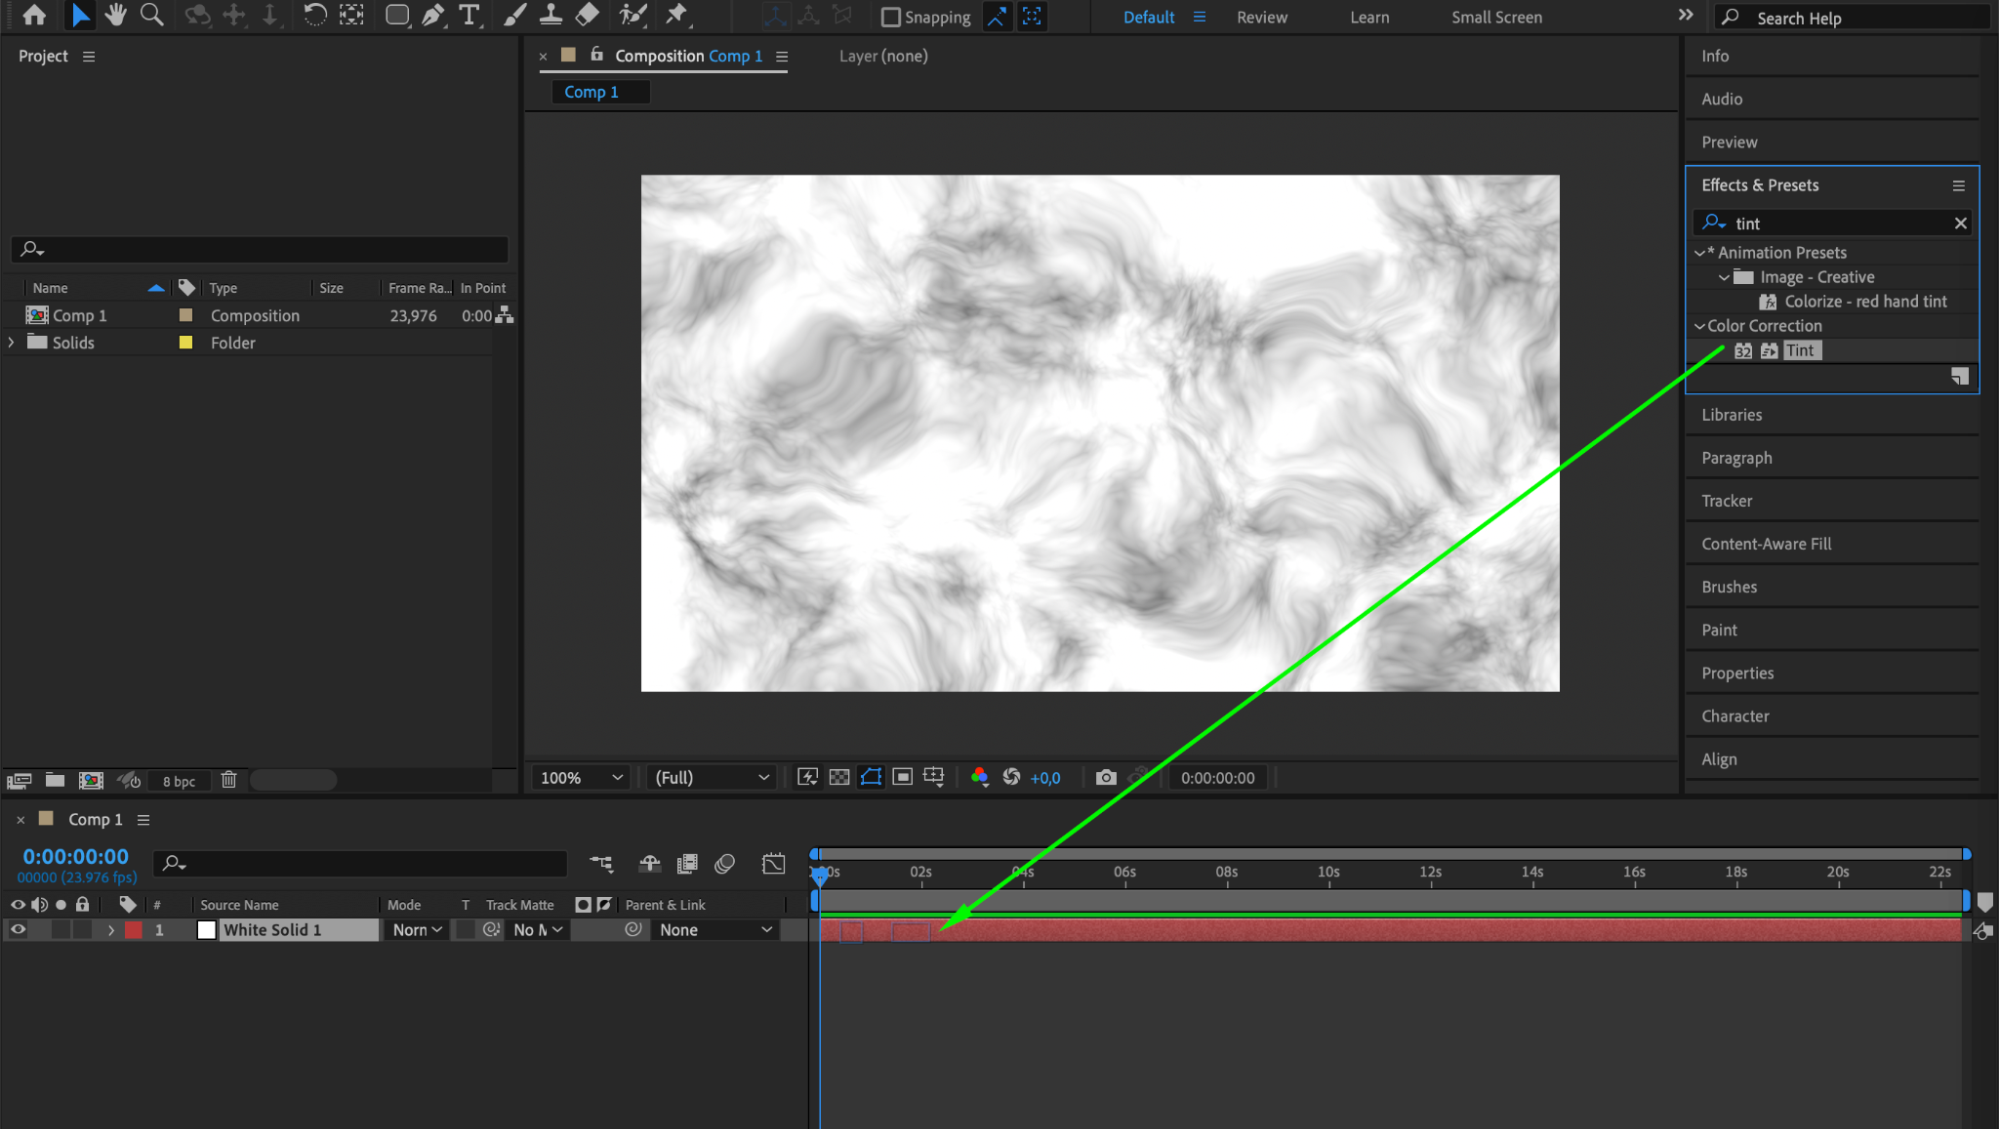
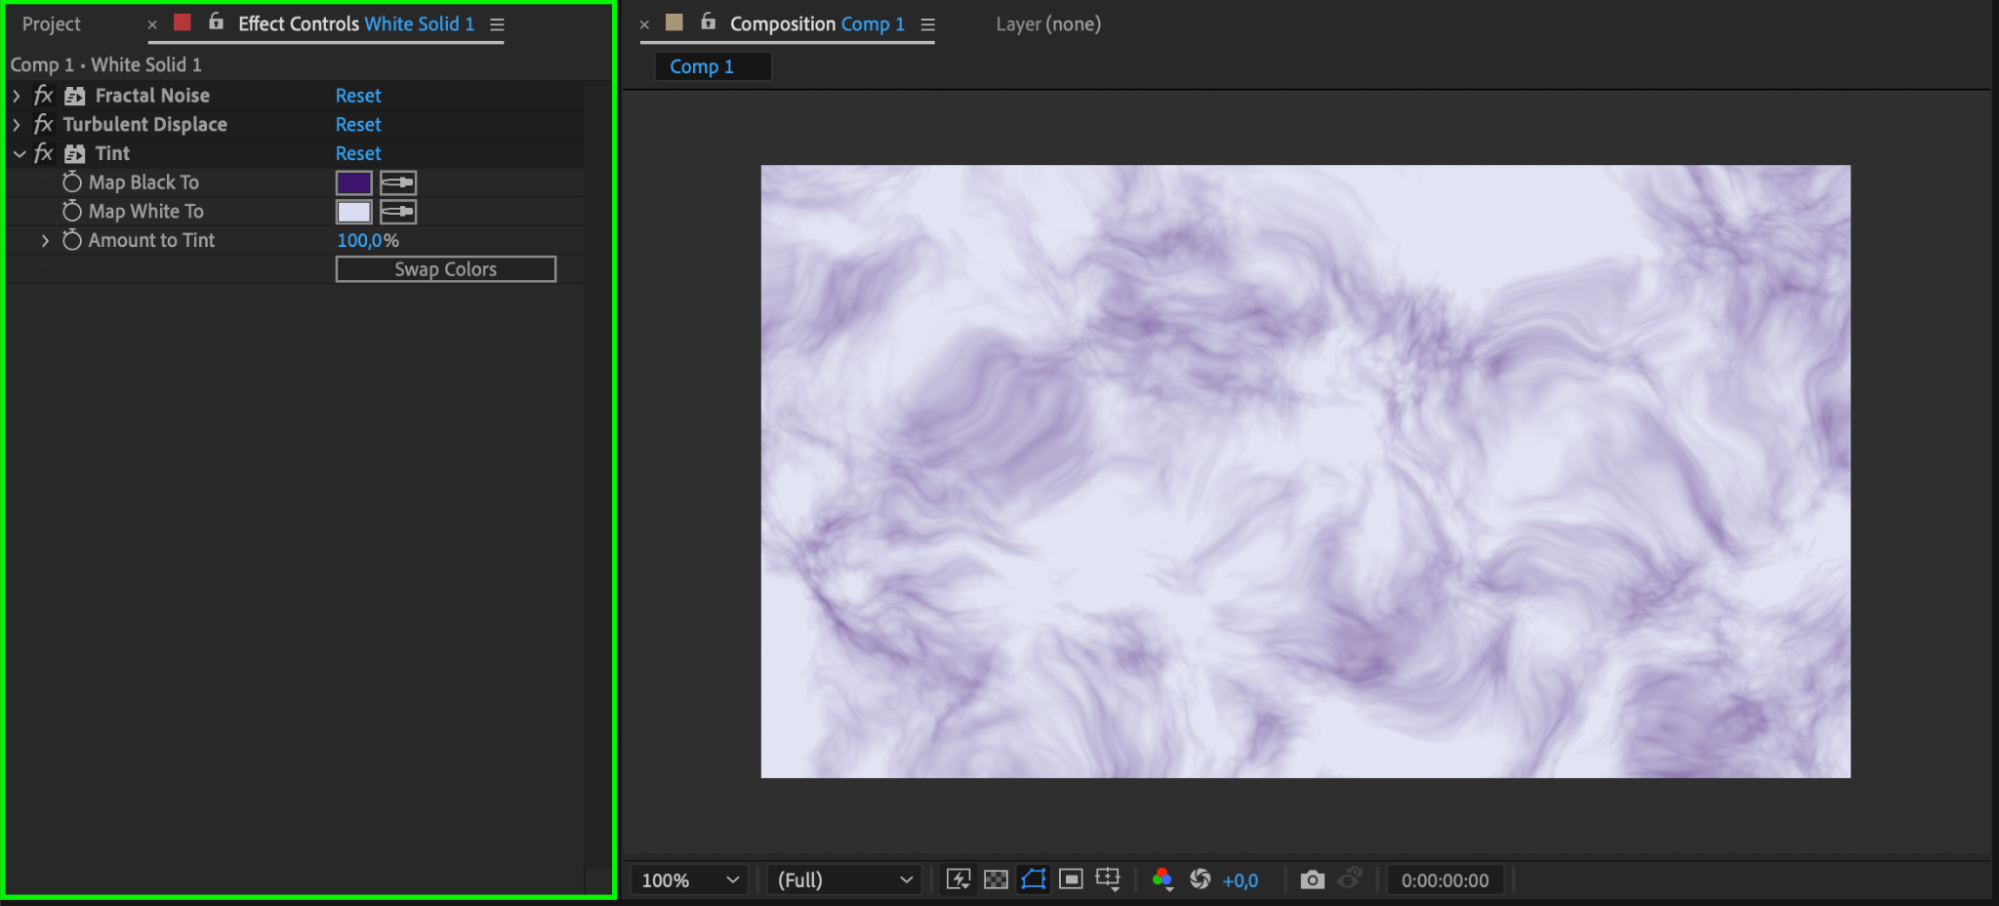
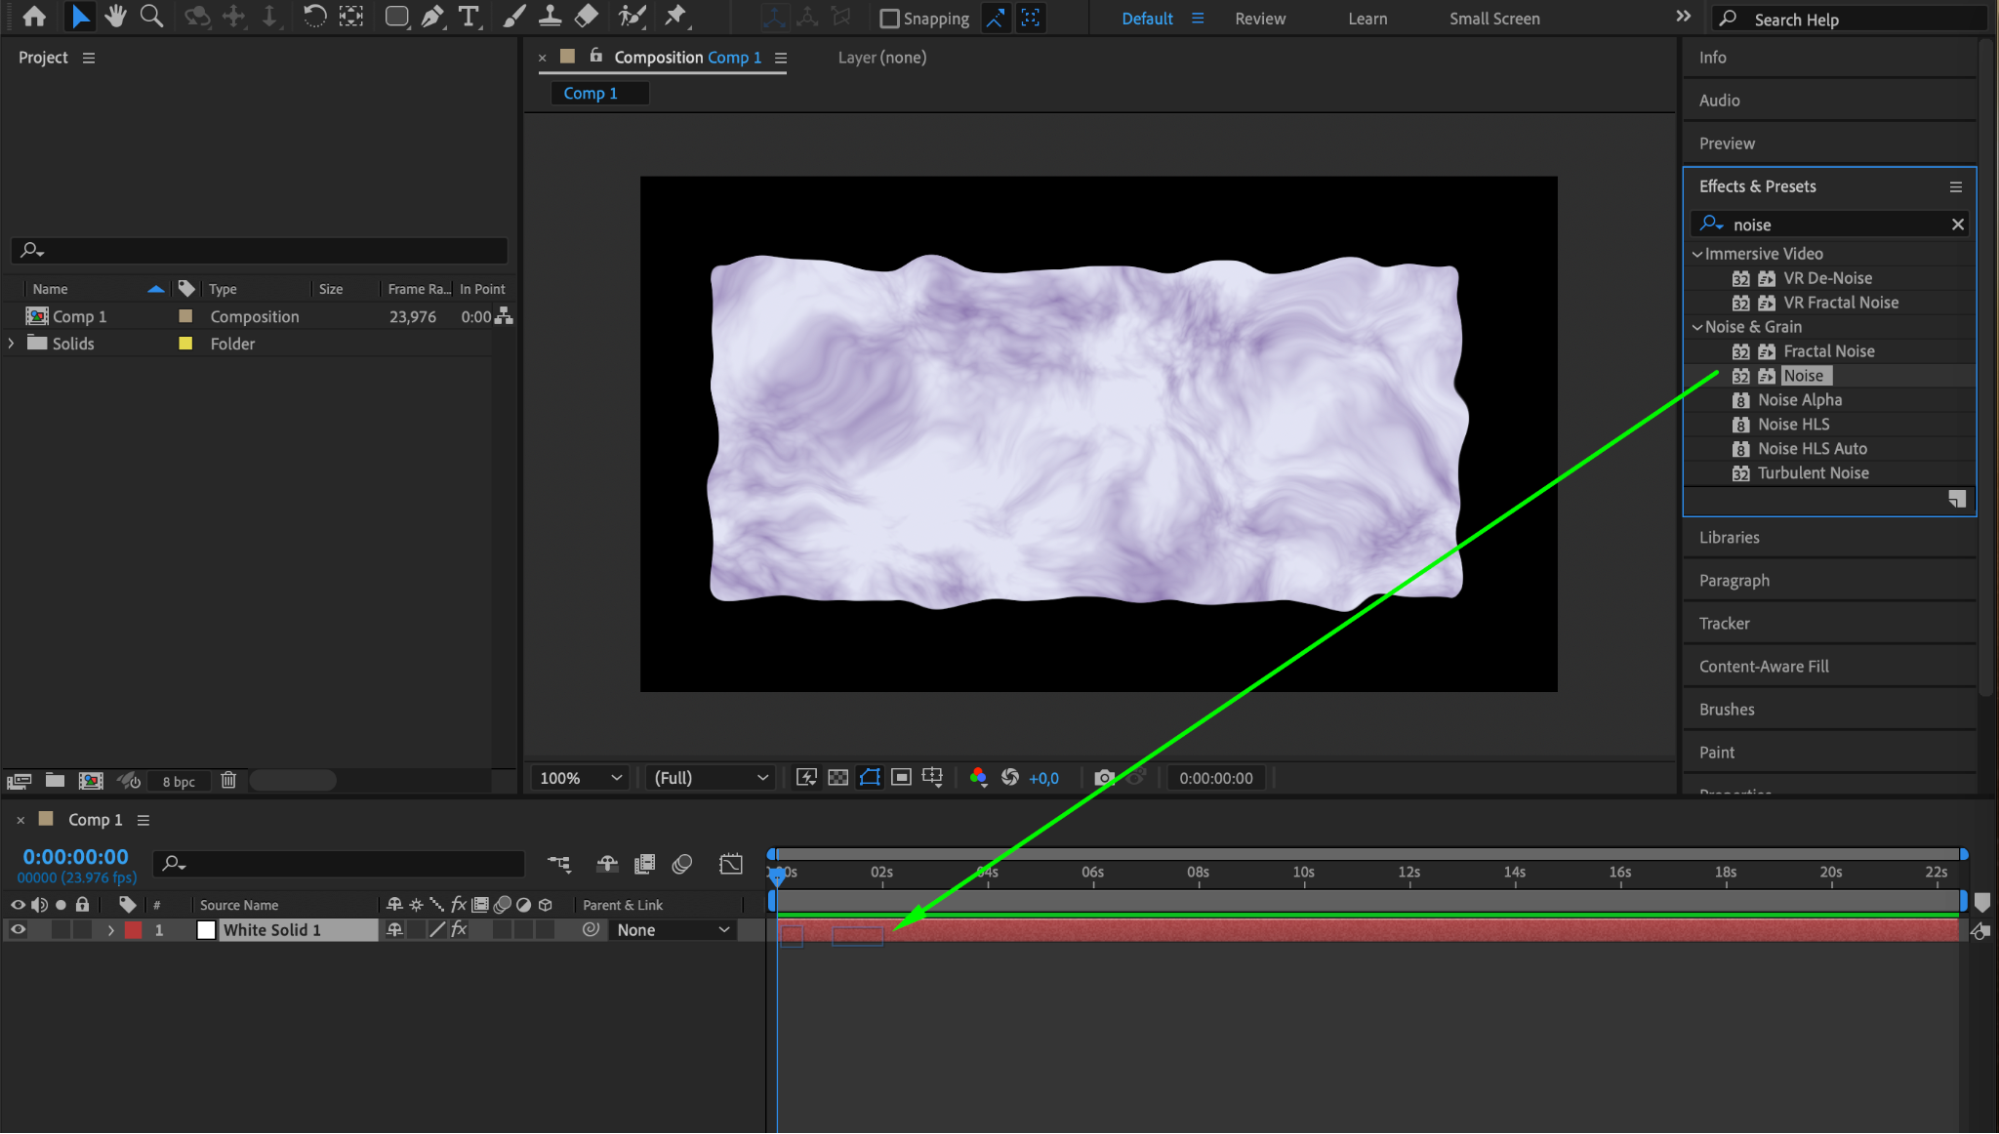
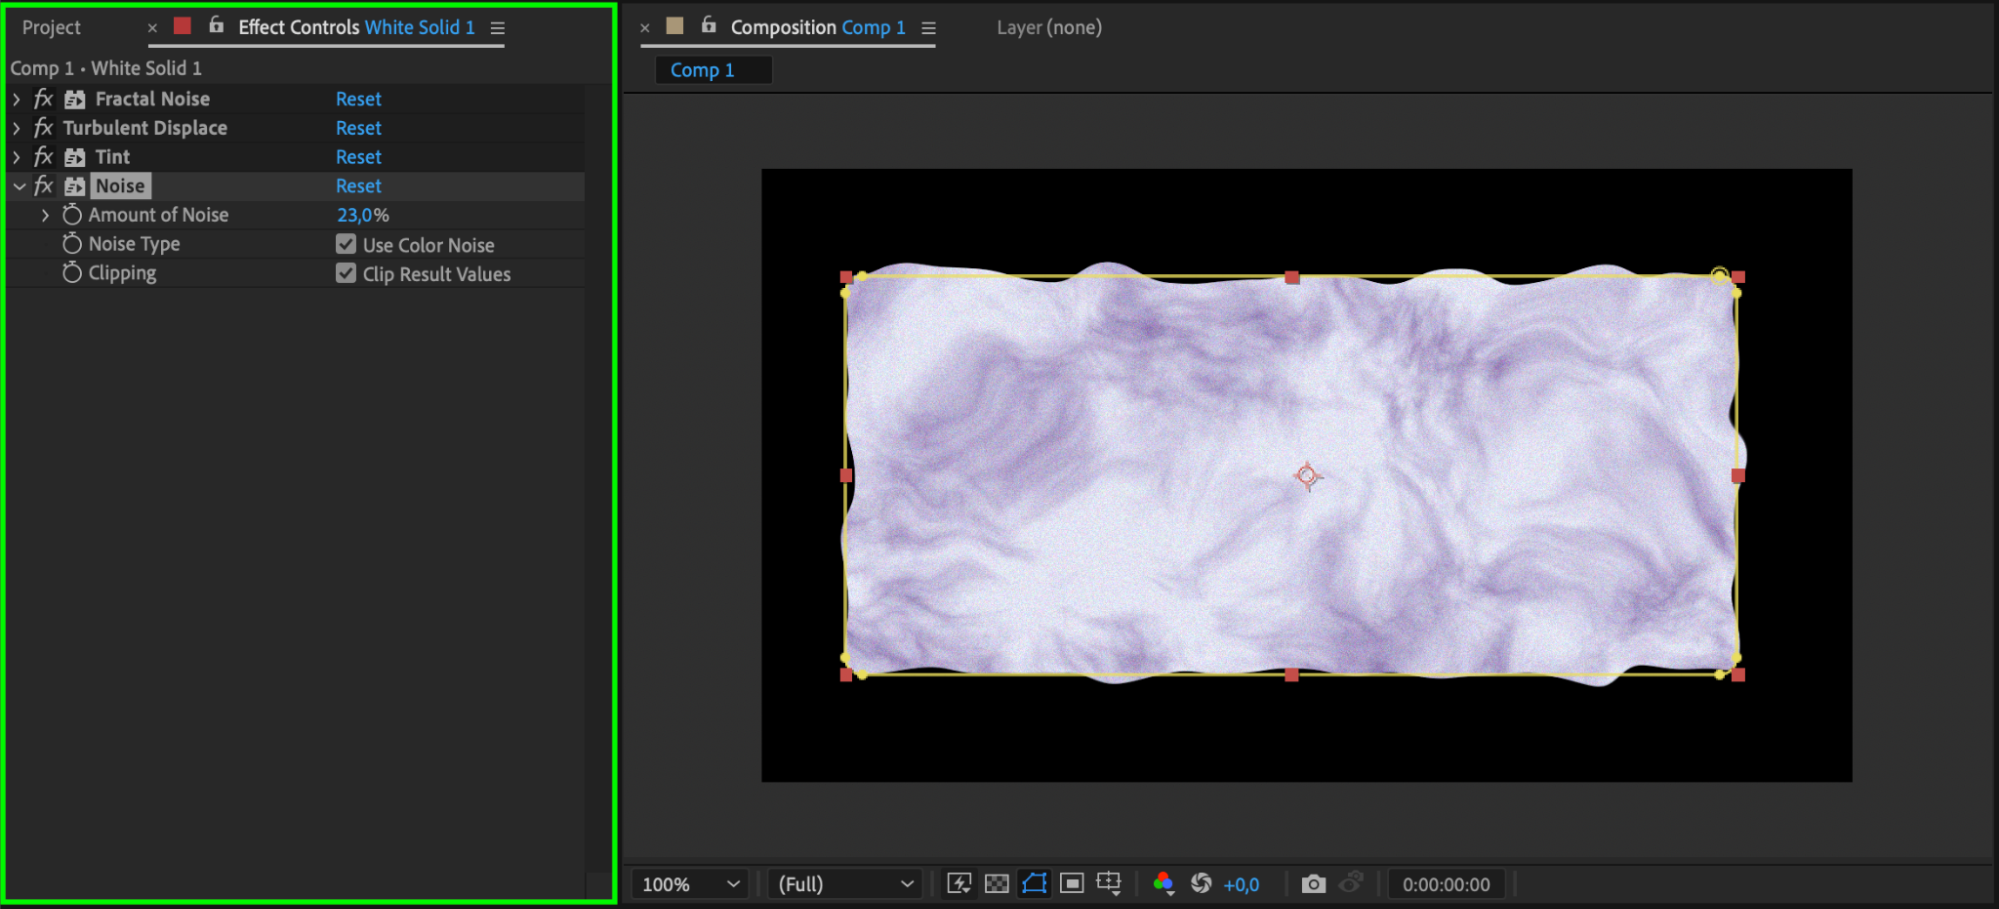
Now comes the fun part – applying effects and animations to enhance your background. After Effects offers a wide range of tools for you to experiment with. Try out effects like blurs, gradients, tint, fractal noise, and turbulent displace to achieve the desired visual impact. You can also animate elements using keyframes to add movement and dynamism to your background. Experiment with different effects to find the best combination for your design.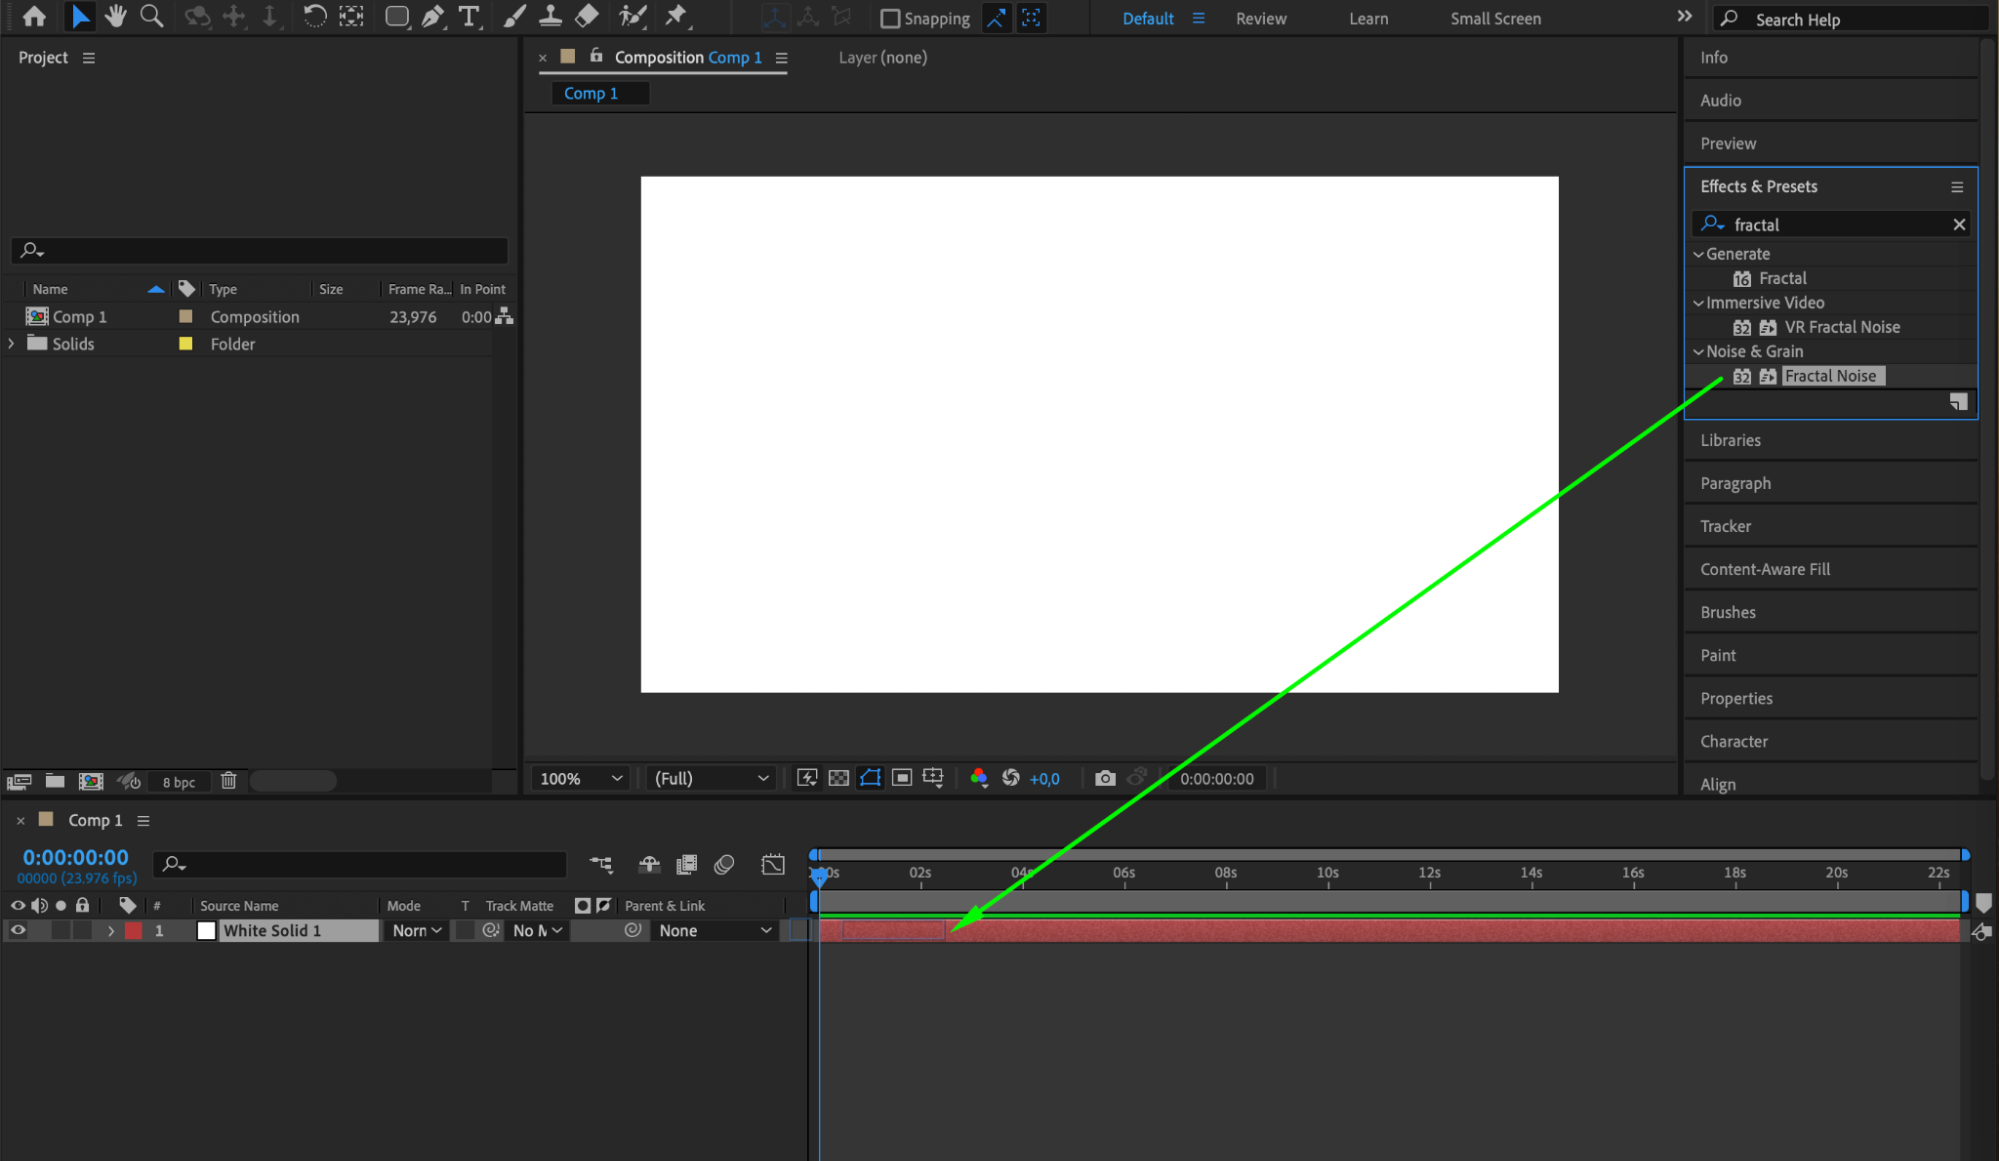
 Step 5: Use Masks and Shape Layers
Masks and shape layers are powerful tools in After Effects that allow you to create custom shapes and control visibility. Use masks to reveal or hide specific parts of your background, or utilize shape layers to create intricate designs and patterns. This can add a unique touch to your background and make it more visually appealing.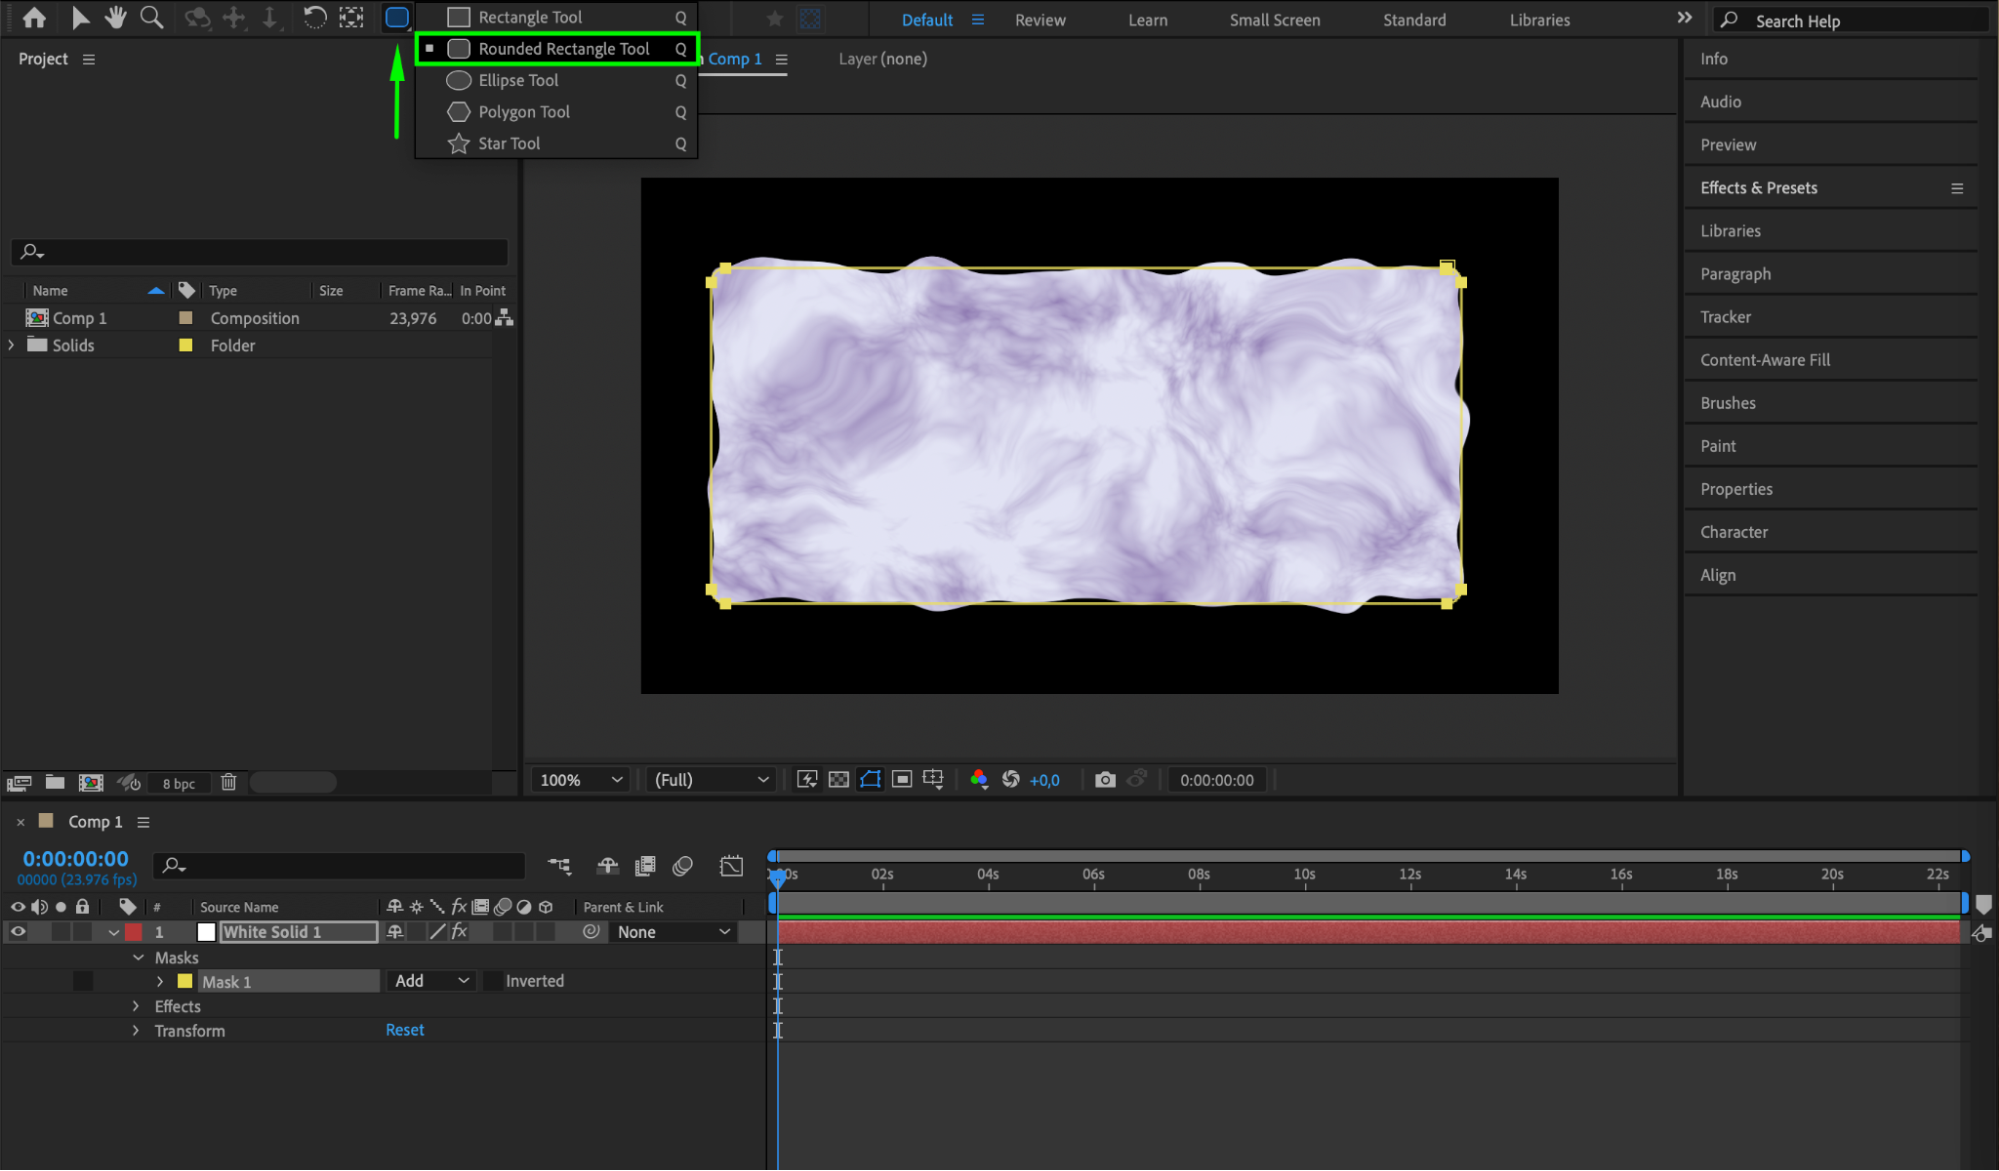 Step 6: Add Textures and Overlays
Get 10% off when you subscribe to our newsletter

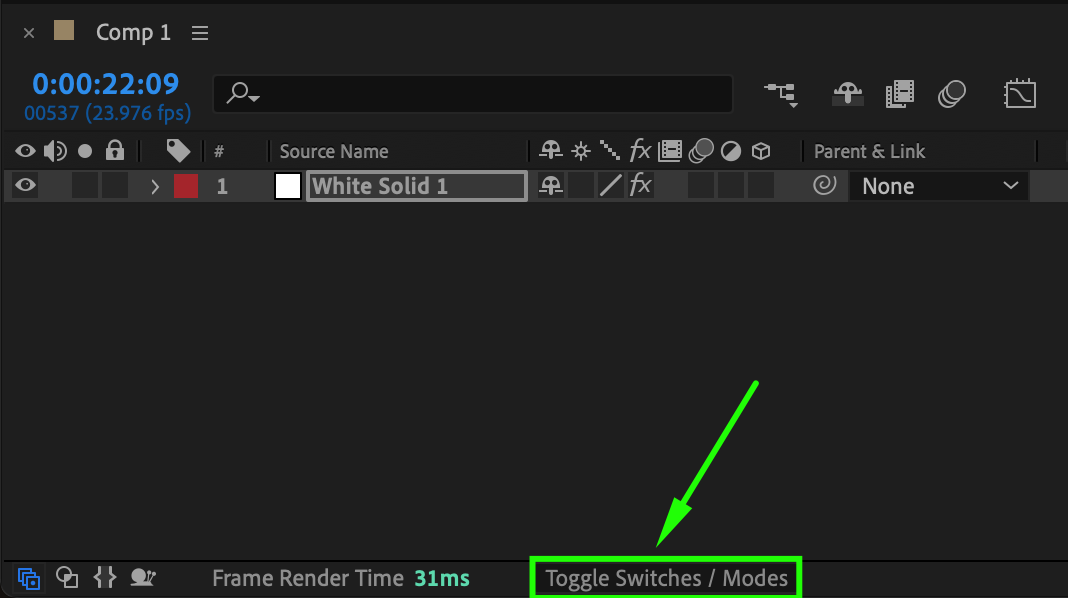
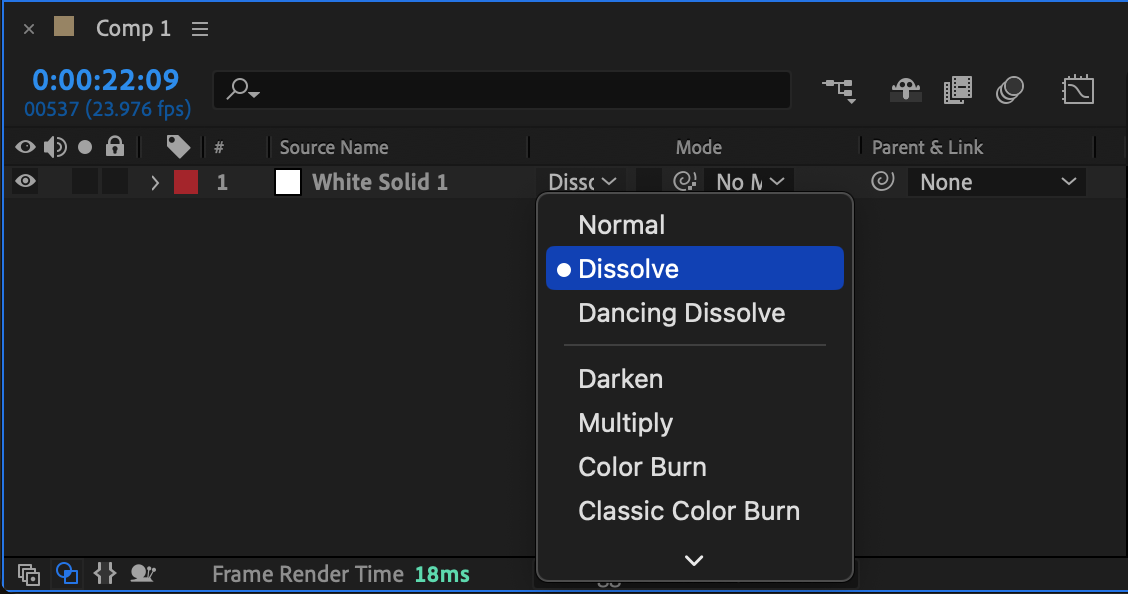
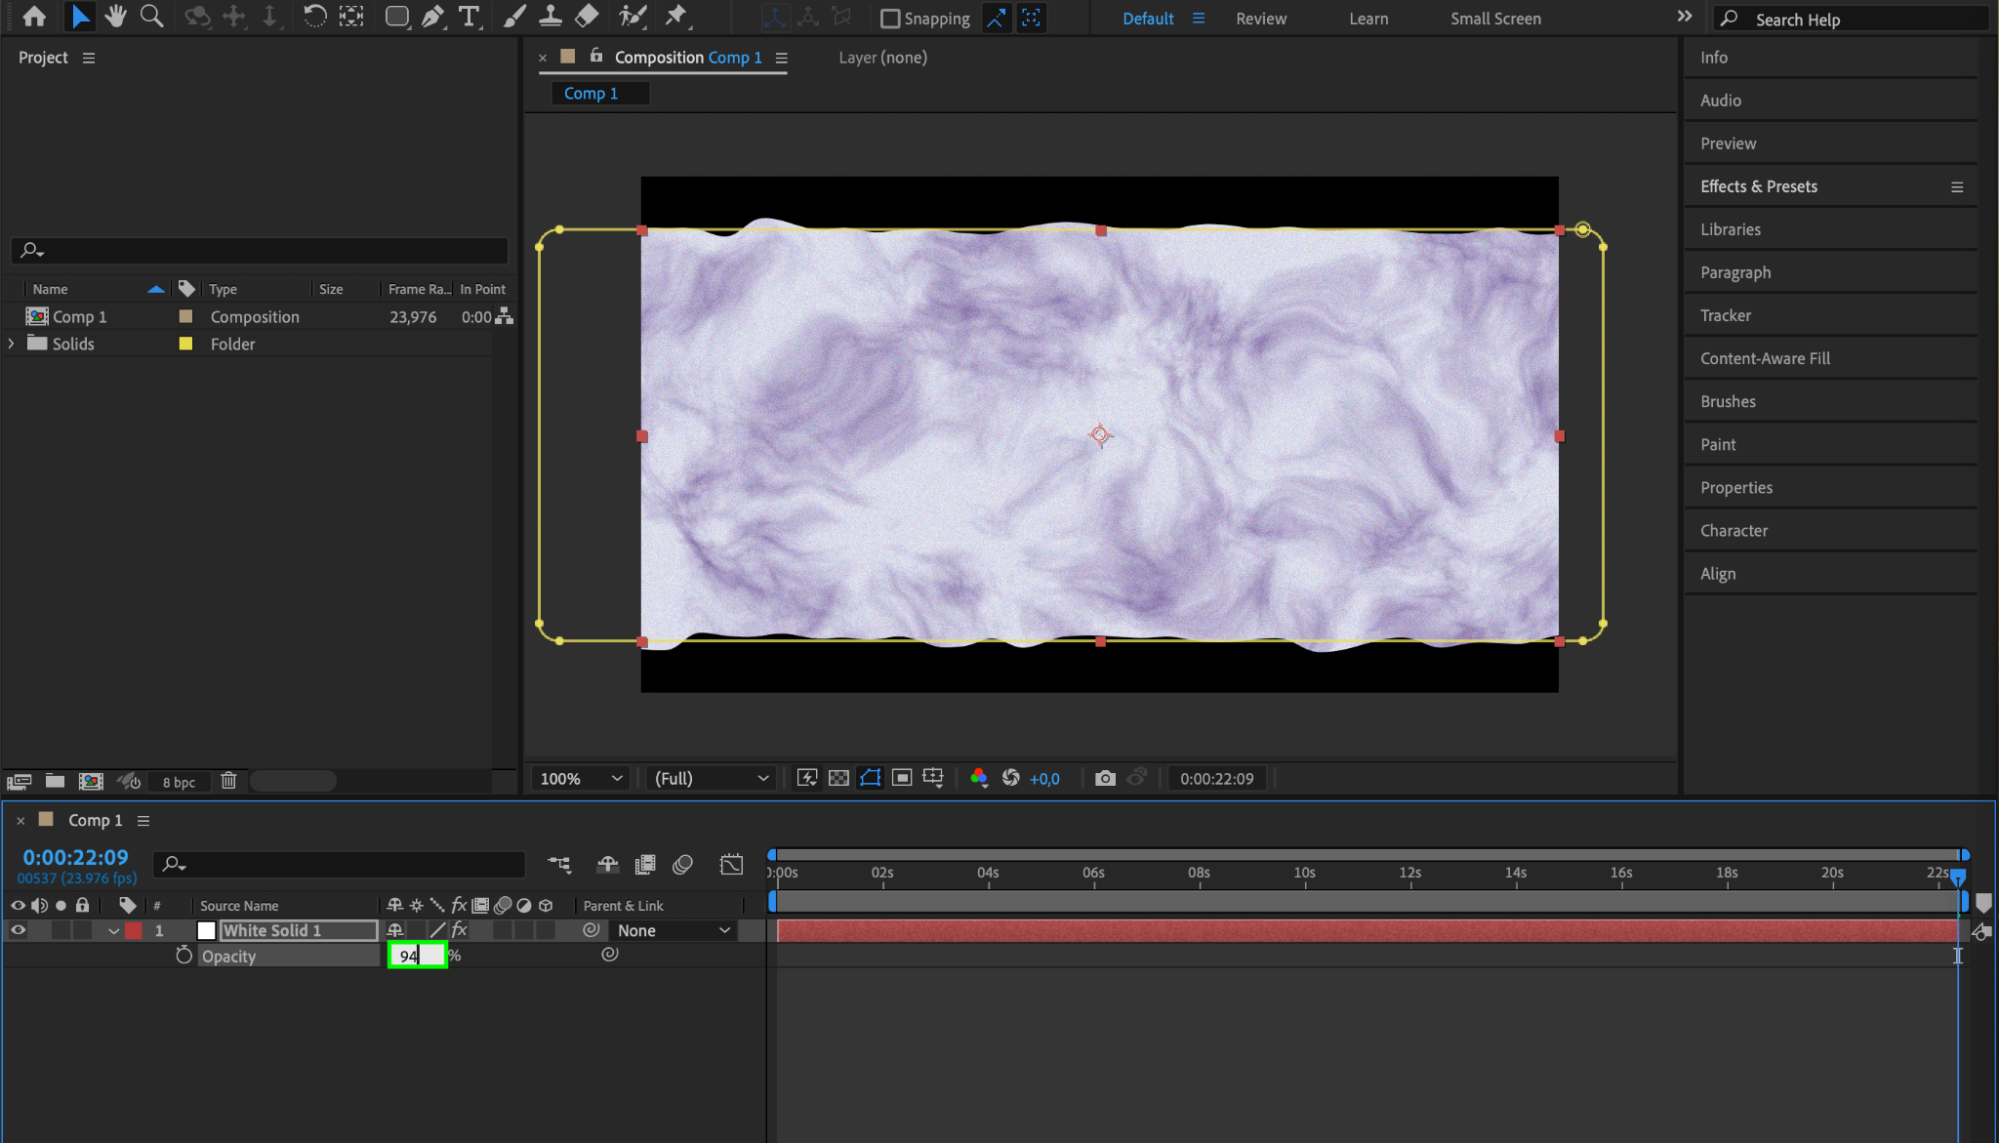
Consider applying textures or overlays to your background to add even more depth and visual interest. These elements can give your background a unique look and feel. Play around with different blend modes and opacity levels to achieve the desired effect. This step can significantly enhance the complexity and attractiveness of your background.
 Step 7: Fine-Tune and Render
Get 10% off when you subscribe to our newsletter

Once you’re happy with your background design, it’s time to fine-tune and make any necessary adjustments. Preview your composition and make sure everything looks polished. Finally, render your composition by selecting Composition > Add to Render Queue from the menu. Choose the desired output format and settings, and hit Render to generate your final video with the stunning background you created.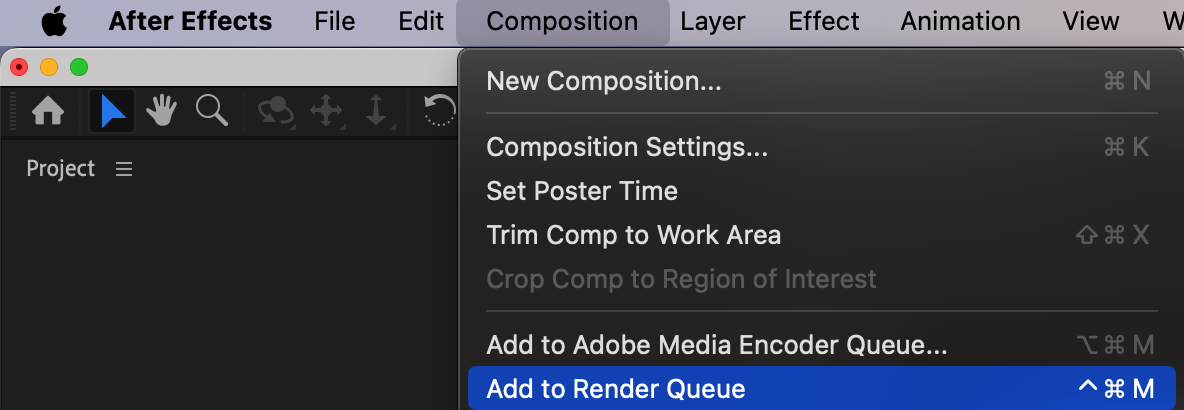
 Conclusion
Get 10% off when you subscribe to our newsletter

Remember, After Effects offers endless possibilities when it comes to creating visually striking backgrounds. Don’t be afraid to explore different techniques and effects, and have fun with the process. So get started today, and elevate your video designs with captivating backgrounds created in After Effects. Your audience will definitely notice the difference!


