Step-by-Step Guide to Making an Image Appear in After Effects
Introduction – Creating Smooth Image Appearances in After Effects
Making an image appear in After Effects is a fundamental skill for creating engaging motion graphics and animations. Whether you’re designing a presentation, video intro, or creative project, knowing how to smoothly introduce an image can elevate the visual impact of your composition. In this guide, we’ll walk you through how to make an image appear using simple techniques like opacity keyframes, transitions, and effects.
Get 10% off when you subscribe to our newsletter

Step 1: Create a New Composition
Start by creating a new composition. Go to Composition > New Composition, set the desired resolution (e.g., 1920×1080), frame rate, and duration, then click OK. This will be your workspace where you’ll animate the image’s appearance.

 Step 2: Import and Add Your Image
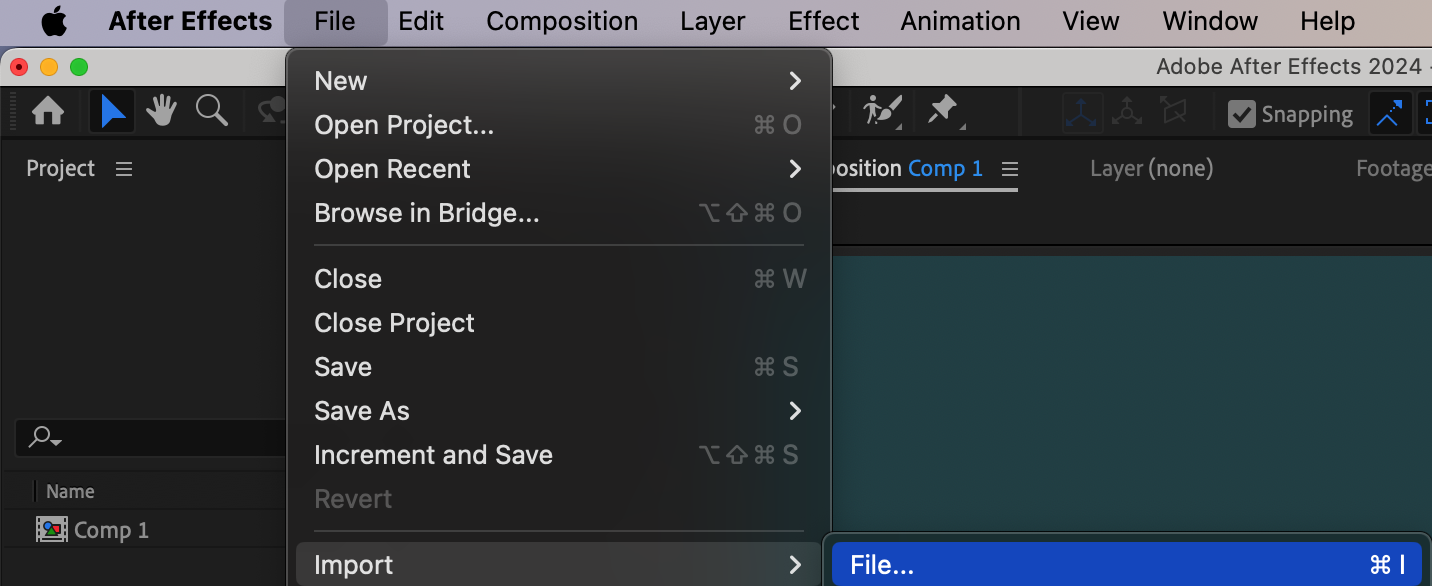
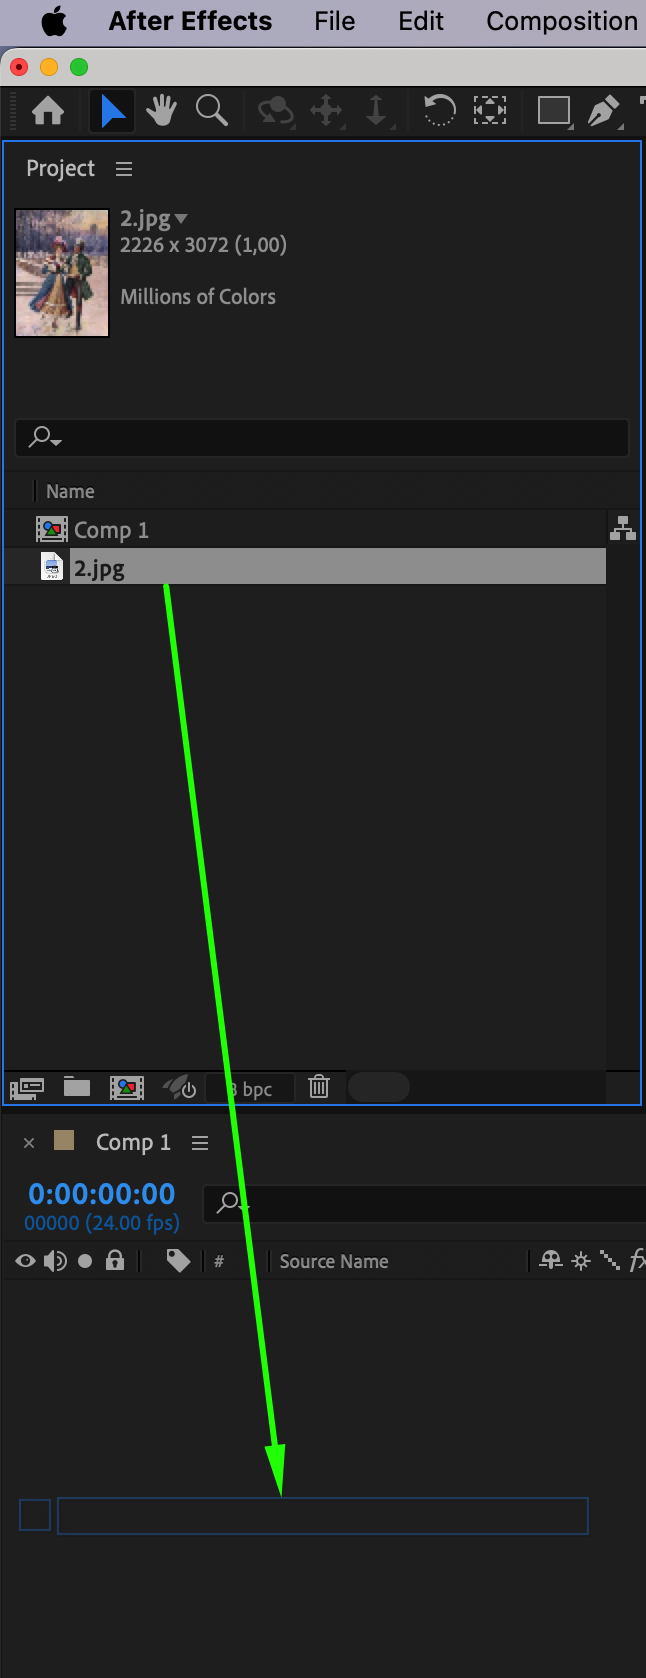
Go to File > Import > File and select the image you want to make appear. Click Open, and the image will appear in the Project Panel. Drag the image onto the timeline, ensuring it is positioned at the desired time in the composition. Adjust its scale and position by selecting the layer, pressing “S” for Scale or “P” for Position, and modifying the values in the timeline.
Step 3: Use Opacity Keyframes
To make the image appear, you’ll animate its opacity:
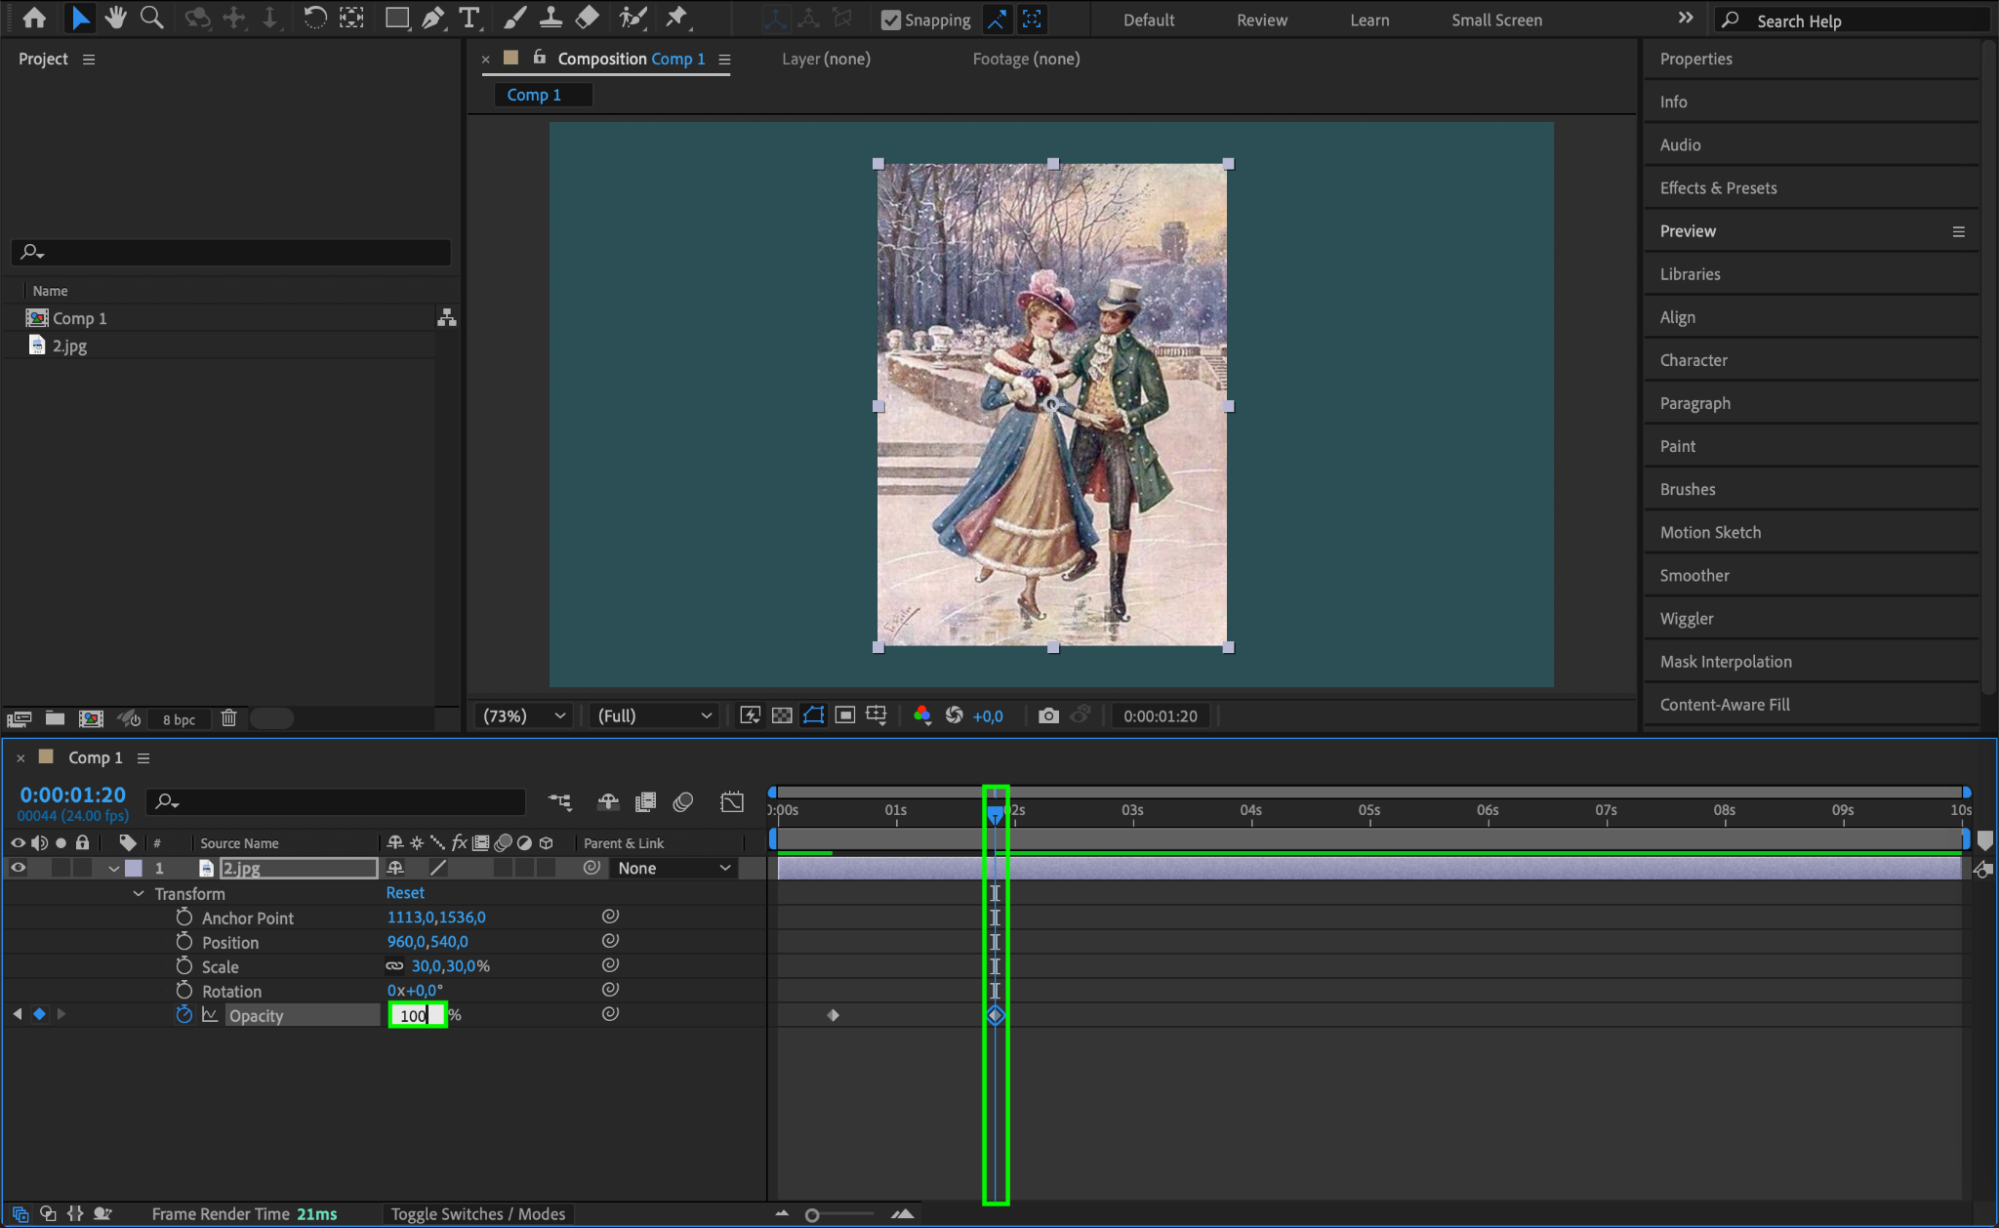
Select the image layer in the timeline.
Press “T” to reveal the Opacity property.
Move the Current Time Indicator (CTI) to the point where you want the image to start appearing.
Click the stopwatch icon next to Opacity to create the first keyframe, and set the value to 0% (fully transparent).
Move the CTI forward by a few frames (e.g., 10-20 frames) and set the Opacity value to 100% (fully visible).
This creates a smooth fade-in effect.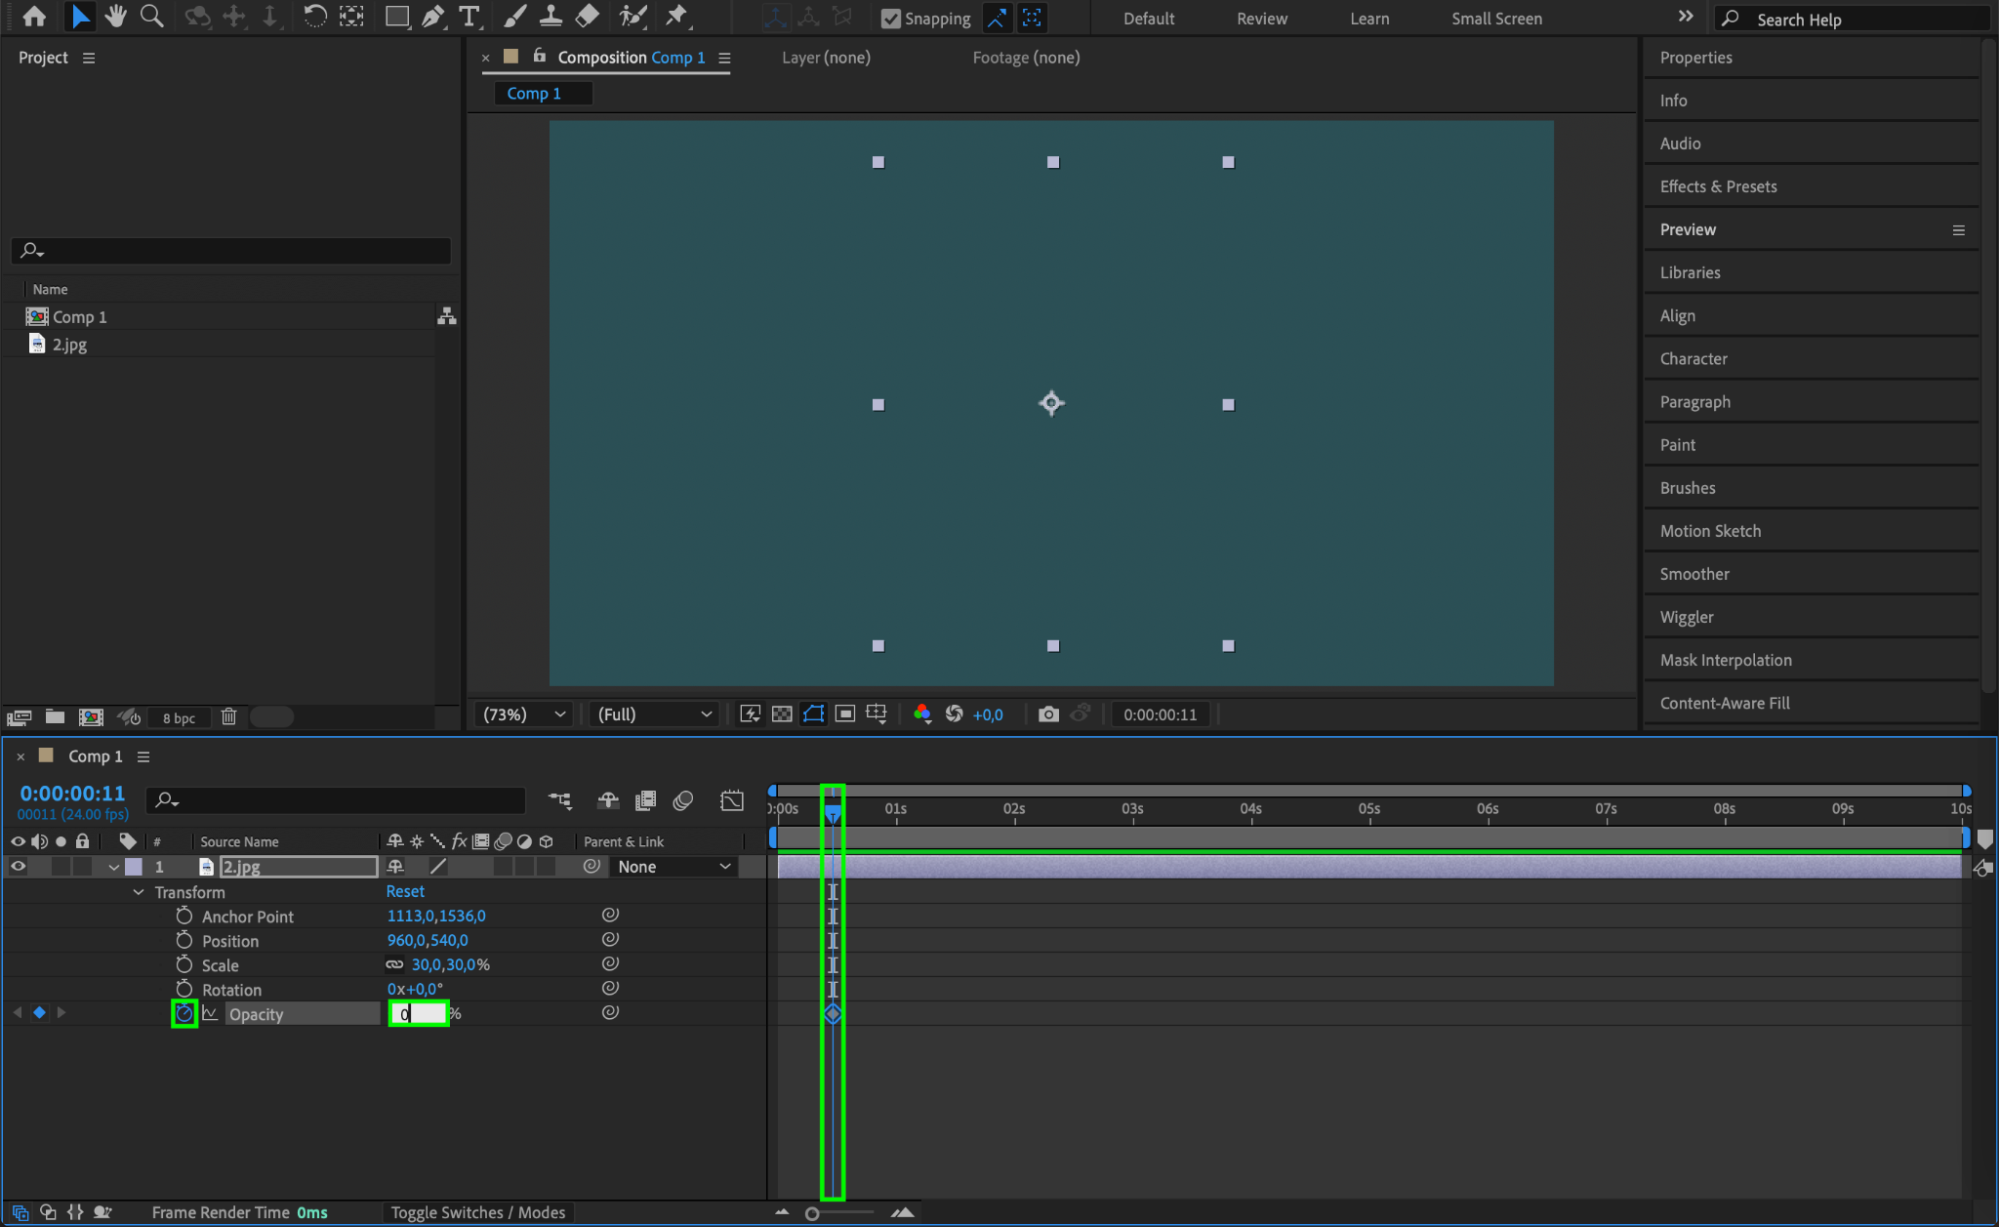
 Step 4: Add a Blur Effect for a Creative Transition (Optional)
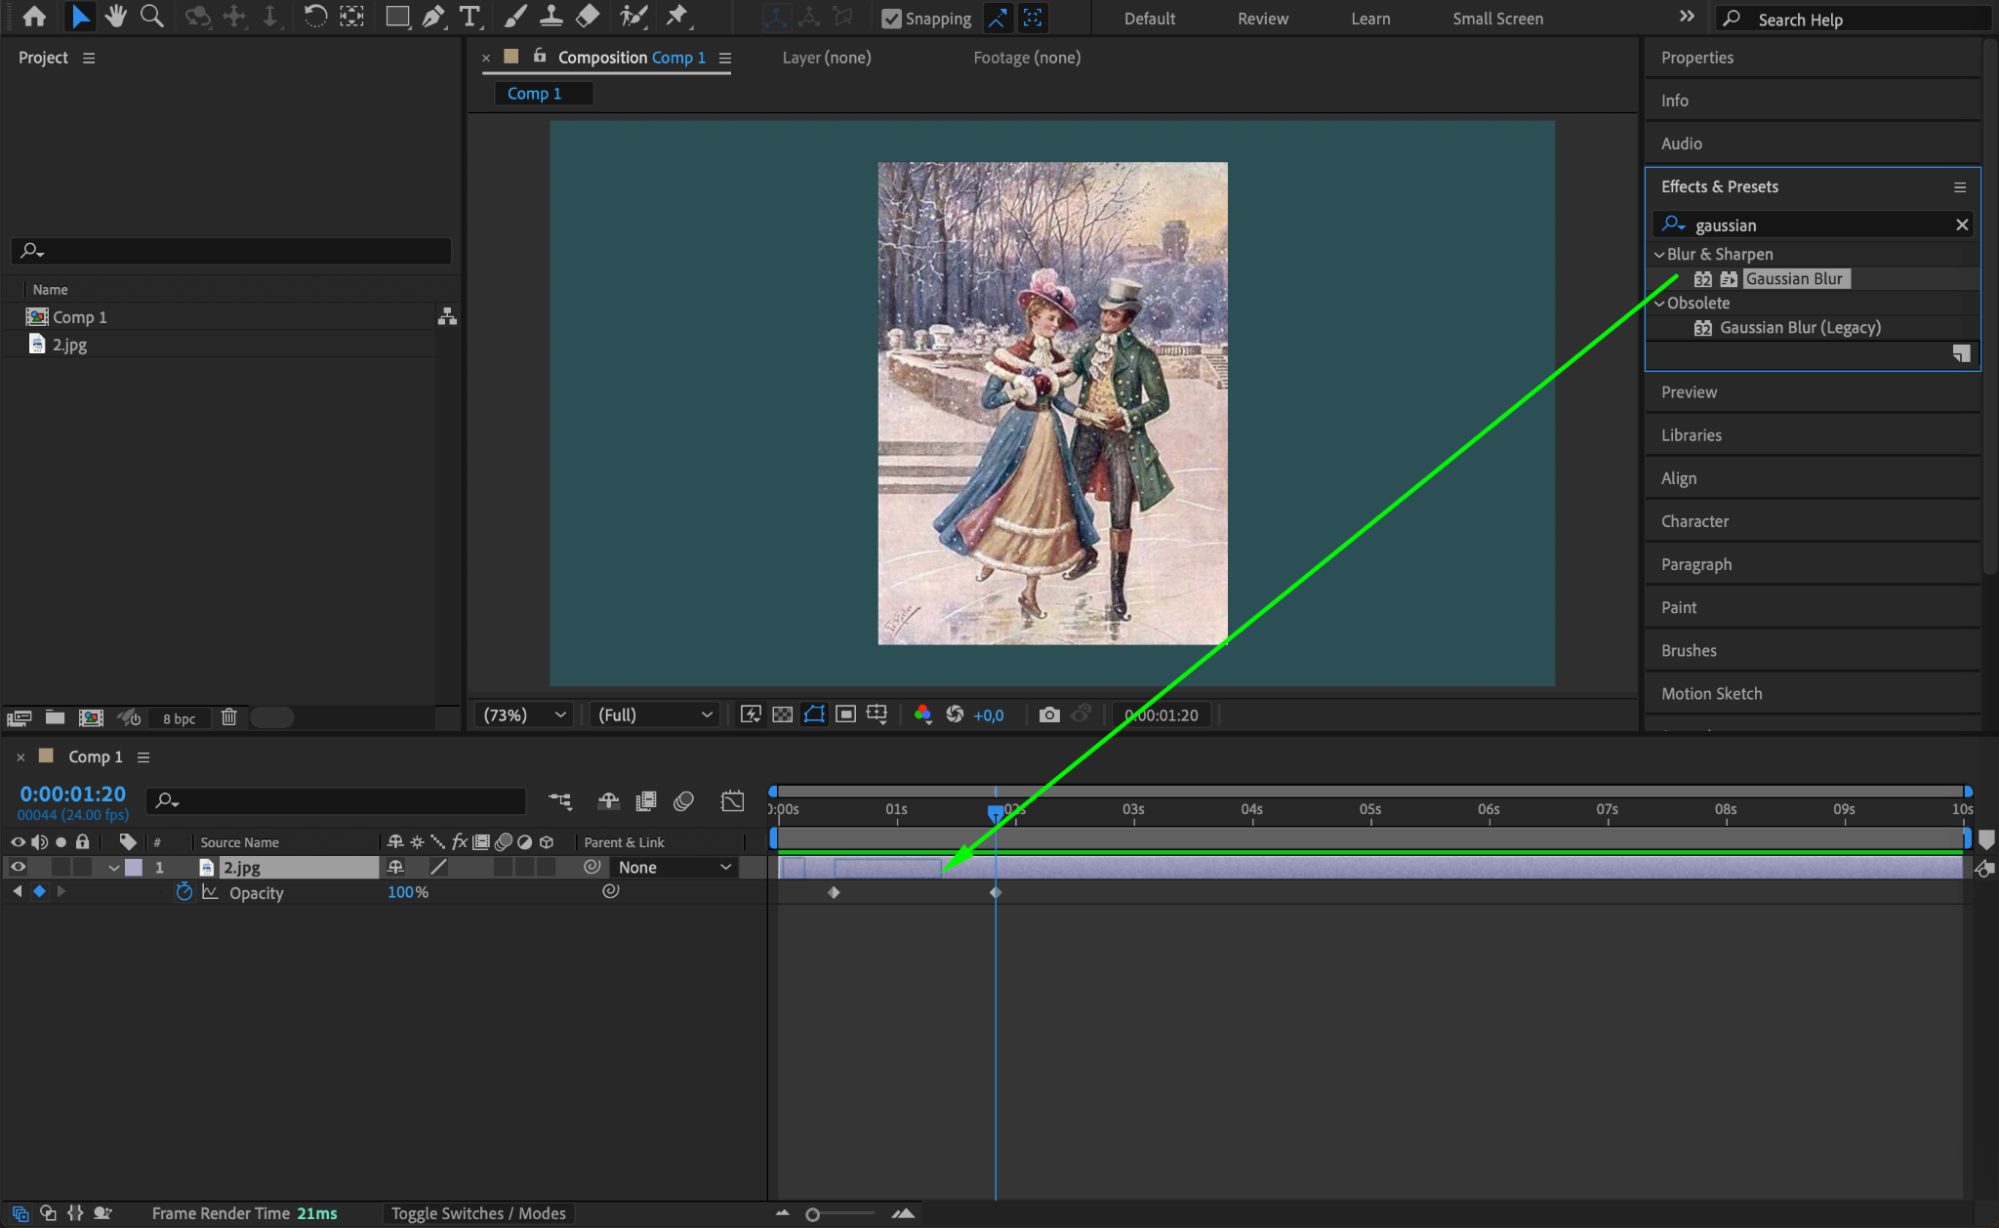
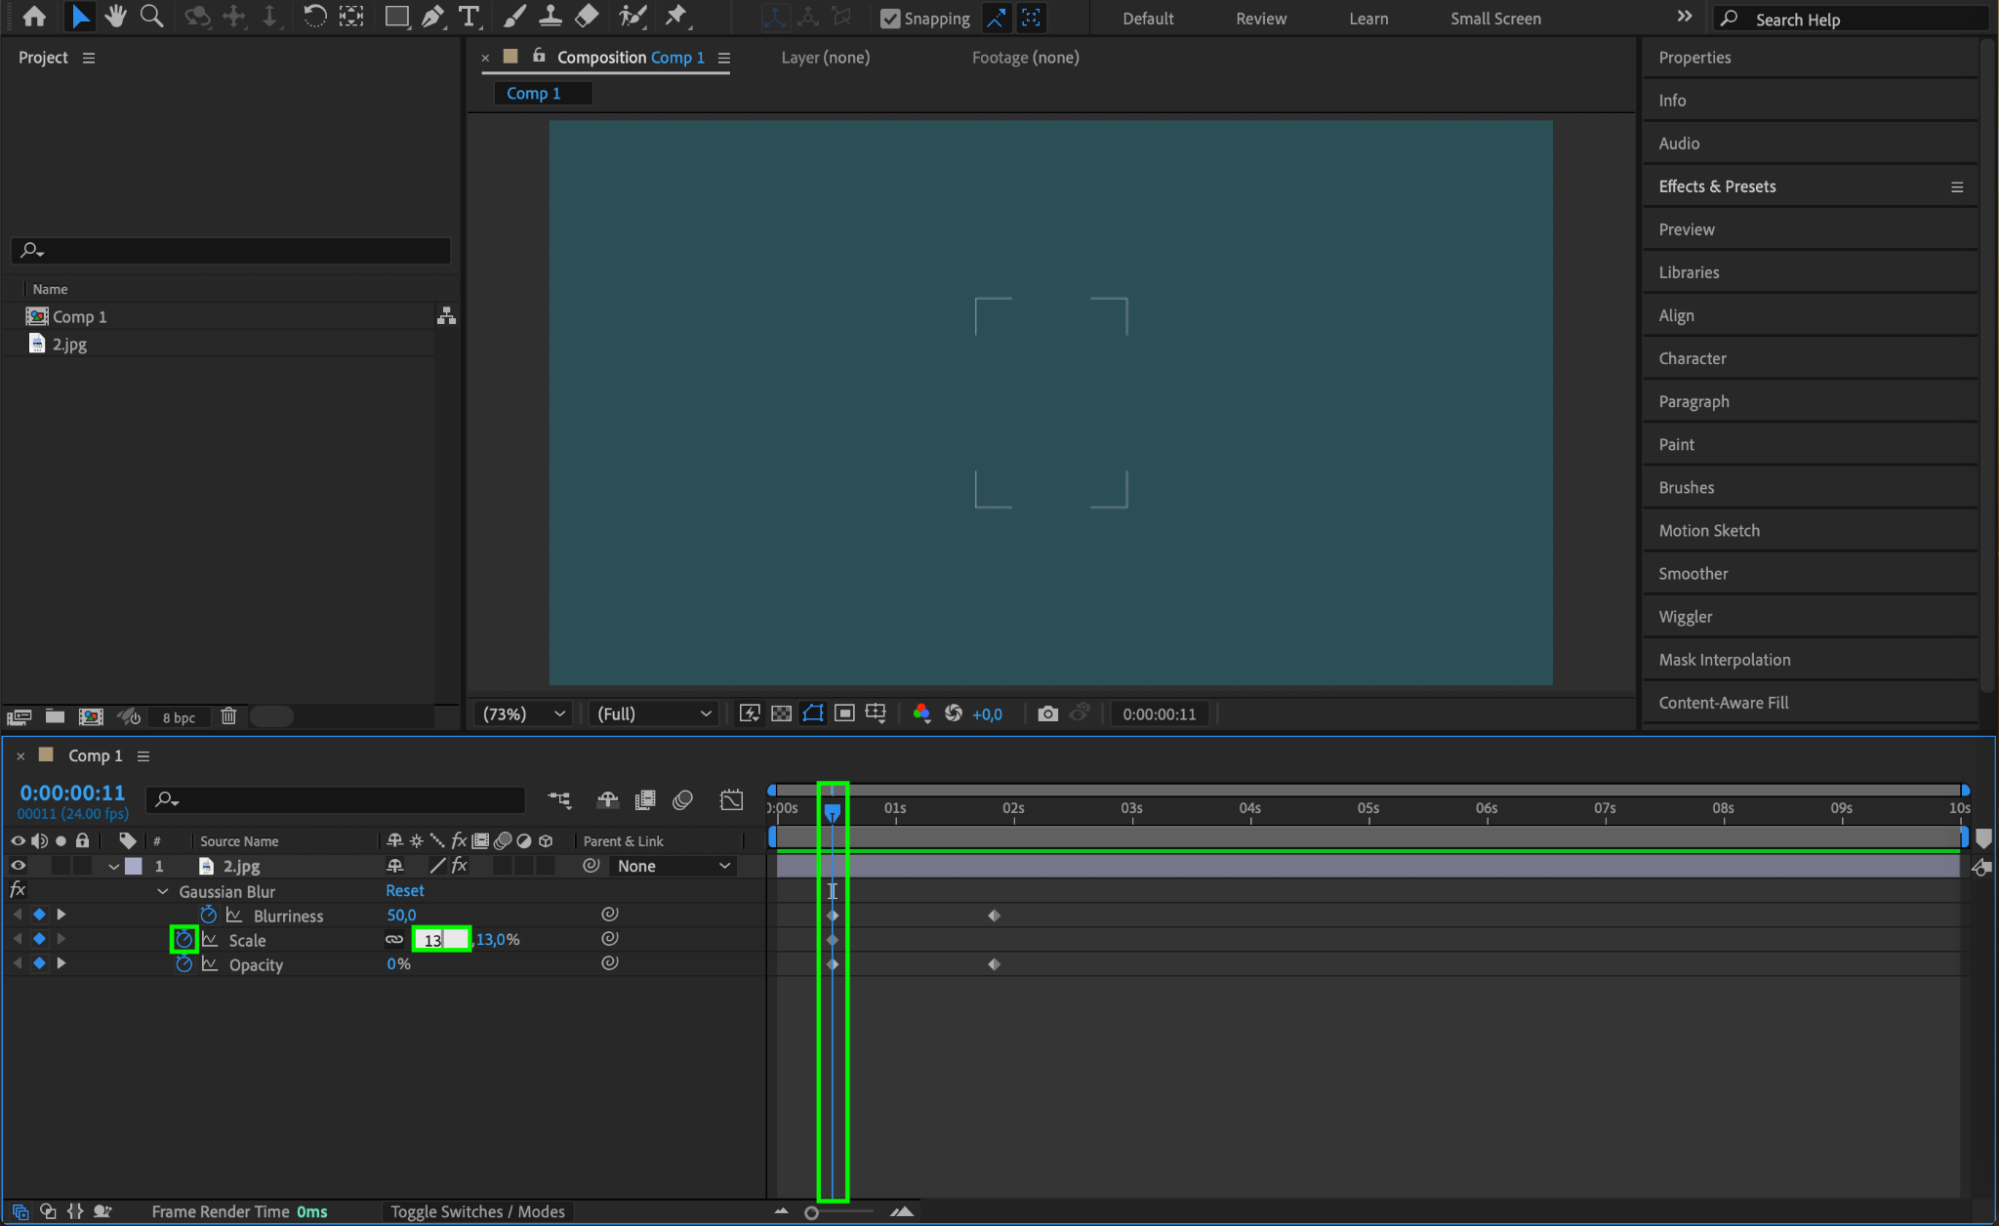
To make the appearance more dynamic, add a blur effect. Select the image layer, go to Effects & Presets Panel, and search for Gaussian Blur. Drag and drop the effect onto the image layer.
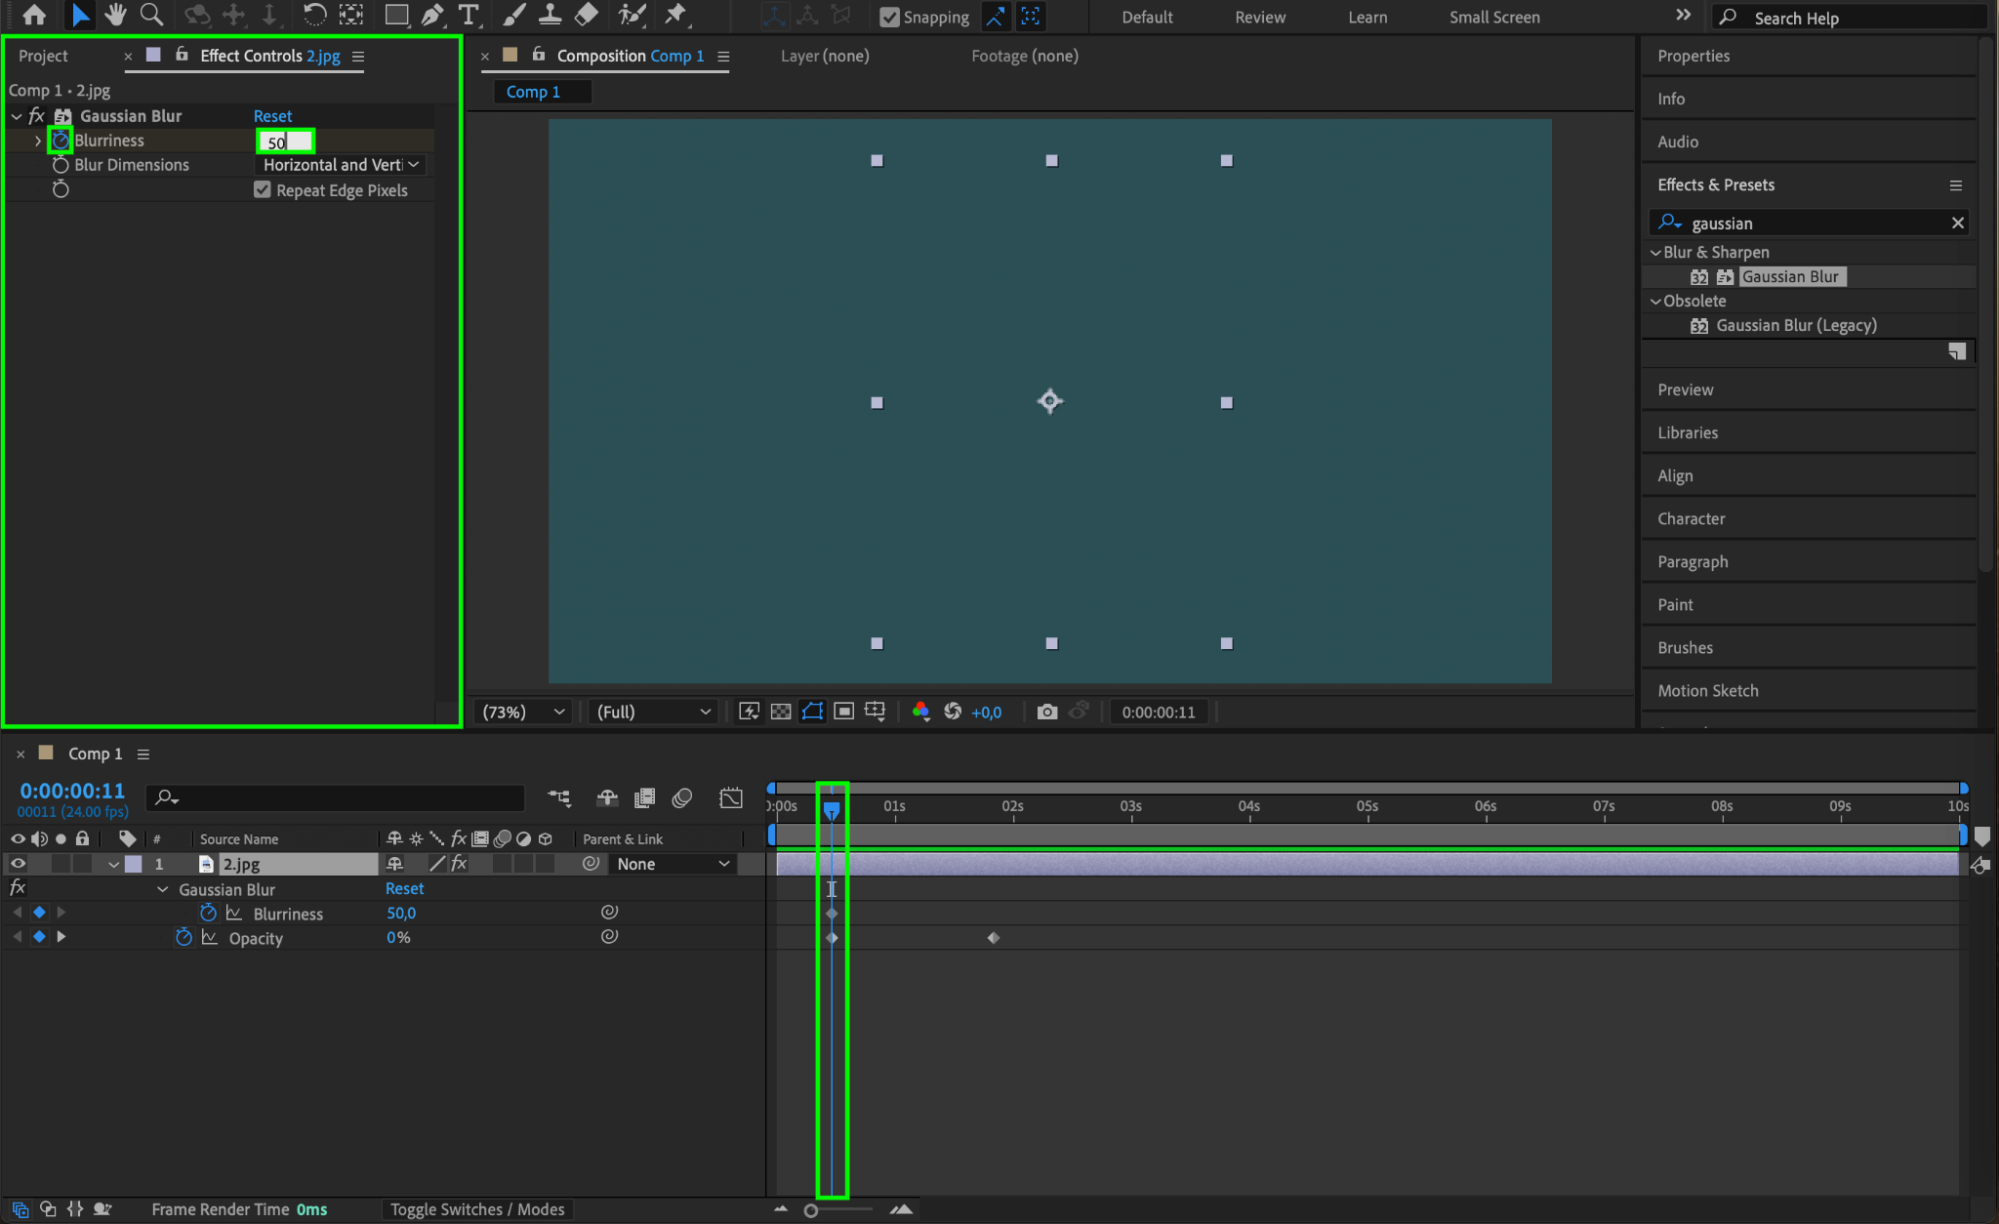
In the Effect Controls Panel, set the Blur Radius to a high value (e.g., 50) at the same frame where opacity is 0%.
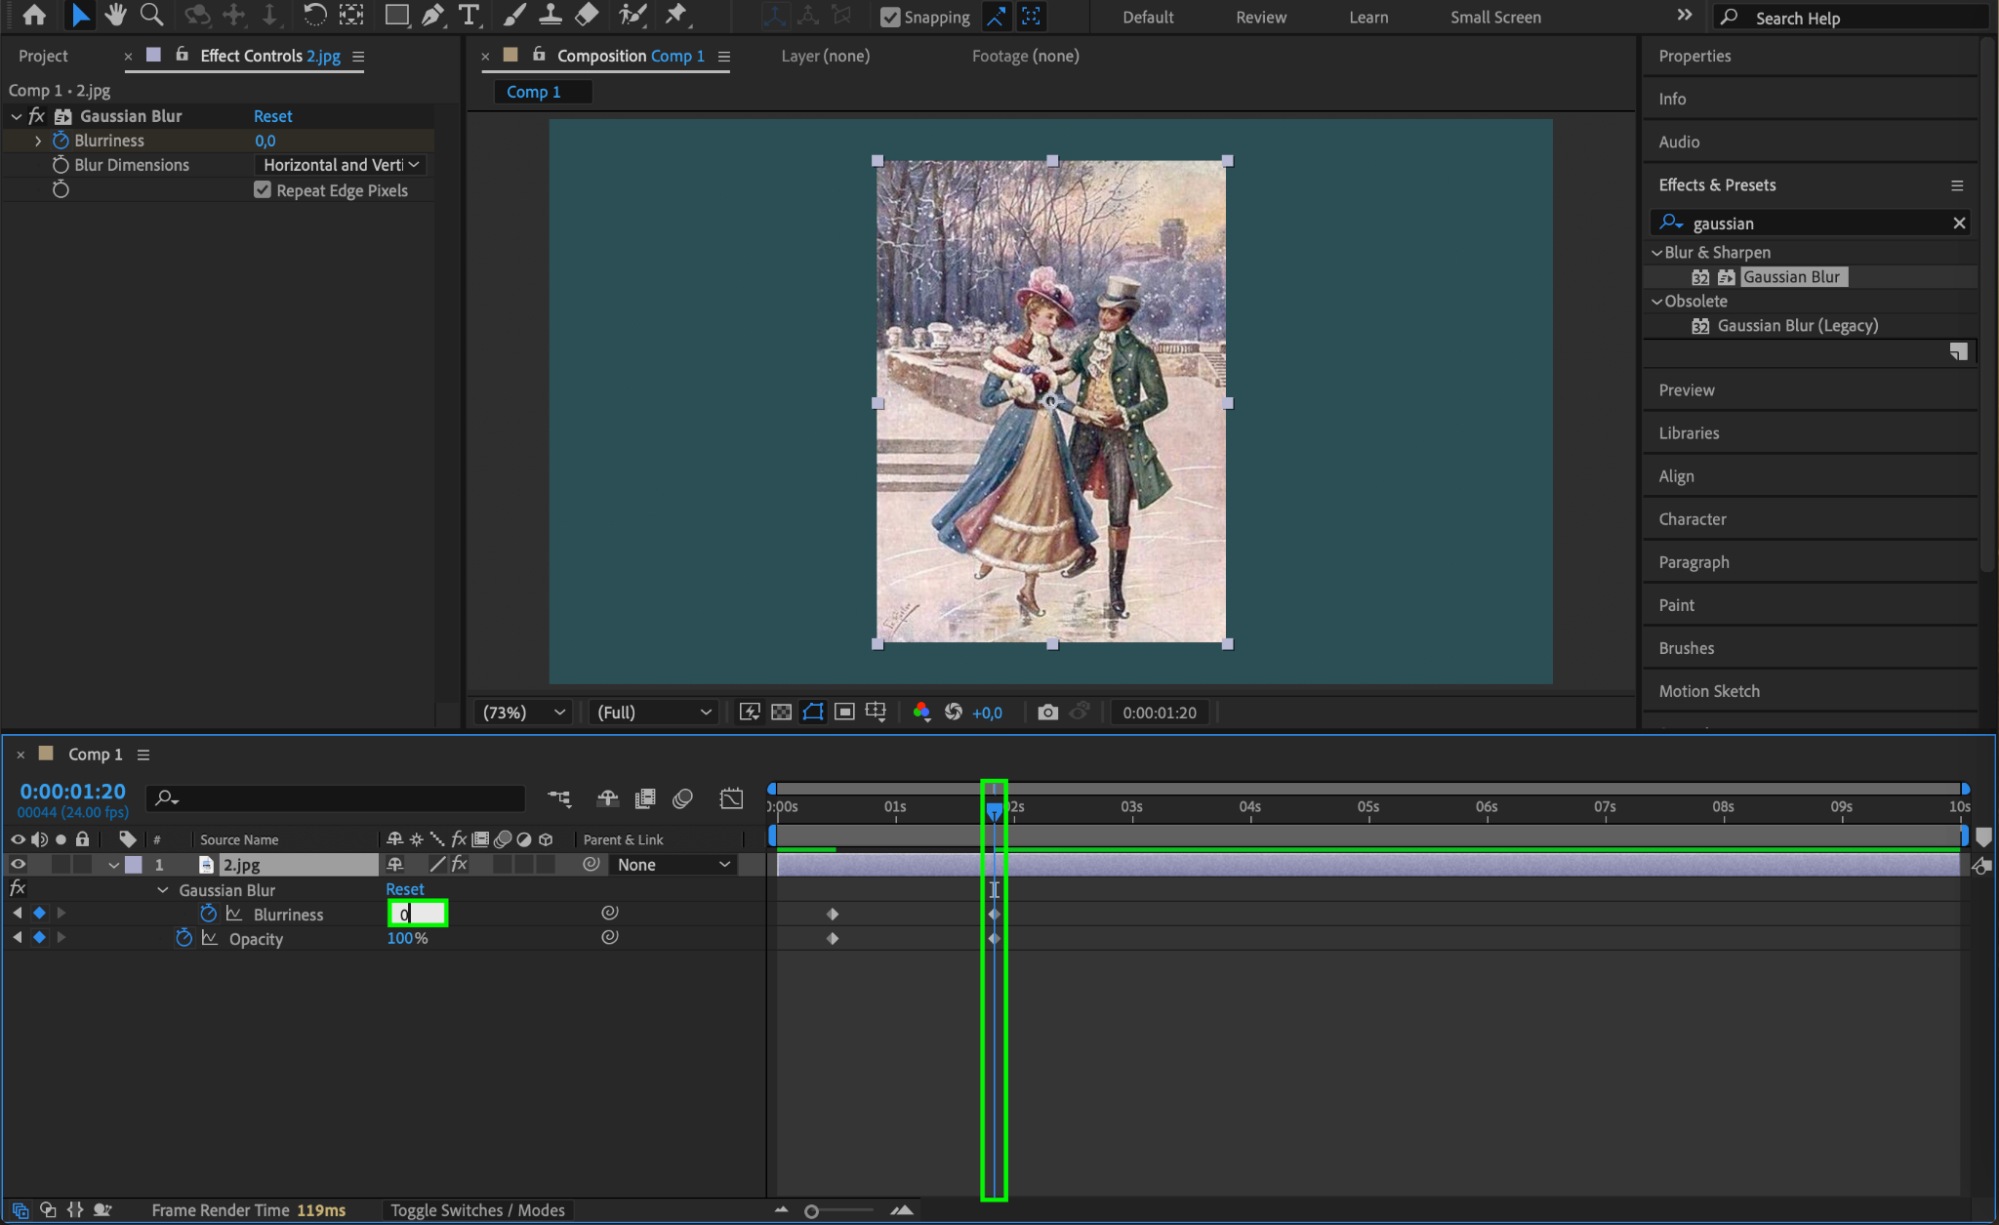
Create a keyframe for the Blur Radius, then move the CTI to where the opacity reaches 100% and set the Blur Radius to 0.
This creates a smooth focus transition as the image appears.
Step 5: Add a Scale Animation (Optional)
For a more dynamic effect, you can animate the image’s scale:
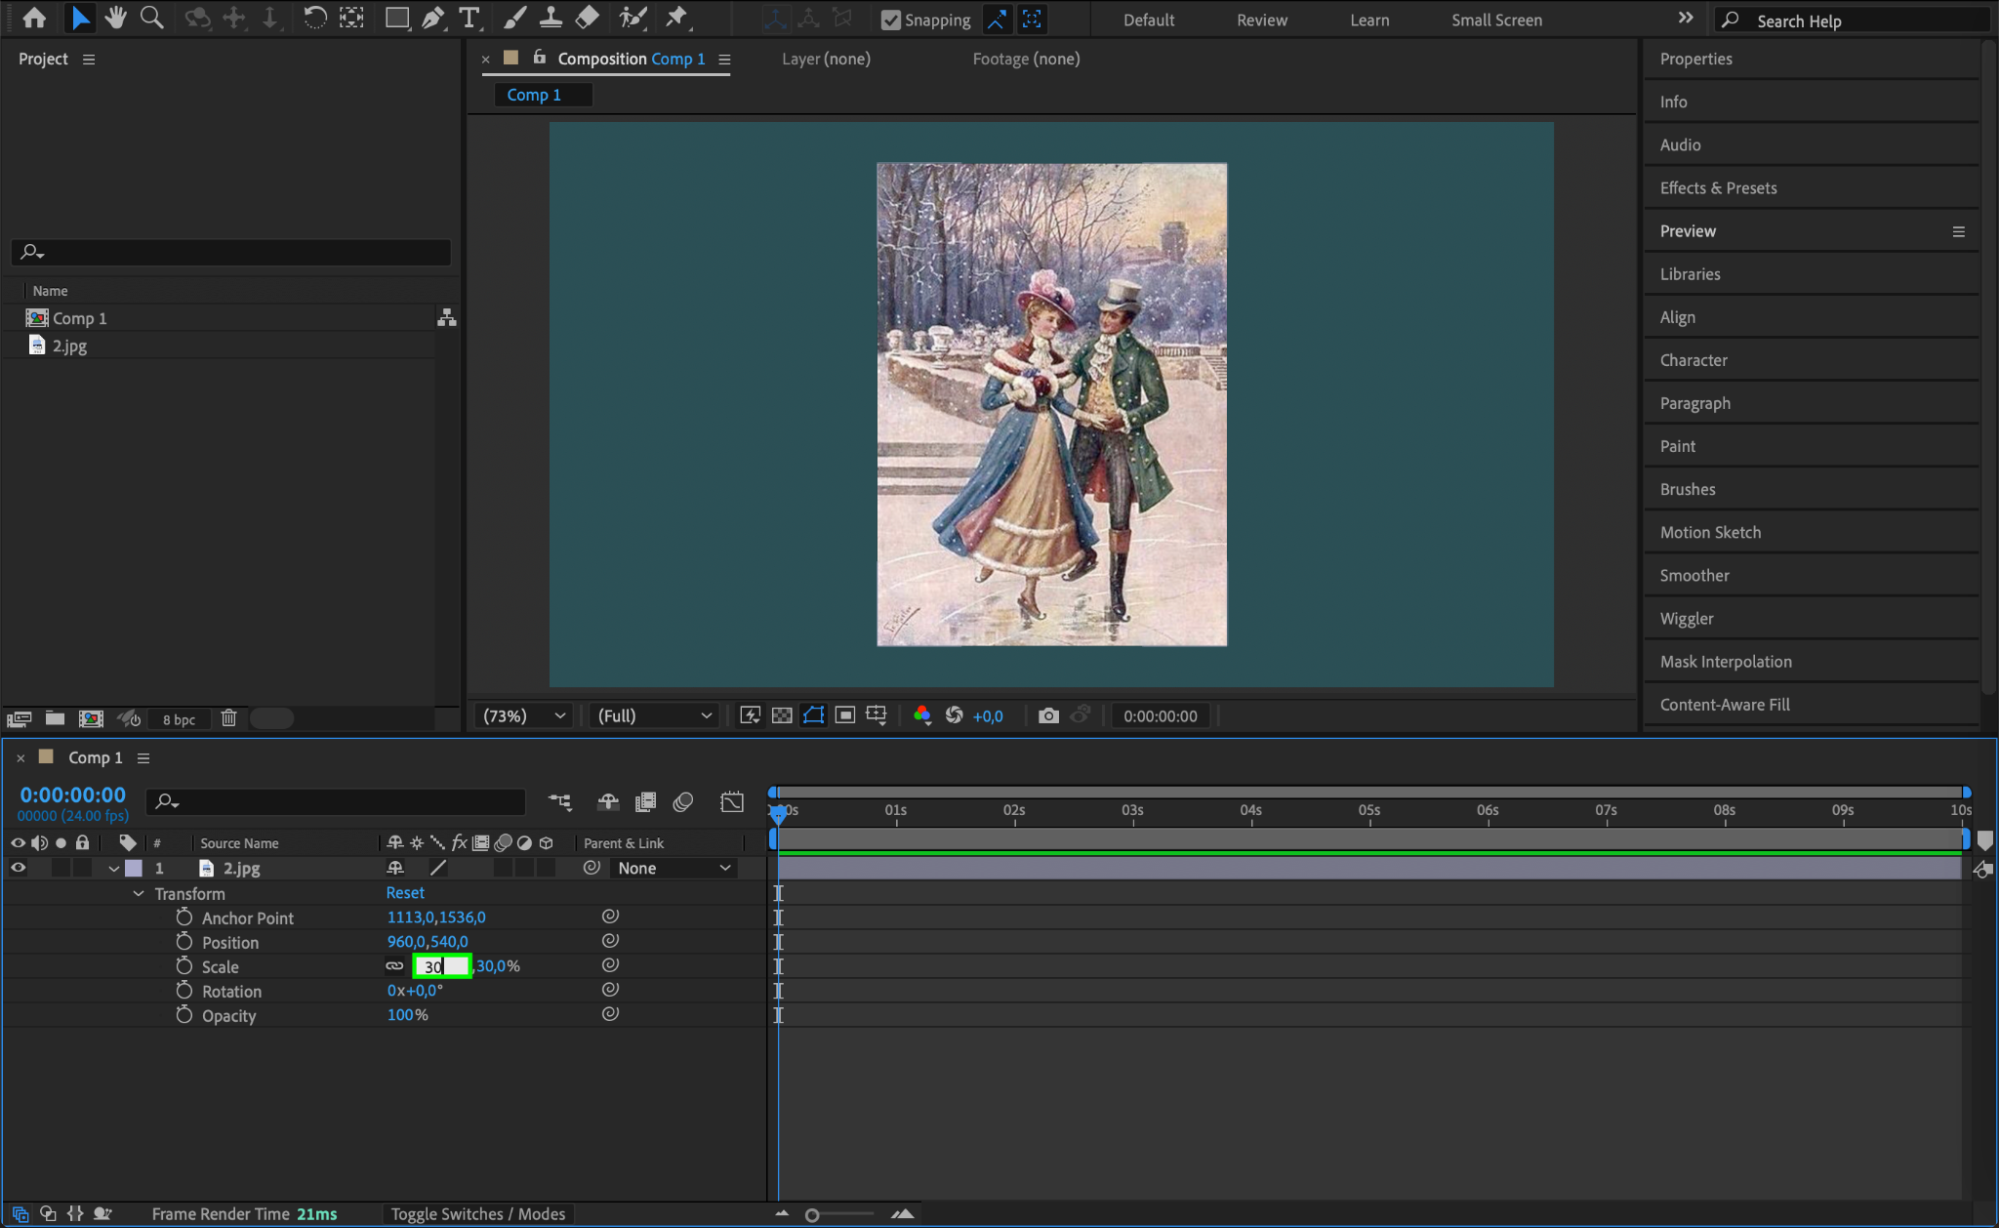
Press “S” to open the Scale property.
At the start of the appearance, create a keyframe and set the scale to a smaller value (e.g., 70%).
Move the CTI to where the image is fully visible and set the scale to 100%.
This will make the image grow slightly as it appears, adding depth to the animation.

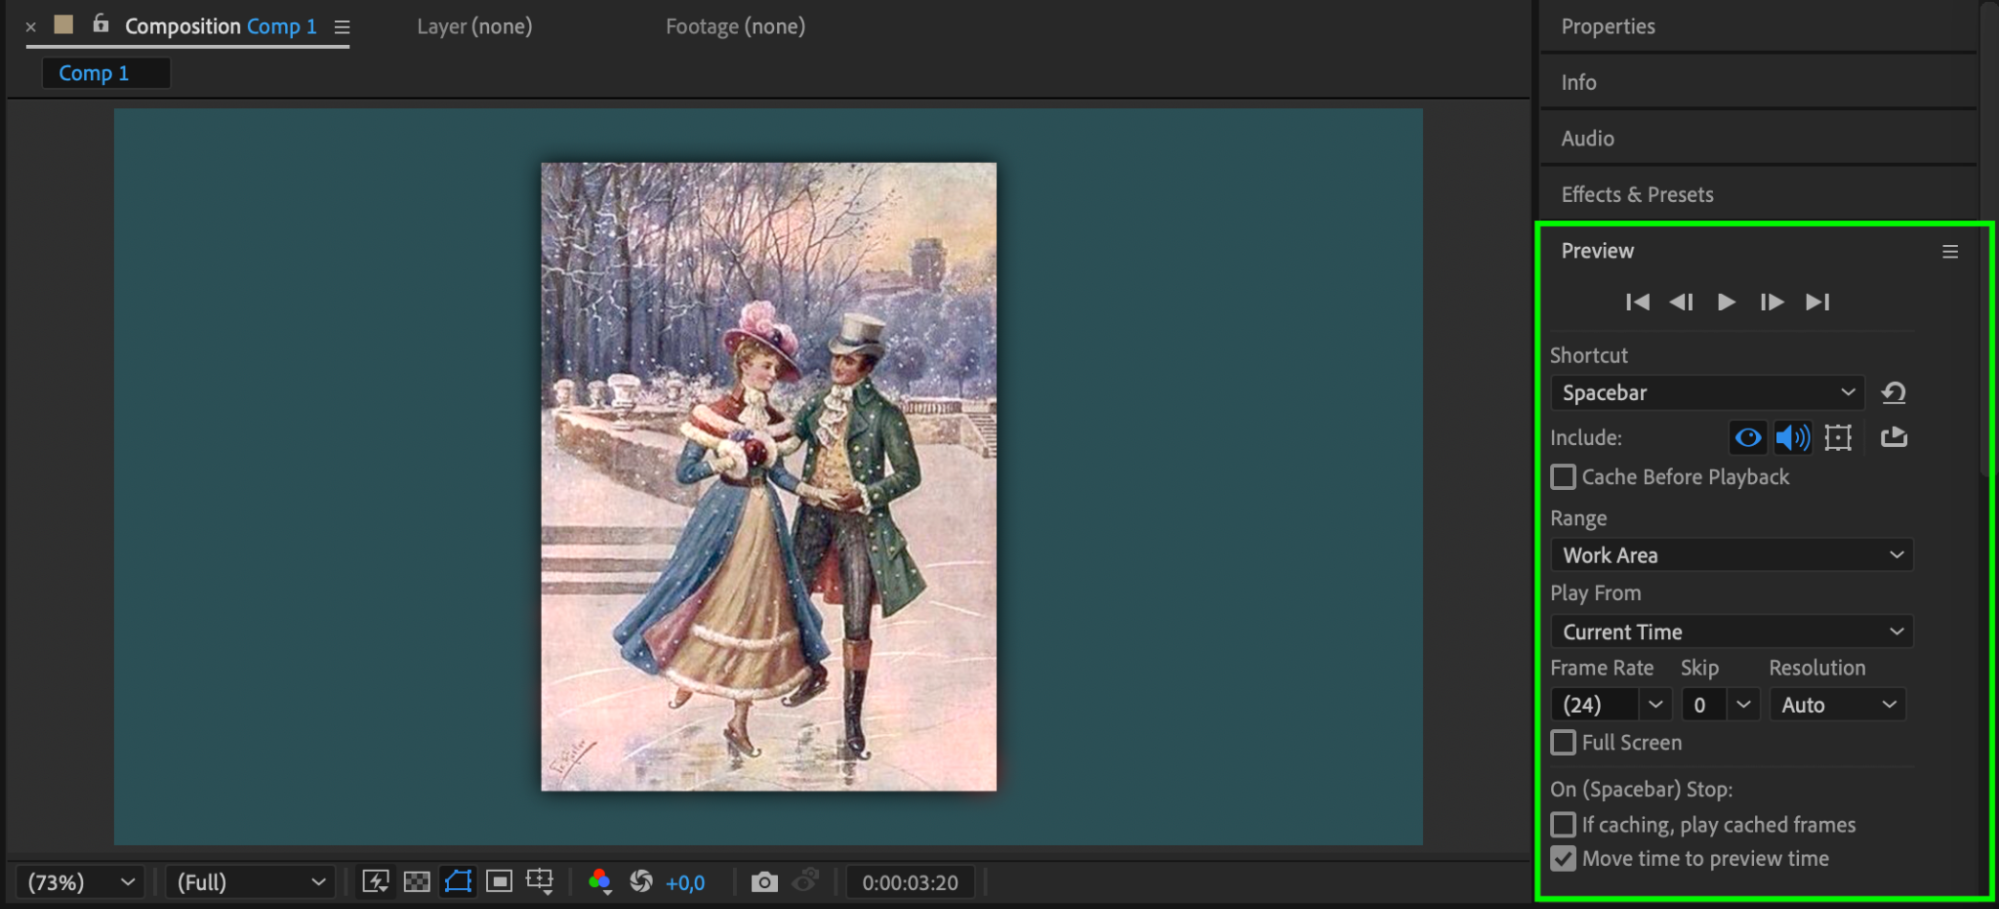
Step 6: Preview Your Work
Press the Spacebar to preview the animation. Check if the timing and smoothness of the image’s appearance meet your expectations. Adjust keyframes as needed to refine the transitions.
Step 7: Render Your Composition
Once satisfied with the result, render the project to export your animation. Go to Composition > Add to Render Queue, set the output settings, and click Render. This will save your composition as a video file.


Conclusion
Making an image appear in After Effects is a straightforward yet essential skill for creating polished animations. By using opacity keyframes, adding creative effects like blur, and optionally animating scale, you can enhance the appearance of your image and make your project more dynamic. Practice these techniques to achieve professional-quality results in your motion graphics projects!
Our Bestsellers


